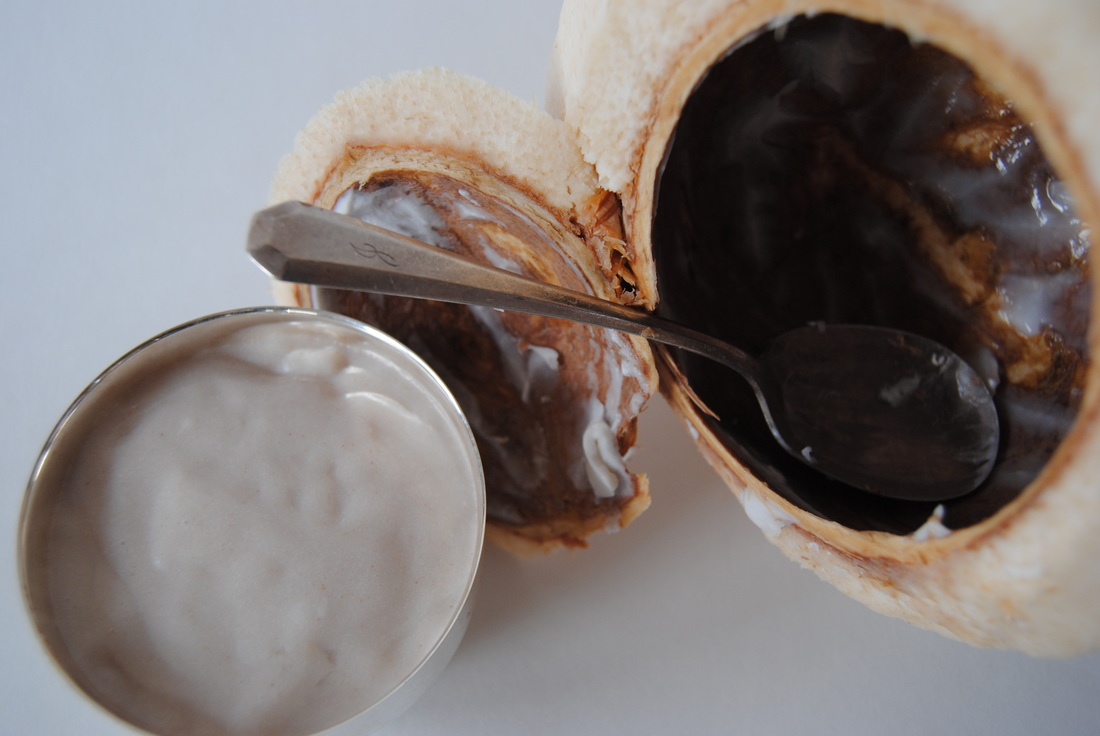
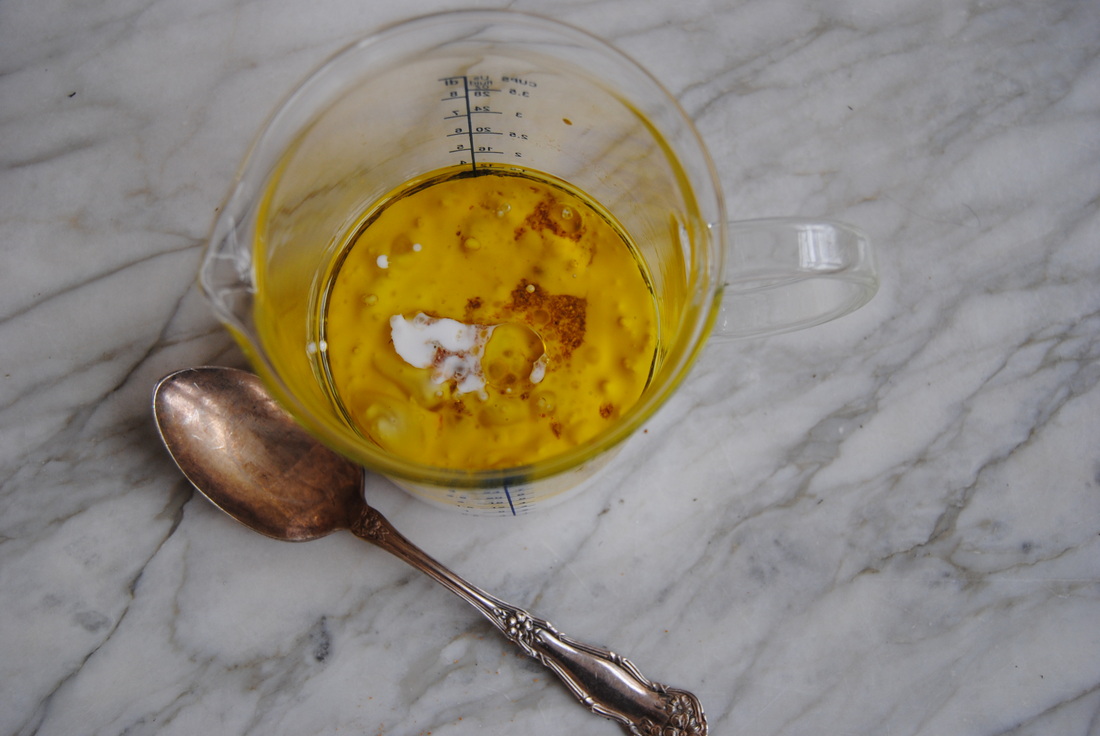
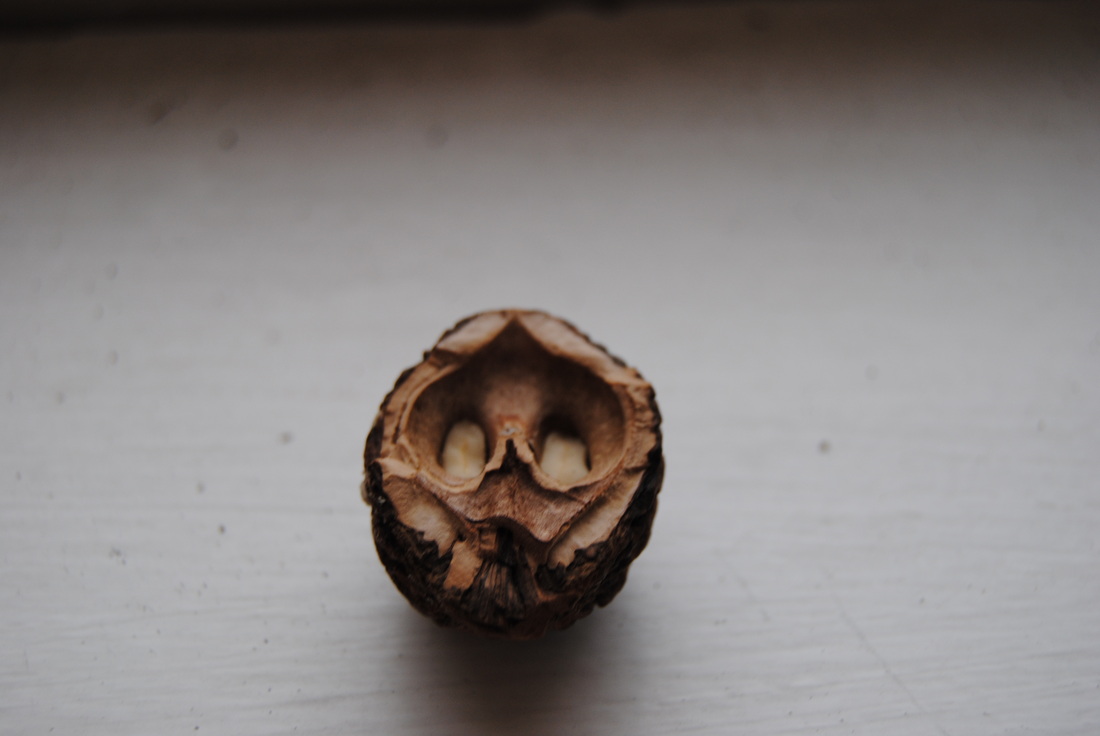
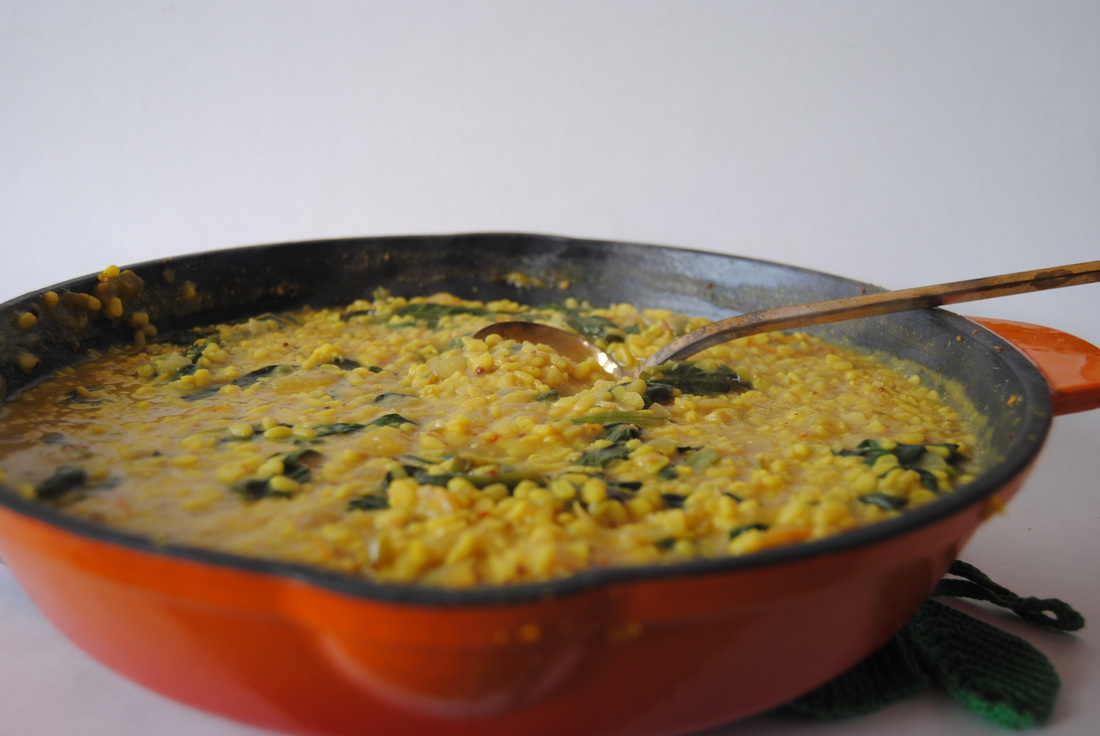
 As you must know by now, we love to spend time experimenting in the kitchen. And this recipe is a little piece of perfection that came out of a day of experimentation. Not that dal (traditional Indian legume dish) is that surprisingly different, but what went into it that was exciting. This week we decided to make our own coconut milk to add richness to our dal; and believe us this was no easy feat but tons of fun! Read on to find out more about coconut and how you can bring some excitement to your kitchen. 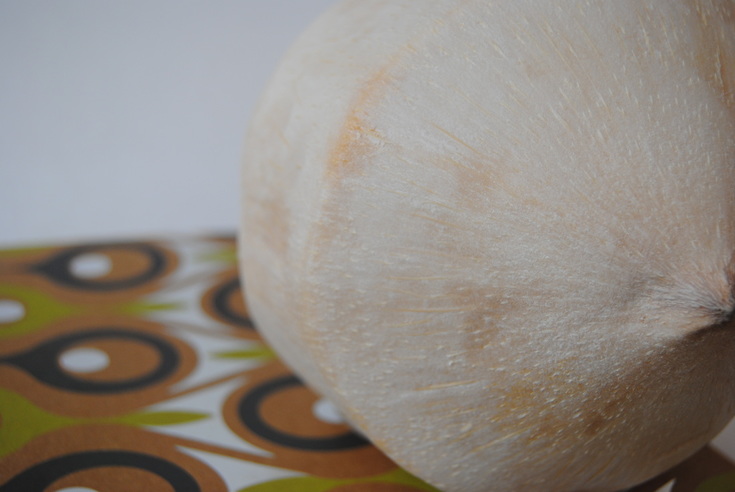 Pictured above is a lovely young coconut. A young coconut is picked earlier in the growing process and has not had the time to develop the traditional dark brown outer shell or tough meat inside, meaning it will be much easier to process in your kitchen! To open we suggest a sturdy cutting board and sharp knife to chip away at the pointed end (warning this can get messy!) until you've cracked into the hollow core. Make sure to drain the precious coconut water before you fully open the coconut to expose the soft flesh inside just perfect for making coconut milk. But why go through all this trouble you ask? Well...coconut is nutritionally an amazing food! Coconut meat is naturally high in saturated fat and, believe it or not, we are not telling you to stay away from the saturated fat found in coconut. The saturated fat from coconut is mostly medium-chain triglycerides (or MCT), a type of fat that is absorbed differently in the body than other fats we ingest. When you consume MCT, it is directly transported from your gut to your liver and used first as fuel versus being stored in fat tissues. Saturated fat also helps our bodies to better absorb fat soluble vitamins such as vitamins A, D, E, K. Finally, about half of the fatty acids found in coconut is lauric acid, known for its antiviral and antimicrobial benefits. As if this wasn't enough, the water found within the coconut is somewhat of a "super food". Coconut water is full of natural electrolytes, including potassium and salt, and contains a hint of simple carbohydrates (sugars) making it a perfect re-hydration beverage. So enough talking about coconut and let's get to making coconut milk and our delicious dal. Yellow Coconut Dal PREP TIME: 20 mins TOTAL TIME: 60-70 mins Servings: 8-10 Ingredients Lentils 2 cups dried white lentils 3 cups reduced sodium vegetable stock* 3 cups water 1 tsp turmeric Ingredients 1 medium yellow onion 1 Tbsp ghee 20 oz yellow tomatoes (~2 1/2 cups chopped) 20 oz bag raw spinach (2 1/2 cups) 1/2 Serrano chili pepper (chopped with seeds removed) 1 Tbsp fresh grated ginger 2 large garlic cloves, minced 2 tsp stone ground mustard or dried mustard seeds 1/2 tsp cumin powder 1/4 tsp sea salt, plus more to taste before serving 1 cup fresh, homemade coconut milk (made from one young coconut) 2 Tbsp fresh lemon juice Chopped cilantro 1/8 cup sesame seeds Thoroughly rise and drain lentils then place in a medium pan. Add 3 cups vegetable stock, 3 cups water, and turmeric to the pan and place on medium heat. Bring lentils to a boil, turn down heat to low, cover pan with a lid, and cook for ~40 minutes until tender then set aside. Meanwhile, in a separate pan add ghee and chopped onion and saute on medium heat until translucent with golden edges. Add chopped tomatoes, spinach, Serrano chili pepper, ginger, garlic, mustard, cumin, and sea salt to the pan with the onions and continue to cook until the tomatoes break down into a sauce, ~ 25 minutes. While the sauce is cooking, remove the water and flesh from the coconut (coconut opening instructions above!). Add 1/4 cup coconut water and all the flesh to a high speed blender. Blend on high until completely smooth. A standard young coconut will make about 1 cup of coconut milk. Add cooked lentils and coconut milk to the sauce pan and continue to cook for about 10 minutes to fully combine the flavors. Serve warm over cooked rice, quinoa, or grain of your choice. Top with a sprinkle of sea salt, squeeze of fresh lemon juice, chopped cilantro, and sesame seeds. Enjoy!  This dal is just so warming in so many ways. It has a gentle spice from the turmeric and ginger, a rich creaminess from the homemade coconut milk, and is satisfyingly filling from the hearty lentils. Simply a perfect winter meal to brighten your spirits. We hope that you have some fun in your kitchen making this one and enjoy every last bite. Have fun, Jess and Cecelia 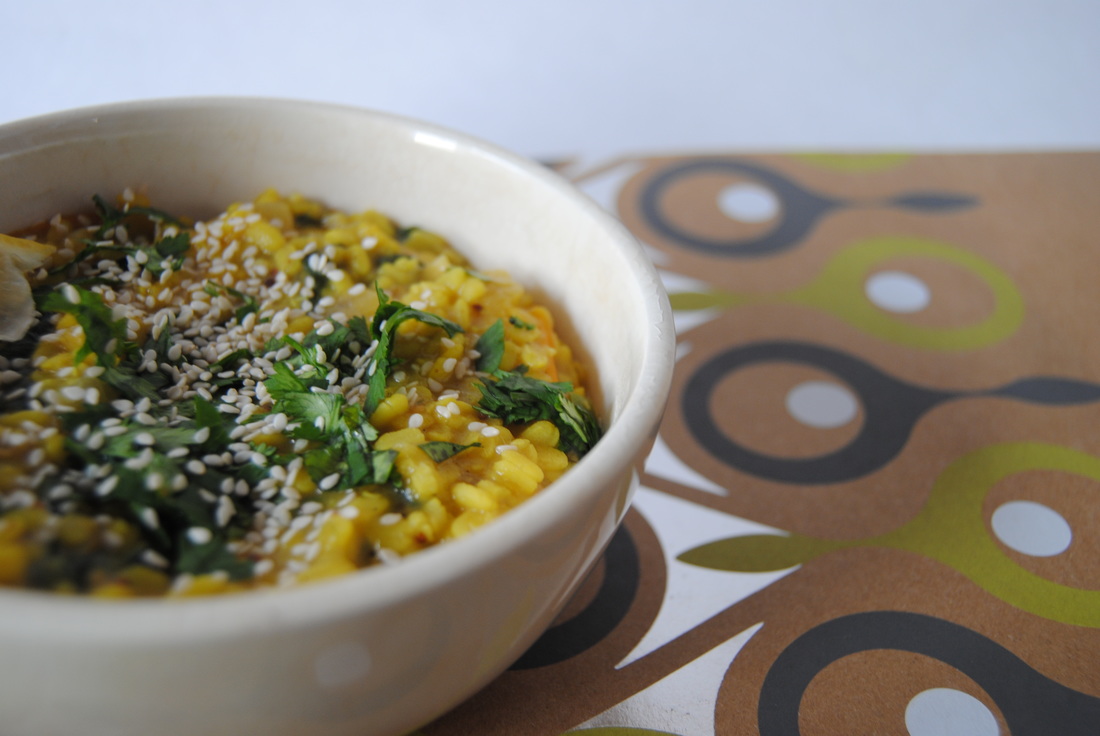
1 Comment
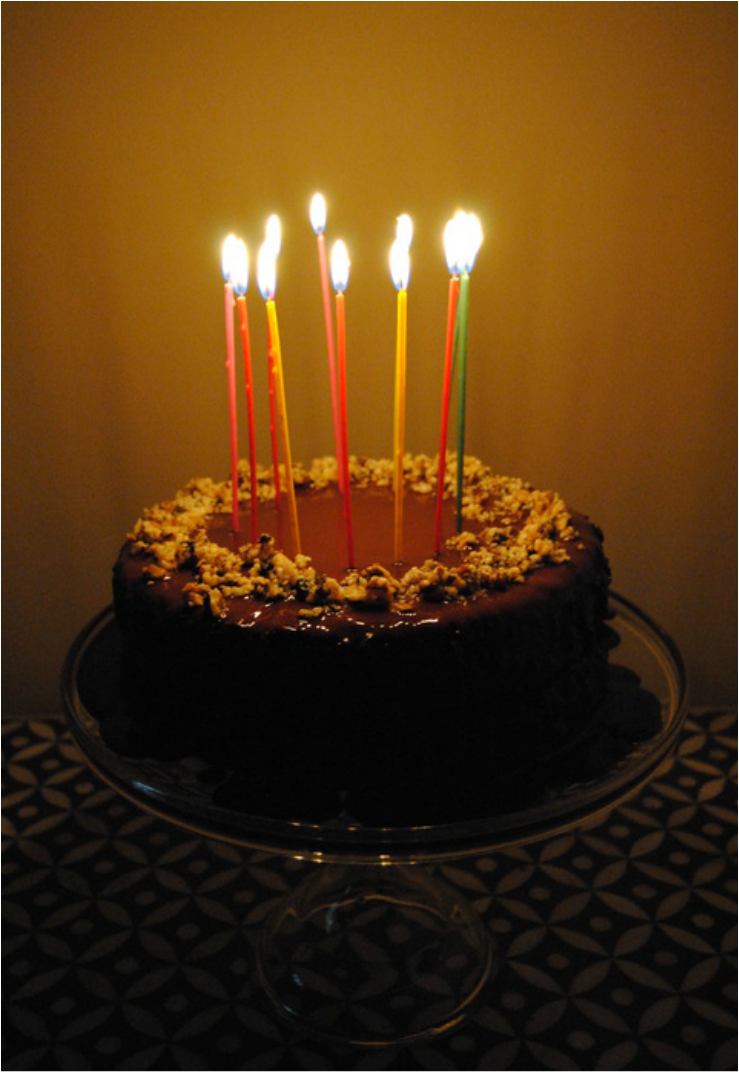 To celebrate both Cecelia's birthday (we won't discuss ages here) and the birth of our blog, we decided that our Olive Oil Blackout Cake would be the perfect first bloom. This cake is everything a good birthday cake should be and more; we've carefully crafted this recipe to provide the most taste with the best ingredients for a final product that will be the best birthday gift you'll ever get (or at least we think so)! You may be looking at the ingredients and making a very long shopping list...but don't worry we've given you substitutes for some products and it's okay to use them. An exception is the coconut sugar because it's a huge part of this recipe and post. With birthdays and sugar-highs on the mind we wanted to give you a quick run down on the nutritional benefits and reasons we love this natural sweetener. 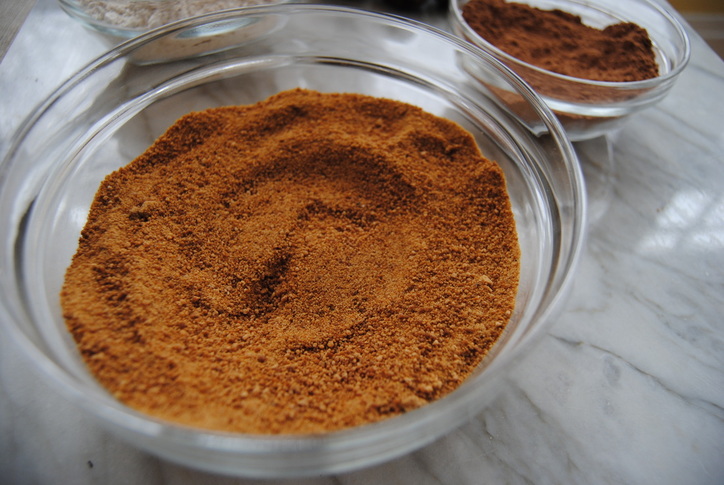
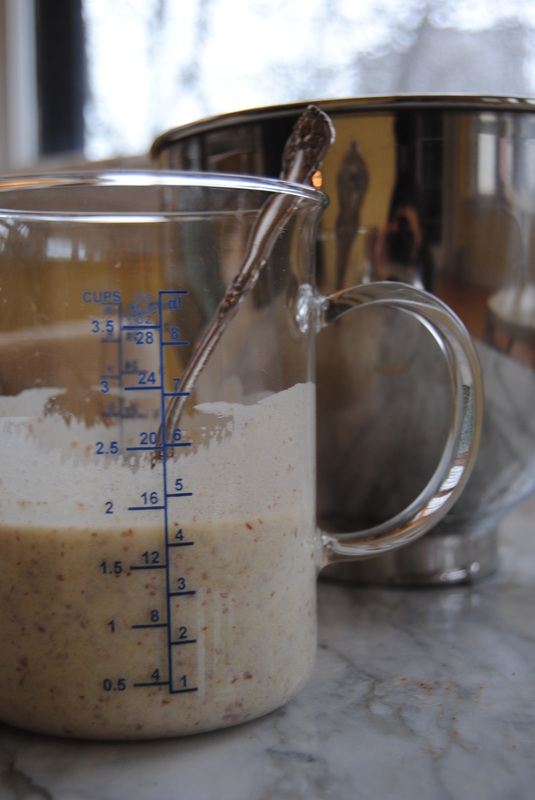
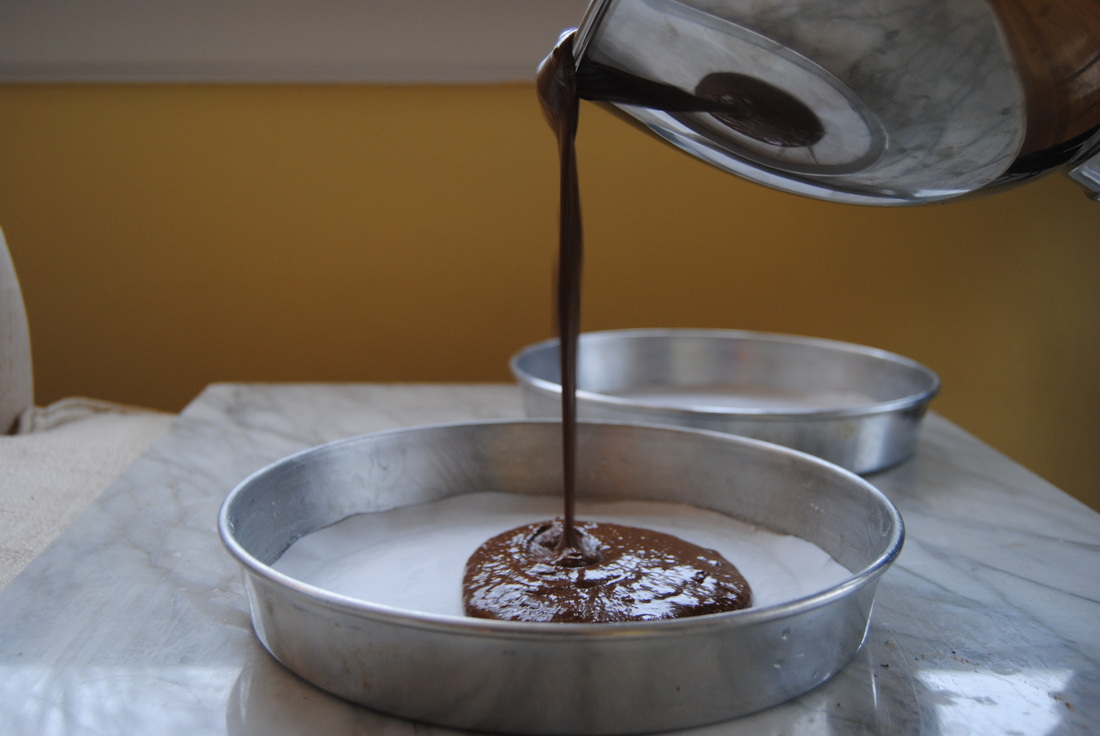
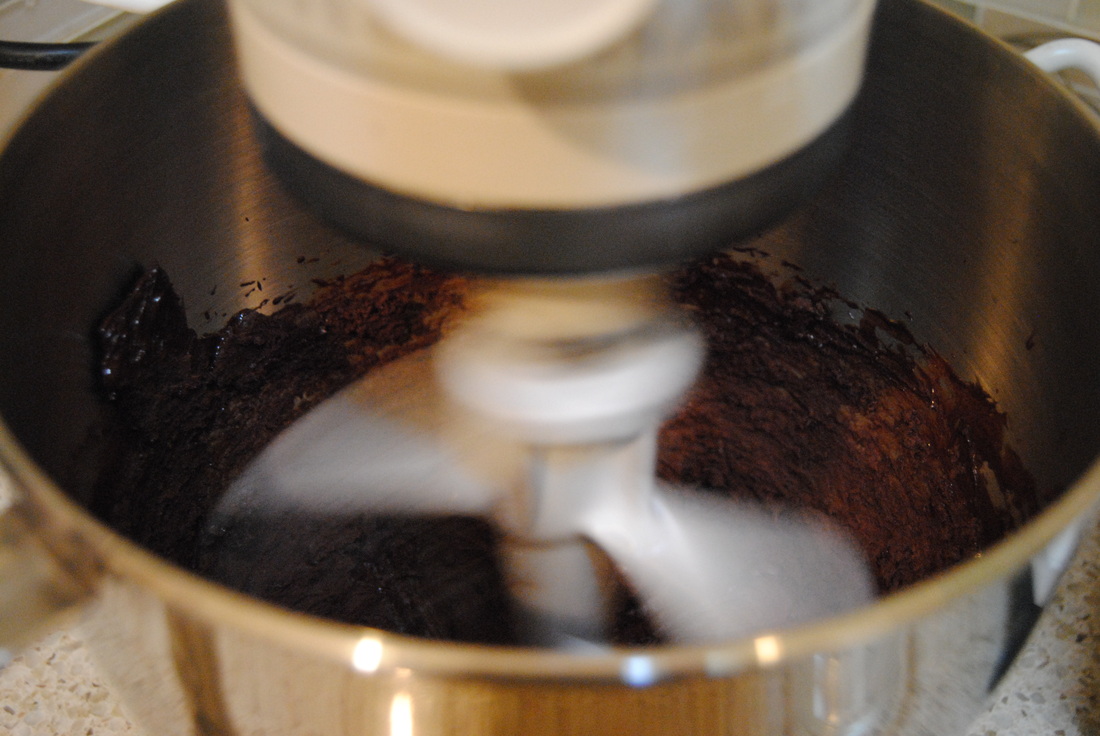
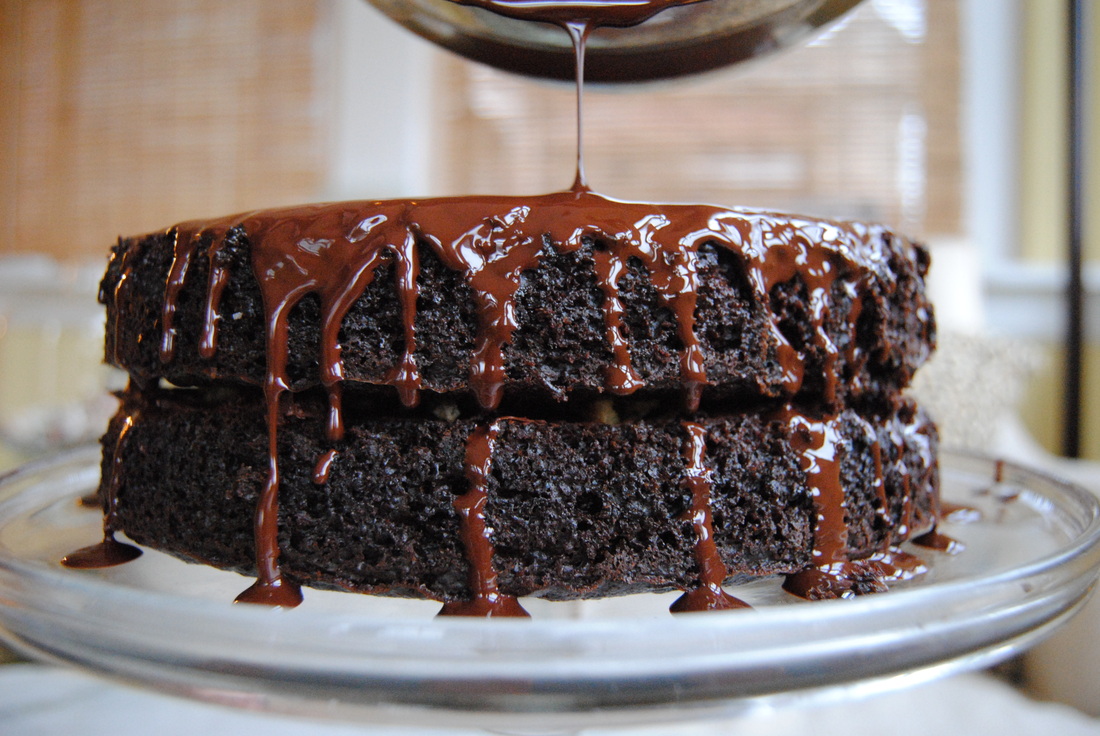
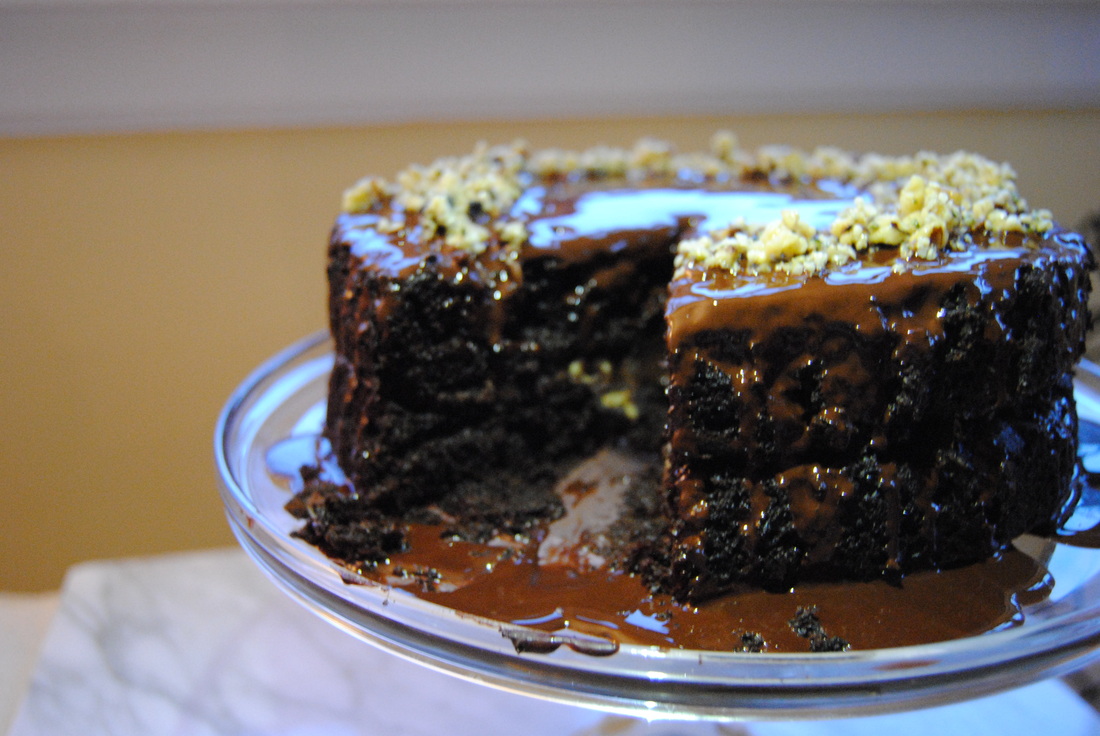
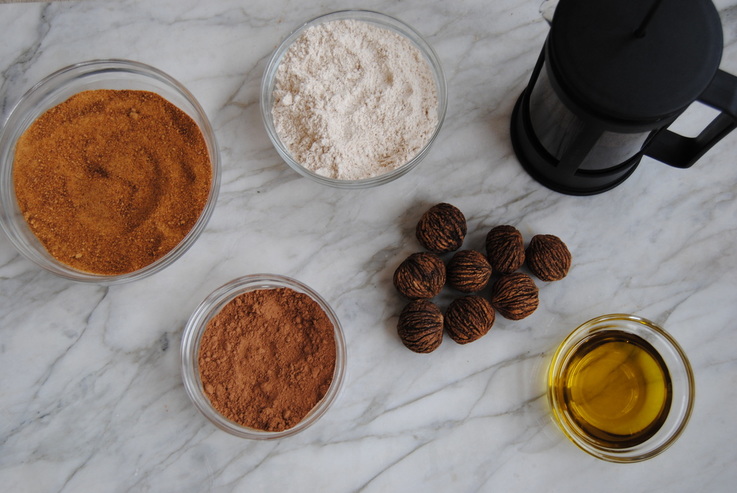 The Olive Oil BlackOut Cake PREP TIME: 40 mins TOTAL TIME: 1 hour 30 mins Servings: 8-12 Ingredients Cake 1 3/4 cup spelt flour (or whole wheat) 2 cups coconut sugar 3/4 cup cacao powder or cocoa powder 2 tsp baking soda 1 tsp baking powder 1 tsp sea salt (we used pink Himalayan) 1 cup "buttermilk" (1 cup coconut milk + 1 Tbsp apple cider vinegar, let sit for 10 minutes to curdle) 1/2 cup extra virgin olive oil 2 Tbsp ground flax seeds + 6 Tbsp room temperature water (let sit for 5 minutes until gelatinous) 1 tsp pure vanilla extract 1 cup freshly brewed hot coffee (we used a French press but any method is fine) Candied Nut/Seeds 1 cup chopped walnuts (would also be great with pecans, almonds, pistachios) 1/2 cup shelled hemp seeds (optional) 2 Tbsp honey 1/3 tsp sea salt Ganache Topping and Frosting 12 ounce dark chocolate (72% cocao or higher), finely chopped 3 heaping Tbsp coconut oil 2 tsp coconut oil reserved for middle frosting layer Preheat your oven to 350 degrees. Lightly coat two, eight inch round cake pans with coconut oil and line bottoms with parchment paper, cut to size, to prevent cake from sticking to the pans. Sift the dry ingredients together - spelt flour, coconut sugar, cacao, baking soda, baking powder and salt - into a large bowl. In a seperate bowl, combine the wet ingredients - "buttermilk", olive oil, ground flax with water, and vanilla - and add the dry ingredients to a standing mixer, fitted with a paddle attachment. With the mixer on low speed, slowly add the wet ingredients to the dry. With the mixer still on low, add the coffee and mix just to combine, making sure to scrape the bottom of the bowl with a rubber spatula. The batter will be pretty thin but don't worry, this is what you want. Pour the batter into the prepared pans and bake for 35-40 minutes until a toothpick comes out clean. Cool in the pans for at least 30 minutes. Meanwhile, begin candied nut/seed mixture. Roughly chop walnuts and add to saute pan. Add the remaining ingredients - hemp seeds, salt, and honey - to the pan. With the pan on medium heat, carefully stir mixture for 2-3 minutes until nuts are lightly toasted. Turn heat off and allow to cool. Begin preparing the ganache. Place chopped chocolate in a double boiler and add 3 heaping Tbsp coconut oil. Allow chocolate and oil to fully melt, stirring often. Once fully melted, pour 1/2 of the chocolate mixture into a separate bowl and place in the fridge to completely cool, this will be use to create the frosting for the middle layer of the cake. Keep the remaining chocolate in the double boiler with the heat off to keep chocolate warm while you work on the frosting, this will be used later for the ganache topping. Once the chocolate in the fridge is cooled, scrape into a standing mixer with paddle attachment and add 2 tsp coconut oil. Whip on high for 3-5 minutes until a spreadable frosting forms, making sure to scrape the bottom of the bowl with a spatula. If your texture is not spreadable continue to whip and possibly add 1-2 additional tsp coconut oil. Carefully place one cake onto a cake plate of your choice. With a butter knife or offset spatula, evenly spread chocolate frosting on bottom cake layer (this may get a little sticky and crumbly but keep at it!). Sprinkle 1/2 of the candied walnut and hemp seeds over the top of the frosting, then carefully place second cake onto the bottom layer. Slowly pour the remaining ganache topping (still warm from the stove) over the top cake layer, allow to drip down the sides. Sprinke the remaining candied walnut and hemp seeds over the top of the cake. Allow the cake to cool/set 30 minutes before slicing......if you can resist the wait! 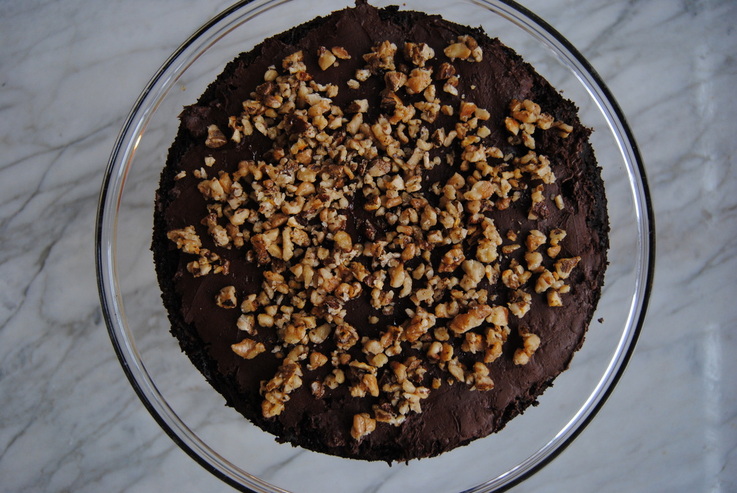 By now you've probably enticed all of your family, friends and neighboors with the rich, chocolately smell wafting from your kitchen. And by taste you would never know that this cake is 100% vegan (yes it's safe to lick spatula/bowls/spoons etc. as you work) and made with ingredients that not only taste good but provide nutritional benefit. So here's to a happy, healthy 29th year to Cecelia and a delicious start to our new endevour, The Green Blossom Kitchen. Please continue this journey with us! Love, Jess and Cecelia  |