|
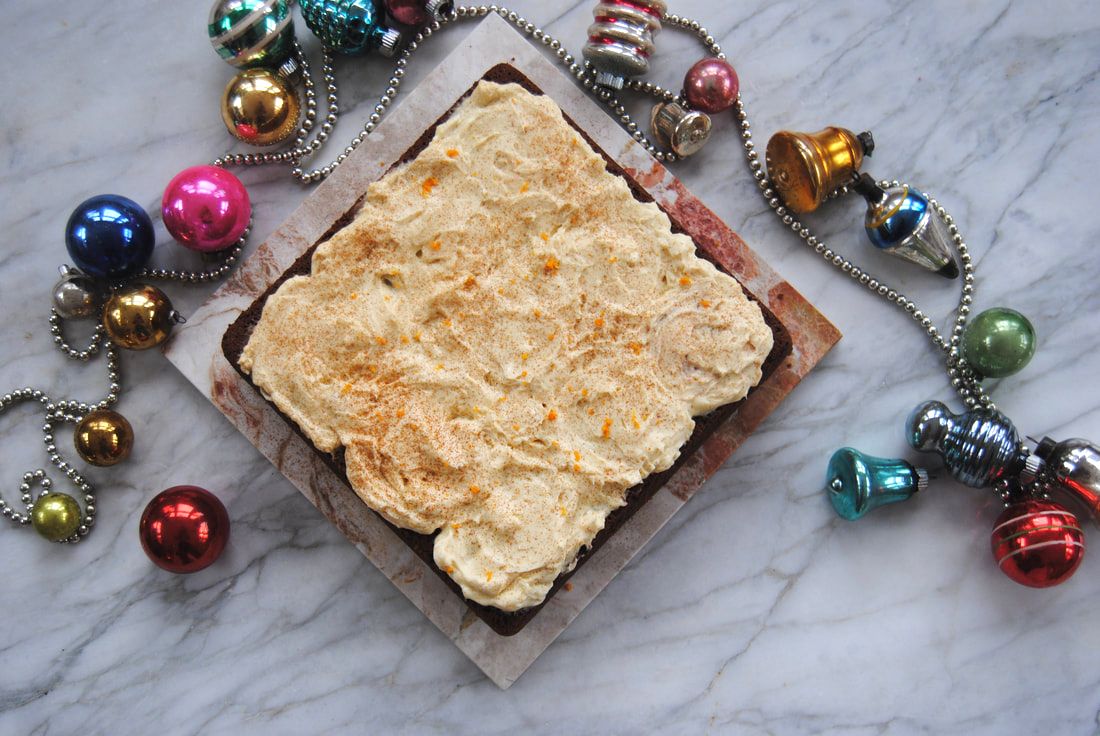
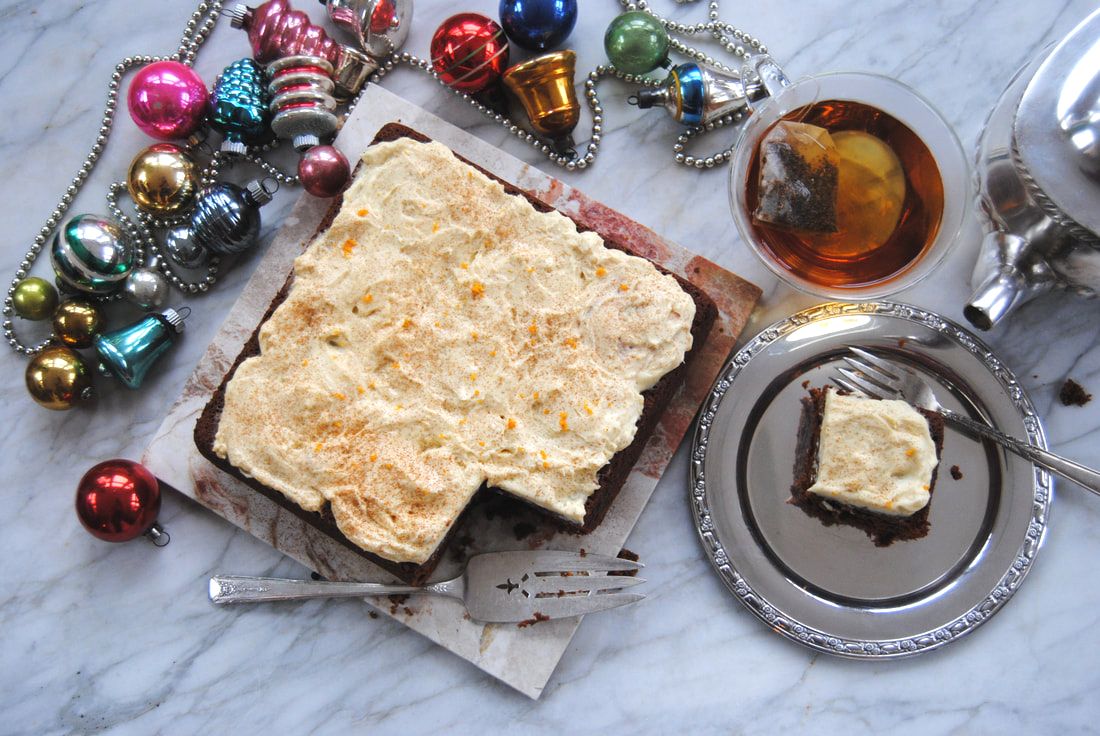
This cake has got it all (sugar, spice and everything nice!). For our holiday post this year we wanted to create a super special dessert (or sweet breakfast) recipe, and this spice cake was it! The combination of sweet, seasonal spices, and rich cream cheese frosting is a holiday worthy combination that will add to any of your holiday memories. We hope you enjoy this one with friends and family.
Holiday Spice Cake
PREP TIME: 25 minutes TOTAL TIME: 1 hour 35 minutes Servings: 9 Ingredients Cake 2 1/2 cups whole wheat flour 1 cup sugar 1/2 cup melted coconut oil + 1 additional Tbsp for pan 2 tsp baking soda 1/2 tsp salt 3 Tbsp ground cinnamon 1 Tbsp ground ginger 1 Tbsp cacao powder 2 tsp ground nutmeg 1/2 tsp ground cloves 1/2 tsp ground black pepper 2 Tbsp ground flax seeds mixed with 4 Tbsp warm water 8 oz full fat Greek yogurt 8 oz pumpkin puree 1/4 cup molasses Sweet Orange Frosting 8 oz full fat cream cheese, room temperature 2 Tbsp light maple syrup Zest of 1 medium orange Preheat oven to 350 degrees. Prepare a 9" square pan with a light coating of melted coconut oil on the bottom and each side of the pan to prevent the cake from sticking. In a small bowl, combine the ground flax seeds with water and whisk with a fork until combined. Allow mixture to sit until thick and gelatinous, about 5 minutes. In a large bowl, whisk together the dry ingredients including the flour, baking soda, salt, and spices and set aside. In a separate bowl, whisk the wet ingredients together including the flax eggs, melted coconut oil, greek yogurt, pumpkin puree, and molasses. Add the dry ingredients to the wet ingredients and mix until thoroughly combined. Pour batter into prepared pan and bake until a toothpick come out clean, about 45-50 minutes. Allow cake to cook at room temperature for at least 10 minutes before turning out onto a cake pan/platter. To make the frosting, combine the cream cheese, maple syrup, and orange zest in a standing mixer or a handheld mixer on medium speed until light and fluffy. Once the cake is cooled, evenly frost the cake, sprinkle with a light dusting of cinnamon, and cut into 9 servings. Enjoy a slice of spice cake with a warm cup of tea! You may store any leftover cake in an air tight container in the fridge for up to 5 days.
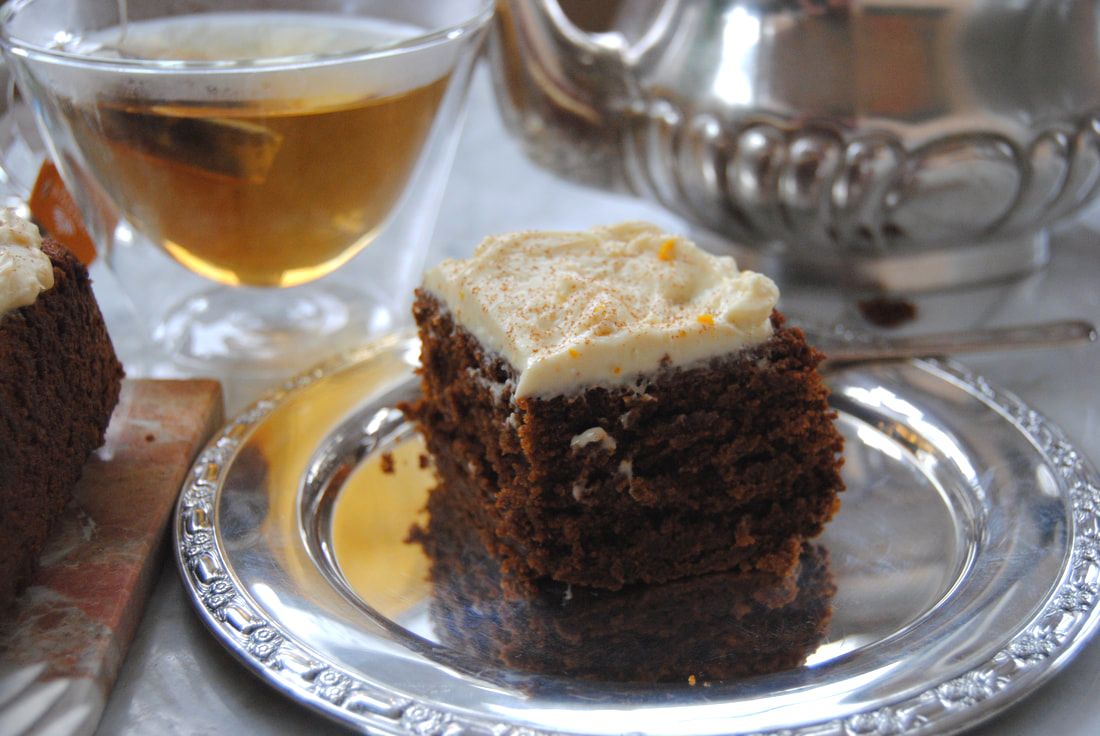
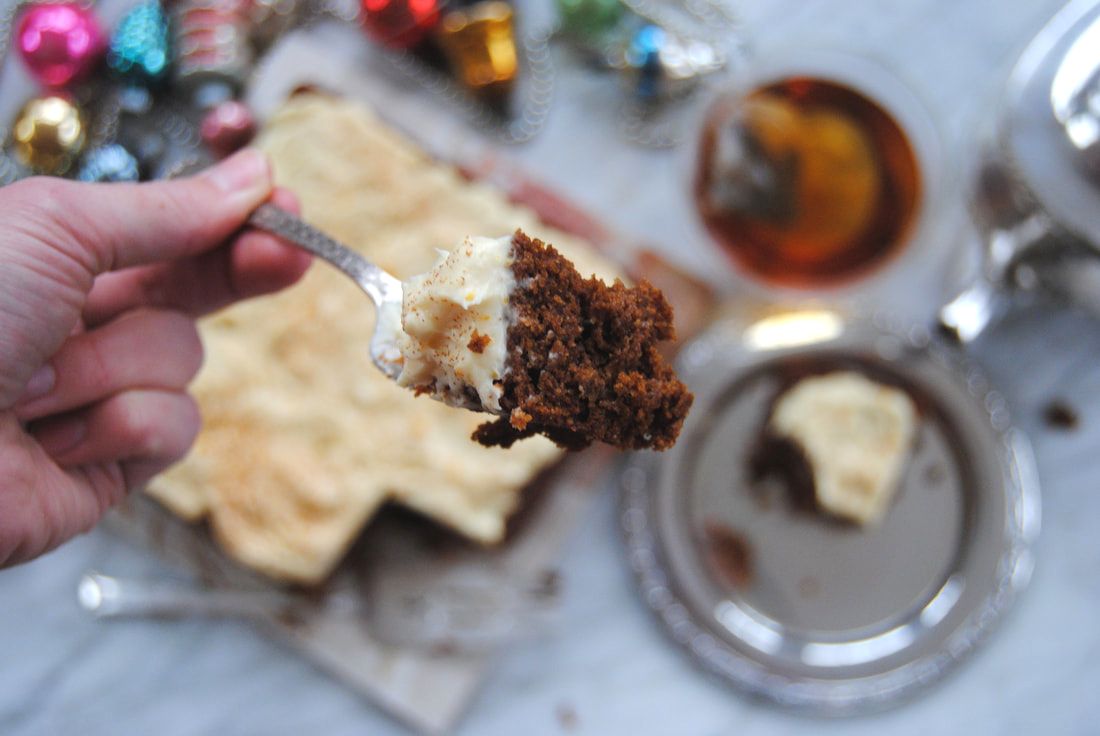
A bite of this cake is a perfect balance of sweet and spice topped off with a velvety and bright richness from the orange cream cheese frosting. Since we are both sweet breakfast lovers you can bet this this recipe is making it onto our Christmas brunch tables. Until the New Year, friends.
Happy Holidays, Jess and Cecelia
1 Comment
This recipe came about in a completely unexpected way. Jess is a pet Mom to a very special pup - an English Bulldog with a huge personality and unbelievable strength. To keep in shape (heavy, muscular build) her pup gets a daily assortment of homemade, whole food based treats. Just one of the perks of having a dietitian/foodie Momma! Jess makes her pup a cracker treat that inspired our recipe this week. Disclaimer: this is not dog food! This recipe is made specifically for humans and our unique needs. This recipe does contain grain but is gluten free. We also made our "human treats" a larger size appropriate for dipping into any assortment of toppings. So now that you know our so called family secret, let's get to this recipe!
Fruit & Seed Crackers (Gluten Free)
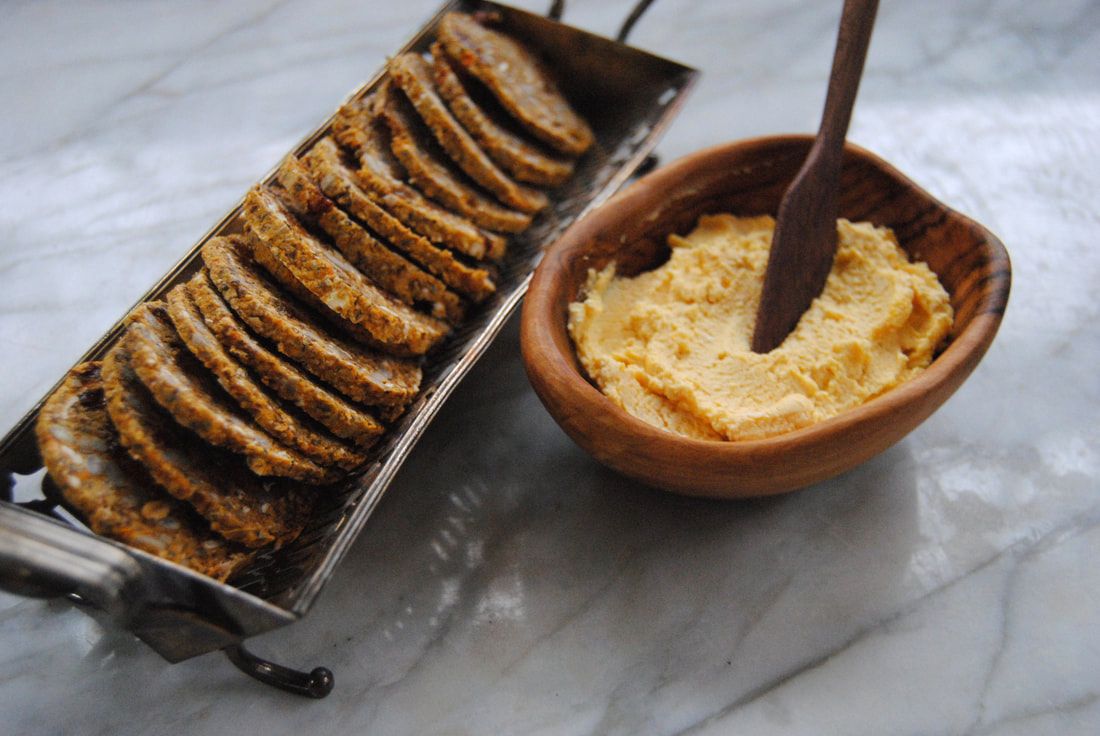
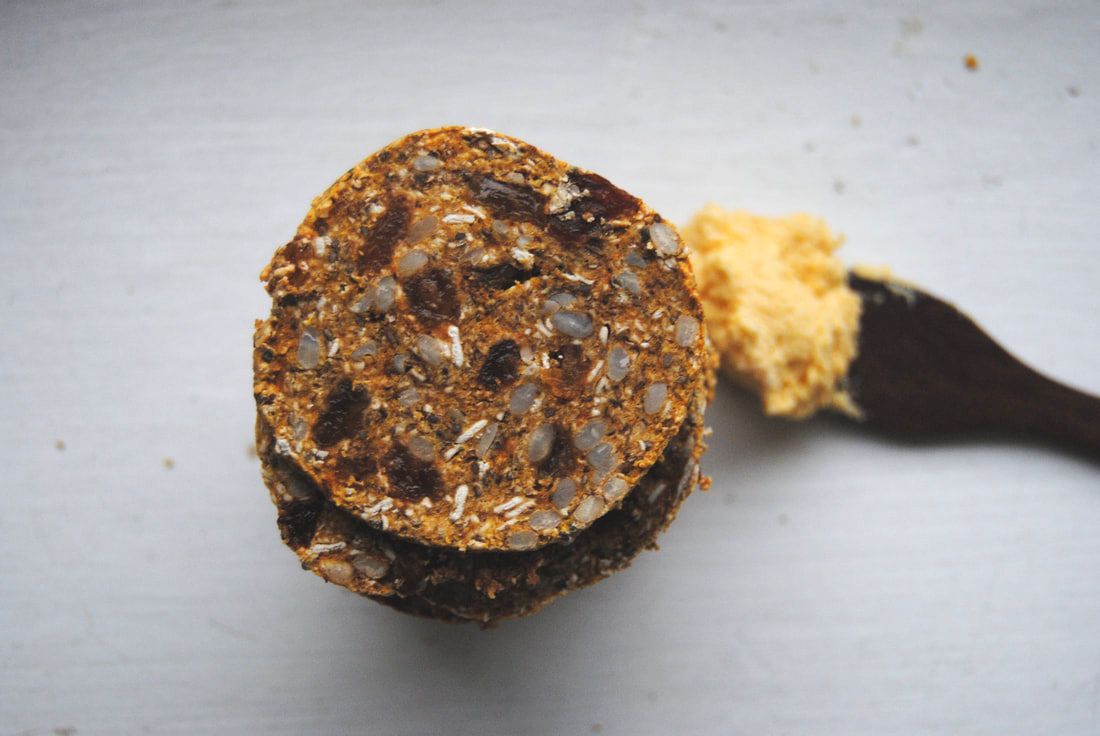
PREP TIME: 1 hour (includes ~50 min freezing time) TOTAL TIME: 2 hours Servings: ~ 20 crackers Ingredients Cracker 1 cup oat flour 1/2 cup sweet potato puree (pureed pumpkin would also work) 1/4 cup raw unsalted sunflower seeds 1/4 cup golden raisins 2 Tbsp ground flax seeds 2 Tbsp whole rolled oats 1 Tbsp chia seeds 2 Tbsp water Pumpkin Goat Cheese 2 oz plain goat cheese 2 Tbsp canned plain pumpkin puree 1/8 tsp sea salt In a large bowl combine all cracker ingredients and stir with a spoon until a cohesive dough is formed. Using slightly wet hands, roll dough into a cylinder about 8" long and 3" in diameter. Place dough cylinder on a sheet of parchment paper and set in the freezer until frozen, about 50 minutes or longer. The dough can be made a few days in advance. It is important to not skip this step as freezing the dough allows you to cut the crackers super thin. Preheat oven to 350 degrees and place parchment paper on a large baking sheet. Once the dough is frozen, let sit at room temperature for about 10 minutes. Then use a sharp knife to cut crackers into thin pieces; the thinner the crackers, the quicker they will cook. If the dough is frozen solid, you will not be able to cut through the dough. If this is the case, allow the dough to thaw out for a few more minutes. Once all crackers have been cut, place in a single layer on the prepared pan and bake for 15 minutes - flip crackers at the halfway mark. Turn oven off and allow crackers to cool down with the oven. This step helps make the crackers extra crunchy. Meanwhile, combine pumpkin goat cheese ingredients in a small bowl and mix well. Dip and enjoy! Crackers will store in an airtight container for up to 2 weeks.
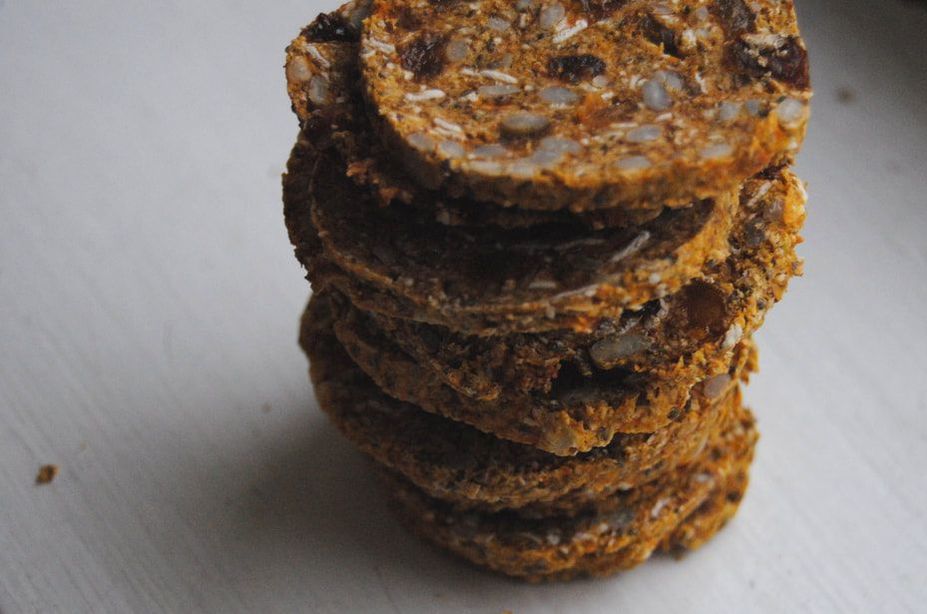
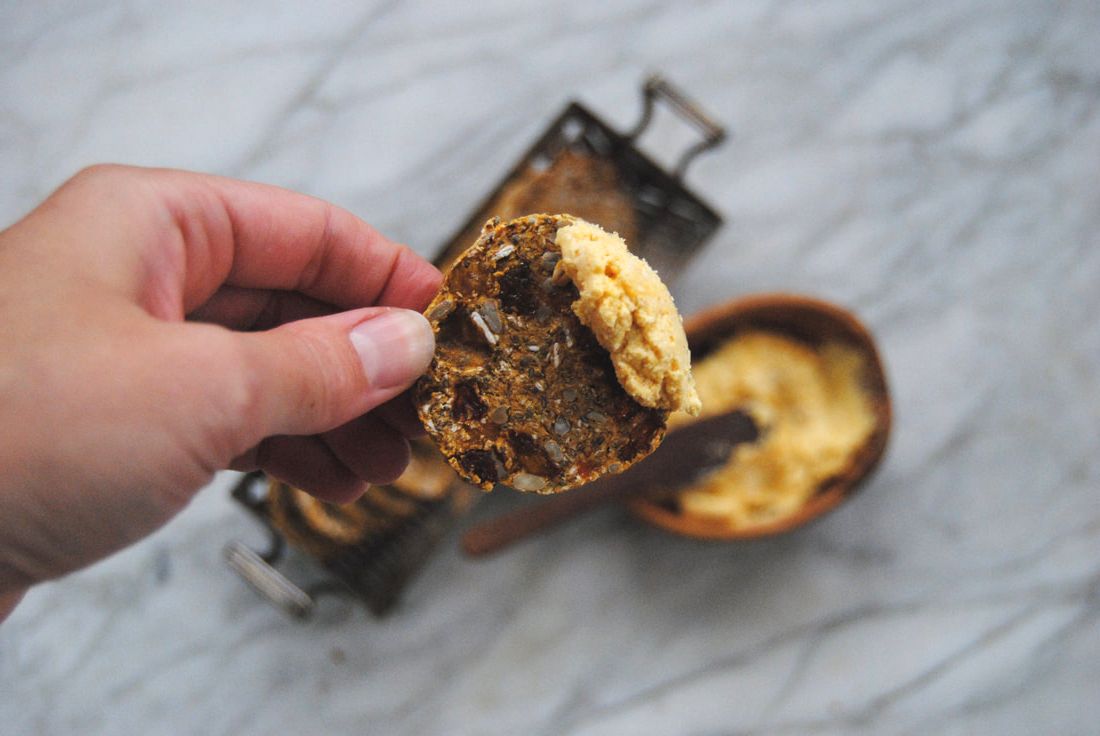
As expected, this cracker is oh so unique. Crunchy, as a cracker should be, but dense and chewy from the added whole food ingredients. The flavor is mild and nutty with pops of sweetness - a perfect vehicle for your favorite seasonal dip or toppings. We paired with a pumpkin goat cheese for added color and creamy richness. Finally a cracker that looks AND feels good! Now you, and Jess's sweet pup, can enjoy this nutrient packed snack cracker with all its nut, seed, and fruity goodness.
Enjoy, Jess and Cecelia
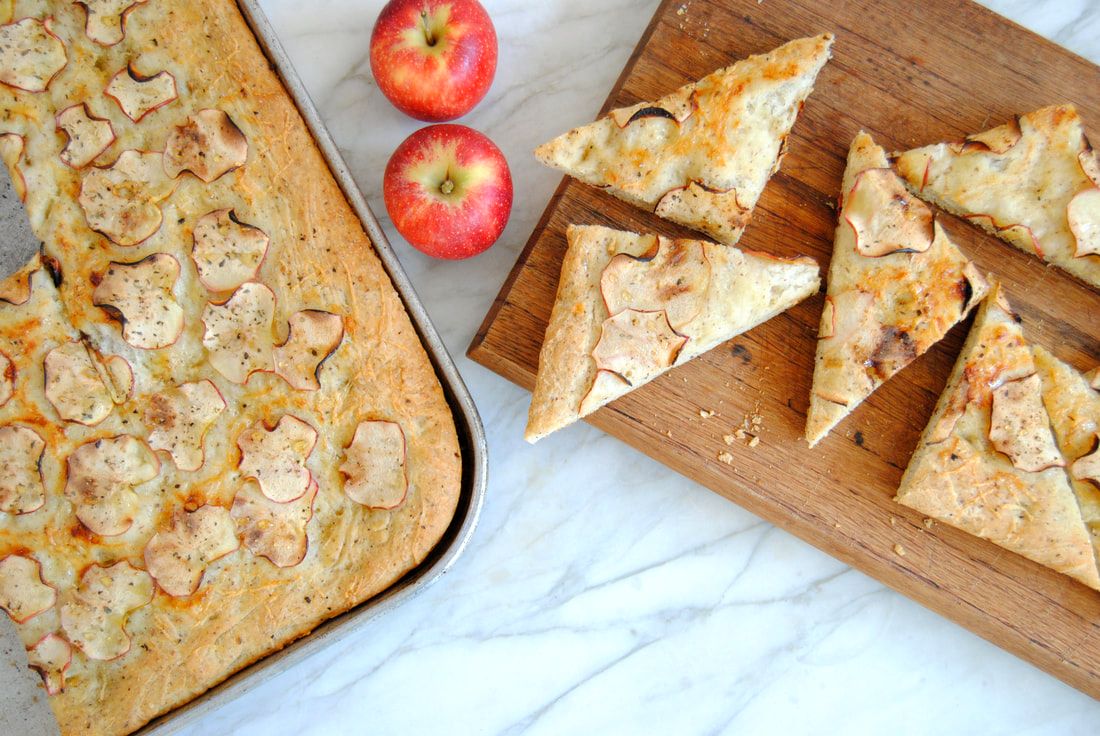
You can totally make this bread! We find that many people are hesitant to try yeast breads, and if that sounds familiar, focaccia bread is for you. The preparation is fairly simple and doesn't require complex kneading, rolling, or shaping. The final outcome is super impressive and delicious, and the variations are endless. Plain focaccia is a great accompaniment to a meal, whereas flavored (like this recipe) can be the meal (or most of it). Focaccia can be sliced and used as panini bread or as a base for Sicilian style pizza. If there is one bread you master how to make - this is it!
Apple & Cheddar Focaccia Bread
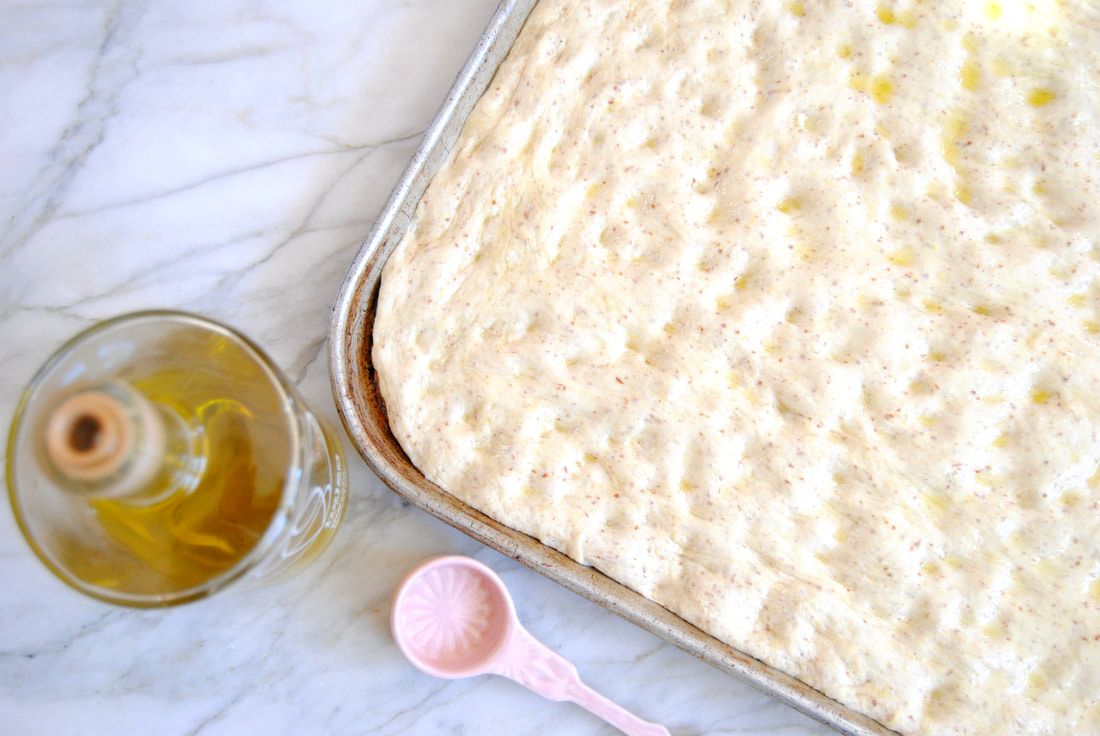
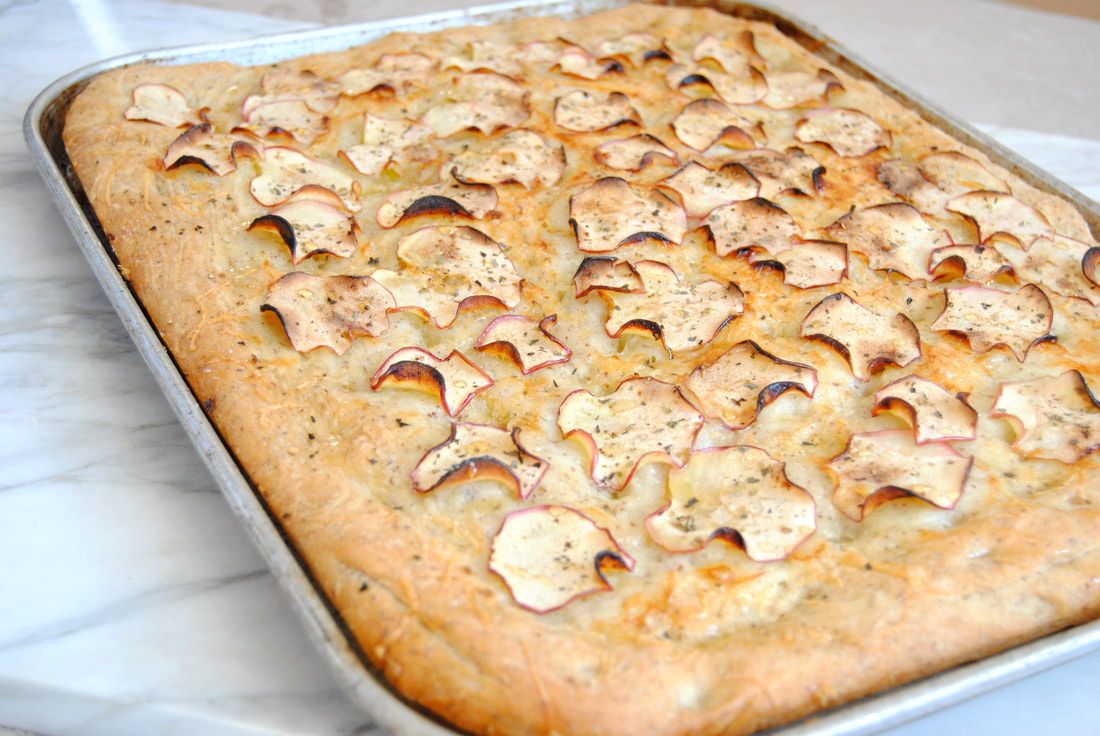
PREP TIME: 3 hours 30 minutes TOTAL TIME: 4 hours Servings: ~24 slices (21" X 15" sheet pan) Ingredients 2 cups warm water (105 degrees- 115 degrees) 2 tsp dry yeast 3 3/4 cups unbleached white flour 1/2 cup semolina flour 1/4 cup ground flax seeds 2 tsp fine salt 3 Tbsp olive oil + 1 tsp to oil bowl 3 oz grated sharp cheddar cheese 3 small or 2 medium apples, sliced into thin slices 1/4 tsp salt 1/4 tsp cracked black pepper 1 tsp dried oregano In a large bowl combine 2 cups warm water with dry yeast and stir to combine. Allow mixture to sit for 10 minutes, or until yeast has fully dissolved. Add flour, semolina flour, and ground flax seeds to the water and yeast mixture then mix until fully combined (the dough will be somewhat sticky). On a clean and well-floured surface, knead dough until a smooth ball is formed, about 8-10 minutes. If dough is sticky as you are kneading, add 1 Tbsp of flour at a time as needed. Place dough into lightly oiled bowl and cover with plastic wrap. Allow dough to rise at room temperate for 1 1/2 hours, or until doubled in size. Punch down the dough, then knead on a well-floured surface. Return dough to the bowl, cover with plastic wrap, and allow to rise for an additional 45 minutes or until doubled in size. Preheat oven to 425 degrees. Coat a sheet pan with 1 Tbsp olive oil then punch dough down for a second time. Place dough onto your prepared pan and using your fingertips, lightly spread dough out until it fills about 3/4 of the pan. Allow dough to rest for 10 minutes then continue spreading dough with your fingertips until it hits all four edges of the pan. Drizzle remaining 2 Tbsp olive oil over the top of the dough then sprinkle evenly with shredded cheese, thin slices of apples, salt, pepper, and oregano. Allow dough to rise at room temperature for about 20-25 minutes. Place in preheated oven and cook for 25-30 minutes or until bread is golden brown. Remove from the oven, slice into desired shape (squares or triangles) and serve warm or at room temperature. Enjoy!
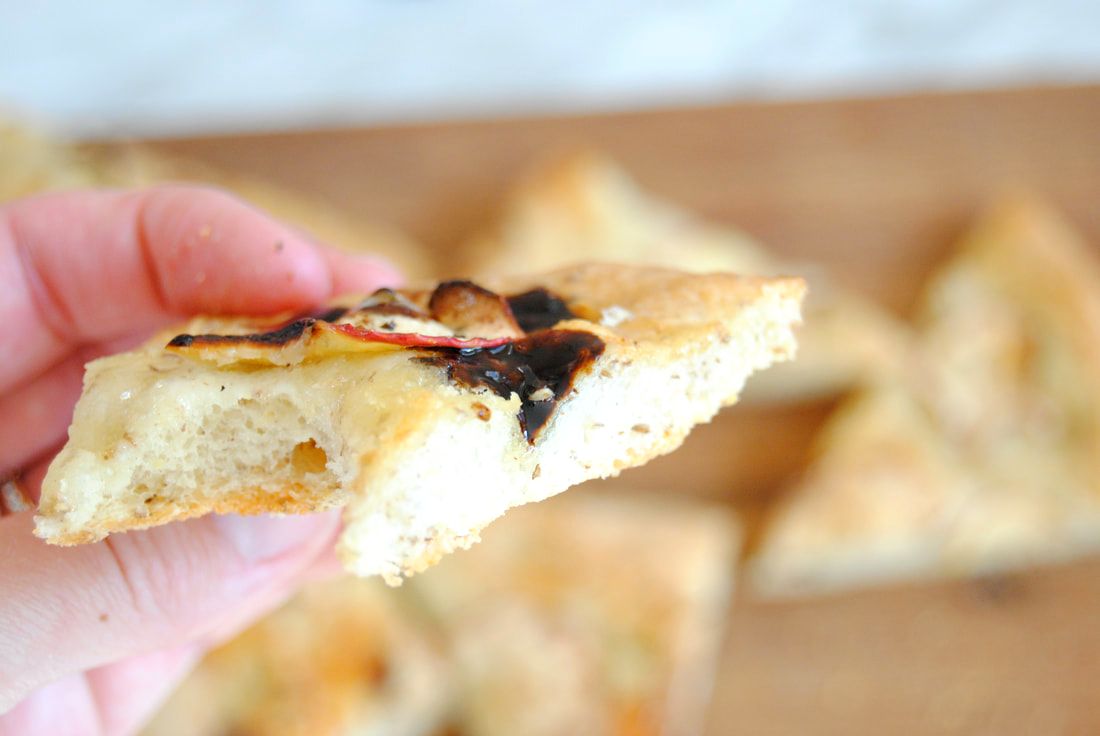
Were we right, or what? This bread is so light and airy but super rich and decant from the generous olive oil with a perfectly crunchy outer crust. We love this fall variation with apples and cheddar but can't wait to try many more. Share your favorite creations, please!
Enjoy, Jess and Cecelia
In our Pantry:
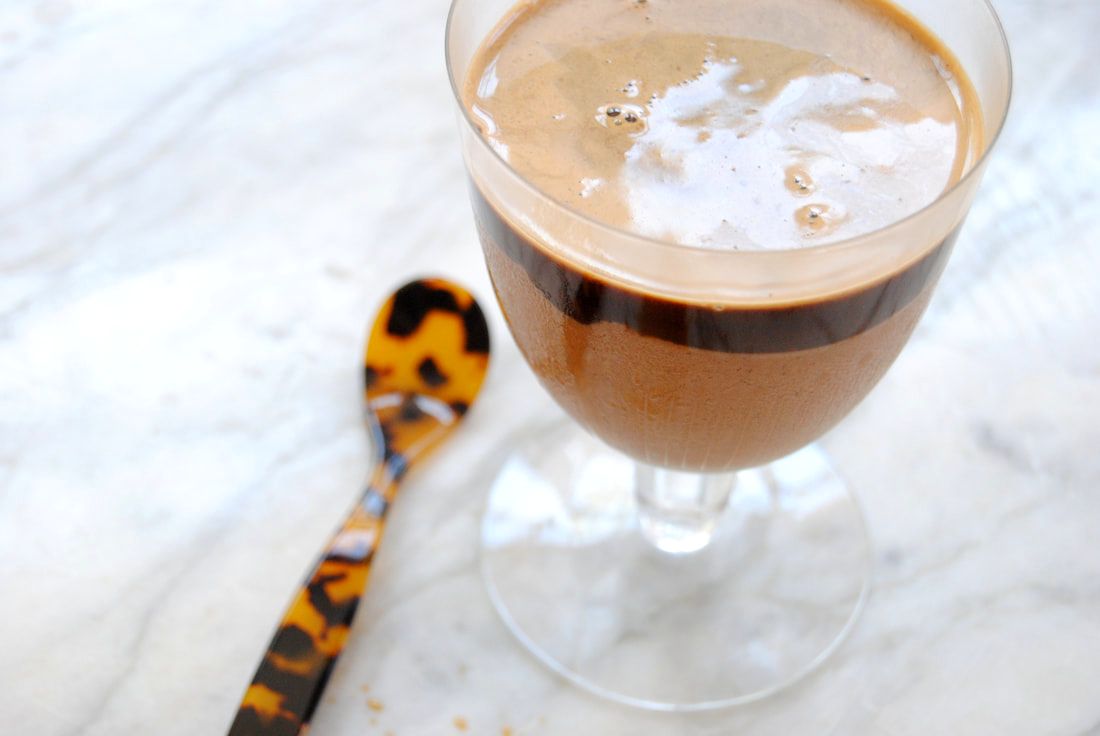
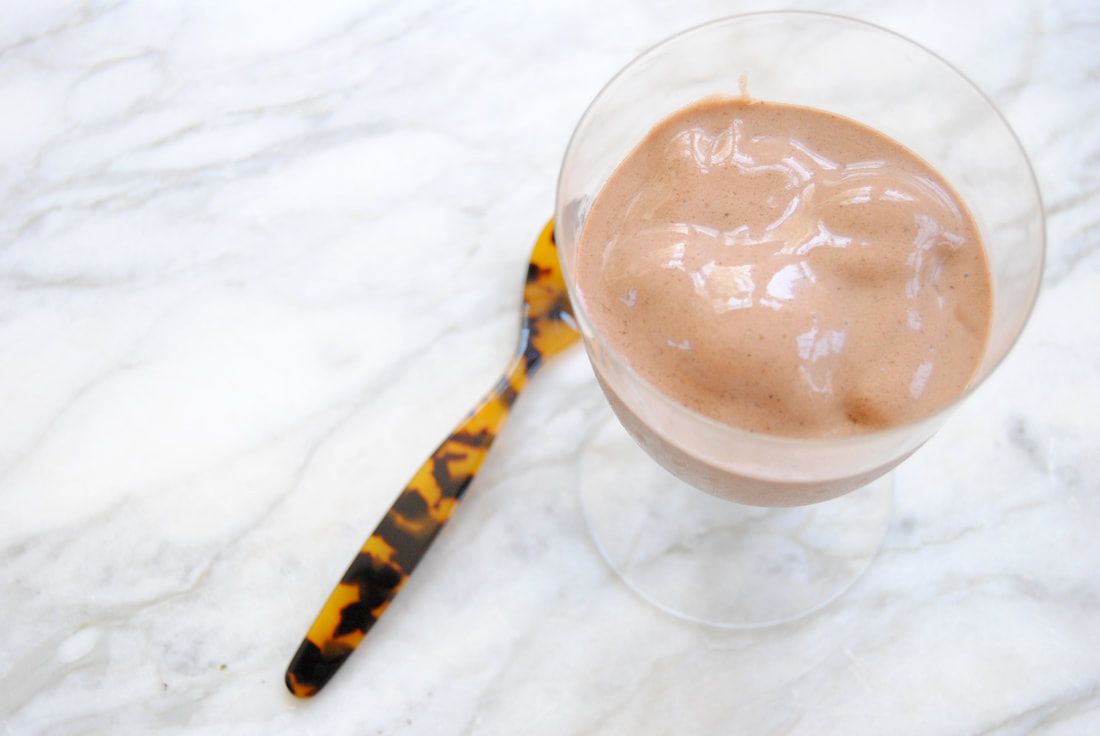
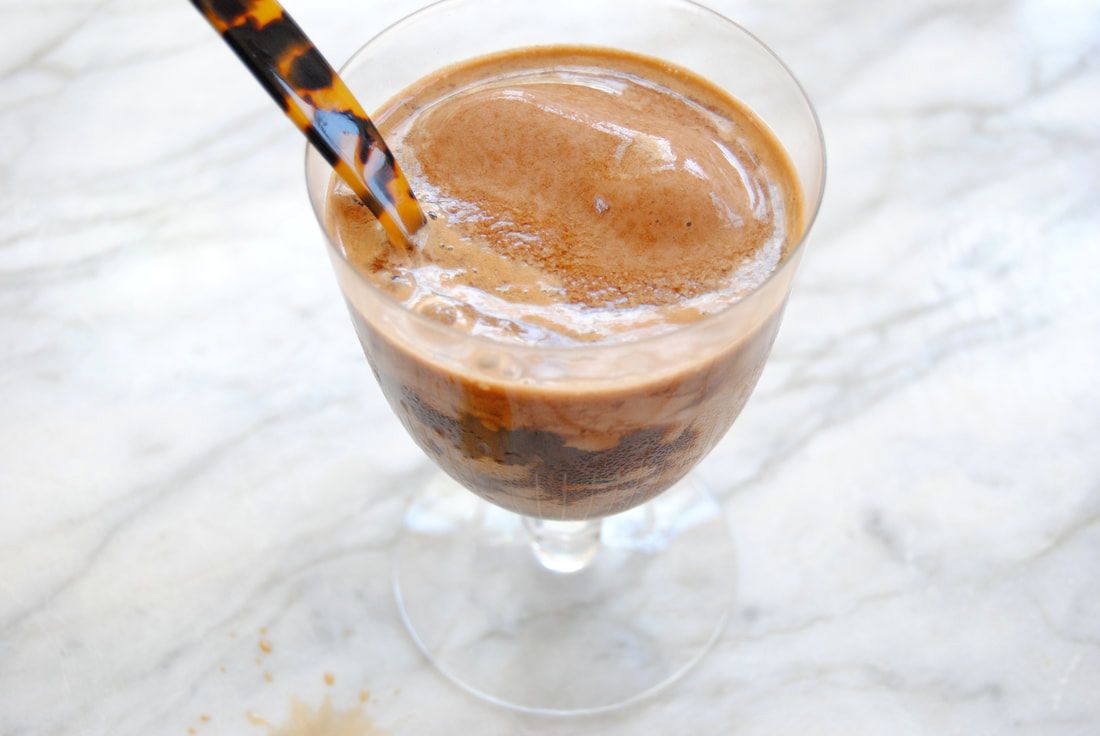
While Cecelia's sister enjoyed her honeymoon in Italy this summer, we were inspired to hit the kitchen and recreate one of our favorite Italian desserts. Affogato is a coffee based dessert created by "drowning" gelato in espresso, so really, what could be better? We wanted to make a bit more nutritious version of "gelato" to have an excuse to enjoy this treat often this summer. So we made ours dairy free, naturally sweetened with fruit sugar, and with added protein and superfoods. The final outcome is even better than we imagined, join us!
Chocolate Banana Affogato
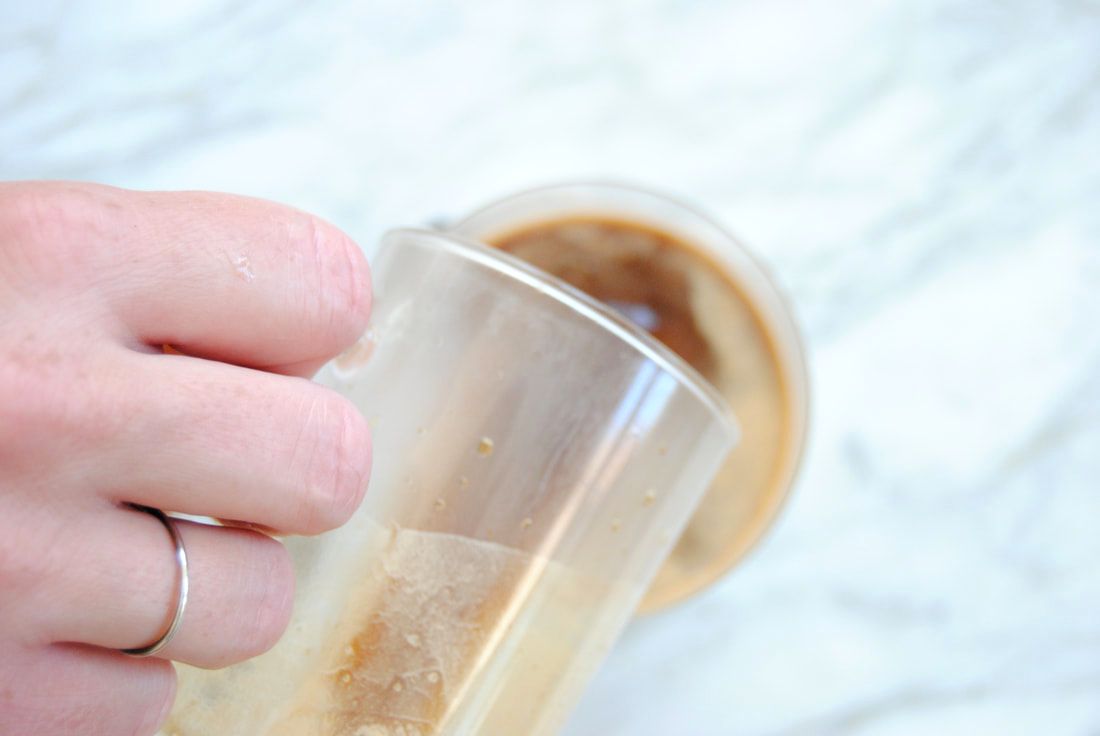
PREP TIME: 5 minutes TOTAL TIME: 10 minutes Servings: 1 Ingredients: Dairy Free "Gelato" 1 frozen banana, peeled 1/3 cup unsweetened vanilla soy milk (or milk alternative of your choice) 4, 1 oz ice cubes 1 Tbsp almond butter 1 Tbsp cacao powder 2 tsp maca powder 1 shot of espresso* (reserved to top "gelato") To make the banana "gelato", combine peeled frozen banana, soy milk, ice cubes, almond butter, cacao powder, and maca powder in a high speed blender and blend on high until mixture is smooth and creamy. You should be able to scoop the "gelato" with a spoon, it should not be liquid. Add banana "gelato" to a glass then pour a warm shot of espresso over the top and enjoy! *If you do no have an espresso machine, we suggest making double strength coffee and pouring 1 oz of warm coffee concentrate over the top.
If you've never experienced affogato, you're in for a treat. And even if you have, our version is sure to impress. Naturally sweetened by banana, this frozen and caffeine added treat is perfect for a hot and lazy summer day. Once you've had affogato, plain espresso or gelato will just never be the same again, so put them together!
Enjoy, Jess and Cecelia
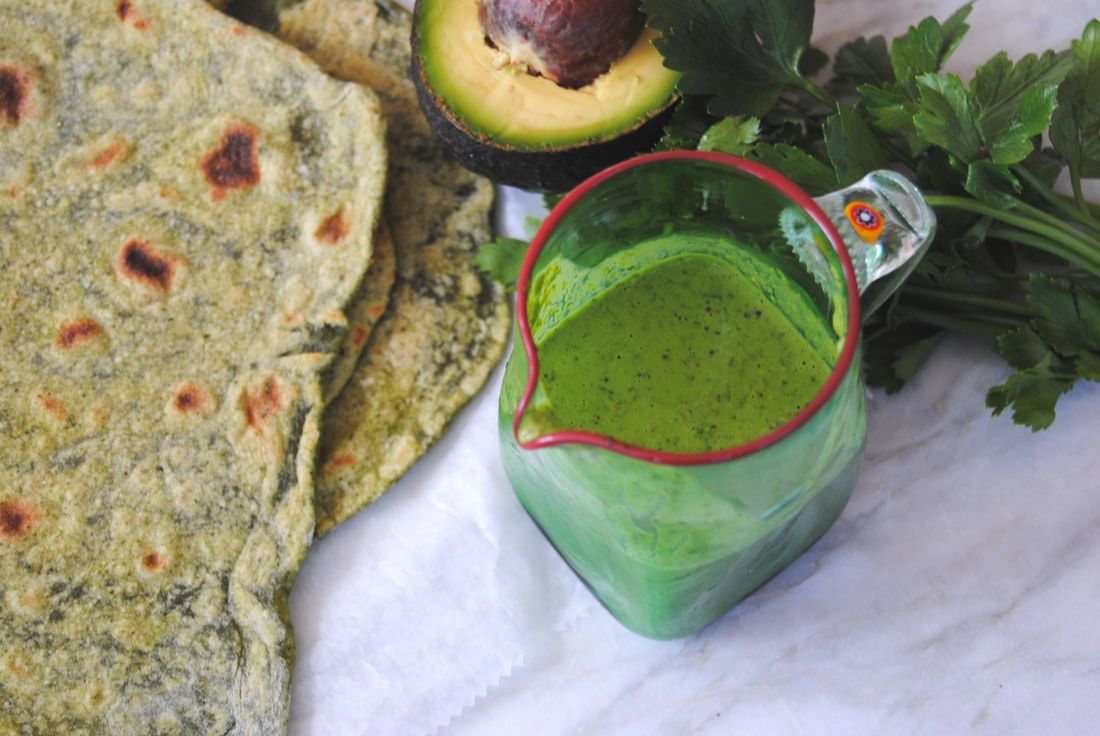
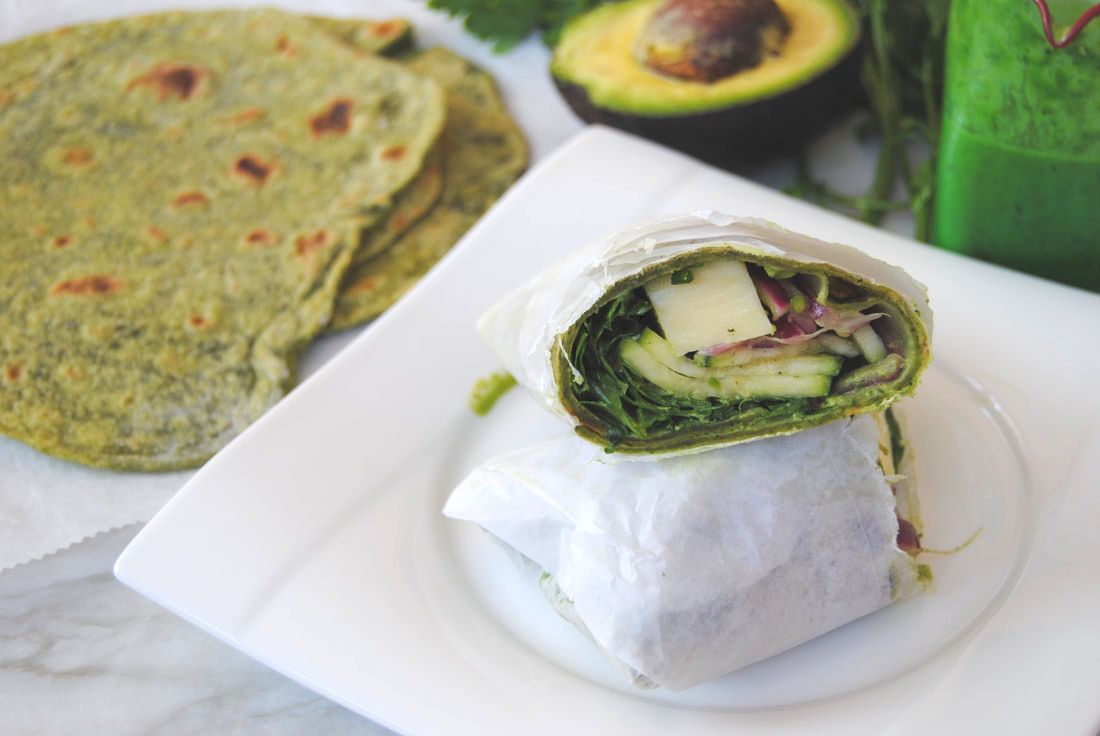
By the look of things, we're sure your wondering what we've gotten ourselves into this week. Definitely more than we bargained for! Inspired by Green Goddess dressing and all the abundant green produce this time of year, we've created a recipe using all things green. Though there are many steps to the recipe, the results are worth the effort - with several recipes combined into one, you'll have multiple homemade tortillas, a jar of fresh dressing, and ingredients for several wraps when you're done. Just take it step by step to create one (or all!) of these super green recipes with us.
Super Green Veggie Goddess Wrap
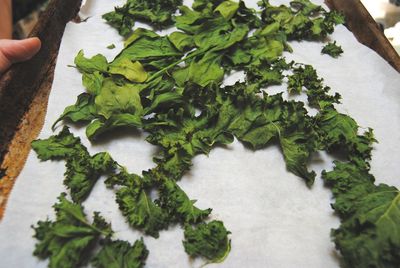
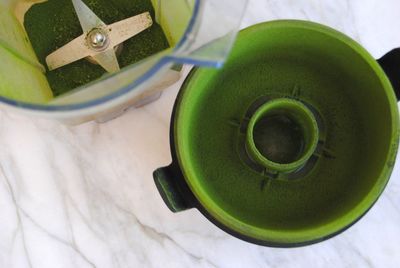
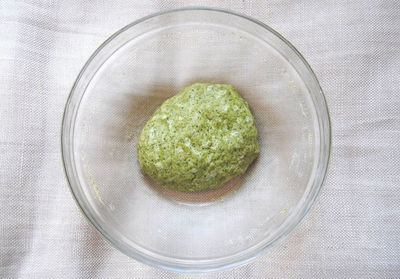
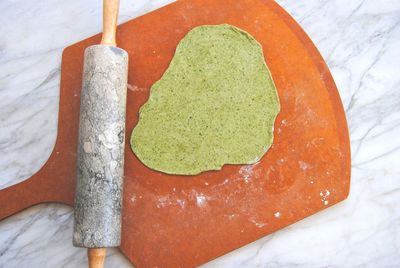
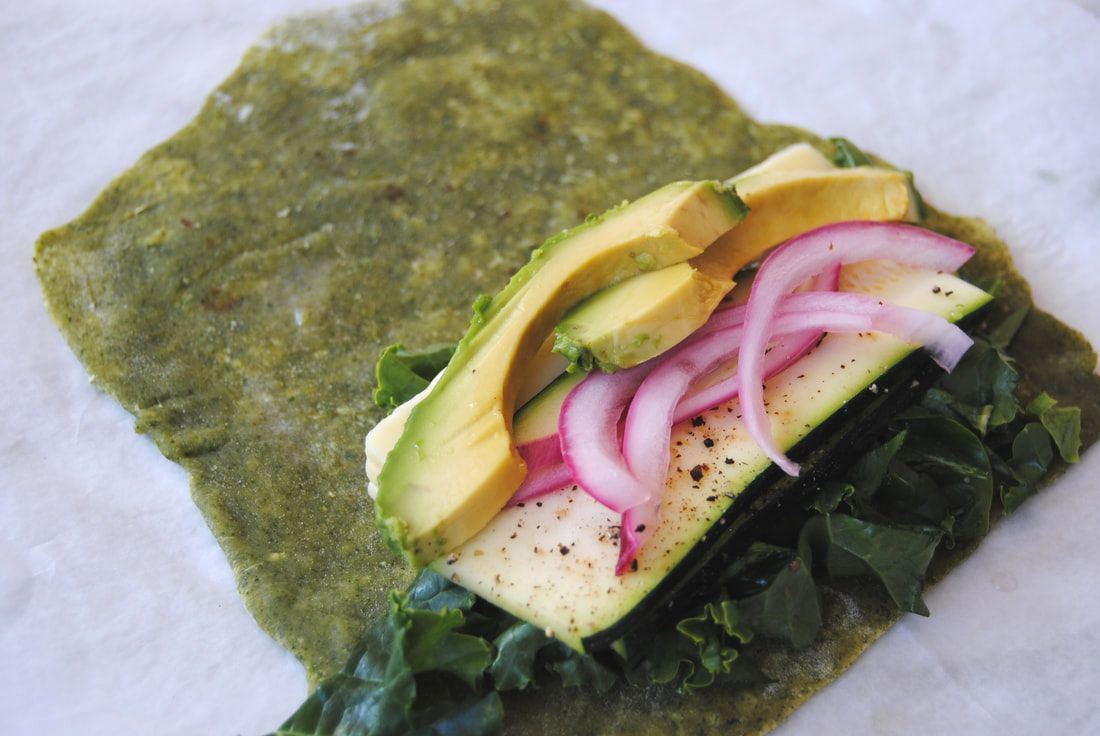
PREP TIME: 45 minutes (+ 4 hours to let yufka dough rest) TOTAL TIME: 60 minutes (+ 4 hours to let yufka dough rest) Servings: 6 wraps Ingredients: Green Yufka Dough/Flour Tortilla (Adapted from Soframiz by Ana Sortun & Maura Kilpatrick) 1 1/3 cup whole wheat flour, plus more for dusting 1/3 cup powdered spinach or kale (instructions below) 1 tsp sea salt 2/3 cup warm water 2 Tbsp extra virgin olive oil Quick Pickled Red Onion 1 medium red onion, peeled and sliced thin 1/4 cup apple cider vinegar 3 Tbsp water 3/4 tsp salt Filling 6 oz Havarti cheese, cut into 1 oz servings 1 1/2 cup messaged kale (+ 1 Tbsp olive oil and 1/4 tsp sea salt) 2 small zucchini, cut into thin slices and sprinkled with salt and pepper 1 large avocado, cut into 6 slices Egg-Free Green Goddess Dressing 1/2 cup Greek or Icelandic yogurt 2 Tbsp olive oil 1 Tbsp lemon juice 1 cup fresh basil leaves 1/2 cup fresh parsley leaves 2 Tbsp fresh tarragon, chopped 2 cloves garlic, chopped 1 tsp Dijon mustard 1/8 tsp sea salt Step 1 (powdered greens): To make powdered greens, preheat oven to 200 degrees. Fill a baking sheet with raw spinach or kale and cook for 12-15 minutes flipping greens once halfway through the cooking process until lightly curled on the edges and crunchy. We allowed the greens to cool with the oven off and the door open to make sure all of the greens were fully dried out without over cooking and burning the greens. Once cooled, place in a zip lock bag and smash until you have a very fine powder. Remove any large stems from the bag and store in an air tight container. Step 2 (yufka dough): To make the yufka dough mix the whole wheat flour, powdered greens, and salt together in a large bowl, then make a well in the center. Pour the warm water and olive oil in the center of the well and use your hand to combine the wet and dry ingredients until a soft dough is formed. Lightly dust a clean work surface with flour and knead dough for 2-3 minutes or until the dough ball is smooth and elastic. Place the dough back in a bowl with a little olive oil to coat to prevent the dough from sticking to the bowl. Cover with plastic wrap and allow to sit at room temperature for 4 hours or overnight. This dough can be made a day in advance and stored in the fridge after a minimum of 4 hours sitting at room temperature. If stored in the fridge, remove the dough and allow to come to room temperature for 30 minutes. Cut the dough ball in half and divide each half into 3 equal pieces for a total of 6 small ~2 ounce dough balls. Dust a clean work surface with flour and roll each dough ball out as thin as possible, about 8-9" round. Use a seasoned cast iron pan or a non-stick pan set to medium heat to cook the yufka on one side until bubbles start to form and the bottom is slightly browned, ~2 minutes. Remove from the pan after the one side has been cooked and place on a plate or sheet pan with a layer of parchment paper on top. You only want to partially cook the yufka dough at this point. Over cooking or cooking both sides can make the yufka too crunchy and hard to work with. Continue to cook each yufka and continue to stack on top of one another with a piece of parchment paper in between each layer. The heat and steam of the cooked yufka will help to keep the wraps soft and pliable as they sit on top of each other. Once cooled to room temperature store cooked yufka in a large plastic bag, sealed. Step 3 (pickled onion): Place sliced onion, apple cider vinegar, water,and salt in a bowl and toss to coat. Allow onions to marinate in the brine for at least 15 minutes or longer. Step 4 (messaged kale): Wash and de-stem, and chop the kale. Combine in a bowl with olive oil and sea salt. Use your hands to lightly message the kale until leaves are dark green and wilted. Step 5 (green goddess dressing): Combine all dressing ingredients in a blender or food processor and mix on high until fully combined. Store dressing in an air tight container. Step 6 (the wrap): Place one wrap on your work surface. Towards the bottom of the wrap (see picture below) add 1/4 cup messaged kale, 2 thin slices of zucchini, 1 slice of avocado, and 1 oz of Havarti cheese. Drizzle with goddess dressing then tightly roll the wrap up. Repeat until all 6 wraps are made. If you do not intend to serve all the wraps right away, keep all ingredients separate and roll each wrap as needed.
There is just so much to love here. The yufka dough is a hearty, pliable tortilla perfect for any wrap and made even more delicious (and nutritious) with a hint of powdered greens. The pickled onion provides a pop of color, flavor, and texture. Fresh greens brighten this wrap and avocado and Havarti add a savory richness. But the true star here is that dressing! We opted for an egg-free Green Goddess variation and focused on a blend of delicious herbs perfectly highlighted with fresh Dijon mustard. We hope you have a super good and green time with this one!
Enjoy, Jess and Cecelia
In our Cupboard:
We like a rolling pin with a smooth surface and heavy weight similar to this:
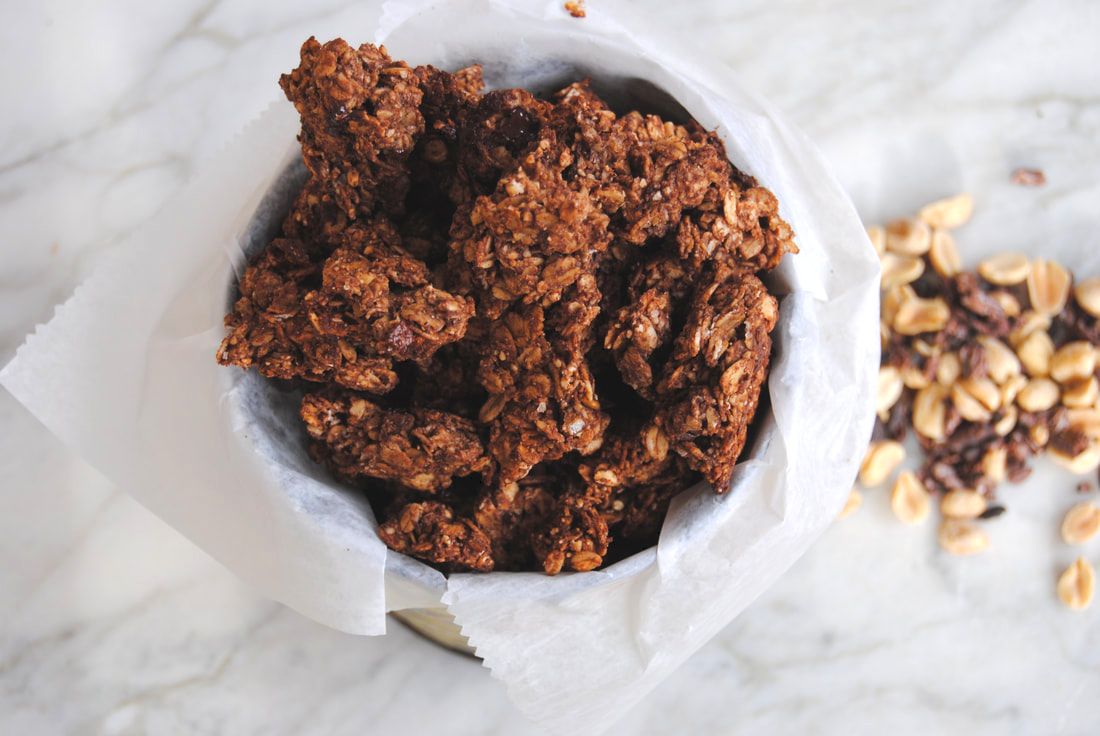
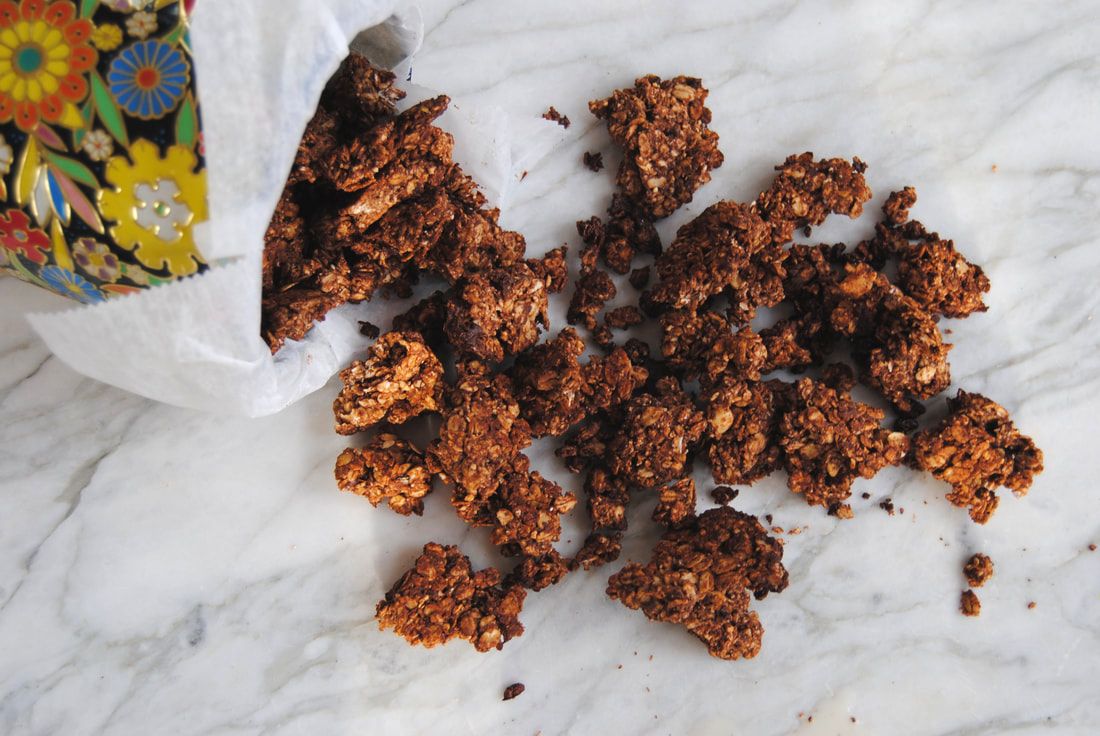
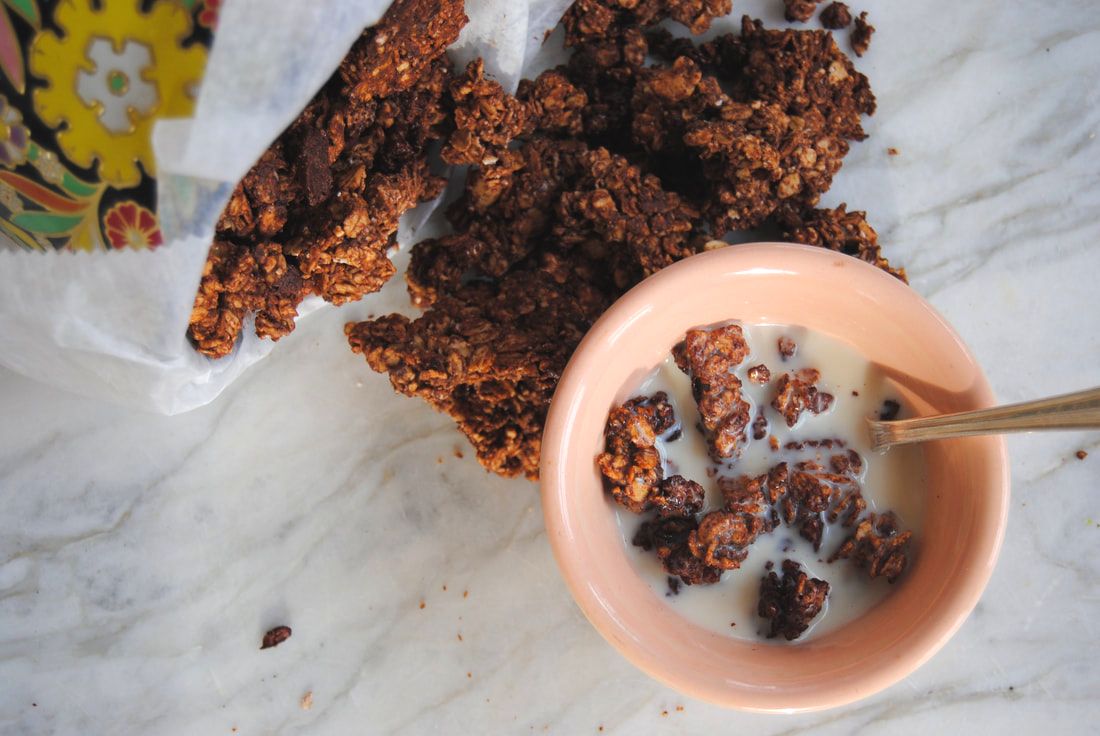
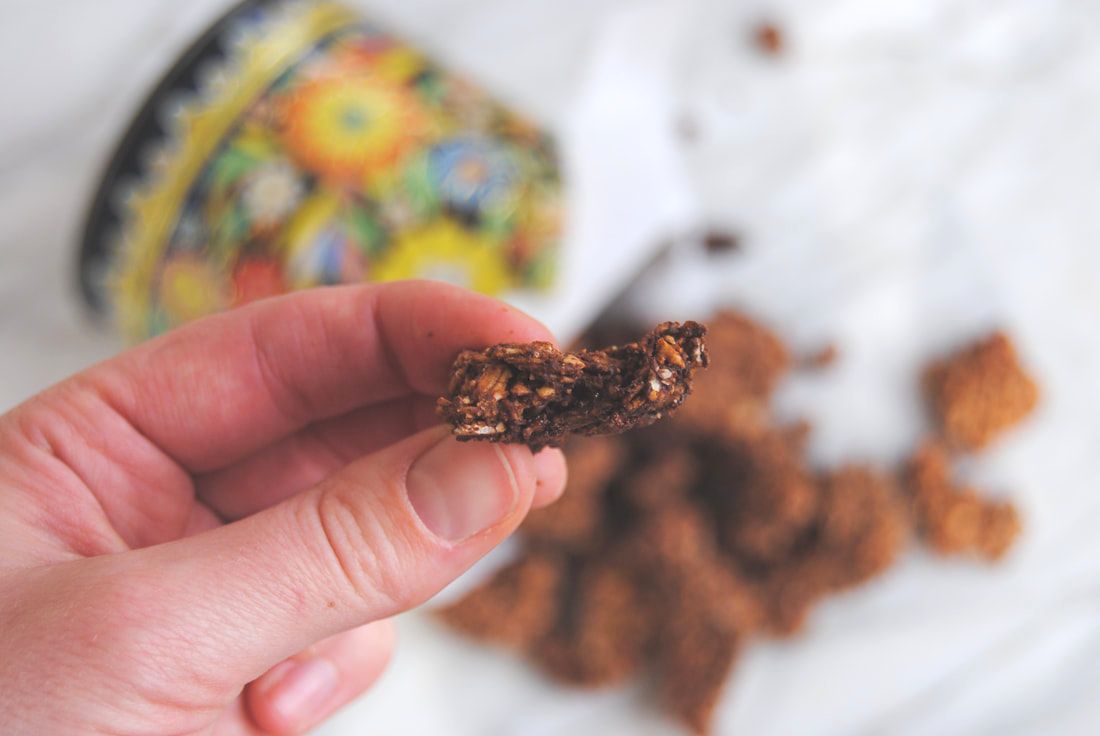
We have a treat of a recipe for you this week, friends! Inspired by a classic flavor combination, peanut butter and banana, we've made a granola sweetened mostly with natural sugar from banana (with a hint of maple syrup). Because we love the health benefit of the core granola ingredients, oats and nuts, but often find granola to be overly sweet with too much added sugar to be eating as an everyday snack or topping. But not this recipe! Though it does include some dark chocolate, feel free to use any percentage dark chocolate to adjust sweetness/sugar level to your liking (the higher percent dark chocolate the less sweet it will be). Let's get to it!
Banana Peanut Butter Chocolate Chunk Granola
PREP TIME: 20 mins TOTAL TIME: 60 mins Servings: 9-12, 1/2 cup servings Ingredients 4 cups old fashioned rolled oats 1 cup powdered peanuts (super finely crushed roasted unsalted peanuts) 1/4 cup oat bran 1/4 cup cacao powder 1/8 cup ground flax meal 1/2 tsp sea salt 1/2 cup creamy peanut butter (natural peanut butter without added sugar or oil) 1/4 cup pure maple syrup 2 small roasted bananas (~1/2 cup cooked banana) 1/4 cup water 1/2 cup chopped dark chocolate (65% cacao or higher) 1/2 cup cacao nibs Preheat the oven to 350°. In a small pan, roast bananas in preheated oven in their skin for 12 minutes or until banana skin is dark brown and bananas have started to seep. Remove bananas from the oven and allow to cool. Once cool, squeeze bananas out of their skin and into a sauce pan for later use. Line a large baking sheet with parchment paper then set aside. In a large bowl, mix together the oats, powdered peanuts, oat bran, cacao powder, flax meal, and salt. In a sauce pan with the bananas, combine the peanut butter, maple syrup, and vanilla. Turn burner on to medium heat and whisk until the peanut butter has melted and all ingredients are combined. Pour warm peanut butter banana mixture over dry ingredients and stir until evenly coated. Add 1/4 cup water over the granola and stir to combine. Evenly spread mixture onto parchment lined pan then sprinkle the top with cacao nibs and chopped chocolate. Bake for 30 minutes or until granola is golden brown. Let sit until cooled. Use a large spoon to break granola into large chunks. Place granola back into the oven and continue cooking for an additional 7-10 minutes. Make sure to stir granola at least once while it is cooking. Allow granola to completely cool before storing in air tight container. Adding granola to the container before it has completely cooled will add moisture and soften the granola.
We love this granola as cereal with milk of choice, a handful dry as a snack, or as a topping for yogurt or ice cream - though feel free to enjoy any way you like! The flavor is classic peanut butter banana with a subtle toasted flavor and just the right amount of sweetness.
Enjoy, Jess and Cecelia
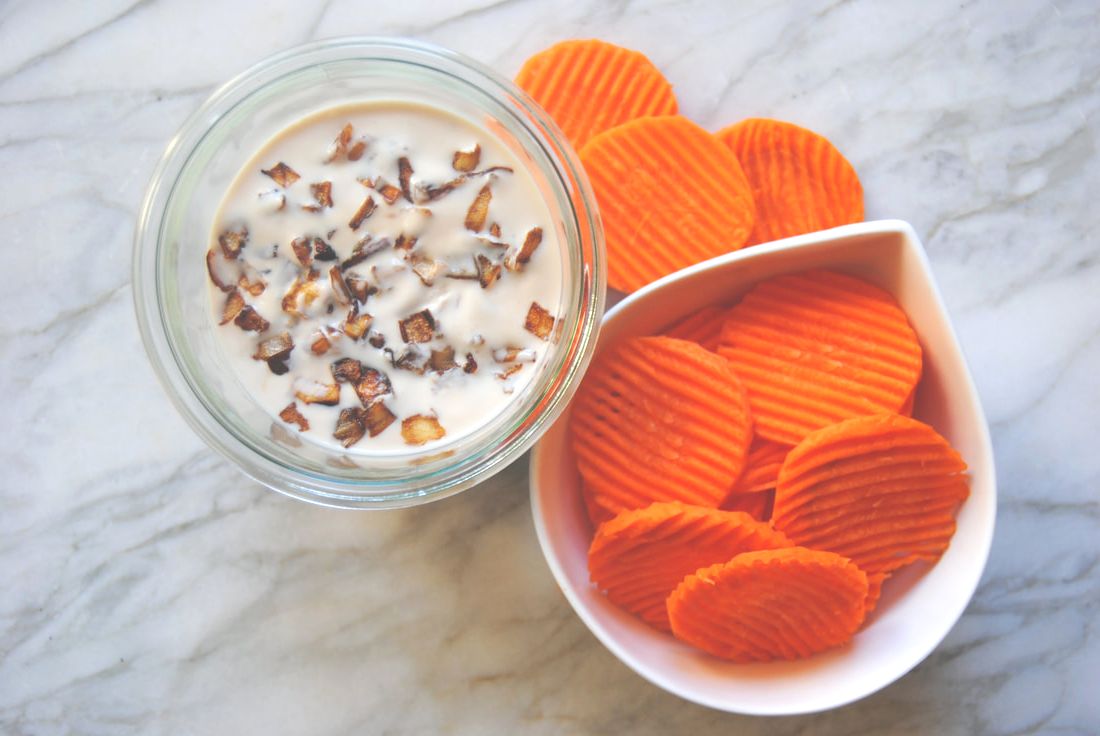
As the weather gets warmer (finally!) we naturally start to transition our eating habits from a few larger meals to more frequent, smaller snacks. A good dip is perfect for this "snacky" eating style and perfect for Spring entertaining. A complaint that we have when purchasing pre-made dips is the lack of decent vegan options. For this we had to go with homemade, and worked to perfect a recipe for a vegan alternative to the traditional caramelized onion dip. We hope you love this one as much as we do!
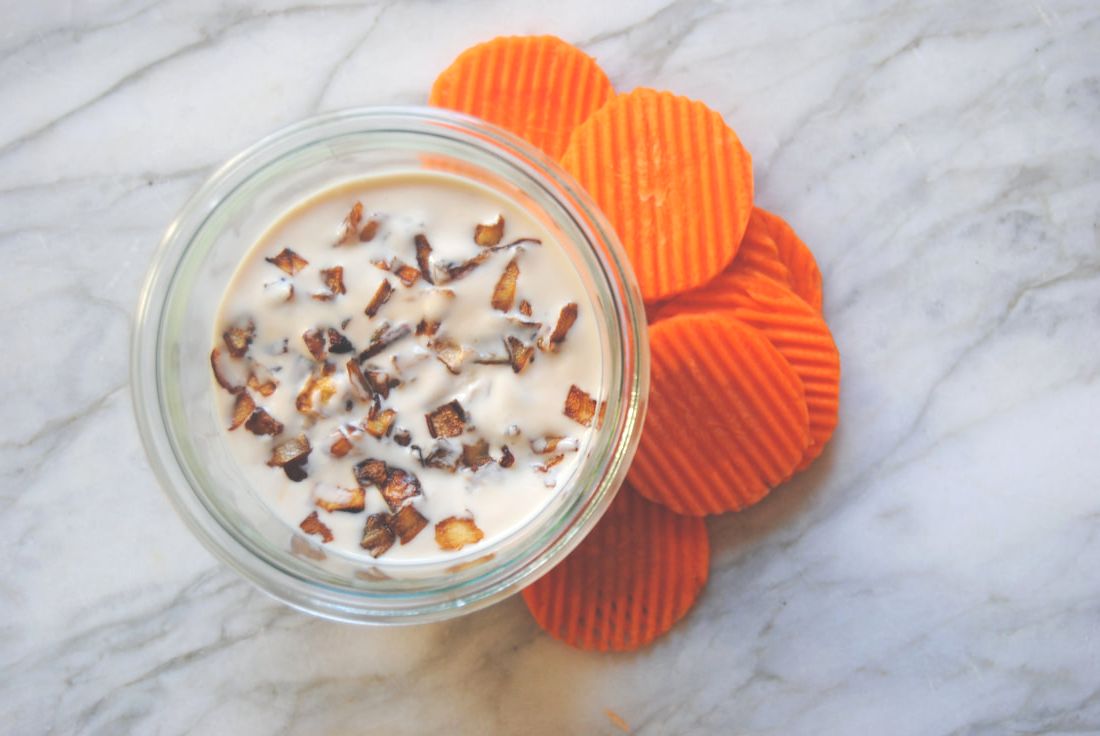
Vegan Caramelized Onion Dip
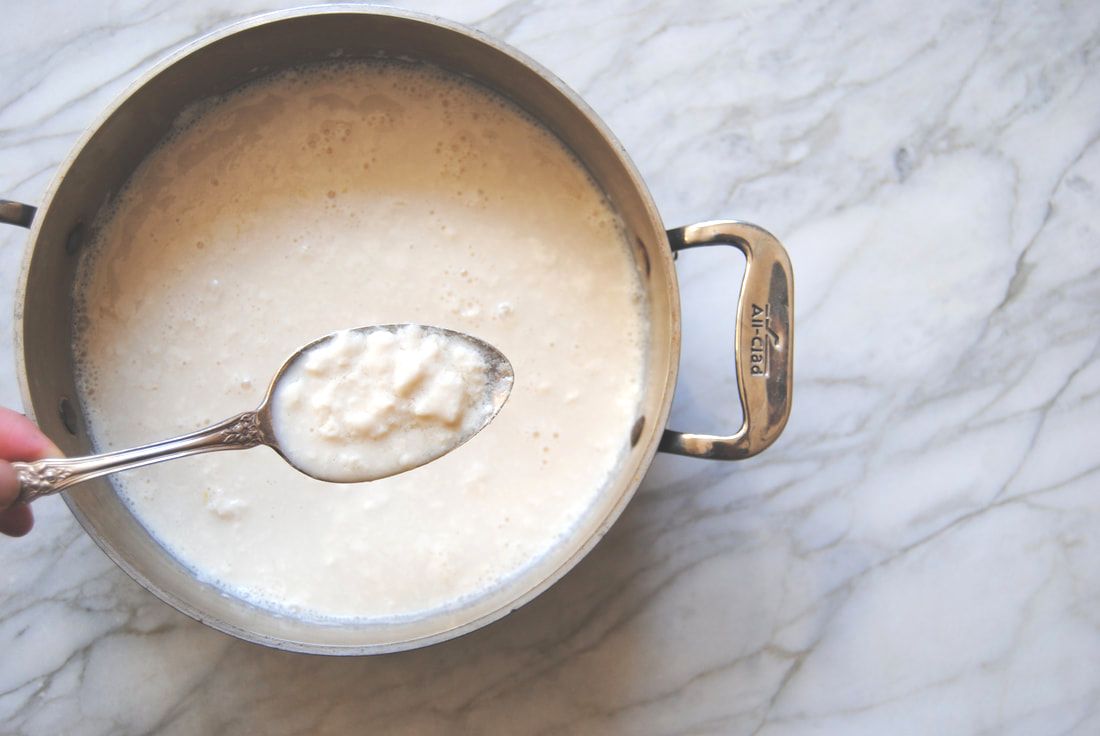
PREP TIME: 1 hour TOTAL TIME: 5 hours (includes chill time) Servings: 2 cups dip Ingredients 32 oz plain unsweetened soy milk, without additives* 3 Tbsp fresh lemon juice 1/4 tsp sea salt 1 large sweet onion, chopped 1 Tbsp olive oil In a large saute pan set to medium heat add 1 Tbsp olive oil and 1/4 tsp salt. Add chopped onion a saute until edges are golden brown and onion is slightly translucent, ~5-7 minutes. Lower heat to simmer and continue cooking onion until fully caramelized, ~45 minutes, stirring often so that the onion does not burn to the pan. Be patient, low, slow heating until the onion is fully browned and caramelized is important. While the onions are cooking, add 32 oz soy milk to a deep pot over medium heat and use a thermometer to bring the milk up to 100 degrees, stirring constantly. This step is important to ensure the milk properly curdles. Do not heat milk over 100 degrees and be careful not to burn the milk. Remove heated soy milk from the stove and add lemon juice to the pot. Allow mixture to sit for 15-20 minutes or until defined curdles have formed. Gently pour contents into a large nut milk bag and allow the liquid to drain from the solid. We secured the drawstring of the nut milk bag around the faucet of our sink and allowed gravity to take over. This step will take at least 30 minutes or longer. You know your soy milk solids are ready when no additional liquid is draining from the bag. Remove soy milk solids from the bag and place into a food processor or blender. Add 1/2 of the caramelized onions to the blender with the soy milk solids and 1/4 tsp onion powder. Mix until contents are smooth. Stir in the remainder of the caramelized onions and store in a glass container with a lid in the fridge for at least 4 hours or overnight. Dip will continue to develop flavor and thicken up as it sits in the fridge, so it is best to make this dip one day in advance for the tastiest results. *Use a soy milk with no additives. Look for only soy beans and water in the ingredient list for best results with curdling.
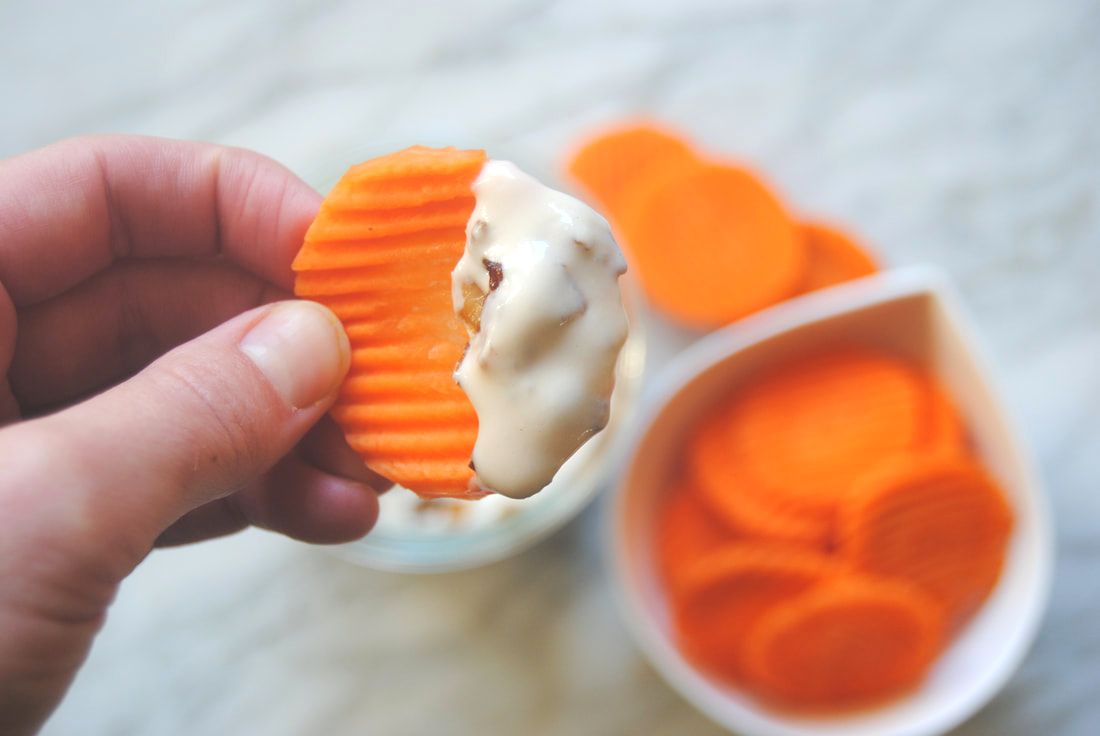
Well, are you dippin' yet? Caramelized onion dip is traditionally crave worthy and this vegan version doesn't make it any less so. A guest or two may even be fooled if you don't mention that this dip wasn't made with dairy. Pair this with your favorite chip or veggie (we made crinkle cut carrots on a mandolin) and dip away!
Enjoy, Jess and Cecelia
In Our Pantry
*We mentioned using a quality soy milk without preservatives for best results, here is the product we found/used with the simplest ingredient list:
Happy Persian New Year friends! Okay, okay we are juuuust a little late on this, but this recipe is too good not to share. Over a month ago, on the first calendar day of Spring, Cecelia celebrated Nowruz - also known as Persian New Year - with a good friend who is Iranian. She was overwhelmed and inspired by the array of new ingredients and tastes in the traditional dishes that were served. Tasting a new food for the first time feels so special and reminds both of us that we will always be learning in the kitchen. We decided to tackle one of the traditional Persian recipes and have been working on perfecting it ever since. The recipe is now ready to share, and boy are we excited! Come along with us to discover some cool ingredients and a flavor profile that will blow your mind. Promise!
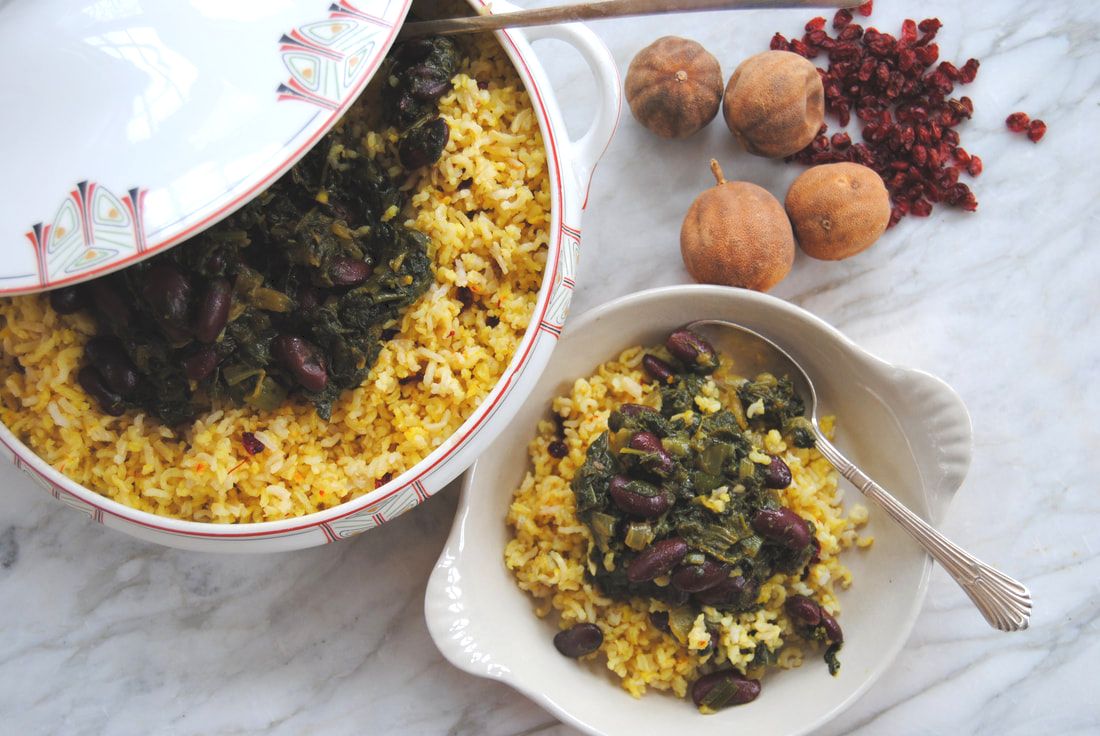
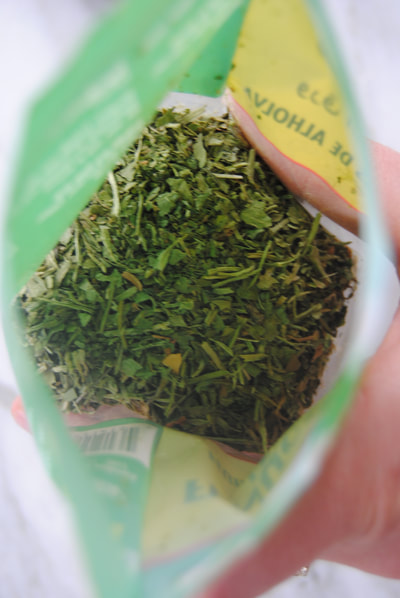
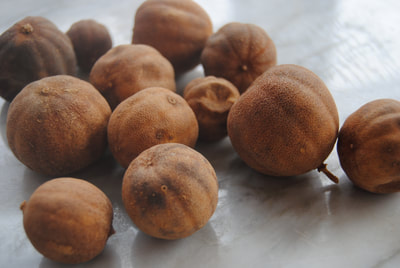
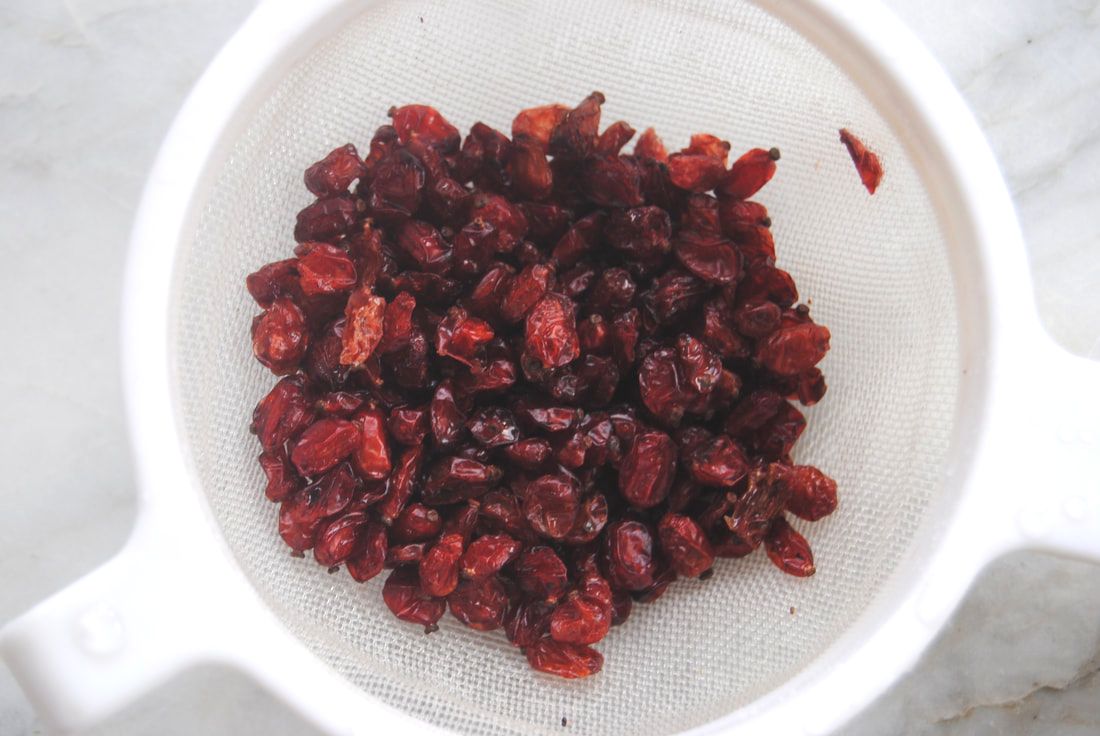
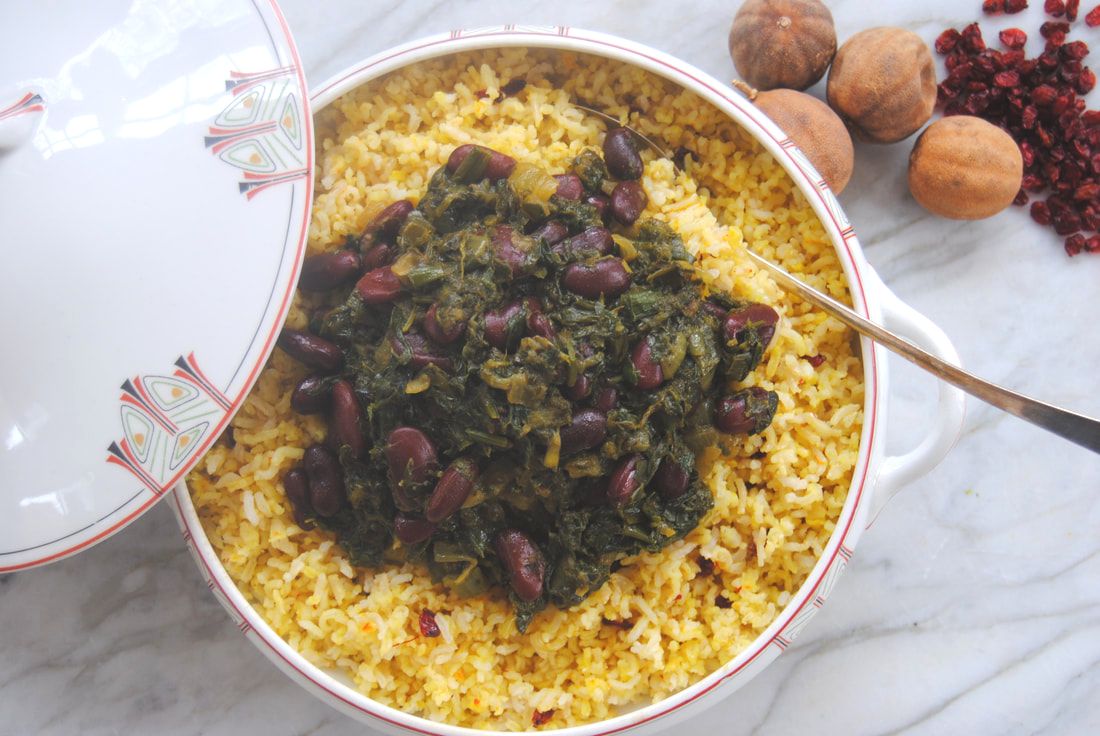
Pictured above are a few of the new ingredients that combine to make this stunning dish. From top left to bottom: fenugreek, dried limes, and barberries. Starting with fenugreek - an herb native to the Mediterranean region and used in cooking as well as for medicinal uses. Fenugreek's flavor is quite pungent and earthy and a little goes a long way to bring a unique depth of flavor to dishes. Fenugreek also has many medicinal uses primarily treating digestive or inflammatory conditions when taken by mouth or used as a poultice to treat local pain and swelling. The next ingredient, dried limes, we found just as interesting. Using limes dried, instead of fresh, lends the ingredient to being added whole while cooking to impart acidity to the dish. As the limes soften during cooking, they can be broken open to release more flavor and acidity depending on the flavor profile you are looking for in the final dish. Lastly, barberries which are small, tart berries thought to be native to the Middle East. Typically used dried they bring a pop of color and tangy sweetness to dishes.
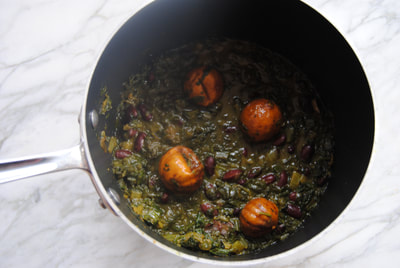
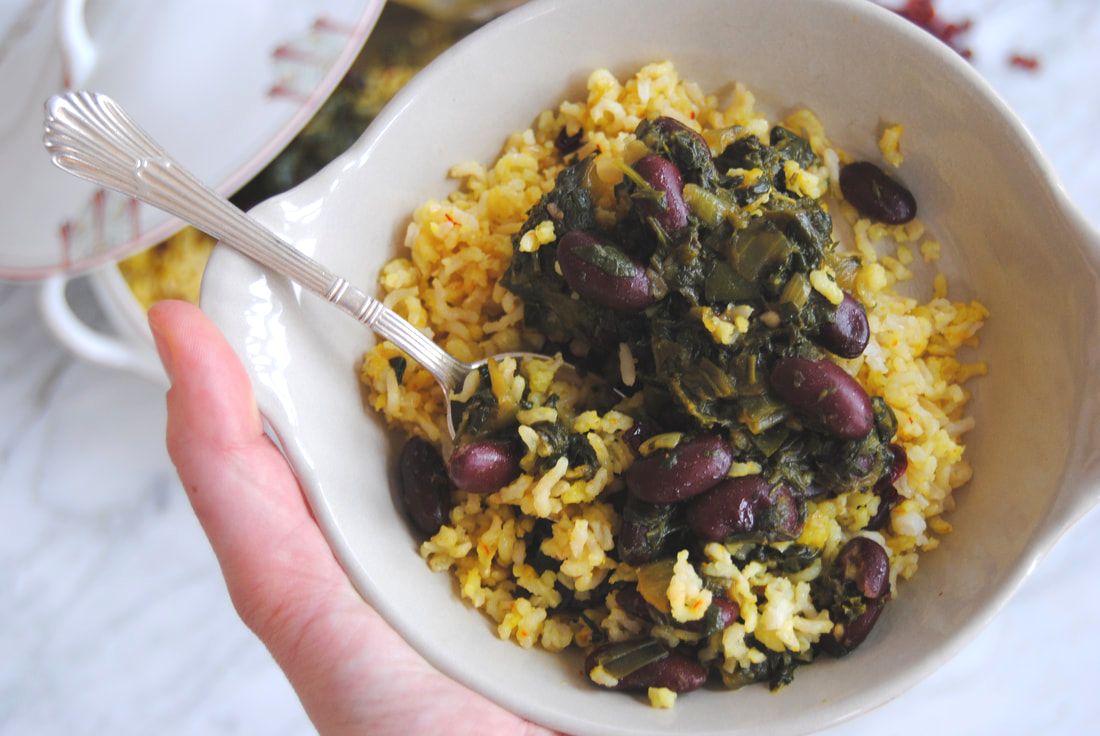
Vegetarian Ghormeh Sabzi with Saffron Rice
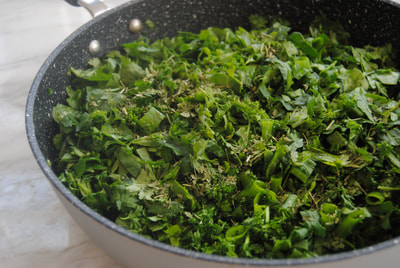
PREP TIME: 20 minutes TOTAL TIME: 40 minutes Servings: 4-6 Ingredients Rice 1 cup brown basmati rice 1 tsp saffron + 1/3 cup room temperate water 1 Tbsp olive oil 4 Tbsp barberries, rinsed 1/2 tsp sugar Ghormeh Sabzi 1/4 cup olive oil 1 large yellow onion, chopped 1/4 tsp sea salt 1 tsp turmeric 1 Tbsp dried fenugreek leaves 3 cups unsalted vegetable broth 3 cups fresh cilantro, chopped 2 cups spinach, chopped 2 cups green onion tops, sliced 1 cup fresh parsley, chopped 4 dried limes 1 can organic kidney beans, drained and rinsed 10-12 oz 4% milk fat Greek or Icelandic yogurt (optional) Rinse rice under running water, then place into a large pot and cook according to package instructions. Allow rice to cool, then fluff with a fork and set aside. Meanwhile use your fingers to break saffron threads into small pieces and place in a shallow bowl with 1/3 cup water. Allow saffron to bloom in the water for 5 minutes. In a saute pan set to medium heat, add 1 Tbsp olive oil, barberries, and 1/2 tsp sugar cook for 1-2 minutes until all barberries are evenly coated with oil and sugar and slightly fragrant. Add bloomed saffron water and barberries to the fluffed rice and stir to evenly combine. To make the ghormeh sabzi, set a large pot over medium heat then add 1/4 cup olive oil, chopped onion, and 1/4 tsp sea salt and stir to combine. Continue cooking until the onion is translucent, ~5-7 minutes. Add 1 tsp turmeric to the onions and continue to cook for another 1 minute then add 1 1/2 cups vegetable broth and reduce to a simmer. In a separate pot set to medium heat, add cilantro, spinach, green onion tops, parsley, and dried fenugreek. Stir constantly until greens are wilted, ~2 minutes. Add the remainder 1 1/2 cups vegetable broth, the 4 dried limes, kidney beans, and the onion mixture to the pot of greens and continue to cook for 15-20 minutes on a low simmer. For a more acidity, puncture the dried limes with a fork. Remove from the heat and spoon ghormeh sabzi over saffron rice and place a dollop of yogurt on top if desired. Store leftovers in separate containers and reheat servings as needed. Leftovers will keep for 3-5 days.
Thoughts, feelings? Are you all as excited about this dish as we were/are? There is just so much goodness going on here. The savory saffron rice highlighted by pops of tangy barberries topped with earthy and acidic greens makes for many delicious bites. This dish is best enjoyed with friends for a special occasion where you share your newest kitchen learning. Finally, this post wouldn't be complete without a huge shout-out to Sophia Ahwazi and the Ahwazi family. Thank you for sharing and teaching your food traditions to us!
Enjoy, Jess and Cecelia
In Our Pantry
From this recipe, our pantries are now stock with Persian ingredients. We shopped at a local Persian Market, Sahar International Supermarket at 4851 N Kedzie, that any Chicagoans should check out! If you aren't local, we found comparable ingredients here:
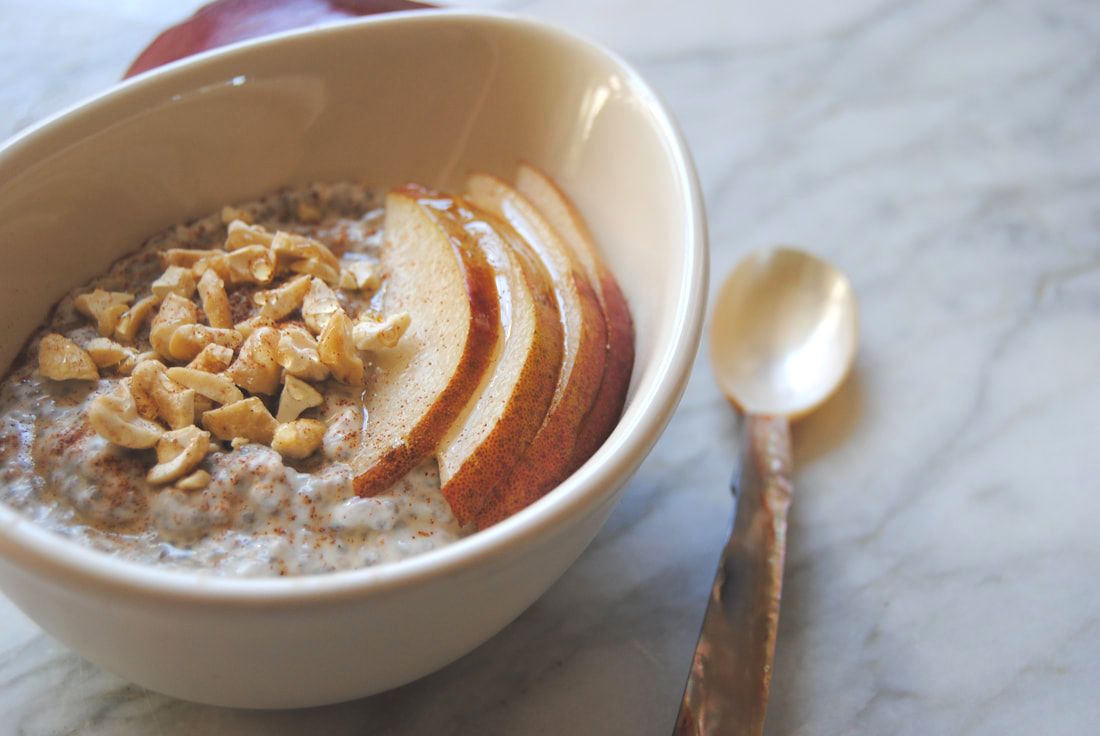
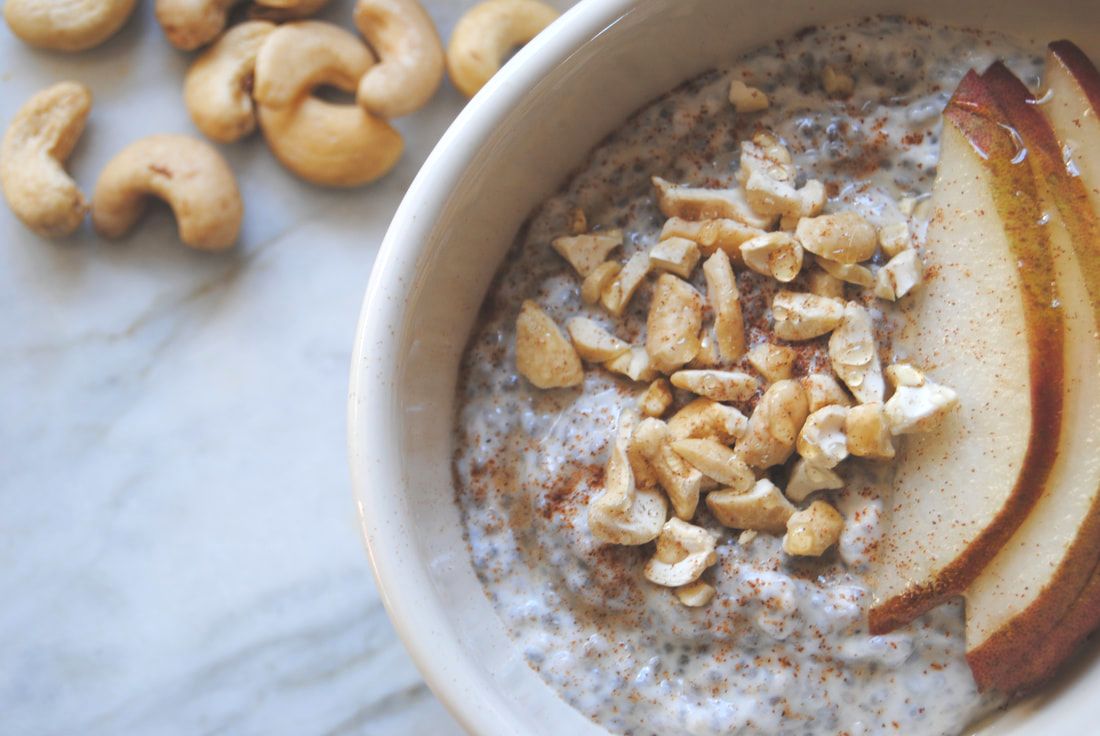
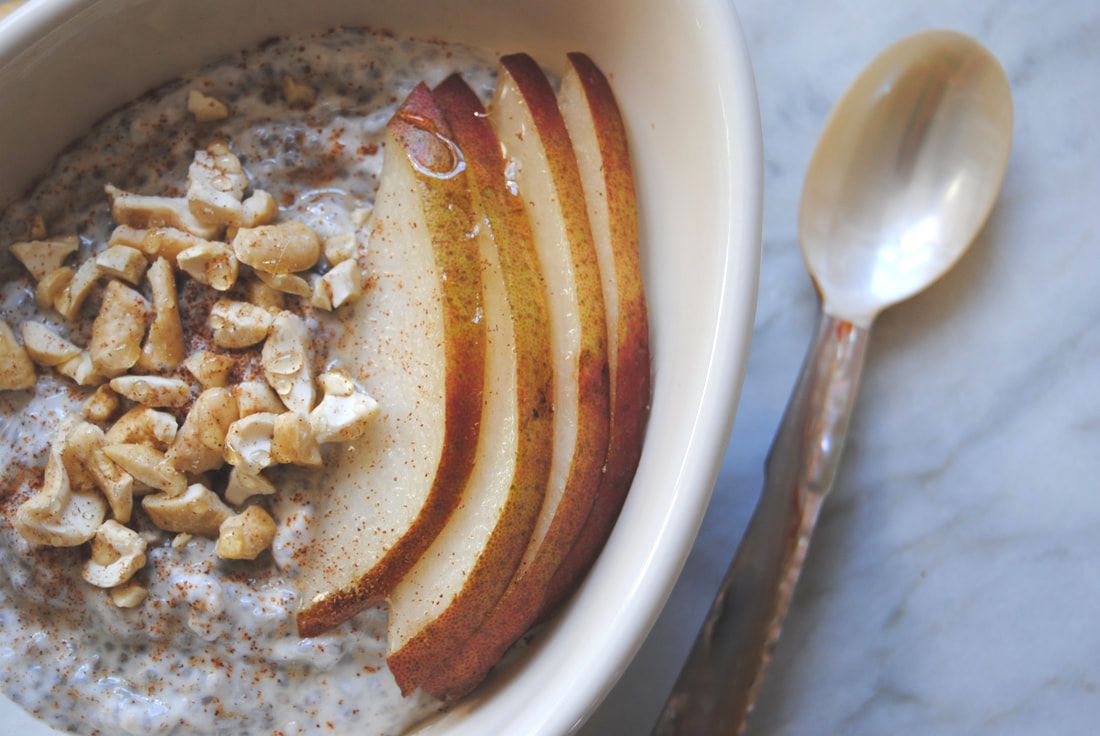
Hi friends! While creating this recipe it reminded us how little time breakfast is sometimes given in the midst of hectic schedules. This bowl is beautiful but not always practical during the mid-week rush. Though a solid breakfast meal with combined complex and simple carbohydrates, protein, and fat is so important to get your day started right and to fuel you until the next meal or snack. For those days, this recipe can stay right in the jar it was made in overnight - add some toppings right in and take the jar with you on your morning commute. And with prep the night before, it doesn't get much easier than that. This breakfast is a balanced combination to keep up with your ever busy life. If you need a reminder about how great chia is before the recipe, check out this original TGBK post.
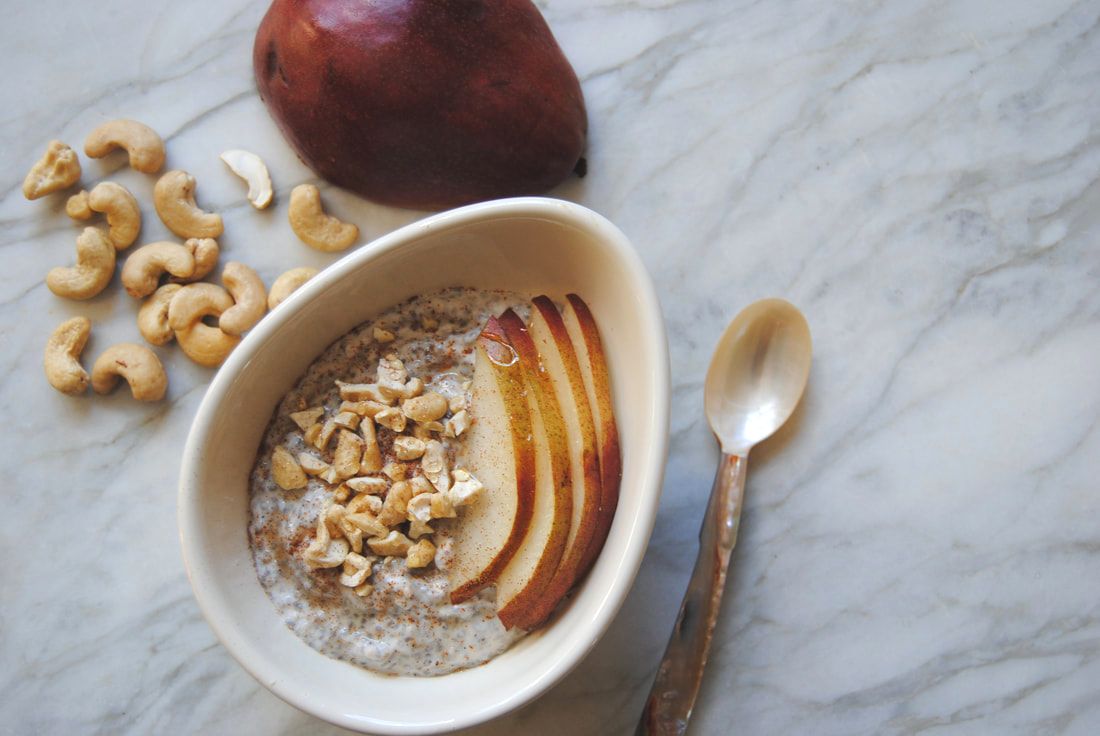
Chia and Pear Pudding
PREP TIME: 5 minutes TOTAL TIME: 4 hours Servings: 2 Ingredients 6 oz fresh pear juice 6 oz plain Greek or Icelandic yogurt 4 Tbsp chia seeds 2 Tbsp pure maple syrup 1 sliced pear 1/4 cup chopped raw unsalted cashews Cinnamon sprinkle on top In two 10-12 oz mason jars, combine half of the ingredients in each - 3 oz pear juice, 3 oz yogurt, 2 Tbsp chia seeds, and 1 Tbsp maple syrup. Screw on a tight fitting lid and shake vigorously until all ingredients are combined. Allow pudding to rest and gel up in the refrigerator for at least 4 hrs, or overnight. Once the pudding has set, add sliced pears, chopped cashews, and a sprinkle of cinnamon to the top of each jar. Enjoy this flavor packed, nutrient dense breakfast on the go! Chia pudding will keep in the fridge for 4 days, so why not make a double recipe for the work week? Enjoy!
Are we right? Chia pudding is a great and versatile options for an easy and satisfying breakfast. We love this variation for the addition of pear juice which adds a subtle sweetness and seasonal flavor. Once you get started with chia pudding, you may never stop!
Enjoy, Jess and Cecelia
In Our Cupboard
With your new chia pudding addiction you'll definitely be needing a steady supply of chia. It is easy to find and buy in bulk:
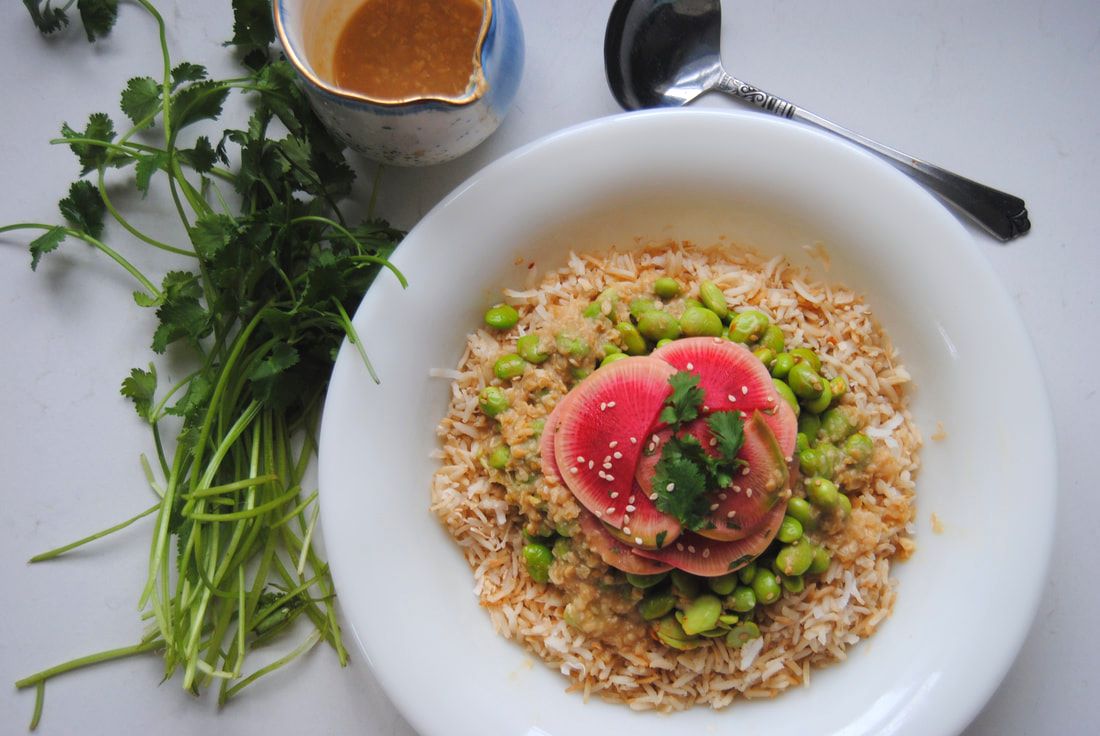
One of our all time favorite ingredients has got to be miso paste, especially miso made from alternative ingredients other than soybean like this chickpea miso from South River (here). Though soybean is the most popular miso paste found in stores, we love the complexity of flavors in the different varieties of miso we've tried. Miso is a fermented food so it is slightly sour and tangy and also very salty as it is traditionally used as a base for soups and broth. We also love it as an ingredient for sauces, dressings, and even on popcorn (remember this recipe?)! This time around we opted for a hearty and bright bowl because when you're really hungry nothing is more satisfying than a dose of grains + protein slathered in salty goodness, or at least we think so. Join us!
Miso Bowl
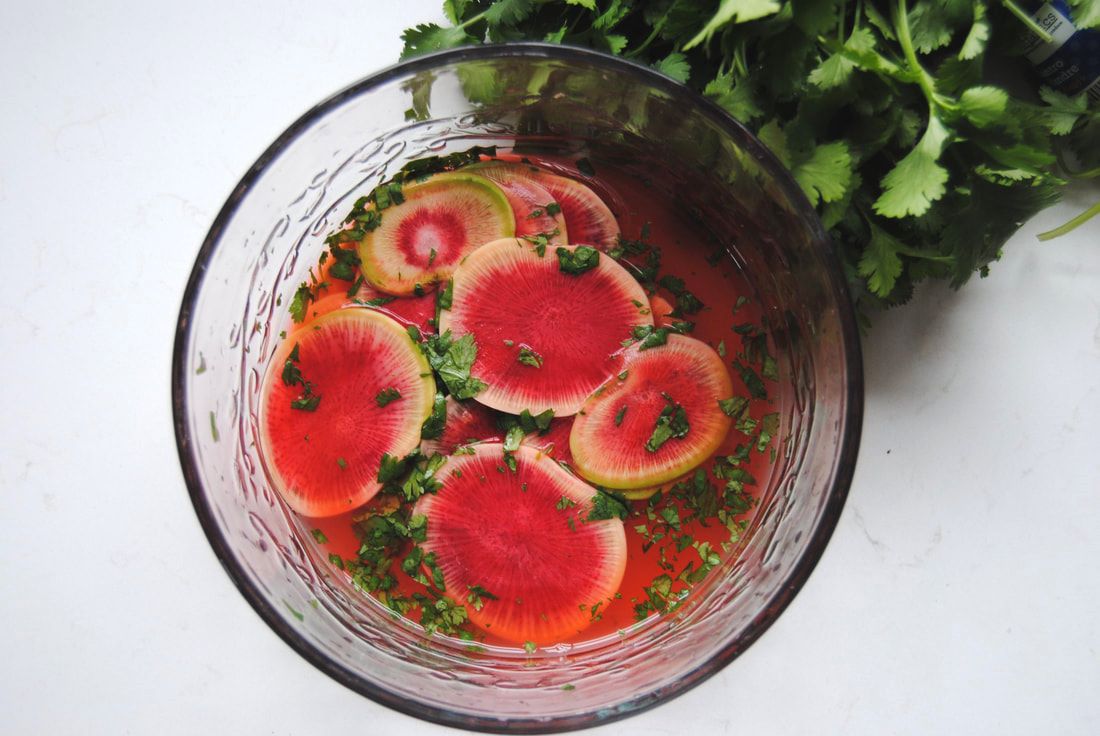
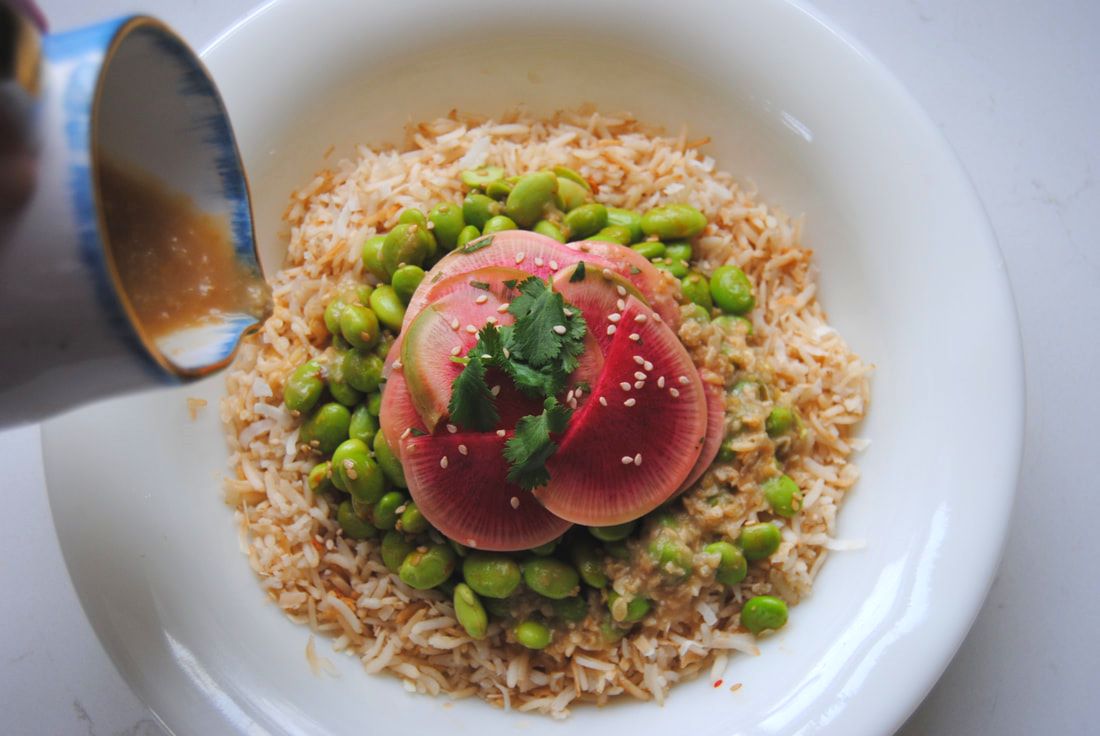
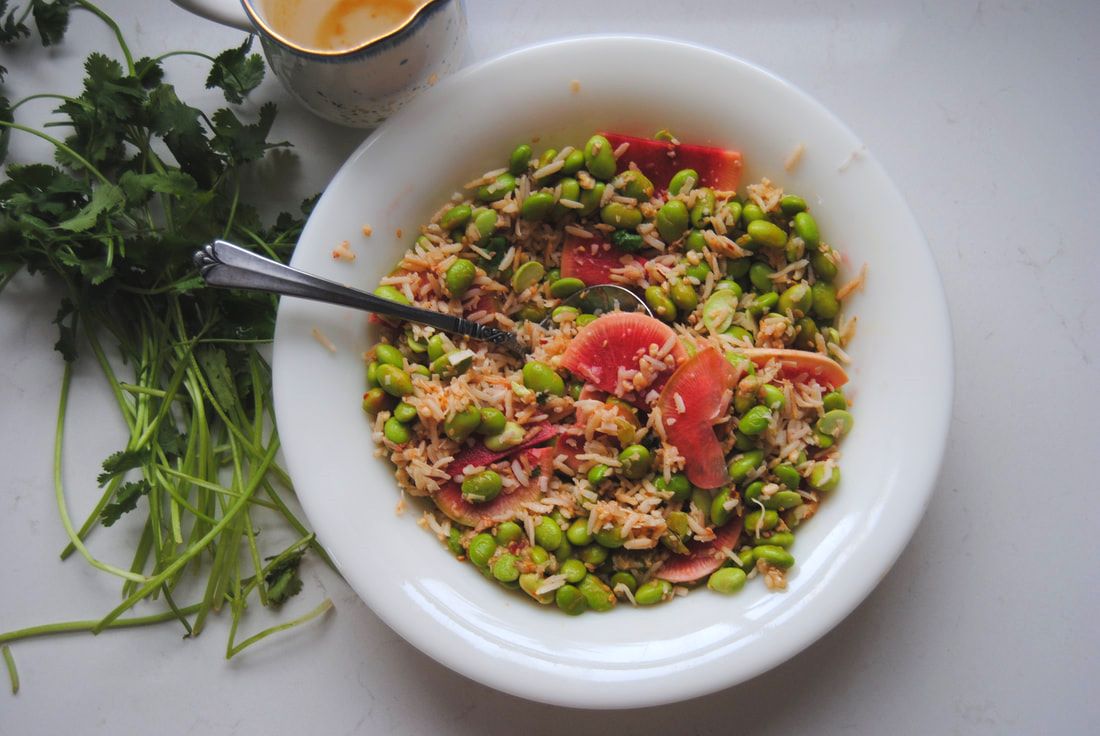
PREP TIME: 50 mins TOTAL TIME: 55 minutes Servings: 4 Ingredients Rice 1 cup brown rice 1/2 cup toasted unsweetened coconut flakes Edamame 2 cups shelled edamame 1 Tbsp sesame seeds 2 tsp toasted sesame oil 1 tsp chili paste Quick Pickled Radishes 1 large radish, we used a large watermelon radish 1/4 cup apple cider vinegar 3 Tbsp water 1 Tbsp fresh ginger juice 1 Tbsp fresh cilantro, chopped 3/4 tsp salt Dressing 4 Tbsp miso paste, we used our favorite chickpea miso from South River Miso Co 4 Tbsp water 2 Tbsp lemon juice Begin by making the quick pickled radishes. Use a mandolin or a sharp knife to thinly slice radish into uniform circles. Place sliced radishes, apple cider vinegar, water, ginger juice, chopped cilantro, and salt in a bowl and toss to coat. Allow radishes to marinate in the brine for at least 15 minutes or longer while you prepare the rest of the dish. Cook rice according to package then fluff with a fork and set aside. In a medium pan set to low heat, add coconut flakes and toast until light golden brown and fragrant, about 2 minutes. Remove toasted coconut from the heat and add to the fluffed rice. Meanwhile, in a sauce pan set to medium heat add edamame, sesame seeds, sesame oil and chili paste and cook until mixture is warmed through, about 5 minutes. Remove from heat and set aside. To make the dressing, combine the miso paste, water, and lemon juice and whisk until fully combined. This dish can be served family style on a larger platter or in individual bowls. Place toasted coconut rice on a platter and top with edamame and radishes (without the brine). Sprinkle with sesame seeds and top with a drizzle of miso dressing. Serve warm or cold. If you do not plan to serve this all at once, keep each element of the dish separate and prepare just prior to eating. Left overs will keep in the fridge for up to 5 days.
This dish is as stunning as it is satisfying with a pop of bright colors perfect for the coming spring season. Though while the nights stay cold, we hope these hearty flavors topped with salty miso dressing will be the soul warming you need.
Enjoy, Jess and Cecelia
In Our Cupboard
Did you notice the gorgeous mini porcelain pitcher we used for our miso dressing? Because hey, presentation is everything! If you want something similar for your kitchen, head to Anthropologie --> Kitchen & Dining. Happy shopping :) |
AuthorsJess and Cecelia welcome you to our kitchen. We are fun-loving and passionate foodies working to make the world a healthier, happier place one plant based recipe at a time. Categories
All
Archives
December 2018
|

