 Welcome back, we've missed you! Though we have been quite busy enjoying the wedding bliss. To keep the festivities going we decided to give you a sneak peak into Cecelia's wedding last week and a recipe for our favorite food item from the night. Pictured above is the beautiful venue in upstate New York that we relaxed at last weekend in perfect weather. When discussing the days events afterwards we, not surprisingly, both enjoyed the raspberry brie crostini appetizer the best though there were plenty of food options (vegetarian friendly and otherwise). The wedding was catered by Davino Catering who did a fabulous job so a huge thank you to them for the inspiration for this recipe.  Since this recipe features raspberry spread lets start by discussing the difference between jelly, jam, and preserves; I mean are they really different? Well jelly is a fruit spread made from cooked down fruit juice. It is clear with a smooth texture. Jam is also a fruit spread but it is made from crushed fresh fruit, sugar, and added pectin- a naturally occurring soluble fiber in plants that can be used as a thickening agent. Jams usually do contain seeds, especially berry jams. Preserves is yet another fruit spread made from whole fresh fruit with added sugar. Preserves are created by cooking down fresh fruit until it becomes very soft and the mixture begins to thicken without the need for added pectin, however some companies do still add pectin to their preserves. Preserves usually contain large chunks of fruit and are not smooth in texture. Based on these differences, preserves typically contain the most whole fruit and least additives. Though whichever fruit spread you choose look for short ingredients lists and products that don't contain high fructose corn syrup but you already knew that! A brand of jams/jellies that we like is Bonne Maman because of the simple ingredients and variety. Trader Joe's raspberry preserves is also delicious! So grab your favorite spread and lets get to the appetizer that stole the show (well besides the bride of course!)...  Raspberry Brie Toast PREP TIME: 10 mins TOTAL TIME: 15 mins Servings: 4-6 Ingredients 1 baguette* 4 oz triple cream Brie 1/3 cup olive oil 1/4 cup raspberry preserves 1 pint fresh raspberries Rosemary sprigs if desired Turn oven on to broil setting and begin to warm up. Cut baguette on the bias. Place slices on a cookie sheet and lightly brush 1 teaspoon olive oil on both sides of the bread. Place prepared bread in the oven and lightly toast until golden and crispy ~2-3 minutes, flip slices over and do the same to the other side. Remove from the oven and allow to cool. Thinly slice brie into at least 12 slices. Spread 1 teaspoon raspberry preserves onto one side of each slice of bread. Place 1 slice of brie on top of preserves and add 1 fresh raspberry and optional fresh sprig of rosemary to the top. Pop open a bottle of champagne and toast to the newlywed couple! *Look for whole wheat and simple baguette ingredients, ours contained just flour, water, salt and yeast 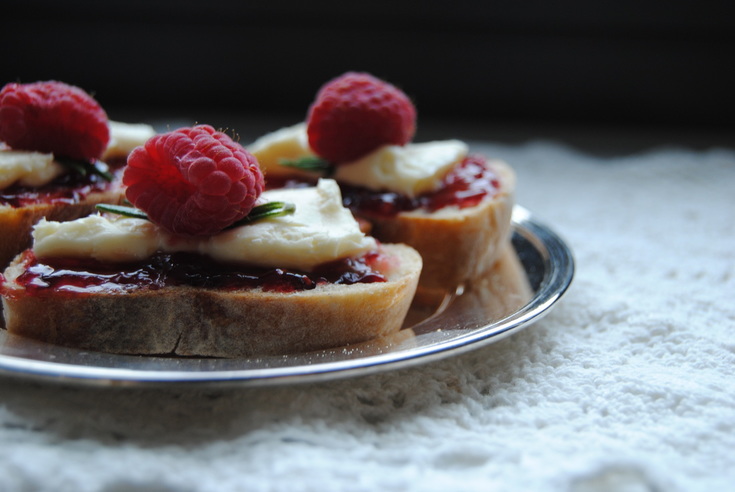 This appetizer will surely be a crowd favorite at all the parties you're hosting this spring/summer. The sweet jelly, combined with the savory brie and piney tang of rosemary will make you the host/hostess of the season, we swear! Well we hope you enjoyed this sneak peak into the special day we celebrated last weekend and remember this sweet couple every time you enjoy this recipe. Stay sweet, Jess and Cecelia 
0 Comments
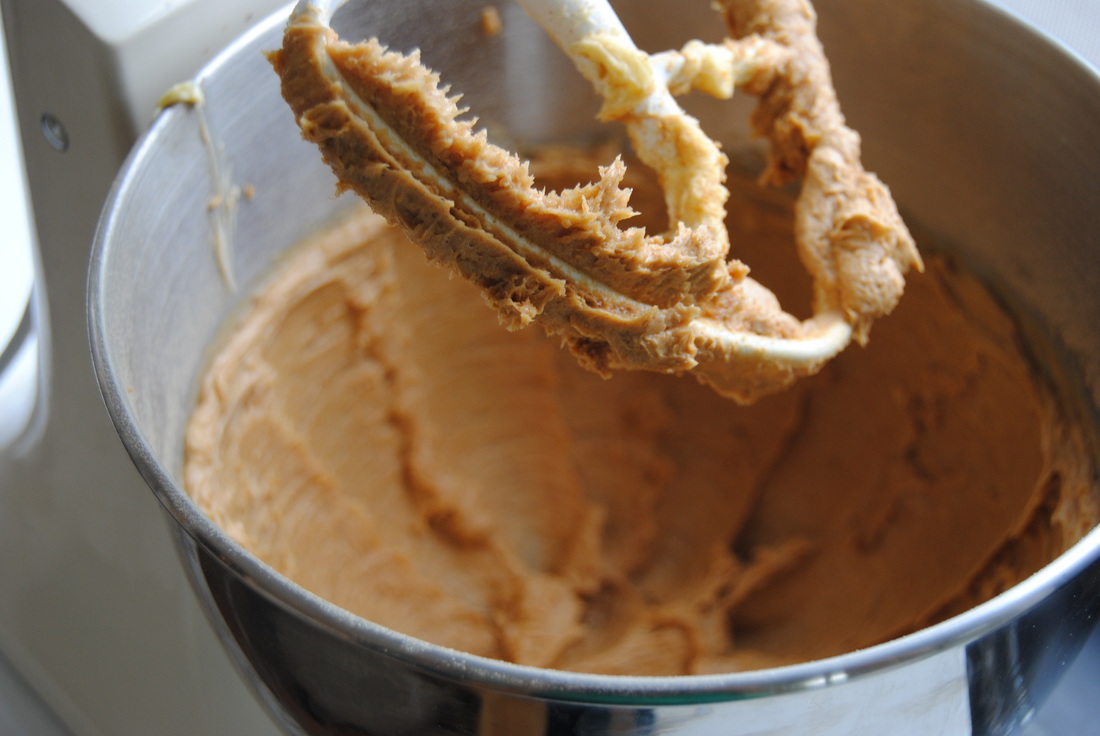
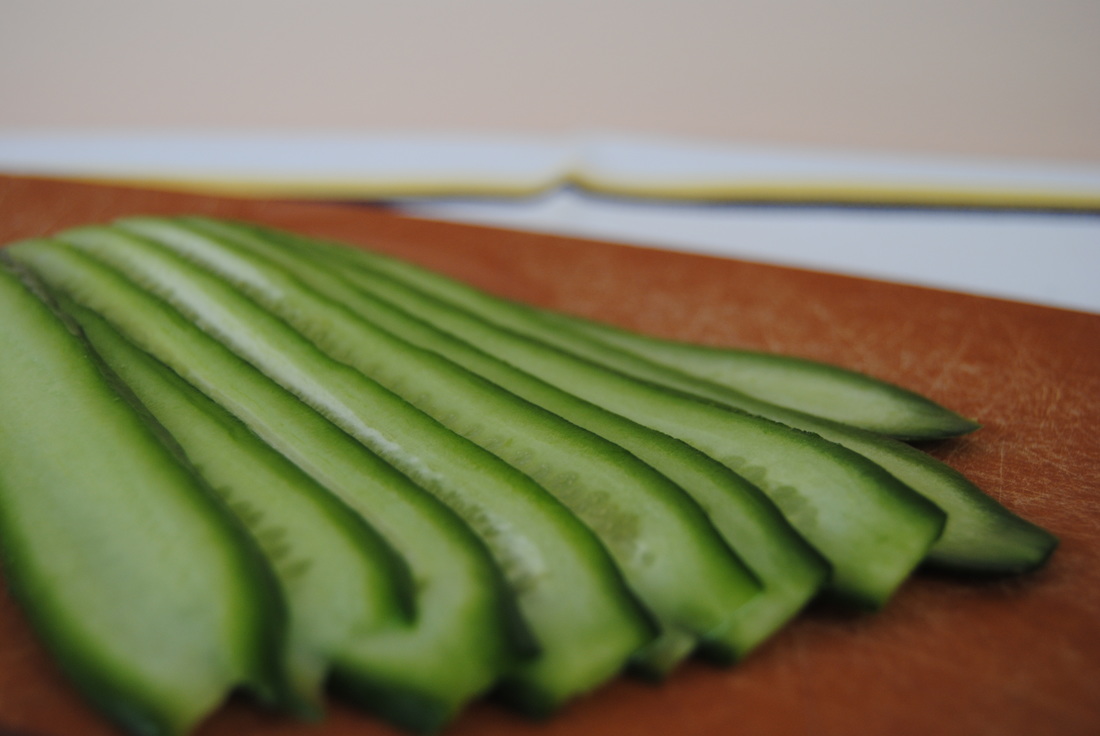
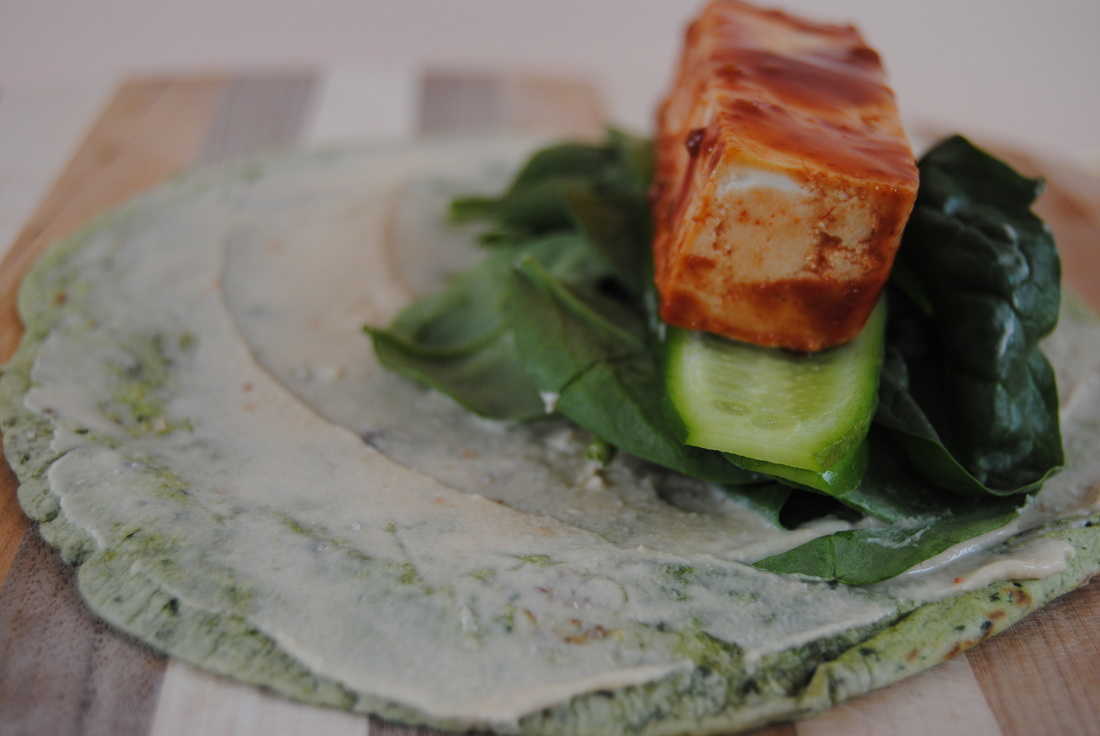
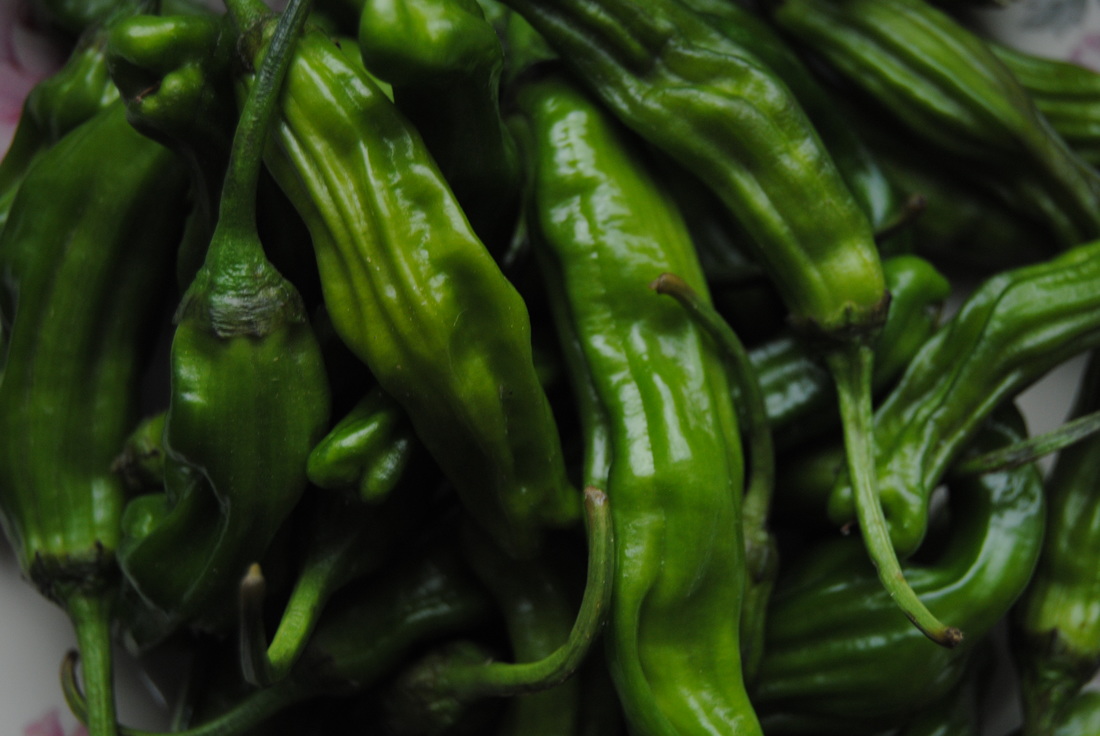
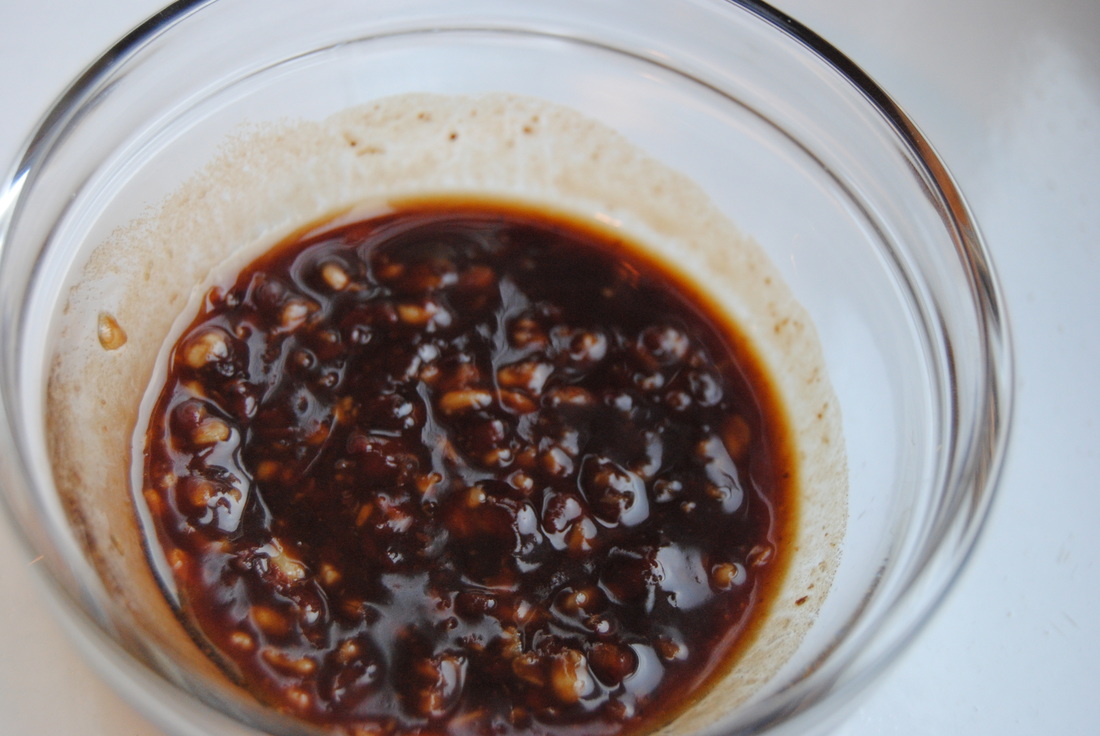
 Guess who's getting married at The Green Blossom Kitchen, Cecelia! She is marrying her high-school sweetheart, Travis, next weekend so of course we had to celebrate with Italian wedding cookies and her favorite flower, lilacs. As usual we gave the standard recipe a little make-over which includes the use of alternative flours. Remember the almond flour you saved from our matcha latte and homemade almond milk post a few months ago? Oh yeah! Get that out and let's get started! 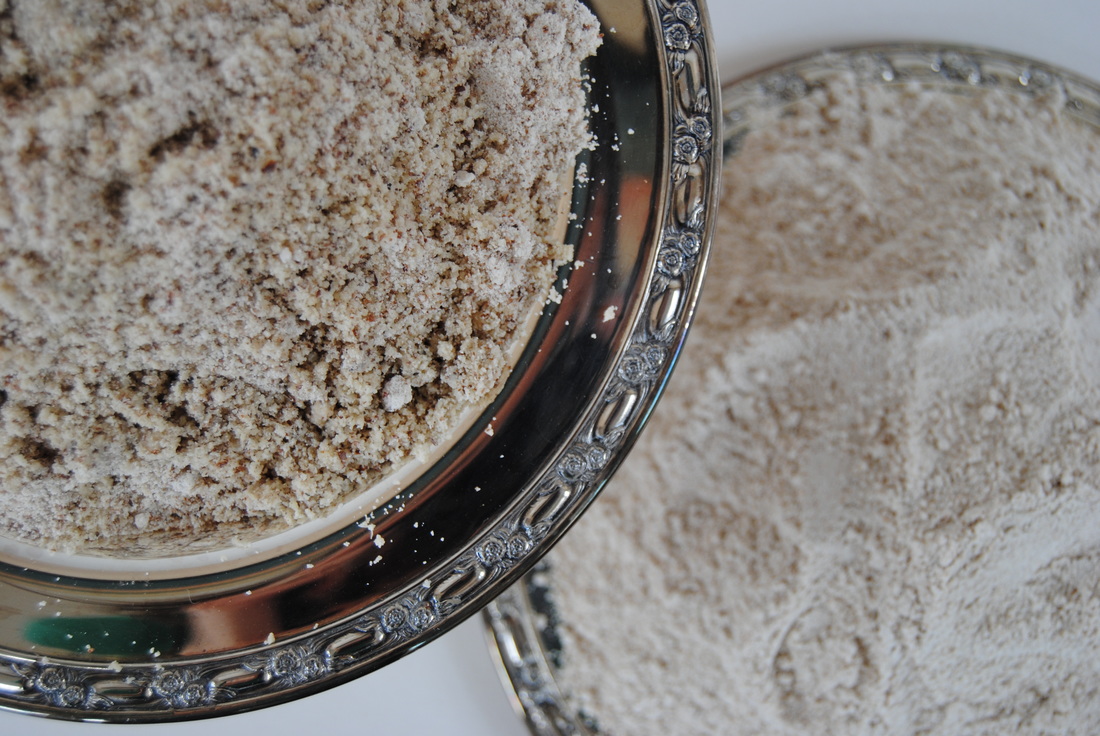 We love using alternative flours in baking, not only for the nutritional benefit but also for the varying depth of flavor they can provide to baked goods. We chose sprouted spelt flour and almond flour for this recipe. Spelt is considered an ancient grain dating back over 9,000 years. It is more water soluble than wheat making the key nutrients in spelt easier for the body to digest, and even more so in the sprouted version we chose. Whole grains are actually dormant seeds which can be sprouted by soaking the seeds in water. Once soaked you could say that the grain "wakes up" and creates a small sprout or living plant. The sprouted grain is then dried (using low heat methods to avoid killing the live nutrients) and ground to create the various sprouted flours. This process makes the grains slightly higher in nutrients and makes the nutrients more available to your body because they are easier to digest. Sounds pretty good right? Spelt flour has a slightly nutty flavor and can easily replace whole wheat flour in most recipes. The other flour we used in this recipe is almond flour which is made from ground almonds and is a byproduct of almond milk, homemade or otherwise. Almond flour is naturally gluten free and has a richness that you will not find in grain flours because of the healthy fat content of almonds. We suggest replacing 1/4 cup of flour in a recipe with almond flour, any more may create a crumbly finished product due to the lack of gluten which acts as a binder in recipes, especially ones that are egg-free. Alternative flours are readily available at specialty grocers though are becoming more available at many grocery stores. So keep your eye out in the baking aisle for a grain other than your standard whole wheat (no offense!). If you find something sprouted, even better! One brand that we like for alternative flours is Rob's Red Mill though we are not aware of any sprouted options currently. So who's ready to get floured? 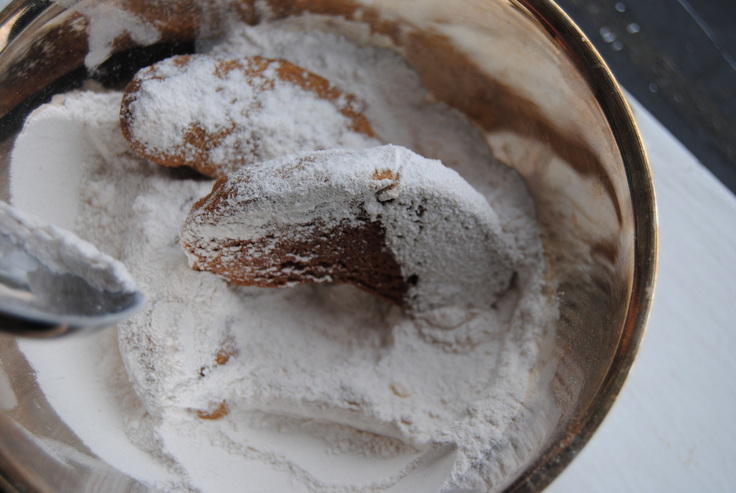 Cecelia's Wedding Cookies PREP TIME: 20 mins (+ 1 hr to chill dough) TOTAL TIME: 40 mins Servings: ~24-30 cookies Ingredients 2 cups sprouted spelt flour 1 cup almond flour (store bought or saved from our almond milk recipe) 1 cup organic, grass fed butter (room temp) 3/4 cup powdered coconut sugar 1 1/2 tsp powdered star anise 1/2 vanilla bean 1/2 cup powdered cane sugar (reserved for tossing warm cookies in) You likely will not be able to find powdered coconut sugar but can create your own as we did if you have a high speed blender such as a vitamix (dry blade). Add granulated coconut sugar to dry blade blender and blend on high for 3-5 mins until sugar becomes a powder. If you do not have a high speed dry blender then look for vegan and/or organic powdered sugar to purchase. The same goes for the powdered sugar coating, this can be made from cane sugar in your dry blender or purchased. In an electric mixer, cream the butter and powdered coconut sugar on medium high speed until light and fluffy. Scrape out the inside of 1/2 vanilla bean and add to the mixer along with the powdered star anise. Add 1 cup almond flour, and slowly add 1/2 cup of spelt flour at a time to mixer until full 2 cups have been added. Wrap finished dough in plastic wrap and store in the fridge until completely chilled ~1 hour. Once dough is chilled turn oven on to 350 degrees, prepare a baking pan with a fitted sheet of parchment paper, and begin shaping your cookies. These cookies can be shaped as crescents (shown in the picture above) or simply roll them into a small ball. Bake cookies on parchment lined baking sheet for 16-18 mins or until golden brown around the edges. Take the cookies out if the oven, allow to slightly cool for ~5 minutes and toss in powdered cane sugar until completely coated with sweetness! 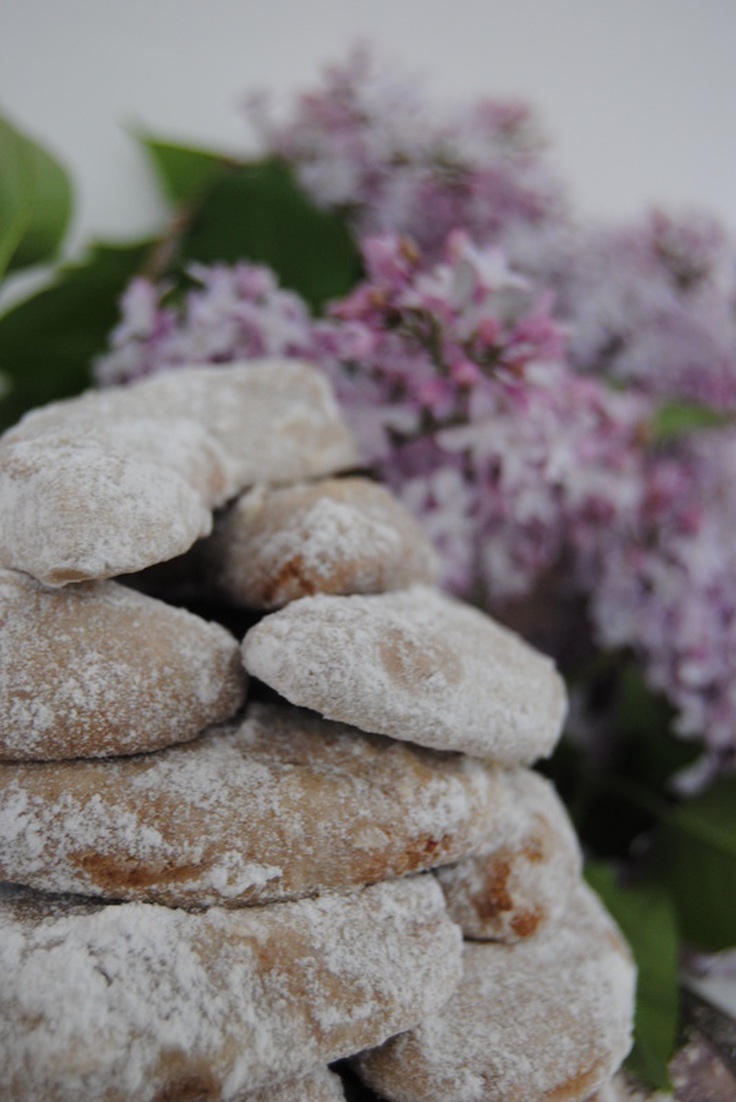 Yummmmmmm. We hope you like the flavor of star anise as much as we do because it really shines in this recipe highlighted by the richness of the butter and powdered coconut sugar. Though Cecelia is 50% Italian and what would an Italian wedding cookie really be without it? Enjoy these with a cup of your favorite tea and send some well wishes our way. Since Jess will be traveling to attend the wedding and Cecelia will be busy (saying I do!) we will not be posting a recipe next week (gasp!). Maybe take this opportunity to look back a try something you may have missed over the last several months. We will be back soon! Much love, Jess and Cecelia  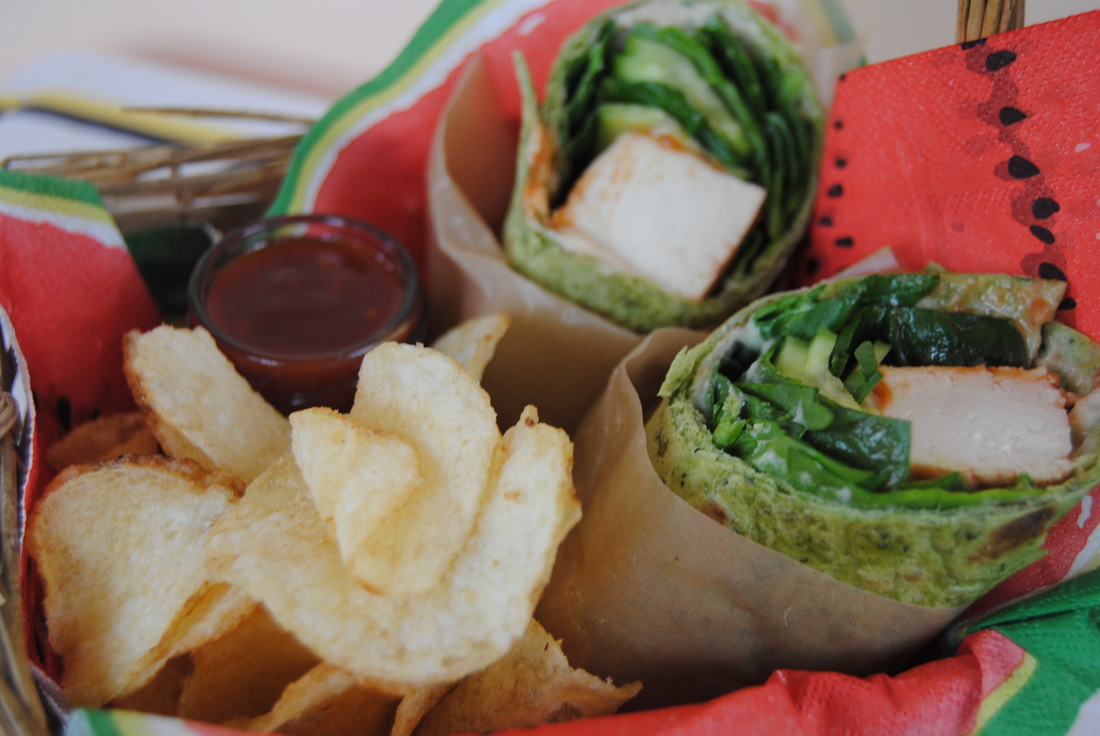 Does the start of May have you dreaming of barbeque and picnics? Us too! And fitting that May is national barbeque month. This recipe is perfect to pack for a picnic lunch even though we didn't technically barbeque but used a delicious BBQ sauce instead. But be careful! Processed sauces and condiments may have some secret ingredients that you might not even think to look for. Remember if it's not homemade (if you have the time, go for it!) then you always have to check ingredients lists. Not only is a quality product better for you, but quality ingredients will allow the flavors to really shine. And that's what we all want from a barbeque sauce right, that rich, spicy, sweet goodness? Okay so who's getting hungry? 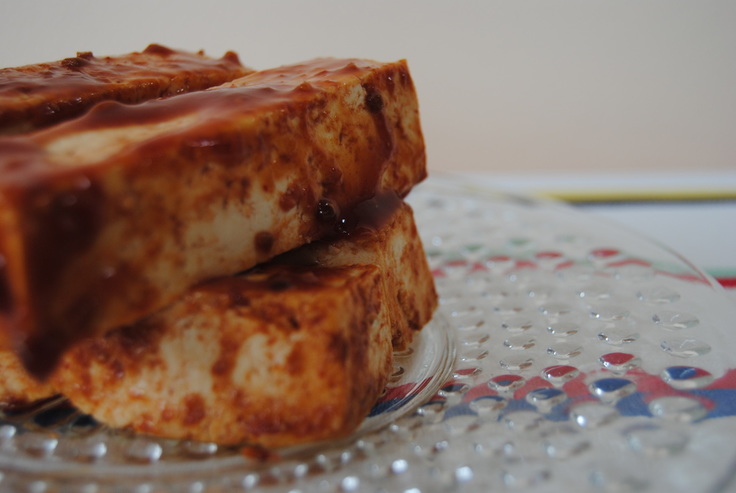 In the interest of time and wanting to get out to enjoy that picnic, we've used several food products in this recipe. But like we've said before, "easy eats" doesn't have to mean junk. Let's first talk about finding a quality wrap before we get to the BBQ sauce. Many wraps on the shelves contain over processed flour, poor quality vegetable oils and a whole bunch of gums and preservatives. And yes maybe they may last longer in the fridge but really it's not worth it. Your wraps will be gone fast with this recipe we promise! Try to look for a wrap containing whole wheat flour, an oil other than soybean or canola, no gums and minimal or natural preservatives; ingredients that you recognize and can pronounce are always best. It may take a little extra effort next time you're shopping to read those ingredients list but then you'll know which brands to reach for next time. Same goes for the barbeque sauce. Standard, big name BBQ sauce companies often sneak less than favorable ingredients into their products. A few being high fructose corn syrup and xanthan gum. Xanthan gum is used as a thickening agent and has some nasty side effects such as increased gas, abdominal bloating, and may act as a laxative. When it comes to quality sauces, we like ours pure and simple. Tomatoes, honey or sugar, vinegar, peppers, onions, and spices are the ingredients that you should look for. Other than the Trader Joe's BBQ sauce used in the recipe below, we also like JB's Fat Boy Products (don't let the name fool you!). 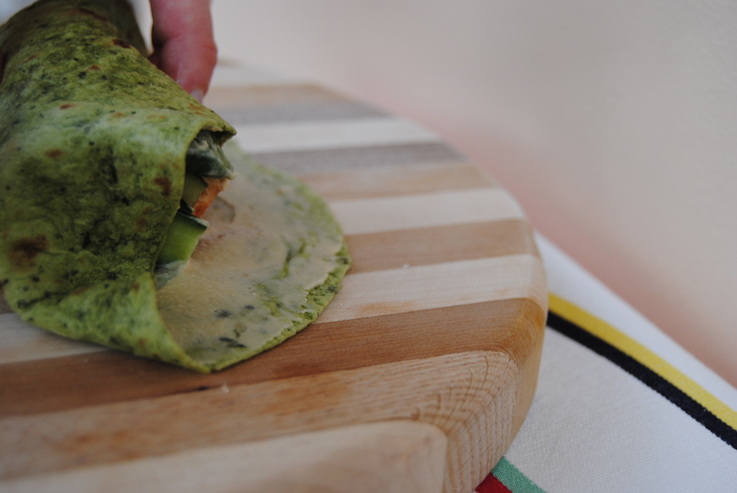 BBQ Tofu Wrap PREP TIME: 35 mins TOTAL TIME: 40 mins Servings: 4 wraps Ingredients 4 quality wraps (as discussed above) 8 oz organic tofu (we used Trader Joe's organic sprouted tofu) 1 cup spinach 1/4 cup quality BBQ sauce (as discussed above) + additional for slathering on your wrap when eating (we used Trader Joe's organic sriracha BBQ sauce) 1 mini cucumber 4 Tbsp plain hummus (use our recipe if you're making homemade) Sprinkle of sea salt Preheat your oven to 350 degrees. Drain the tofu from packing liquid. If you like a firmer tofu, place tofu between a clean dish cloth then place a weighted object (heavy cutting board or pan) on top of covered tofu. Allow the weighted tofu to sit for ~10 minutes to release additional liquid. Cut tofu, length wise into 4 equal blocks. Spread 1/4 cup BBQ sauce on tofu, making sure to cover all edges for even BBQ flavor! Cook in 350 degree oven for 30 minutes. Allow the tofu to completely cool before assembling the wraps. We cook our tofu ahead of time and keep it covered in the fridge. Cut cucumber as thin as possible. We used a mandolin to achieve an even thin slice. Now it is time to assemble your wraps. Evenly spread 1 Tbsp hummus on each wrap making sure to get all the way to the edges. The hummus helps hold the finished wrap together. Sprinkle each hummus covered wrap with sea salt. When adding the filling to the wraps, place all ingredients - 1/4 cup raw spinach, 2 thin slices of cucumber, and 1 block of tofu - on the bottom third of wrap, making sure to leave ~2 inches of "open space" on both ends to allow the edges to be folded in so your filling ingredients are snug and won't fall out when eating. As shown in the picture, grab the bottom end of your wrap and roll with all the ingredients. Fold in each side and seal the other end. Wrap in wax paper, cut in half, and slather with additional BBQ sauce!! 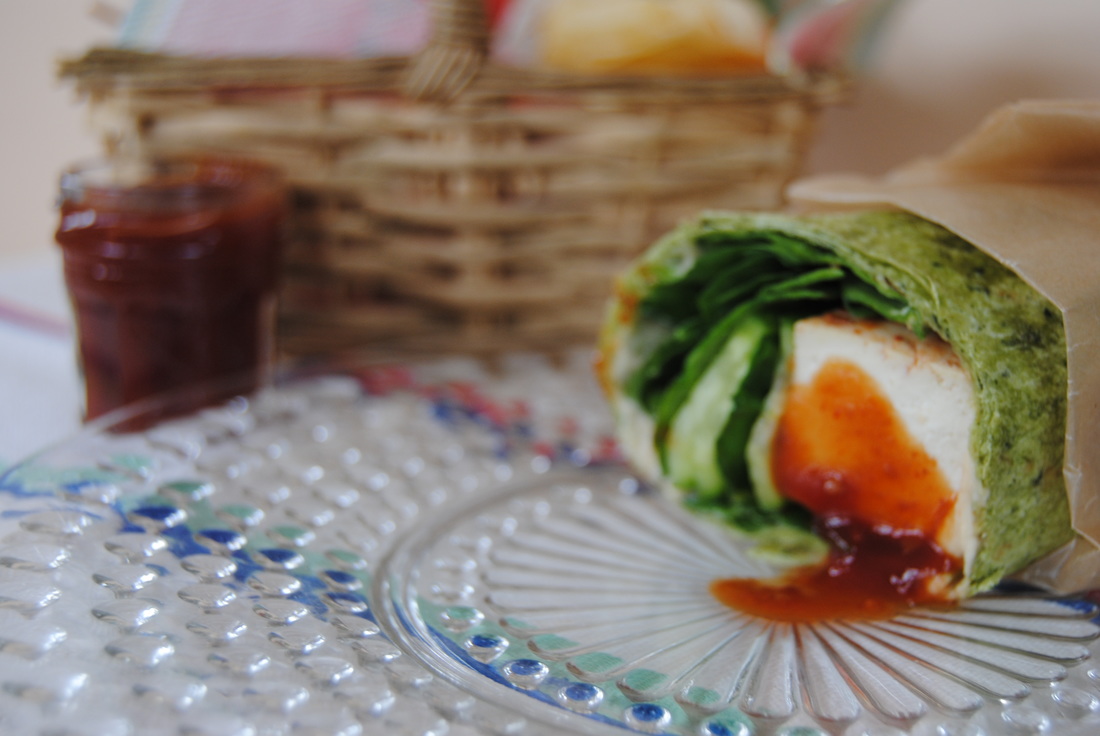 You know what else is great about a vegan wrap on a picnic? There's no question about weather that meat or cheese has been in the sun just a little too long! Pair with your favorite side (we went for the olive oil potato chips this time), pack some extra sauce for dipping, and plenty of napkins. And remember to keep reading your ingredients lists and supporting brands selling real, quality food with your purchases. That's a wrap, Jess and Cecelia 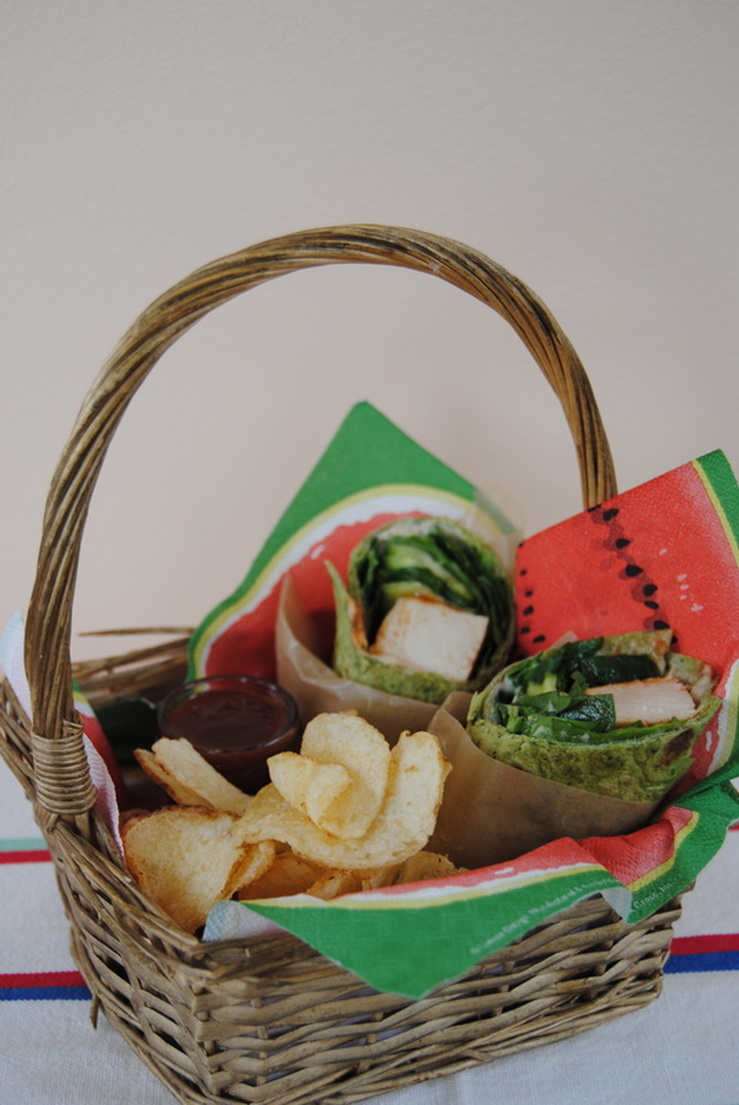 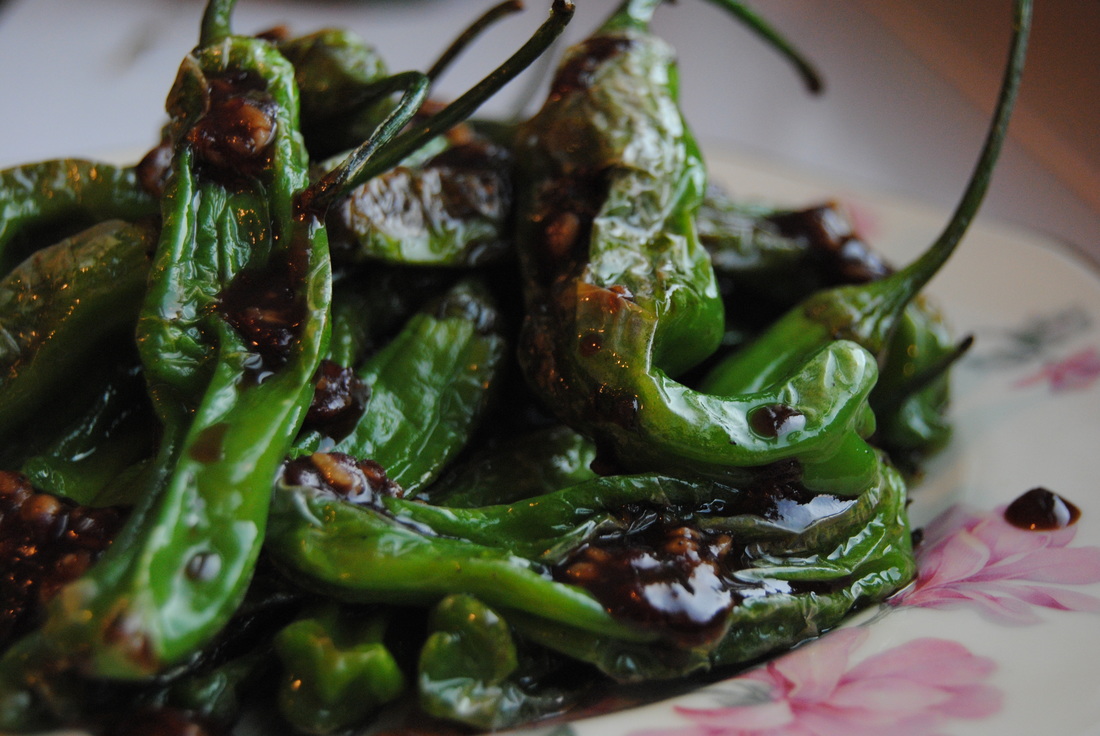 Yes, you read that right, bar food! And we're not talking chicken wings and fries. Though green may not be the most popular color for bar snacks we think it's the best. Our favorite example being these blistered and smothered shishito peppers. Between the slightly spicy and citrus natural flavor of the peppers, richness of the ghee they are cooked in, and the salty sweet tang of the miso and soy sauce, your taste buds won't know what hit them. After this recipe we swear you'll be reaching for vegetables with your next beer. But first let's explain ghee and find out what the heck a shishito is... 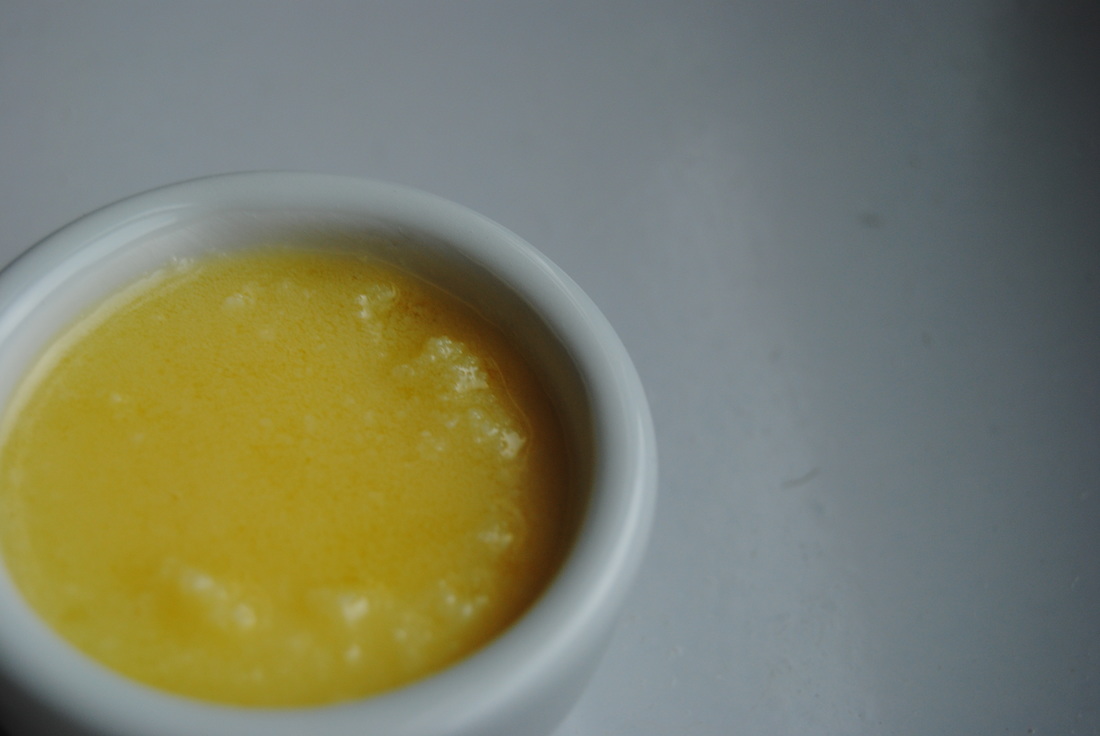 Shishito is a variety of pepper native to Japan and popular as a Japanese appetizer or bar snack. They are small, slender and green with soft skin with little ridges (as you can see pictured below). They have a mild spice and citrus flavor though they do pack a surprise; about one in ten have a spicy heat that may surprise you if you're not expecting it. Shishito peppers are becoming more popular and available so keep an eye out at your local grocer or farmers market this summer. We found ours at Trader Joe's. If you absolutely cannot find them (dang!) other varieties of small peppers can work in the recipe such as mini bell peppers. Now we cooked our shishito peppers in ghee which is a class of clarified butter popular in Indian cooking. Ghee is created by slowly cooking butter over an open flame until the water is evaporated and the fat separates from the milk solids, creating a golden hue (pictured above) and strong buttery flavor. This process removes the milk proteins found in butter, casein and whey. These proteins typically burn at high temperatures, so without them, ghee has a higher smoke point than butter and also olive oil making it superior for cooking at high temperatures. Smoke point is important because it is the temperature at which the fat or oil starts to degrade or breakdown and produce free radicals and chemical compounds This can produce an off taste in the food being cooked, decrease the nutritional quality of the oil, and create substances that are less than ideal for ingesting into your body. On the shelf ghee does not go rancid as quickly as butter and can be kept at room temperature in an air tight container for several months. Ghee is rich in fat soluble vitamin A and also contains vitamin E and K. Also, remember that having a fat source when consuming fat soluble vitamins A, D, E, and K in other foods helps to improve absorption; lucky because like most vegetables shishito peppers contain a small amount of vitamins A and K! You can ghee at specialty grocers, ethnic grocers and possibly in the natural or ethic aisles at your local grocer. We know that all Whole Foods and Trader Joe's carry ghee and/or clarified butter. Sweet and Salty Shishito Bites PREP TIME: 5 mins TOTAL TIME: 15 mins Servings: 1-2, depending on how much you like to share Ingredients 6 oz bag of Shishito peppers (about 30 peppers) 1 Tbsp ghee (organic, grass-fed preferred) or coconut oil Sprinkle of sea salt Dressing 1 Tbsp miso (we used River Valley's adzuki bean miso) 1 Tbsp organic soy sauce 1 1/4 tsp honey Add ghee to a medium wok, turn to high heat and allow ghee to fully melt. Add shishito peppers to pan, sprinkle with sea salt, and cook for 5-7 minutes, stirring peppers until blistered. If your peppers are different sizes and the smaller ones become fully cooked faster, remove them from the wok with tongs while the larger peppers continue to cook. While peppers are cooking, stir together the miso, soy, and honey. Drizzle the dressing over cooked peppers and get snacking using fingers only please! 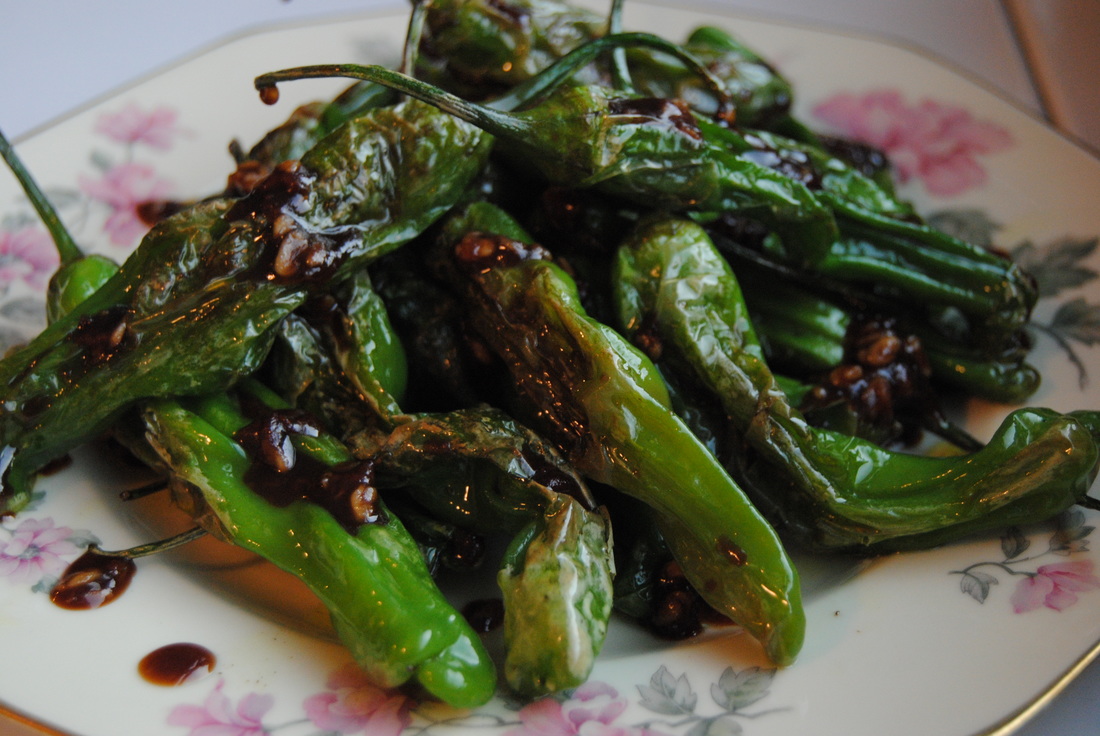 Did you get a hot one? Either way we hope you enjoy this recipe as much as we do. Next time you're perusing a bar menu keep your eye out for these babies (small peppers that is) and think of this recipe as a sure to impress next time you're entertaining. Haven't we all had enough fries? Debatable, but still, it's about time for bar food to go green! Cheers, Jess & Cecelia 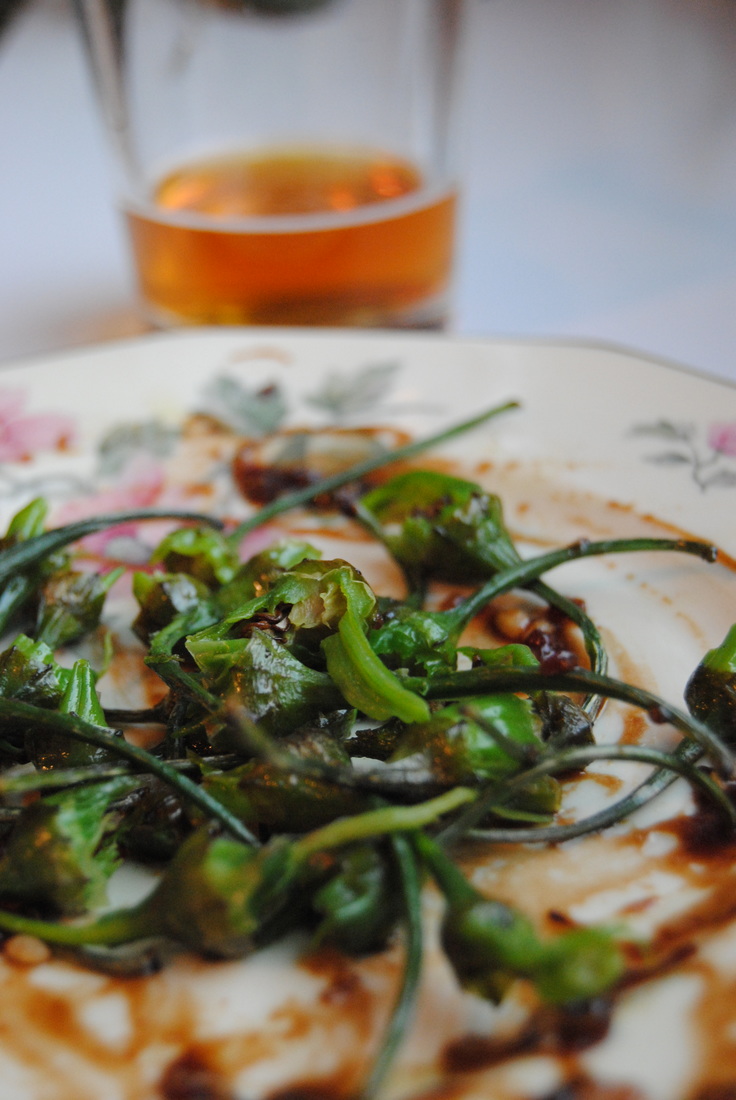 |