|
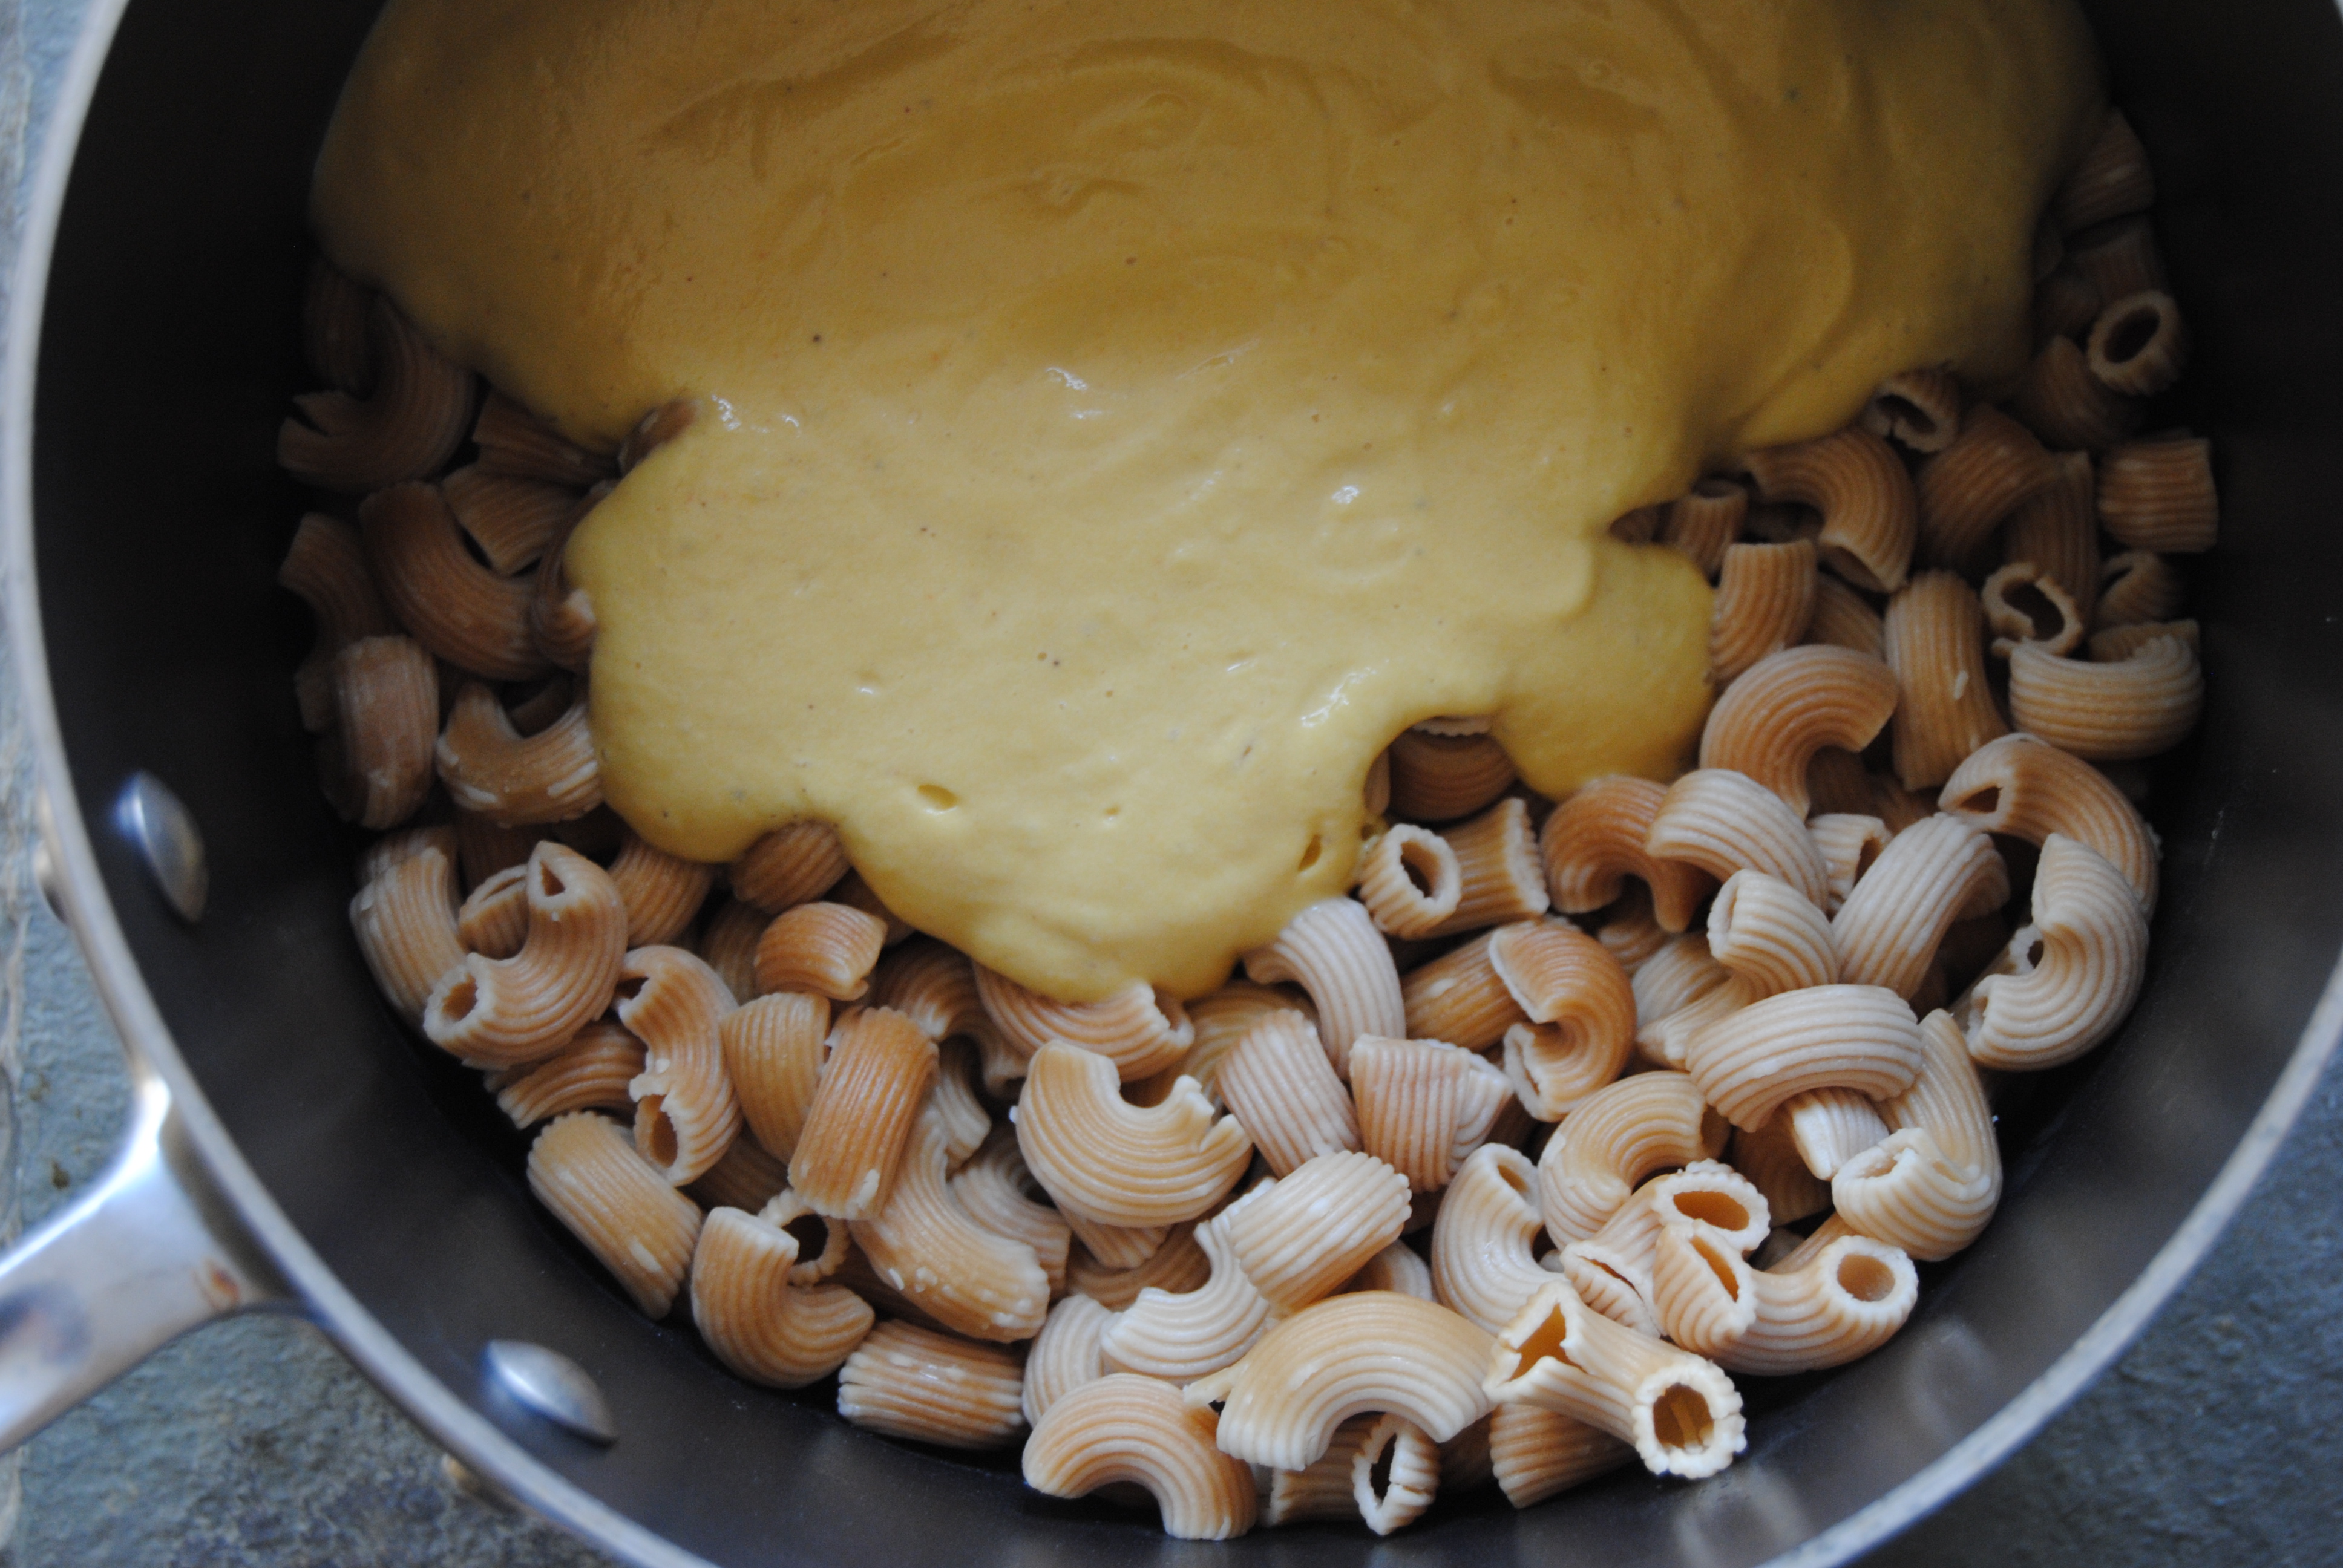
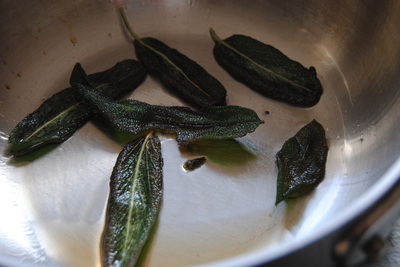
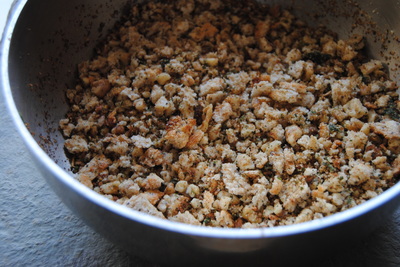
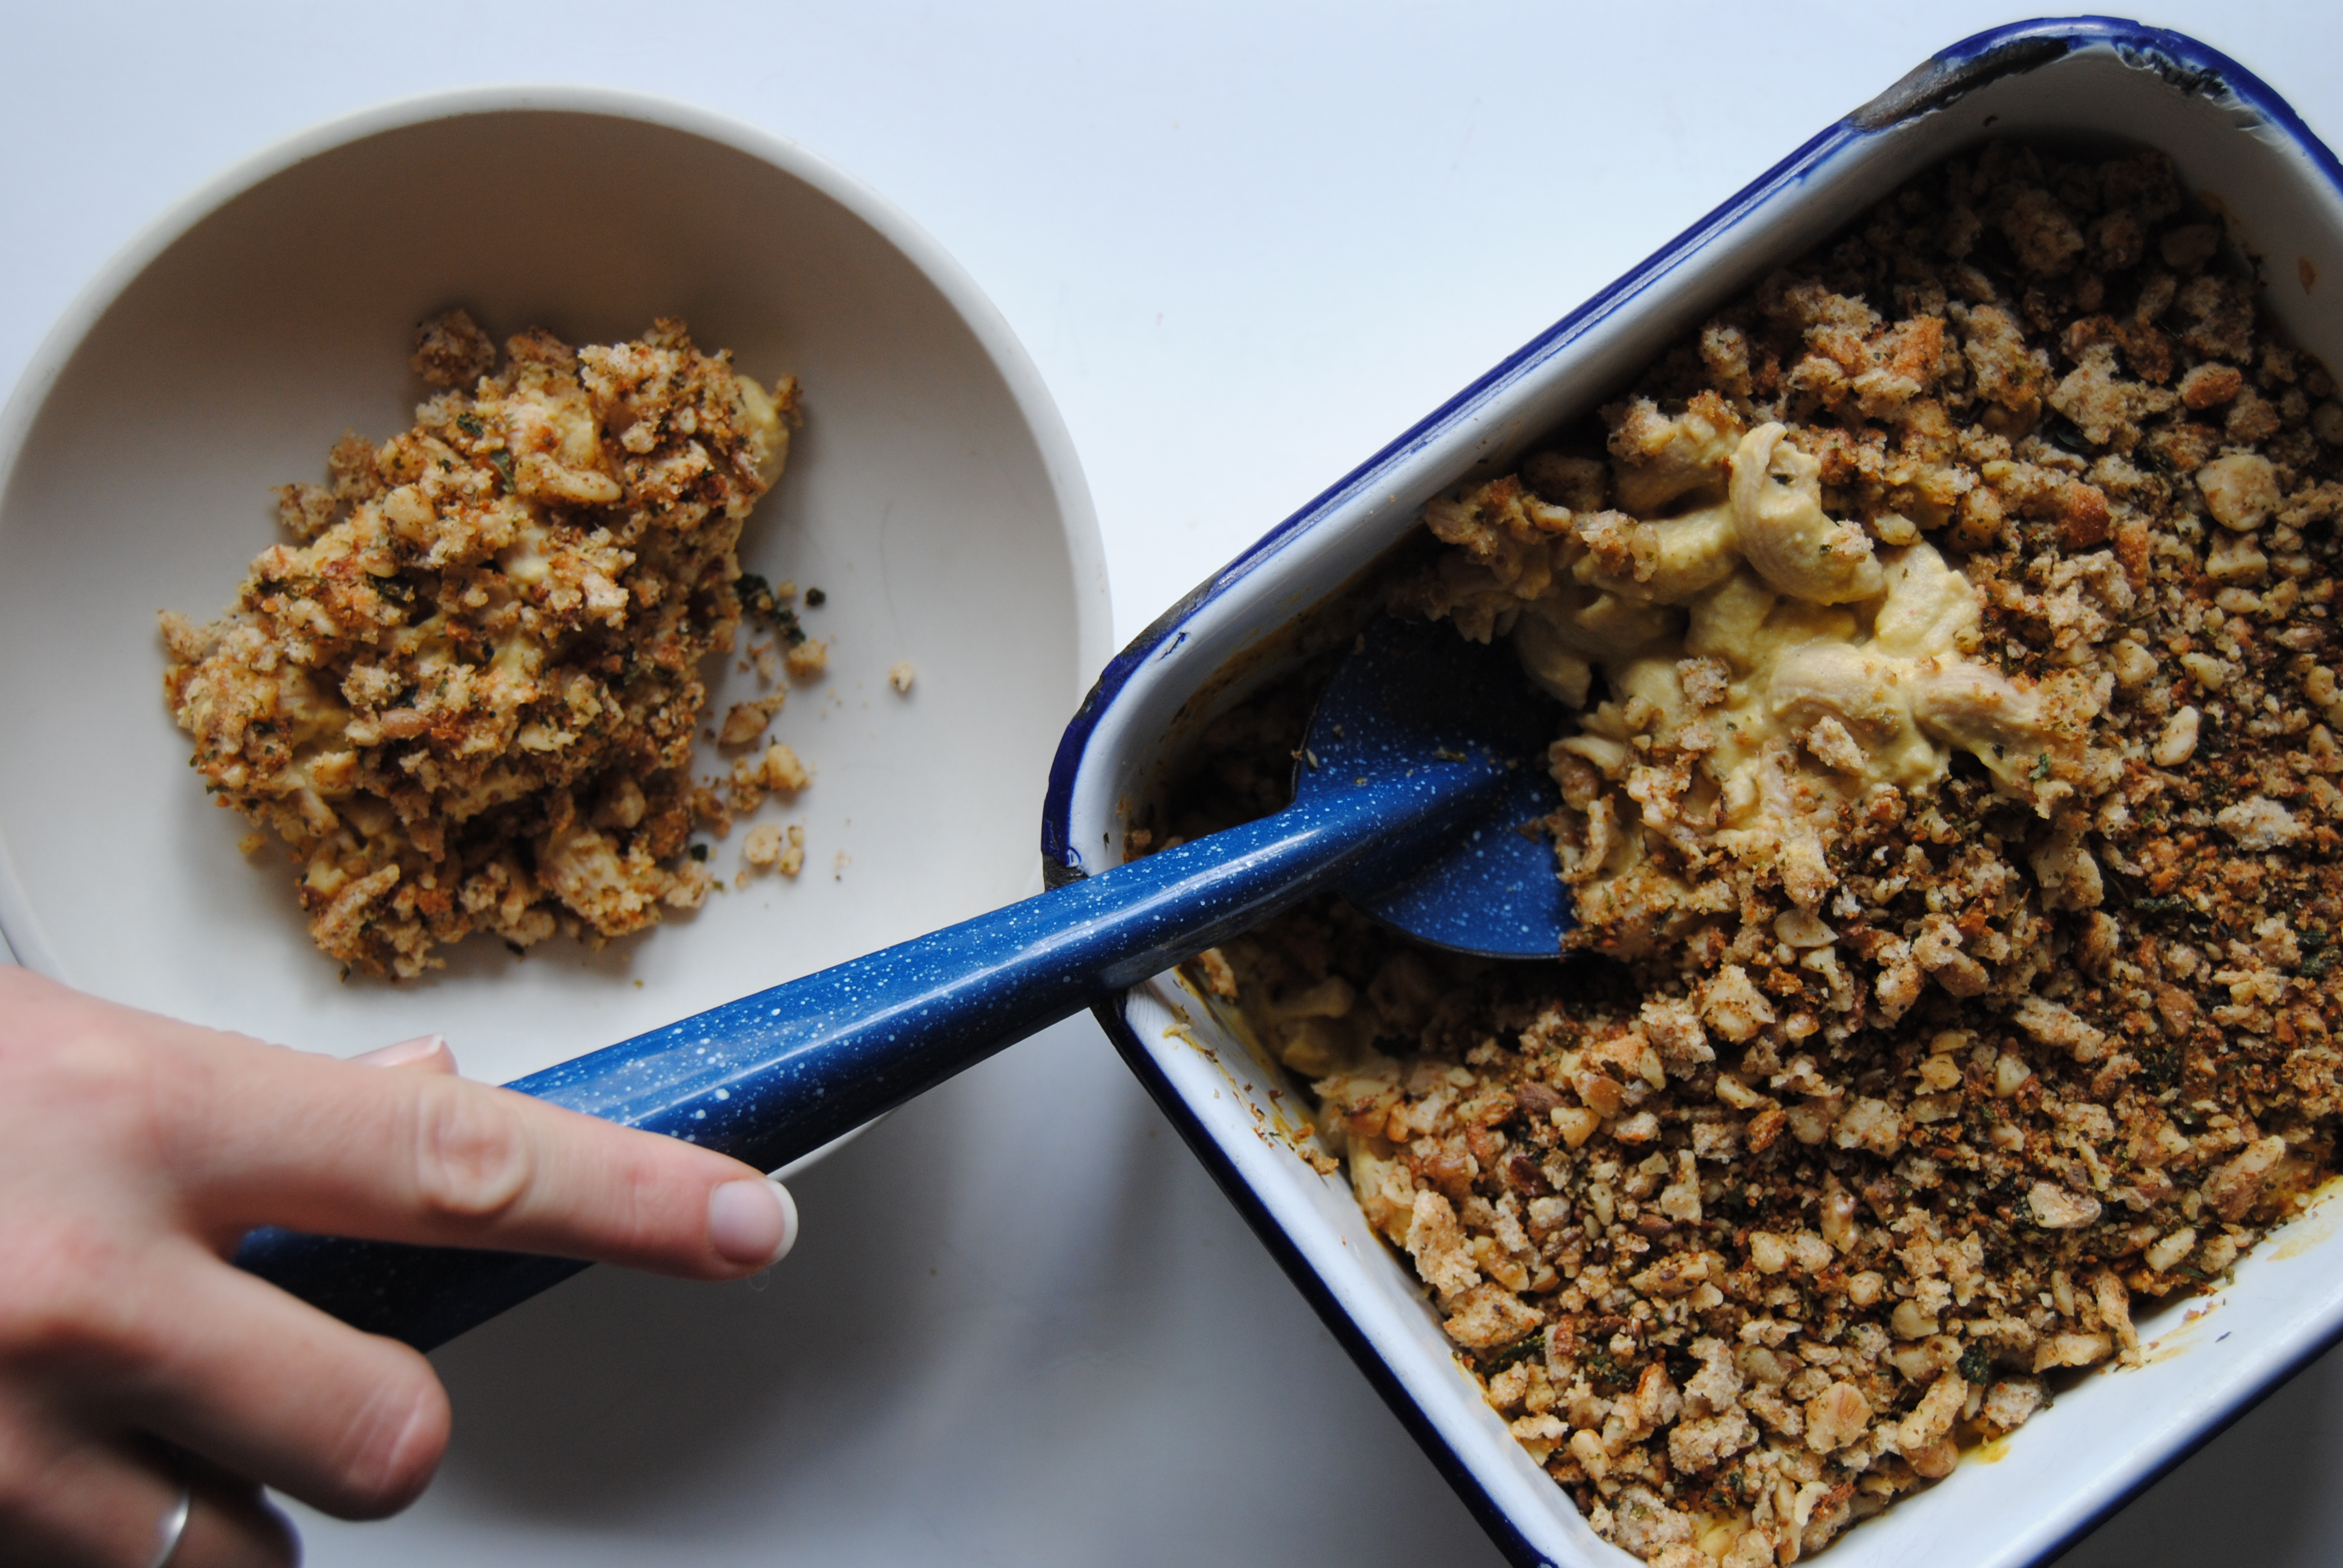
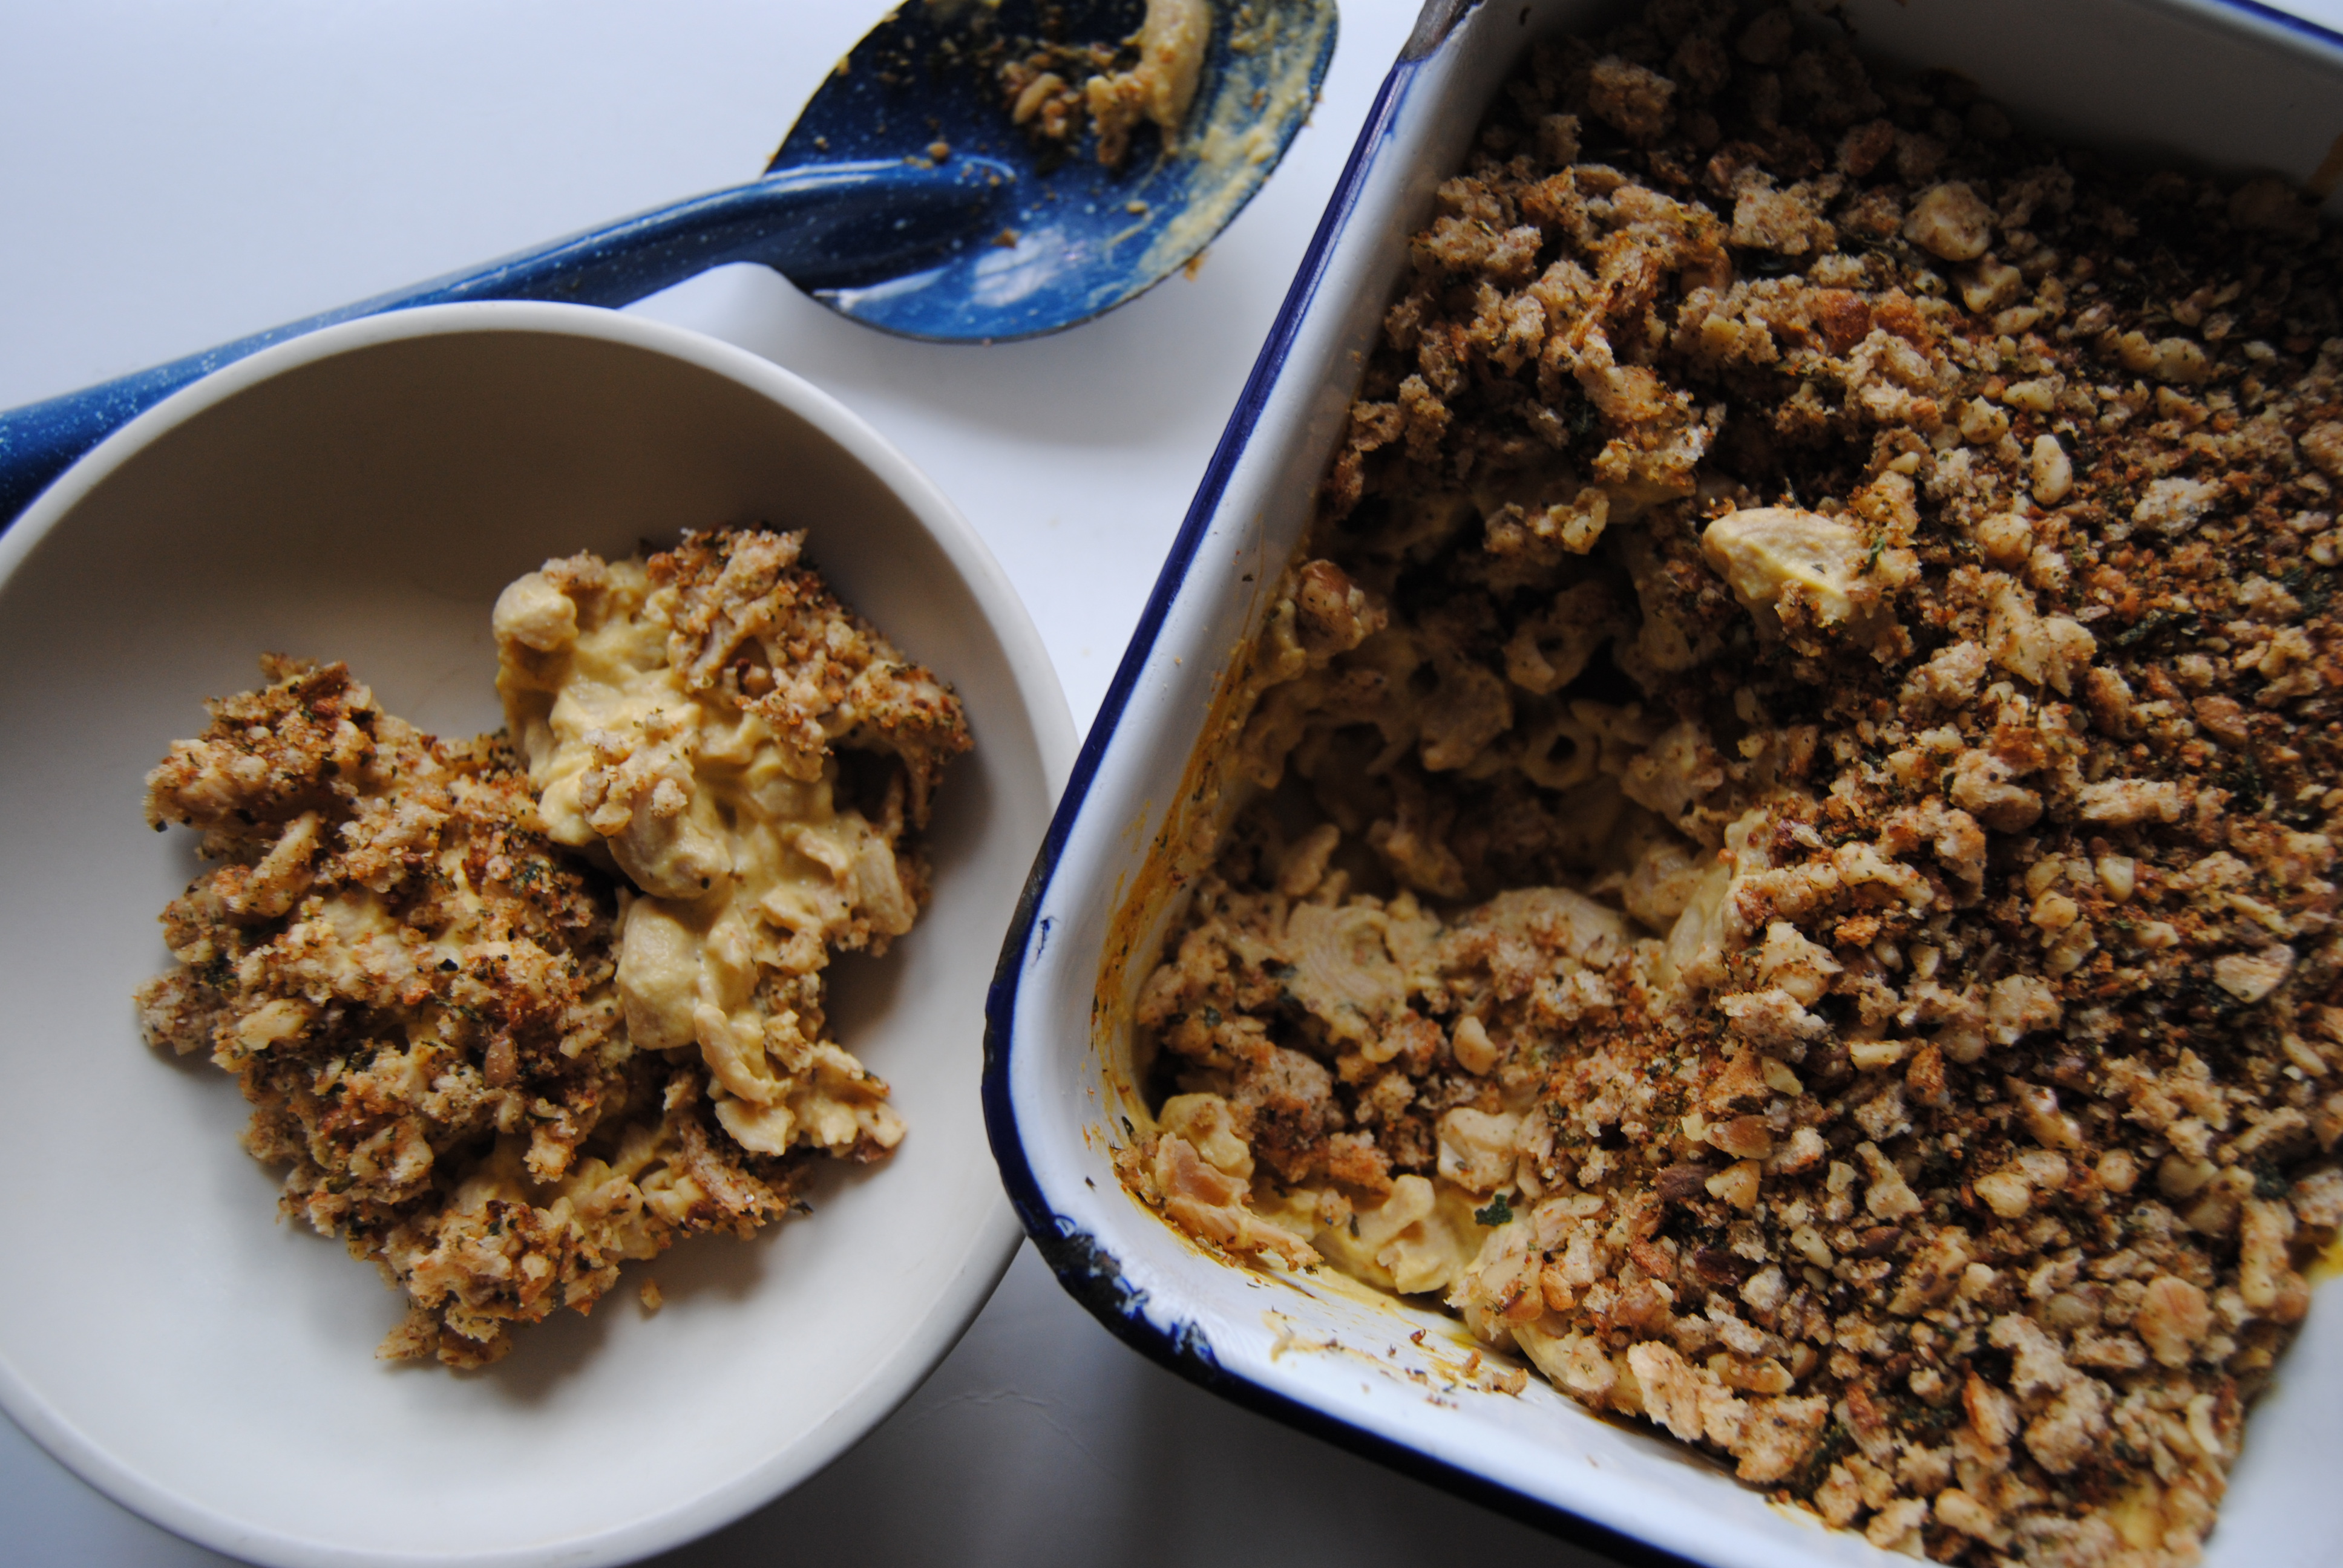
TGBK friends, it's Thanksgiving this week and the perfect time to express how grateful we are for each and every one of you. Keeping up with new recipes and posts from week to week would seem a lot more like the hard work it is if we didn't love it so much. But knowing that there are people all over the country waiting on and enjoying our recipes makes it so enjoyable and definitely worth the time and energy. We wanted to create something really special for you all this week and are so happy with the result. If you're vegan/vegetarian and looking for a decadent dish to enjoy at Thanksgiving dinner then this one is especially for you - and even if you're not this will make a delicious side to enjoy and share. So in the spirit of the holidays let's get straight to the recipe (and eating!) and skip on the teaching this week. Pumpkin and Cashew Cream"Mac & Cheese" PREP TIME: 30 minutes + 8 hour soaking time TOTAL TIME: 40 minutes + 8 hour soaking time Servings: 4-6 servings Ingredients 8 oz dried pasta (we used quinoa pasta) "Cheese sauce" 3/4 cup raw cashews, soaked 3/4 cup water (fresh water, not the soaking water) 1 1/4 cup pumpkin puree 3 Tbsp nutritional yeast 1/2 tsp sea salt, more to taste 1/4 tsp nutmeg powder 1/4 tsp cayenne powder 1/8 tsp onion powder 1/8 tsp black pepper powder, more or less to taste Fried sage bread crumb topping 4 slices of quality bread, about 3 cups cubed (we used whole wheat sunflower seed bread) 1/2 cup walnut pieces 6 sage leaves 2 Tbsp dehydrated kale powder 1 Tbsp coconut oil 1/2 tsp sea salt 1/4 tsp black pepper Soak cashews in room temperature water for 8 hours or overnight. Drain cashews from soaking water then add to a high speed blender or food processor, cover with fresh water, and blend on high until a smooth cream like texture is formed. Add in pumpkin puree, nutritional yeast, salt, nutmeg, cayenne, onion powder, and black pepper. Process on high until a smooth "cheese sauce" texture is formed then set aside. Cook pasta according to package directions, drain and set aside. While the pasta is cooking start making the bread crumb topping. Begin by toasting the bread until golden brown. Cut into small cubes and place in a food processor. Process until bread crumb texture is formed then set aside. In a sauté pan add coconut oil and bring to medium heat. Add sage leaves and fry on both sides until crispy, about 1-2 minutes. Remove fried sage from the pan and with the remaining oil in the pan, add walnut pieces, bread crumbs, dehydrated kale powder, sea salt, and pepper. Toast mixture in sauté pan for 3-4 minutes until fragrant. Remove mixture from the heat then add in crumbled fried sage. To assemble the "mac and cheese" mix cooked pasta with "cheese sauce" then place in an oven proof dish (11" x 7" rectangular pan, 8" x 2" round pan, or 8" x 8" square pan). Top with bread crumb topping and bake in a pre-heated oven for 5-7 minutes until warmed through. This dish is best served warm right out of the oven. If you have left overs, store in the fridge and reheat in a 350 degree preheated oven for 8-10 minutes. We promise this is vegan but you could easily be fooled by the the final result. The pumpkin and cashew cream create that perfect creamy richness you would expect from traditional mac and cheese. The flavors of spicy cayenne, sweet nutmeg, and tangy nutritional yeast create such a perfect balance that you won't even miss or notice that this "mac and cheese" dish contains no actual cheese. Not to forget about the breadcrumb topping with crunchy walnuts and fried sage for an extra pop of texture and flavor. Top that all off with a beautiful color from the pumpkin puree and this dish will be the unexpected star this holiday. We hope you enjoy this and other good food with friends and family this holiday week. Since we will be doing a lot of the same we won't be posting next week but will be back first thing in December with more holiday inspired eats. See you then!
With heartfelt thanks, Jess and Cecelia
1 Comment
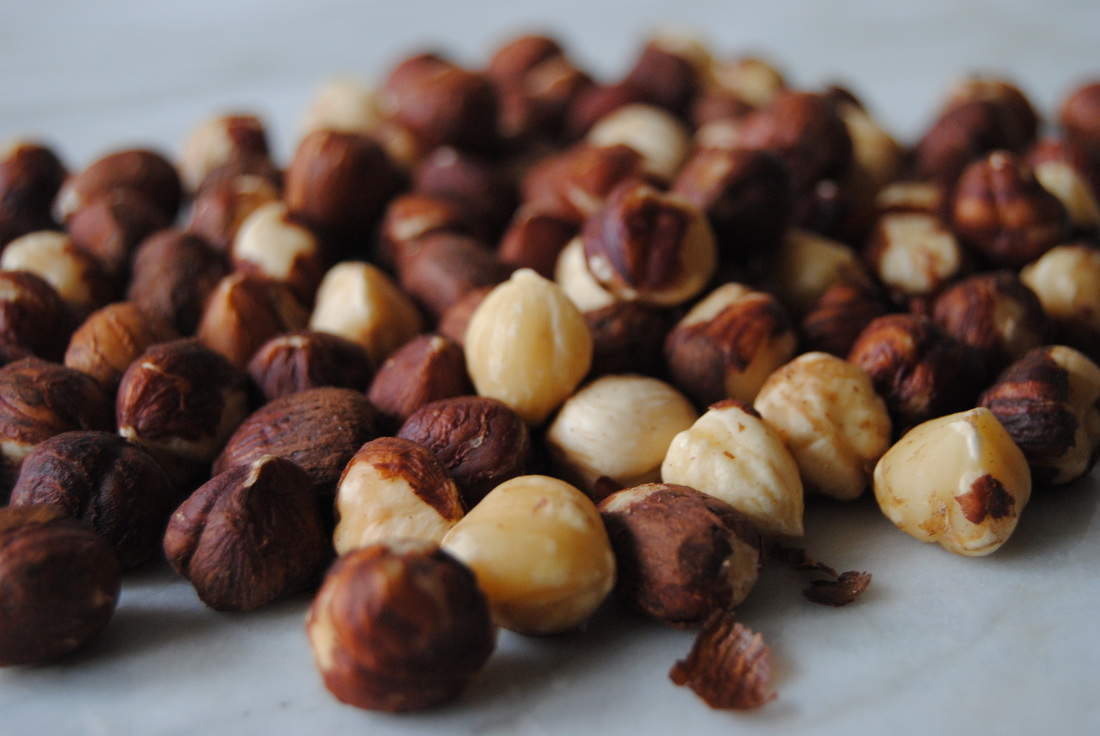
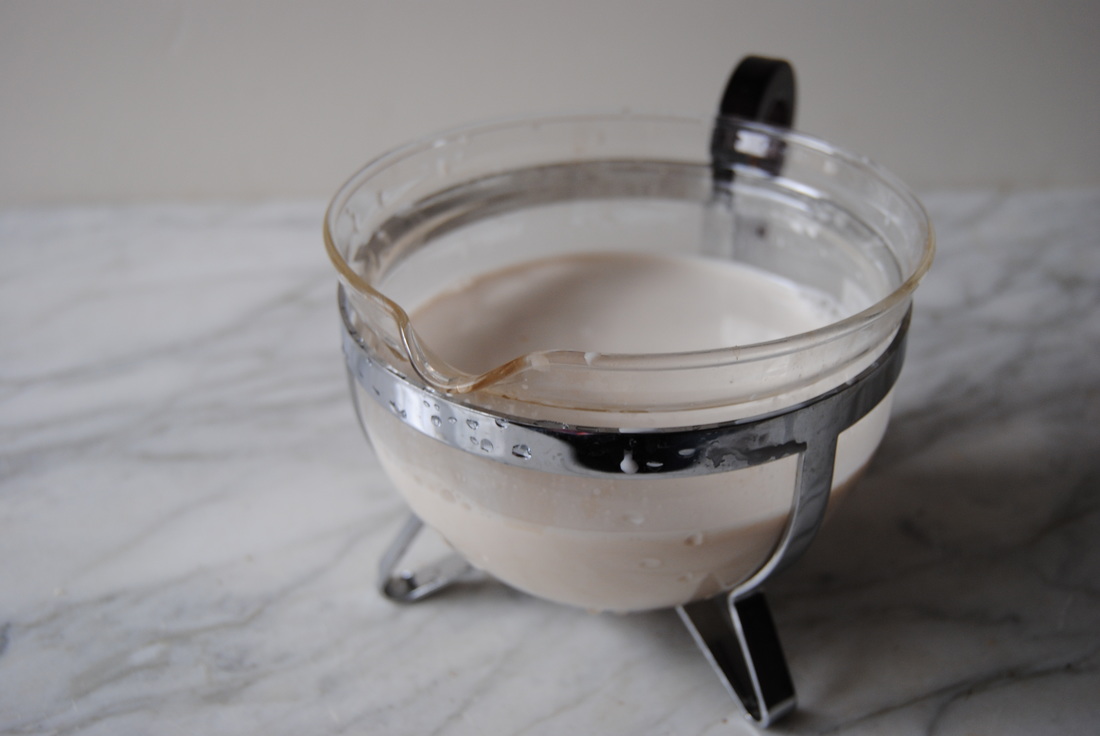
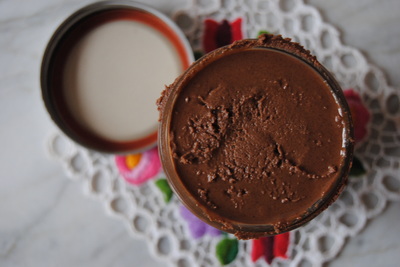
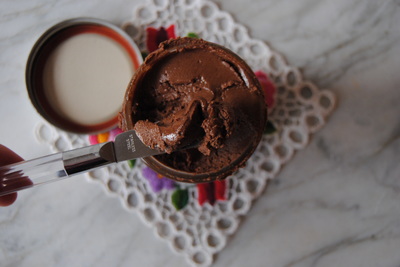
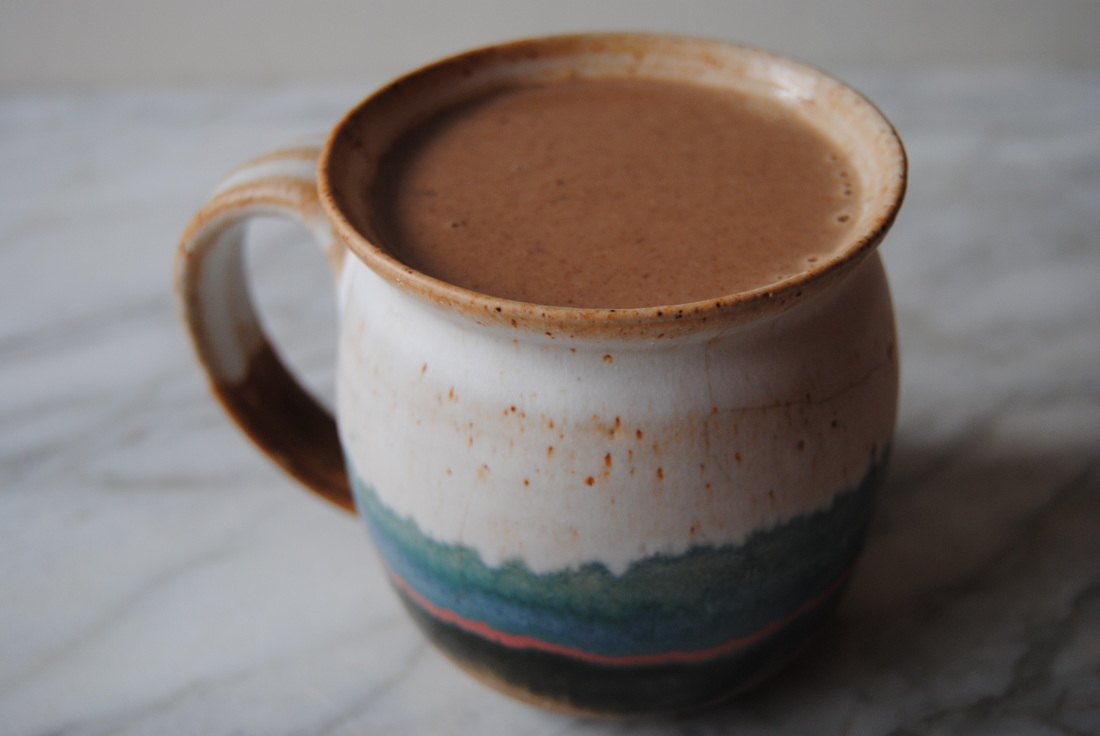
We were in need of some fun this week and decided to do a little experimenting in the kitchen. First, we picked a food to experiment with and decided on the delicious hazelnut. They are just so cute and provided the perfect range of culinary options for our plans this week. And boy did we learn more than we ever expected! 1. Hazelnuts make the BEST nut milk! So we've sworn to never make another nut milk again (okay maybe an exaggeration). We found hazelnut milk to have a rich and creamy texture and full flavor that can't be matched by other homemade nut milks. Don't believe us, try for yourself! Hazelnut Milk PREP TIME: 8-12 hour soaking time TOTAL TIME: 8-12 hour soaking time + 10 minutes to blend and strain Servings: 16 oz Ingredients 1 cup raw hazelnuts 2 cups room temperature water Place hazelnuts and water in a large glass bowl and either cover with a lid or plastic wrap then allow to sit out at room temperature for at least 8 hours. Once nuts are done soaking, drain off the soaking water. Add 2 cups of fresh room temperature water and soaked nuts to a high speed blender or food processor and blend on high for 2-3 minutes. Using a colander layered with a piece of cheese cloth or a nut milk bag, strain "milk" from the solids making sure to ring out as much liquid as possible into a pitcher or bowl. If using a small colander or small nut milk bag, this works best to do in a few batches. Store hazelnut milk in an air tight container in the fridge for 5-7 days. 2. Homemade "nutella" is tricky to make but worth the effort! Though we didn't exactly replicate the smooth texture and sweetness of store-bought nutella we still love the final outcome. We added almond to our recipe to help with texture and found the final product to be a delicious spread somewhere between traditional nutella and a chocolate nut butter. And with the added nuts this spread is higher in protein and overall nutrition, so a win there! Chocolate Hazelnut-Almond Spread PREP TIME: 10 minutes TOTAL TIME: 15 minutes Servings: ~12 oz Ingredients 1 1/2 cups unsalted almonds, roasted 1 1/2 cups unsalted hazelnuts, roasted 2/3 cups dark chocolate chips 1 tsp pure vanilla extract 1/2 tsp sea salt If you purchased raw nuts roast on a baking sheet in a single layer at 350 degrees for about 5-10 minutes watching closely so that the nuts don't burn. Allow to cool. In a high speed blender (ex: Vitamix or Blendtec), process almonds and hazelnuts on high until a semi-smooth nut butter is formed, about 3-5 minutes. In a microwave safe bowl or over a double boiler melt chocolate chips. If using a microwave, heat chocolate in 10 seconds increments stirring every 10 seconds to make sure you do not burn the chocolate. Pour melted chocolate, vanilla extract, and salt into the blender and continue to blend on high until a smooth spreadable nut butter is formed. Store in the fridge in an air tight container for up to 2 months. 3. These two recipes combined make an amazingly rich and delicious hot chocolate. The creamy hazelnut milk and chocolate hazelnut-almond spread are the perfect companions in this warm dessert beverage. We did find this hot chocolate best consumed in a small portion (4 ounces) as it is filling from the nut spread and hot off the stove for ideal texture. Definitely a pick me up treat as the days get darker and colder.
Almond Hazelnut Hot Chocolate PREP TIME: 5 minutes TOTAL TIME: 5 minutes Servings: 2 Ingredients 8 oz hazelnut milk 2 Tbsp chocolate hazelnut-almond spread In a small pan over medium heat, mix together 8 oz of hazelnut milk and 2 Tbsp nut butter. Stir constantly until the nut butter has dissolved and milk is warm. Remove from the heat and pour into 2 glasses and sip away. So we hope you've enjoyed learning more about hazelnuts with us this week and have some fun for yourself with these recipes. If you have kitchen experiments you'd like to share, please do! We love to hear from you. Have fun, Jess and Cecelia
Ok, we get it. We all have our least favorite foods and bad food related memories. Maybe an improper cooking method or unpleasant situation created a lasting negative memory surrounding a certain food. But if given a second chance with the right preparation and a balanced recipe these foods may still stand a chance to be enjoyed in our diets. We know many people will cite Brussels sprouts as a disliked food and are challenging any followers that can relate this week to give them a second chance! We think this savory tart recipe will provide the perfect medium to allow Brussels sprouts to shine in a delicious but unassuming way. Challenge accepted?
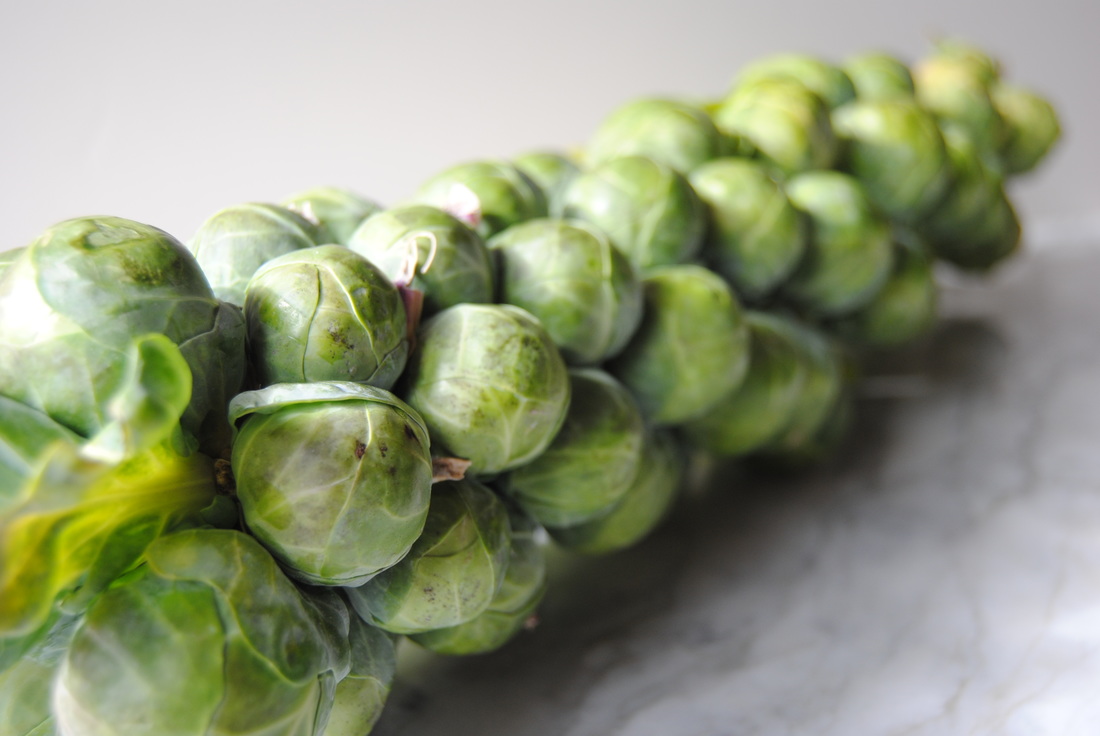
Brussels sprouts are so named as they were first reported in the Brussels region of Belgium 250-300 years ago. They are a member of the cruciferous family, require cool weather for growing, and have a long growing season that extends into late fall. The sprouts resemble small cabbages and grow along the stem of the plant between the leaves. If the leaves are removed you will get a fancy stalk of Brussels sprouts (pictured above) though you will often find them completely harvested as individual sprouts in stores. Nutritionally, Brussels sprouts pack a good dose of fiber as well as vitamin C and K. They also contain an organic compound, glucosinolate sinigrin, which contains sulfur and can lead to Brussels sprouts' "off" smell if they are overcooked. This compound has also been studied for its health promoting and protective qualities - just another reason why veggies, especially cruciferous vegetables, are promoted to prevent disease and maintain health. Unfortunately, Brussels sprouts can easily get a bad reputation if improperly cooked and are often cited as a most hated vegetable - so unfair! When roasted to golden brown, crisped into chips, or sautéed until just tender, Brussels sprouts are truly delicious and nutritious without the expected offensive smells. So please don't ever think of steaming these delightful sprouts to mush again!
Brussels Sprouts Tart
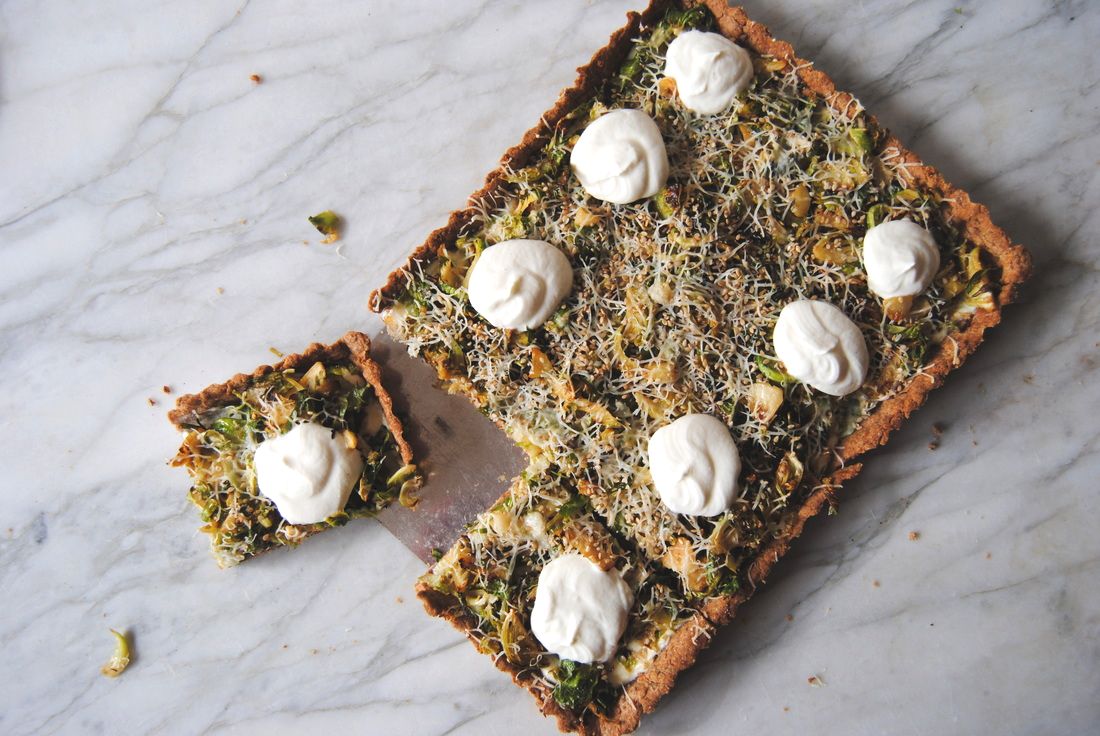
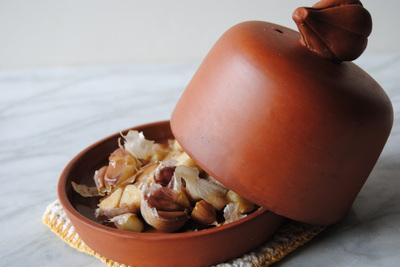
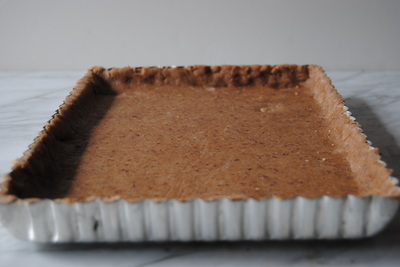
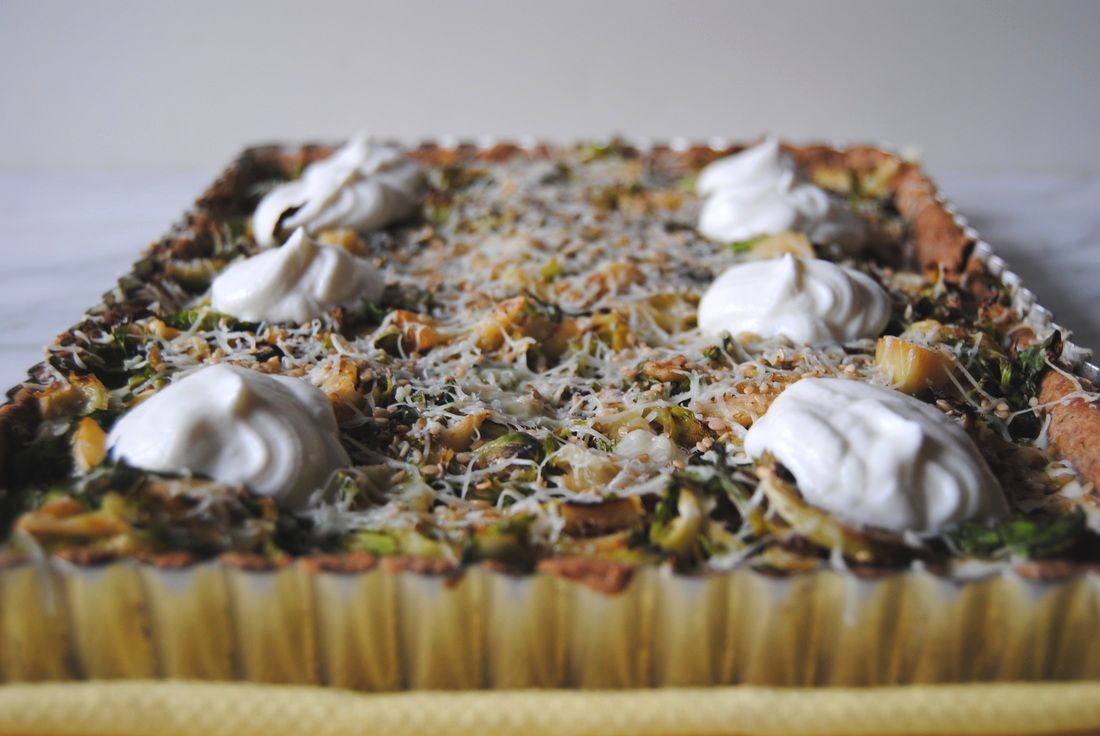
PREP TIME: 1 hour TOTAL TIME: 1 hour 15 minutes Servings: 8 Ingredients Dough 1 ½ cups + 6 Tbsp whole wheat flour 6 Tbsp salted butter, cold 2 Tbsp cane sugar 4 Tbsp whole milk 2 Tbsp ground flax seeds + 2 Tbsp water 1/8 tsp sea salt Brussels Sprouts 1 lb Brussels sprouts, ~4 cups once shaved 1 Tbsp salted butter ¼ tsp sea salt 1/8 tsp pepper or more to taste Cheese Sauce 8 oz whole milk ricotta 4 cloves roasted garlic 2 Tbsp extra virgin olive oil (we used roasted garlic extra virgin olive oil) Toppings 6-8 cloves roasted garlic 2 oz grated Parmasean 1 Tsbp sesame seeds Whipped Ricotta Swirls 8 oz whole milk ricotta 2 Tbsp labneh (or full fat Greek or Icelandic yogurt) 1/8 tsp sea salt Preheat oven to 350 degrees. Cut a head of garlic in half, drizzle with olive oil, and place in preheated oven either in a garlic roaster or in a piece of foil and roast for 30 minutes. Remove from the oven and allow to cool to room temperature. To make the tart dough, whisk together the ground flax seeds with water and set aside. In a standing mixer or by hand, mix the flour, sugar and salt. Add in the cold cubed butter and mix until a coarse texture is formed. Add in the flax seed mixture and whole milk and mix until dough comes together. Form into a disc, cover with plastic wrap, and refrigerate for at least 30 minutes. Dough can be made the day before and kept in the fridge until ready to use. Wash Brussels sprouts then use a sharp knife to finely shave sprouts until you have ~4 cups. To shave, cut off the ends of the sprouts then cut in half from top to bottom. Thinly cut each half either crosswise or lengthwise and pull apart any large pieces that stick together with your fingers. In a large pan over medium high heat add shaved sprouts, butter, salt, and pepper and sauté until sprouts become wilted with golden edges, about 7-10 minutes. Remove from heat and set aside. Remove the dough from the fridge and place between two pieces of parchment or wax paper. Using a rolling pin, roll the dough into a thin sheet, about ~1/8" thick making sure to roll the dough out a few inches larger then your tart pan. For this recipe we used a 11 X 7 " tart pan. Please note, a rectangle, square, or circular tart pan around this size will work. Carefully place dough over tart pan and again using a rolling pin, roll over all four edges to evenly cut the edges of the dough to perfectly fit the pan. Place dough in preheated oven at 425 degrees and cook for 25 minutes. Combine ricotta cheese sauce ingredients in a bowl and set aside. Remove tart shell from the oven and evenly spread the ricotta garlic sauce over the dough then place the Brussels sprouts over the ricotta sauce. Sprinkle with additional roasted garlic cloves (amount to taste), grated Parmesan, and sesame seeds over the top. Reduce oven temperature to 350 degrees and place the tart back in the oven and continue cooking for additional 5-10 minutes or until the cheese has melted. While the tart is cooking combine the remaining ricotta with labneh (or yogurt) and salt. Place mixture in a pastry bag fitted with a small piping tip or a resealable sandwich bag with a small cut out of the corner will also work. Once the tart is removed from the oven pipe out 1/2 oz of the cheese mixture into a swirl shape on top of the tart. We chose to pipe out 8 swirls, one for each piece. Serve tart warm or leftovers can be stored in the fridge for up to 3 days. Reheat leftovers in a 350 degree oven for 5-7 minutes prior to eating.
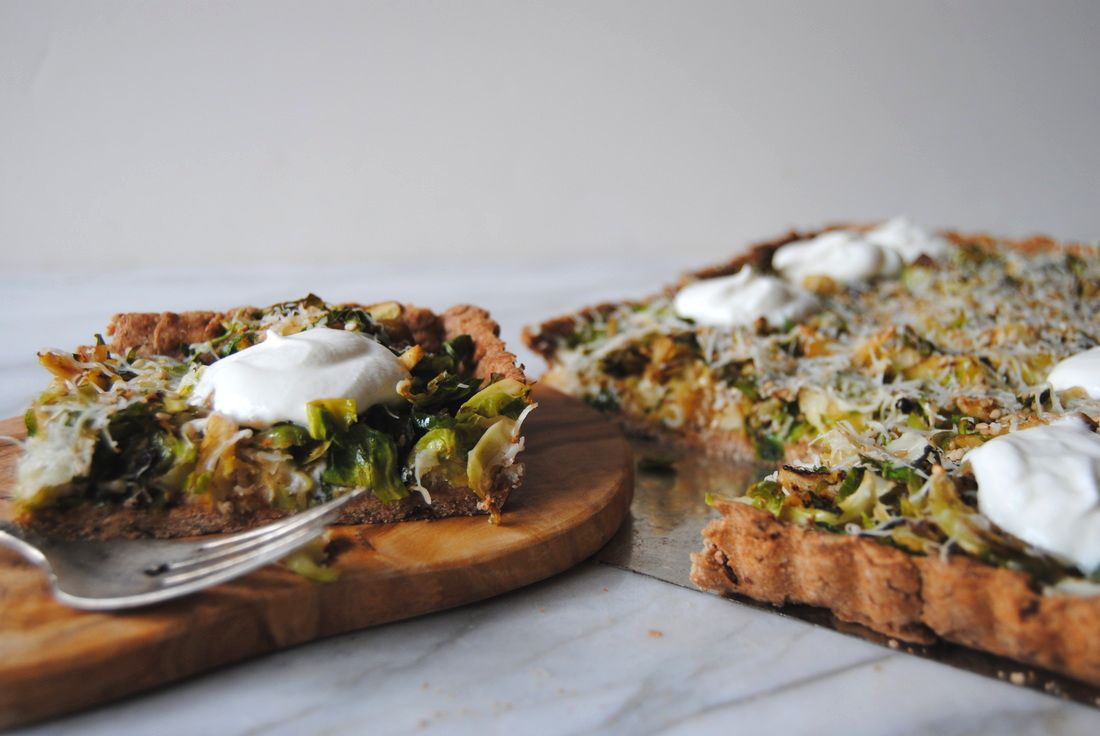
The best word to describe a bite of this tart is unexpected. The crust has a flakey sweetness that compliments the rich and creamy ricotta and the delicate roasted garlic packs a punch of flavor with each bite. All of this to highlight the tender and earthly Brussels sprouts that you've now come to appreciate and love, right? If you've accepted our challenge and changed your mind about this cruciferous veggie please share your revelation and our recipe with others - Brussels sprouts deserve a second chance! And if you've loved Brussels sprouts from the start, simply, enjoy.
Until next week, Jess and Cecelia |
AuthorsJess and Cecelia welcome you to our kitchen. We are fun-loving and passionate foodies working to make the world a healthier, happier place one plant based recipe at a time. Categories
All
Archives
December 2018
|

