|
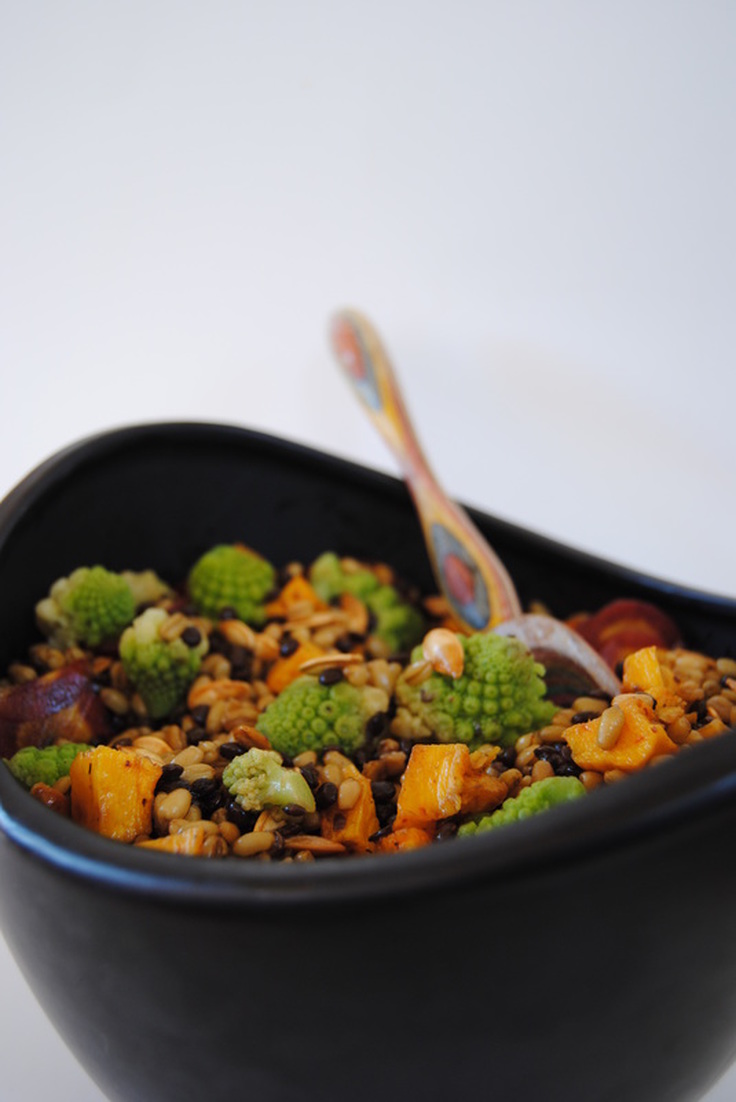
We don't know about you, but when creating this recipe we realized that there are very few (if any!) classic Halloween foods or meals. Of course there are plenty of favorite Halloween treats and sweets but what are people eating for dinner? Or is it just all dessert all day? We have so many questions and one great answer....this salad. It really is the first food we've ever had that gives us a Halloween feeling, and all holidays should have a classic meal right? And what's more is that this salad features a grain with a spooky name, freekah! Read on to find out what freekah is and why this salad is a must for dinner this Halloween.
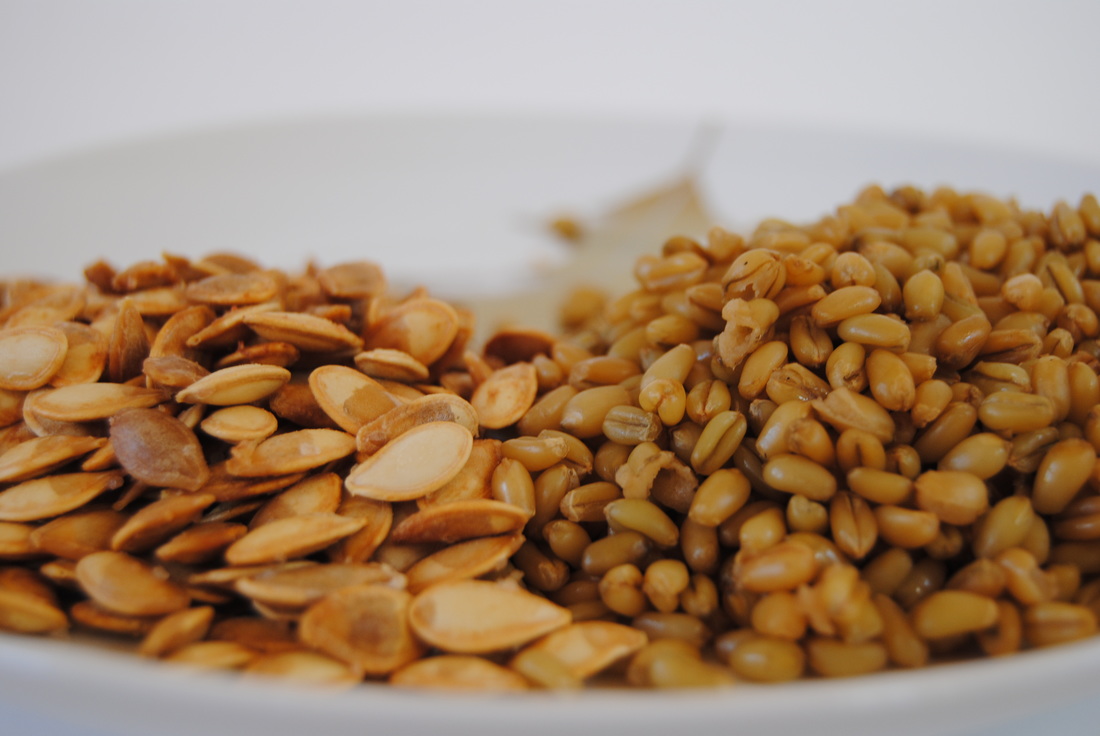
Freekah, also known as roasted young green wheat, is freakin' amazing! Now you may be asking, how does this grain compare to standard wheat? Well freekah is harvested from a wheat plant when the grain is still young which means it retains more nutrients such as protein, vitamins, and minerals (yay!). With eight grams of plant protein, four grams of fiber, essential nutrients such as potassium, selenium, magnesium, and a little zinc and iron all packed into a 1/4 cup uncooked serving, this grain definitely needs a spot in your pantry! When cooking freekah it is best to use a ~2:1 ratio of liquid to grain. Uncracked freekah will take longer to cook (~50-55 minutes) versus cracked which takes ~20-25 minutes. This grain has a bite to it and even when fully cooked has a semi-hard chewy texture adding a unique element to your pantry. So it's about time you stock up on this amazing grain and start on this Halloween recipe before it's too late.
Freaky Freekah Halloween Salad
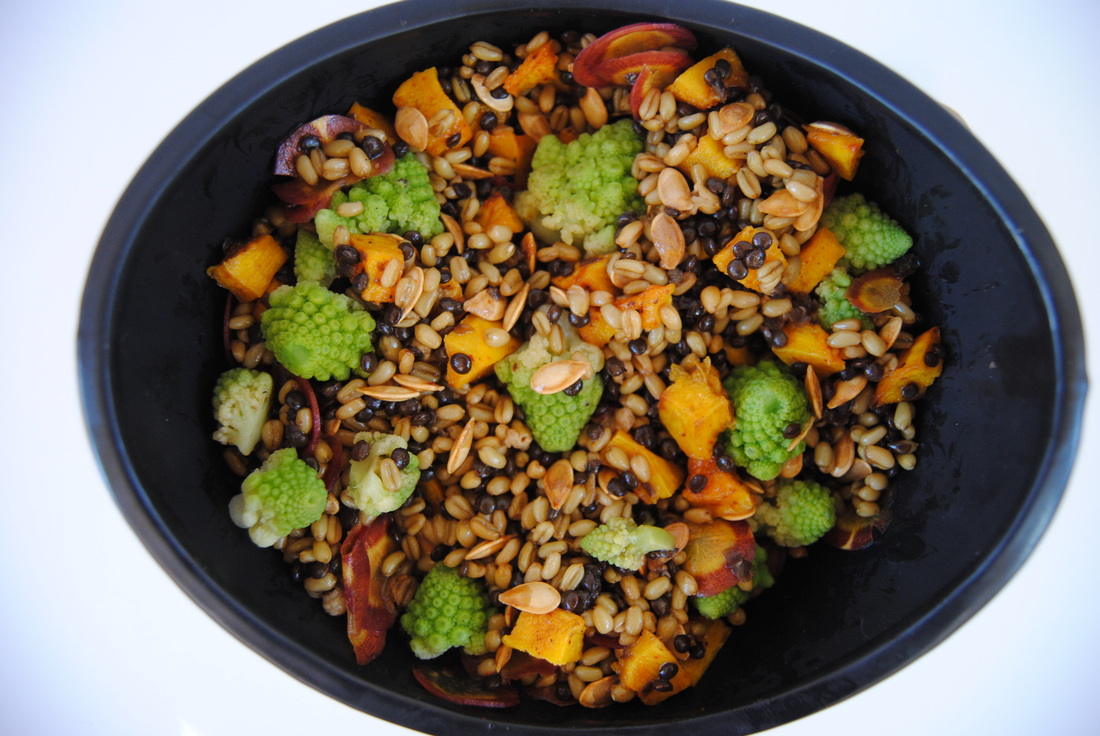
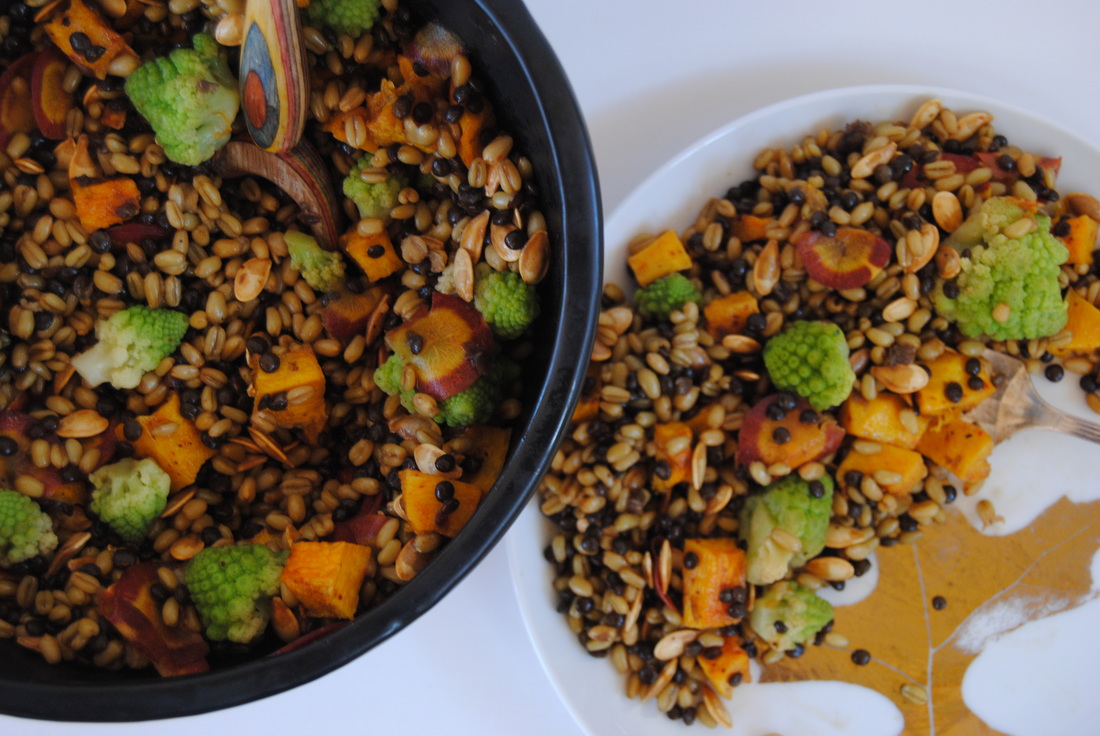
PREP TIME: 90 mins TOTAL TIME: 95 mins Servings: 4 large salads Ingredients Salad 1 cup dry Freekah 1/2 cup black lentils 1/2 small sugar pumpkin, reserve the seeds for roasting (~1/3 cup seeds) 1 medium purple carrot 1 small head Romanesco broccoli 5 Tbsp olive oil Sea salt Dressing 2 oz sweet soy sauce (or 4 Tbsp regular soy sauce with 4 tsp honey added) Juice of 1 lime 1-2 tsp sriracha hot sauce In a large pot combine 1 cup freekah and 2..5 cups water. Bring to a boil then reduce to a simmer and cover with a lid. Cook for 50-55 minutes or until freekah is slightly tender. Drain freekah then place in a bowl to cool. While the freekah is cooking begin the lentils. Rinse lentils until running water until water runs clear. Combine 1 cup rinsed lentils with 4 cups water in a pan over medium to high heat. Bring lentils to a boil, then reduce heat to a simmer, cover with a lid, and cook for 30 minutes. Once lentils are fully cooked, drain remaining water and set lentils aside. While the lentils are cooking, carefully take the skin off of the pumpkin and cut into 1"x1" cubes. *Note if you can find raw cubed pumpkin this would be a lot easier! Reserve the pumpkin seeds for roasting. Rinse the pumpkin seeds under running water until clean. Pat dry with a paper towel and add to a parchment lined baking sheet. Add 2 Tbsp olive oil and 1 tsp sea salt on seeds. Roast at 350° for 12-15 minutes or until crunchy. Drizzle pumpkin cubes with 2 Tbsp olive oil and sprinkle with sea salt. Roast on a parchment lined baking pan at 350° for 25-30 minutes or until soft. Remove from the oven and set aside. Using a mandolin or very sharp knife, slice the carrots paper thin into circular rounds then set aside. Chop broccoli into small florets and pan saute with 1 Tbsp olive oil and a sprinkle of sea salt for 5-7 minutes or until slightly soft with golden edges. Finally make the dressing by combining the juice of 1 lime, sweet soy sauce, and sriracha. Phew! You're still with us? Now it's time to assemble the salad! In a large spooky bowl, combine the freekah, lentils, pumpkin, pumpkin seeds, carrots, and broccoli. Pour dressing over the top of salad and fully mix to combine flavors. Enjoy warm or at room temperature.
The combination of flavors and textures in this salad is so good that it's well, spooky! A perfect addition to your Halloween this year as a filling and fall themed meal prior to hitting the streets (for trick or treating that is!).
Happy Halloween from TGBK, Jess and Cecelia
0 Comments
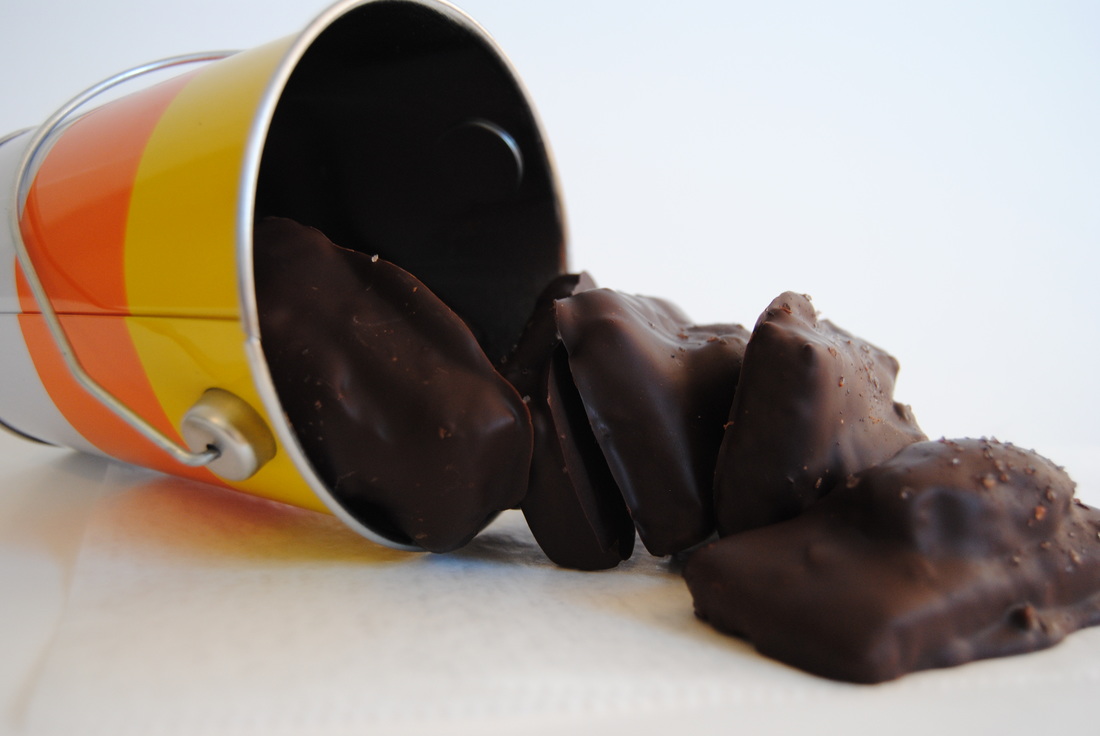
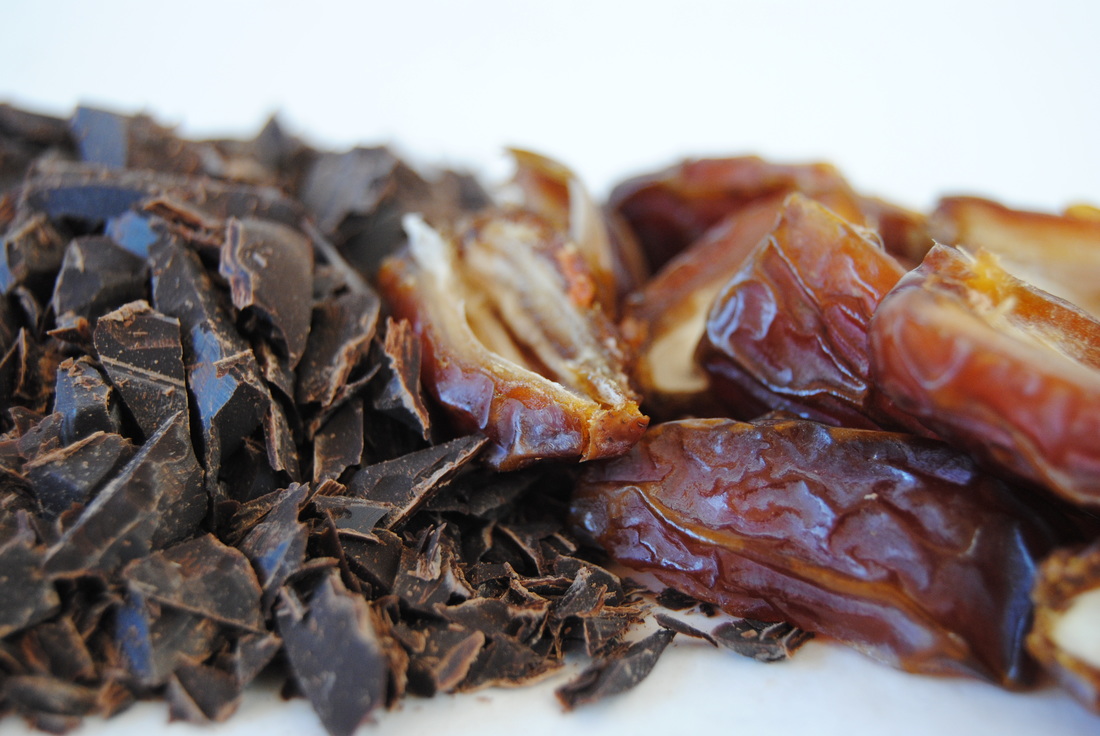
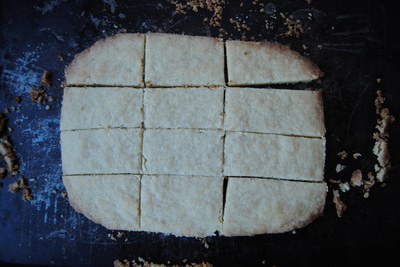
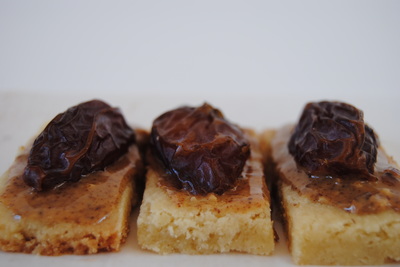
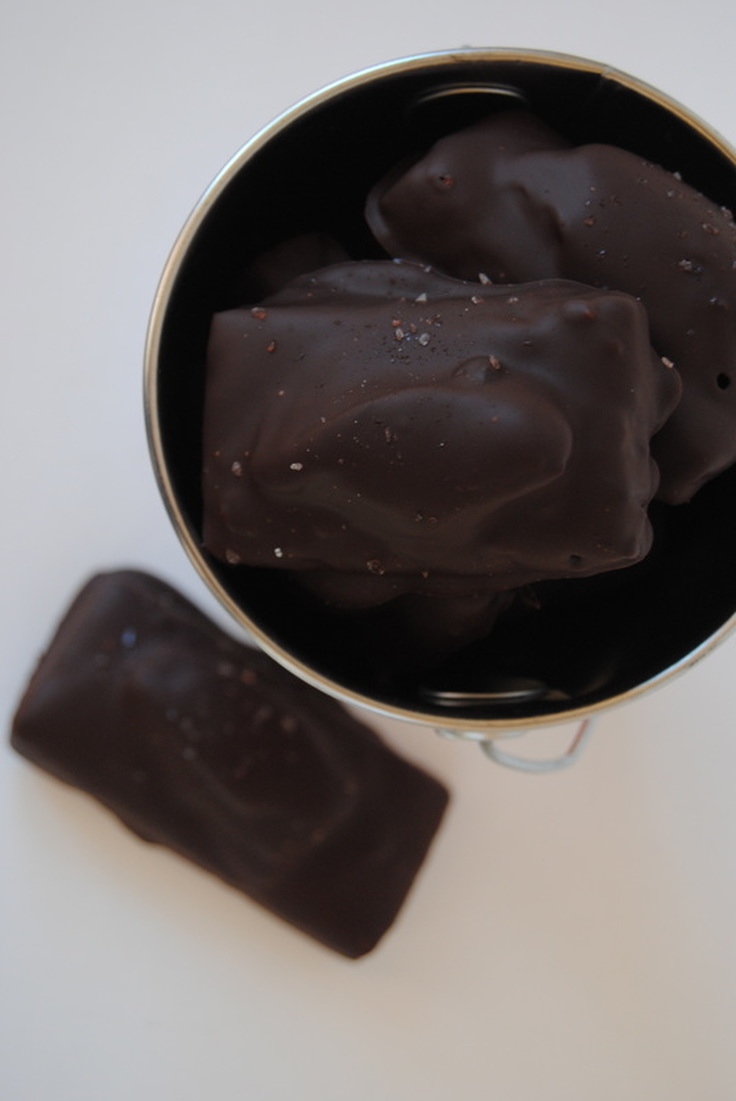
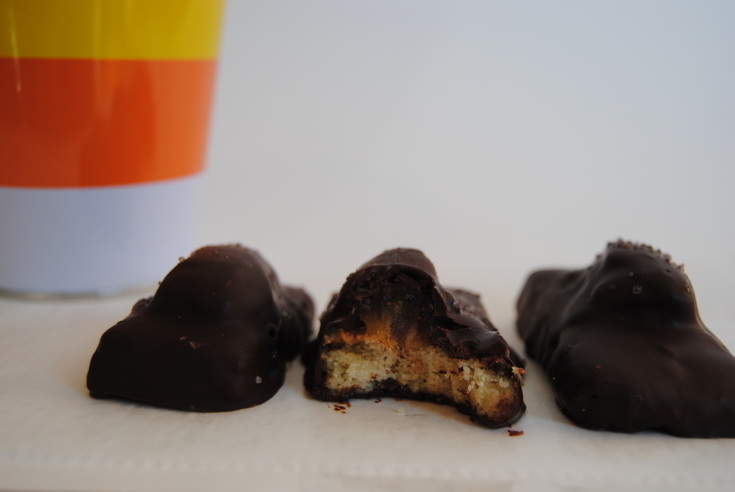
With October being the start of a long season of treats, we thought it would be fitting to give you an amazing homemade candy recipe. Because let's face it, even though homemade candy is more work, the quality and flavor profile just can't be beat. Our favorite way to make homemade candy is to pick a standard store bought classic and recreate it with awesome (and better!) ingredients. So go ahead and try to guess our candy inspiration for this post and we'll give you a hint at the end just in case! Since this post is close to a holiday (Halloween!), we are going to take a break from trying to bombard you with fabulous nutrition information. Instead, you can refer back to this post if you are wondering why homemade candy is so nutritionally superior. But let's face it, we think those nutrition labels do all the talking... Shortbread Candy Bars PREP TIME: 25 mins TOTAL TIME: 60 mins Servings: 12 candies Ingredients 1 stick butter, room temperature 1/4 cup sugar 1/2 tsp vanilla extract 1/8 tsp salt 1 cup flour 6 Medjool dates, pitted and cut in half 1-2 Tbsps almond butter 8 oz dark chocolate, finely chopped 1 tsp coconut oil sprinkle of sea salt Preheat oven to 375. In a large bowl combine butter, sugar, vanilla and salt and mix with a fork until well combined. Sift flour over butter mixture and blend with a fork until a soft dough forms. Transfer dough to an ungreased baking sheet and press into a 8" x 5" rectangle with your fingertips. Score the dough with a knife two times widthwise and four times lengthwise creating 12 small rectangles. Bake until the edges are golden brown, about 15 minutes. Let pan cool for ten minutes and then cut dough into 12 individual cookies while still warm. Uneven and crispy edges can also be cut off (as pictured above). Once shortbread cookies are cool cut dates in half and remove pits. Carefully spread an even layer of almond butter on top of each cookie and place half a date on top of almond butter, pit side down. Once complete, place cookies in the freezer for 10-15 minutes until almond butter is firm. Meanwhile, chop chocolate and add to a double boiler. Add coconut oil and allow mixture to fully melt stirring frequently. Once chocolate is melted, remove cookies from the freezer. Using a wide bottom fork, carefully dip cold cookies one at a time into the melted chocolate and use a spoon to completely cover with chocolate. Allow excess chocolate to drip from the bottom of the fork for a few seconds before placing the complete bars on wax paper to cool. Before the chocolate is fully cooled, sprinkle the top with sea salt. Store in an air right container in the fridge for 5-7 days.....if they last that long! Allow bars to warm to room temperature before eating if they have been chilled. *Cookie recipe adapted from The Gourmet Cookbook Shortbread recipe These candy bars are a perfect addition to your Halloween treats this year, you can make now or save this recipe until next week. And the fun you will have making them can become another holiday tradition. If you haven't figured out the classic favorite we are replicating let's just say that this candy's name rhymes with tricks (as in trick or treat) and you can share one with a friend and pick a side. If you're still stumped leave a comment and we'll help you out!
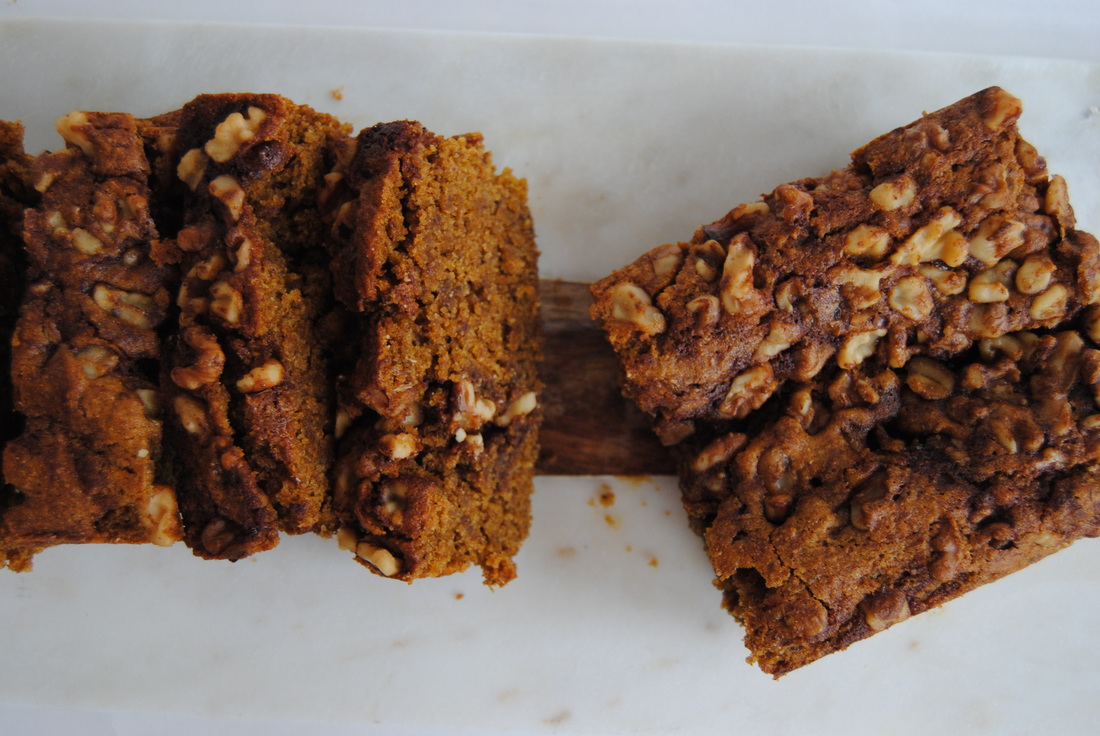
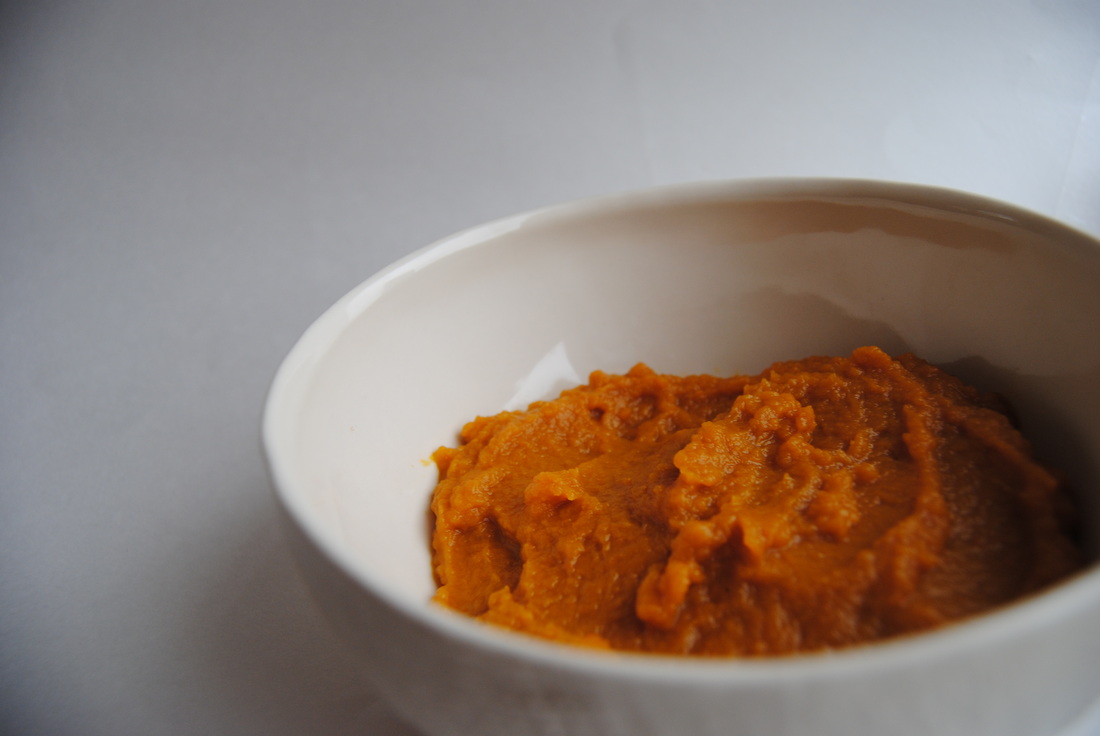
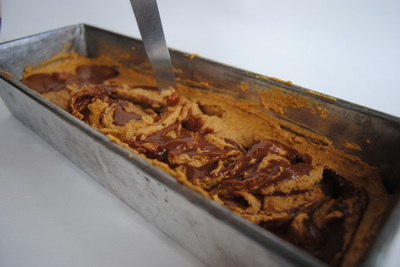
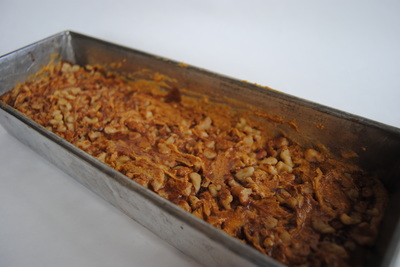
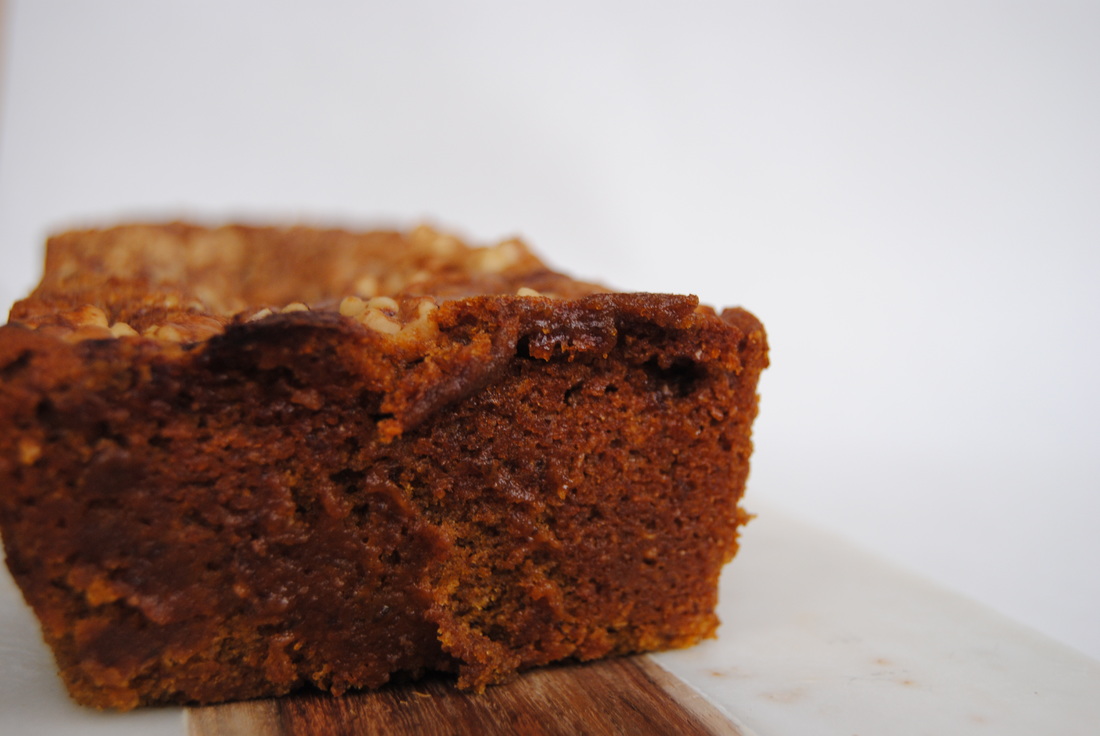
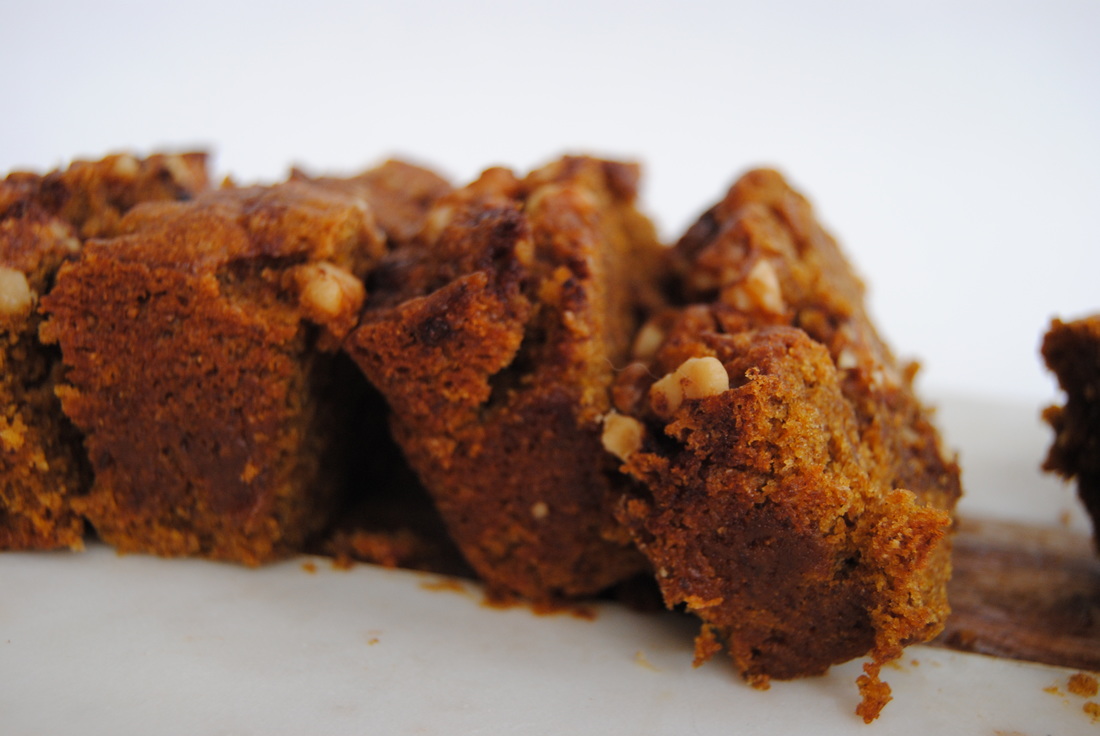
Trick or treat (we pick treat!), Jess and Cecelia It seems that everywhere you look this month there is another pumpkin flavored food item. And don't get us wrong, we love pumpkin as much as you do, but we like our pumpkin flavored foods to actually contain pumpkin! Many pumpkin food products contain none or a small amount of actual pumpkin and are flavored with pumpkin pie spices. Not that there's anything wrong with that (it's delicious!) but then you aren't getting all the benefits from pumpkin as a food. So let's find out why you want pumpkin in your diet and get our amazing pumpkin bread recipe (containing real pumpkin of course!). The glorious pumpkin is a member of the winter squash family which we discussed last week. Pumpkin is well know for it's decorative qualities this time of year and is also a nutrition power house! One cup of pumpkin contains only 49 calories, is a great source of potassium, and contains a high amount of vitamin A. It's these qualities that make pumpkin a heart healthy food (yay!). Not only good for your heart but also for your eyes, pumpkin contains eye protecting carotenoids, lutein and zeaxanthin. For the best absorption of carotenoids, make sure to consume your pumpkin with a little fat such as butter, ghee, or coconut oil because carotenoids are fat soluble. In the kitchen, the mild taste and velvety texture of pumpkin puree makes it a perfect medium - it takes on bold fall flavors with ease (think cinnamon, nutmeg, ginger, allspice) and can add moistness and brilliant color to a variety of recipes (think soups, puddings, breads). Canned pumpkin puree is abundant in stores this time of year, but remember that roasting and pureeing your own pumpkin may bring some added fun to the season! So now who's good and ready for this pumpkin bread recipe?? The Best Pumpkin Bread PREP TIME: 15 mins TOTAL TIME: 60 mins Servings: 10-12 slices Ingredients Bread 1 1/2 cups whole wheat flour (or gluten containing flour of your choice) 1 tsp baking powder 1/4 tsp baking soda 1/8 tsp sea salt 2 tsp ground cinnamon 1 Tbsp fresh ginger juice (or 2 tsp ground ginger) 1 stick of unsalted butter (or 8 Tbsp coconut oil) 3/4 cup cane sugar 1/8 cup black strap molasses 1 tsp vanilla extract 8 oz pumpkin puree (canned or fresh) 2 Tbsp ground flax seed 6 Tbsp warm water Topping 2 Tbsp maple syrup 1 tsp cinnamon 1/2 cup chopped walnuts or nut of your choice Preheat oven to 350°. Lightly butter a bread pan (we used 14" x 4" but you could also use a standard 9" x 5" pan). In a standing mixer using a paddle attachment whip butter, sugar, molasses, and vanilla on high until light and fluffy. In a small bowl, combine ground flax seed, water, and ginger juice and allow to sit for 5 minutes until thick. *If you are using ground ginger instead of fresh ginger juice add to the dry ingredients. In a separate bowl, combine the flour, baking powder, baking soda, salt, and cinnamon and set aside. Add pumpkin puree and flax seed mixture to the sanding mixer and mix until fully combined. Slowly add the dry ingredients to the mixer until fully incorporated, making sure to not over mix. Pour prepared mix into buttered pan. Mix maple syrup and cinnamon in a small bowl and drizzle across the entire top of the batter. Use a tooth pick or knife to swirl the maple syrup and cinnamon further into the batter (as pictured above). Sprinkle walnuts evenly over the top and gently press them into the batter. Place pan on the middle rack of your oven and bake for 40-45 minutes or until a tooth pick comes out clean. Let cool for at least 15 minutes before removing from pan and slicing. This bread is, well, perfect. Just the right amount pumpkin flavor, sweetness, spice and a texture you can only get from real pumpkin. If you don't believe us then you'll just have to try this recipe quick. We can bet it will be the best pumpkin flavored food you have all season.
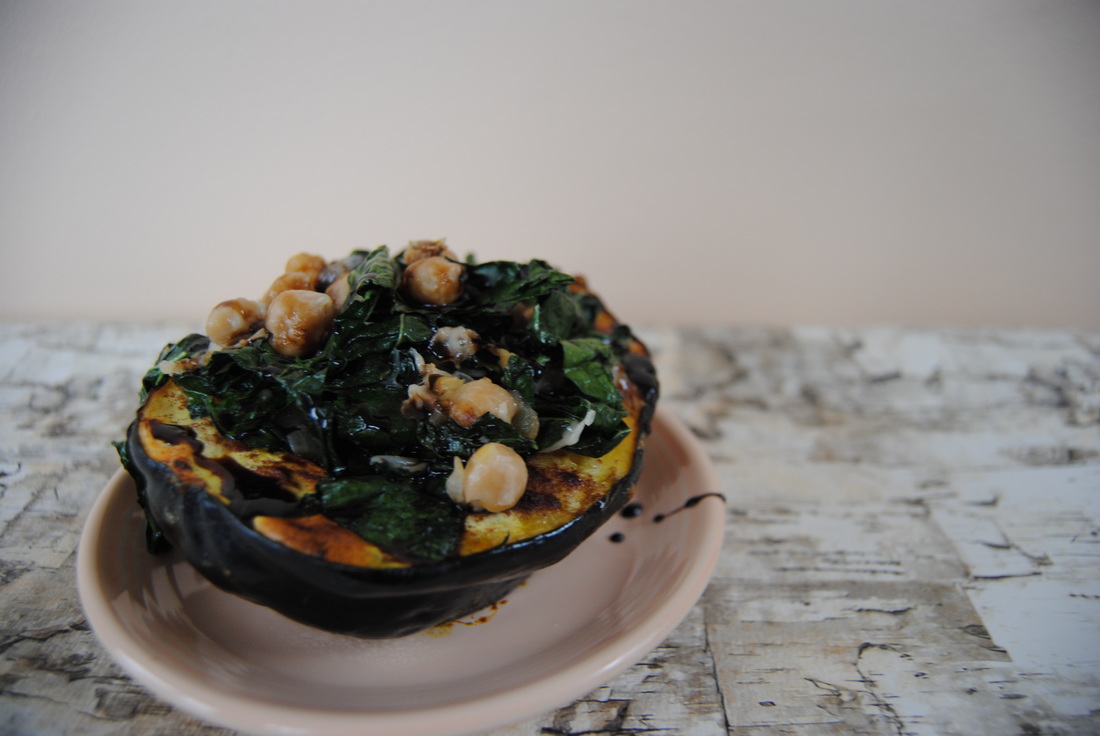
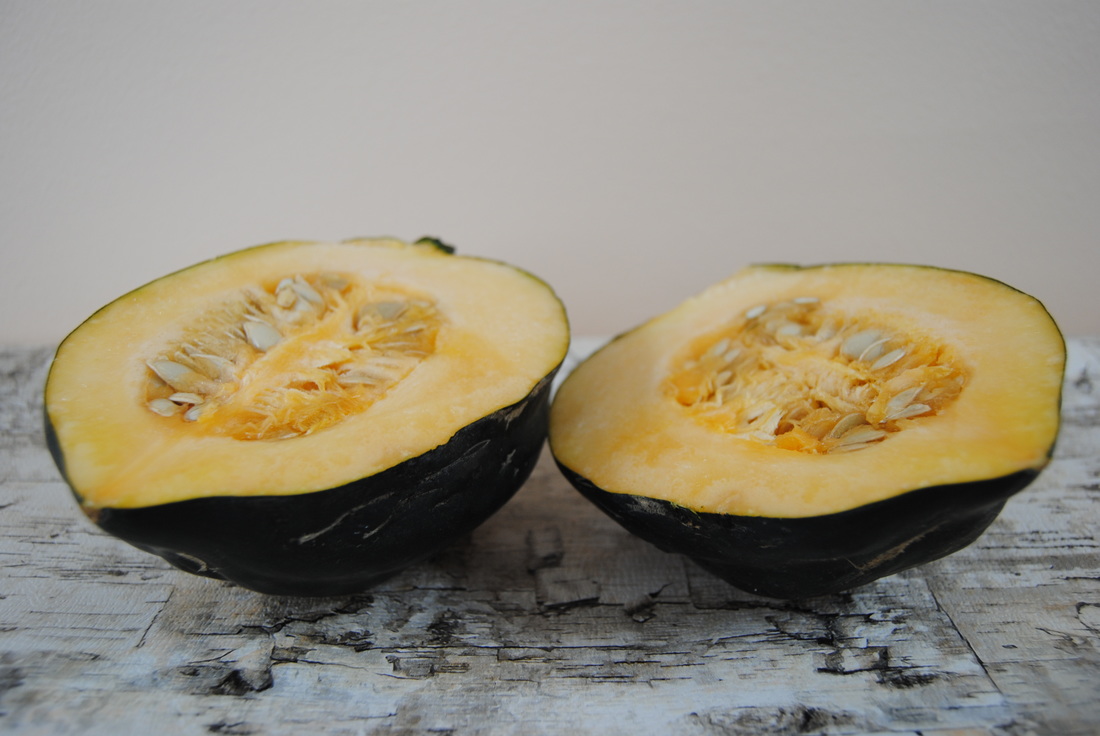
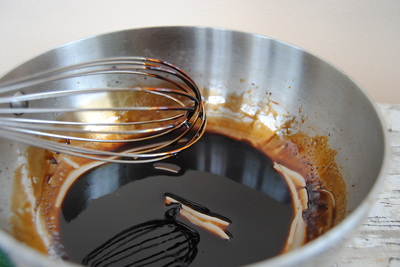
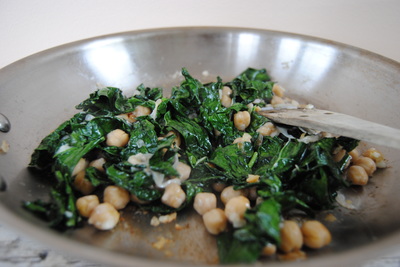
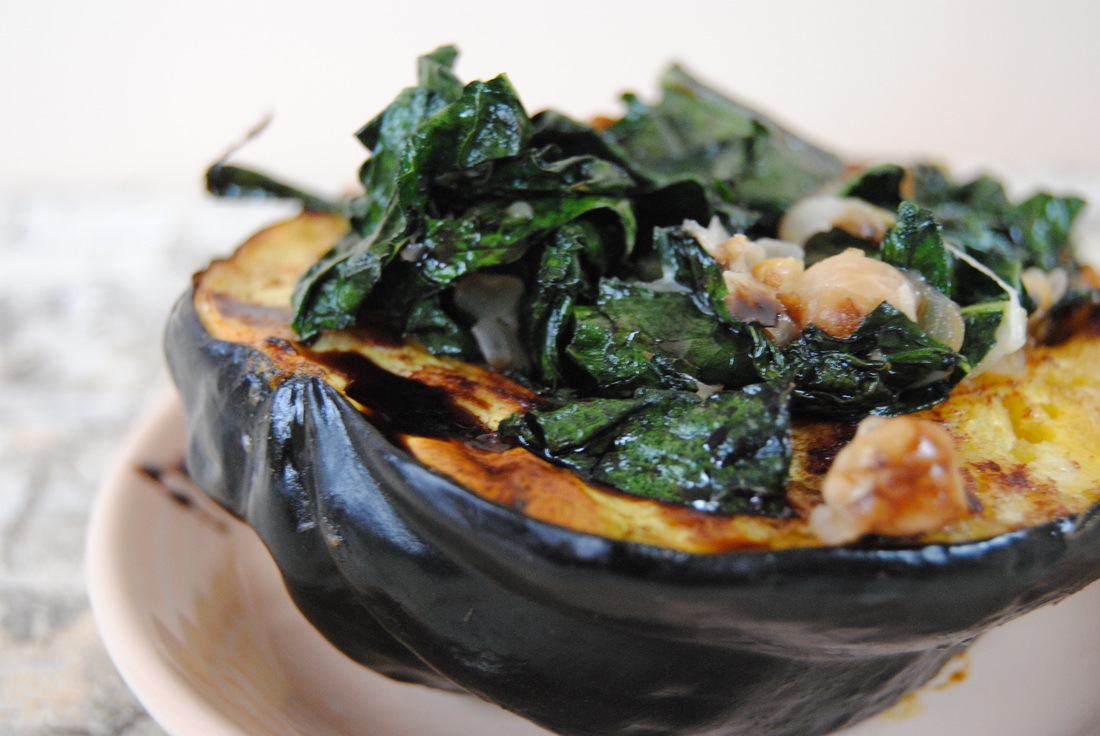
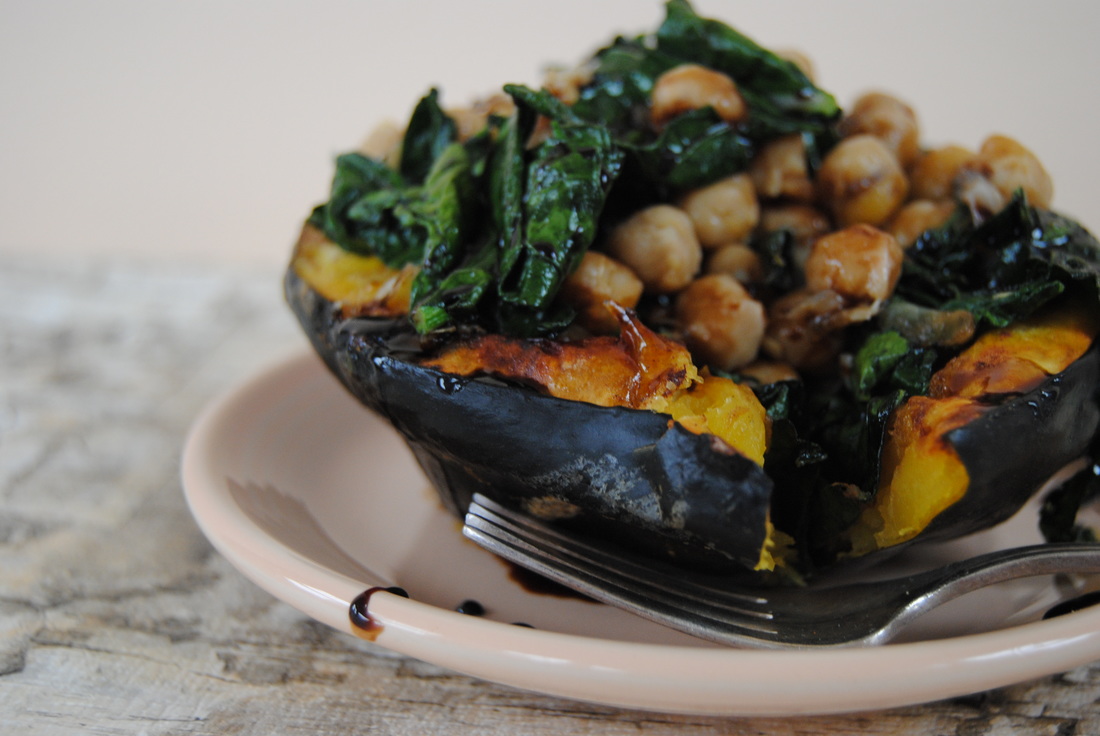
Enjoy, Jess and Cecelia Okay, so we've accepted that summer is gone in Chicago and have decided to embrace the cooler seasons by celebrating winter squash! No we are not in a rush...it's not winter yet..but it's definitely squash season. To us, no other fall foods can really compete with the versatile squash. With so many varieties and preparations it's almost hard to find time for them all in one season! Say tuned because we have several squash recipes coming this fall including this week's, but let's learn more about squash first. Squash can be categorized in two simple ways, summer squash and winter squash. When it comes to winter squash, the most commonly cooked include butternut, spaghetti, and acorn. Nutritionally, winter squash has more carbohydrates than summer squash but in our opinion remains a deliciously healthy comfort food while still being lower in calories. Now we bet you're thinking how can a food described as "comfort " be low in calories? Well let's compare - one cup of cooked acorn squash contains ~115 calories and 9 g of fiber where one cup of sweet potato contains ~185 calories and 4 grams of fiber. Once baked, acorn squash gives you that same warm, rich taste as other comfort foods but with a different nutrient profile. Not only is acorn squash lower in calories and higher in fiber than other comfort foods, but it also contains ~900 mg of heart healthy potassium and 2 mg of iron per cup. As if you weren't sold already on squash being totally amazing, we still have a delicious recipe to get to! Overloaded Acorn Squash PREP TIME: 25 mins TOTAL TIME: 1 hour 15 mins (includes baking of squash) Servings: 4 (2 servings per acorn squash) Ingredients Squash and Filling 2 acorn squash 1 bunch kale, stems removed and chopped into 2 inch pieces (~2 cups prepared) 2 cups cooked garbanzo beans (prepared from dry using this recipe or 1 can) 1/2 yellow onion, finely chopped 1/2 cup shredded Parmesan cheese 1 Tbsp butter 1 tsp coconut oil Drizzle of honey Sprinkle of nutmeg Sea salt to taste Balsamic Glaze 1/2 cup balsamic vinegar 1 tsp pure maple syrup Preheat oven to 425 degrees. Carefully slice acorn squash in half from stem to tip using a sharp knife. Remove seeds and stringy flesh until the insides are smooth and place on a baking sheet. Spread butter evenly over all four squash halves, drizzle with honey, and sprinkle with nutmeg and sea salt. Bake, cut side up for ~45-60 minutes until the squash flesh is very soft and a knife will easily pass through the flesh and into the skin. To prepare the glaze, add balsamic vinegar and maple syrup to a small saute pan and heat over medium heat until mixtures begins to simmer. Continue to simmer over medium-low heat stirring frequently. After ~10-15 minutes you should notice the mixture thickening and starting to stick to the sides of the pan. The glaze is done when it will stick to the back of a metal spoon without dripping. Once done, pour glaze into a glass bowl and set aside. Note the glaze will harden as it cools and can be warmed for 10 seconds in the microwave to soften. Begin the filling by chopping onion and kale and shredding Parmesan cheese (if your Parmesan is purchased prepared make sure it is shredded and not grated). Heat coconut oil in a saute pan over medium heat, add the onion and a sprinkle of sea salt and saute for ~3 minutes until edges begin to brown. Add kale and garbanzo beans to the pan and continue to saute for another 3-5 minutes until kale becomes soft and turns a bright shade of green. Sprinkle Parmesan cheese over kale and bean mixture and continue cooking until cheese starts to melt (~2-3 minutes) folding mixture with a wooden spoon to evenly coat kale and beans with melted cheese. Once the cheese is fully melted remove from heat. Once the squash is done cooking, let cool for 5 minutes and then fill each halve with 1/4 of the kale, bean and cheese mixture, scraping any crispy Parmesan cheese from the bottom of the saute pan for an extra crunch. Drizzle balsamic glaze over the top and enjoy! This overloaded acorn squash will be everything you're wanting on these cooler fall nights. With such a perfect combination of flavors we can bet you'll be making this recipe again and again. And we hope you agree that this one is a win for the wonderful winter squash.
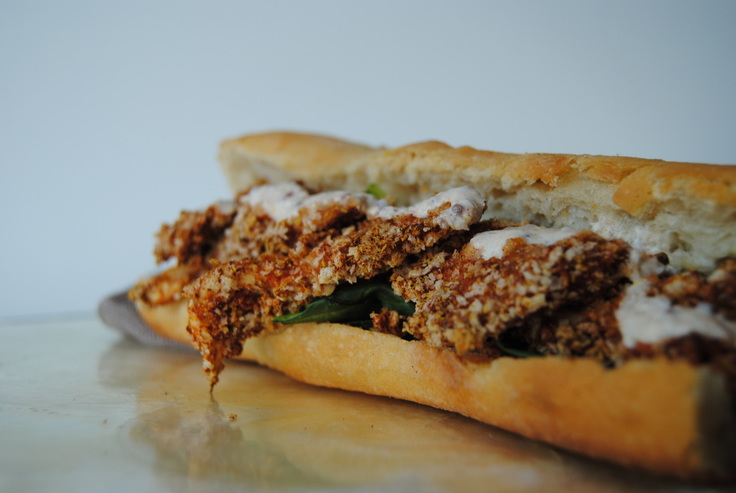
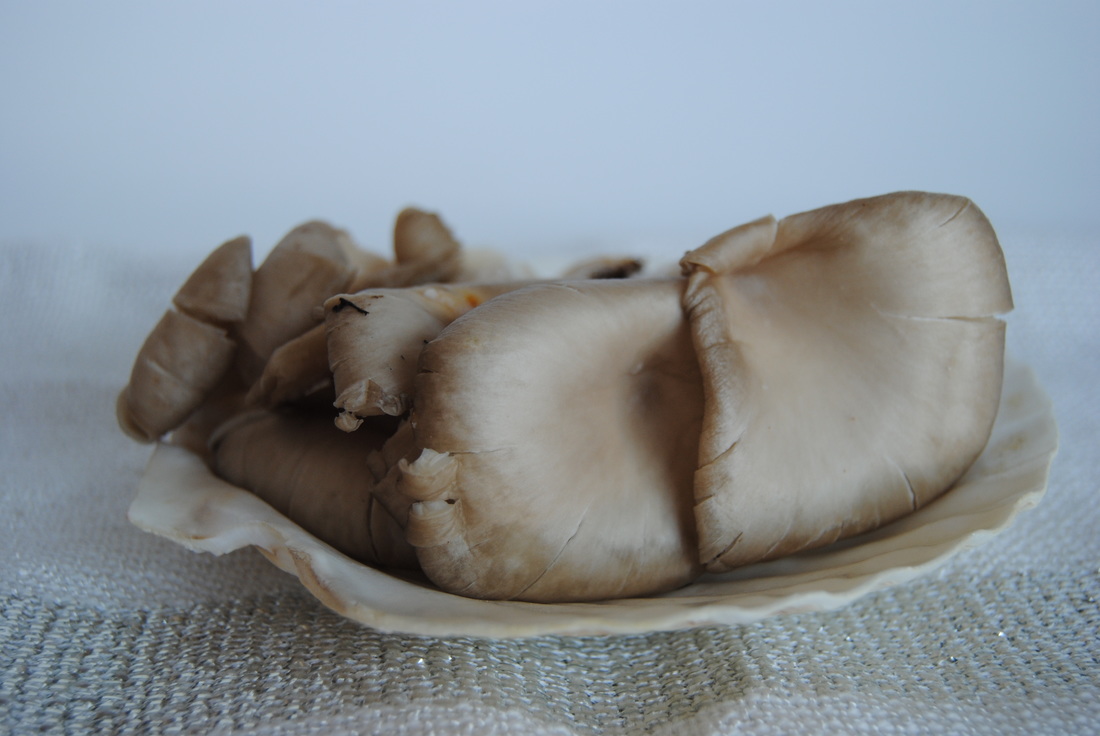
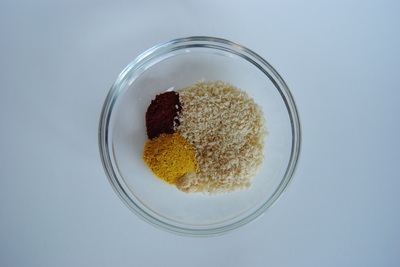
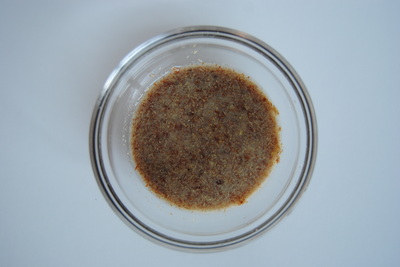
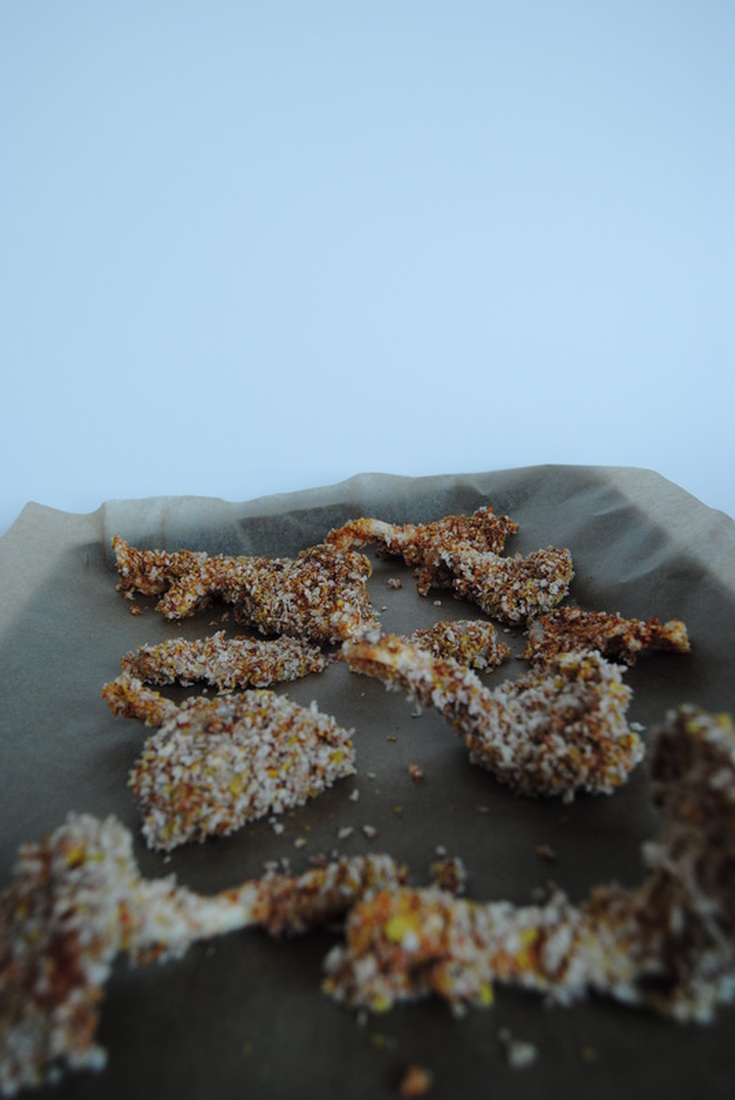
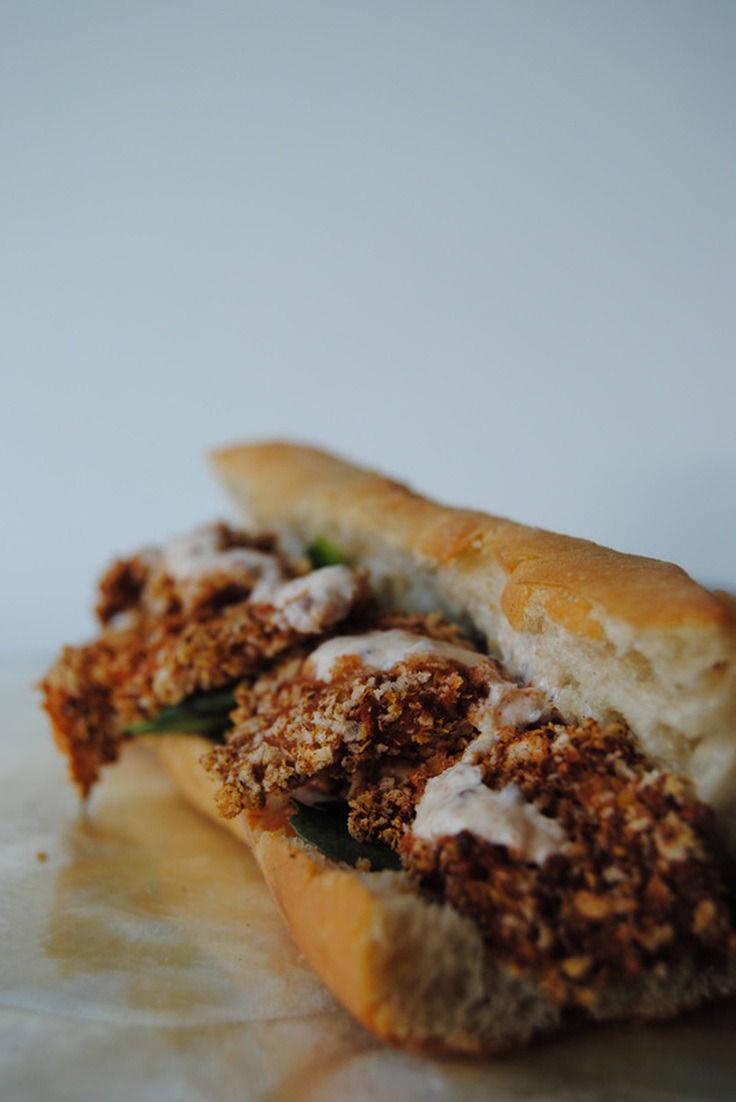
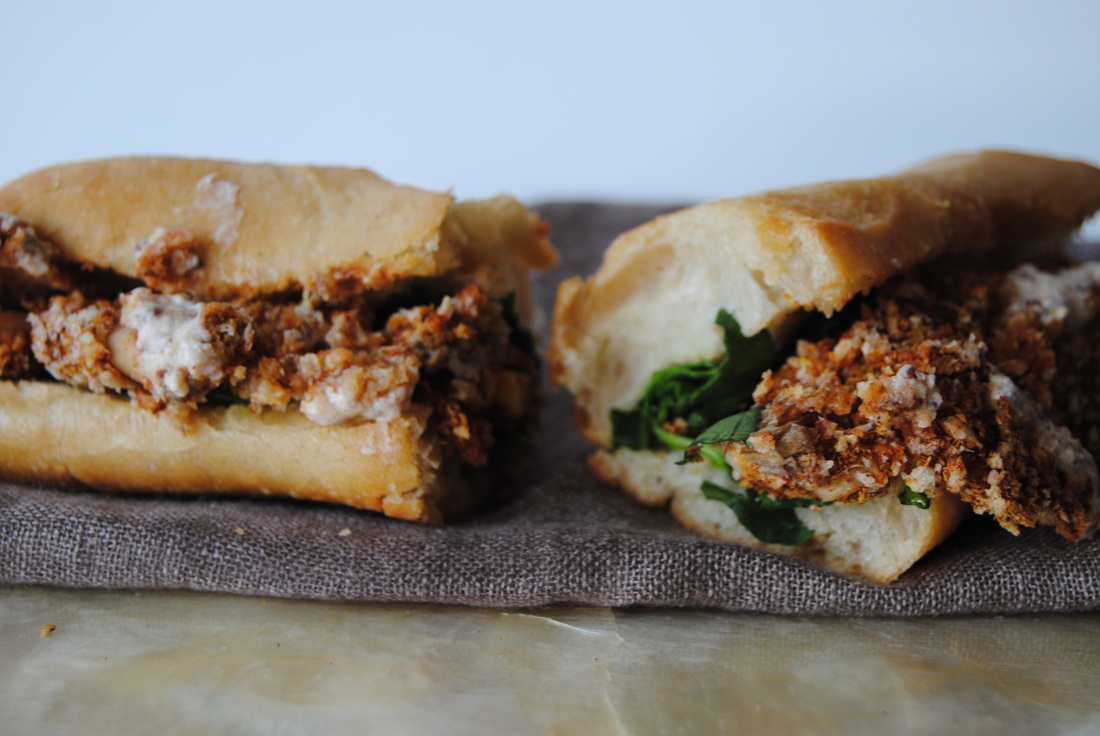
Happy Fall, Jess and Cecelia Hi there TGBK friends! The month of September sure did fly by for us and we just can't believe that fall is already here. Since September is National Mushroom Month (true fact!) we wanted to celebrate with a mushroom post. As we said....September has been very busy....but better late than never! Now you can reminisce about the late summer September days while you enjoy this recipe and learn more about why mushrooms are so amazing (they even have their own month!). Vitamin D is one of those nutrition "hot topics" recently because 1. it is important to our bodies, 2. many people are deficient in vitamin D, and 3. there are very limited food sources of this vitamin. Vitamin D is found naturally in fatty fish (ex: tuna, salmon and mackerel) and in very small amounts in beef liver, cheese and egg yolk. There are many more fortified foods including milk and diary products, breakfast cereals, some orange juice, and multiple other food products. But if you're like us and like to keep your diet natural and lower in animal products then we need some other options! Other than the sun of course because our amazing bodies can produce vitamin D with skin exposure to sunlight. This option is also limited however by weather, seasonal changes, and the importance of skin protection to limit sun damage and risks that come along with it. We think that a balance of a little of both may be your best bet and mushrooms are here to help. Just like the human body, mushrooms when exposed to sun light increase in the level of vitamin D they contain (amazing!). About three ounces of mushrooms (levels vary based on the type) contain between 100-300 international units of vitamin D2 which is about 16%-50% of the daily recommended intake! Whenever possible, especially if you live in he Midwest during the fall and winter months, remember to incorporate sun exposed mushrooms to your diet to increase your vitamin D intake. And now you can add this mushroom recipe to your repertoire. Mushroom Po' Boy PREP TIME: 15 mins TOTAL TIME: 30 mins Servings: 2 Ingredients Sandwich 2, 4-6" sub rolls (we used French baguette*) 5 oz raw oyster mushrooms 1 tsp extra-virgin olive oil Juice of 1/2 lemon 1/8 tsp sea salt 9 Tbsp water 3 Tbsp ground flax seed 1/2 cup bread crumbs (store bought* or homemade) 1 Tbsp nutritional yeast 1 tsp paprika 1/4 tsp onion powder 1/8 tsp sea salt 1/4 cup fresh spinach, chopped Remoulade Inspired Sauce 2 Tbsp plain organic yogurt 1/2 tsp stone ground mustard 1/4 tsp horseradish 1/4 tsp raw apple cider vinegar 1/8 tsp crushed or minced garlic Sprinkle of sea salt Dash of paprika Heat oven to 425°. Line a large baking sheet with parchment paper. Separate mushrooms into individual pieces. Using a clean damp cloth, carefully clean mushrooms. In a bowl combine olive oil, lemon juice, and 1/8 tsp sea salt. Add mushrooms to the bowl and allow to marinate while you prepare the rest of the breading. In a small bowl combine ground flax seed and water. Using a fork, carefully mix until thoroughly combined. In a shallow dish combine bread crumbs, nutritional yeast, paprika, onion powder, and sea salt and set aside. Working carefully, dip each mushroom in the flax seed mixture then cover with breadcrumb mixture and place on lined baking sheet. Repeat process until all mushrooms are breaded. Bake for 10 minutes, flip mushrooms over, and continue baking for an additional 5 minutes or until golden brown. While the mushroom are baking, begin making the sauce. Add all sauce ingredients to a bowl and mix until combined. Now it's time to assemble the sandwich. Cut baguette into 4-6" pieces and slice open making sure to not cut all the way through so that your ingredients are snug and will not fall out. Add chopped spinach and half of the mushrooms to each sandwich.Generously drizzle remoulade sauce on top and enjoy!! *Remember to look for bread and breadcrumbs with minimal ingredients- primarily flour, water, yeast, salt and little else! This sandwich is so right is so many ways. The crispy, breaded mushrooms and fresh spinach pair perfectly with the tangy, fiery sauce and soft bread. Such a different way to enjoy mushrooms and another way to get your vitamin D now that summer is long gone. But don't fret, we have a ton of amazing fall recipes on the way!
See you soon, Jess and Cecelia |
AuthorsJess and Cecelia welcome you to our kitchen. We are fun-loving and passionate foodies working to make the world a healthier, happier place one plant based recipe at a time. Categories
All
Archives
December 2018
|

