|
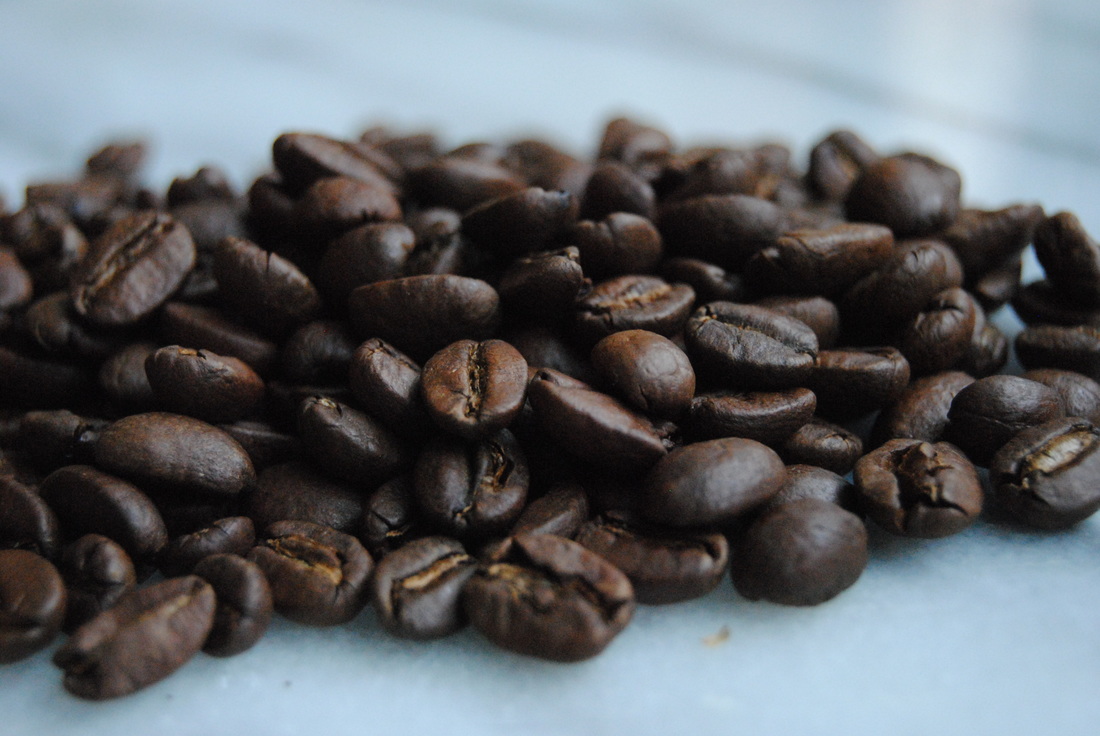
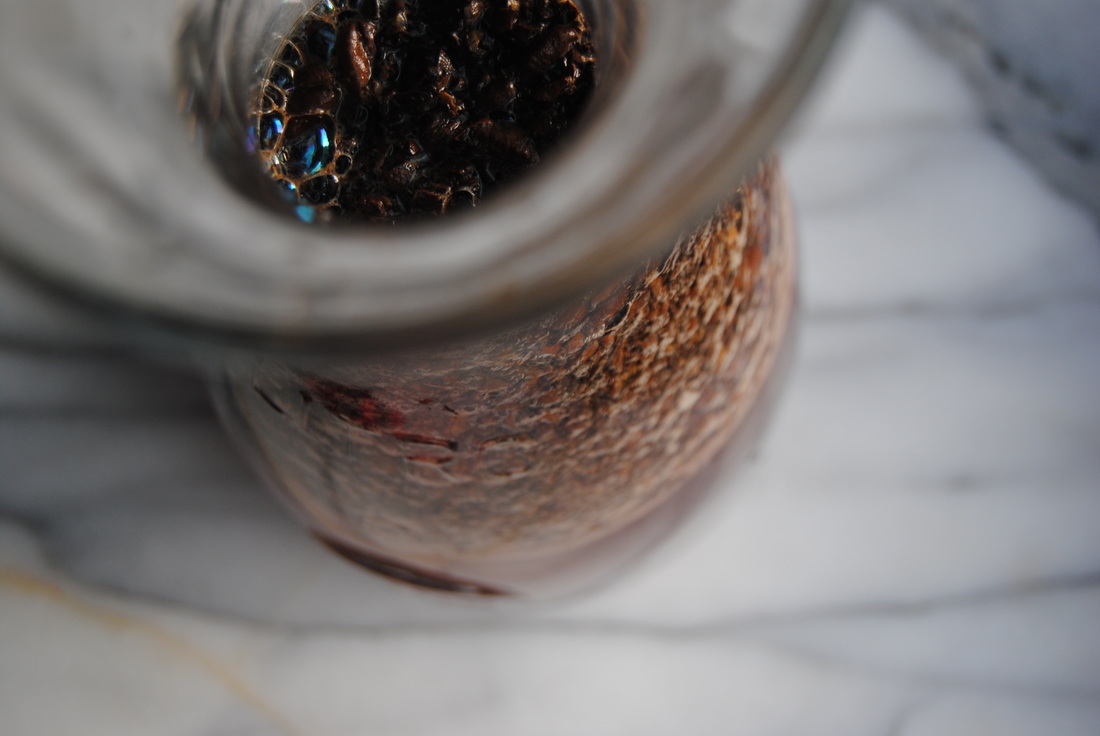
Refreshing drinks are a staple on hot summer days and one of our ultimate favorites is a tall, frosted glass of iced coffee. We've noticed that cold brew has become the new coffee drink recently and wanted to give it a try ourselves. After learning more about this brewing method and loving the results we just had to share this one with you friends! Cold brew is popping up everywhere which might make you ask, like we did, what the difference is between cold brew coffee and regular iced coffee. The answer is A LOT! Cold brew coffee is brewed with patience...literally 10-12 hours of soaking coarsely ground coffee beans in cold or room temperature water to extract the flavor, oils, and caffeine of the beans. This long soaking time is what gives cold brew coffee its distinct smooth, semi-sweet, chocolatey flavor. Cold brew's temperature along with its long extraction process verses quick, traditional hot coffee extraction naturally decreases the acidity in the final cup of coffee. This is wonderful news for anyone who may shy away from coffee because of acid reflux or upset stomach following coffee consumption. The ratio of grounds to water in cold brew is higher than that of traditional hot brewed coffee which leads to a higher concentration of caffeine in cold brew, meaning good news for caffeine lovers (guilty!). Cold brew is often enjoyed with creamer, milk, and whipped cream, as shown in our pictures. So if you're ready to change up your coffee game this summer, let's hit the recipe! Cold Brew Iced Coffee PREP TIME: 10 mins + 10-12 hour soaking time TOTAL TIME: 15 mins + 10-12 hour soaking time Servings; Makes 4 cups of strong cold brew Ingredients Cold Brew 1 1/3 cups ground coffee (we used La Colombe Nizza) 4 cups room temperature or cold water Glass jar (make sure it will fit 6-8 cups; 1.5-2.0 quarts) Coffee filter + string or rubber band Fine mesh strainer or cheese cloth Minty Coconut Whipped Cream 1 can (13.5 oz) full fat coconut milk 2 Tbsp fresh chopped mint 2 Tbsp pure cane sugar 1 Liter whipped cream canister + N2O cartridge Using a coffee grinder, grind coffee to a coarse grind. Measure out 1 1/3 cups coffee grounds and add to a glass jar with 4 cups room temperature or cold water. Make sure that all the grounds are completely submerged in the water. Place a coffee filter on top of the jar and secure with a string or rubber band. Allow to sit out at room temperature for 10-12 hours. Once coffee is done soaking, remove coffee filter from the top and strain coffee through the cheesecloth or a fine mesh strainer making sure to not allow any of the grounds to come through. Pour cold brew over ice and top with whipped cream (our recipe below) or creamer of your choice. Cold brew can be stored in an air tight container in the fridge for 1-2 weeks. To make homemade coconut whipped cream, combine full fat coconut milk, 2 Tbsp cane sugar, and chopped mint in a bowl and whisk until combined. Add liquid to whipped cream canister, screw on the lid, and charge with N2O cartridge. Allow to cool in the fridge for at least 30 minutes prior to using. Whipped cream can be stored in the fridge for 5-7 days. Store bought, traditional whipped cream is also fine to use if you don't own a whipped cream canister. Note that coconut milk will not whip into whipped cream using a hand beater like heavy cream will. Cold brew is going to be your new summer favorite once you give this a try. The taste is so full and smooth and pairs perfectly with our rich, minty whipped cream. And while those bean soak for hours, put your feet up and enjoy the long, lazy days of summer.
This brew is for you, Jess and Cecelia
0 Comments
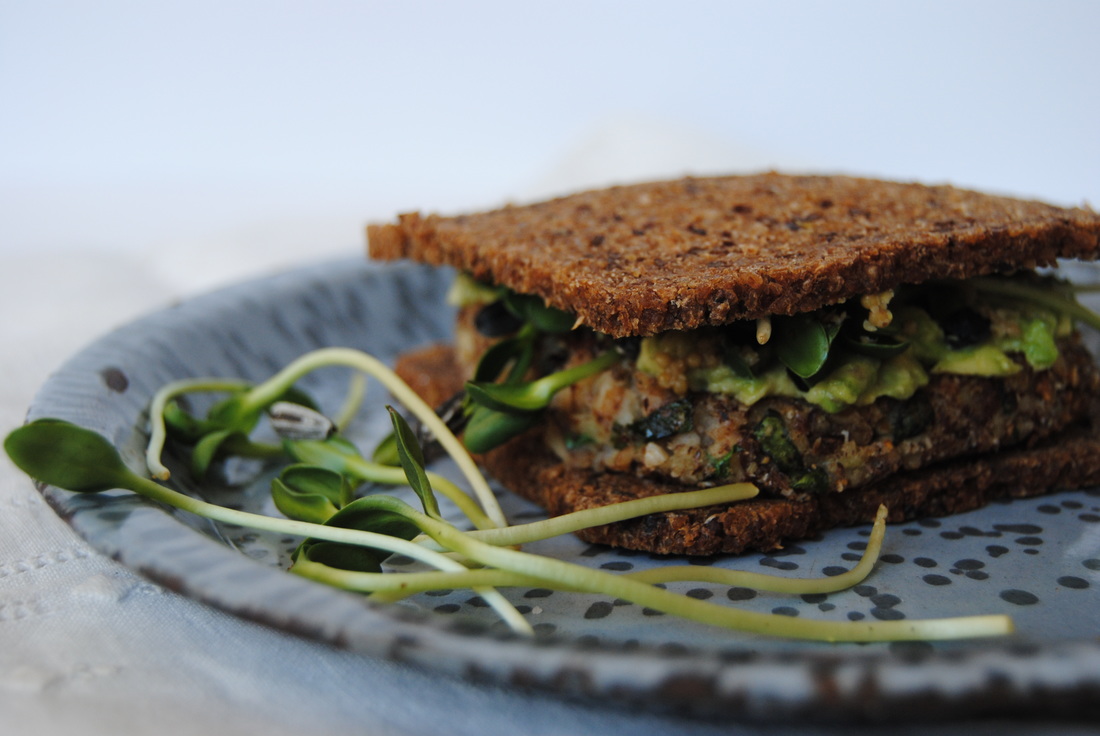
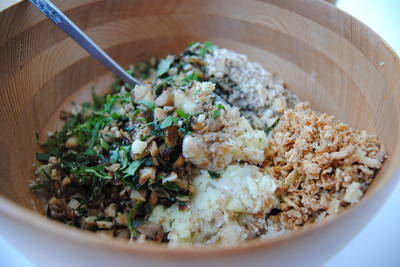
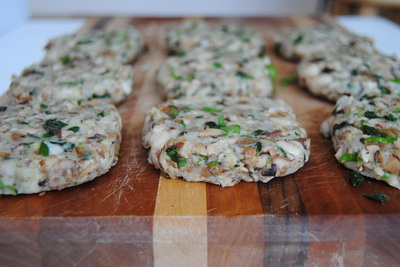
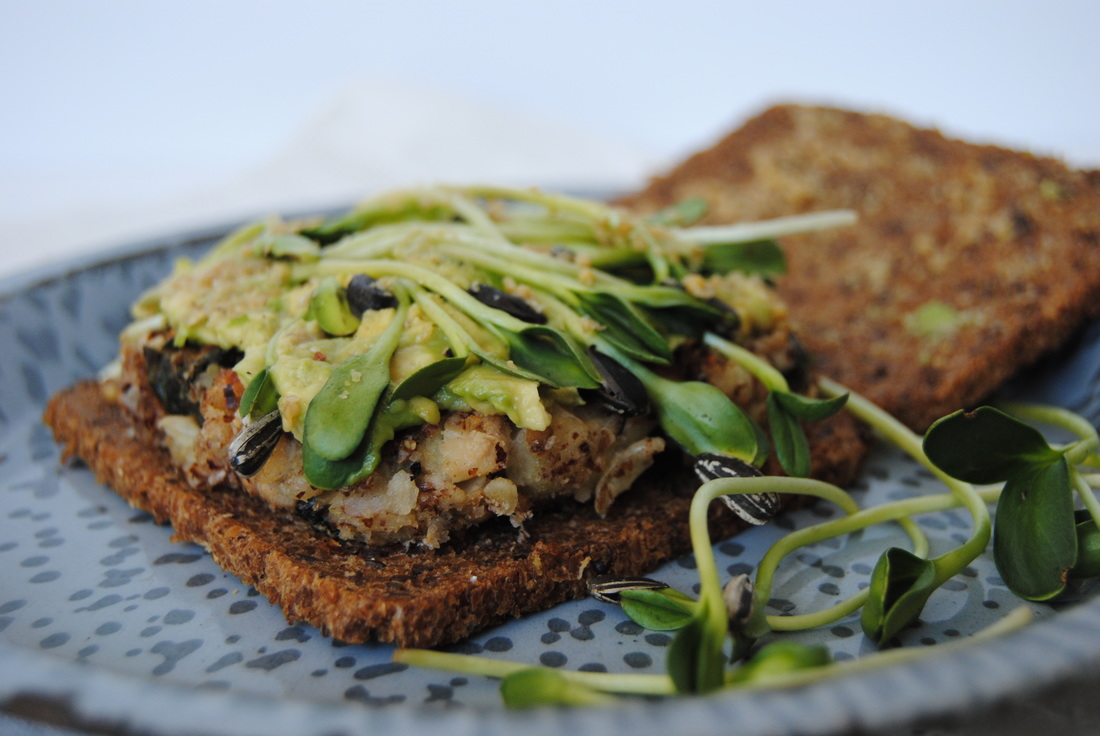
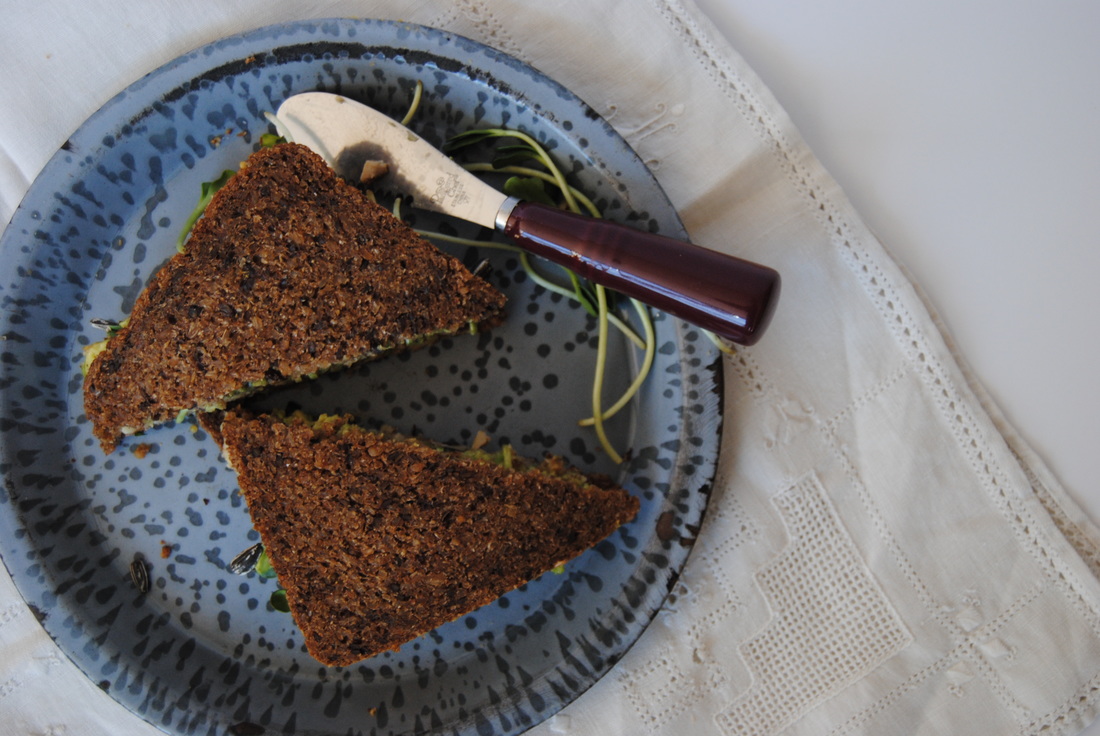
Okay, so we've officially made it to summer 2016 as of this Tuesday friends! As you know we are already well under-way with our summer inspired recipes and hope you've been enjoying them thus far. There is just so much to enjoy during the summer months that we can only think of one complaint; being invited to a BBQ to find that the only vegetarian friendly option is a bad veggie burger. Ever been in a similar situation? If so, we are here to solve your problems this summer! But first, what do we mean by a "bad" veggie burger. It's not that veggie burgers are inherently bad (of course not, we made one!) but some are lacking in, well, veggies. Often veggie burgers can be a mix of heavy starches (beans, rice etc.) and held together with egg ingredient, so not vegan friendly. A starchy veggie burger like that on a bun can be unsatisfying due to lack of variety and texture and can leave you wondering if you even ate any vegetables at all. And not to mention the unpronounceable and undesirable ingredients hiding in many processed, brand name burgers. Well not in this kitchen! Our veggie burgers are changing the game with a base of mushroom and potato, packed with green kale, and crusted in hazelnuts for a satisfying crunch. You'll never say no to a BBQ again once you have one (or two) of these in your pack. But remember, even the best homemade veggie burger has a hard time holding up on the grill so we suggest cooking on foil or in a sauté pan on the stovetop if you're at an indoor/outdoor party. Let's get to it! Hazelnut Crusted Veggie Burger PREP TIME: 30 mins TOTAL TIME: 45 mins Servings: 8-10 burgers Ingredients Burger 1 cup white navy beans (we used canned white navy beans) 1/2 pound Yukon gold potatoes 3/4 cup cooked cracked bulgur wheat (or grain of choice, ex: cracked wheat berries, brown rice, oatmeal etc.) 1 small sweet yellow onion, diced 1 pound shiitake mushrooms, diced 1 cup kale, finely chopped 1/3 cup fresh parsley, chopped 3/4 cup roasted hazelnuts, crushed 1/2 cup fried onion strings 1 Tbsp ground flax seed 1 Tbsp coconut oil + another 1 Tbsp if cooking in a pan on the stove top 1 clove garlic, minced 1 tsp sea salt 1/2 tsp pepper Burger coating 1 cup roasted hazelnuts, crushed 2 Tbsp ground flax seed Burger bread & toppings Flaxseed bread (we used Feldkamp flaxseed bread) Avocado Sunflower sprouts Kombucha mustard (our recipe here) Cook cracked bulgur wheat according to package directions. Set aside and allow to cool. Cook potatoes in a large pot of boiling water until soft and a fork goes in easy, ~20 minutes While the potatoes are cooking, add coconut oil to a large saute pan on medium heat and add the diced onion, sea salt and pepper. Cook until onions are translucent and caramelized, then add the chopped mushrooms and minced garlic and cook until soft and fragrant, additional ~5 minutes. Add chopped kale to pan and continue to cook for an additional 2 minutes. Remove vegetables from heat and allow to cool. Drain potatoes from water and mash with a potato ricer. Add beans and continue to mash until combined. Note it is okay to have some full beans in the mixture. Add cooled bulgur wheat, cooled vegetables, fresh parsley, 3/4 cup chopped hazelnuts, onion strings, and 1 Tbsp ground flax seeds to the bean and potato mixture. Stir well to fully combine all ingredients. In a separate, small, shallow dish, combine 1 cup crushed hazelnut and 2 Tbsp ground flax seed and set aside. Using your hands shape mixture into 8-10 evenly sized burgers. Gently press into hazelnut/flax seed mixture to fully coat and place on wax paper. To cook the burgers indoors heat a non-stick pan or well seasoned cast iron skillet with 1 Tbsp coconut oil. Cook burger for 3-5 minutes on each side or until golden brown. Note that it is best to use a large spatula to flip burgers to prevent them from breaking apart. If you are cooking burgers outside on a grill, we suggest placing the burger on tin foil prior to placing on the grill. This will prevent the burger from sticking to the grill while still allowing the burger to fully heat up. Cook on the grill for 5-7 minutes. Lightly toast bread, place burger on one side, add smashed avocado, sunflower sprouts, kombucha mustard, and sprinkle of sea salt, and top with another slice of bread. Prepare all at once for a large group or save* for a later date. *If you do not plan to eat all the burgers at once, they will stay fresh in the fridge for 5-7 days. Simply follow cooking directions listed above when ready to eat. They also freeze really well. If freezing, place each burger in a sealed bag or place parchment or wax paper between each burger in a container and allow to freeze fully. They will keep in the freezer for up to 3 months. Just remember to fully thaw burger prior to cooking. So stock your freezer full of these "good" veggie burgers this summer to enjoy at home, entertain with, or even bring with you to other events. Or maybe send those vegetarian un-friendly hosts (you know who they are) this post as a little hint! These veggie burgers have just the right amount of starch but are packed with plenty of actual veggies, have a great crunch from the hazelnuts, and a mild taste that will lend itself to any toppings you love (because BBQ's are really about the toppings right!?). We hope you have the best start to summer and a wonderful season ahead.
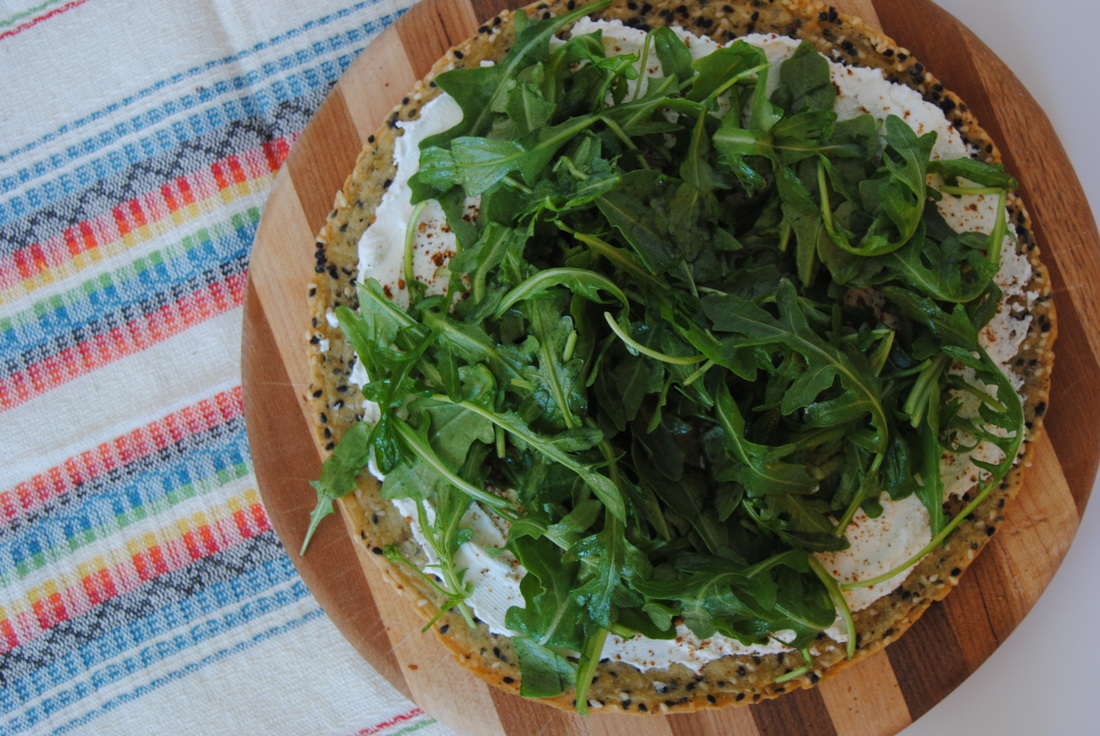
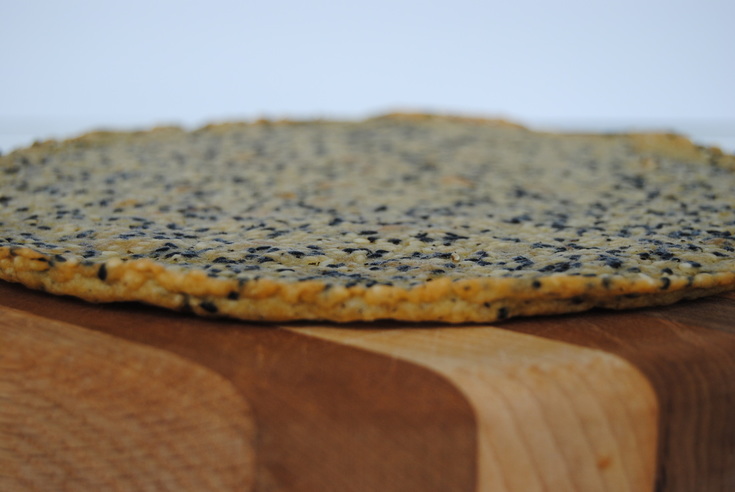
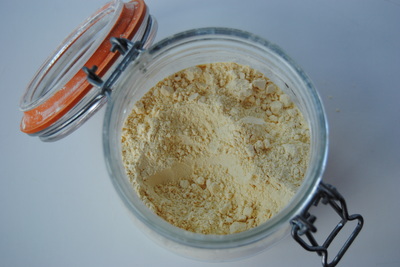
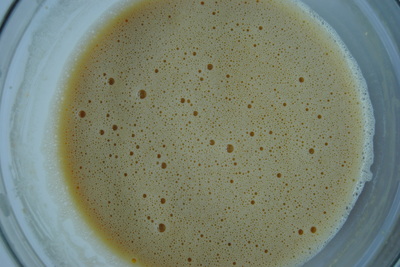
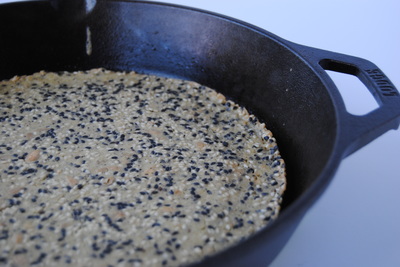
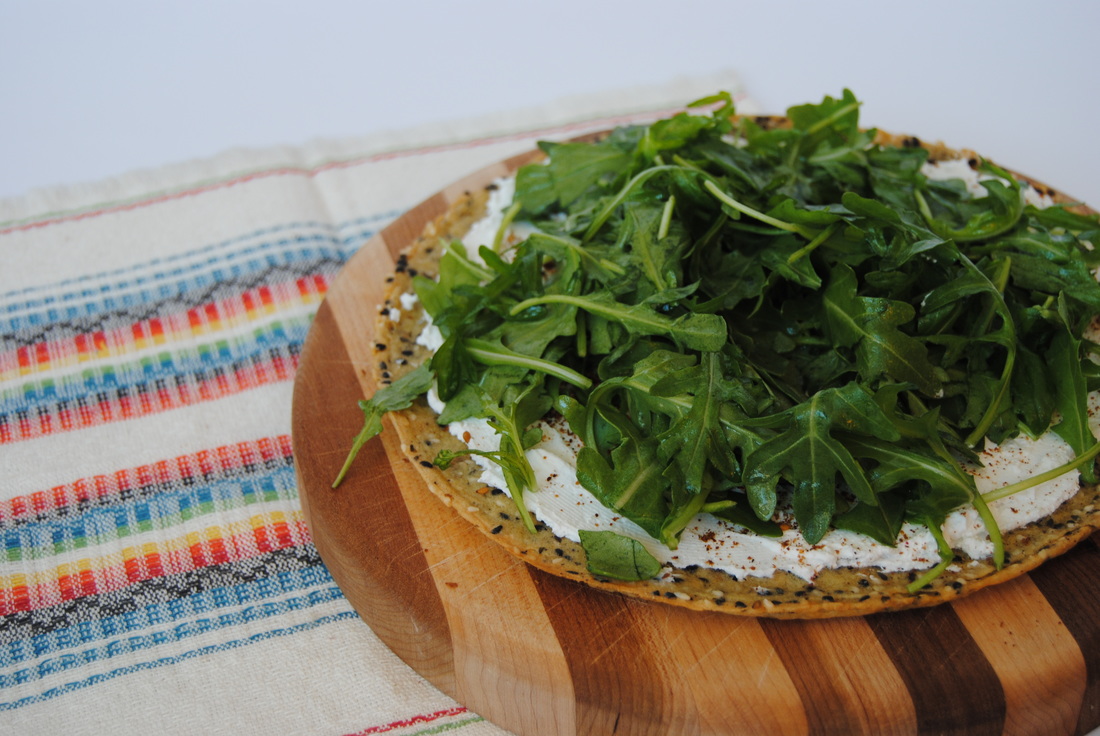
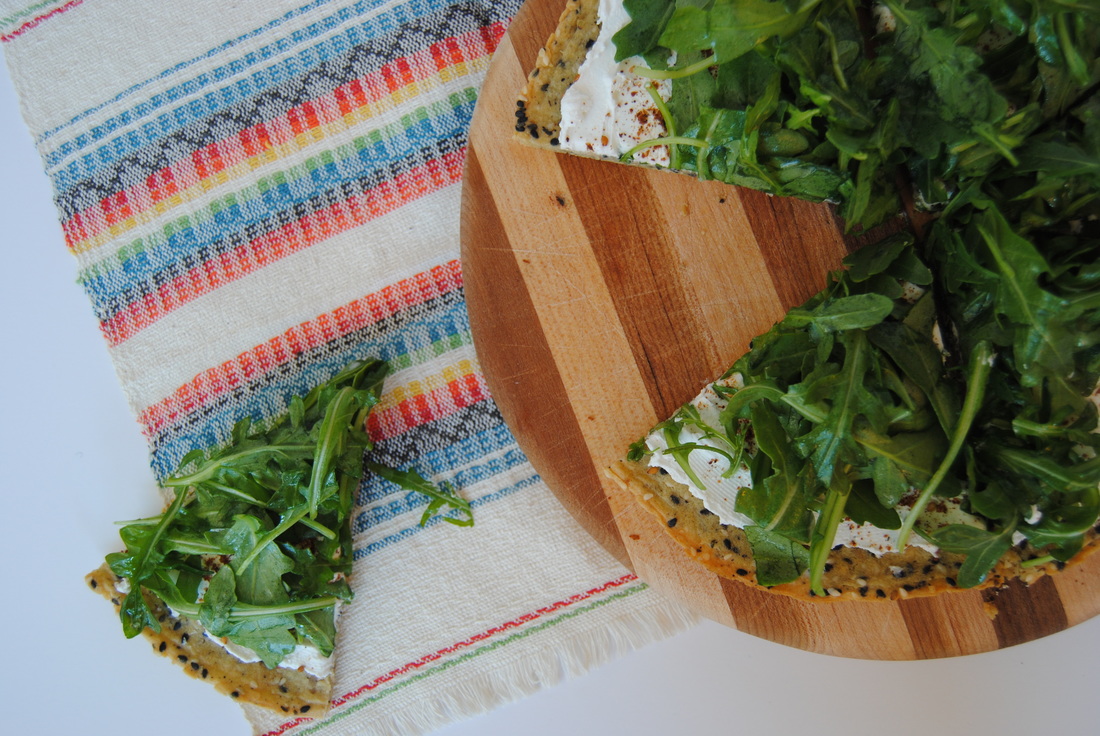
Happy Summer, Jess and Cecelia As the days get warmer and longer our food cravings naturally tend to get cooler and lighter. But there are some favorite comfort foods that we are still going to want day in and day out, take pizza for example. This pizza recipe made with the amazing socca bread (you'll learn all about socca next!) is so light, fresh and perfect for your culinary transition into the warmer months. And even though relatively easy to make, there is just something about socca that seems so unique and impressive. Ready to learn more? Socca is a thin pancake or crepe made from chickpea flour, water, olive oil, and salt. Socca bread is a typical street food in the Mediterranean and may go by a different name based on where it is made; socca in France, farinata in Italy, and faina in Argentina. This pancake can be as simple as flour, water, oil, and salt or completely dressed up with herbs, spices, nuts, and seeds. We prefer to toss in pretty much every seed we have in our pantry! Socca is really easy to make and the batter comes together in a matter of minutes. Keep in mind we do prefer to make the batter and let it rest for at least 2 hours covered at room temperature prior to cooking. This will not only improve the taste and texture of the finished product but will also make it easier for your body to digest because of the "pre-soak" for the chickpea flour (more on that topic here). Chickpea flour goes by many names including garbanzo flour, gram flour, or besan and is the main ingredient in socca bread. This flour is gluten free and high in protein and fiber. One cup of chickpea flour contains 21 grams of plant protein and 10 grams of fiber making this is a must have in your baking cabinet! And once you taste how good socca is, you'll being needing to stock-up often. So let's get to it! Super Seeded Socca Pizza PREP TIME: 10 mins + 2 hours soaking time TOTAL TIME: 2 hours 30 mins (with soaking) Servings: 2, 8" pizzas Ingredients Socca Dough 1 cup + 2 Tbsp chickpea flour 1 1/4 cup warm water 2 Tbsp olive oil 2 Tbsp chopped sunflower seeds 1 Tbsp shelled hemp seeds 1 Tbsp white sesame seeds 1 Tbsp black sesame seeds 1/2 tsp sea salt 1/4 tsp black pepper 2 Tbsp ghee added to the bottom of a cast iron skillet (we recommend a 8-9" skillet) Toppings 1/2 pound feta cheese (we used Bulgarian sheep's milk feta) 4 cups arugula 2 Tbsp olive oil 2 Tbsp fresh lemon juice Sprinkle of sea salt to taste 1 Tbsp + 1 tsp red zaatar (Mediterranean herb blend) In a large mixing bowl, whisk together the chickpea flour and water. Add the olive oil, salt, and pepper and continue to whisk until a smooth, thin batter is formed. Cover batter and allow to sit at room temperature for at least 2 hours. Once the batter has rested, add in the sunflower seeds, hemp seeds, and sesame seeds then stir to combine. Generously oil the bottom and sides of a cast iron skillet and place in the oven. Preheat the oven to 450 degrees with the skillet inside. Carefully remove hot skillet from oven and pour in half of the batter making sure to evenly coat the bottom of the pan. Place skillet back in the oven and cook for 10-12 minutes or until the socca pulls away from the sides of the pan. For the last 2 minutes, turn the broiler on and lightly toast the top of the socca bread. Remove from the oven and allow to cool for ~10 minutes. Using a thin metal spatula or butter knife, carefully loosen the socca from the pan. You could also invert the pan onto a large cutting board and allow the socca to release from the pan. Oil the cast iron skillet with 1 Tbsp ghee and cook the second socca bread.* Next, using a standing or a handheld mixer, whip feta cheese on high until light and fluffy. Evenly spread half the feta on each socca bread then sprinkle each with 2 tsp zaatar. Toss arugula in olive oil, lemon juice, and a pinch of sea salt and place evenly on top of both socca breads. Slice into wedges, serve, and enjoy! *If you do not plan to eat the second socca dough right away, it does freeze nicely in an airtight container. When reheating socca, preheat oven to 450 degrees and place frozen bread directly on the rack for 4-5 minutes. Like we said, there is just something about socca bread. It's both soft and crispy at the same time and has a rich, savory taste that really just can't be described. These pizza toppings compliment socca perfectly but it's uses are many. Think socca as a wrap or crepe base, sliced for dipping, cut and toasted into crackers, or even a sweet dessert "pizza" with soft cheese, jam, and fresh fruits. Remember the added seeds are optional in the socca base depending on what you're making. We can't wait to hear how you use socca in your kitchen.
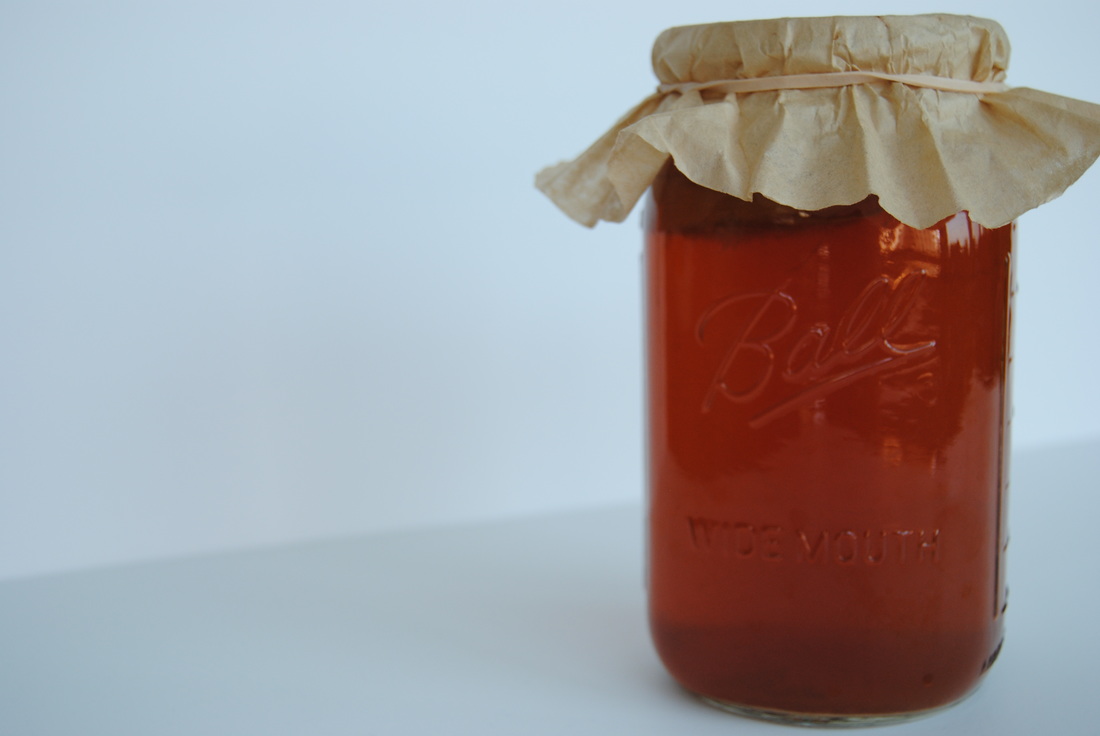
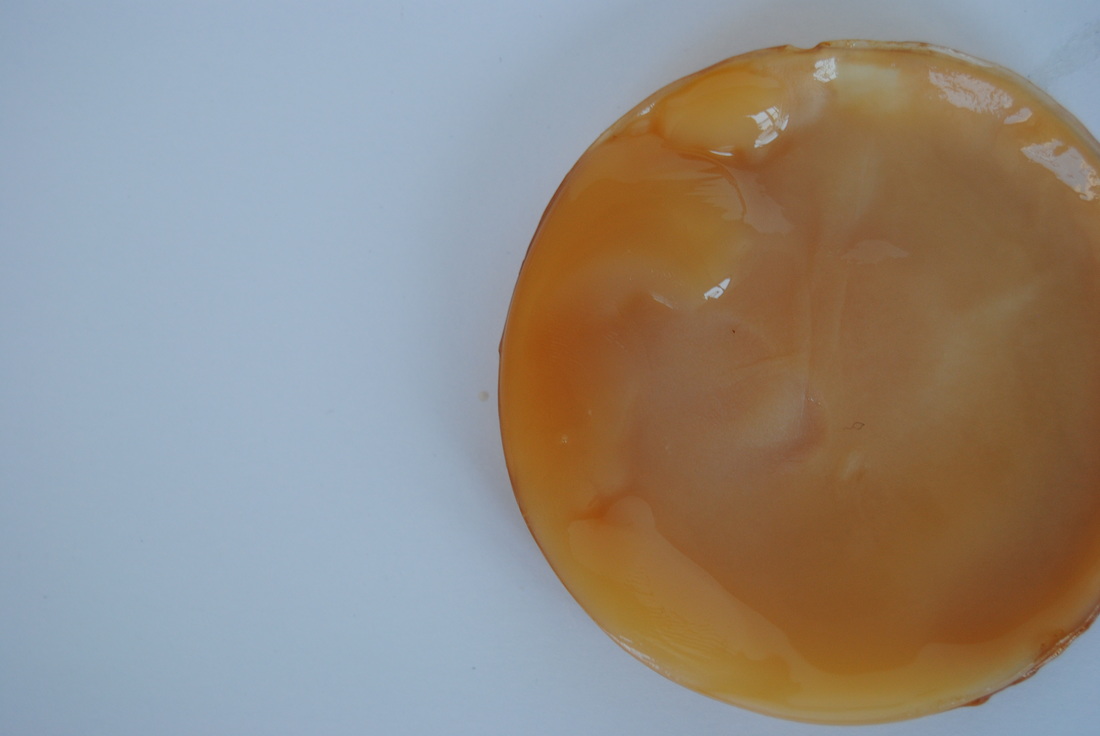
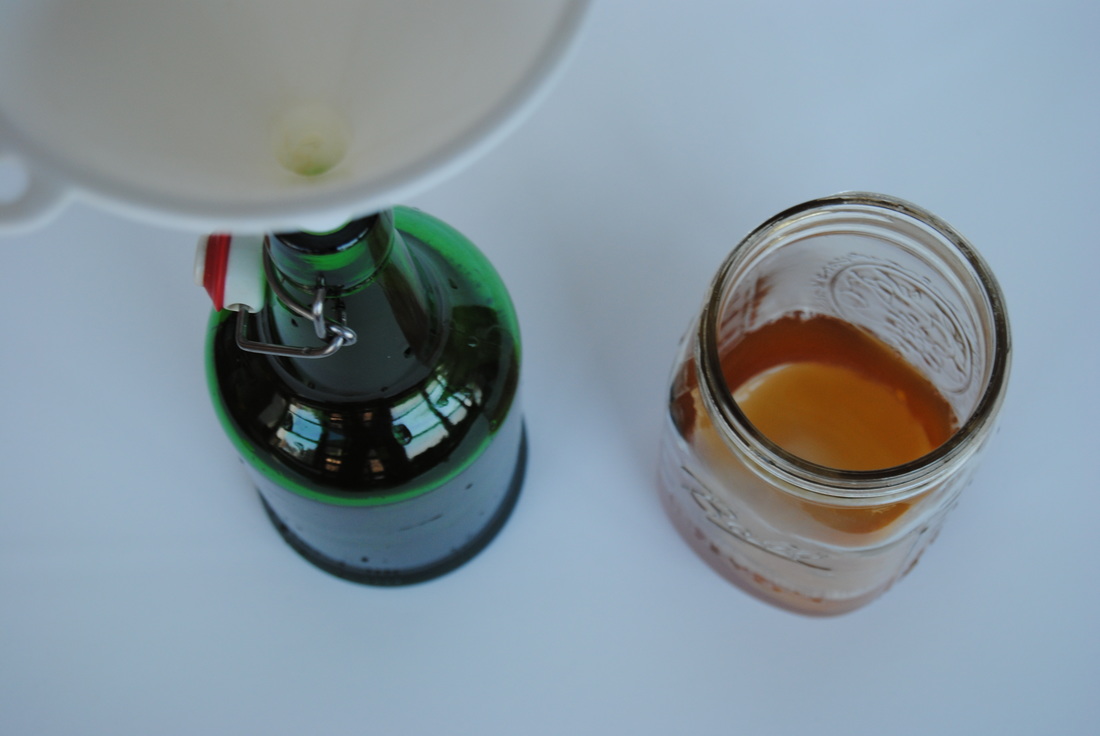
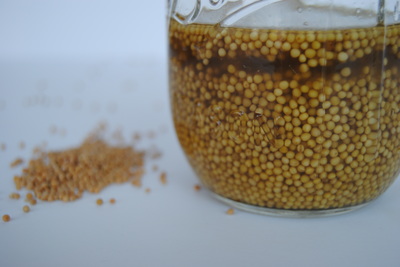
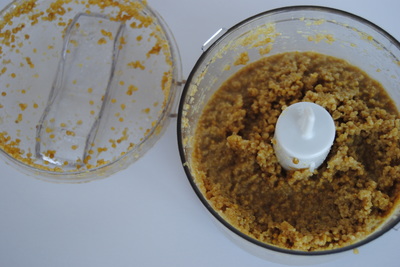
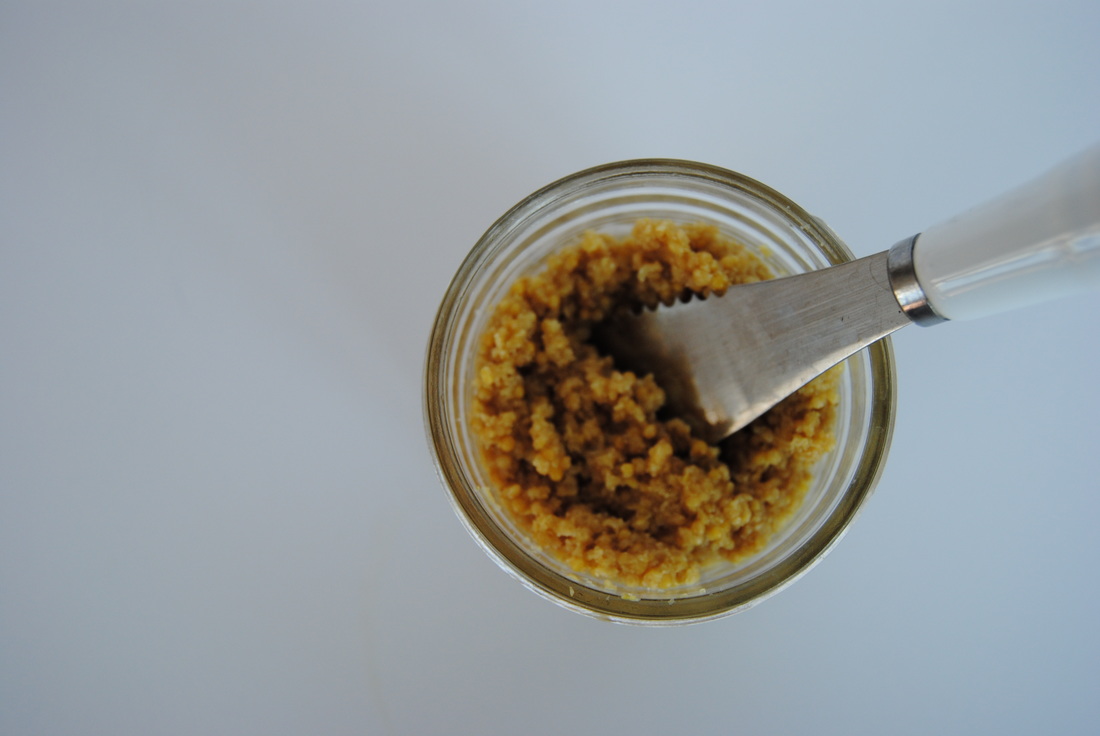
Happy eating, Jess and Cecelia Oh boy do we have a treat for you this week friends! Two new recipes hot from our kitchen and featuring one of our most favorite topics, fermentation. We've surely discussed the benefits of fermentation before (here and here and here) but just can't get enough. And if you're serious about packing your diet with fermented foods and especially home fermentation, kombucha is a quick and easy item you can whip up week to week (once you get the hang of it of course). So we've got basic kombucha brewing instructions for you as well as a must have mustard recipe using kombucha as an ingredient. Let's get started! You've probably heard of, tried, or been completely weirded out by kombucha by now as this fermented tea drink has hugely grown in popularity in recent years. Kombucha is believed to have originated thousands of years ago in Asia and was regarded as medicine to treat a variety of ailments. It's health benefits come from the fact that kombucha is a fermented food which provides a healthy dose of good bacteria and yeast into the digestive tract of the consumer. And as you may know from previous posts, creating a healthy gut environment can impact the health of the rest of the body through improved digestion and immunity. Surprising to many, the health of the gut environment plays a huge role in overall immune function because the intestines contain more immune cells then the entire rest of the body (wow!). Though certain sources may cite specific diseases that kombucha may treat, we believe that as a fermented food kombucha promotes overall health and wellness but should not be considered a medical treatment. Instead, we highly recommend regular use of fermented foods in the diet (superior to probiotic supplements) to promote balance and health maintenance. So if we've finally convinced you to give home fermentation a try, great! For kombucha you'll need to get started with a SCOBY, or a symbiotic culture of bacteria and yeast, which is pictured above. And though this may look strange, it's basically magic! If you have a friend making kombucha they can share a SCOBY with you because a new one is created with each batch (basically every week). Or you can purchase starter cultures, other brewing tools, and learn tons more on the Cultures for Health website here. Basic Kombucha PREP TIME: 30 mins TOTAL TIME: 1 week (for fermentation) Yield: 32 ounces Ingredients 1/4 cup organic sugar 1/2 cup starter liquid (plain kombucha, from previous batch or store bought) 4 cups filtered water 4 organic black tea bags (plain, unflavored tea) Additional Items SCOBY (symbiotic culture of bacteria and yeast) Large wide mouth glass jar Coffee filter or cheese cloth Rubber band or cloth string Plastic or wooden spoon Plastic funnel Bring water to a boil, remove from heat, and add tea bags. Allow to steep for 5 minutes then remove the tea bags. Add 1/4 cup cane sugar to hot tea, stir to dissolve (using a plastic or wooden spoon instead of metal to protect the SCOBY) and allow to come to room temperature. Combine cooled tea, 1/2 cup kombucha starter, and SCOBY in a large, sterilized glass jar. Place coffee filter over the top of the jar, secure with a rubber band or tie, and allow kombucha to sit out at room temperate for a minimum of 7 days. If you prefer a longer ferment (more sour and vinegary tasting kombucha) continue to ferment past 7 days and taste the kombucha daily until it is to your liking. With clean hands, carefully remove the SCOBY and place on a clean surface. Reserve 1/2 cup kombucha in a small cup and set aside as this will be your starter for your next batch. Pour the remaining kombucha into a sterilized glass bottle (or bottles) with tight fitting seals making sure to leave enough "head space" (~2-3" between liquid and top of the bottle) for desired effervescence. Keep in the fridge for up 2 weeks. Note that the first time you open the bottle of kombucha you should hear a nice pop from the top and see a good amount of carbonation. But the more you open the bottle, the less carbonation your kombucha will have. For this reason, we prefer to use smaller, individual size bottles (10-12 oz) if available. *If you need tools, tips, or more kombucha brewing instruction visit the Cultures for Health website mentioned above for all your kombucha brewing needs! Kombucha Mustard PREP TIME: 5 mins TOTAL TIME: 1+ weeks (for fermentation) Yield: 8 ounces Ingredients 5-6 oz kombucha 1/2 cup mustard seeds 2 Tbsp honey 2 Tbsp raw apple cider vinegar 1/4 tsp salt In a glass, sterile jar combine mustard seeds and kombucha. The kombucha should fully submerge the seeds with ~ 1/2" of liquid on top (see photo below). The seeds will expand as they sit, so make sure your jar is large enough. Cover with an air tight lid and allow to sit at room temperature for a minimum of 7 day or up to 3 weeks. The longer you let it sit the more vinegary taste the end product will have. Make sure to "burp" or open the lid at least once daily. Once the mustard seeds are to your desired taste, strain from the kombucha brine (reserving the brine in a separate bowl) and combine soaked mustard seeds and ~3/4 of kombucha brine to start in a blender or food processor. Add honey, salt, and apple cider vinegar to the blender and process until desired texture. Feel free to add additional kombucha brine to blender as needed if you prefer a thinner mustard. We like ours with some texture and went with a "stone ground like" mustard. Place finished mustard in a jar with a tight fitting lid and keep in the refrigerator. Use this probiotic rich mustard just as you would with any other mustard. Plain kombucha has a sour, mildly sweet, slightly vinegary taste that we've come to love but can definitely be flavored in a variety of ways (recipes in posts to come!). And this mustard just has something about it incomparable to it's regular, unfermented counterpart. Tangy, tart, spicy, and sweet, this mustard will add a punch of flavor to your summer recipes (think sandwiches, veggie burgers, wraps, and more). We'd love to stay and chat friends but we have a few more batches of kombucha that need our attention (we told you we can't get enough!).
Happy fermenting, Jess and Cecelia |
AuthorsJess and Cecelia welcome you to our kitchen. We are fun-loving and passionate foodies working to make the world a healthier, happier place one plant based recipe at a time. Categories
All
Archives
December 2018
|


