|
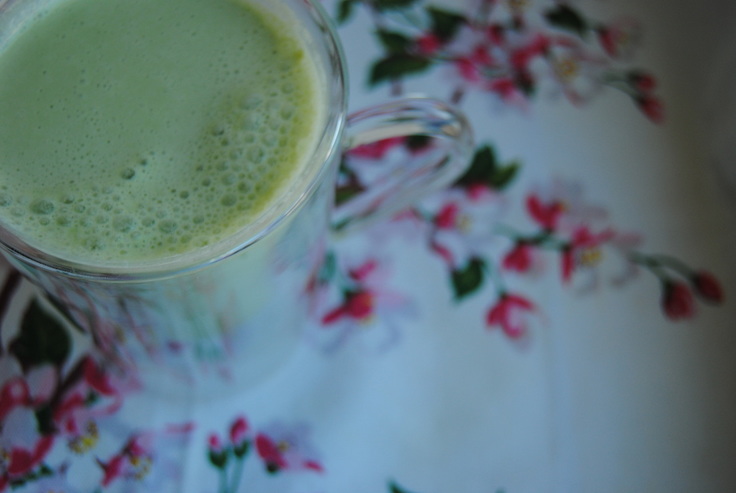
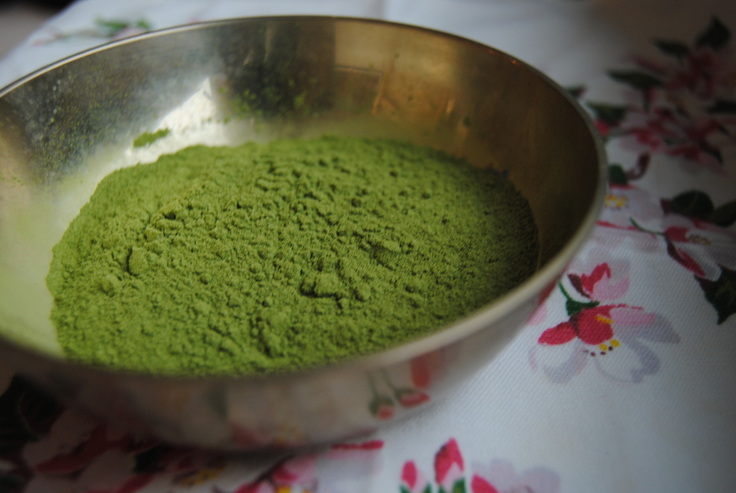
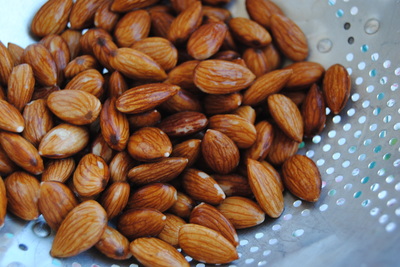
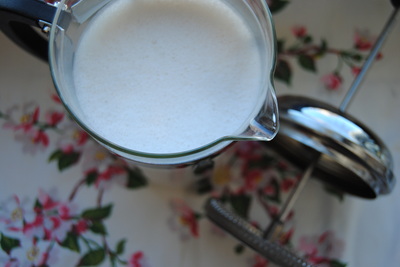
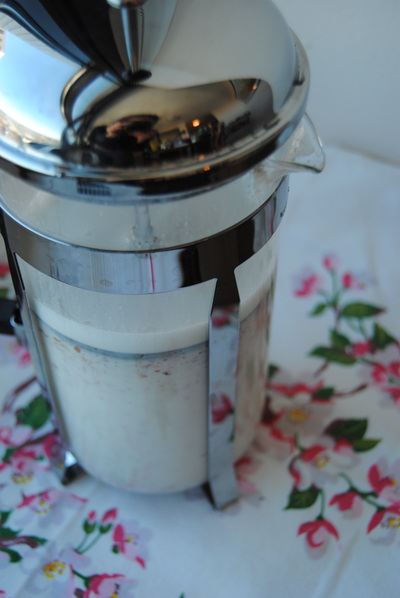
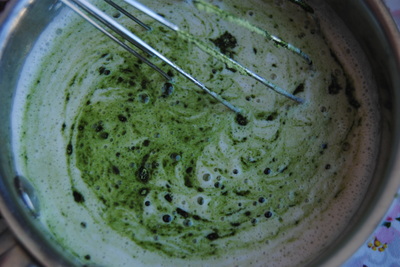
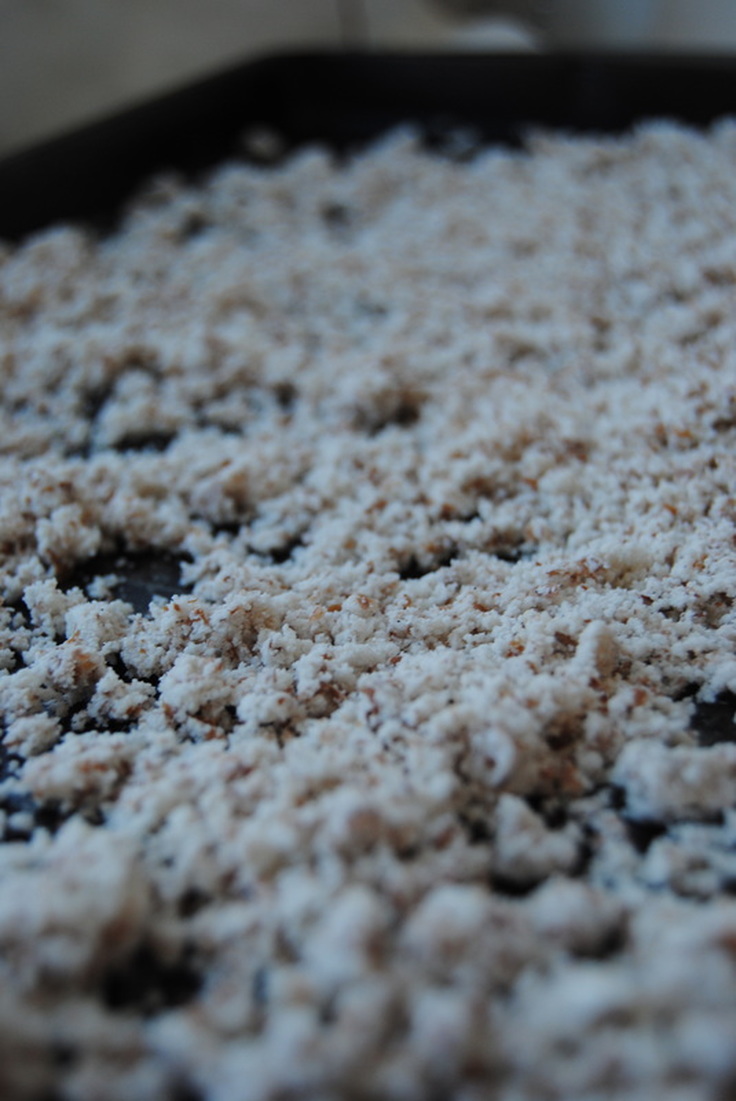
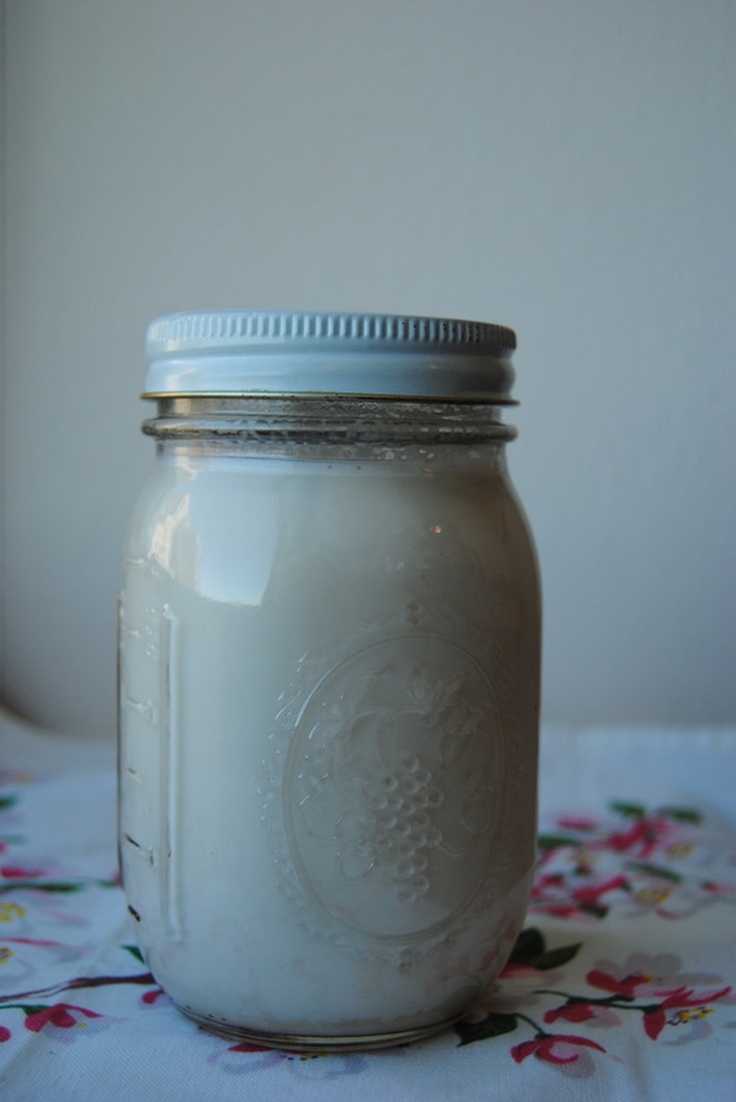
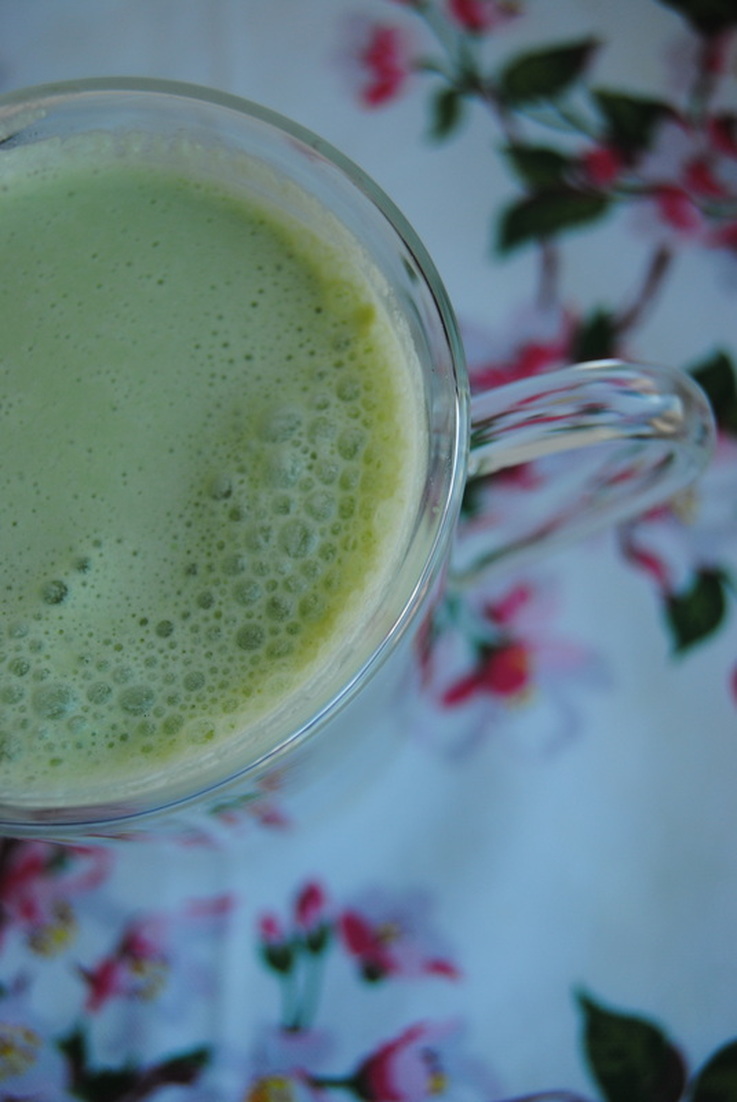
...I want to be a matcha fan! Matcha matcha fan, I want to be a matcha fan! Never heard of matcha? That's okay! Hopefully we've enticed you with this catchy tune to learn more about this alternative form of green tea. To get you started with matcha we are keeping this recipe simple by using it in one of our favorite forms, a latte! Don't let the bright green color scare you, it doesn't taste like a green vegetable and we swear it's delicious. So what the heck is matcha? Matcha is a powder made from the buds and leaves of young green tea plants. A few weeks prior to it's harvest, farmers shade the tea plants to allow an increase in chlorophyll to form. The tea is then harvested, steamed, air dried, and finely milled into the final powdered product with it's gorgeous green hue. Matcha tastes similar to typical green tea but with an earthy, delicately sweet flavor and velvety, creamy texture. Matcha has added benefits over steeped green tea because with matcha you are ingesting the whole leaf as opposed to steeping the leaves in water and then discarding. Matcha is a good source of antioxidants in the form of catechins polyphenols (antioxidant benefits were discussed further in a previous post, but you saw that right?) and contains up to 10 times the amount of antioxidants than regular green tea. So let's get down to it- will this kick start my day? We think yes! One teaspoon of matcha contains ~70 mg of caffeine (compared to one shot of espresso providing ~65 mg) and may provide a more steady level of energy/alertness versus the quick boost and then crash from coffee drinks. Matcha may be found at specialty grocers including a variety at Whole Foods Market. It can also be easily purchased online: we like the taste, price and convenience of this brand, but you may find another you love. Matcha can be used to add color and an earthy flavor to many dishes. But our favorite way to let matcha shine on center stage is with a simple matcha tea latte. Ready to give matcha a try? Matcha Tea Latte PREP TIME: 10 mins TOTAL TIME: 20 mins (plus overnight almond soak) Servings: one 8 ounce latte Ingredients 1 cup raw almonds 3 cups water 1 vanilla bean 2 tsp matcha powder (sweetened or unsweetened) maple syrup or honey to taste if using unsweetened matcha or as desired First to prepare homemade almond milk cover raw almonds with water and allow to soak overnight (at least 8 hours). Drain almonds and add to a blender with 3 cups water and paste from inside the vanilla bean (cut open pods with a small knife and scrape out insides). Blend on high for 2-3 minutes. Milk can be strained through a nut milk bag or using a french press as we did. Pour mixture into the french press and press all the way down separating the almond pulp from the nut milk. The unused milk can be stored in an air-tight container in the fridge for 5-7 days. Also save the almond pulp for use in future recipes as almond flour. Can be frozen as is and used at a later time or spread onto a baking sheet (pictured) and dehydrated in a 200 degree oven for 30 minutes, stirring once. Heat 8 ounces of almond milk in a small sauce pan over medium-high heat. Once simmering, remove from heat and whisk in 2 tsp of matcha powder and sweetener if desired. Pour into your most beautiful tea cup and enjoy by the window feeling the spring breeze! We know this recipe has now turned you into a matcha, matcha fan and you have the sustained energy boost you need to keep you going. Feel free to use alternate nut milk variations and/or try iced and be sure to let us know what you liked best!
Love you a latte, Jess and Cecelia
1 Comment
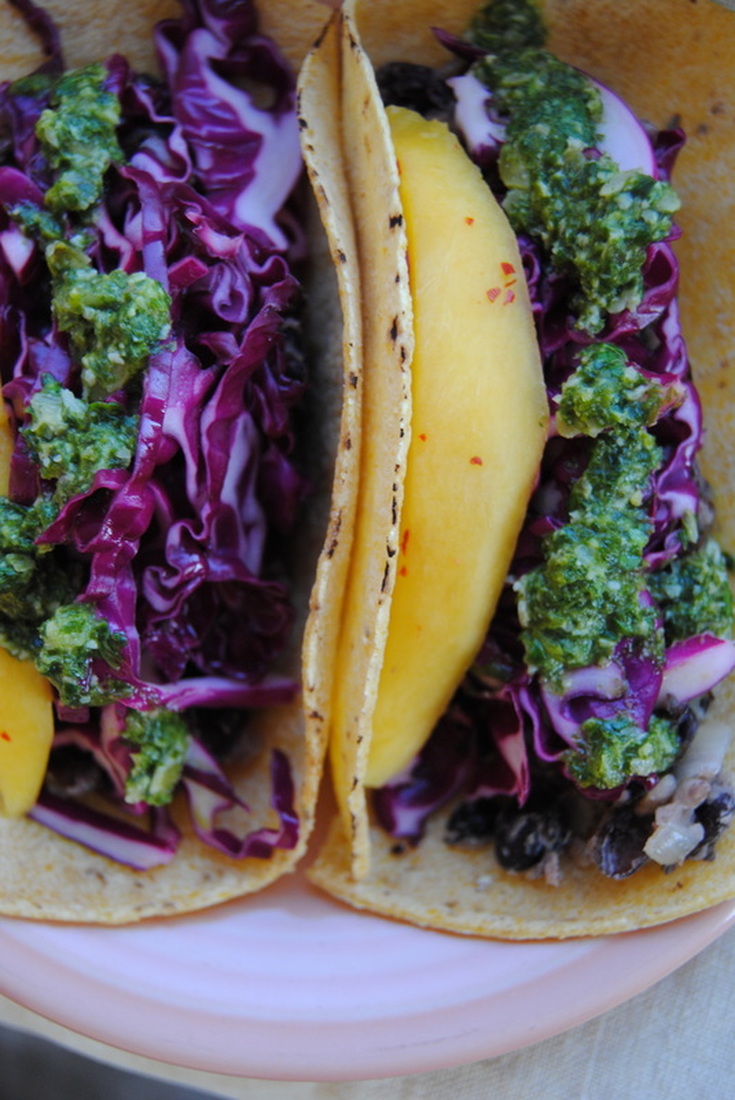
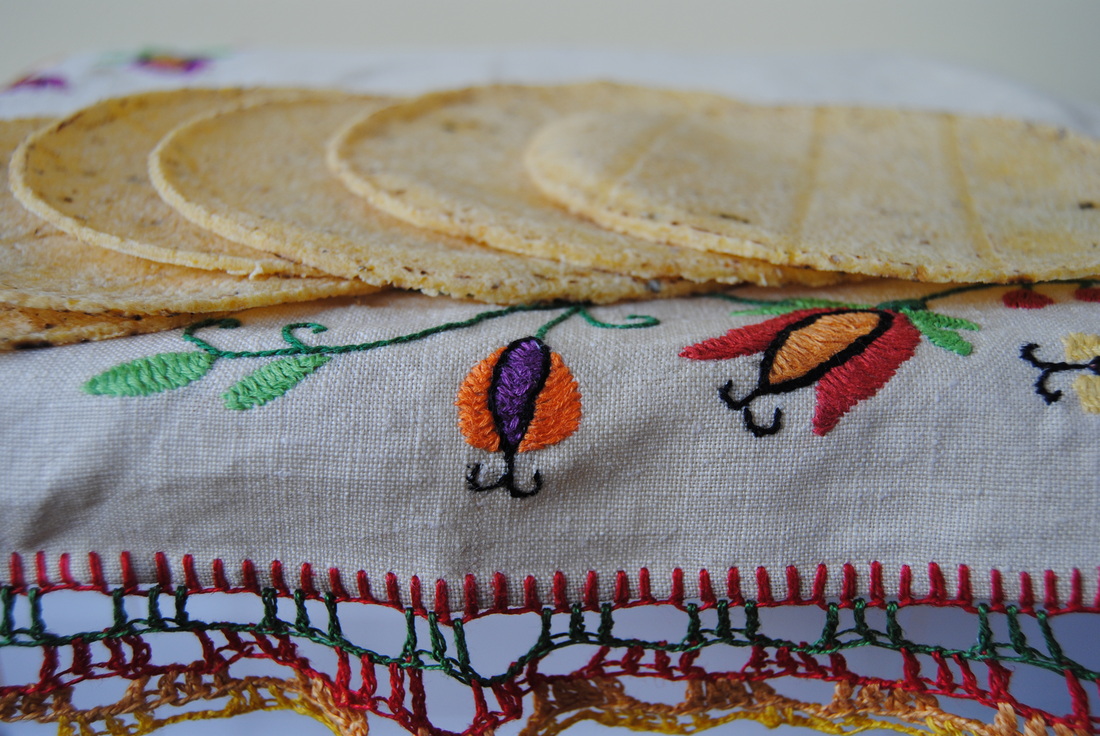
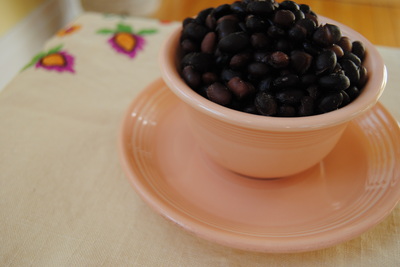
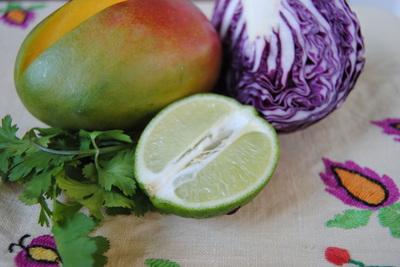
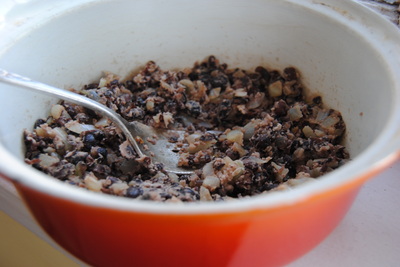
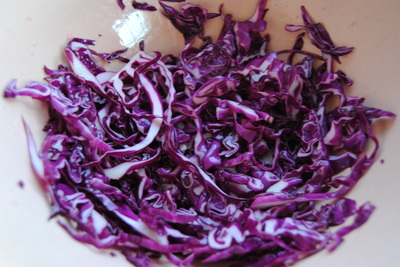
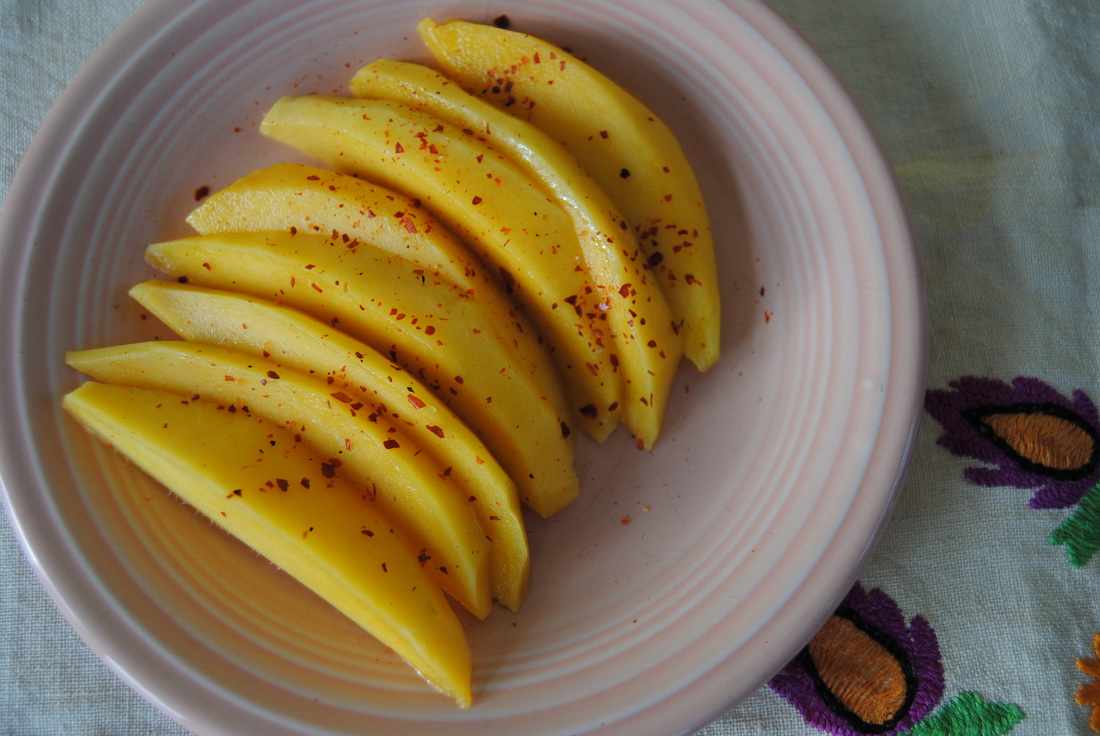
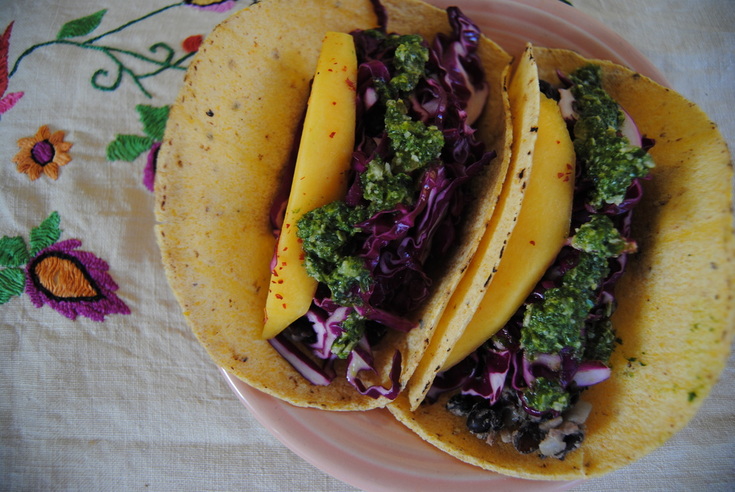
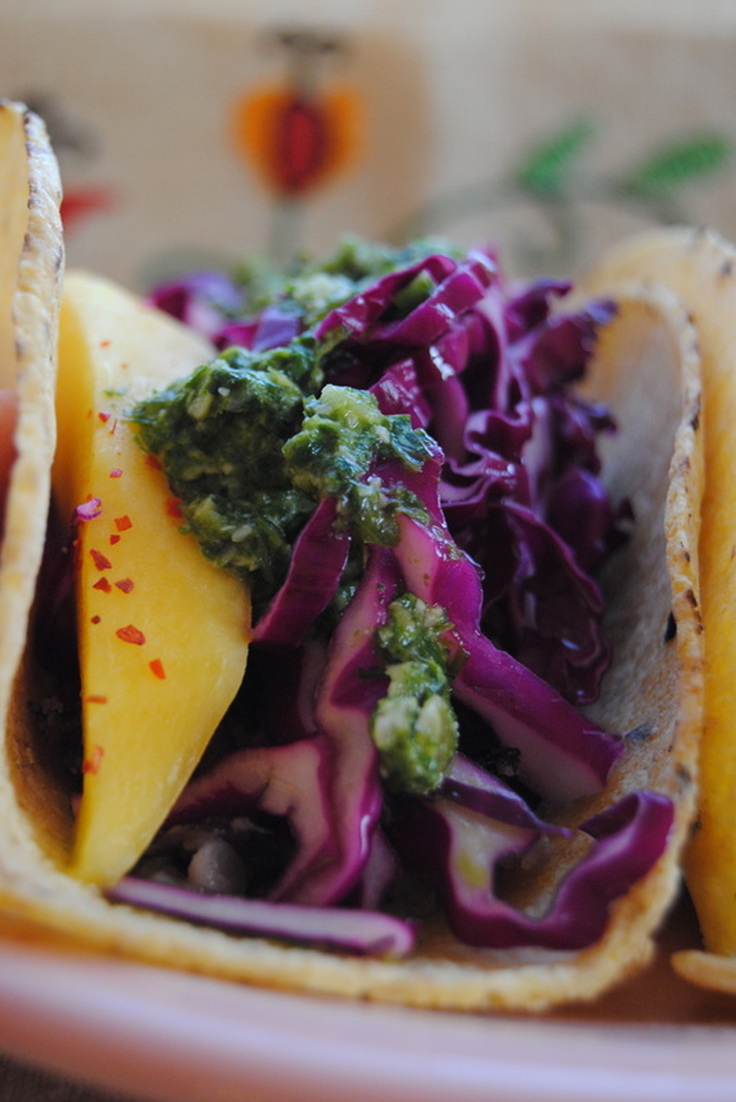
We don't know about you but we sure are happy to be celebrating spring. And what better way to celebrate than with a party favorite, tacos! Now sometimes when we say fiesta we mean spending all day in the kitchen cooking but we understand if you don't share this enthusiasm. That's why this recipe is an "easy eats" because we all need those quick but healthy favorites. Though we do want to warn you about what might be hiding in those processed tortillas first, okay we know - party foul, but you'll be thanking us later promise! So you may have heard the term genetically modified organisms, or GMOs, as it has been a hot nutrition topic for quite a while. The debate around GMOs can be somewhat confusing so we want to provide you a brief guide as to why we are not fans. GMOs are organisms who's DNA has been altered in a way that does not occur naturally with the purpose of creating a crop that can withstand high levels of herbicides/pesticides to reduce the likelihood of crop loss due to disease, infestation etc. This essentially means that more herbicide/pesticide residue will end up in genetically modified (GM) crops; and I don't know about you but we definitely don't want more of these chemicals in our bodies. Not to mention that we are not the only ones affected; the environment and wildlife, specifically insects, can be harmed by certain herbicides/pesticides while they are pollinating crops. Also during pollination insects may travel between GM and non-GM crops possibly contaminating the natural crops (say what!). If you want to avoid extra chemicals in your food and not support this type of farming practice look for foods which contain the non-GMO project verified label seal (pictured here) and/or certified organic as these cannot contain GMO. This is most important for the top 5 GM crops in the U.S. because >88% of these foods produced in the country are GMO; soy, canola, corn, cotton (used for cottonseed oil), and sugar beets (used for processed sugar). These GM crops end up in many packaged/processed foods because of the low cost and large supply and are often found in the form of oil, corn syrup, sugar, flavor enhancers and thickeners. To top it off, it is estimated that >70% of packaged foods in the U.S. contain GMOs! So back to those corn tortillas....are you thinking you might want to but organic? Great! We found our at Whole Foods, the 365 brand organic corn tortillas for only 0.99 cents a package! You can shop your local market looking for brands with the seal and/or organic or use this handy database of non-GMO foods to get you started. Now let's get back to the party! Sunshine Fiesta Tacos PREP TIME: 25 mins TOTAL TIME: 35 mins Servings: makes 6 tacos Ingredients Tacos 1 can organic black beans 1 medium yellow onion 2 Tbsp water 1 Tbsp coconut oil 6 organic corn tortilla shells* 1 ripe mango, sliced into thin segments sprinkle of chili powder/flakes Crunchy Cabbage Slaw 1 cup red cabbage, shredded 2 Tbsp raw apple cider vinegar 1 Tbsp honey 1/4 tsp sea salt Cilantro Lime Sauce 3/4 cup loosely packed cilantro leaves 1 lime, juiced 1 Tbsp olive oil 1 Tbsp raw pepitas 1 Tbsp pure maple syrup 1 small clove garlic sprinkle of sea salt to taste Rinse black beans in a colander until water runs clear. Add coconut oil to a saute pan over medium high heat. Chop yellow onion and add to the hot pan. Cook onion until translucent, about 5 minutes, add the rinsed black beans and 2 Tbsp water and continue cooking for 3-5 minutes. Remove from heat and mash onion/bean mixture with a large fork, allowing the flat bottom portion of the fork to do most of the work. Please note, some full beans left in mixture are okay and provide added texture. Cover with a lid and set aside. Begin the cabbage. Whisk vinegar, honey and salt in a medium bowl. Shred cabbage using a mandolin or large knife (pre-shredded is fine too), add to bowl and mix well until cabbage is coated in dressing. Set aside and begin the sauce. Add cilantro, juice of 1 lime, olive oil, pepitas, maple syrup, garlic and salt to a food processor or blender and blend ingredients into a smooth sauce. Now it's time to assemble these festive tacos! Warm tortilla shells in saute pan over medium heat for 30 seconds to 1 minute. Remove from pan and cover shells with a tea towel to keep warm while you assemble each taco. Add the following to each tortilla shell; 2 Tbsp black bean/onion mixture, 1/8 cup crunchy cabbage slaw, 1-2 segments of mango sprinkled with chili powder, and a drizzle of cilantro lime sauce. *Organic tortilla shells-ingredient list should contain organic corn, water, lime, and maybe salt. Nothing more! We hope these flavors put you in the mood for warmer weather and maybe an impromptu dance party in your kitchen. That may or may not have happened during this making of this post! But really this taco won't disappoint you or your guests and now you can impress everyone with your GMO knowledge - you'll be the life of the party, well our party anyways.
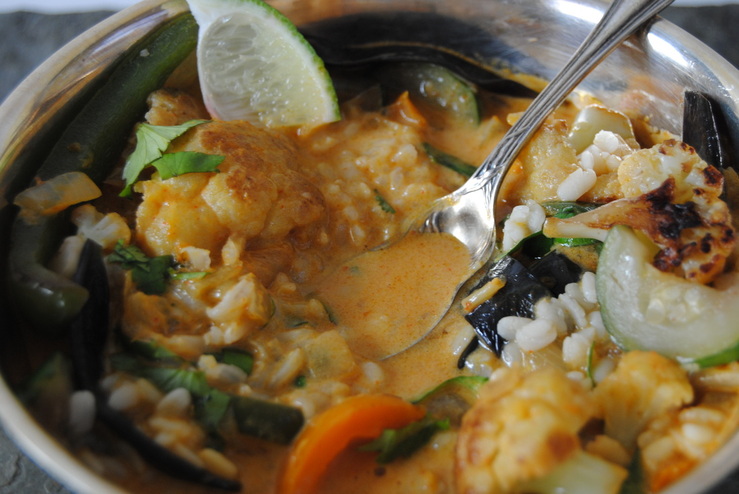
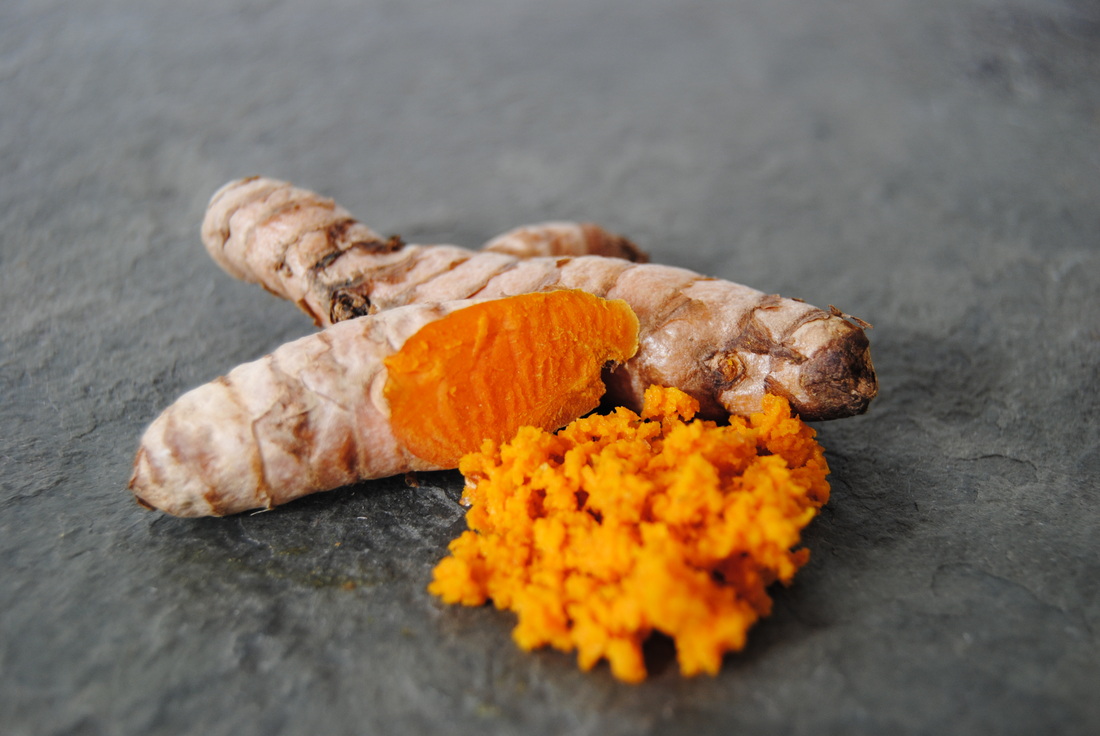
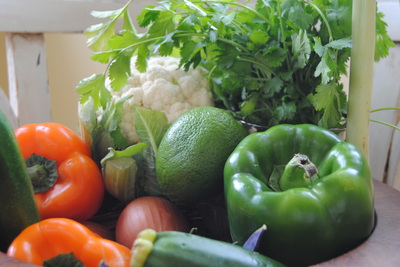
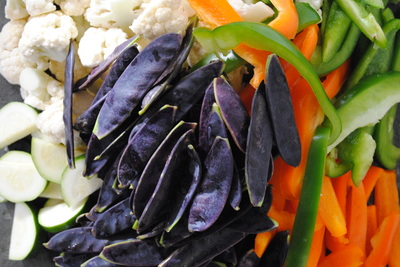
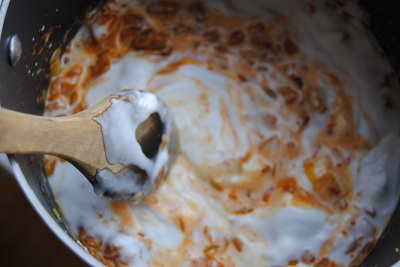
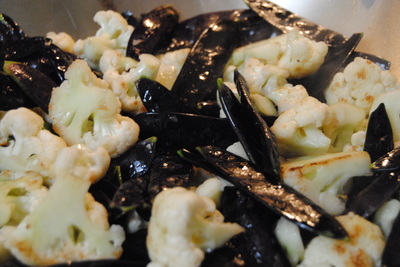
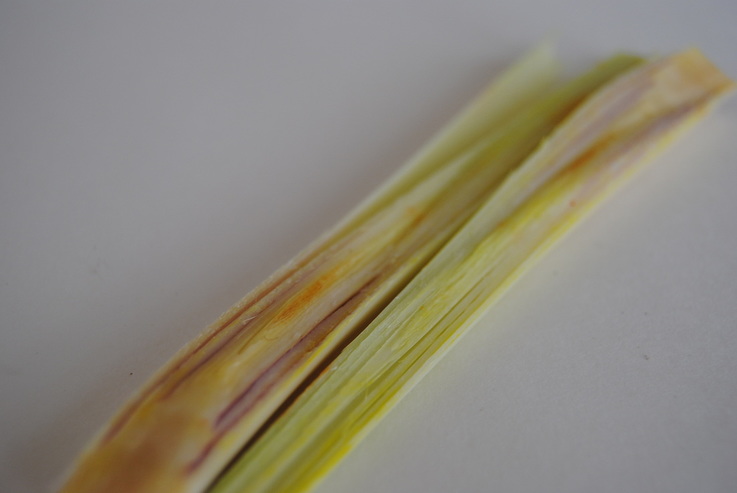
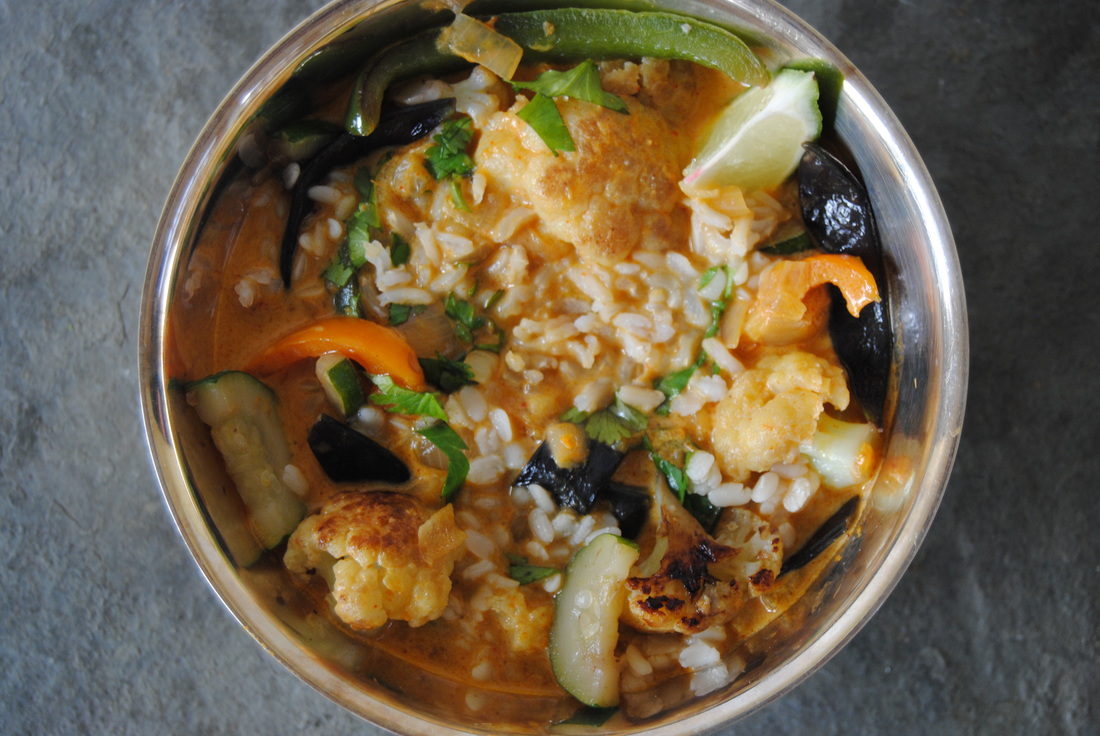
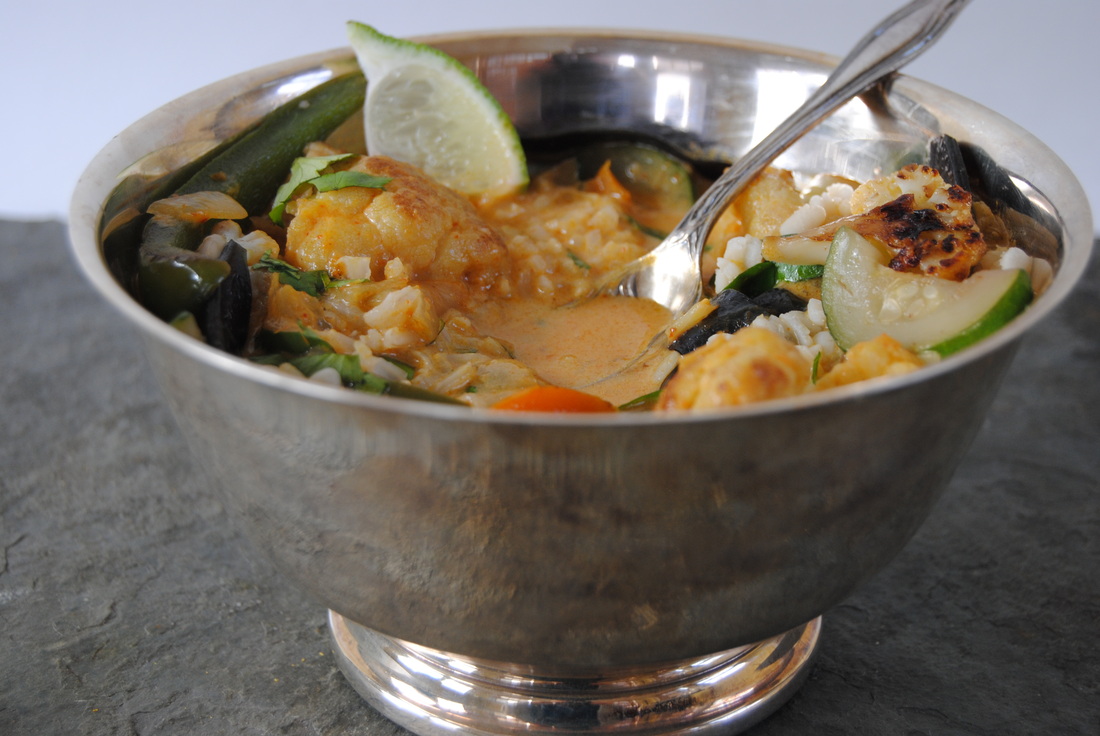
Party on, Jess and Cecelia So whats the deal with "super foods" you ask? We think that's a great question! With so many foods or food products being marketed as the newest, best super food it can definitely be confusing. Now we are not saying that all food claims and marketing can be believed (consumer always beware!) but there are some foods that have been shown to have added benefits to the body beyond the calories or flavor provided. Turmeric is definitely one of these "super foods" and this recipe will give you a delicious way to boost this fabulous spice in your diet. Turmeric is beautifully colored (as you can see!) and is used widely as a culinary spice and coloring, especially in Indian curry. It has a warm, peppery flavor that lends itself to savory foods but can also provide a kick to sweeter dishes. Besides it's striking taste and color, what makes turmeric super? The active "super-powered" substance in turmeric is curcumin, a powerful antioxidant that has been studied extensively and found to have various health benefits. Antioxidants are essentially "super-heroes" in our bodies because they scavenge, fight, and neutralize free radicals. Free radical is a term for a damaged molecule in the body but you can think of free radicals as "evil villains" because they can damage or even kill healthy cells in our bodies, which unstopped may eventually cause disease. Antioxidants work to counteract the effects of free radicals (yay!) essentially preventing or even reducing some of the damage they cause. Curcumin research has shown benefits for multiple diseases and specifically inflammatory conditions, but it's important to note that curcumin is typically studied in higher doses than would be found in turmeric used in foods. But we still believe that the addition of turmeric can benefit the body through its anti-inflammatory and free radical fighting properties. The Super Golden Curry Bowl PREP TIME: 45 mins TOTAL TIME: 90 mins Servings: 4 Ingredients 1 cup plus 2 Tbsp vegetable stock (we make our own from leftover vegetable scraps, store bought is also good) 1 can full fat coconut milk 1 cup dry ivory white lentils, or lentil of your choice 1/2 cup uncooked brown rice 1 cup cauliflower 1 cup purple snow peas (you could also use green) 1 bell pepper, color of your choice 1 small zucchini 2 small, or 1 medium yellow onion 1 heaping Tbsp red curry paste (our favorite is Thai Kitchen) 1 stalk lemongrass 1 inch fresh turmeric root, peeled and diced 1 inch fresh ginger root, peeled diced 2 Tbsp coconut oil sea salt to taste Toppings 1-2 limes, cut into wedges A few sprigs cilantro Rinse lentils under running water until water runs clear. Combine 1 cup rinsed lentils with 4 cups water in a deep pan over medium to high heat. Bring lentils to a boil, then reduce heat to a simmer, cover with a lid and cook for 25-30 minutes. Once lentils are fully cooked, drain remaining water and set lentils aside. Begin the rice. Rinse rice well. Bring 1 cup of water to a boil in a pan. Add 1/2 cup rice. Return to a boil, then turn down the heat to a simmer, cover with a lid and allow to cook for 35-40 minutes. Turn off the heat, remove lid and let sit. Add 1 Tbsp coconut oil to a deep sauté pan or dutch oven over medium heat. Dice onion and add to sauté pan with sprinkle of sea salt. Cook onion until translucent, about 5 minutes. Lower the heat to medium-low and add curry paste, diced turmeric and ginger to pan, continue cooking for 5 minutes. Add 1 can coconut milk and 1 cup vegetable stock to the pan. Slice lemongrass in half lengthwise and add to pan. Lower the heat to a simmer and cover with a lid. Allow to simmer for 30 minutes. Begin preparing your vegetables. Cut zucchini into half circles, roughly chop cauliflower, and slice bell pepper into long strips. Add 1 Tbsp coconut oil to a large wok or sauté pan over medium-high heat, add the chopped cauliflower and sprinkle of sea salt and cook for 5 minutes stirring often. Next add peppers and snow peas to the hot pan and continue cooking for 12-15 minutes stirring every few minutes. Last add zucchini and cook for an additional 5 minutes until all vegetables are soft with golden edges. Turn heat off and set pan aside. Now it's time to assemble your bowls! Add 1/4 cup brown rice, 1/2 cup lentils, and 1/4 of the cooked vegetables to each bowl (recipe serves 4) and carefully ladle 3/4 cup golden coconut curry broth over the top. Add a few springs of cilantro and the juice of a fresh squeezed lime wedge. Grab a spoon, sit back, and enjoy the beautiful and oh-so-flavorful masterpiece you have just created!! With this inviting bowl we hope that you will enjoy the warmth, flavor, and "super-powers" of turmeric as much as we do. Not to mention the color; should something this beautiful really be eaten? Definitely. Yes.
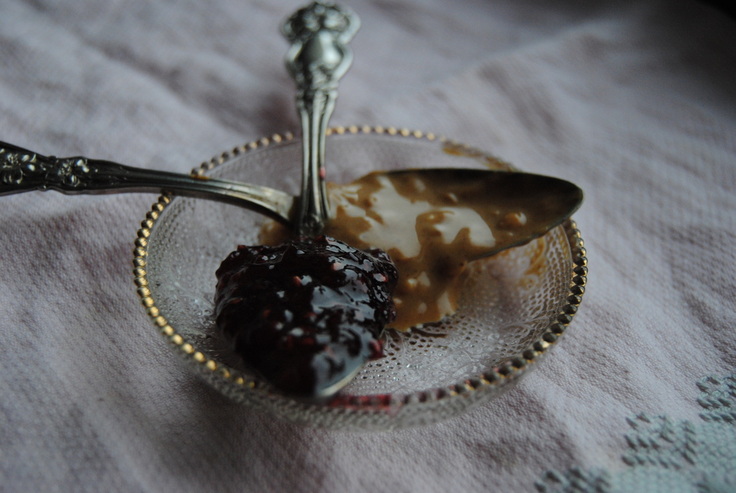
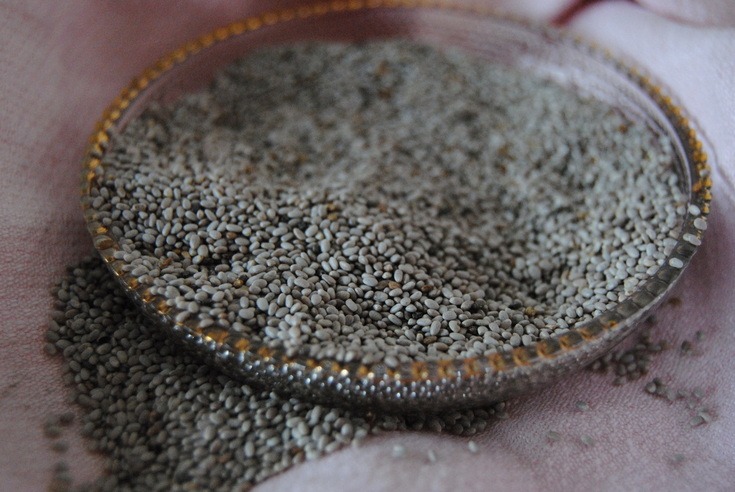
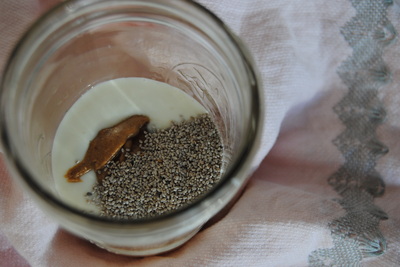
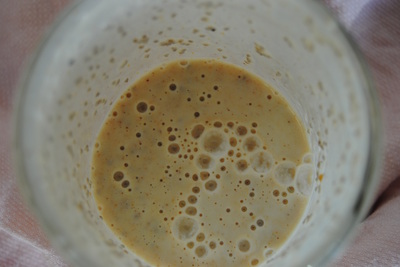
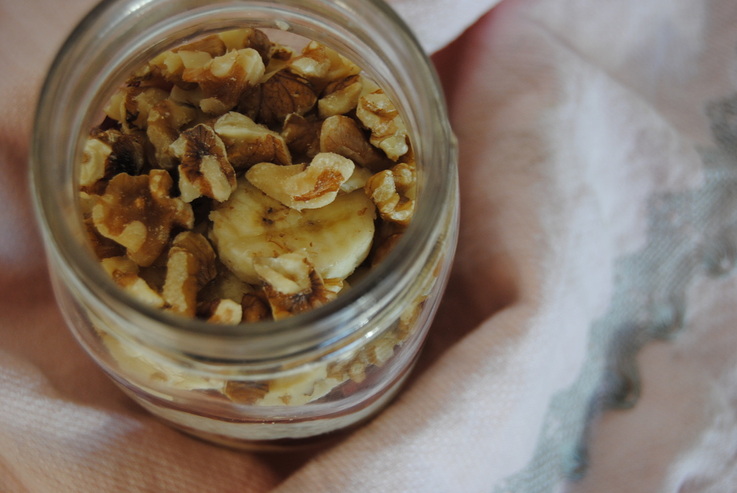
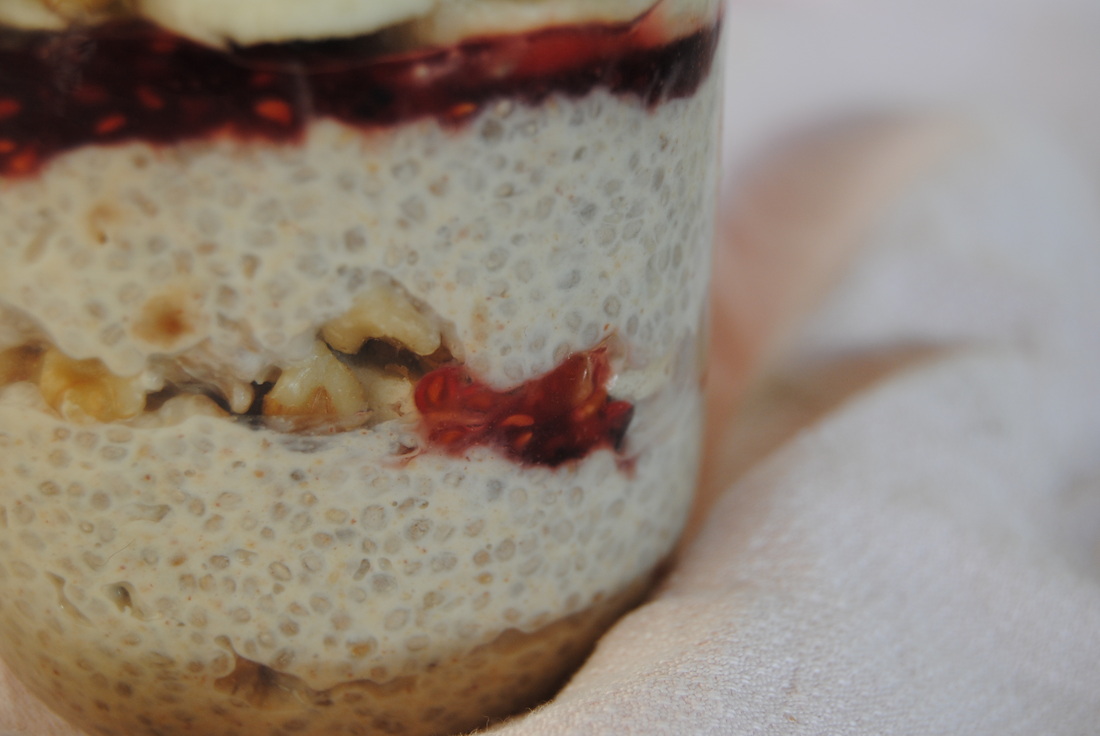
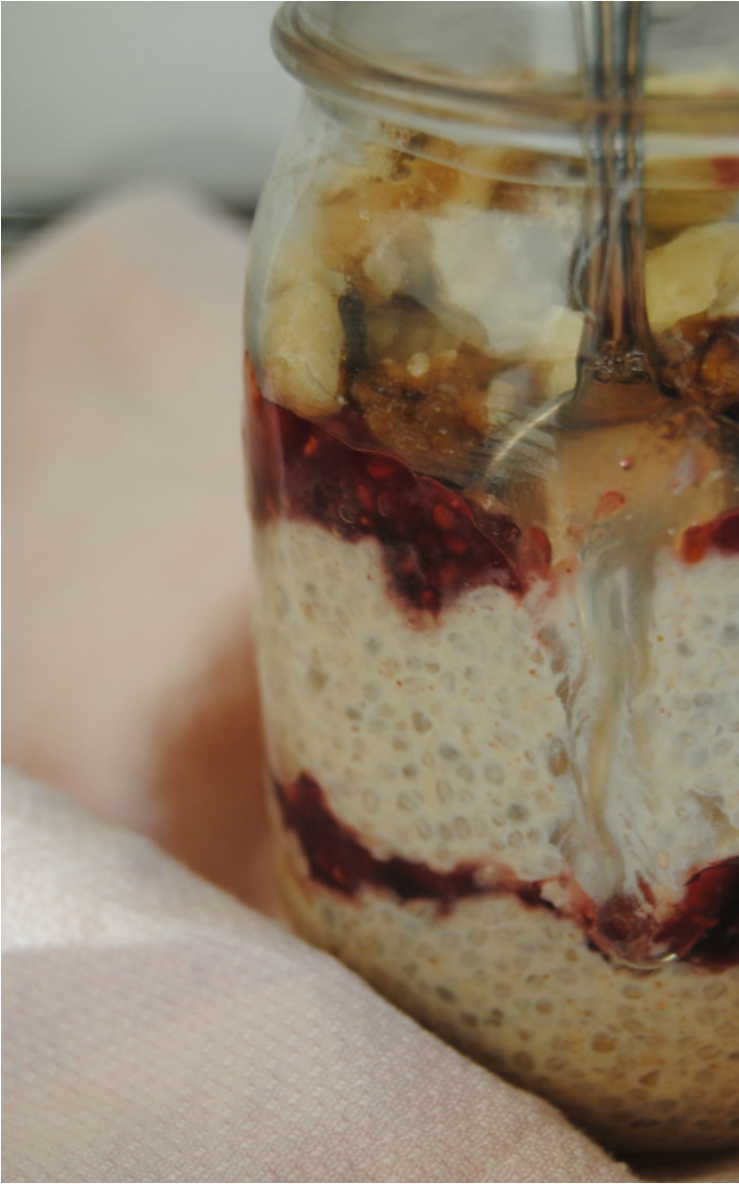
Stay super, Jess and Cecelia Peanut butter and jelly. Just the name conjures childhood memories of a perfect lunch; the soft, gooey bread, crunchy, salty peanuts and tart but sweet jelly. Each bite better than the next until your done and running back out to play with your siblings and friends. Ahhhhhhhh. Fast forward a few decades and you arrive at this recipe, still the perfect combination of PB&J but now all grown up! Add some soluble and insoluble fiber and you've got a match made in heaven no matter your age. So whats the deal with fiber you ask? A lot! Fiber is a broad term encompassing the portion of foods we eat that are not digestible. Fiber passes through our intestines unphased by digestive enzymes but along the way fiber can help our bodies out in a huge way. Now it's important to know that all fiber is not created equal and there are two main types; insoluble and soluble fiber which are both important to your diet in balanced amounts. Insoluble fiber does not dissolve in water, meaning within your gut insoluble fiber passes along through with little change. This type of fiber can improve constipation by adding "ruffage" and encouraging the excretion of waste, basically it helps keep food moving through your gut at a steady pace. Soluble fiber does absorb water and creates a gel when exposed to liquids (you will see this first hand with chia!). This gelatinous property can slow digestion to keep you feeling full for longer and also contributes to soluble fiber's ability to reduce cholesterol. Remember that a balance in the diet of both types of fiber is best and luckily chia is a great source of both. Just a 2 Tbsp serving of chia seeds packs a whopping 11 g of fiber; 75% being insoluble and 25% soluble. Chia seeds are unprocessed and unlike flax seeds do not need to be ground prior to eating for our bodies to obtain their nutrients. Because of their soluble fiber content, when placed in liquids chia can expand up to ten times their size! This is what allows their nutrients to be more available to our bodies as well as making them great egg replacements or binders in recipes. So let's get down to it. PB&J Chia Pudding PREP TIME: 5 mins TOTAL TIME: 10 mins (let sit in fridge for at least 6 hrs) Servings: 2 Ingredients Pudding 1 cup plain unsweetened milk kefir (or 3/4 cup plain yogurt) 1/4 cup unsweetened almond milk, or milk of your choice (if using yogurt instead of kefir increase to 1/2 cup milk) 4 Tbsp white chia seeds (black will also work but will look and taste slightly different) 2 Tbsp pure maple syrup* 2 Tbsp natural peanut butter** Sprinkle of sea salt Toppings 1 banana 1/4 cup chopped walnuts 2 Tbsp raspberry preserves (or preserves/jam of your choice) In two 10-12 oz mason jars, combine half of the ingredients in each - 1/2 cup plain kefir, 1/8 cup almond milk, 2 Tbsp chia seeds, 1Tbsp maple syrup, 1 Tbsp peanut butter, and sprinkle of sea salt. Screw on a tight fitting lid and shake vigorously until all ingredients are combined. Allow pudding to rest and gel up in the refrigerator for at least 6 hrs (we prepare ours just before bed so it's ready to go the next morning for breakfast). Once your pudding has set, you can make pretty layers in new jars (pictured above) or simply add the following toppings to your set pudding; 1/2 sliced banana, 1 Tbsp raspberry preserves, and 1/8 cup chopped walnuts. *Make sure to read your ingredient lists when buying maple syrup - ingredients list should contain maple syrup only, nothing more and nothing less! **Same goes for peanut butter - only ingredients should be peanuts and optional salt We recommend this recipe as an easy, prepare ahead breakfast to fuel your busy days and keep you satisfied until lunch. Or really for any time you want to crack open an old photo album and reminisce about your childhood. This recipe can be a kid favorite as well and maybe even take the place (gasp!) of the typical PB&J sandwich. Hey you never know.
Enjoy it, Jess & Cecelia |
AuthorsJess and Cecelia welcome you to our kitchen. We are fun-loving and passionate foodies working to make the world a healthier, happier place one plant based recipe at a time. Categories
All
Archives
December 2018
|

