|
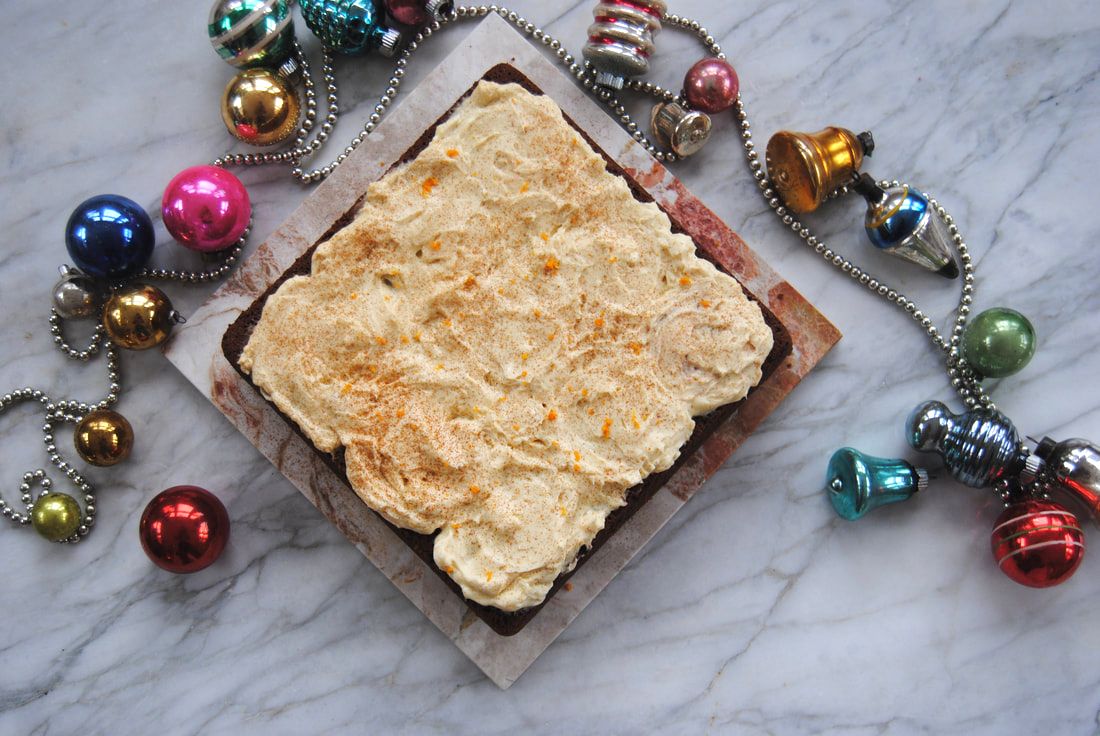
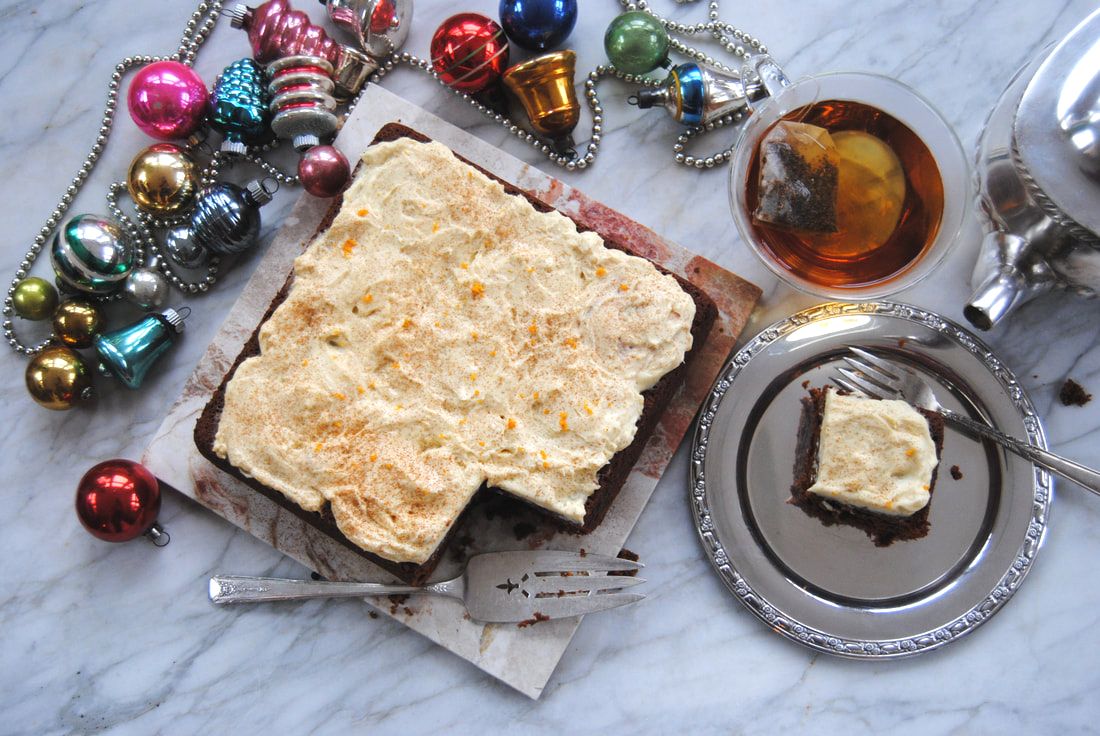
This cake has got it all (sugar, spice and everything nice!). For our holiday post this year we wanted to create a super special dessert (or sweet breakfast) recipe, and this spice cake was it! The combination of sweet, seasonal spices, and rich cream cheese frosting is a holiday worthy combination that will add to any of your holiday memories. We hope you enjoy this one with friends and family.
Holiday Spice Cake
PREP TIME: 25 minutes TOTAL TIME: 1 hour 35 minutes Servings: 9 Ingredients Cake 2 1/2 cups whole wheat flour 1 cup sugar 1/2 cup melted coconut oil + 1 additional Tbsp for pan 2 tsp baking soda 1/2 tsp salt 3 Tbsp ground cinnamon 1 Tbsp ground ginger 1 Tbsp cacao powder 2 tsp ground nutmeg 1/2 tsp ground cloves 1/2 tsp ground black pepper 2 Tbsp ground flax seeds mixed with 4 Tbsp warm water 8 oz full fat Greek yogurt 8 oz pumpkin puree 1/4 cup molasses Sweet Orange Frosting 8 oz full fat cream cheese, room temperature 2 Tbsp light maple syrup Zest of 1 medium orange Preheat oven to 350 degrees. Prepare a 9" square pan with a light coating of melted coconut oil on the bottom and each side of the pan to prevent the cake from sticking. In a small bowl, combine the ground flax seeds with water and whisk with a fork until combined. Allow mixture to sit until thick and gelatinous, about 5 minutes. In a large bowl, whisk together the dry ingredients including the flour, baking soda, salt, and spices and set aside. In a separate bowl, whisk the wet ingredients together including the flax eggs, melted coconut oil, greek yogurt, pumpkin puree, and molasses. Add the dry ingredients to the wet ingredients and mix until thoroughly combined. Pour batter into prepared pan and bake until a toothpick come out clean, about 45-50 minutes. Allow cake to cook at room temperature for at least 10 minutes before turning out onto a cake pan/platter. To make the frosting, combine the cream cheese, maple syrup, and orange zest in a standing mixer or a handheld mixer on medium speed until light and fluffy. Once the cake is cooled, evenly frost the cake, sprinkle with a light dusting of cinnamon, and cut into 9 servings. Enjoy a slice of spice cake with a warm cup of tea! You may store any leftover cake in an air tight container in the fridge for up to 5 days.
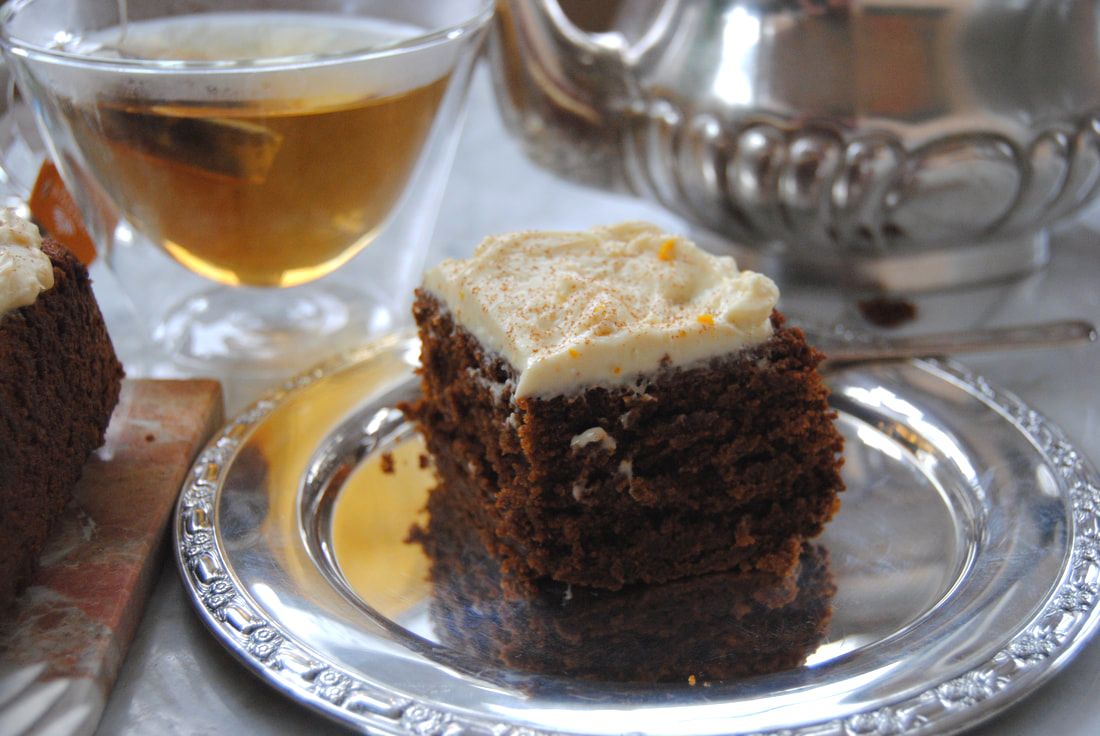
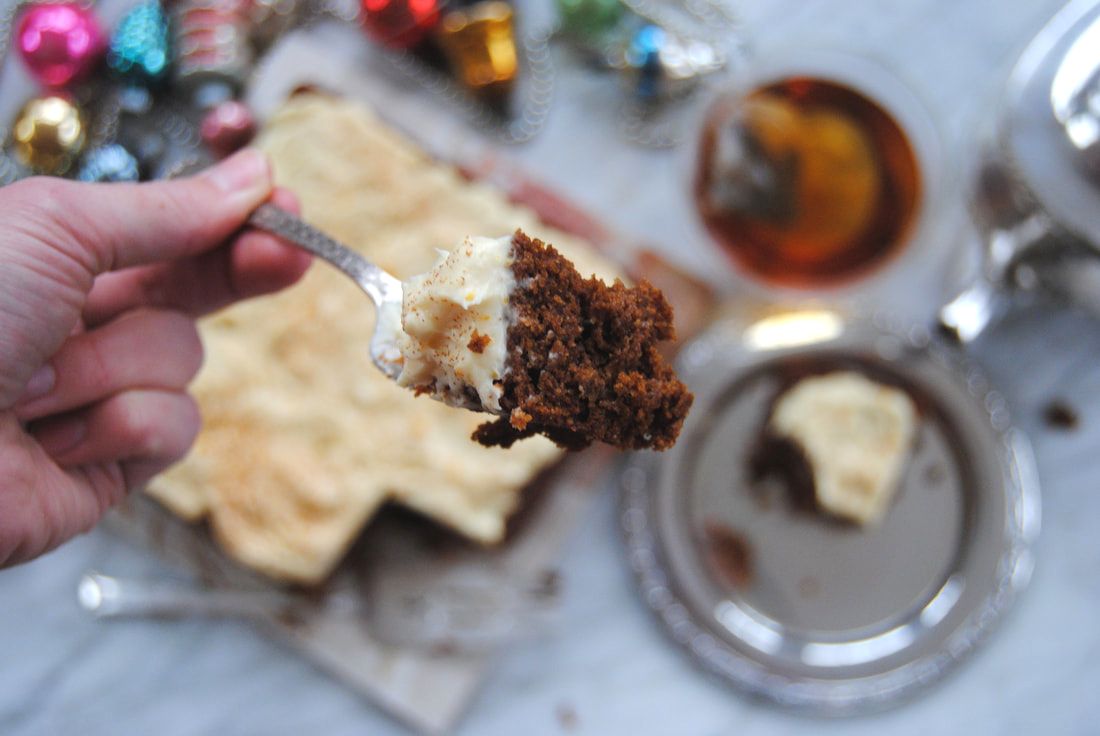
A bite of this cake is a perfect balance of sweet and spice topped off with a velvety and bright richness from the orange cream cheese frosting. Since we are both sweet breakfast lovers you can bet this this recipe is making it onto our Christmas brunch tables. Until the New Year, friends.
Happy Holidays, Jess and Cecelia
1 Comment
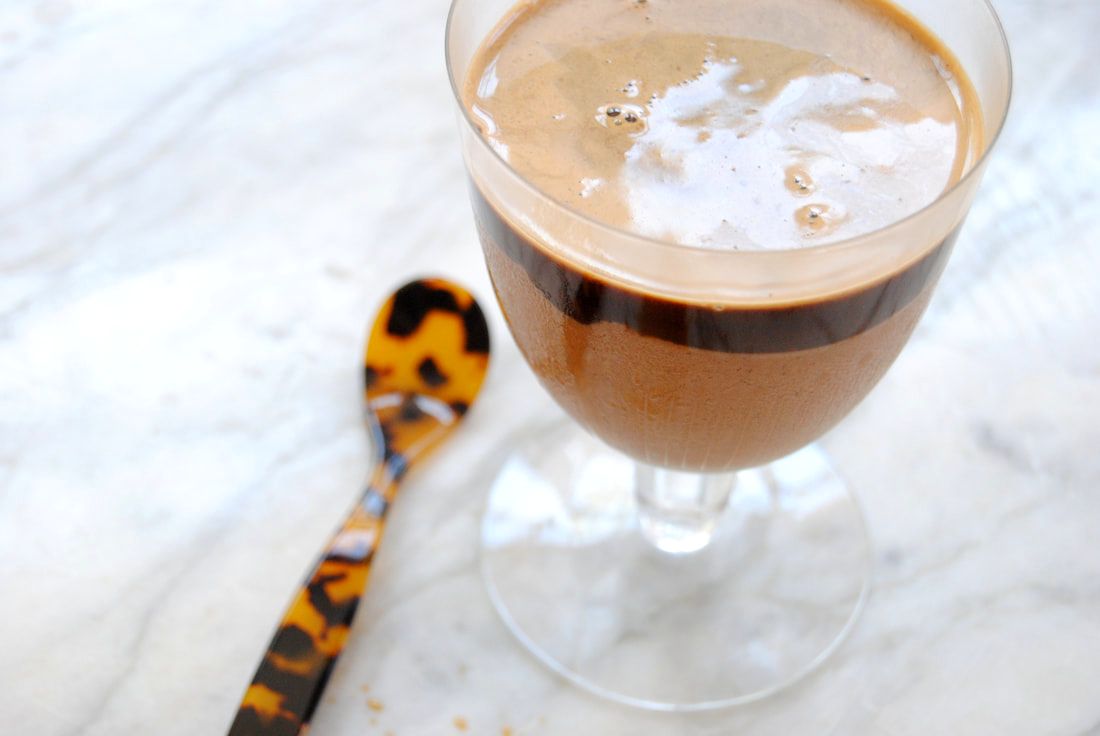
While Cecelia's sister enjoyed her honeymoon in Italy this summer, we were inspired to hit the kitchen and recreate one of our favorite Italian desserts. Affogato is a coffee based dessert created by "drowning" gelato in espresso, so really, what could be better? We wanted to make a bit more nutritious version of "gelato" to have an excuse to enjoy this treat often this summer. So we made ours dairy free, naturally sweetened with fruit sugar, and with added protein and superfoods. The final outcome is even better than we imagined, join us!
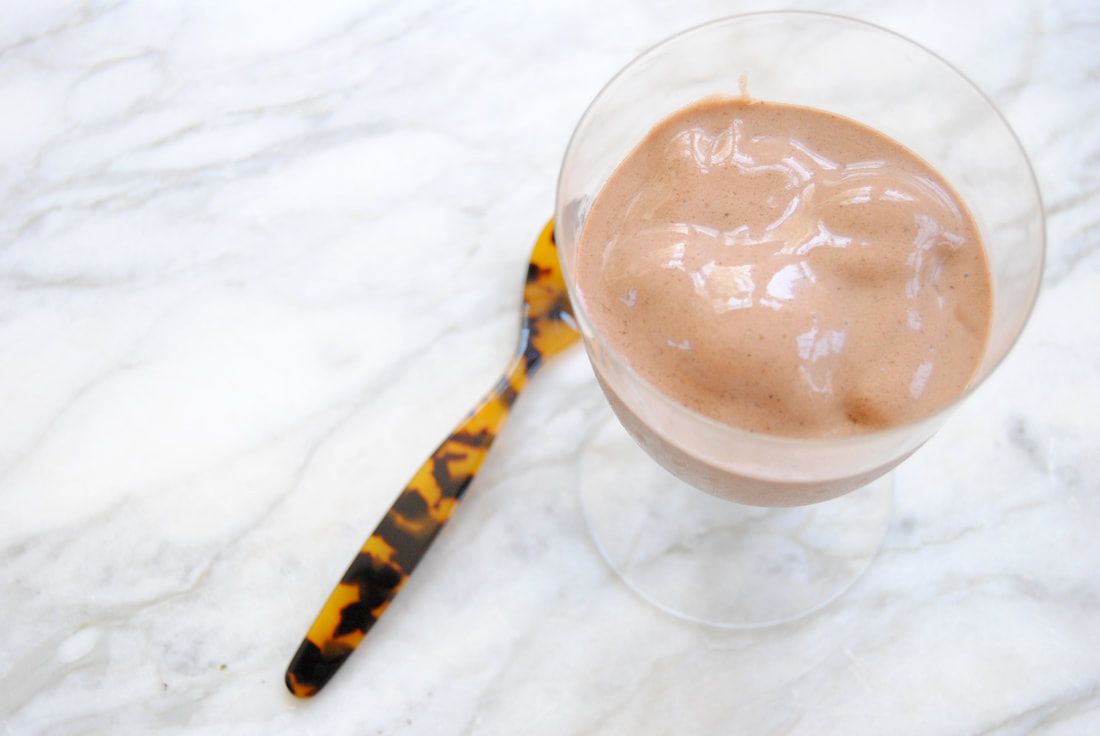
Chocolate Banana Affogato
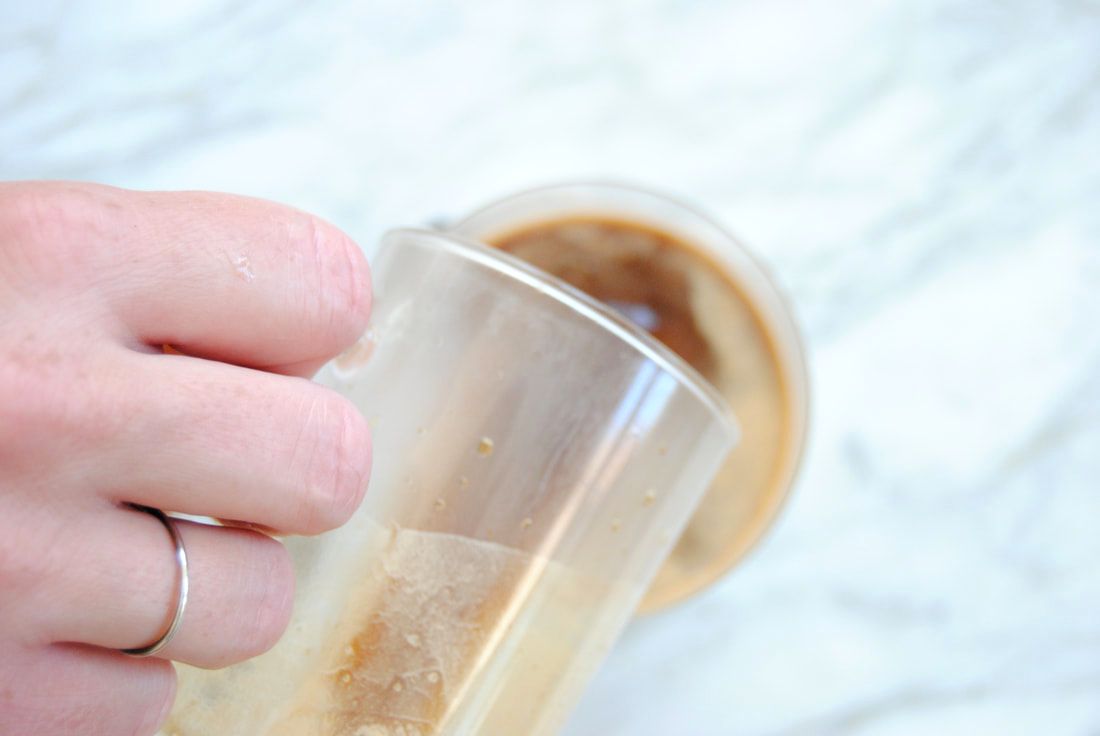
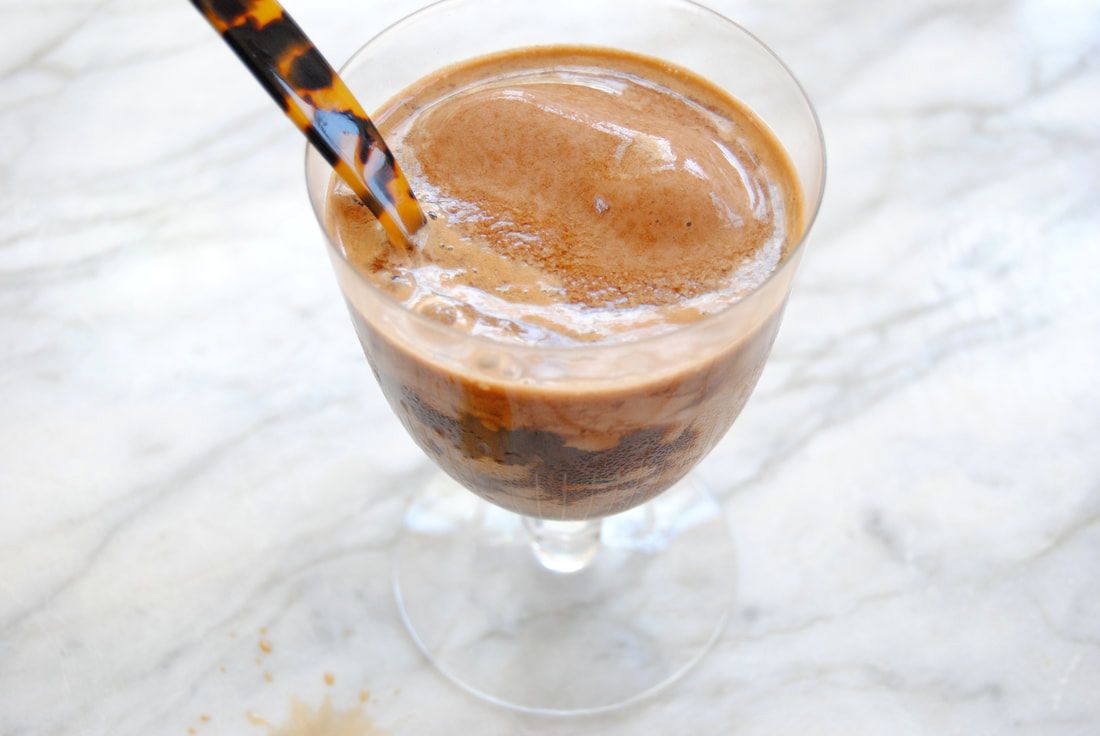
PREP TIME: 5 minutes TOTAL TIME: 10 minutes Servings: 1 Ingredients: Dairy Free "Gelato" 1 frozen banana, peeled 1/3 cup unsweetened vanilla soy milk (or milk alternative of your choice) 4, 1 oz ice cubes 1 Tbsp almond butter 1 Tbsp cacao powder 2 tsp maca powder 1 shot of espresso* (reserved to top "gelato") To make the banana "gelato", combine peeled frozen banana, soy milk, ice cubes, almond butter, cacao powder, and maca powder in a high speed blender and blend on high until mixture is smooth and creamy. You should be able to scoop the "gelato" with a spoon, it should not be liquid. Add banana "gelato" to a glass then pour a warm shot of espresso over the top and enjoy! *If you do no have an espresso machine, we suggest making double strength coffee and pouring 1 oz of warm coffee concentrate over the top.
If you've never experienced affogato, you're in for a treat. And even if you have, our version is sure to impress. Naturally sweetened by banana, this frozen and caffeine added treat is perfect for a hot and lazy summer day. Once you've had affogato, plain espresso or gelato will just never be the same again, so put them together!
Enjoy, Jess and Cecelia
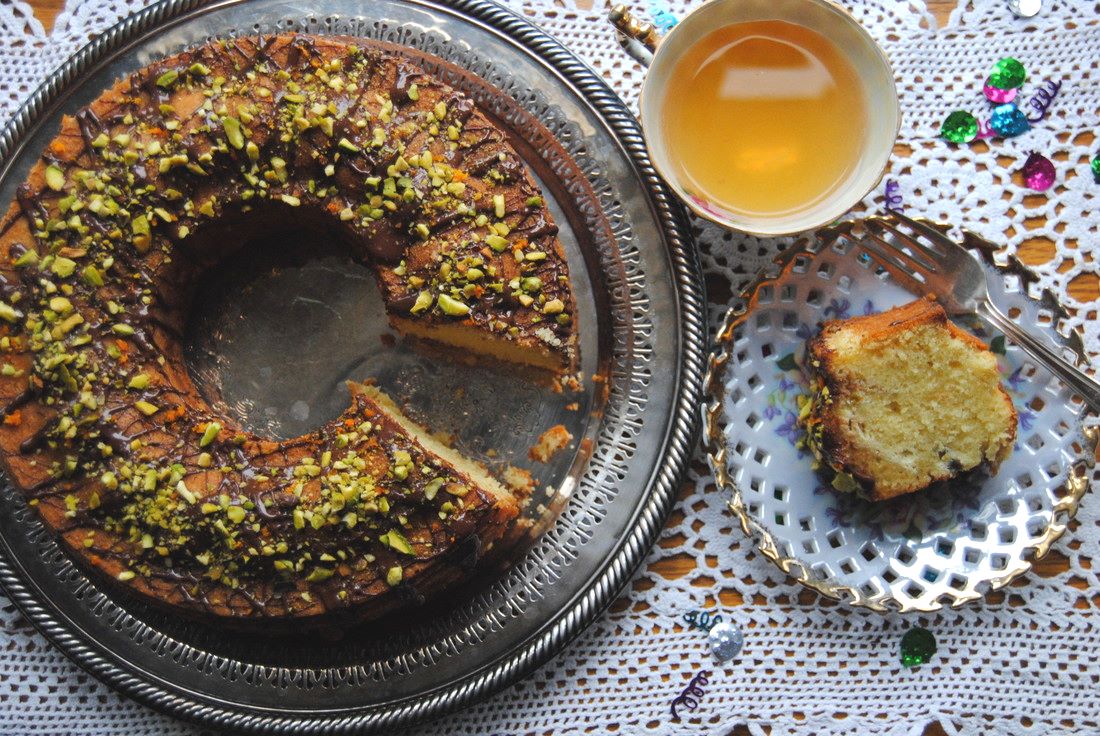
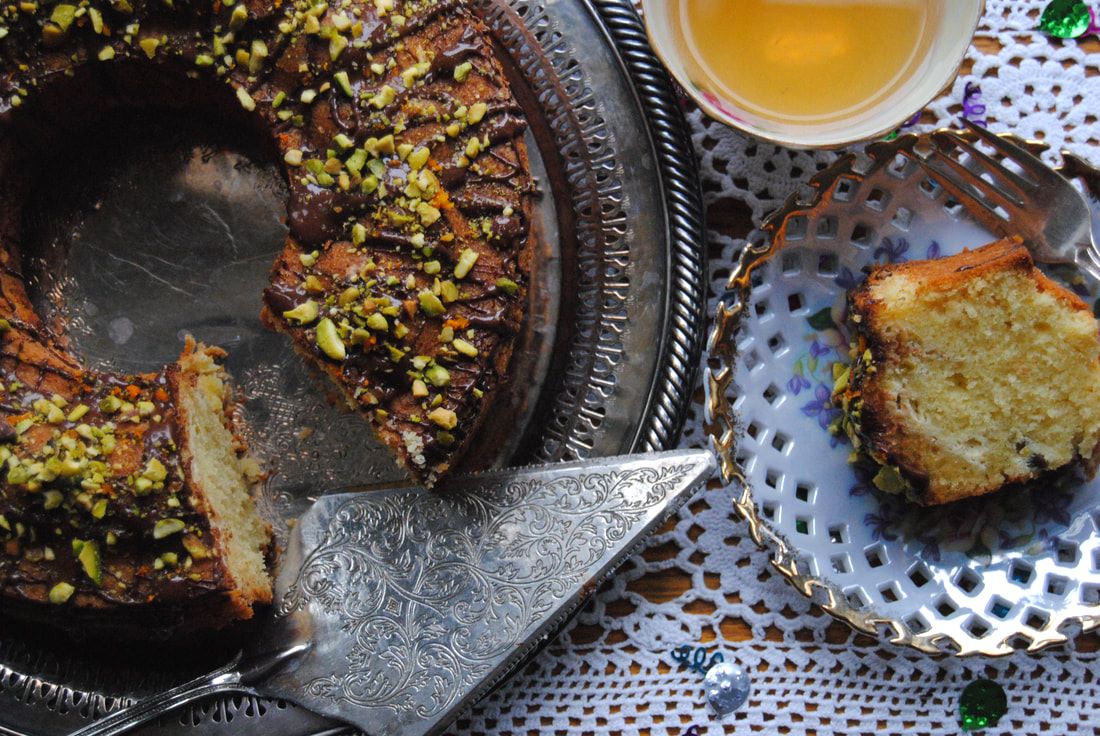
Join us friends in celebrating three years of plant based recipes from The Green Blossom Kitchen! These past three years have taught us a lot, both in the kitchen and out, about the ways we can continue to inspire others through plant based eating and healthier lifestyle. We so enjoy hearing your stories about how our recipes have helped you and changed your experience with food for the better. With your support we hope to continue this journey for years to come. So how do we celebrate such a big event? With food of course! This year a homemade pound cake with flavors of orange, pistachio, and chocolate. Though not technically a health food, this cake is still made with whole food ingredients and is 100% homemade. All the ingredients are pronounceable and recognizable unlike what might be found in a boxed cake mix. We hope you love this cake as much as we do.
Celebration Pound Cake
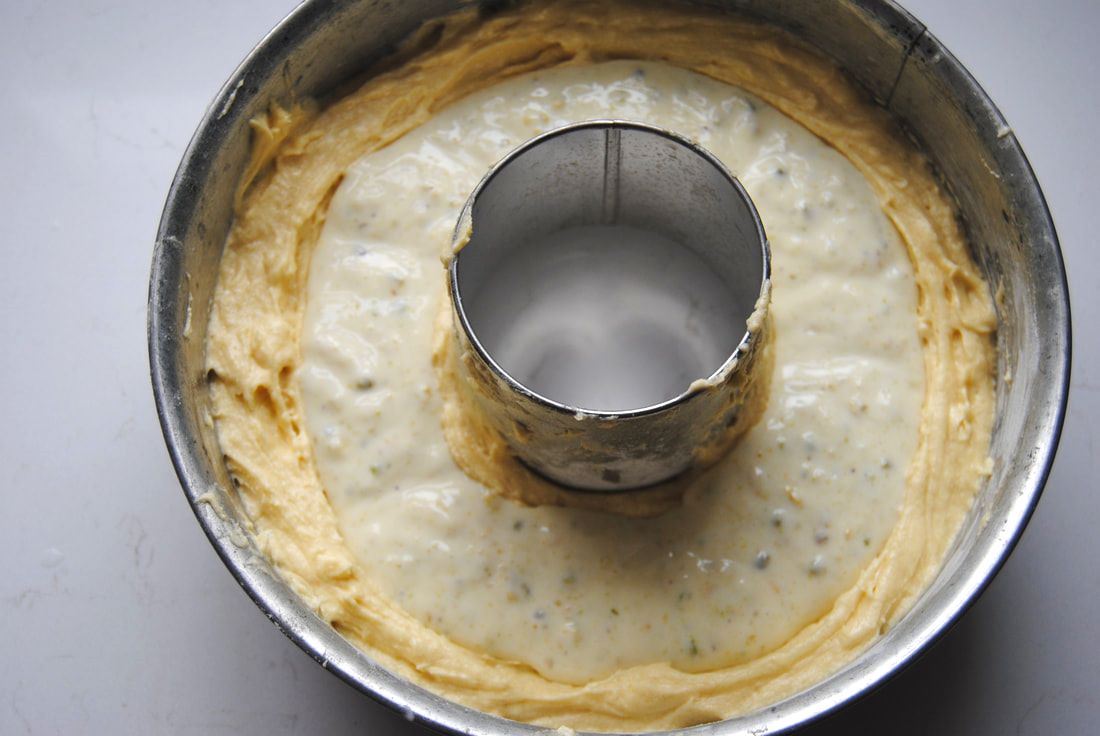
PREP TIME: 40 mins TOTAL TIME: 2-2.5 hours Servings: 10-12 Ingredients Cake 2 sticks unsalted butter 2 cups whole wheat flour or gluten containing flour of your choice 1 1/2 tsp baking powder 1 tsp salt 4 large eggs 1/3 cup whole milk 1 1/4 cup cane sugar 1 tsp vanilla Filling 8 oz, 4% fat Greek or Icelandic yogurt 1 egg 1/2 cup sugar 1 Tbsp + 1 tsp whole wheat flour 1 oz cacao butter, melted 1/3 cup powdered pistachios Glaze 1/3 cup semisweet chocolate chips 1 tsp coconut oil 2 tsp orange zest 1 Tbsp crushed pistachios Preheat oven to 325 degrees. Lightly oil or butter a 14 cup Bundt pan then dust with flour, making sure to tap out the excess. Prepping the pan is very important to make sure that your cake releases easily. To prepare the filling, combine yogurt, egg, sugar, flour, and cacao butter in a food processor. Mix until smooth then fold in powdered pistachios and set aside. In the bowl of a standing mixer fitted with a paddle attachment, add the flour, baking powder, salt and sugar and mix until combined. In a separate bowl, whisk the eggs, milk, and vanilla together until incorporated and set aside. With the mixer on low speed, add 1 Tbsp butter at a time, mixing until crumbly. Add half of the milk mixture to the mixer and increase speed to medium-high until light and fluffy, about 1 minute. Add the remaining milk to the mixer and continue mixing until fully incorporated, making sure to scrape down the sides of the bowl as needed. Pour half of the cake mixture into the prepared pan then use the back of a spoon to create a concave well in the center of the mixture. Spoon the filling into the well, then top with the remaining cake batter and spread evenly with a spatula. Place cake in preheated oven and bake for 1 hour or until a toothpick comes out clean. Remove cake from the oven and allow to cool on a wire rack for at least 15-20 minutes. Remove cake from the pan by inverting slightly cooled cake onto a plate and then placing on a cake plate/stand. Allow cake to continue cooling to room temperature for an additional 30-45 minutes. Melt chocolate chips with coconut oil in a double boiler or microwave then drizzle over cooled cake. Sprinkle orange zest and chopped pistachios over the top. Serve and enjoy! Cake will keep best in an air tight container at room temperature for 2-3 days.
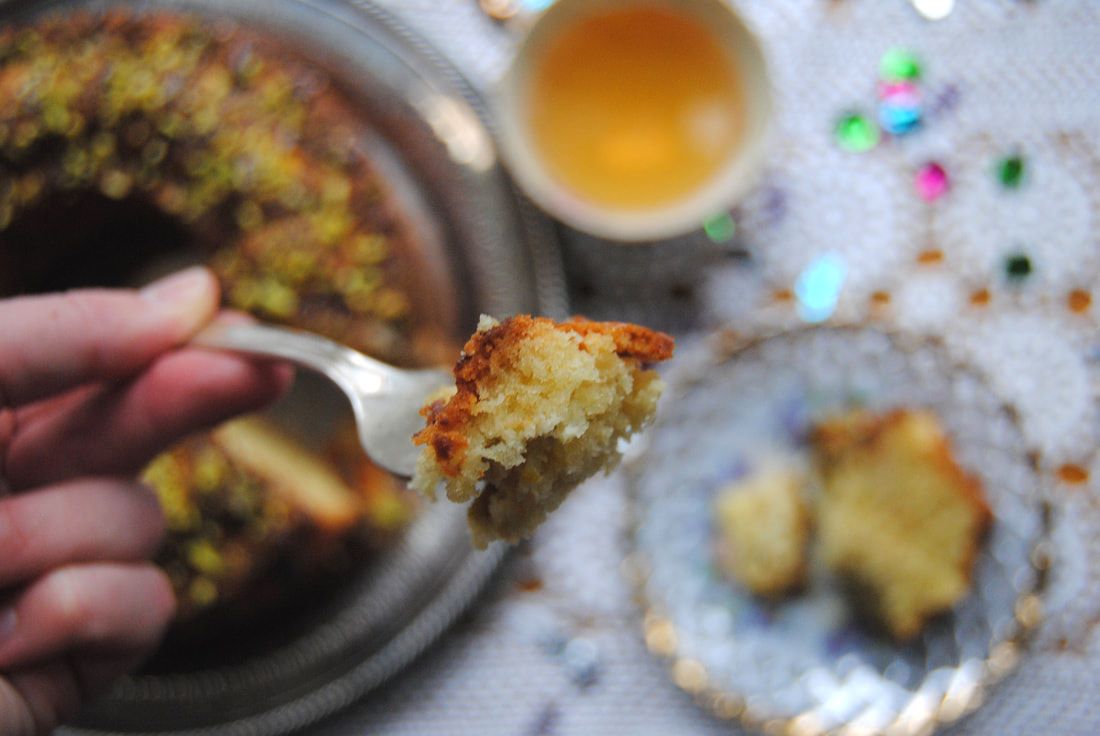
This cake is definitely celebration worth with a taste that feels special with every bite. Starting with a bright orange and sweet chocolate flavor from the topping melding into a rich, buttery center highlighted by the tangy yogurt filling. We enjoyed this with afternoon tea but also as breakfast to make the blog's birthday week extra special.
Enjoy, Jess and Cecelia
In Our Cupboard
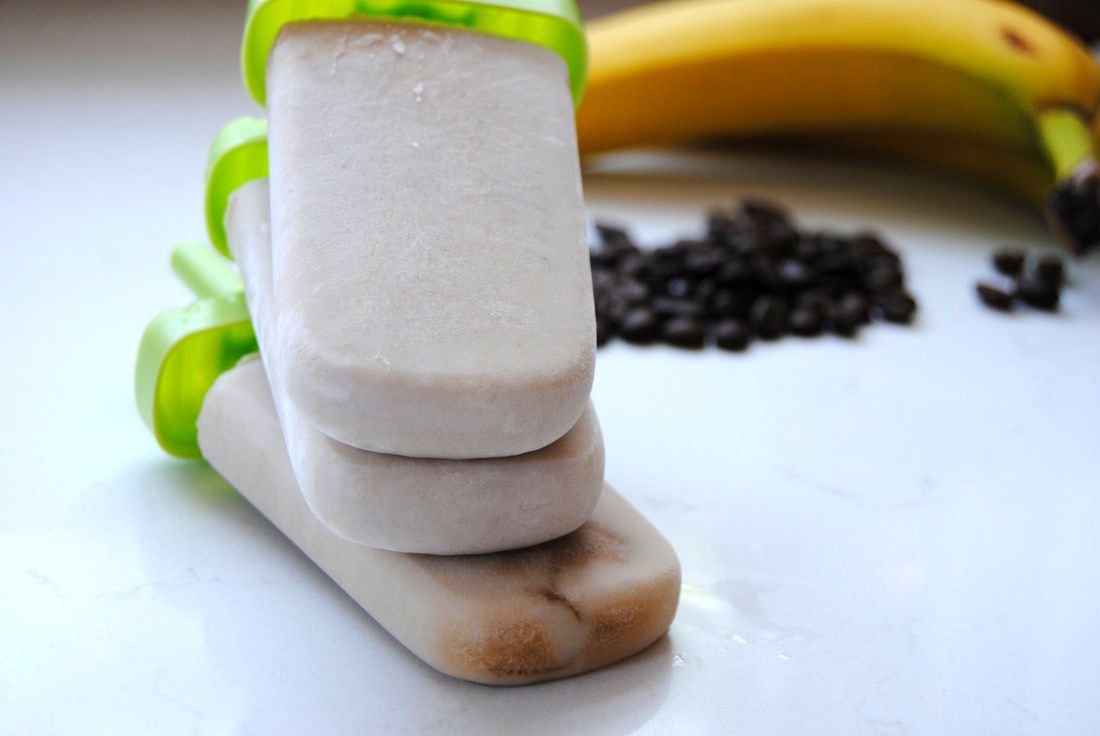
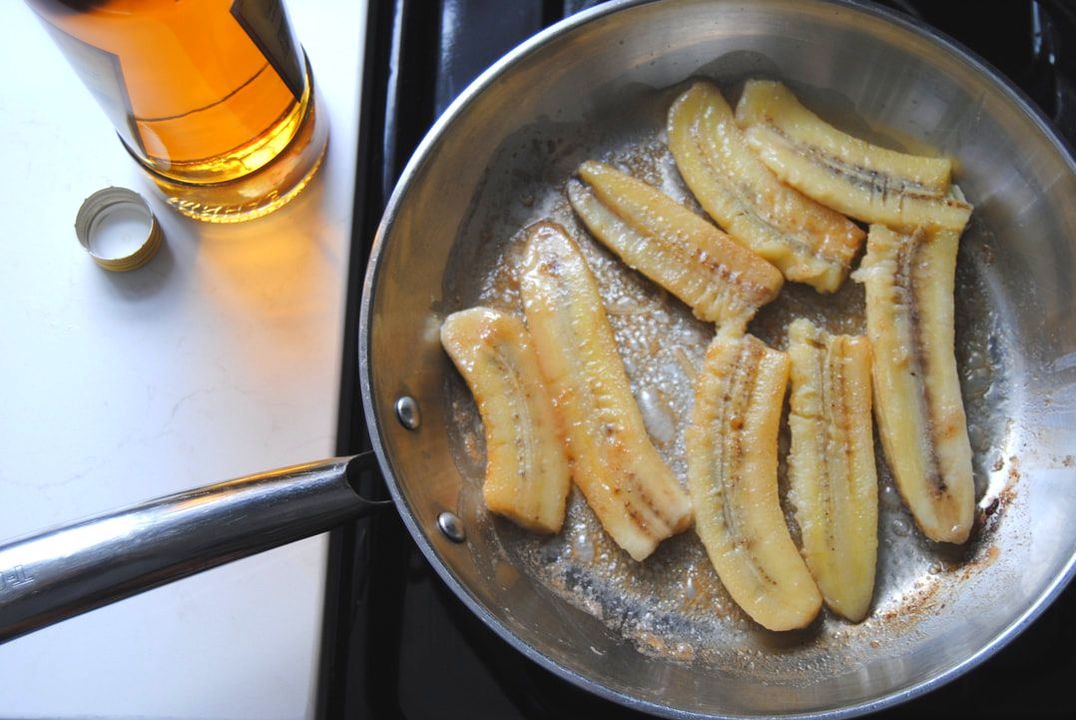
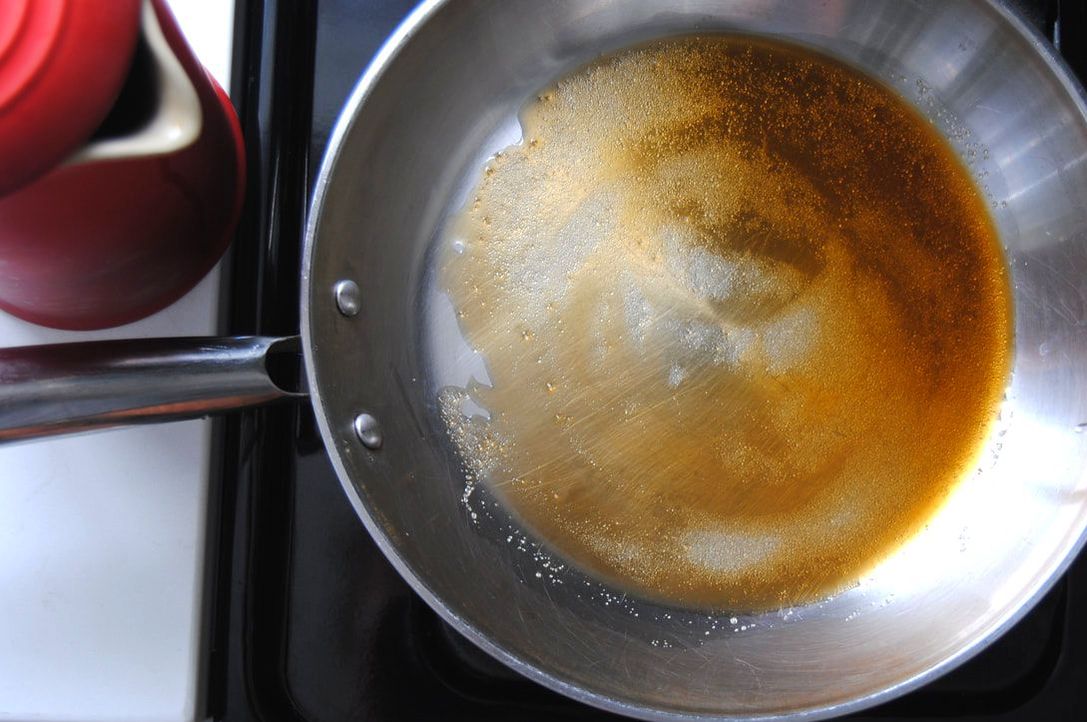
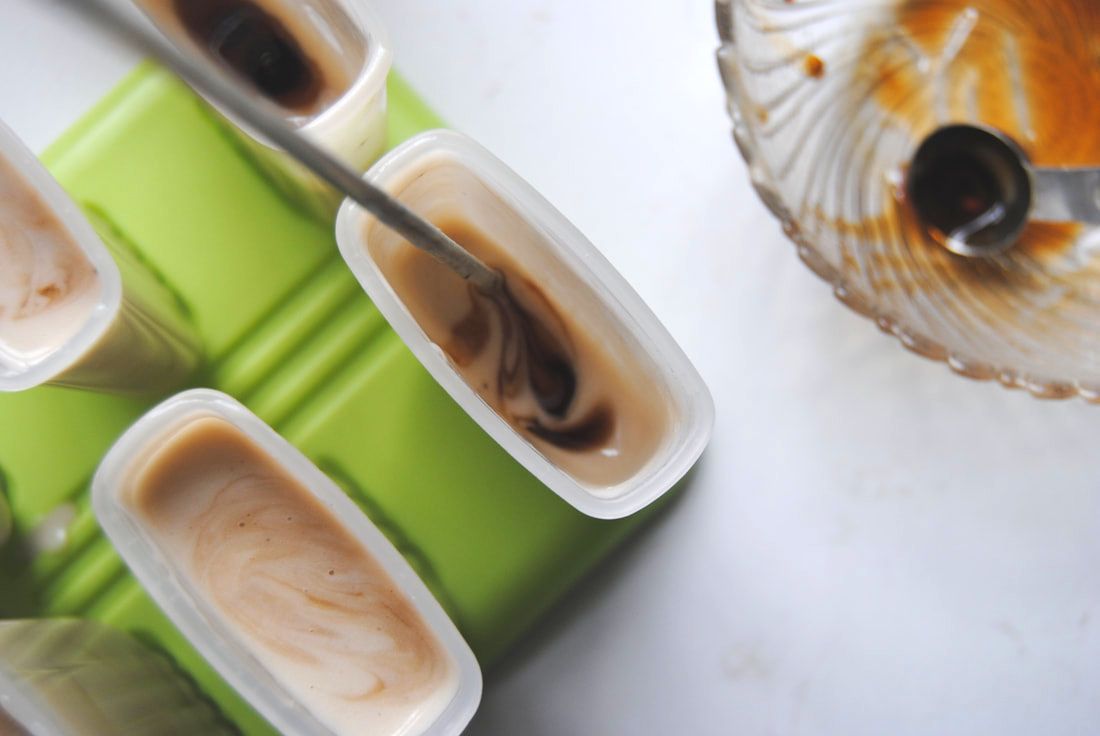
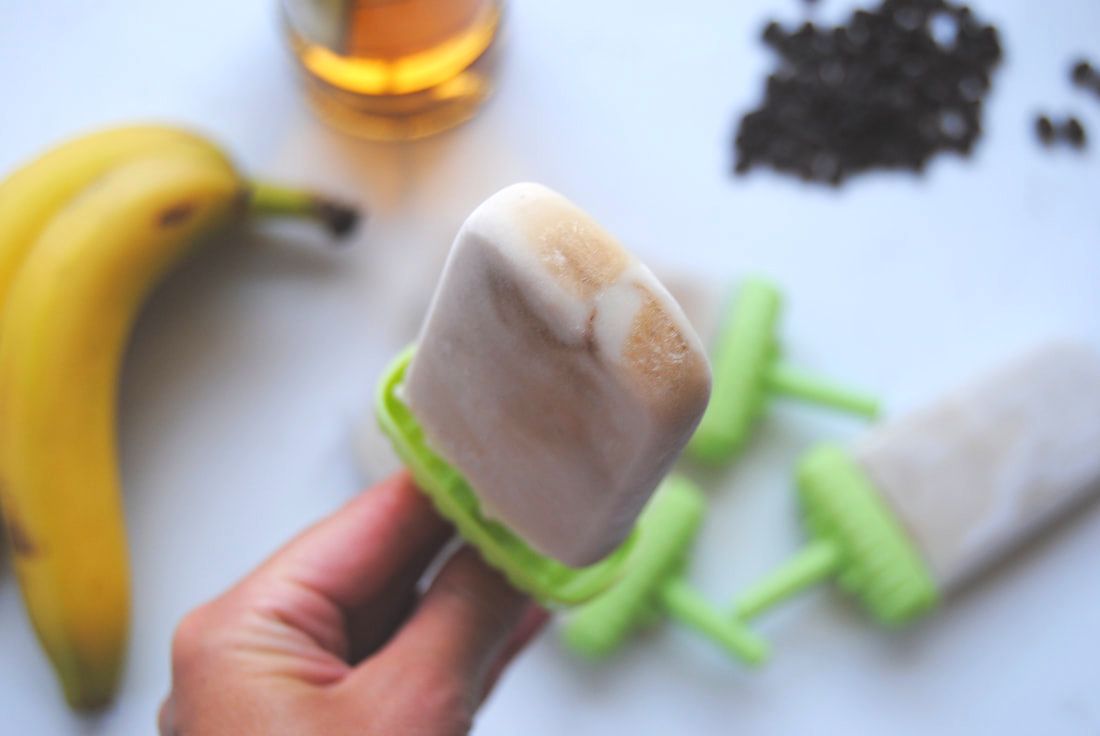
Cake making wouldn't be the same without our Kitchen Aide Mixer. Worth every penny as an lifetime investment for your kitchen. Which color matches your kitchen best? Okay, okay, we know - bananas aren't technically a seasonal summer fruit - but we've just had such a craving lately! Maybe it's the warm breezes and lazy summer days reminding us of vacations to tropical places where bananas actually are seasonal. But either way, this recipe is amazing! We did some experimenting with a new cooking method and have some lessons learned to share. Because hey, not every experiment goes 100% accordingly to plan, are we right? This week we attempted to flambe to create a version of bananas foster. Bananas foster is a dessert created in the mid 1900's in New Orleans containing caramelized banana in a sugary butter sauce and topped with vanilla ice cream. To develop flavor, and for some extra flair, the flambe technique is used. Flambe is French for "flaming" or "flamed" and is essentially the process of lighting alcohol on fire during the cooking process. This technique imparts the flavor of the liquor to the food and allows the alcohol to burn off quickly. And of course it looks super impressive. We unfortunately did not achieve a true flambe and got the alcohol to ignite only very briefly. The alcohol from the rum still simmered off after a few minutes and the bananas tasted great, though we just had to search ways to troubleshoot the flambe method for next time. Here's what we found: -Use a hard alcohol higher than 80 proof (no beer, wine, etc.) -Liquor should be warmed slowly but not boiling prior to adding to the pan to flambe -Cooking pan and contents should be very hot -Pour warmed liquor slowly into the hot pan and attempt to light immediately -Attempt to light the fumes at the edge of the pan and not the liquid itself -Use a long match or barbecue lighter and have a pan lid handy to extinguish the flame if needed As we attempt again and learn more we will update these flambe tips and tricks but hopefully this is enough to get you started. Though flambe or not, this recipe still works - time to get to it! Coconut Bananas Foster Coffee Popsicles PREP TIME: 15 minutes + 4-6 hour chill time TOTAL TIME: 15 minutes + 4-6 hours chill time Servings: 6 popsicles Ingredients Popsicle 2 very ripe bananas 1 Tbsp salted butter 1 1/2 tsp pure maple syrup Sprinkle of cinnamon 1/4 cup dark rum 1 1/4 cup canned full fat coconut milk Coffee Simple Syrup 4 Tbsp strong brewed coffee 4 Tbsp cane sugar In a medium sauté pan set to medium/low heat melt the butter then mix in the maple syrup and cinnamon and stir to combine. Peel and cut the bananas in half lengthwise and place flat side down in the pan with the melted butter mixture. Cook bananas for 2-3 minutes on each side then add the dark rum to the pan. Use a long match or lighter to carefully light the fumes of the alcohol at the edge of the pan, not the liquor itself, to flambe. Be prepared for a whoosh and a bright flame to appear in the pan. If you do not see a flame, this could be due to the food/pan not being hot enough but don't worry! Instead allow the mixture to simmer for 2-3 more minutes until the alcohol (and most of the liquid) evaporates off. Remove the pan from heat and allow bananas to cool slightly before adding to a blender. Pour any remaining liquid and scrape any caramelized pieces from the bottom of the pan into the blender. Add coconut milk and puree on high speed for 1-2 minutes. To make the coffee simple syrup, add brewed coffee and cane sugar to a small sauce pan over medium heat. Stir continuously until the mixture is simmering and the sugar has dissolved. Continue stirring until the mixture thickens (about 2-3 minutes) and will stick to the back of a spoon. Remove pan from heat. Next pour banana coconut puree into popsicle molds to halfway full. Spoon one teaspoon of coffee simple syrup into each popsicle mold and swirl with a long, thin utensil (we used a skewer) to incorporate the coffee simple syrup throughout the banana coconut puree. Fill popsicle molds the rest of the way with the banana coconut puree and again add one teaspoon of coffee simple syrup to each pop and swirl to combine. Insert popsicle sticks and allow popsicles to freeze for at least 4-6 hours. Run popsicle molds under warm water for 30-60 seconds to remove popsicles from molds. Every moment of preparation that goes into these pops is completely worth it. The taste of the final outcome is unexpected and yet completely familiar. A rich sweetness from the caramelized banana balanced by a creamy richness from the coconut milk and finished with a hint of coffee flavor. This might truly be the answer to our summertime "ice cream" cravings.
Enjoy, Jess and Cecelia Hey you guys, Mother's Day is quickly approaching and we've got the treat planning under control. This is the cake she'll want for her special day and here's why - there are just so many options! We made a pistachio version of this cake last year (here) and since then have realized how versatile this cake really is. Of the many options, we know you'll either find one your mother will love or create your own amazing variation. We will start with a basic recipe for semolina cake and then help get your creativity going with a few of our favorites... Semolina Cake PREP TIME: 15 mins TOTAL TIME: 50 mins Servings: 10-12 Ingredients Cake 2 cups semolina flour 1 cup cane sugar 10 Tbsp unsalted butter, melted 1 cup plain milk kefir 1/3 cup thick vanilla yogurt; Greek or Icelandic 1 tsp baking powder Syrup 4 Tbsp freshly squeezed orange juice 2 Tbsp light clover honey 1/4 tsp sea salt 1. Preheat oven to 350°. Lightly butter a 9x13" pan and set aside. 2. In a large mixing bowl combine the kefir, yogurt, and sugar then add the semolina flour and baking powder. Stir in the melted butter and mix until just combined. Avoid over mixing the batter. Pour batter into prepared pan and cook in preheated oven for 35 minutes or until a toothpick comes out clean. Once the cake is fully cooked turn the oven to broil and move the cake to a higher rack for 3-5 minutes so that the top becomes a golden brown. Watch carefully the entire time you are broiling to avoid burning the top of the cake. 3. While the cake is baking, prepare the orange syrup. Combine orange juice, honey, and sea salt and mix well. Once the cake comes out of the oven, use a toothpick to carefully poke holes (making sure to reach the bottom of the pan) every one inch across the surface of the cake. The purpose of this is to help the cake absorb the syrup. While the cake is still warm, evenly pour the orange syrup over the top of the cake. OPTIONS 1. Lemon Semolina Cake Ingredients Cake 2 cups semolina flour 1 cup cane sugar 10 Tbsp unsalted butter, melted 1 cup plain milk kefir 1/3 cup thick vanilla yogurt; Greek or Icelandic Zest of one large lemon, ~1 Tbsp 1 tsp baking powder Syrup 4 Tbsp freshly squeezed lemon juice 2 Tbsp light clover honey 1/4 tsp sea salt 1. Preheat oven to 350°. Lightly butter a 9x13" pan and set aside. 2. In a large mixing bowl combine the kefir, yogurt, lemon zest, and sugar then add the semolina flour and baking powder. Stir in the melted butter and mix until just combined. Avoid over mixing the batter. Pour batter into prepared pan and cook in preheated oven for 35 minutes or until a toothpick comes out clean. Once the cake is fully cooked turn the oven to broil and move the cake to a higher rack for 3-5 minutes so that the top becomes a golden brown. Watch carefully the entire time you are broiling to avoid burning the top of the cake. 3. While the cake is baking, prepare the lemon syrup. Combine lemon juice, honey, and sea salt and mix well. Once the cake comes out of the oven, use a toothpick to carefully poke holes (making sure to reach the bottom of the pan) every one inch across the surface of the cake. The purpose of this is to help the cake absorb the syrup. While the cake is still warm, evenly pour the lemon syrup over the top of the cake. 2. Chia & Poppy Seed Semolina Cake Ingredients Cake 2 cups semolina flour 1 cup cane sugar 2 Tbsp chia seeds 1 Tbsp poppy seeds 10 Tbsp unsalted butter, melted 1 cup plain milk kefir 1/3 cup thick vanilla yogurt; Greek or Icelandic Zest of one large lemon, ~1 Tbsp 1 tsp baking powder Syrup 4 Tbsp freshly squeezed lemon juice 2 Tbsp light clover honey 1/4 tsp sea salt 1. Preheat oven to 350°. Lightly butter a 9x13" pan and set aside. 2. In a large mixing bowl combine the kefir, yogurt, lemon zest, and sugar then add the semolina flour, chia seeds, poppy seed, and baking powder. Stir in the melted butter and mix until just combined. Avoid over mixing the batter. Pour batter into prepared pan and cook in preheated oven for 35 minutes or until a toothpick comes out clean. Once the cake is fully cooked turn the oven to broil and move the cake to a higher rack for 3-5 minutes so that the top becomes a golden brown. Watch carefully the entire time you are broiling to avoid burning the top of the cake. 3. While the cake is baking, prepare the lemon syrup. Combine lemon juice, honey, and sea salt and mix well. Once the cake comes out of the oven, use a toothpick to carefully poke holes (making sure to reach the bottom of the pan) every one inch across the surface of the cake. The purpose of this is to help the cake absorb the syrup. While the cake is still warm, evenly pour the lemon syrup over the top of the cake. 3. Raspberry Swirl Semolina Cake Ingredients Cake 2 cups semolina flour 1 cup cane sugar 10 Tbsp unsalted butter, melted 1 cup plain milk kefir 1/3 cup thick vanilla yogurt; Greek or Icelandic 4 Tbsp raspberry preserves Zest of one large lemon, ~1 Tbsp 1 tsp baking powder Syrup 4 Tbsp freshly squeezed lemon juice 2 Tbsp light clover honey 1/4 tsp sea salt 1. Preheat oven to 350°. Lightly butter a 9x13" pan and set aside. 2. In a large mixing bowl combine the kefir, yogurt, lemon zest, and sugar then add the semolina flour and baking powder. Stir in the melted butter and mix until just combined. Avoid over mixing the batter. Pour batter into prepared pan then add 1 Tbsp, 4 dollops of raspberry preserves in each corner of the cake. Take a butter knife and swirl each raspberry dollop into the cake batter. Cook in preheated oven for 35 minutes or until a toothpick comes out clean. Once the cake is fully cooked turn the oven to broil and move the cake to a higher rack for 3-5 minutes so that the top becomes a golden brown. Watch carefully the entire time you are broiling to avoid burning the top of the cake. 3. While the cake is baking, prepare the lemon syrup. Combine lemon juice, honey, and sea salt and mix well. Once the cake comes out of the oven, use a toothpick to carefully poke holes (making sure to reach the bottom of the pan) every one inch across the surface of the cake. The purpose of this is to help the cake absorb the syrup. While the cake is still warm, evenly pour the lemon syrup over the top of the cake. Have you found your fancy? If not, create a cake of your own using the basic semolina cake recipe as the base. And as always, please share what you created. We love to hear from you!
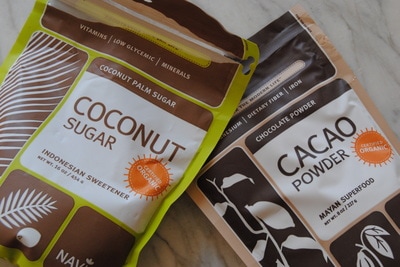
Enjoy, Jess and Cecelia Hey TGBK friends, we are going to keep things super simple this week. After a month of fun with Navitas Organics' products we found our cupboards stocked with their superfoods and minds full of ideas. A new favorite product that we discovered last month was cacao butter and we just had to share this secret. Cacao butter has the best mouth-feel of any food we've ever eaten! It envelops your mouth with a rich, velvety feeling that we think can only be compared to the feel of silk or cashmere on your skin. Crazy right?! Cacao butter, or the similar product cocoa butter, are essential ingredients in chocolate making. Though the names are subtly different, cacao vs cocoa, the nutrient quality doesn't compare. Cacao butter is less processed with lower heat methods creating a raw product that retains more of the nutritional benefits (mainly antioxidants) that the cacao bean provides. So ditch those cocoa products for raw cacao - we haven't found a butter yet that we like better than Navitas (here). This recipe is the perfect use for this bombshell of an ingredient, enjoy!
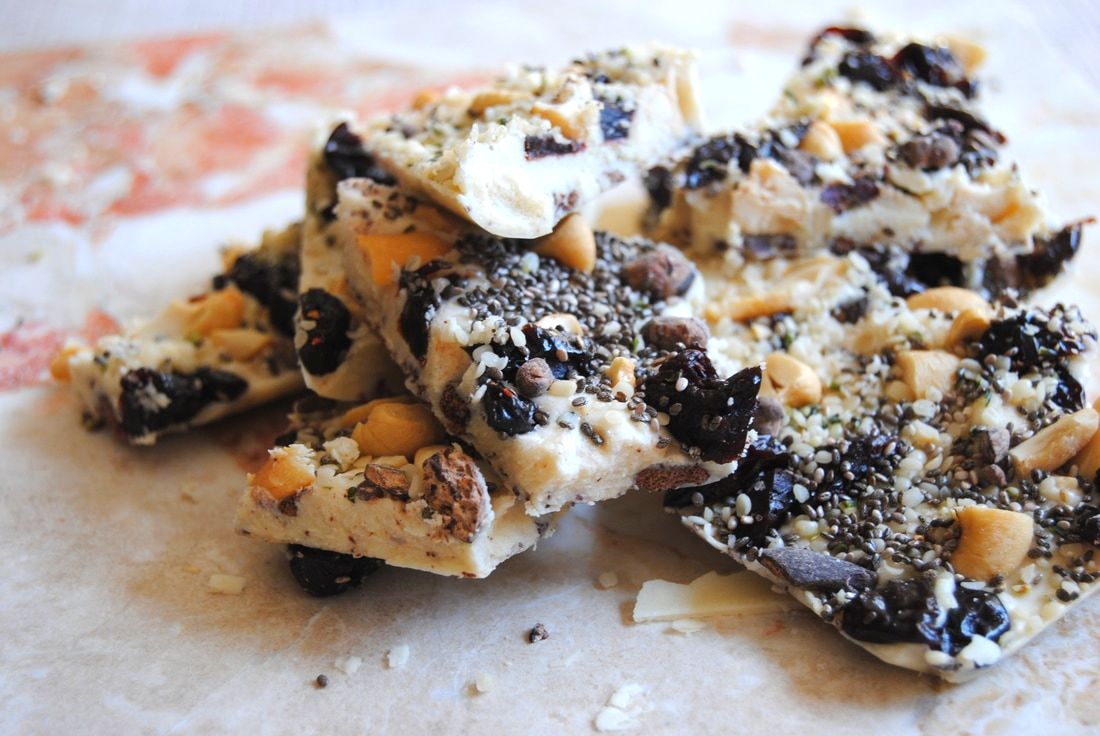
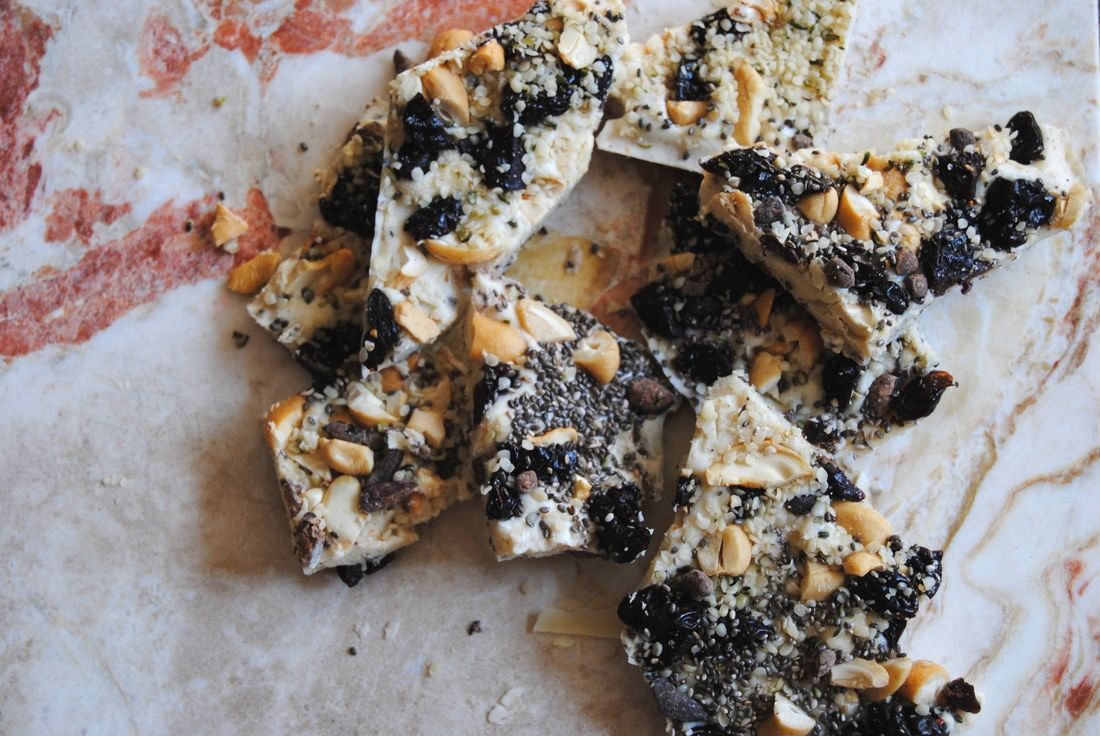
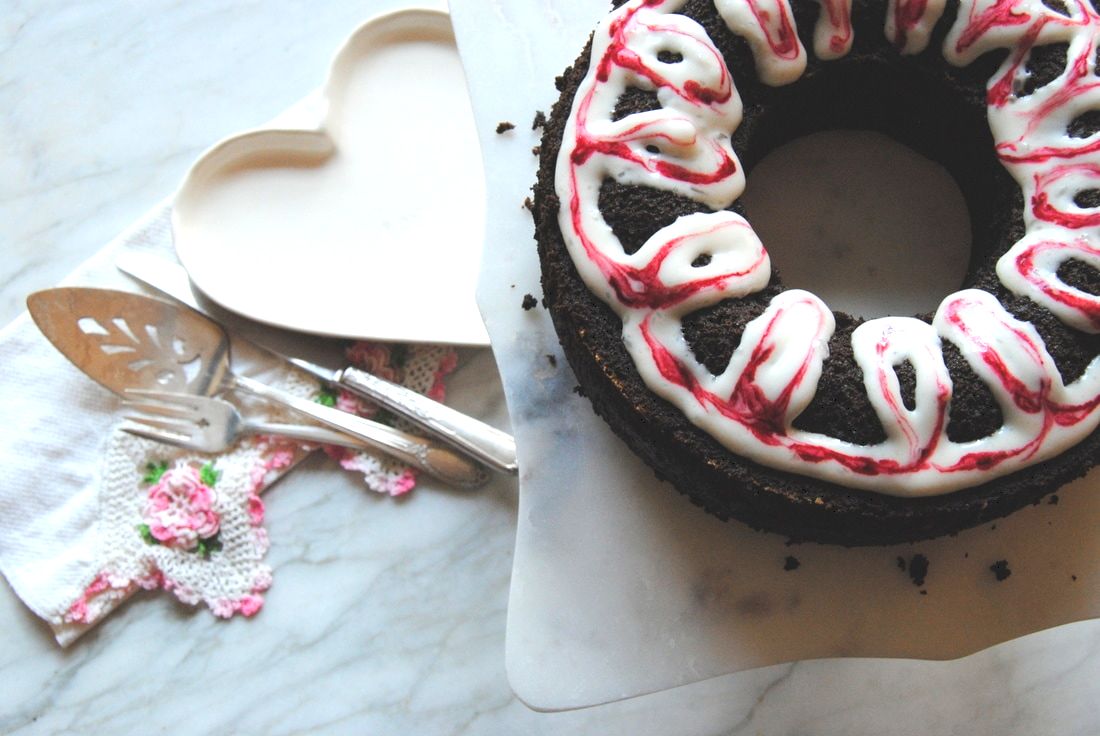
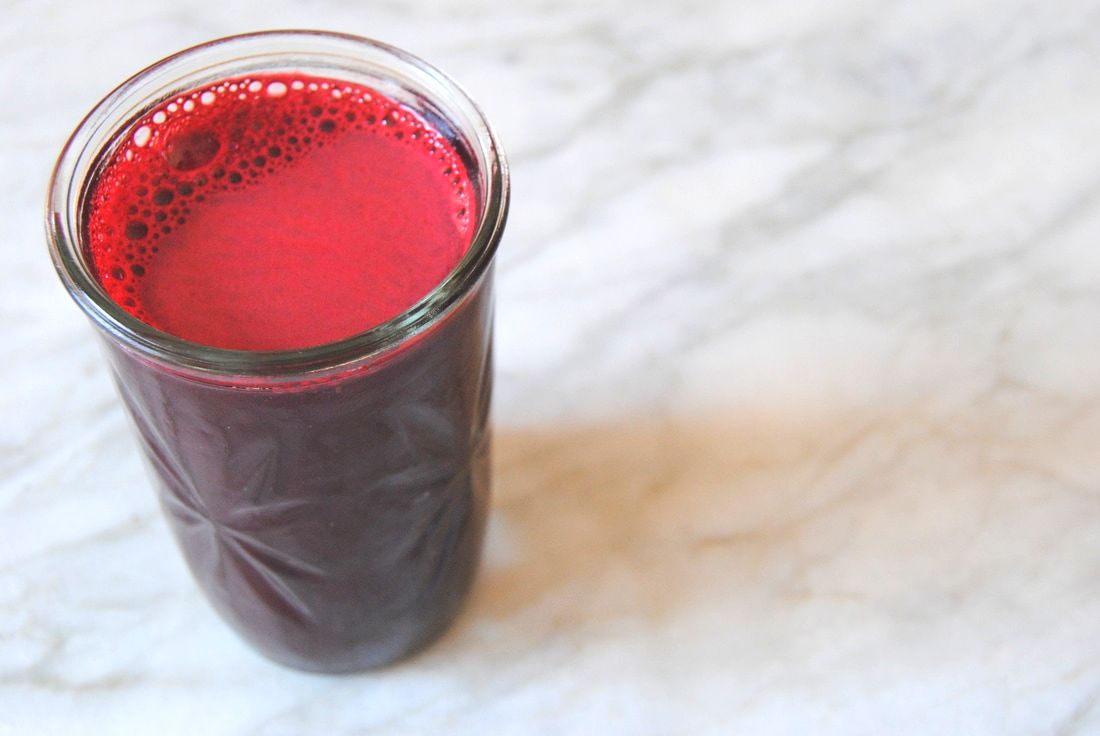
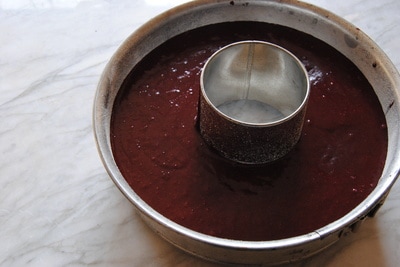
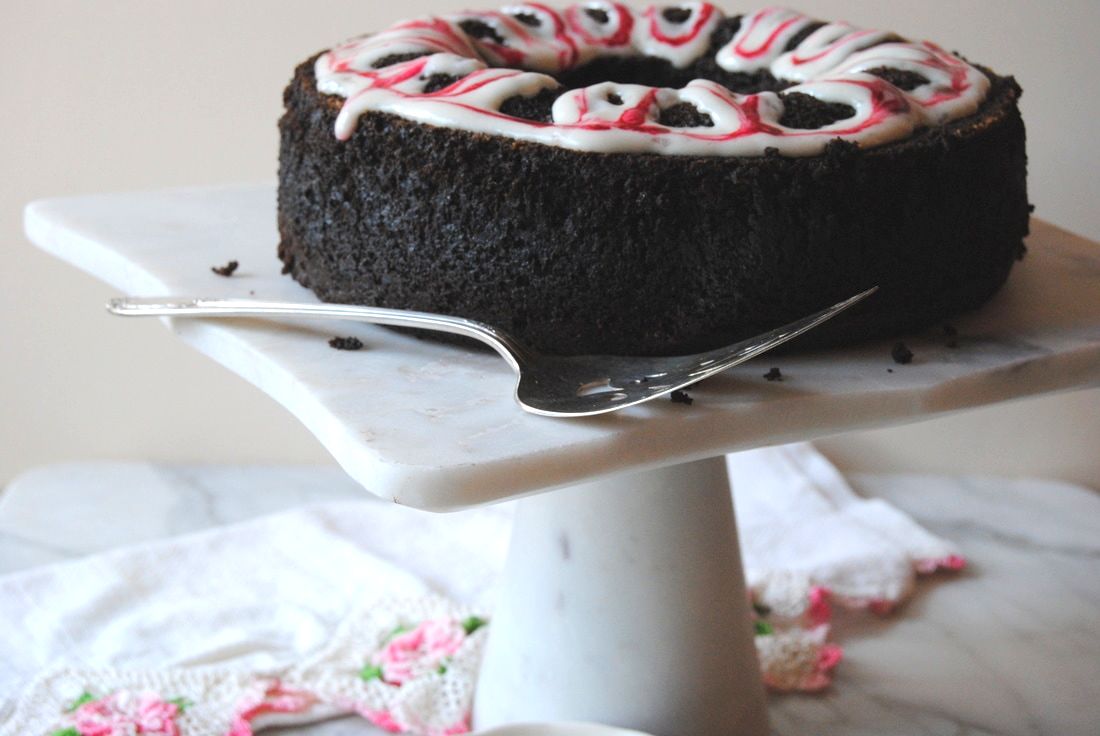
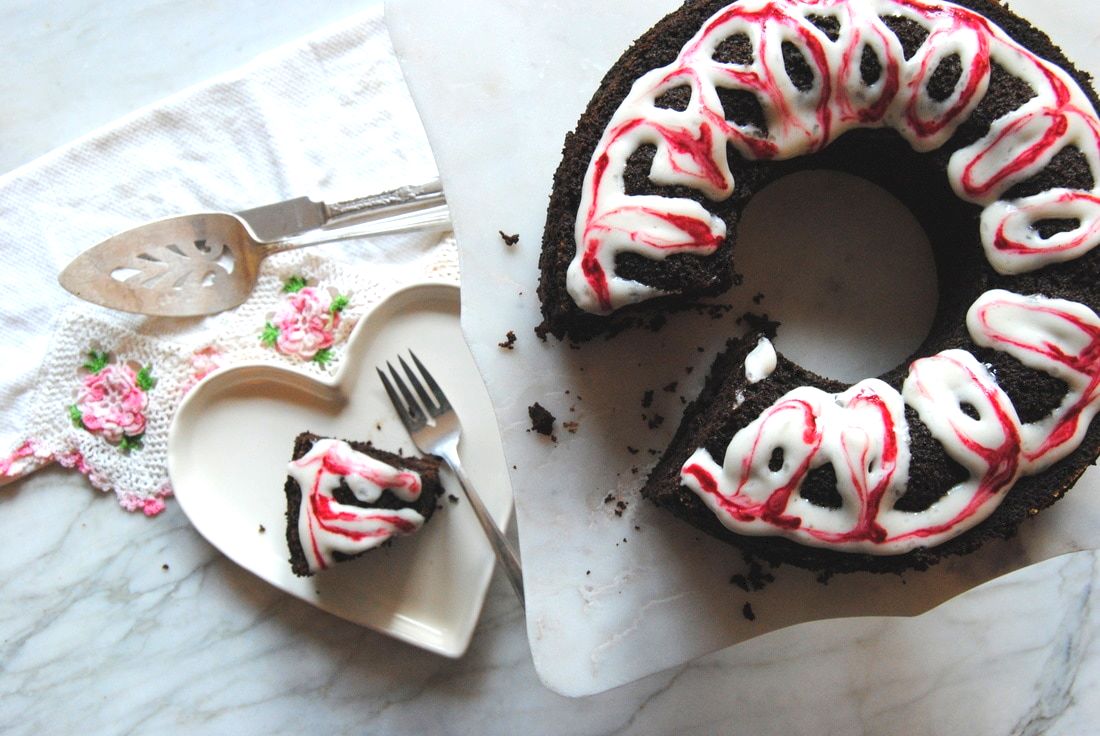
Sweet & Salty White Chocolate Bark PREP TIME: 10 minutes TOTAL TIME: 10 minutes + 20 minutes to set Servings: 8-10 Ingredients White Chocolate 1/2 cup organic cacao butter 2 Tbsp + 1 tsp coconut oil 1 Tbsp organic powdered sugar 1/2 vanilla bean, inside seeds scraped out (1 tsp pure vanilla extract will also work) Toppings 2 Tbsp chopped salted cashews 2 Tbsp chopped dried cherries 2 Tbsp sweetened cacao nibs 1 Tbsp chia seeds 1 Tbsp hemp seeds 1/4 tsp thick grain sea salt Prepare a 9" x 9" pan with a piece of wax paper cut to fit the bottom of the pan with 2 long ends hanging over the sides to help remove the chocolate once it is set. To make the white chocolate, add cacao butter and coconut oil to a double boiler set to medium heat. Stir mixture until fully melted. You could also do this in the microwave in 10 second increments, however, watch closely to avoid overheating. Remove from the heat and stir in the powdered sugar and vanilla bean until fully incorporated. Pour chocolate into prepared pan and allow to slightly set at room temperature for about 10 minutes. Evenly sprinkle chopped cashews, chopped dried cherries, cacao nibs, chia seeds, hemp seeds, and sea salt over the white chocolate. Place pan in the fridge and allow to cool and fully set, for about 10 minutes. You will know when the chocolate is fully set when it is hard to the touch. Remove the set chocolate from the pan by pulling up on the wax paper sides. Break chocolate into pieces about 2"x 2". Serve and enjoy! Chocolate will keep best in an air tight container in the fridge for up to 1 week. You must know by now that here at TGBK we just love YOU (our followers!) and love to celebrate every and all occasions. Well then, this is our week. We've created a special cake in celebration of Cecelia's 30th birthday, The Green Blossom Kitchen's second full year, and of course, Valentine's Day. And this really is a special cake. If you remember our first ever post and still fan favorite recipe, then you may notice a resemblance this week. We used a similar chocolate cake base recipe but with some very different spins. Come find out what we did! First we must note that this cake was made with a lot of love and no artificial colors. We attempted a red velvet cake variation using beet juice as our natural coloring. As you will notice from the pictures, our uncooked batter had a beautiful red color but our final cake was mostly chocolatey goodness. We still knew the beet juice was there and enjoyed our version of red velvet but think the red color may be brighter in your final cake if less cacao powder is used. This is your chance to experiment and let us know! If you do decide to play around, increase the flour in the same ratio that you decrease the cacao powder - we suggest no less then 1/4 cup cacao. So why did we choose beet juice as coloring anyways? Well, the traditional red velvet cake is most often simply chocolate cake with red food coloring added. We prefer foods without chemical coloring for the simple fact that food dye is not a natural part of the diet and not necessary to be consumed. And with so may natural food sources of coloring agents, we just don't see a reason for chemical additives. Finally, we'd like to send a huge thank you to Navitas Naturals for sending us a box full of natural superfoods to use in our recipes. We just love this brand and their products and suggest you check out their website soon. With all that said, on to the recipe! Natural Red Velvet Cake PREP TIME: 40 minutes TOTAL TIME: 1 hour 30 minutes Servings: 8-12 Ingredients Cake 1 3/4 cup whole wheat flour 2 cups coconut sugar 3/4 cup cacao powder 2 tsp baking soda 1 tsp baking powder 1 tsp sea salt (we used pink Himalayan) 1 cup "buttermilk" (1 cup coconut milk + 1 Tbsp apple cider vinegar, let sit for 10 minutes to curdle) 1/2 cup coconut oil, melted 2 Tbsp ground flax seeds + 6 Tbsp room temperature water (let sit for 5 minutes until gelatinous) 1 tsp pure vanilla extract 1 cup fresh beet juice (store bought will also work) Frosting 1/2 cup Lebneh (strained Greek yogurt) 1/2 cup powdered sugar 1 Tbsp coconut oil 1-2 tsp beet juice to decorate Pre-heat oven to 350 degrees. Lightly coat a 10-12 cup Bundt pan with coconut oil and dust with flour to lightly coat. Sift the dry ingredients together - whole wheat flour, coconut sugar, cacao, baking soda, baking powder, and salt - into a large bowl. In a separate bowl, combine the wet ingredients - "buttermilk", coconut oil, ground flax with water, and vanilla. Add the dry ingredients to a standing mixer fitted with a paddle attachment and mix on low speed while slowly adding the wet ingredients to the dry. With the mixer still on low, add the beet juice and mix to just combine, making sure to scrape the bottom of the bowl with a rubber spatula. The batter will be pretty thin but don't worry, this is what you want. Pour the batter into the prepared pan and bake for 45-50 minutes until a toothpick comes out clean. Cool in the pan for at least 30 minutes. While the cake is cooling, begin making the frosting. To make the frosting combine the lebneh, powdered sugar, and coconut oil in a standing mixer and beat on medium high until fluffy. Spoon frosting into a plastic sealed bag and place in the fridge to cool for at least 15 minutes. Cut a small hole in the bottom corner of the bag to allow for easing piping. Carefully invert the cake onto a cake stand or cake plate. Use your best decorating skills to decorate the cake with the frosting, piping it out into your favorite design. Use a toothpick dipped in beet juice to add a red natural food coloring to the top of the frosting. Serve cake at room temperature or store in the fridge for 3-5 days. This cake will make you feel loved - it's true! The ingredients are real, natural foods and combine in such a delightful way in this recipe. And what a perfect way to include beets in the diet of those who are not as fond of this colorful root vegetable. We hope you make this cake for a special occasion and share it with those that you love. Thank you for an amazing two years of creating recipes for YOU.
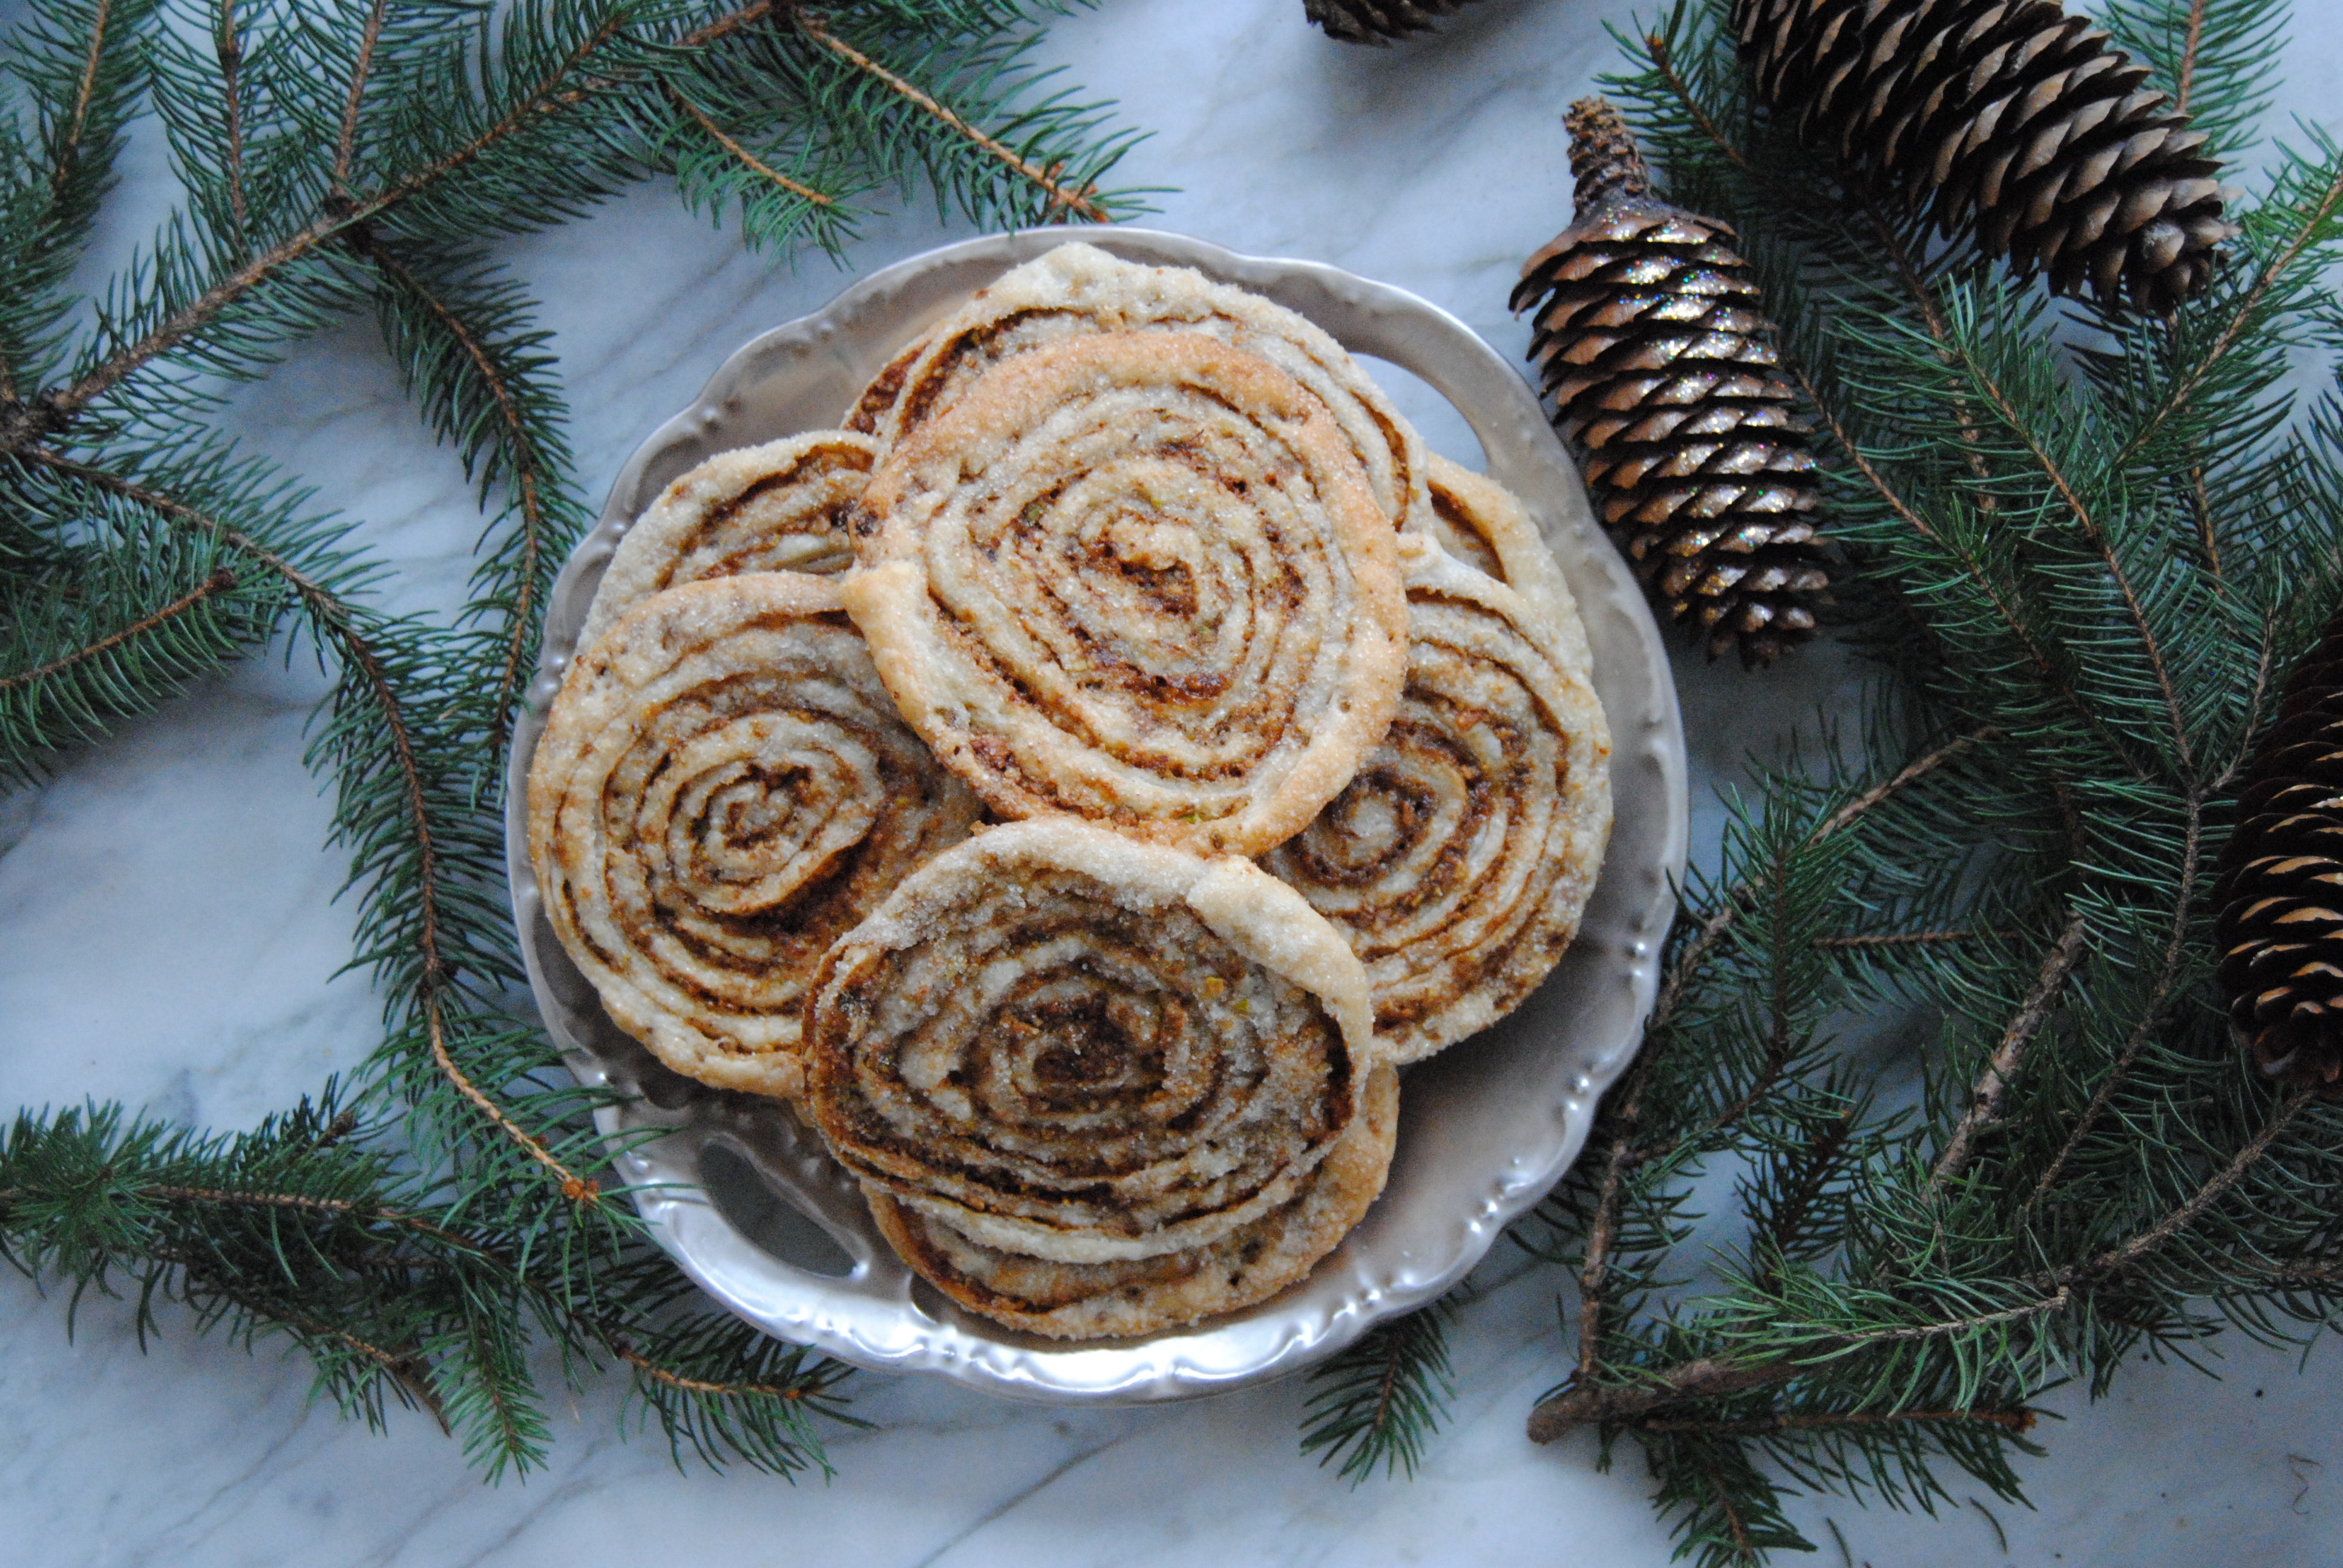
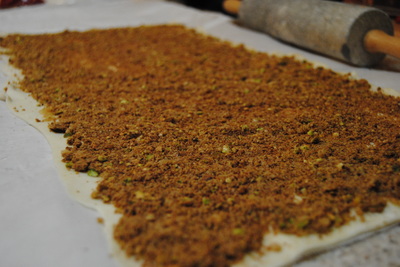
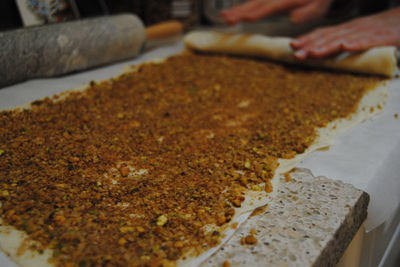
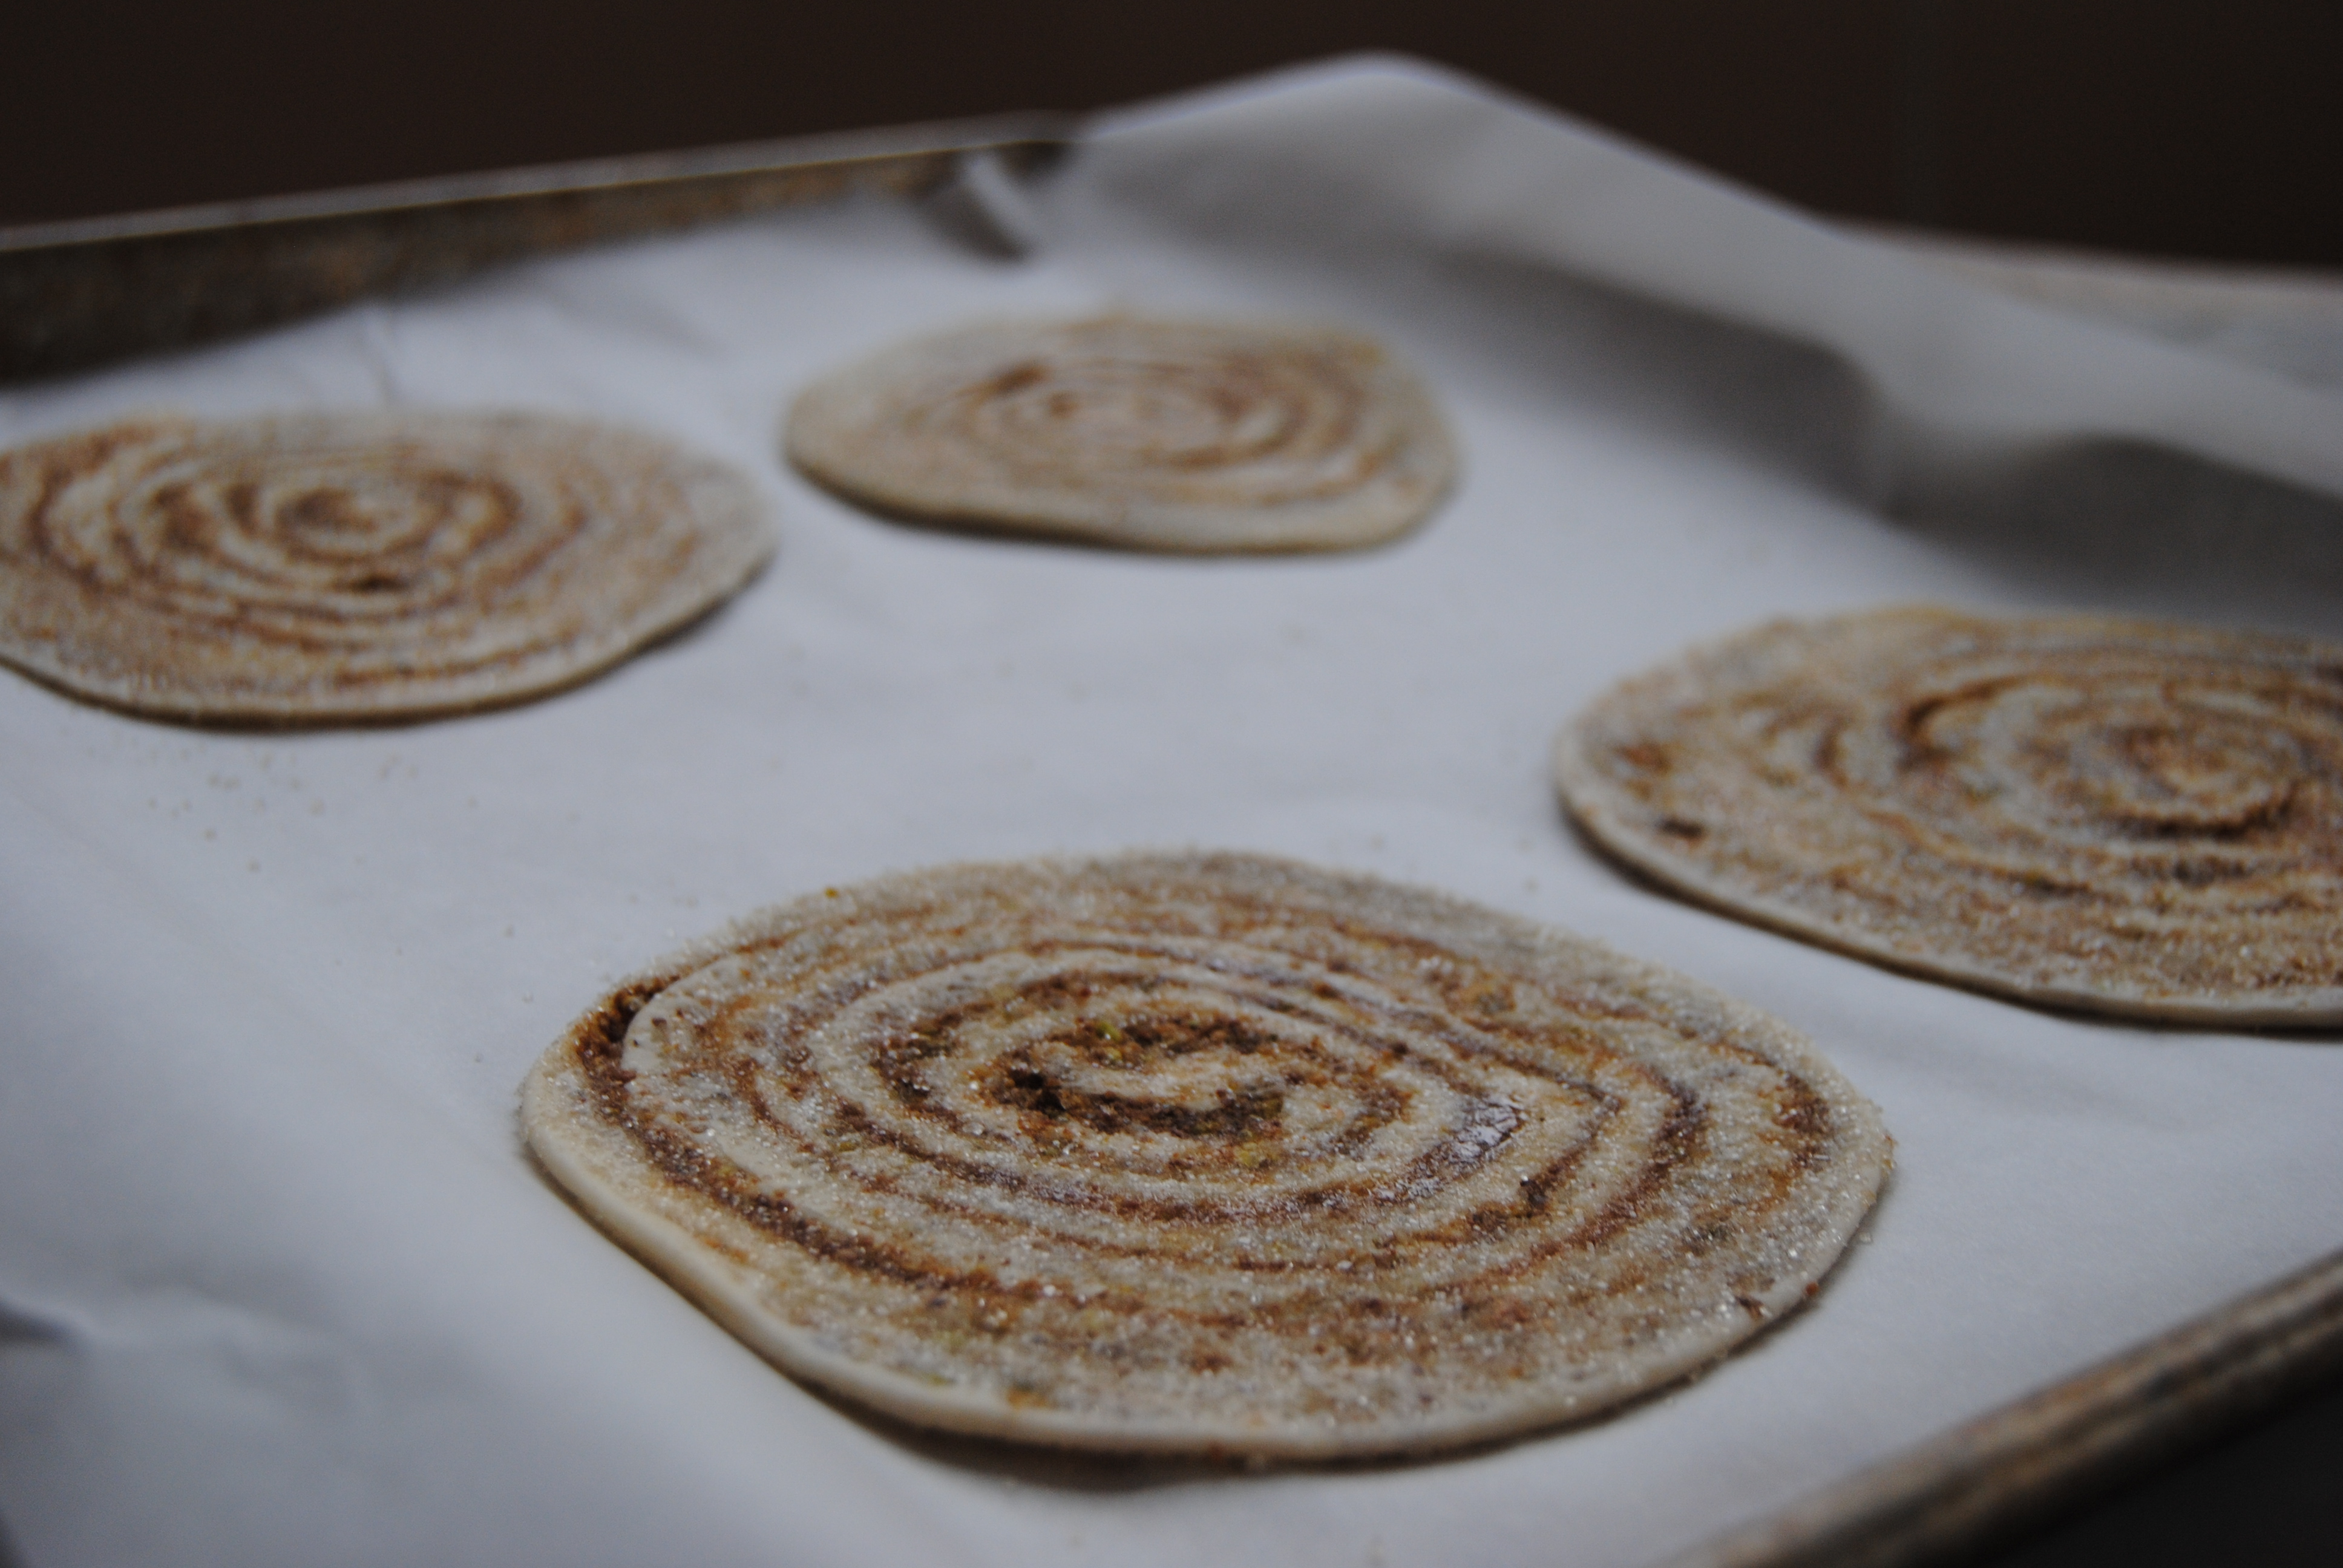
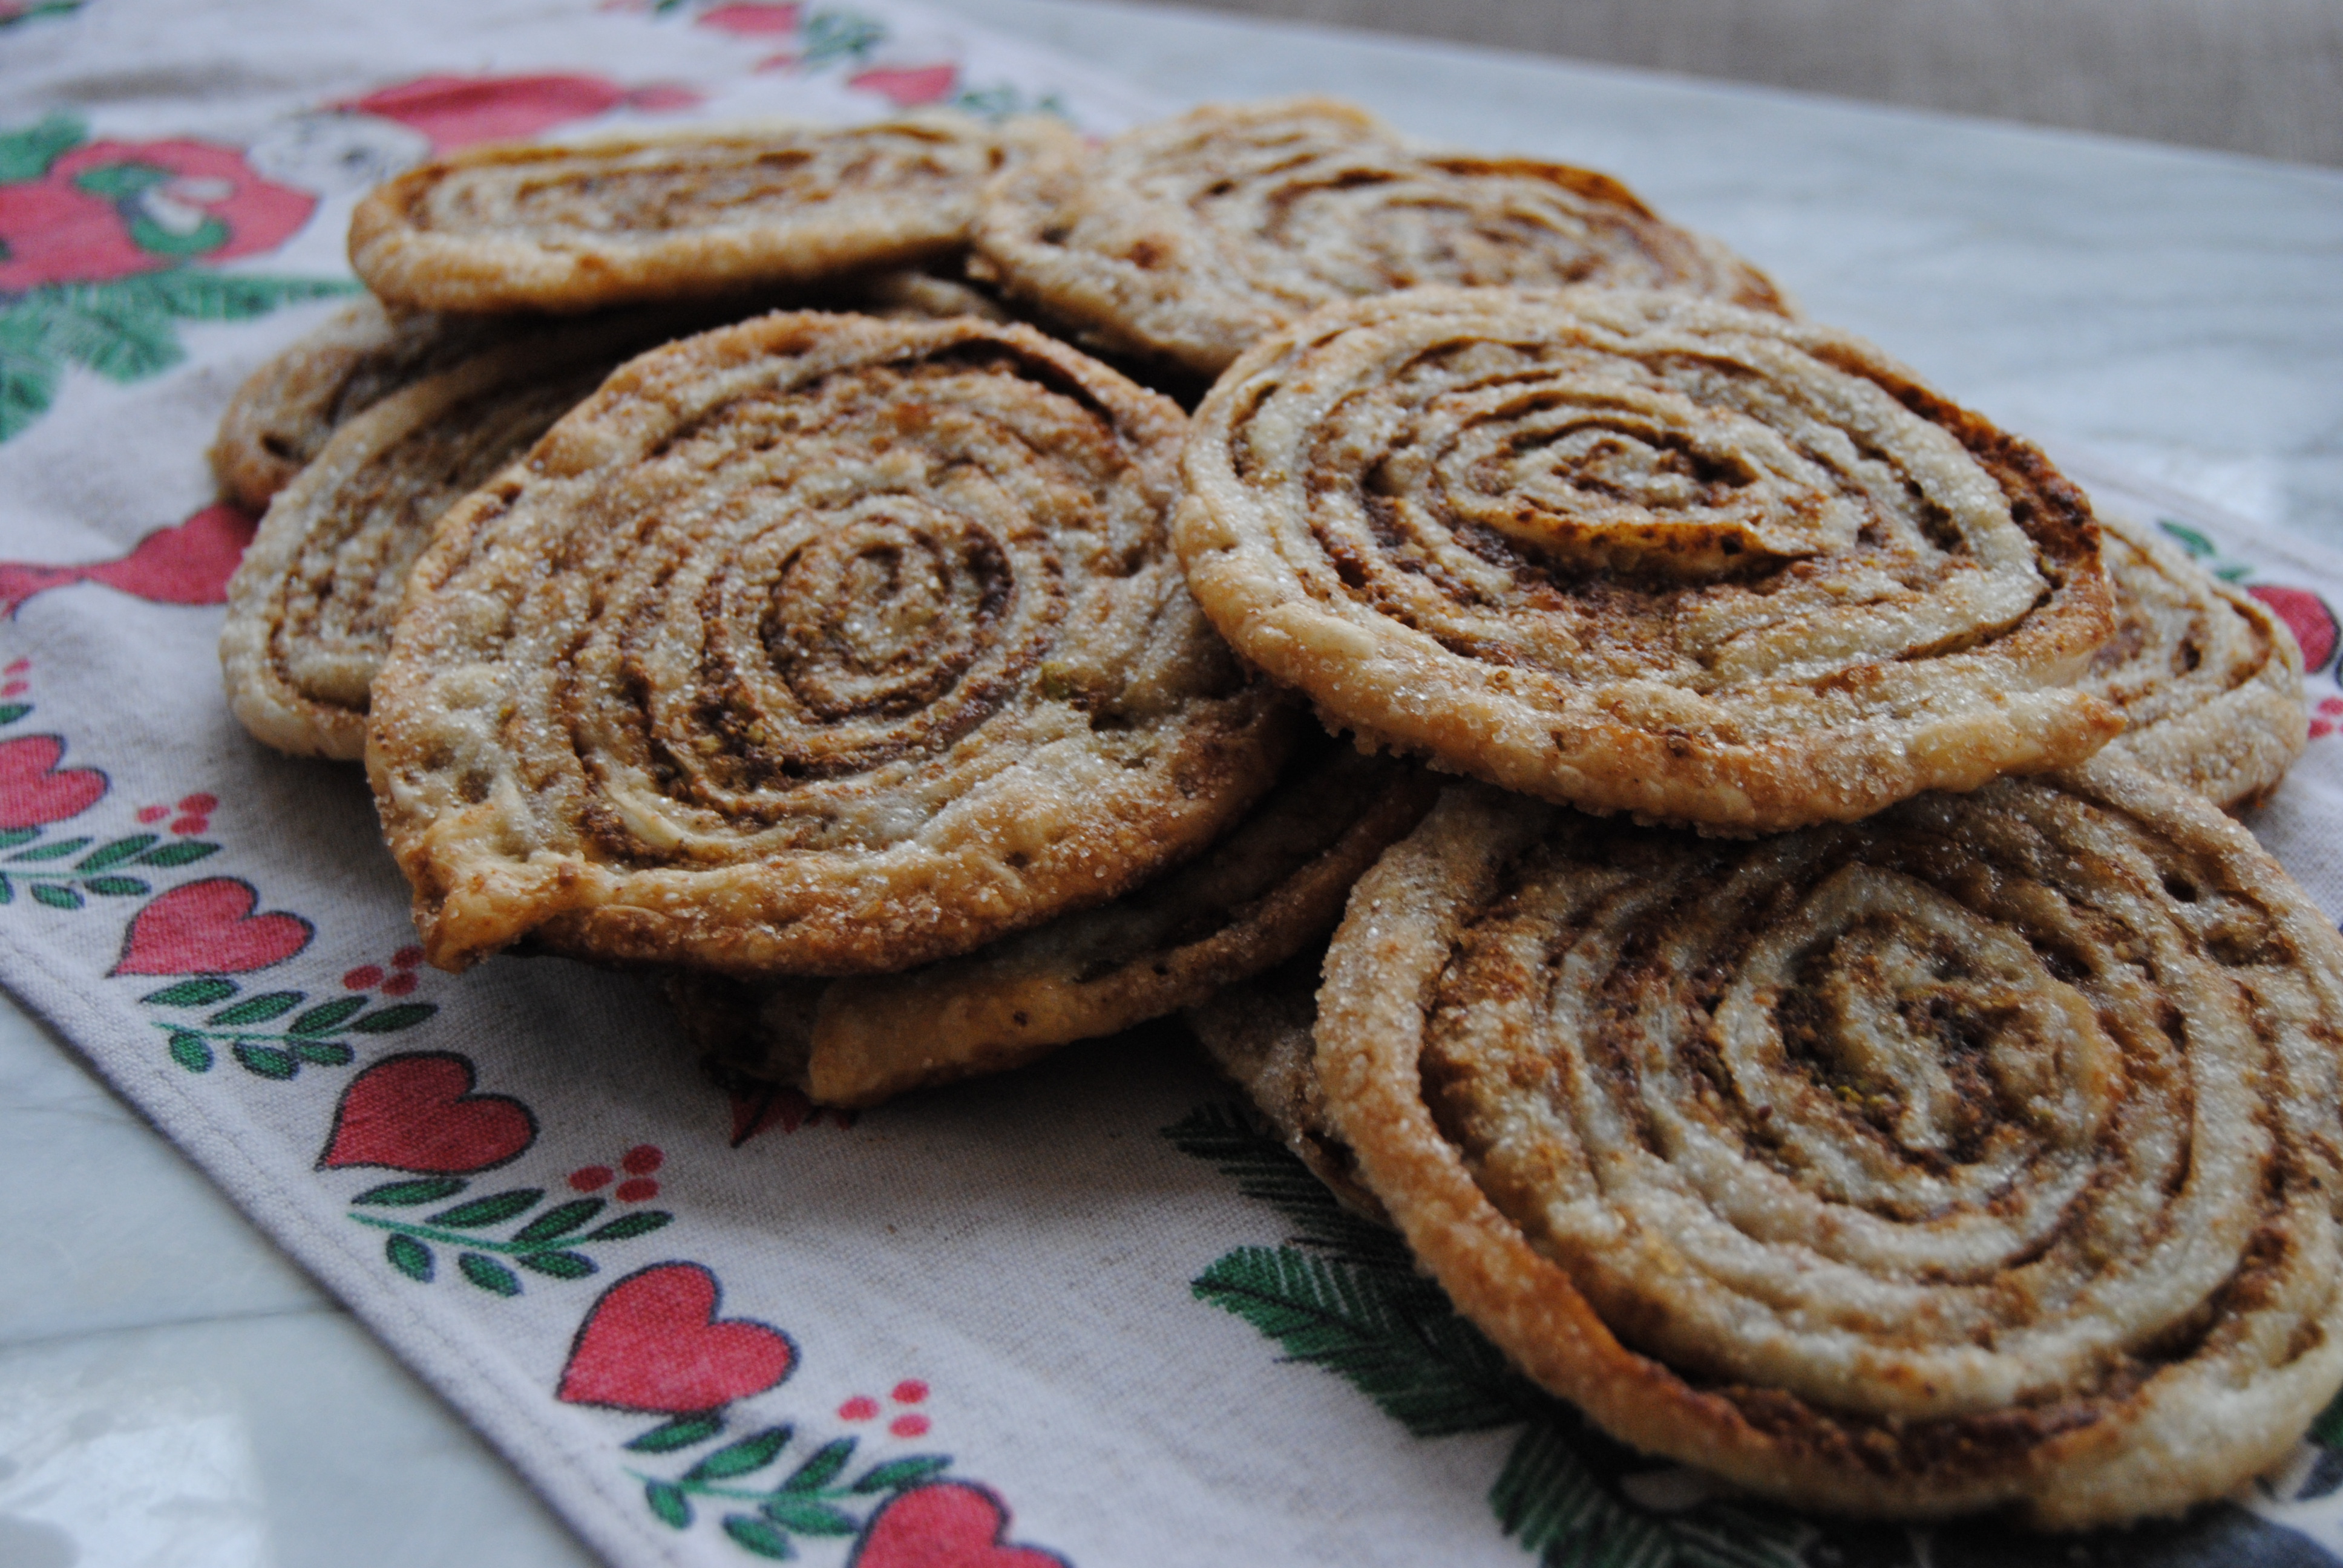
With love and gratitude, Jess and Cecelia Hi TGBK friends, don't you just love the holiday season? There are so many wonderful things to celebrate (including good food!) and gatherings with friends and family. Though we enjoy the festivities, it can sometimes be hard to keep up with the visiting, shopping, and gourmet cooking/baking. That's why we're here with tips and tricks straight from our kitchen to yours. Take the cookies pictured above for example - looks like these took an afternoon of baking right? Well, not exactly.... Though we love making most things homemade as much as possible, there are some pre-made food products that are just too good to pass up. This week we are featuring pre-made puff pastry. And if you know anything about pastry making you'll know that it can be time consuming for a beginner and requires much attention to detail. Not things that we have time for during the holiday season! Puff pastry is essentially alternating layers of butter and flour based dough that will puff up (hence the name) when cooked and is frequently used for tarts and croissants. Luckily, it is readily available to purchase pre-made in frozen sheets. Just be sure to check your ingredients labels as some brands will use unfavorable ingredients including vegetable oil instead of butter. The ingredients list should contain flour, butter, water, salt, and possibly vinegar - simple. So grab some quick and let's hit this kitchen for this impressive (how does she/he do it) recipe! Pinwheel Pistachio Cookies Adapted from Martha Stewart's Elephant Ear Cookies recipe PREP TIME: 30 mins TOTAL TIME: 45-50 mins Servings: ~16 cookies Ingredients 2 sheets (~17 oz) of puff pastry, thawed (remember to look for puff pastry made with real butter not oil) 1/2 cup walnuts 1/2 cup pistachios 1/2 cup + 1 Tbsp cane sugar (reserved for rolling cookies in) 1/3 cup coconut sugar 1 Tbsp honey 1 tsp cinnamon 1/2 tsp sea salt Preheat oven to 400 degress. In a food processor or a blender grind walnuts, pistachios, coconut sugar, cinnamon, and salt until a coarse sand like texture is created. Remove thawed puff pastry from container, lightly dust parchement paper with flour, then place dough side by side to create a long rectangle. Using a rolling pin, seal two pastry edges together and gently roll out into 11" x 20" rectangle. Evenly drizzle 1 Tbsp honey over the pastry then evenly spread the nut and sugar mixture over the dough making sure to gently press mixture into the dough. Starting with the short end, roll dough into a tight cylinder then place in the fridge to cool for at least 10 minutes. Once chilled, remove dough from the fridge. Using a sharp serrated knife, cut dough roll into 1" rounds. Generously dust a piece of parahcment paper with cane sugar then individually coat both sides of each cookie with sugar and use a rolling pin to roll cookies out into 6"-7" rounds. Carefully place cookies on a parchment lined baking sheet with no more than 4 cookies per sheet (pictured above). Continue process until all cookies have been coated in sugar and rolled out. Bake in 400 degree preheated oven for 16-18 minutes or until cookies are slightly golden brown with visable caramelization on the bottom. Allow to cool, then store in an air tight container for 5-7 days. Ta da! Delicious, stunning, and impressive holiday cookies done in less than an hour. You truly can do it all this holiday season. Just a warning, these cookies are very easy to eat with the lightness from the puff pastry and depth of flavor from the carmalized honey and won't stay around your kitchen for long. Maybe a few batches are in order?
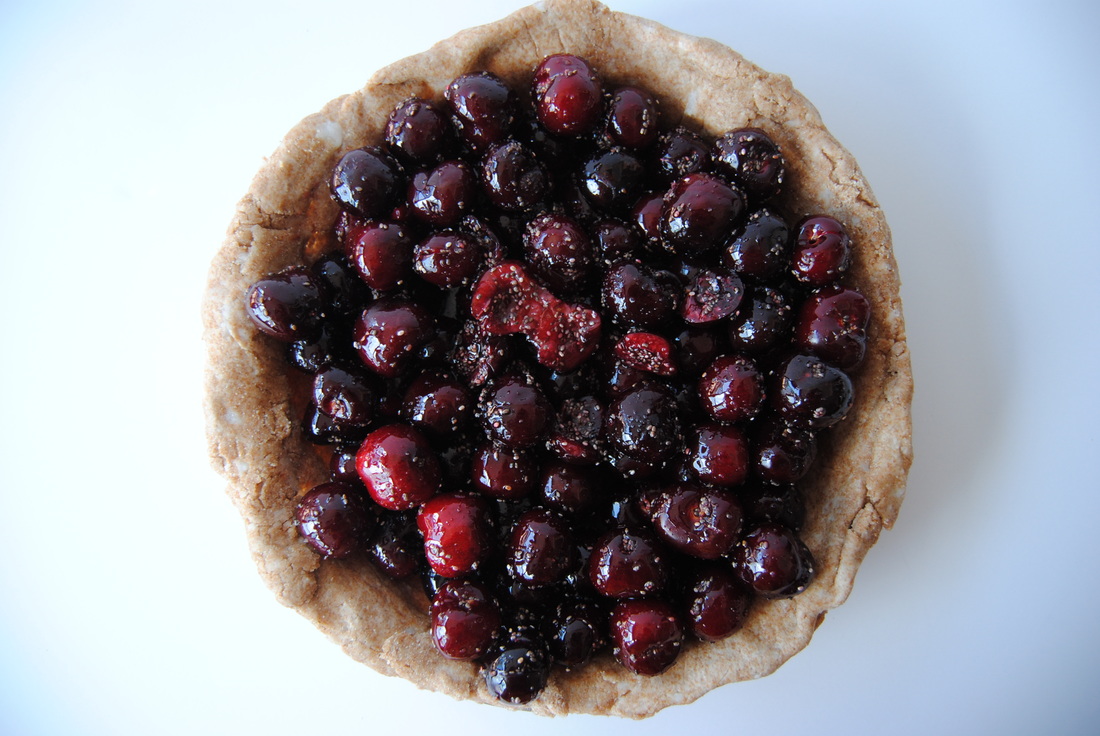
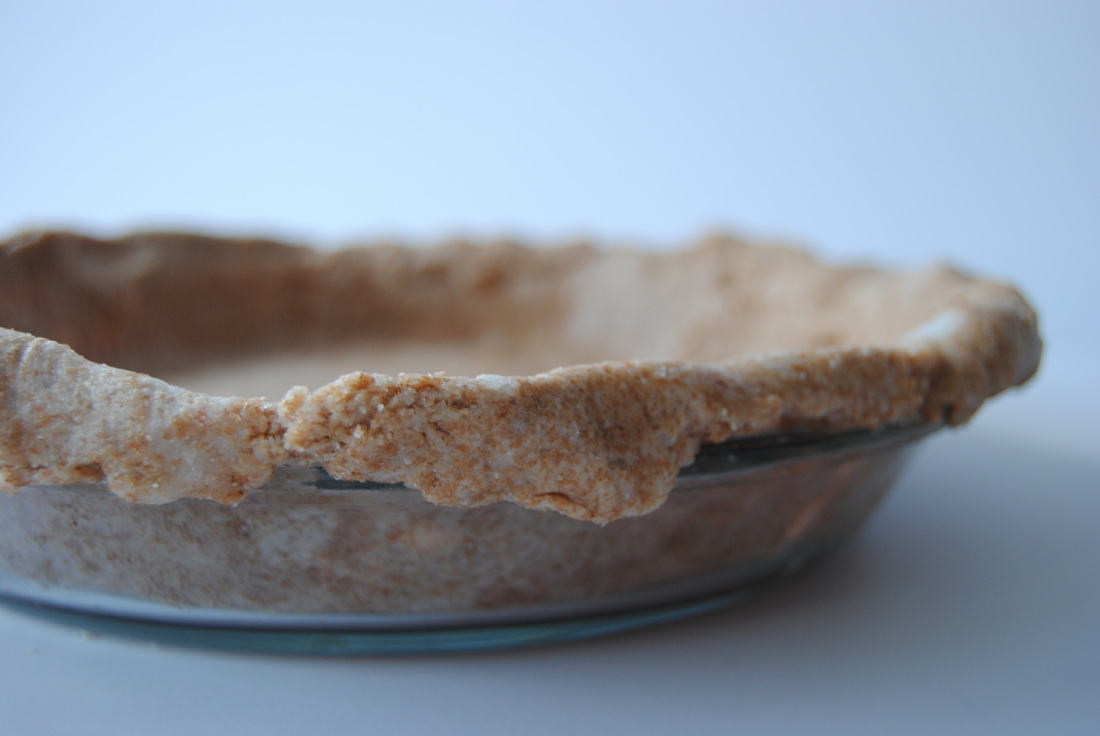
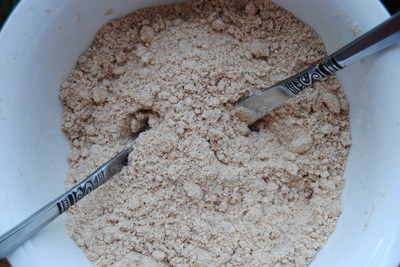
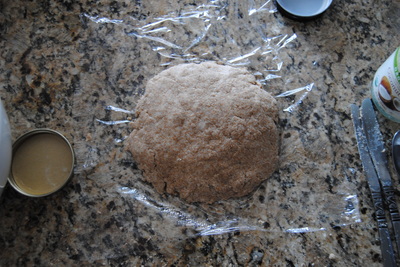
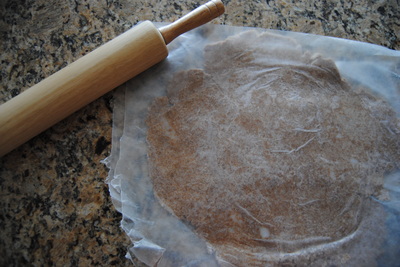
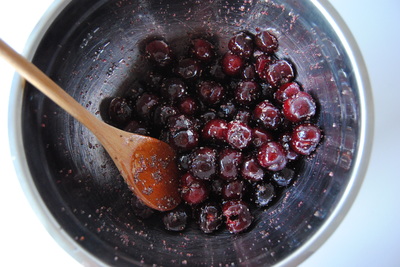
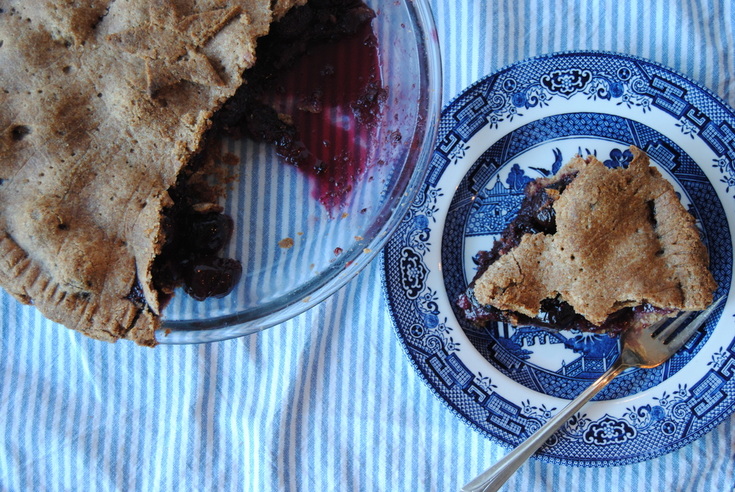
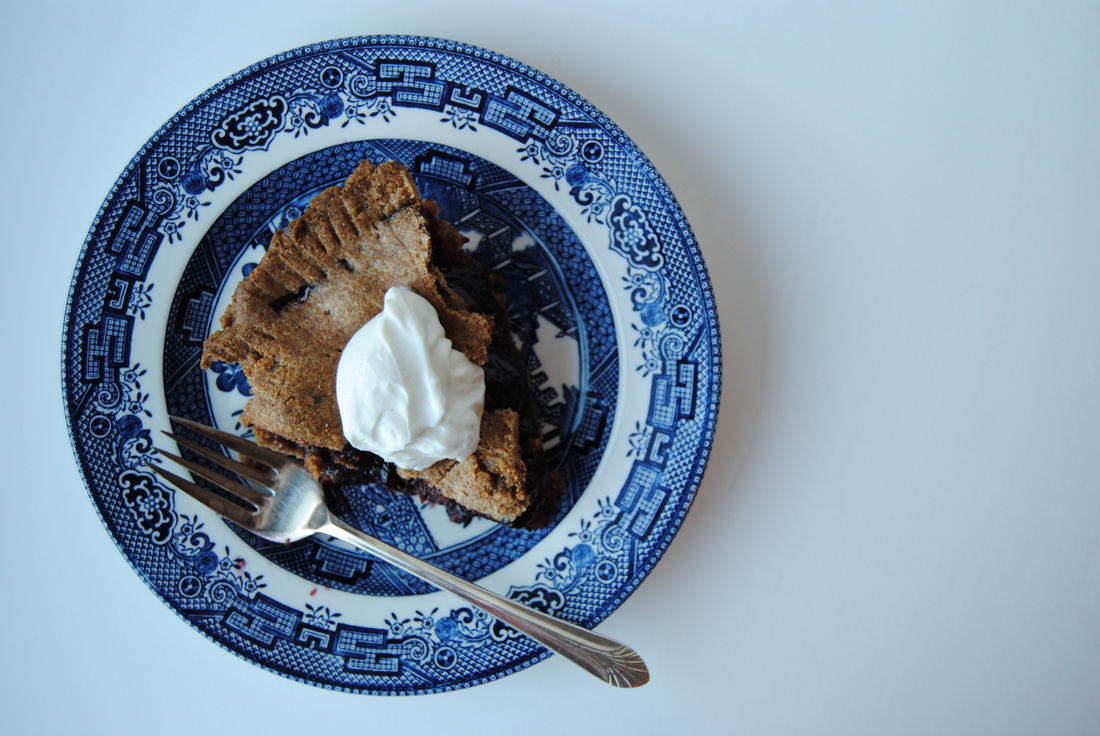
You CAN do it all, Jess and Cecelia Happy 4th of July TGBK friends! We hope you're celebrating this amazing country in the best way you know how today. If you know us by now, you know that we love to celebrate with fresh, seasonal, and beautiful food. That's why a good old cherry pie had to be on the menu for us today. We put in the work ahead of time to make this 100% homemade starting with a coconut oil crust. You'll have to put this on the menu for your next celebration since we didn't give you much of a heads up for today (sorry!). This one will be worth the wait though, we promise. So let's learn more about why homemade pie crust is an absolute must before we get to the recipe. With these tips and tricks we will free you from anything but wholesome, homemade pie crust from now on. Now don't get us wrong, we know that perfecting the homemade pie crust can be quite a challenge. It takes time, patience, and plenty of practice. But putting in that time really does pay off in terms of taste as well as healthfulness of the final pie. Typical pre-made, store bought pie crust contains trans fat which in simple terms is a nutritional no, no. Trans fat is a man made, chemical based fat used in processed foods to lengthen shelf life, which may sound good, but it also takes your body a very long time (months even) to fully metabolize and clear this fat from your body. Store bought pie crust may also contain artificial dyes and food preservatives (ex BHA and BHT) that we prefer to avoid as much as possible. Even homemade pie crust can contain undesirable ingredients if vegetable shortening (like Crisco) is used as the fat source. Vegetable shortenings are another man made food invention that produce what we consider negative fats during the process of turning liquid vegetable oils into a semi-solid. Instead, we suggest using a whole food based fat source that is naturally in the right consistency for a pie crust, like butter or coconut oil. Since coconut oil is more unique and vegan friendly we decided to give you that recipe this time around. We hope our pie crust making tips will help you become a pro in no time. One last tip, if your crust doesn't look perfect the first go around, don't worry! It will still taste great. Summer Cherry Pie PREP TIME: 45 mins TOTAL TIME: 3 hours 30-45 mins (includes resting of dough and cooking time) Servings: 8 Ingredients Coconut Oil Crust (makes two crusts) 3 cups whole wheat pastry flour 1 cup solid coconut oil (cool in the fridge as needed if soft/liquid) 1/4 tsp salt 1 cup + 2 Tbsp ice water Cherry Pie Filling 5 cups organic cherries, any sweet variety 1/4 cup cane sugar 2 Tbsp maple syrup 2 Tbsp chia seeds 1 Tbsp lime juice One vanilla bean, insides scraped out Optional Topping Vanilla full fat Greek or Icelandic yogurt Start by preparing the crust at least 90 minutes before the filling. Combine whole wheat pastry flour and salt in a large bowl. Add solid coconut oil to the bowl and use a pastry cutter or butter knife in each hand to cut coconut oil repeatedly for several minutes until the mixture resembles large crumbs (pictured above). Add ice water two tablespoons at a time and mix by hand with a fork until the mixture just begins to come together. If you press the mixture between your fingers it should hold together but easily crumble. Note that you may use slightly more or less ice water to achieve the correct consistency. Turn dough out onto a smooth, lightly floured surface and separate in half using floured hands to press dough gently so that it holds together. Place each dough on plastic wrap and press into a flattened disc with your palms (also pictured above). Wrap each disc fully with plastic wrap and place in the fridge for at least one hour. Dough can be prepared ahead of time and stored in the fridge for 2-3 days. Before rolling the dough allow to sit out at room temperature for 30-60 minutes to allow dough to soften until pliable. To prepare the filling start by removing cherry stems and pitting the cherries using a cherry pitter or a chopstick. For the chopstick method hold the cherry firmly in one hand and use the wide end of the chopstick to press up through the middle of the cherry from the bottom. The pit should easily break through the top where the cherry was previously attached to its stem. Add prepared cherries to a large bowl and add cane sugar, maple syrup, chia seeds, lime juice, and insides of the vanilla bean to the bowl and mix to fully combine. Allow to sit while you roll the dough. Remove dough from plastic wrap and place each between two sheets of waxed paper (pictured above). Use a rolling pin to roll each dough into a a large circle slightly larger than a standard 9" pie pan. Remove top piece of waxed paper from one rolled dough and transfer first dough into the pie pan with the waxed paper side facing up. Shape dough into the pan and then remove waxed paper by peeling it back slowly from the sides and working into the middle. Don't worry if pieces of crust break off or come up with the waxed paper, these can be molded back into place easily with floured fingers. If dough overlaps the pan fold up the edges slightly. Transfer filling into pie pan and spread evenly. Repeat process with second dough to cover the top of the pie. With floured fingers, press together the top and bottom dough around the edges and prick the top multiple times with a fork to allow steam to escape while cooking. You can also press a fork around the edges to decorate and make shapes (stars!) with extra pieces of crust for the top (pictured below). Place pie pan on a large piece of aluminum foil and fold foil up around just the edges of the crust to protect from burning during baking. Bake in a preheated 425 degree oven on the lowest rack for 75-90 minutes. The crust should look golden brown and there should be some juices bubbling up through the fork holes in the crust when the pie is done. Carefully remove from oven and let cool for 3-4 hours on a wire rack before cutting into slices. If you can't wait pie can be enjoyed earlier but the filling will be runny. Toppings of your choice! This is an anytime pie. It's great as a dessert (of course!) but we've also enjoyed it as breakfast or even a decadent snack. The whole wheat pastry crust gives this pie a toasty, feel-good flavor that reminds you that pie doesn't have to be reserved only for dessert. The filling is low in added sugar as far as pie fillings go but is still wonderfully sweet from the natural fruit sugars. And topped with a full fat, high protein yogurt this pie does work as a balanced meal (or at least we think so!). Hey, this holiday is all about freedom right?
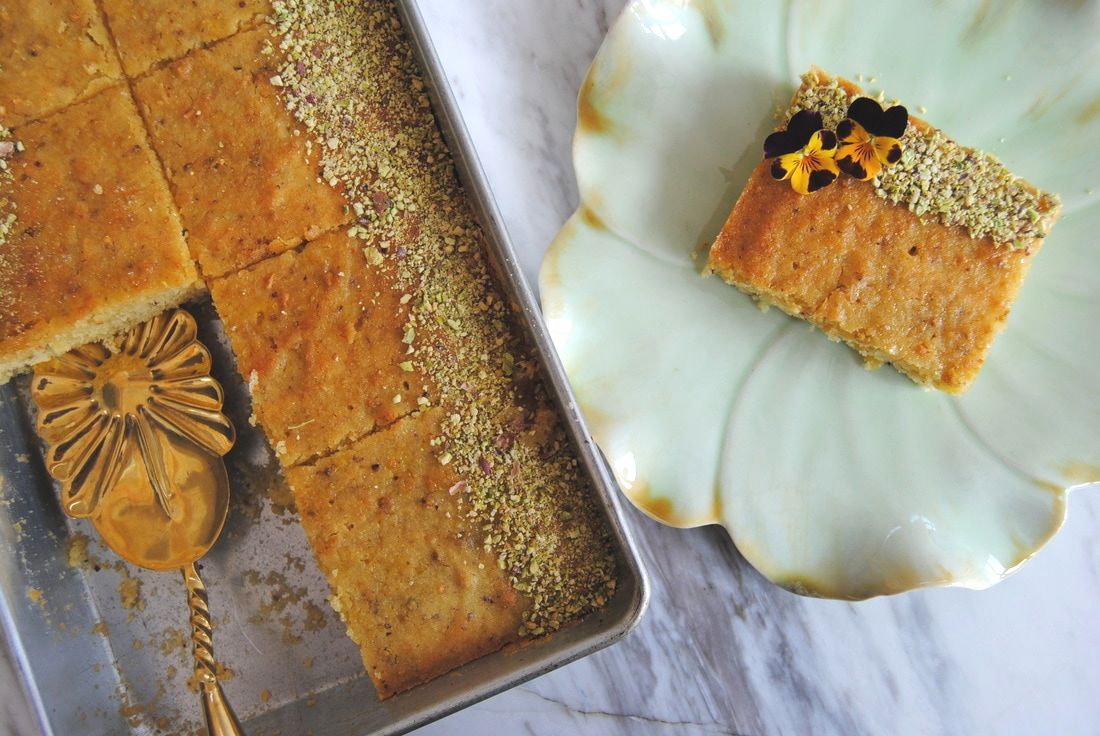
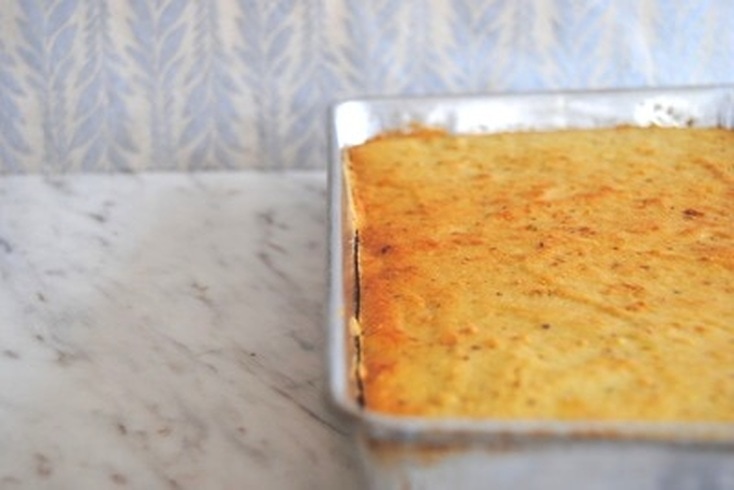
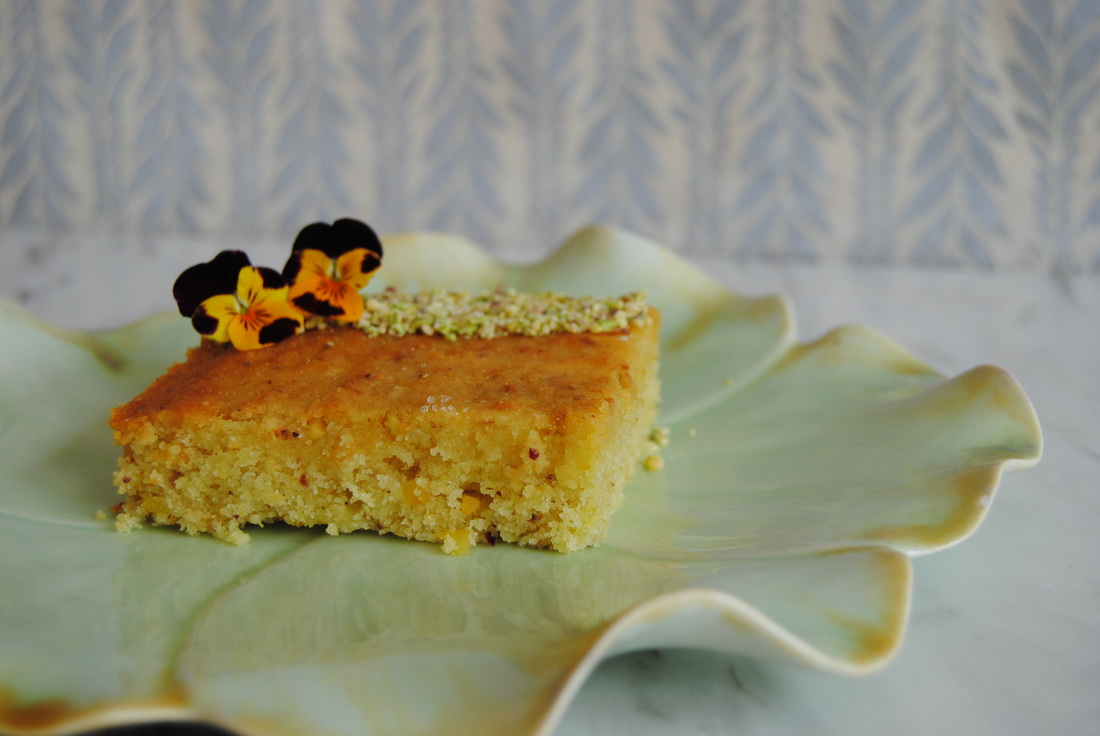
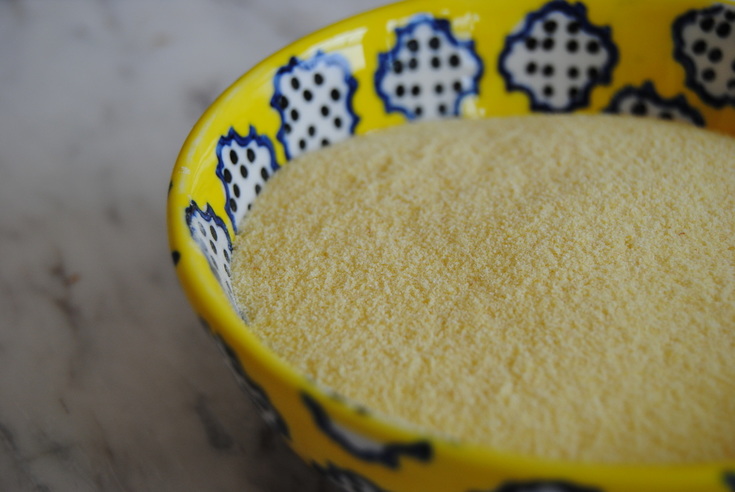
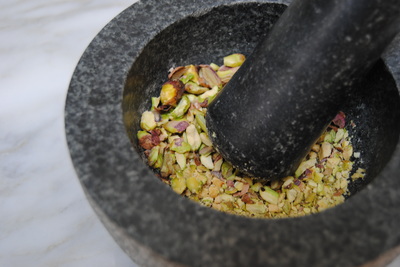
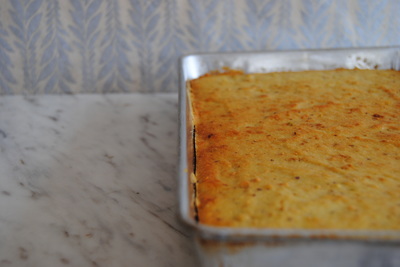
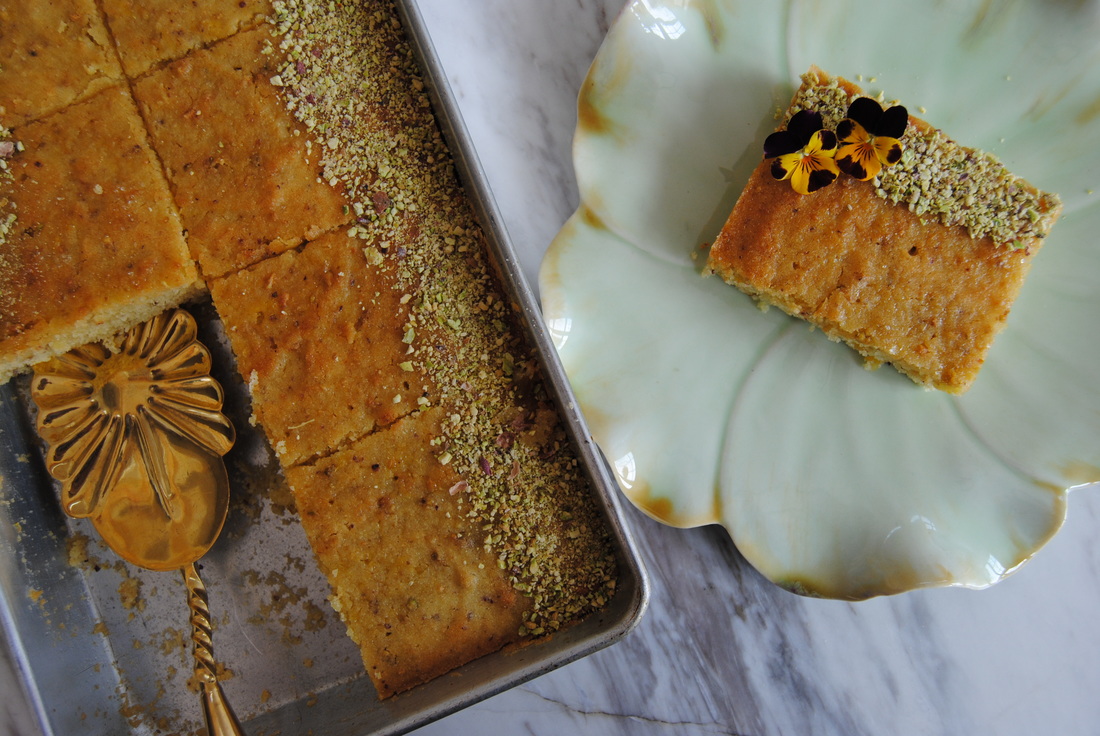
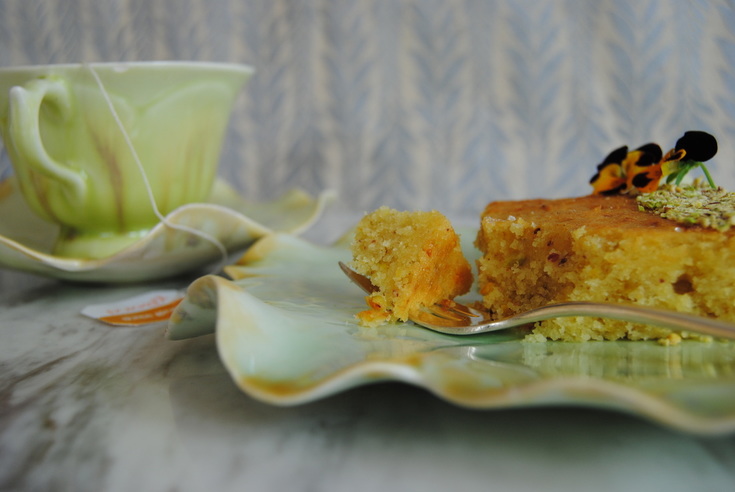
Happy Fourth, Jess and Cecelia Oh mamma, this cake is delicious! So delicious, actually, that we've been eating it all week for breakfast but that can be our little secret. Though when making this cake we weren't just thinking about ourselves. We've been taste testing, preparing, and now perfecting a recipe to dazzle your amazing mothers with this Mother's Day. And we've given you a whole week to make it, you're welcome! Quickly, before the recipe we'd like to introduce you to a new ingredient this week, semolina flour. Semolina flour is first of all, beautiful, as you can see from the picture above. It is made by coarsely grinding a variety of wheat known as durum wheat, a hard wheat with a high protein content. The durum wheat is milled to remove the bran and germ leaving the yellow endosperm granules known as semolina which are then ground into flour. Semolina flour is traditionally used for pasta making because of it's high content of wheat protein, or gluten. The properties of gluten allow pasta to be molded, stretched, and cooked without falling apart. And we all love us some pasta don't we? But we've taken a different approach this week and made a cake from this beautiful flour. Not only unique and impressive, semolina flour provides a lovely color and dense, crumbly texture much different from cakes made with traditional cake flours. So now that we've convinced you to make this cake for your mamma this year, let's get to the recipe. Pistachio Semolina Cake PREP TIME: 15 mins TOTAL TIME: 50 mins Servings: 10-12 Ingredients Cake 2 cups semolina flour 1 cup cane sugar 1 1/2 cups raw unsalted shelled pistachios (makes 3/4 cup powdered with 1/4 cup reserved for the top of the cake) 10 Tbsp unsalted butter 1 cup + 2 Tbsp plain milk kefir (We prefer Siggi's kefir) 1/3 cup thick vanilla yogurt; Greek or Icelandic (We prefer Siggi's 4% milk fat) 1 tsp baking powder Syrup 4 Tbsp freshly squeezed orange juice 2 Tbsp light clover honey 1/4 tsp sea salt Preheat oven to 350°. Lightly butter a 9x13" pan and set aside. In a small bowl melt butter in the microwave and set aside. Using mortar and pestle grind pistachios into a fine powder similar to the texture of coarse sand. Note if you do not have a mortar and pestle, place nuts in a sealable plastic bag and crush with a rolling pin until desired texture. In a large mixing bowl combine the kefir, yogurt, and sugar. Stir the semolina flour, 1/2 cup ground pistachios, and baking powder into the yogurt mixture. Finally, stir in the melted butter and mix until just combined. Avoid over mixing the batter. Pour batter into prepared pan and cook in preheated oven for 35 minutes or until a toothpick comes out clean. Once the cake is fully cooked turn the oven to broil and move the cake to a higher rack for 3-5 minutes so that the top becomes a golden brown (pictured above). Though watch carefully the entire time you are broiling to avoid burning the top of the cake. While the cake is baking, prepare the orange syrup. Combine orange juice, honey, and sea salt and mix well. Once the cake comes out of the oven, use a toothpick to carefully poke holes (making sure to reach the bottom of the pan) every one inch across the surface of the cake. The purpose of this is to help the cake absorb the syrup. While the cake is still warm, evenly pour the orange syrup over the top of the cake. Sprinkle the outside edges of the cake with the reserved 1/4 cup powdered pistachios. Serve and enjoy! Now doesn't this fancy tea and cake celebration look like every childhood tea party dream? Well it is! This cake is dense, crumbly, savory, and sweet all at the same time. And lends itself well to any toppings or decor (we chose edible flowers) that you know your mother will love. And we are sending all of our love to you mamma superheroes out there, this one is for you.
Happy mother's day, Jess and Cecelia |
AuthorsJess and Cecelia welcome you to our kitchen. We are fun-loving and passionate foodies working to make the world a healthier, happier place one plant based recipe at a time. Categories
All
Archives
December 2018
|

