|
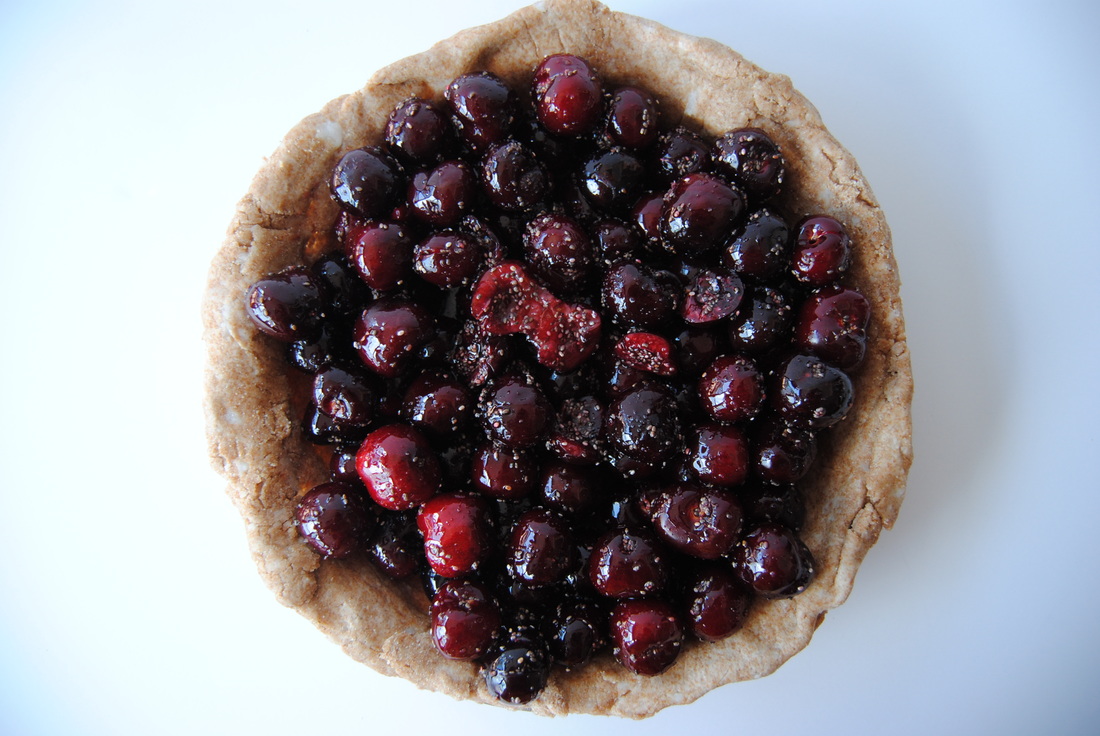
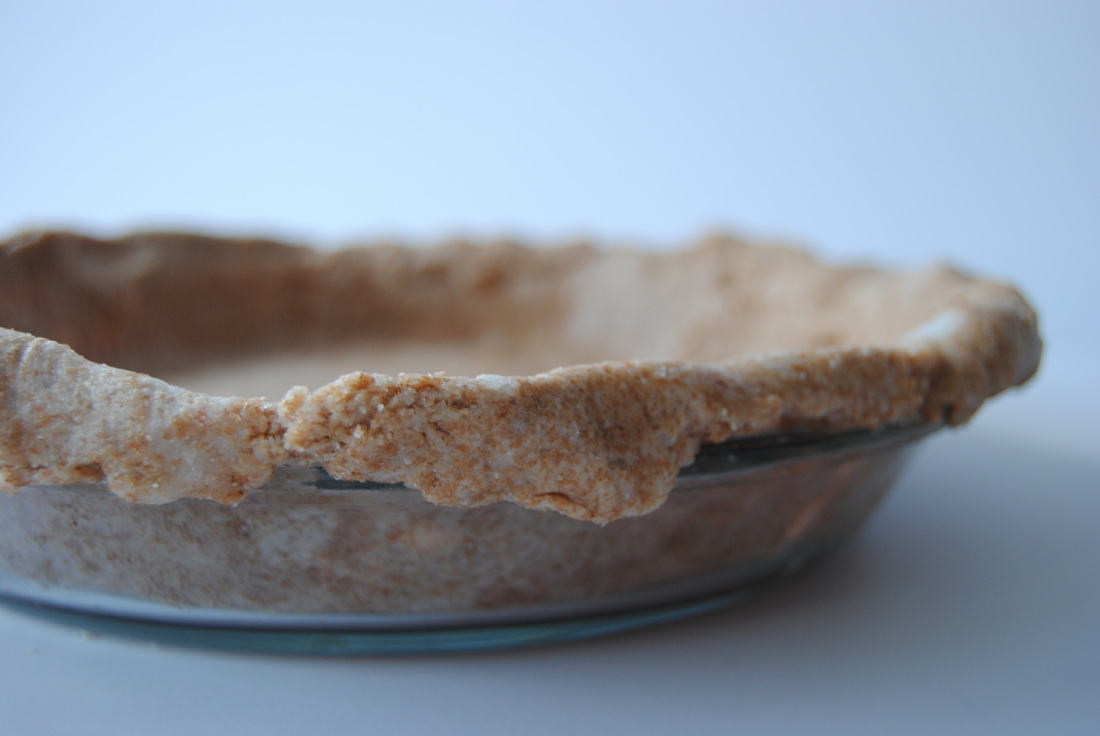
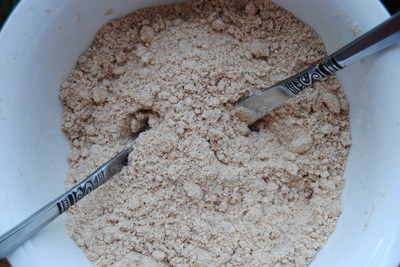
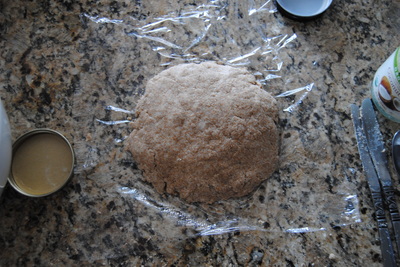
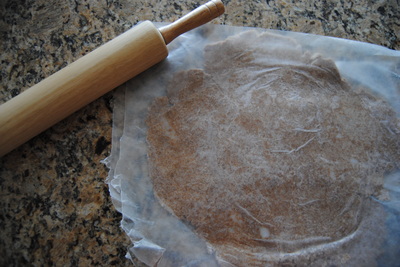
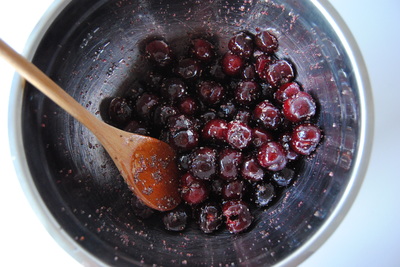
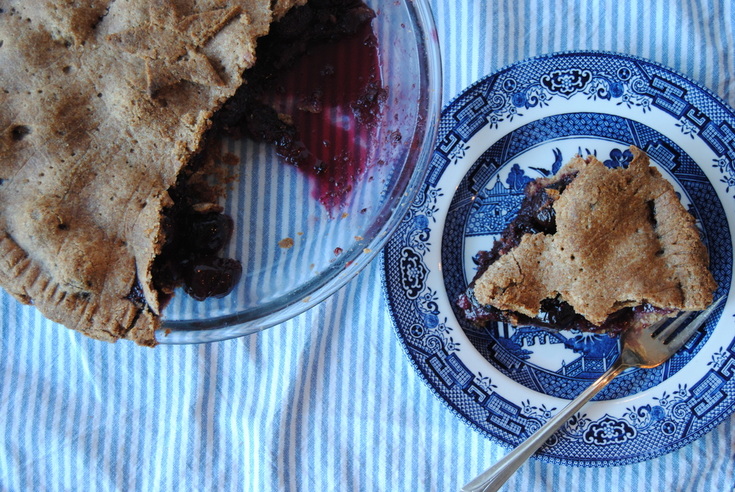
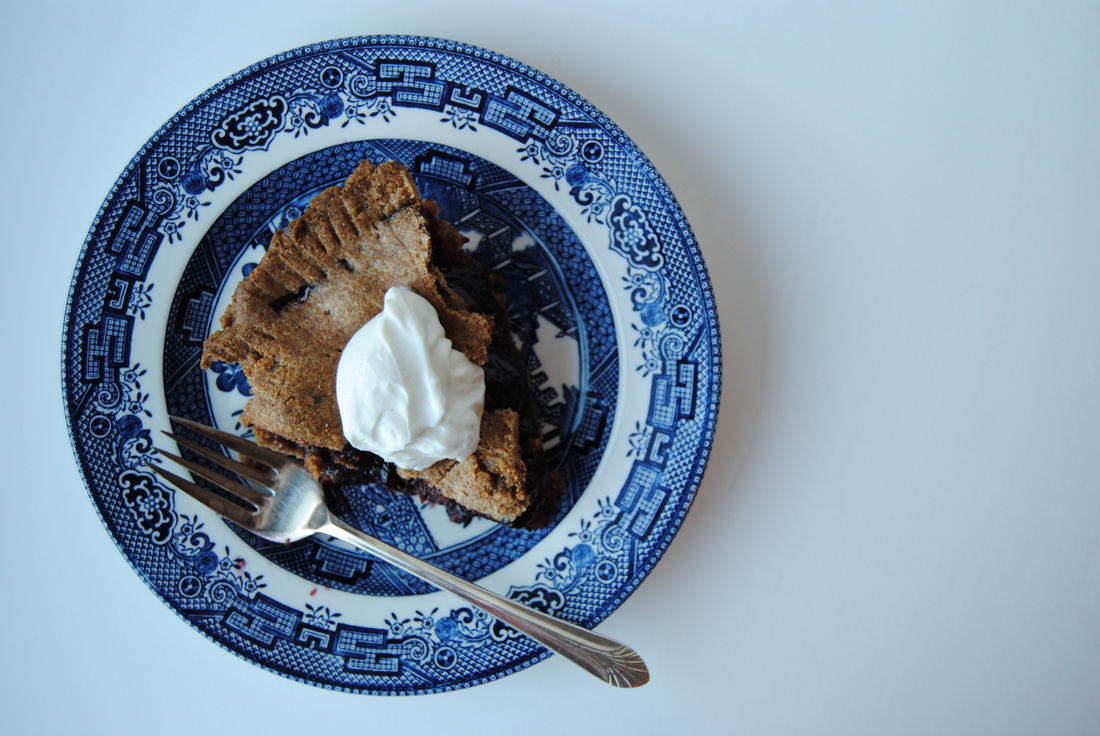
Happy 4th of July TGBK friends! We hope you're celebrating this amazing country in the best way you know how today. If you know us by now, you know that we love to celebrate with fresh, seasonal, and beautiful food. That's why a good old cherry pie had to be on the menu for us today. We put in the work ahead of time to make this 100% homemade starting with a coconut oil crust. You'll have to put this on the menu for your next celebration since we didn't give you much of a heads up for today (sorry!). This one will be worth the wait though, we promise. So let's learn more about why homemade pie crust is an absolute must before we get to the recipe. With these tips and tricks we will free you from anything but wholesome, homemade pie crust from now on. Now don't get us wrong, we know that perfecting the homemade pie crust can be quite a challenge. It takes time, patience, and plenty of practice. But putting in that time really does pay off in terms of taste as well as healthfulness of the final pie. Typical pre-made, store bought pie crust contains trans fat which in simple terms is a nutritional no, no. Trans fat is a man made, chemical based fat used in processed foods to lengthen shelf life, which may sound good, but it also takes your body a very long time (months even) to fully metabolize and clear this fat from your body. Store bought pie crust may also contain artificial dyes and food preservatives (ex BHA and BHT) that we prefer to avoid as much as possible. Even homemade pie crust can contain undesirable ingredients if vegetable shortening (like Crisco) is used as the fat source. Vegetable shortenings are another man made food invention that produce what we consider negative fats during the process of turning liquid vegetable oils into a semi-solid. Instead, we suggest using a whole food based fat source that is naturally in the right consistency for a pie crust, like butter or coconut oil. Since coconut oil is more unique and vegan friendly we decided to give you that recipe this time around. We hope our pie crust making tips will help you become a pro in no time. One last tip, if your crust doesn't look perfect the first go around, don't worry! It will still taste great. Summer Cherry Pie PREP TIME: 45 mins TOTAL TIME: 3 hours 30-45 mins (includes resting of dough and cooking time) Servings: 8 Ingredients Coconut Oil Crust (makes two crusts) 3 cups whole wheat pastry flour 1 cup solid coconut oil (cool in the fridge as needed if soft/liquid) 1/4 tsp salt 1 cup + 2 Tbsp ice water Cherry Pie Filling 5 cups organic cherries, any sweet variety 1/4 cup cane sugar 2 Tbsp maple syrup 2 Tbsp chia seeds 1 Tbsp lime juice One vanilla bean, insides scraped out Optional Topping Vanilla full fat Greek or Icelandic yogurt Start by preparing the crust at least 90 minutes before the filling. Combine whole wheat pastry flour and salt in a large bowl. Add solid coconut oil to the bowl and use a pastry cutter or butter knife in each hand to cut coconut oil repeatedly for several minutes until the mixture resembles large crumbs (pictured above). Add ice water two tablespoons at a time and mix by hand with a fork until the mixture just begins to come together. If you press the mixture between your fingers it should hold together but easily crumble. Note that you may use slightly more or less ice water to achieve the correct consistency. Turn dough out onto a smooth, lightly floured surface and separate in half using floured hands to press dough gently so that it holds together. Place each dough on plastic wrap and press into a flattened disc with your palms (also pictured above). Wrap each disc fully with plastic wrap and place in the fridge for at least one hour. Dough can be prepared ahead of time and stored in the fridge for 2-3 days. Before rolling the dough allow to sit out at room temperature for 30-60 minutes to allow dough to soften until pliable. To prepare the filling start by removing cherry stems and pitting the cherries using a cherry pitter or a chopstick. For the chopstick method hold the cherry firmly in one hand and use the wide end of the chopstick to press up through the middle of the cherry from the bottom. The pit should easily break through the top where the cherry was previously attached to its stem. Add prepared cherries to a large bowl and add cane sugar, maple syrup, chia seeds, lime juice, and insides of the vanilla bean to the bowl and mix to fully combine. Allow to sit while you roll the dough. Remove dough from plastic wrap and place each between two sheets of waxed paper (pictured above). Use a rolling pin to roll each dough into a a large circle slightly larger than a standard 9" pie pan. Remove top piece of waxed paper from one rolled dough and transfer first dough into the pie pan with the waxed paper side facing up. Shape dough into the pan and then remove waxed paper by peeling it back slowly from the sides and working into the middle. Don't worry if pieces of crust break off or come up with the waxed paper, these can be molded back into place easily with floured fingers. If dough overlaps the pan fold up the edges slightly. Transfer filling into pie pan and spread evenly. Repeat process with second dough to cover the top of the pie. With floured fingers, press together the top and bottom dough around the edges and prick the top multiple times with a fork to allow steam to escape while cooking. You can also press a fork around the edges to decorate and make shapes (stars!) with extra pieces of crust for the top (pictured below). Place pie pan on a large piece of aluminum foil and fold foil up around just the edges of the crust to protect from burning during baking. Bake in a preheated 425 degree oven on the lowest rack for 75-90 minutes. The crust should look golden brown and there should be some juices bubbling up through the fork holes in the crust when the pie is done. Carefully remove from oven and let cool for 3-4 hours on a wire rack before cutting into slices. If you can't wait pie can be enjoyed earlier but the filling will be runny. Toppings of your choice! This is an anytime pie. It's great as a dessert (of course!) but we've also enjoyed it as breakfast or even a decadent snack. The whole wheat pastry crust gives this pie a toasty, feel-good flavor that reminds you that pie doesn't have to be reserved only for dessert. The filling is low in added sugar as far as pie fillings go but is still wonderfully sweet from the natural fruit sugars. And topped with a full fat, high protein yogurt this pie does work as a balanced meal (or at least we think so!). Hey, this holiday is all about freedom right?
Happy Fourth, Jess and Cecelia
0 Comments
Leave a Reply. |
AuthorsJess and Cecelia welcome you to our kitchen. We are fun-loving and passionate foodies working to make the world a healthier, happier place one plant based recipe at a time. Categories
All
Archives
December 2018
|

