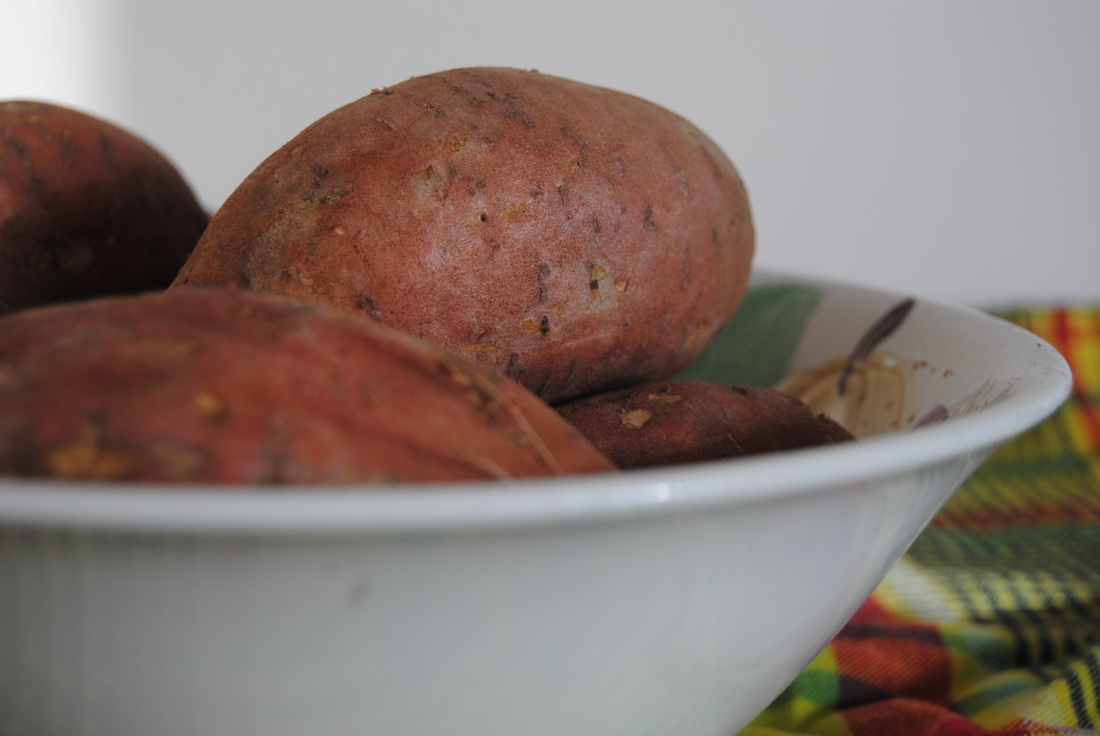
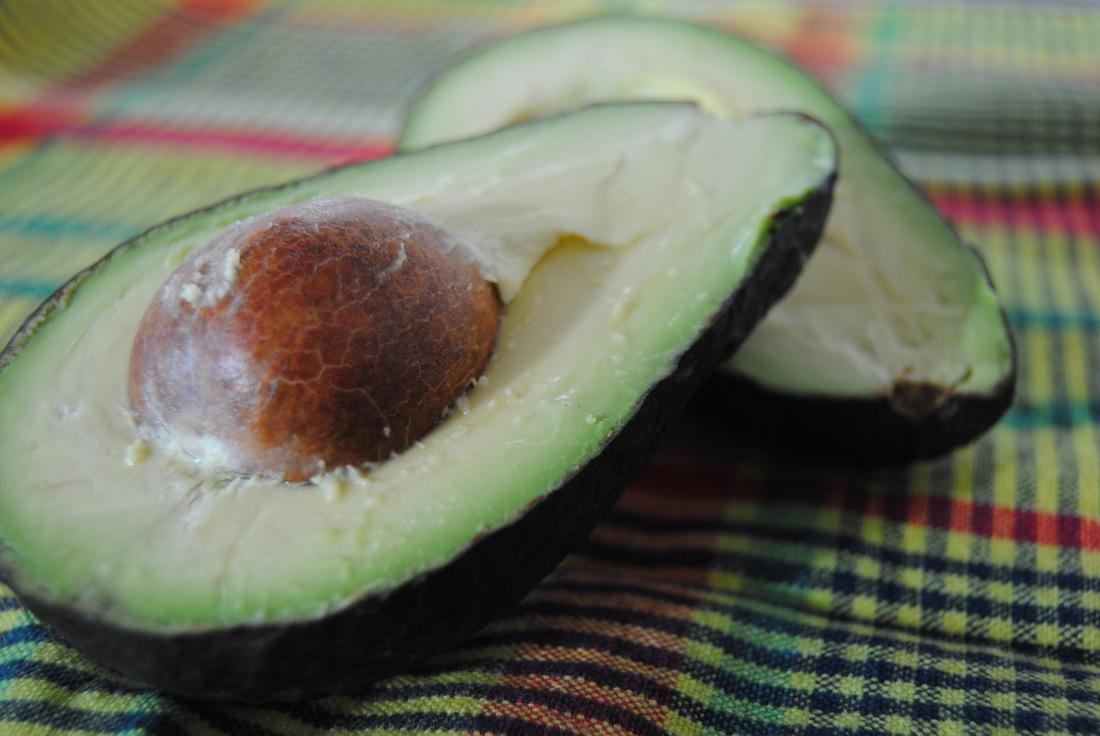
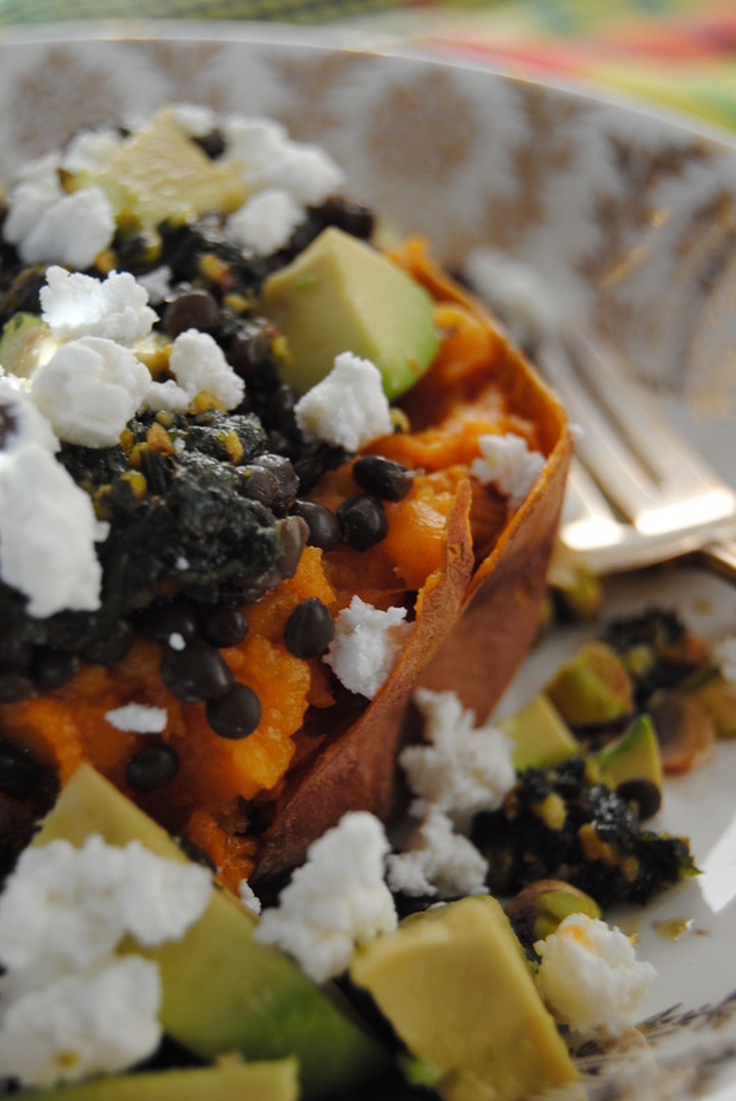
 As the month comes to a close, we want to remind you that February is/was national sweet potato month! It's so perfect because honestly what could be better than a steaming hot, colorful, starchy and oh so delicious spud on a dark winter night? If you haven't had a sweet potato in the last month or don't sound as excited about them as we do right now this recipe might just change your mind. Created with a delicate and unique mix of flavors (and colors!) this meal may be just the inspiration you need to help you make it to spring. 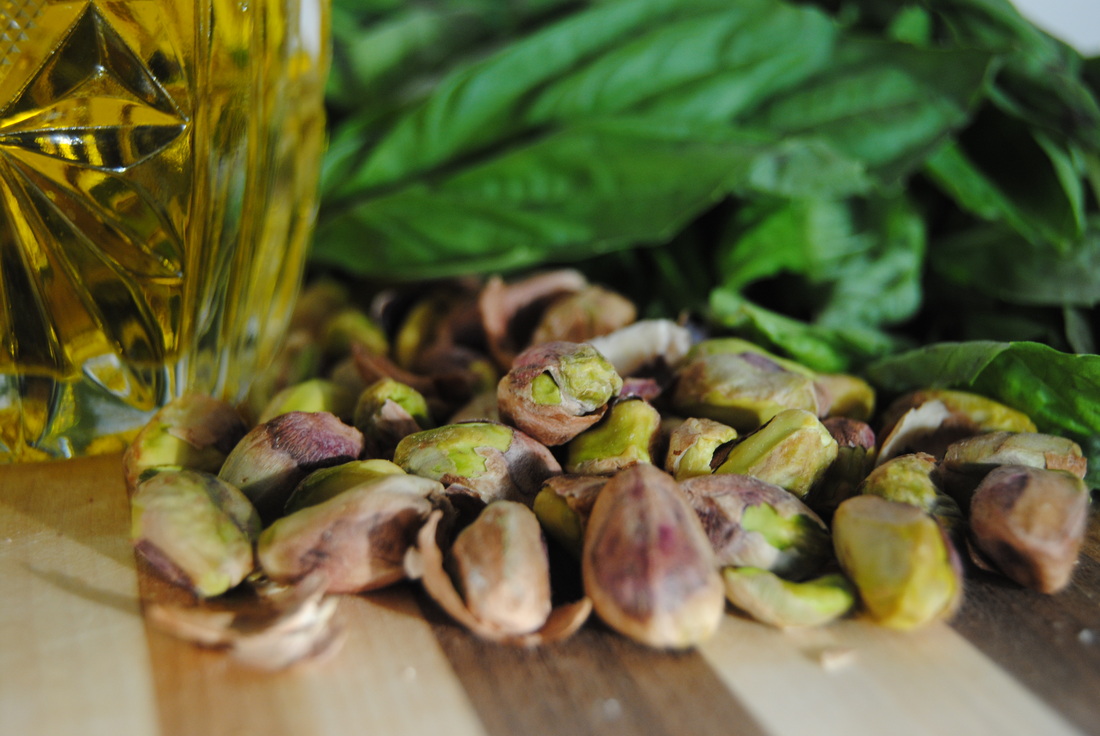 Not to overshadow this fabulous spud but we want to teach you a little about all the healthy fats you'll get from this meal before delving into the recipe. First, the beautiful pistachio nuts contain a healthy ratio of ~2:1 monounsaturated to polyunsaturated fats and the avocado has an even higher percentage of monounsaturated with a ratio of ~7:1. This is good because monounsaturated fats are considered anti-inflammatory and have been shown to reduce LDL "bad cholesterol" and triglycerides (fat in the blood) while increasing HDL "good cholesterol". Next, on to the olive oil which already has a great reputation as a healthy fat, but why? One of our favorite things about olive oil is that, unlike many other oils, it requires minimal processing to extract the oil from the olives, specifically from extra-virgin (first pressed) batches. And typically in the food industry, the less processing the better. One of the best ways to use olive oil is in cold recipes (such as pesto) because it is considered a delicate oil and can degrade under high heat conditions. But that's not all for this meal; there is a beneficial fat found in goat cheese known as medium chain triglyceride or MCT. MCT is unique in the way of it's absorption in the body because it's absorbed directly into the blood stream providing on the spot energy. This is very unlike other fats which go through a long digestion process before they can be used for energy and are actually more likely to be stored as fat cells. So let's celebrate sweet potato month and load a spud full with all these wonderful fats, shall we? The Overloaded Spud PREP TIME: 30 mins TOTAL TIME: 1 hour 10 mins (including baking) Servings: 4 Ingredients 4 medium sweet potatoes Spud Filling 1 cup dried beluga lentils 2 ounces goat cheese 1 avocado, split into fourths and cubed Pistachio Pesto 2 cups packed fresh basil 2 cloves garlic 1/4 cup raw pistachios, shelled 1/2 cup extra-virgin olive oil sea salt and freshly ground black pepper, to taste Preheat your oven to 350 degrees. Make sure to poke a few holes (6-8) in each sweet potato to allow steam to release while cooking. Placed washed and scrubbed sweet potatoes on a parchment lined baking sheet and cook for 60 minutes or until soft to the touch. While the spuds are baking, begin the beluga lentils and prepare pesto. Rinse lentils until running water until water runs clear. Combine 1 cup rinsed lentils with 4 cups water in a deep pan over medium to high heat. Bring lentils to a boil, then reduce heat to a simmer, cover with a lid, and cook for 30 minutes. Once lentils are fully cooked, drain remaining water and set lentils aside. To prepare pesto, first toast pistachios on a baking sheet in the 350 degree oven for 3-5 minutes until lightly browned and fragrant, watch closely to avoid burning. Allow pistachios to cool for several minutes then combine with basil and garlic in a food processor and pulse until coarsely chopped. Add 1/2 cup olive oil slowly while food processor is running on low until fully incorporated and smooth. Season with salt and pepper. Once the spuds are done and cooled slightly, make a cut down the center to create a "pocket" and add to each ~1/2 cup cooked lentils, 1/4 avocado, and 1/2 oz goat cheese. Top with 1-2 Tbsp pistachio pesto and crumbled whole pistachios if desired. 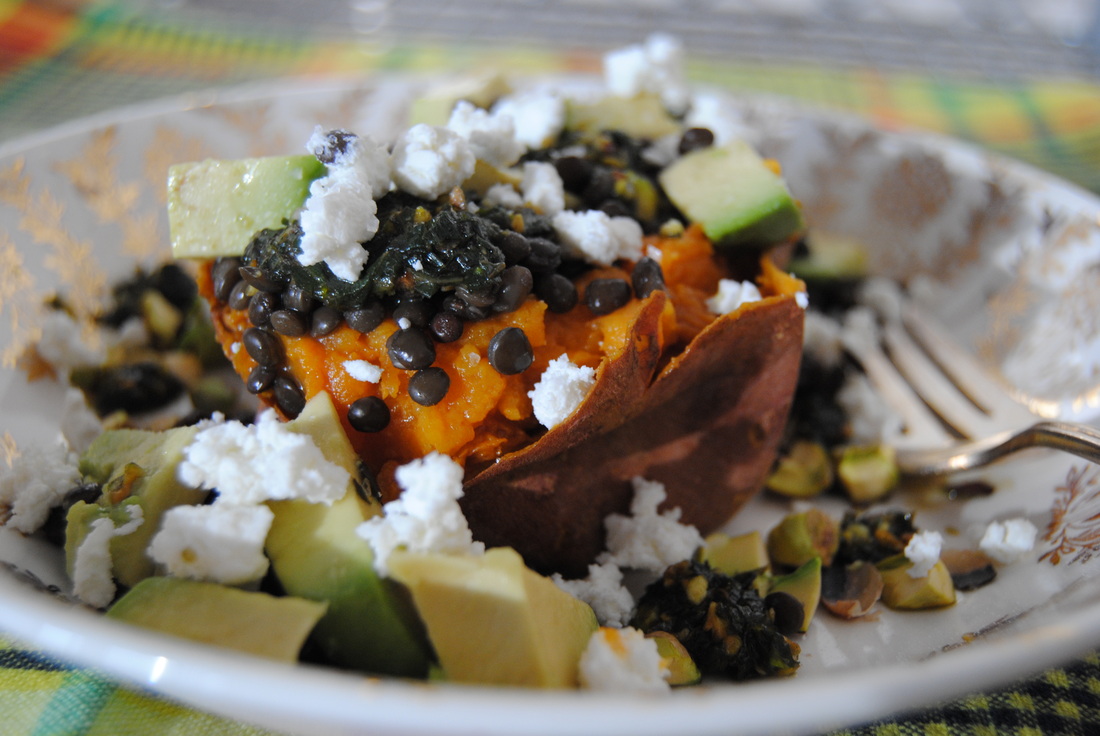 This perfectly simple, overloaded spud is just as good as your traditional "comfort food". It's beautiful on the eyes, exciting on the taste buds and warming on the stomach. This high (but healthy!) fat meal will nourish your body and keep you comfy as we all patiently wait for spring. So go on and get your spud on, Jess & Cecelia 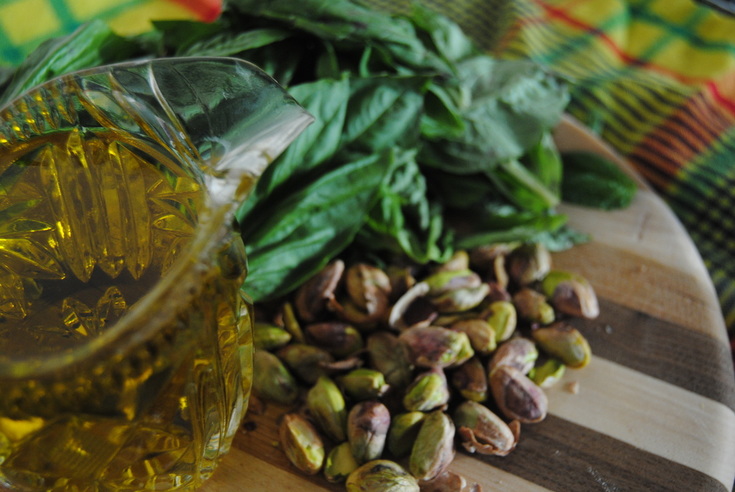
3 Comments
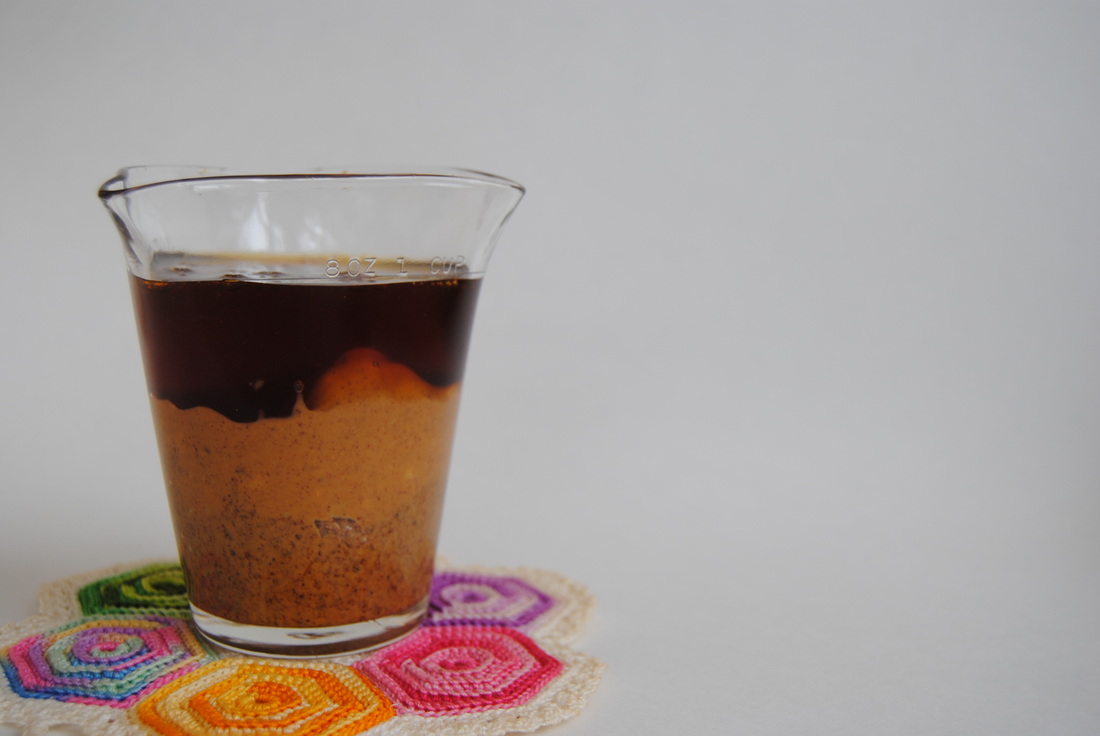
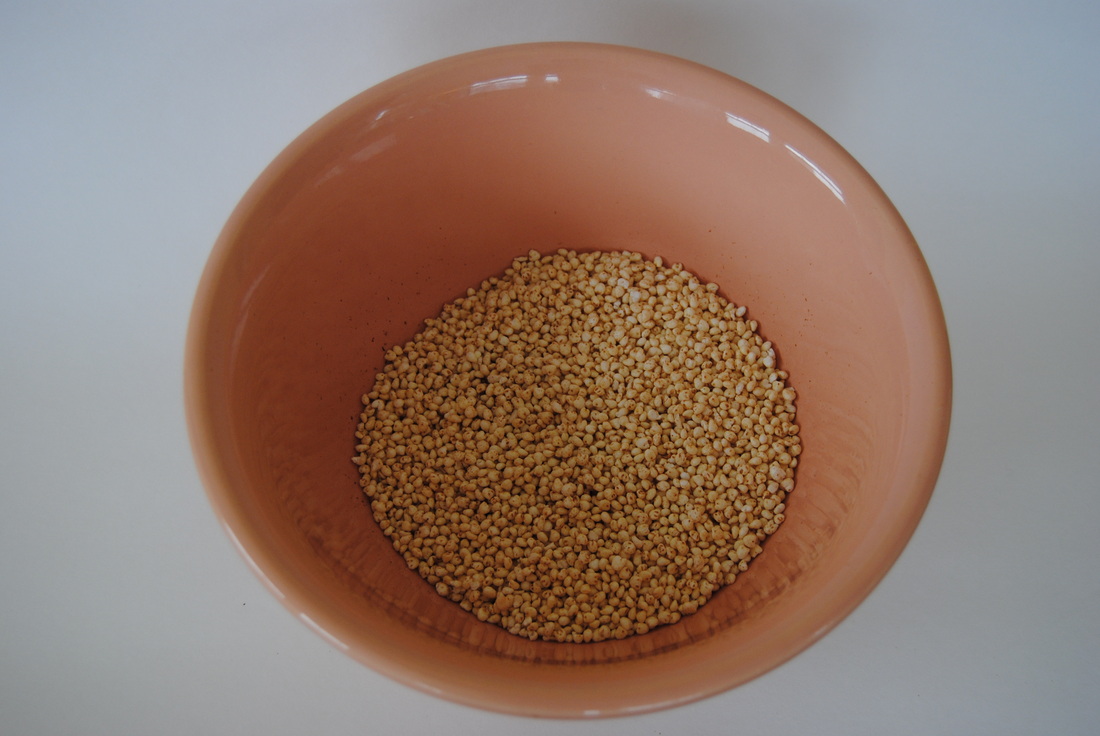
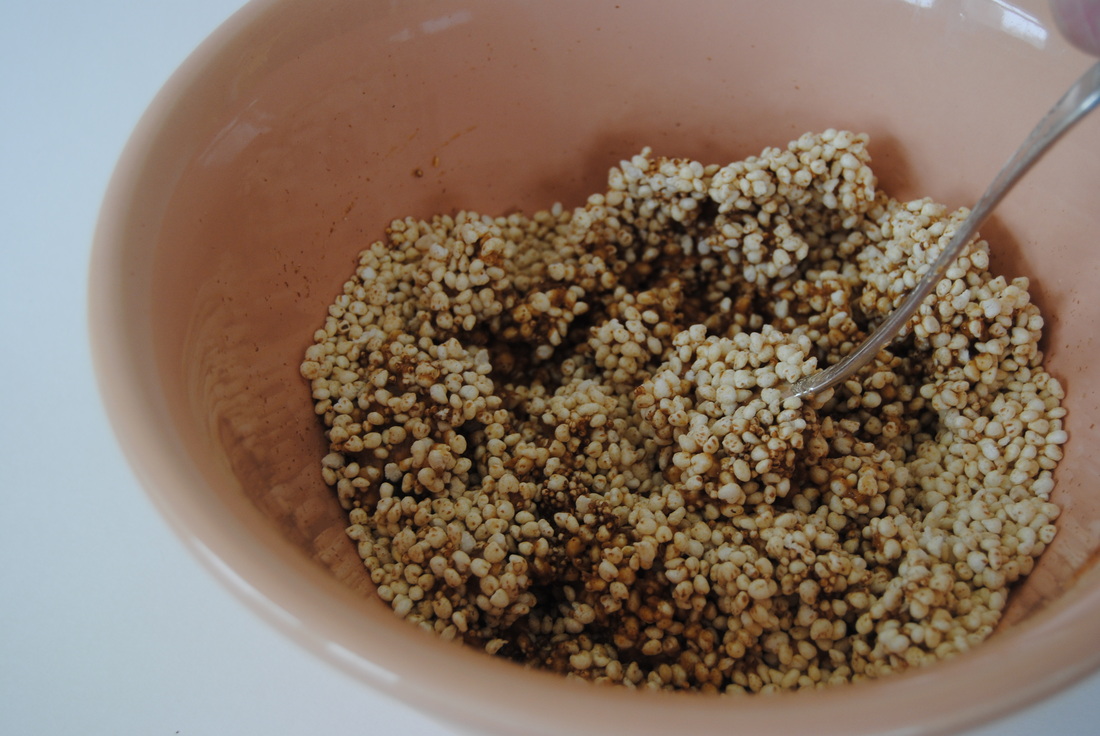
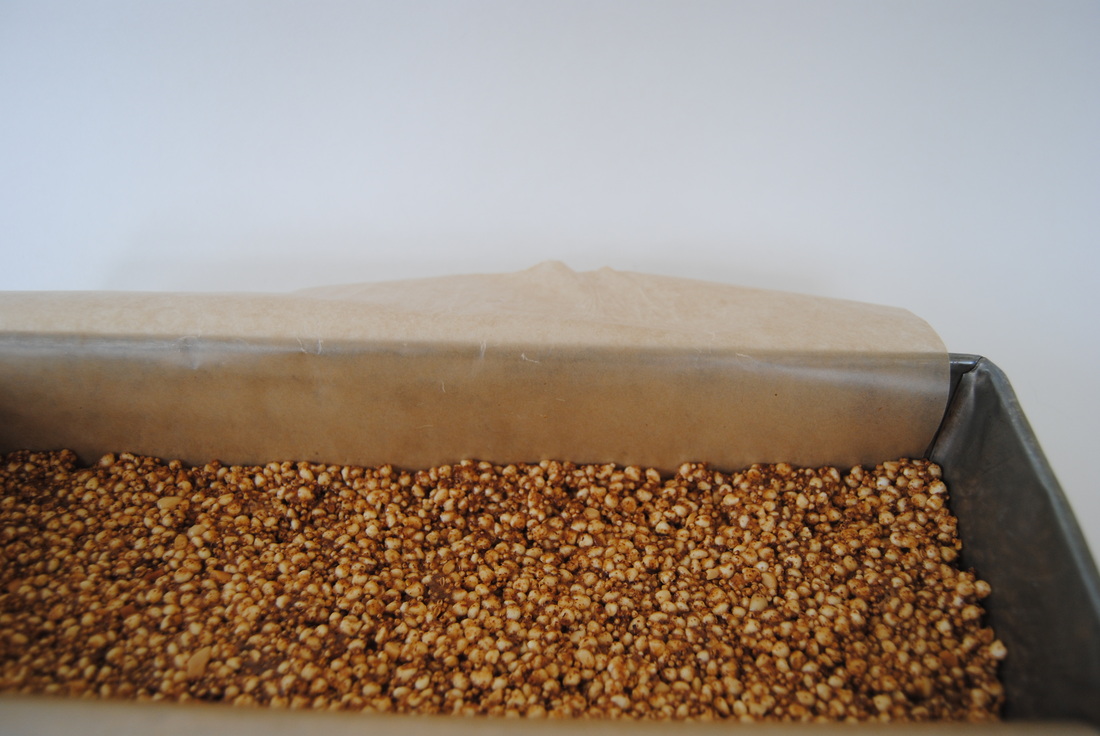
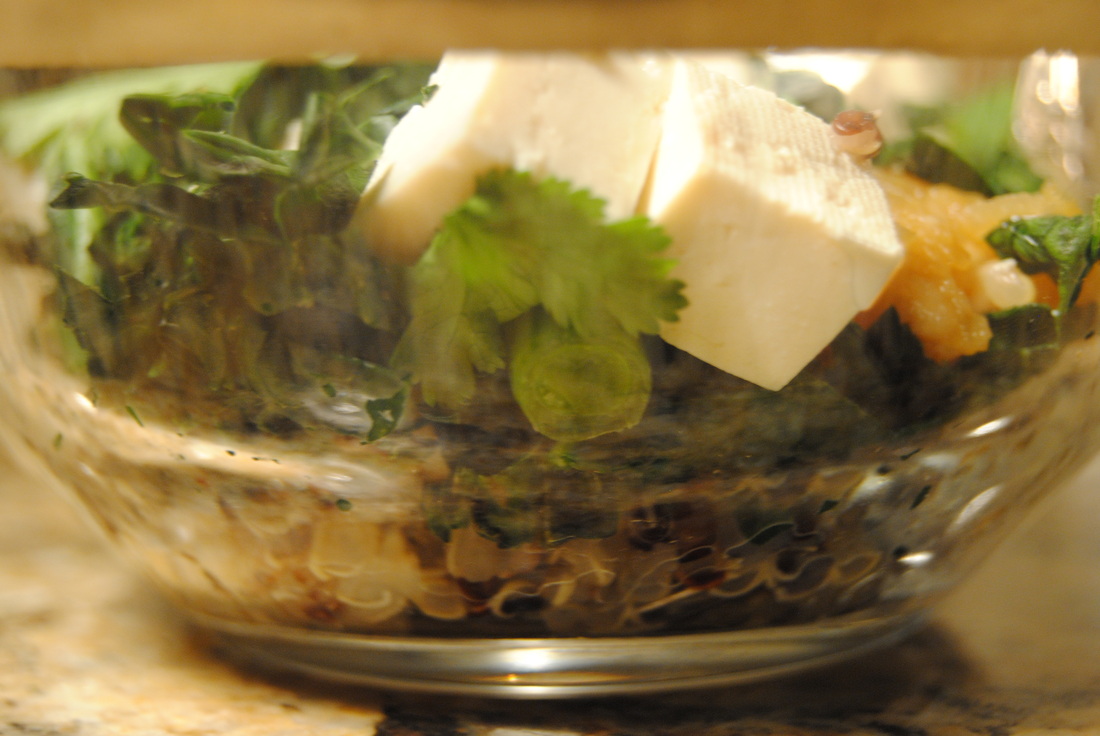
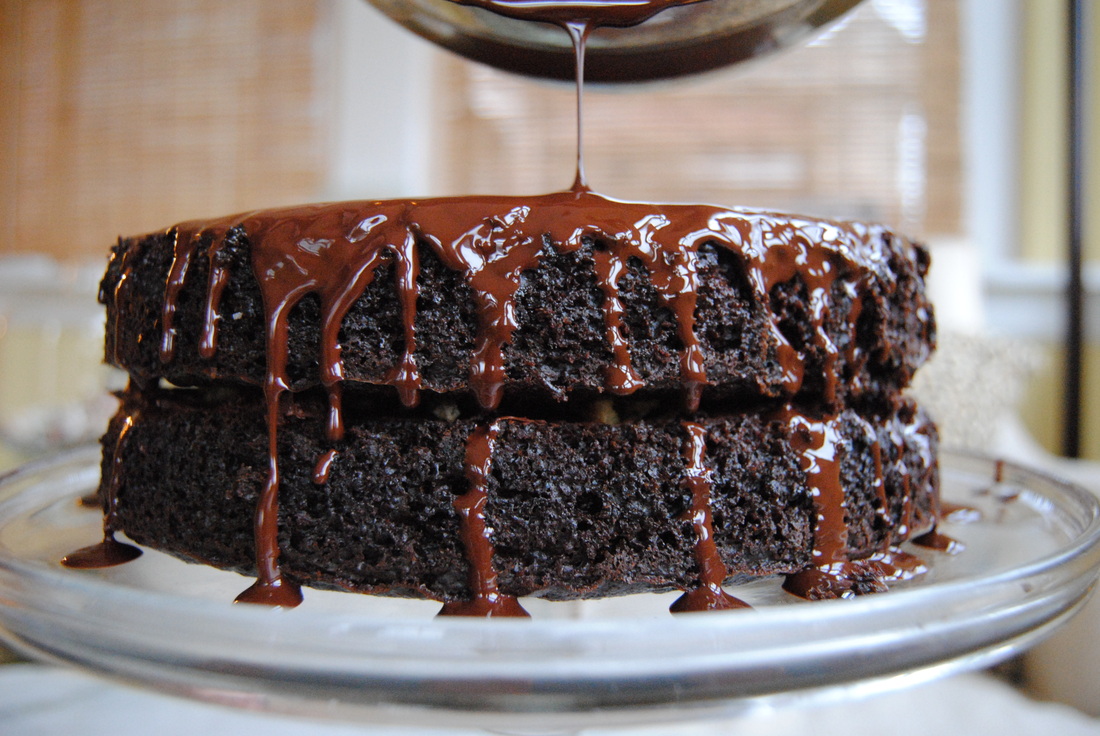
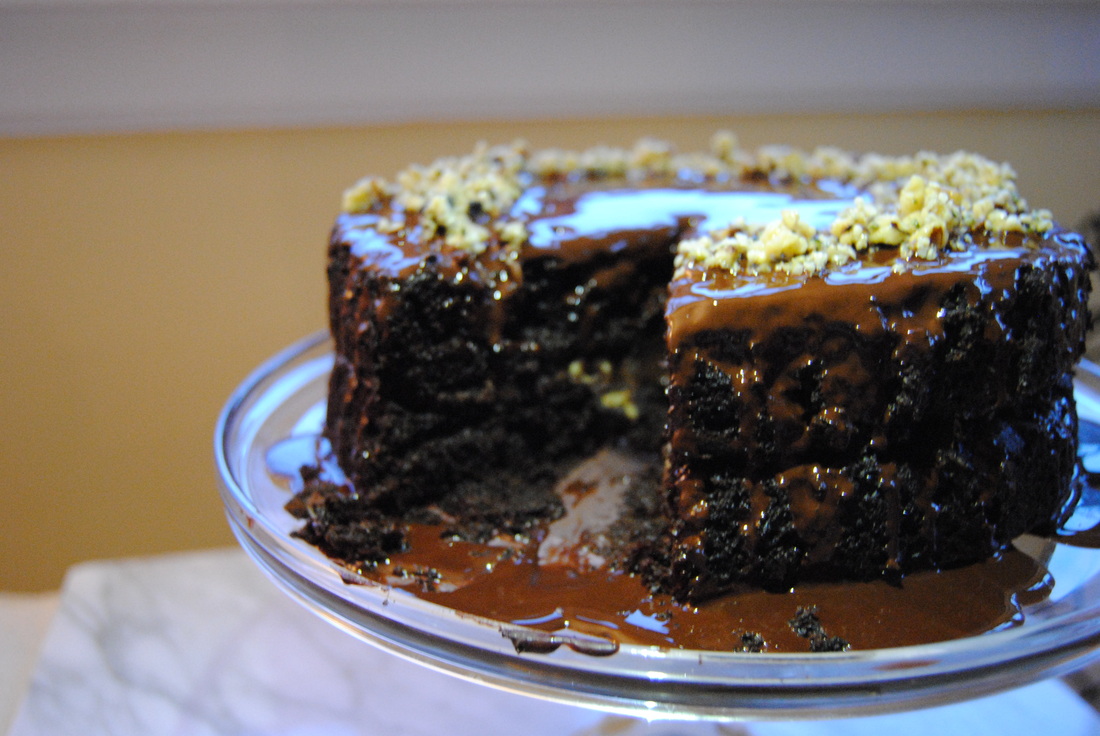
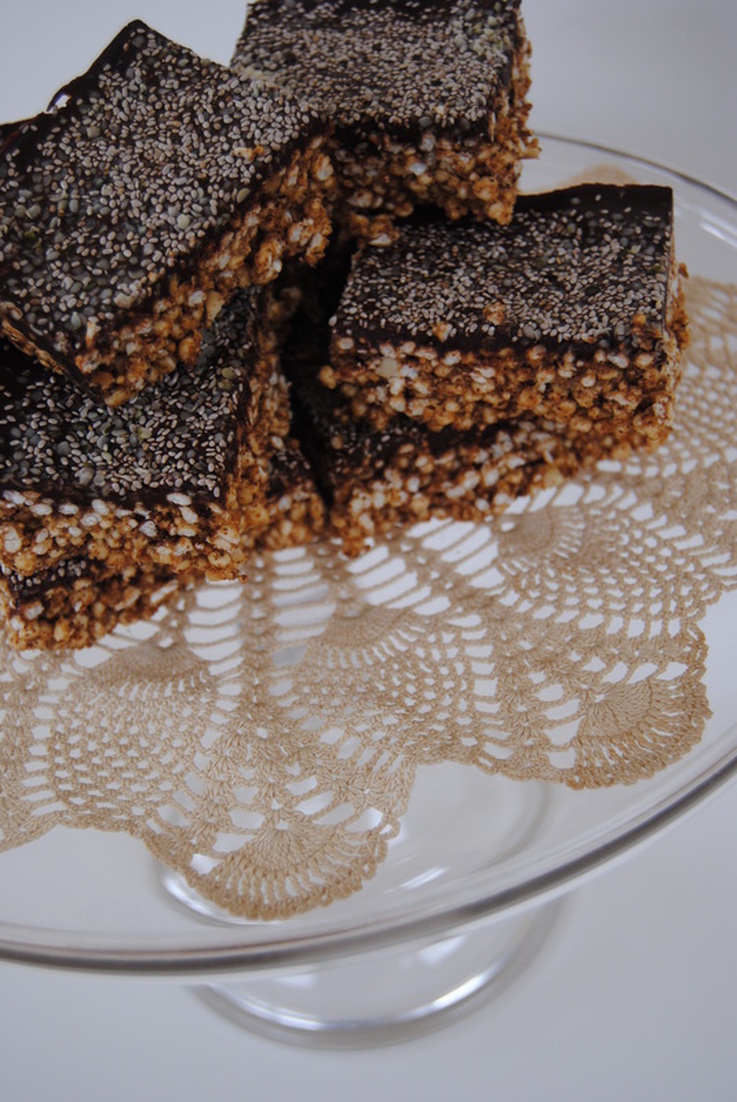 Hungry? Why wait, grab a.......candy bar? Hmmmmm something about that just doesn't seem quite right to us. Now we're not saying that snacks have to be boring and bland but they should provide some nutritional benefit and definitely be satisfying and filling. We are going to prove to you that homemade snacks can be all this and more with this nutrient packed recipe using puffed grains. So please toss those processed snack/candy bars and get in the kitchen! 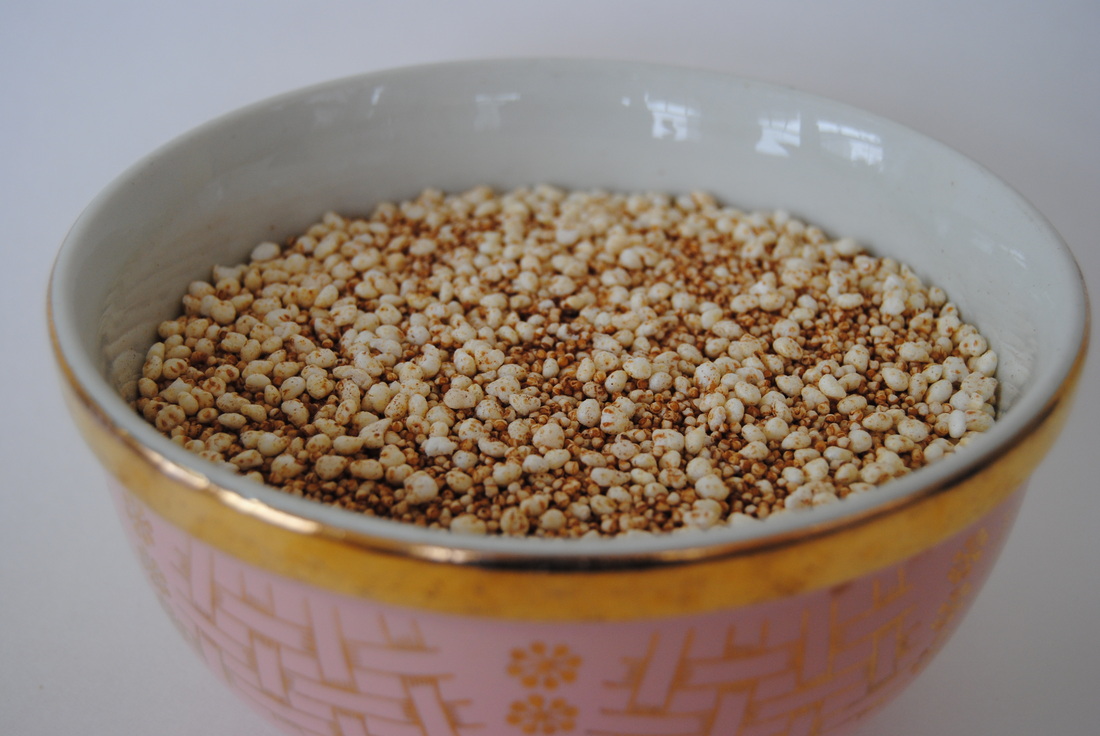 To start with a little background; this recipe was inspired by Jess's recent trip to Chile where she encountered (and brought home in her suitcase) endless amounts of puffed quinoa. After falling in love with this product, it was unfortunate to find that puffed quinoa was not readily available at local markets but that didn't stop us! Puffed millet, amaranth or wheat all work great in this recipe. Puffed millet and amaranth may be available at specialty grocery stores (we found ours at Whole Foods Market) and puffed wheat is available in most cereal aisles. So what makes this recipe an ideal snack? For starters it includes chocolate (haha!); but really the simple sugar in chocolate and honey help to immediately satisfy your hunger craving. After that simple sugar is digested, you'll be left with the complex carbohydrates and fiber found in the puffed whole grains and seed topping which will digest slower to keep you full longer. Not to mention that this recipe is packed with plenty of plant based protein and healthy fats from the nut butter (and some from the seed topping) to keep your tummy full and happy until your next meal. Can a candy bar really do all that? We think not... 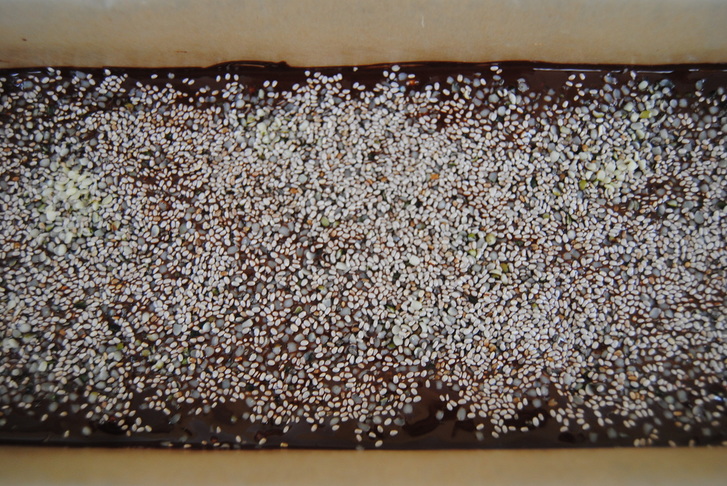 Snack Attack Bars PREP TIME: 15 mins TOTAL TIME: 45 mins (includes cooling) Servings: 10 bars Ingredients Bars 2 1/2 cups puffed grains (we used 2 cups puffed millet and 1/2 cup puffed, toasted amaranth) 1/2 cup honey 1/2 cup nut butter (we used 1/4 cup almond butter & 1/4 cup peanut butter) 1/2 tsp sea salt Topping 6 oz dark chocolate bar, 72% or greater 2 Tbsp coconut oil 1/8 cup hemp hearts 1/8 cup chia seeds dash of sea salt Prepare a 14" x 4" pan, or 9" x 9" (will make thinner bars) with a sheet of parchment paper overlapping two sides for easy removal of bars once set. Combine the puffed grains in a large mixing bowl, sprinkle with sea salt and set aside. Measure honey and nut butter and add to a small sauce pan. Heat mixture over low heat, stirring constantly until the two have formed a sweet, nutty sauce. Turn the heat off and slowly pour honey and nut butter mixture into the bowl with the puffed grains. Stir grains until well coated with honey and nut butter mixture. Pour well coated grains into prepared pan and press mixture down using a small sheet of parchment paper (easier and less messy on your hands) until firm and level. Now begin the chocolate glaze. Finley chop chocolate, put into a microwave safe bowl, and add coconut oil. Heat in microwave in increments of 20 seconds at a time, as to not burn the chocolate. Once chocolate and coconut oil mixture is fully melted, pour an even layer over the top of the puffed grain. While the chocolate is still warm, sprinkle hemp hearts, chia seeds, and dash of sea salt over the top. Set in the fridge for 20-30 minutes until chocolate is set. If you can't wait like us, set pan in the freezer for about 12-15 minutes or as long as you can wait! Lift parchment paper from pan, cut bars onto desired shape and get your snack on!! 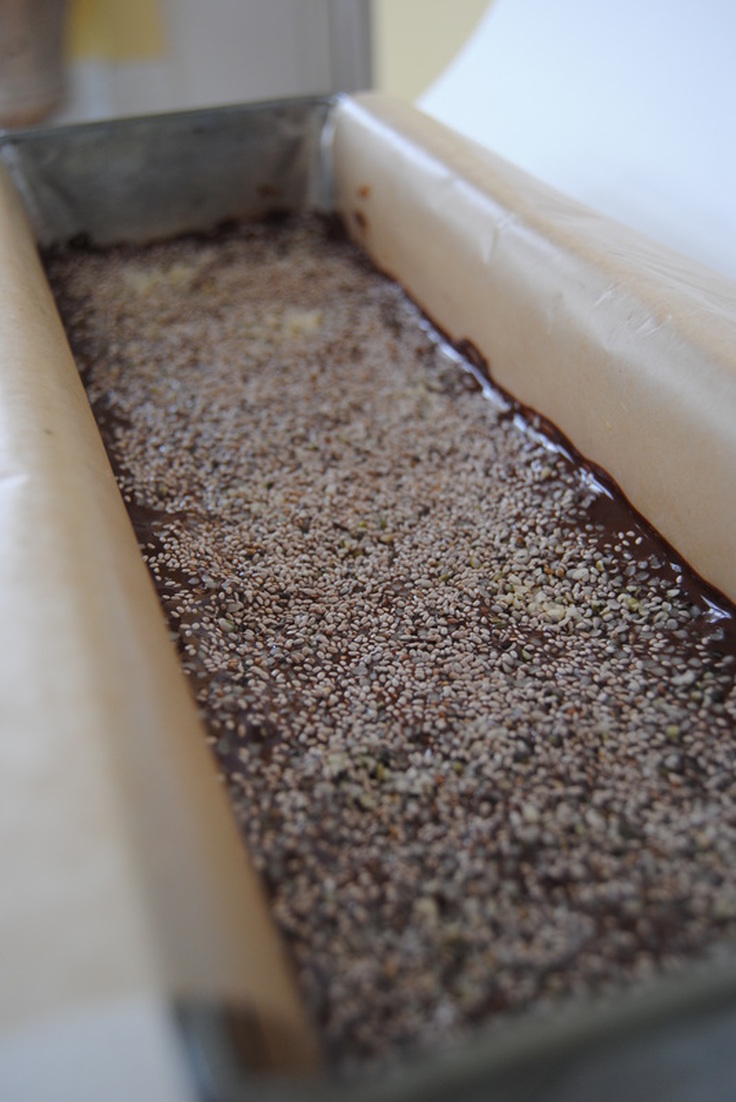 Satisfied? Yeah we thought so. You should probably just go ahead and stash some of these babies at the office, in the snack cabinet at home, and in your purse because you'll find yourself searching for yet another Snack Attack Bar next time your stomach is calling. Snack on, Jess and Cecelia 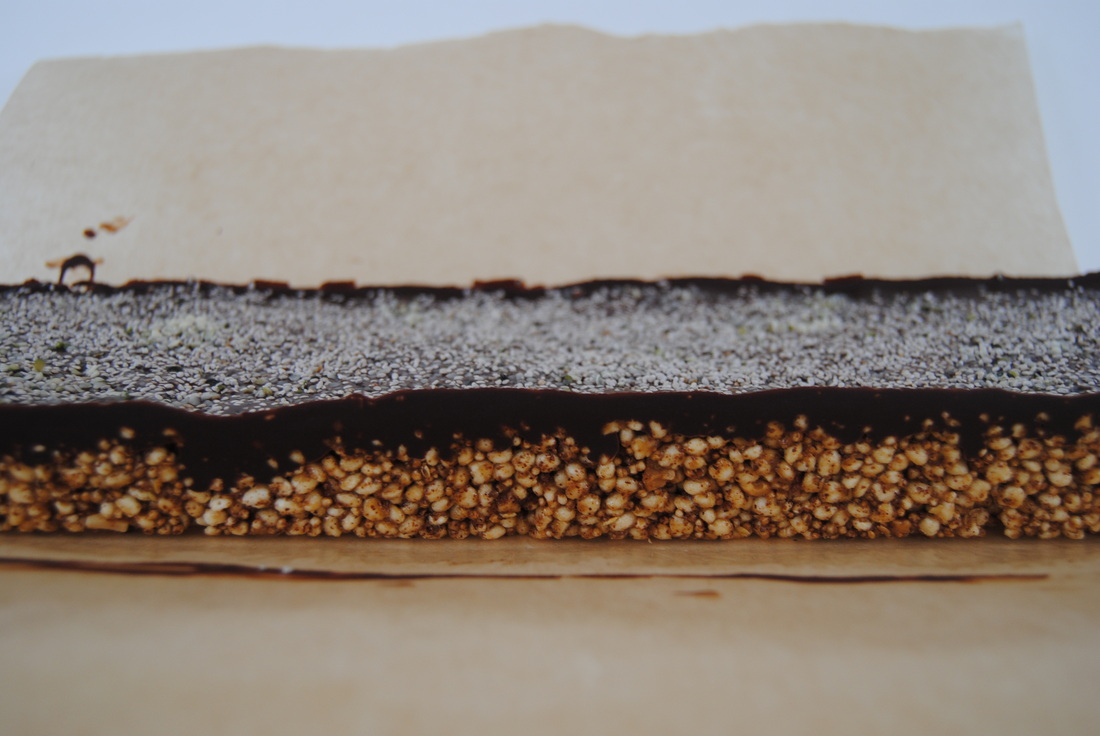 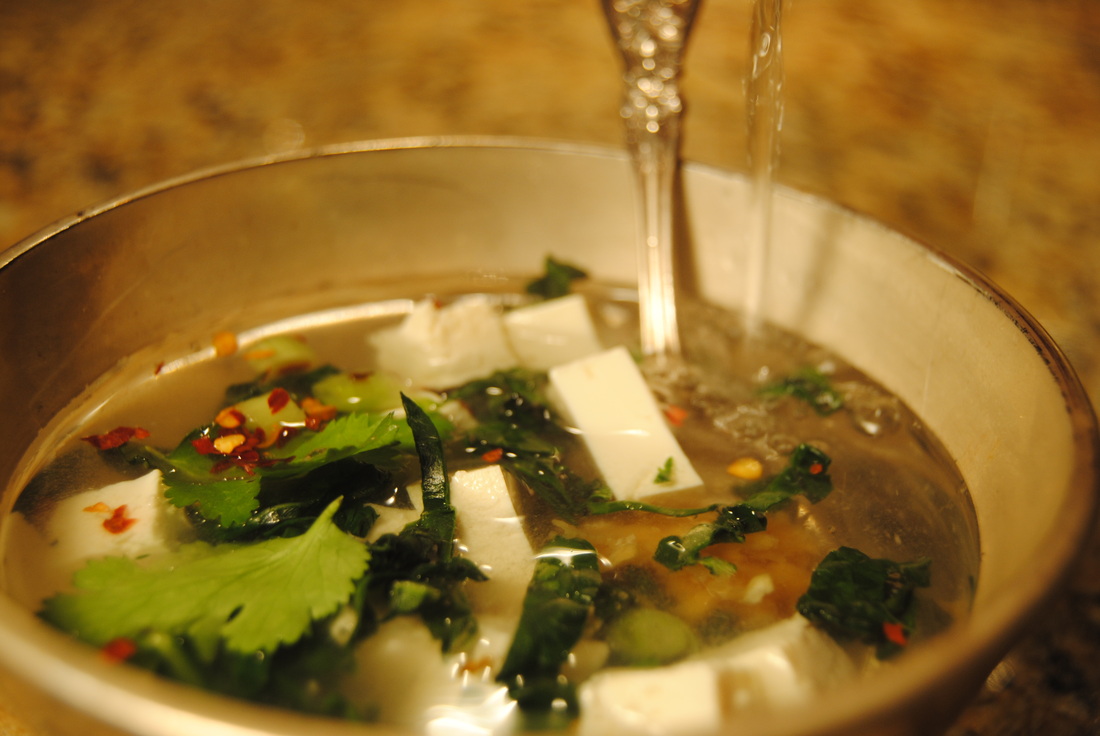 This soup is everything we ever wanted all in one beautiful bowl to help keep us warm during the long Chicago winters. And unlike our previous post, this soul warming soup can be ready start to finish in 15 minutes; a simple way to end a hectic day or perfect as a packed lunch (just add hot water when you're ready!). Also different from our last post, we are featuring a favorite food product, because lets face it, life these days is not always conducive to 100% homemade. We want to show you that the use of the right food products with quality ingredients can fit into a healthy, whole foods based diet for foodies on the go, and at times even boost the nutritional benefit of your meals. 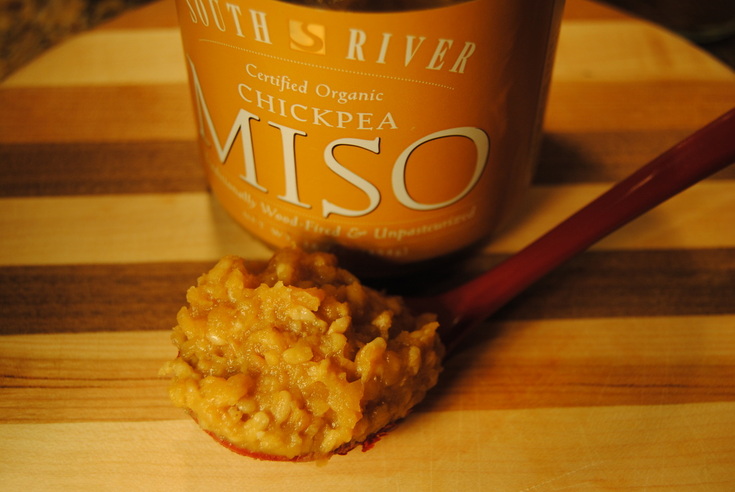 For this recipe we are featuring South River's organic chickpea miso. New to miso? That's okay! Briefly, it's a paste made from cooked beans (traditionally soy beans) mixed with salt and a cultured or fermented grain called a koji (typically made from rice or barley). This mixture is fermented in wooden vats for weeks to years and should remain unpasteurized to retain the most health benefits. Unpasteurized miso is a fermented food (similar to yogurt) that contains probiotic microorganisms (also known as "good bacteria") that aid our digestive enzymes in their never ending task of digesting the food we eat. We describe it's taste as strong, salty, sour and slightly sweet. In the kitchen miso can be used as a multipurpose flavoring for soups, dressings, vegetable and grain dishes, sauces, spreads and more! But remember, to avoid killing those all important good bacteria miso should not be boiled or overheated. This is the reason why we poured hot water over the soup in this recipe instead of boiling the ingredients in one pot. This wonderful product can be purchased from the company website where you can also find endless information about miso. Though you might get lucky and find it or a comparable product (look for organic and unpasteurized) at your local health food store, we found ours at Whole Foods Market. Also a note about our tofu which is organic and sprouted; we will discuss tofu more at another time but for now know that finding an organic product is important and sprouted is preferable for ease of digestion. So who's ready for some soup.... 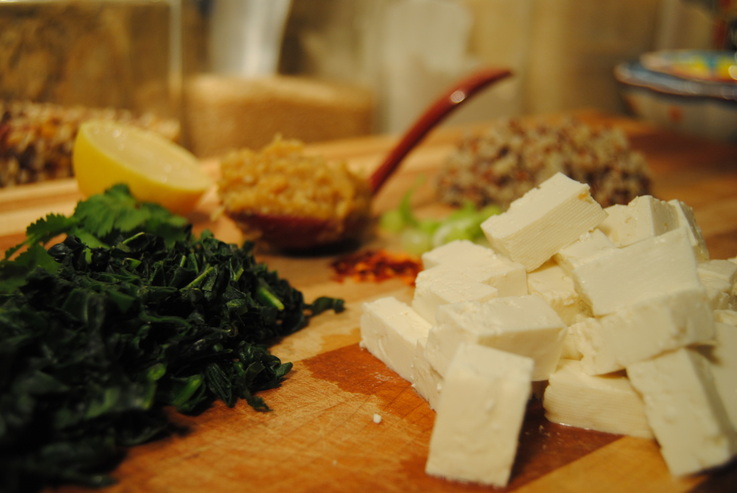 Soul Warming Miso Soup PREP TIME: 15 mins TOTAL TIME: 15 mins Servings: 1 hearty bowl Ingredients 1/4 cup dry quinoa 1 cup raw kale 4 oz sprouted, organic, firm tofu 1 heaping Tbsp chickpea miso 1 scallion 1/2 lemon A few sprigs of cilantro A pinch of red pepper flakes (or a splash of your favorite hot sauce) Rinse 1/4 cup dry quinoa under running water until water runs clear. Add 1/4 cup dry quinoa to a pan with 1/2 cup water. Bring quinoa and water to a boil. Reduce the heat to simmer, cover pan and continue cooking for 12-15 mins or until the liquid has absorbed. While the quinoa is cooking, start preparing the kale. Wash and finely chop raw kale, removing all stems. Add kale to a sauté pan with a pinch of salt and dry cook over medium heat until kale wilts and becomes a deep beautiful shade of green. Remove from sauté pan and let sit while you gather the remaining ingredients. Cube raw tofu into 1/2" blocks and set aside. Finley slice the bottom (white portion) of the scallion. Find the most beautiful bowl you own and a large "slurping spoon" and begin adding your ingredients - miso, quinoa, sauteed kale, cubed tofu, sliced scallion, cilantro, and red pepper flakes. Slowly pour ~10 oz of hot water (we used a tea kettle) over the ingredients, stirring well to make sure the miso is fully dissolved. Garnish with squeezed juice from 1/2 lemon. We hope that this soup helps you make it through the rest of this cold winter, and if you live somewhere warm (jealous!) save this one for a rainy night. Make a big bowl, turn on your favorite music, light a candle, and nestle into your couch with this delicious, soul warming, nutritious miso soup! Stay warm, Jess & Cecelia 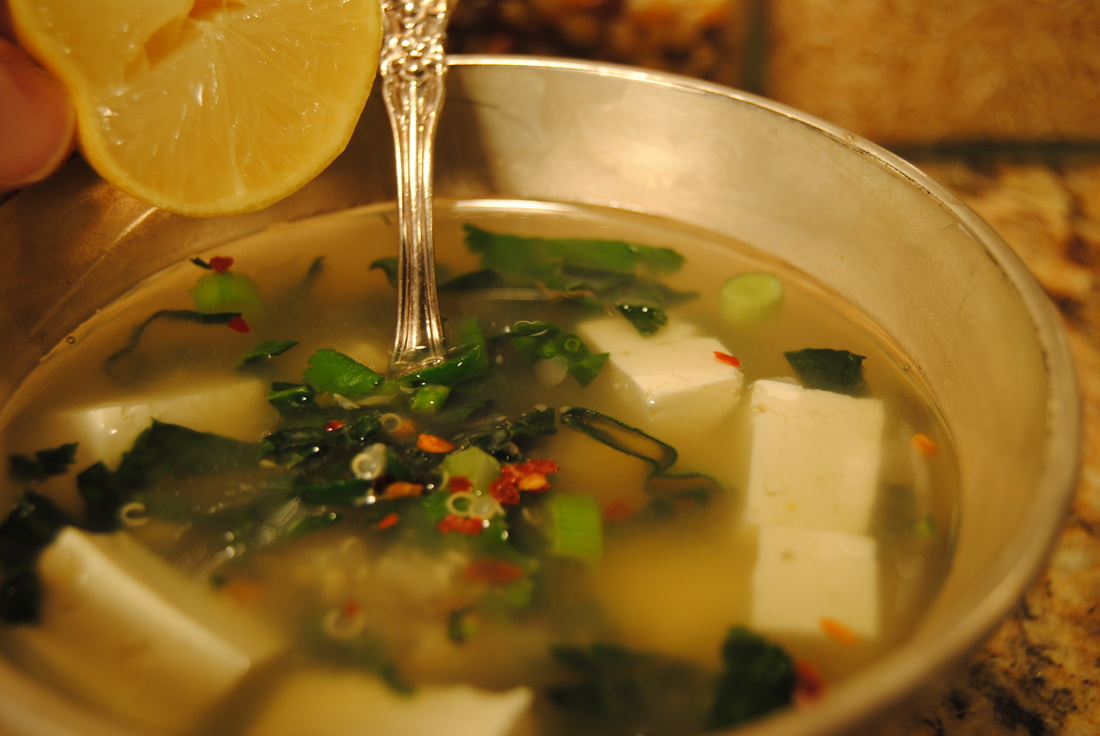  To celebrate both Cecelia's birthday (we won't discuss ages here) and the birth of our blog, we decided that our Olive Oil Blackout Cake would be the perfect first bloom. This cake is everything a good birthday cake should be and more; we've carefully crafted this recipe to provide the most taste with the best ingredients for a final product that will be the best birthday gift you'll ever get (or at least we think so)! You may be looking at the ingredients and making a very long shopping list...but don't worry we've given you substitutes for some products and it's okay to use them. An exception is the coconut sugar because it's a huge part of this recipe and post. With birthdays and sugar-highs on the mind we wanted to give you a quick run down on the nutritional benefits and reasons we love this natural sweetener. 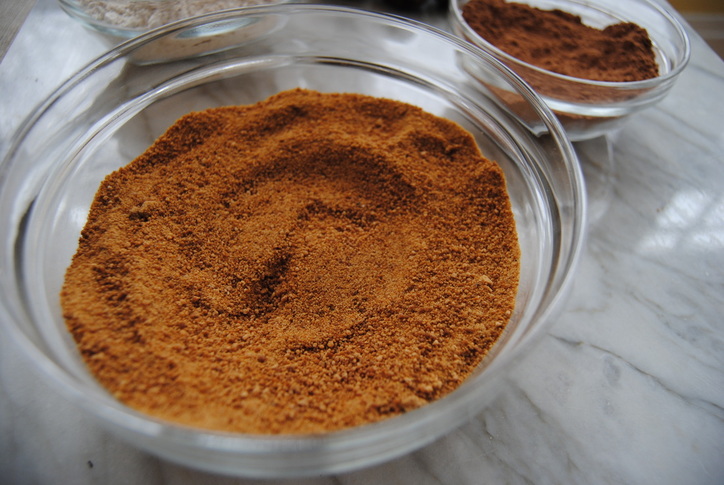
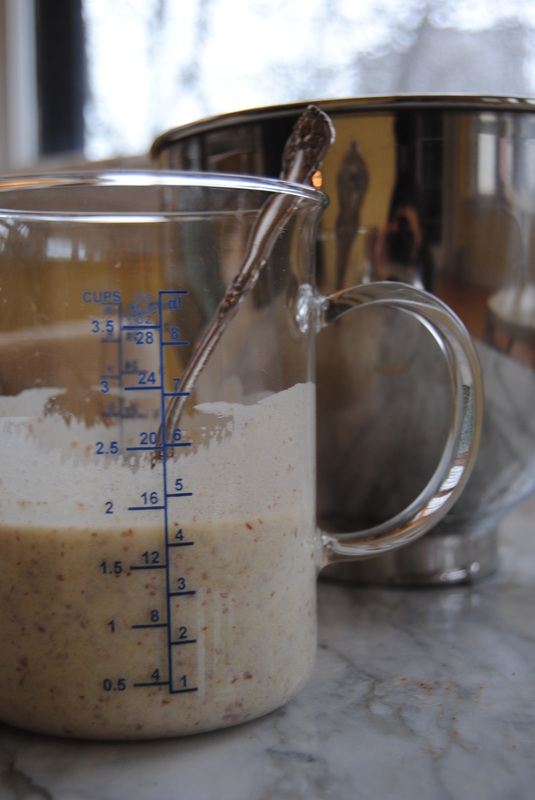
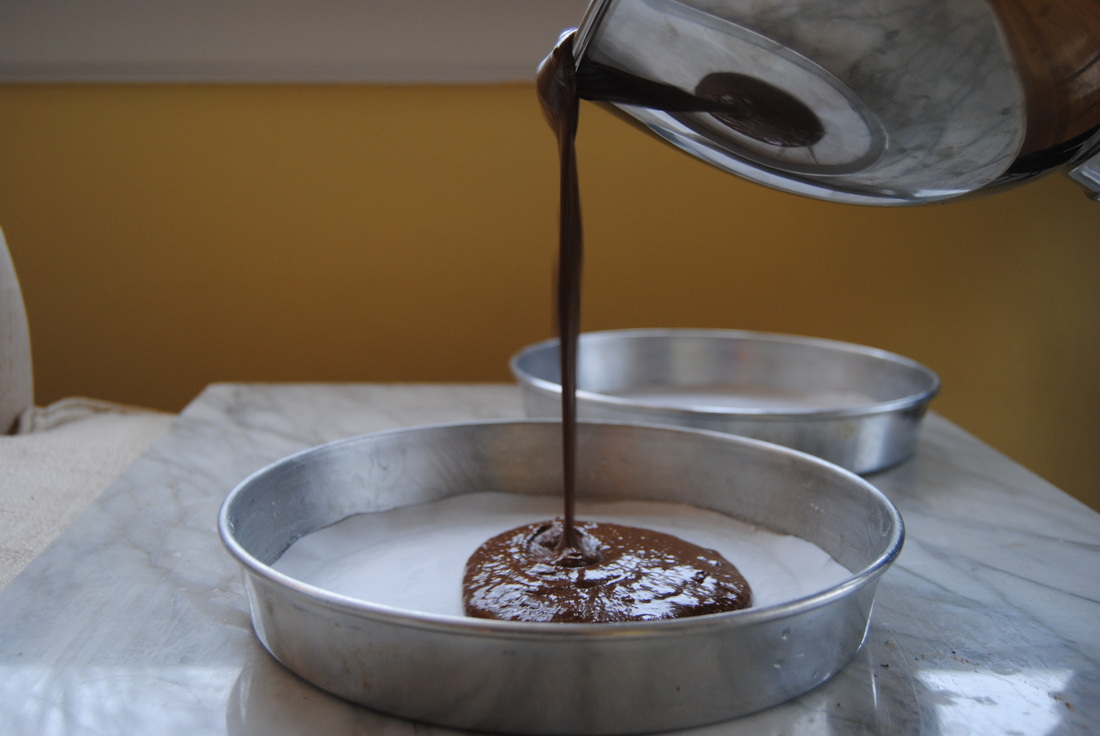
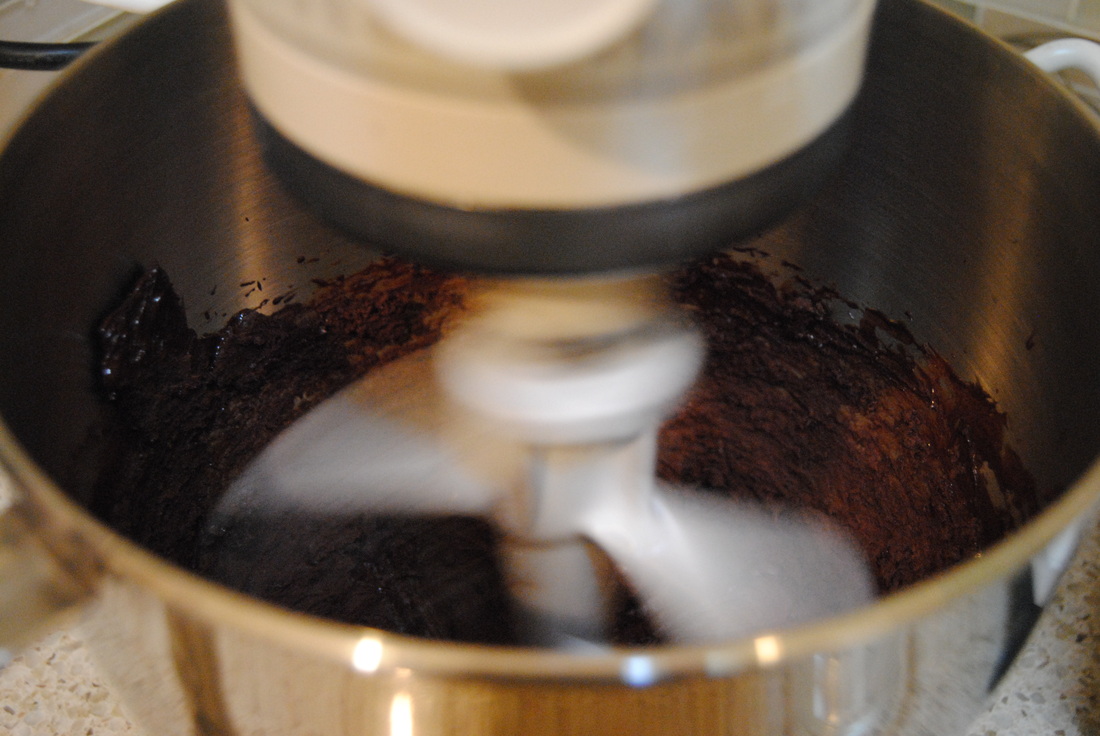
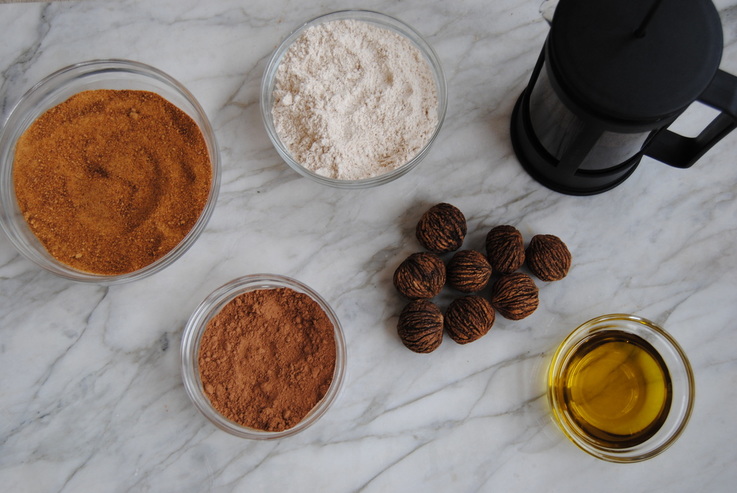 The Olive Oil BlackOut Cake PREP TIME: 40 mins TOTAL TIME: 1 hour 30 mins Servings: 8-12 Ingredients Cake 1 3/4 cup spelt flour (or whole wheat) 2 cups coconut sugar 3/4 cup cacao powder or cocoa powder 2 tsp baking soda 1 tsp baking powder 1 tsp sea salt (we used pink Himalayan) 1 cup "buttermilk" (1 cup coconut milk + 1 Tbsp apple cider vinegar, let sit for 10 minutes to curdle) 1/2 cup extra virgin olive oil 2 Tbsp ground flax seeds + 6 Tbsp room temperature water (let sit for 5 minutes until gelatinous) 1 tsp pure vanilla extract 1 cup freshly brewed hot coffee (we used a French press but any method is fine) Candied Nut/Seeds 1 cup chopped walnuts (would also be great with pecans, almonds, pistachios) 1/2 cup shelled hemp seeds (optional) 2 Tbsp honey 1/3 tsp sea salt Ganache Topping and Frosting 12 ounce dark chocolate (72% cocao or higher), finely chopped 3 heaping Tbsp coconut oil 2 tsp coconut oil reserved for middle frosting layer Preheat your oven to 350 degrees. Lightly coat two, eight inch round cake pans with coconut oil and line bottoms with parchment paper, cut to size, to prevent cake from sticking to the pans. Sift the dry ingredients together - spelt flour, coconut sugar, cacao, baking soda, baking powder and salt - into a large bowl. In a seperate bowl, combine the wet ingredients - "buttermilk", olive oil, ground flax with water, and vanilla - and add the dry ingredients to a standing mixer, fitted with a paddle attachment. With the mixer on low speed, slowly add the wet ingredients to the dry. With the mixer still on low, add the coffee and mix just to combine, making sure to scrape the bottom of the bowl with a rubber spatula. The batter will be pretty thin but don't worry, this is what you want. Pour the batter into the prepared pans and bake for 35-40 minutes until a toothpick comes out clean. Cool in the pans for at least 30 minutes. Meanwhile, begin candied nut/seed mixture. Roughly chop walnuts and add to saute pan. Add the remaining ingredients - hemp seeds, salt, and honey - to the pan. With the pan on medium heat, carefully stir mixture for 2-3 minutes until nuts are lightly toasted. Turn heat off and allow to cool. Begin preparing the ganache. Place chopped chocolate in a double boiler and add 3 heaping Tbsp coconut oil. Allow chocolate and oil to fully melt, stirring often. Once fully melted, pour 1/2 of the chocolate mixture into a separate bowl and place in the fridge to completely cool, this will be use to create the frosting for the middle layer of the cake. Keep the remaining chocolate in the double boiler with the heat off to keep chocolate warm while you work on the frosting, this will be used later for the ganache topping. Once the chocolate in the fridge is cooled, scrape into a standing mixer with paddle attachment and add 2 tsp coconut oil. Whip on high for 3-5 minutes until a spreadable frosting forms, making sure to scrape the bottom of the bowl with a spatula. If your texture is not spreadable continue to whip and possibly add 1-2 additional tsp coconut oil. Carefully place one cake onto a cake plate of your choice. With a butter knife or offset spatula, evenly spread chocolate frosting on bottom cake layer (this may get a little sticky and crumbly but keep at it!). Sprinkle 1/2 of the candied walnut and hemp seeds over the top of the frosting, then carefully place second cake onto the bottom layer. Slowly pour the remaining ganache topping (still warm from the stove) over the top cake layer, allow to drip down the sides. Sprinke the remaining candied walnut and hemp seeds over the top of the cake. Allow the cake to cool/set 30 minutes before slicing......if you can resist the wait! 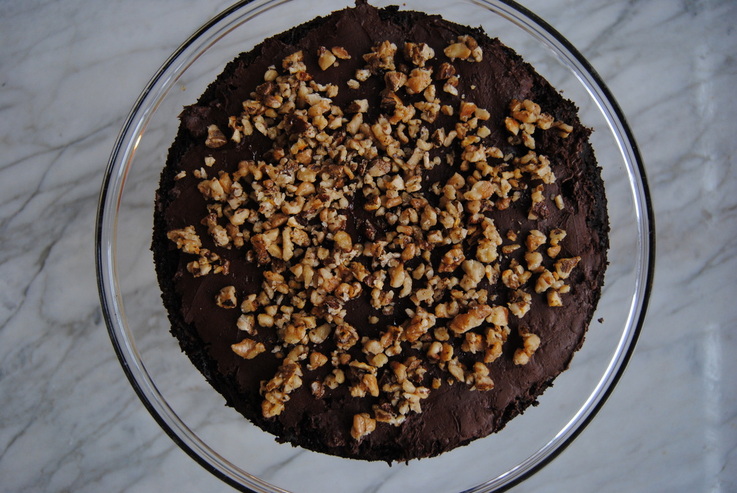 By now you've probably enticed all of your family, friends and neighboors with the rich, chocolately smell wafting from your kitchen. And by taste you would never know that this cake is 100% vegan (yes it's safe to lick spatula/bowls/spoons etc. as you work) and made with ingredients that not only taste good but provide nutritional benefit. So here's to a happy, healthy 29th year to Cecelia and a delicious start to our new endevour, The Green Blossom Kitchen. Please continue this journey with us! Love, Jess and Cecelia  |