|
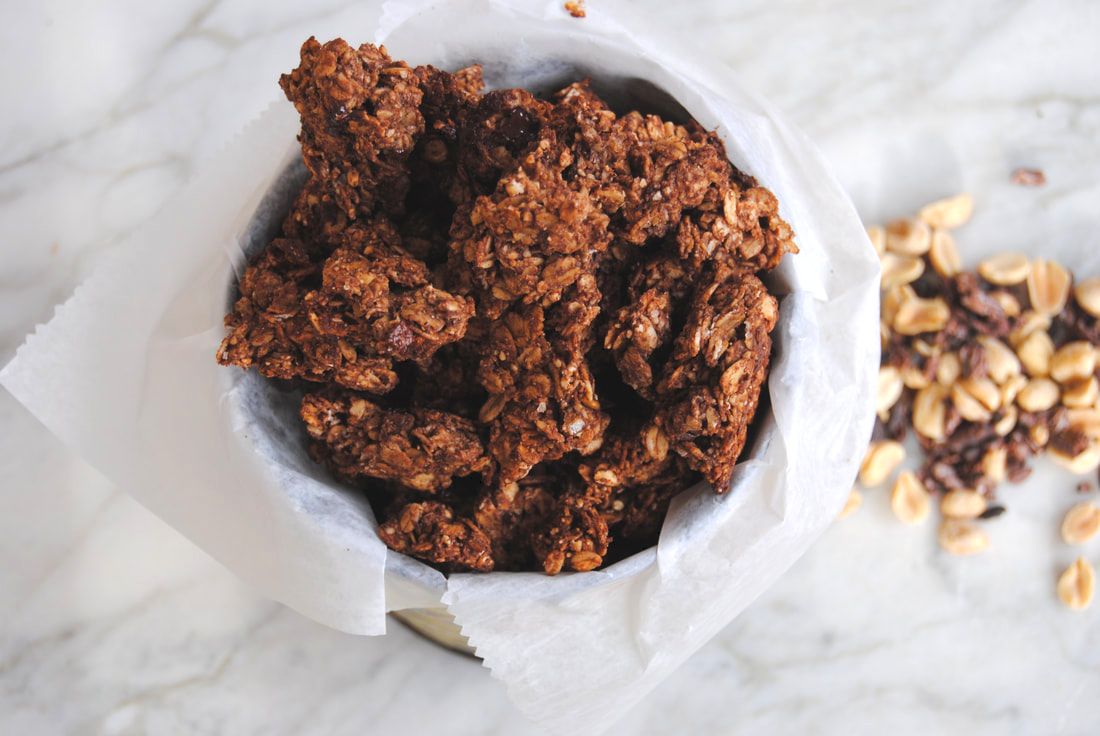
We have a treat of a recipe for you this week, friends! Inspired by a classic flavor combination, peanut butter and banana, we've made a granola sweetened mostly with natural sugar from banana (with a hint of maple syrup). Because we love the health benefit of the core granola ingredients, oats and nuts, but often find granola to be overly sweet with too much added sugar to be eating as an everyday snack or topping. But not this recipe! Though it does include some dark chocolate, feel free to use any percentage dark chocolate to adjust sweetness/sugar level to your liking (the higher percent dark chocolate the less sweet it will be). Let's get to it!
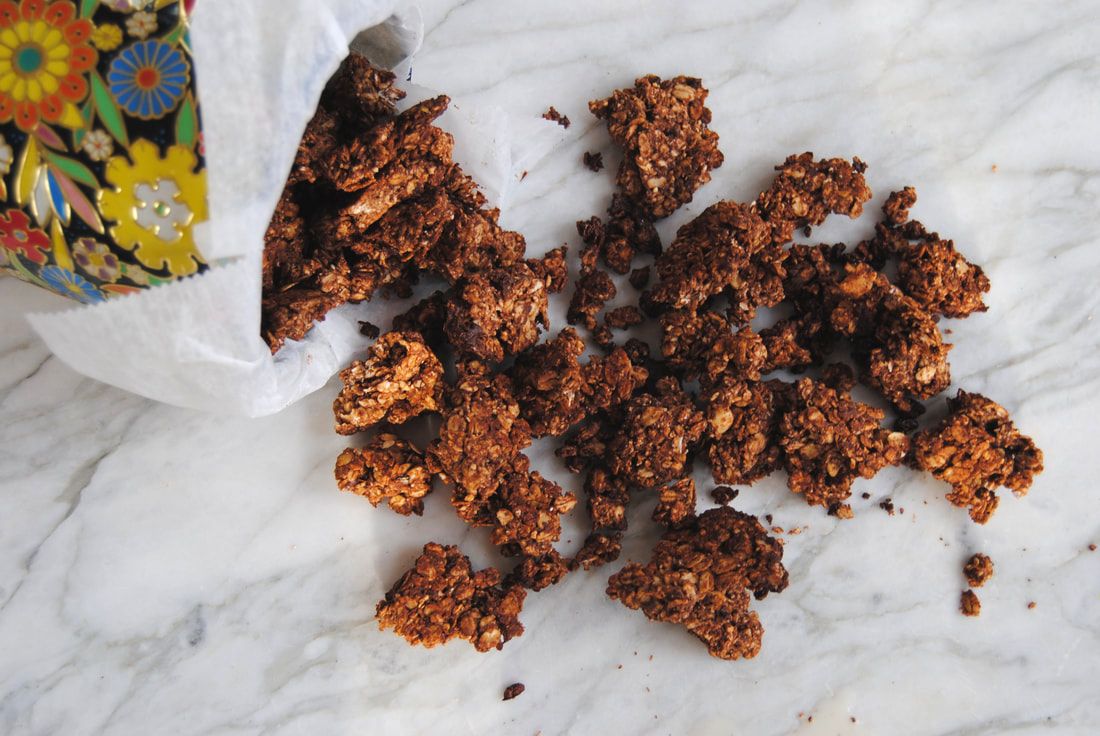
Banana Peanut Butter Chocolate Chunk Granola
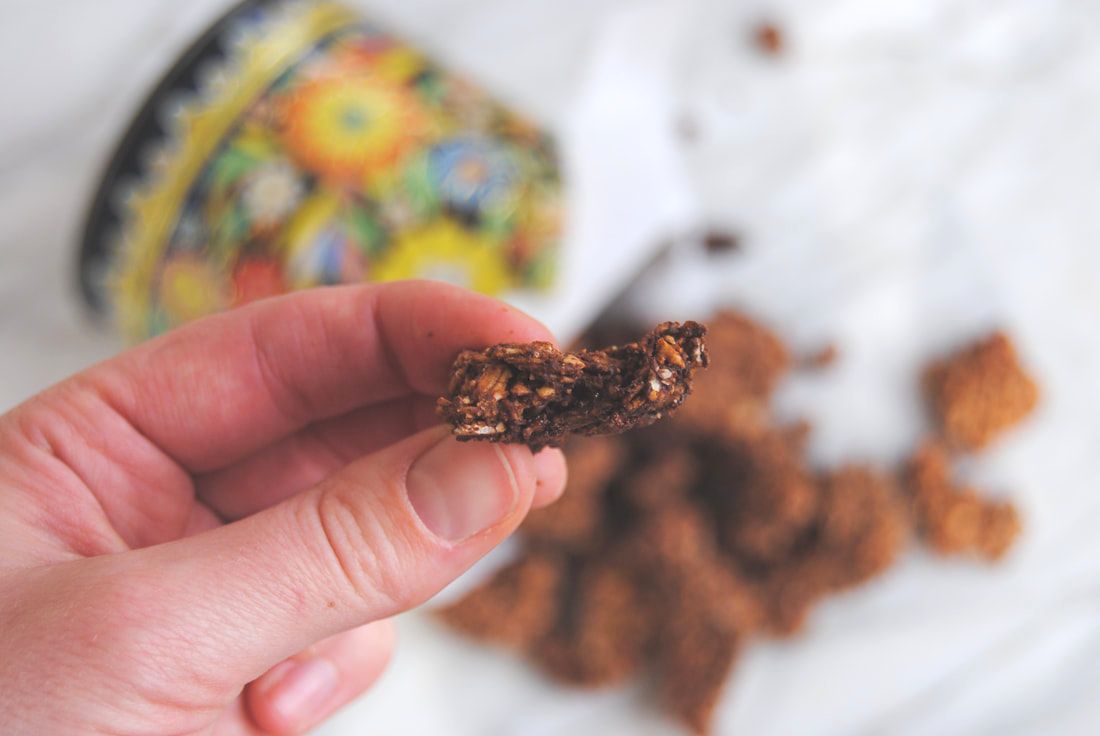
PREP TIME: 20 mins TOTAL TIME: 60 mins Servings: 9-12, 1/2 cup servings Ingredients 4 cups old fashioned rolled oats 1 cup powdered peanuts (super finely crushed roasted unsalted peanuts) 1/4 cup oat bran 1/4 cup cacao powder 1/8 cup ground flax meal 1/2 tsp sea salt 1/2 cup creamy peanut butter (natural peanut butter without added sugar or oil) 1/4 cup pure maple syrup 2 small roasted bananas (~1/2 cup cooked banana) 1/4 cup water 1/2 cup chopped dark chocolate (65% cacao or higher) 1/2 cup cacao nibs Preheat the oven to 350°. In a small pan, roast bananas in preheated oven in their skin for 12 minutes or until banana skin is dark brown and bananas have started to seep. Remove bananas from the oven and allow to cool. Once cool, squeeze bananas out of their skin and into a sauce pan for later use. Line a large baking sheet with parchment paper then set aside. In a large bowl, mix together the oats, powdered peanuts, oat bran, cacao powder, flax meal, and salt. In a sauce pan with the bananas, combine the peanut butter, maple syrup, and vanilla. Turn burner on to medium heat and whisk until the peanut butter has melted and all ingredients are combined. Pour warm peanut butter banana mixture over dry ingredients and stir until evenly coated. Add 1/4 cup water over the granola and stir to combine. Evenly spread mixture onto parchment lined pan then sprinkle the top with cacao nibs and chopped chocolate. Bake for 30 minutes or until granola is golden brown. Let sit until cooled. Use a large spoon to break granola into large chunks. Place granola back into the oven and continue cooking for an additional 7-10 minutes. Make sure to stir granola at least once while it is cooking. Allow granola to completely cool before storing in air tight container. Adding granola to the container before it has completely cooled will add moisture and soften the granola.
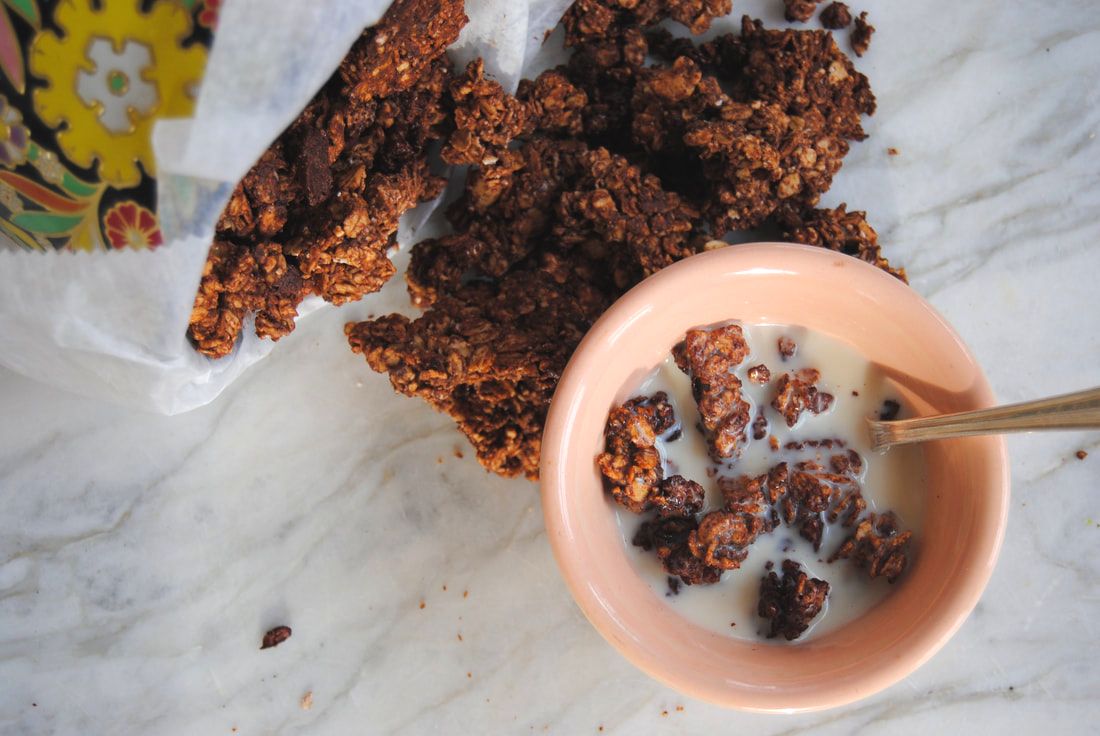
We love this granola as cereal with milk of choice, a handful dry as a snack, or as a topping for yogurt or ice cream - though feel free to enjoy any way you like! The flavor is classic peanut butter banana with a subtle toasted flavor and just the right amount of sweetness.
Enjoy, Jess and Cecelia
0 Comments
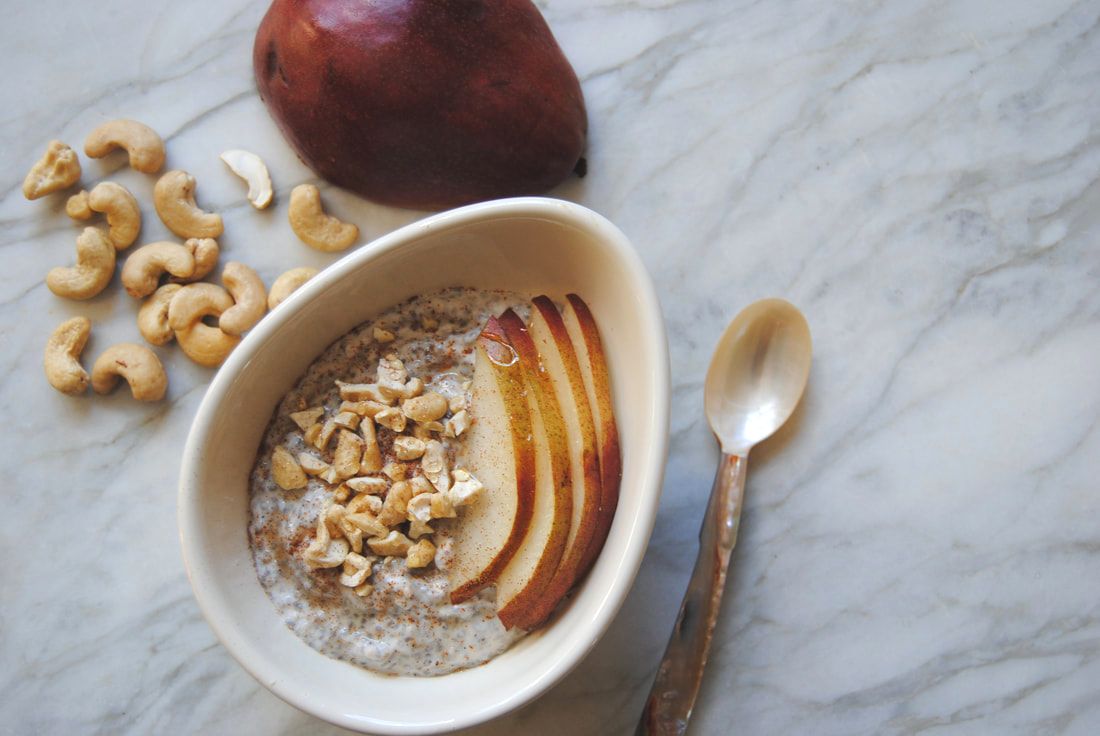
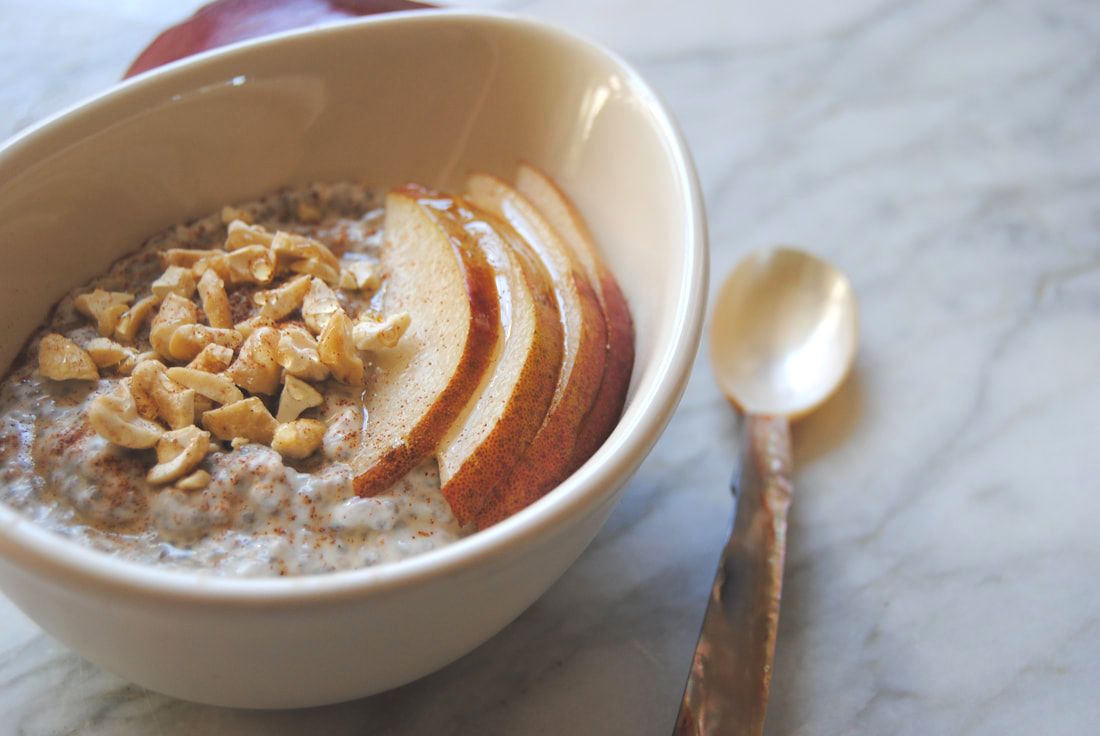
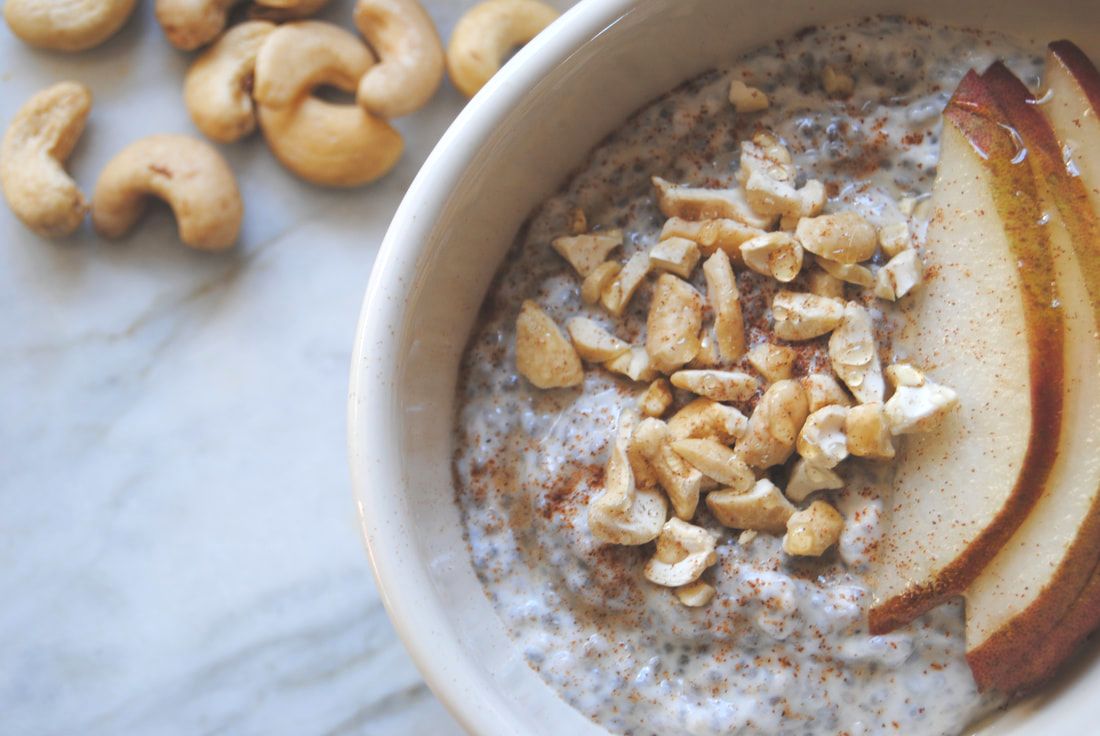
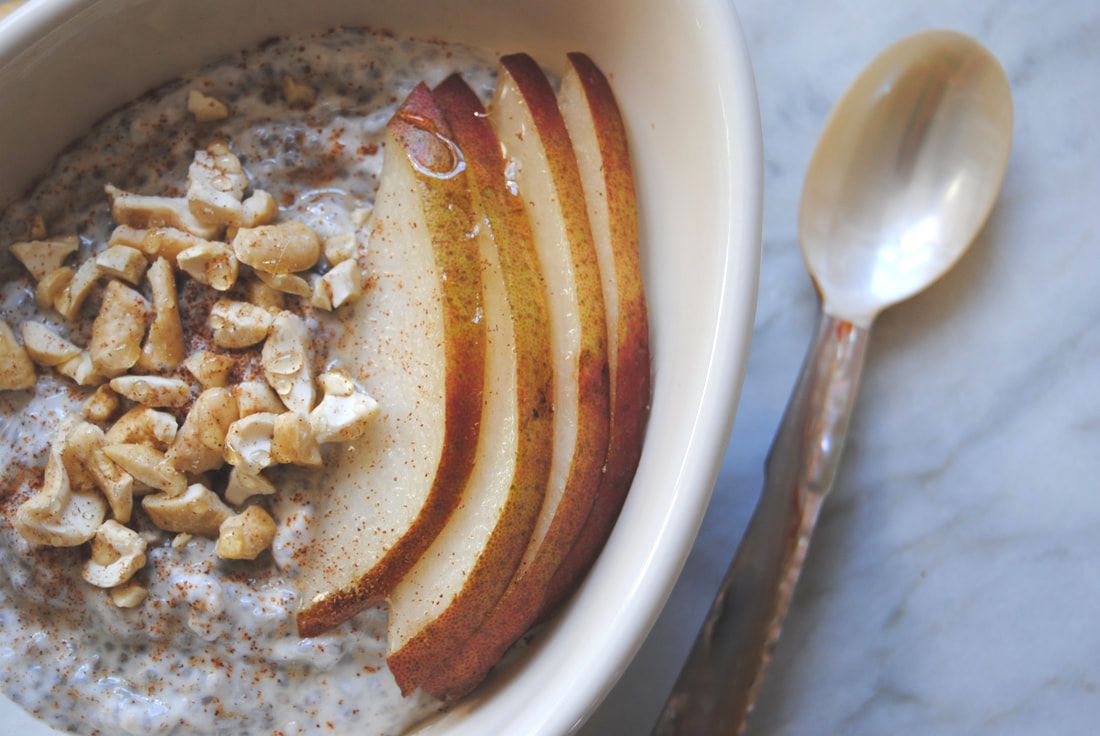
Hi friends! While creating this recipe it reminded us how little time breakfast is sometimes given in the midst of hectic schedules. This bowl is beautiful but not always practical during the mid-week rush. Though a solid breakfast meal with combined complex and simple carbohydrates, protein, and fat is so important to get your day started right and to fuel you until the next meal or snack. For those days, this recipe can stay right in the jar it was made in overnight - add some toppings right in and take the jar with you on your morning commute. And with prep the night before, it doesn't get much easier than that. This breakfast is a balanced combination to keep up with your ever busy life. If you need a reminder about how great chia is before the recipe, check out this original TGBK post.
Chia and Pear Pudding
PREP TIME: 5 minutes TOTAL TIME: 4 hours Servings: 2 Ingredients 6 oz fresh pear juice 6 oz plain Greek or Icelandic yogurt 4 Tbsp chia seeds 2 Tbsp pure maple syrup 1 sliced pear 1/4 cup chopped raw unsalted cashews Cinnamon sprinkle on top In two 10-12 oz mason jars, combine half of the ingredients in each - 3 oz pear juice, 3 oz yogurt, 2 Tbsp chia seeds, and 1 Tbsp maple syrup. Screw on a tight fitting lid and shake vigorously until all ingredients are combined. Allow pudding to rest and gel up in the refrigerator for at least 4 hrs, or overnight. Once the pudding has set, add sliced pears, chopped cashews, and a sprinkle of cinnamon to the top of each jar. Enjoy this flavor packed, nutrient dense breakfast on the go! Chia pudding will keep in the fridge for 4 days, so why not make a double recipe for the work week? Enjoy!
Are we right? Chia pudding is a great and versatile options for an easy and satisfying breakfast. We love this variation for the addition of pear juice which adds a subtle sweetness and seasonal flavor. Once you get started with chia pudding, you may never stop!
Enjoy, Jess and Cecelia
In Our Cupboard
With your new chia pudding addiction you'll definitely be needing a steady supply of chia. It is easy to find and buy in bulk:
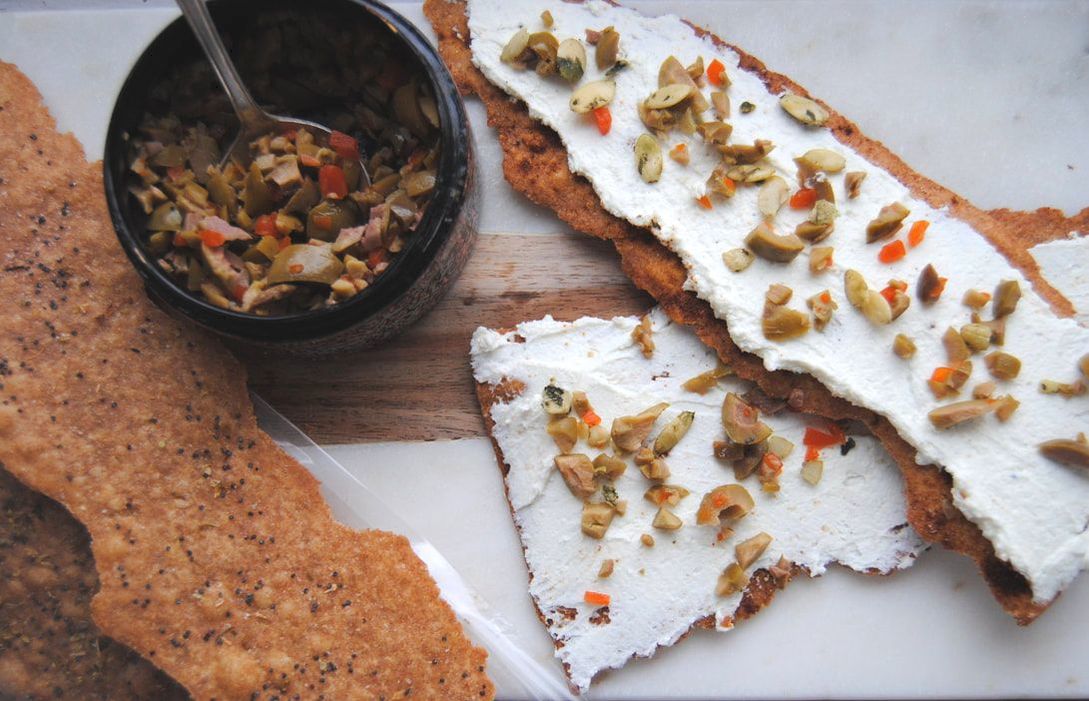
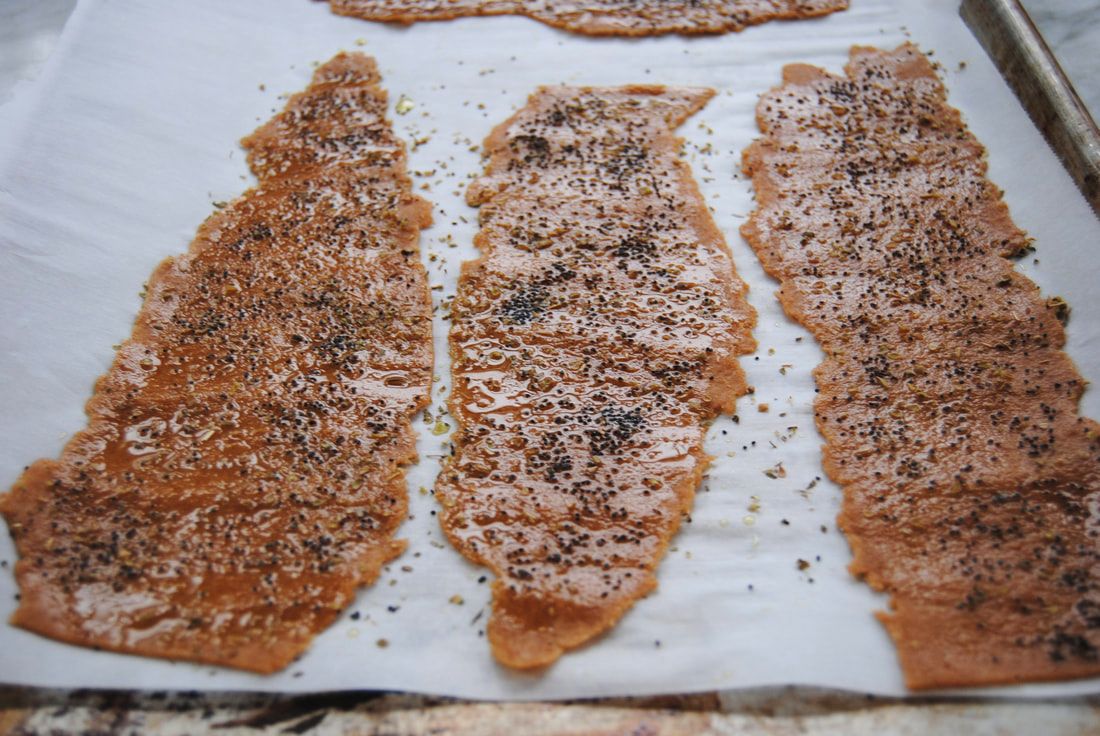
Hi friends! Remember our homemade resolution and the goal of making more foods from scratch this year? Well, these crackers are a great example. Crackers are a snack food typically bought pre-made/processed but as we will show you, are not too difficult to make homemade. Especially if you like working with homemade bread or pasta dough, this recipe is for you! What we most like about homemade crackers is the ability to flavor them any way you like. We tried a few different flavor combinations before deciding on poppy seed and sea salt for this post. Also, don't worry about making each cracker look the same - the different shapes are unique and make the final that much more special for you or whomever you share them with.
Thin and Crisp Whole Wheat Crackers
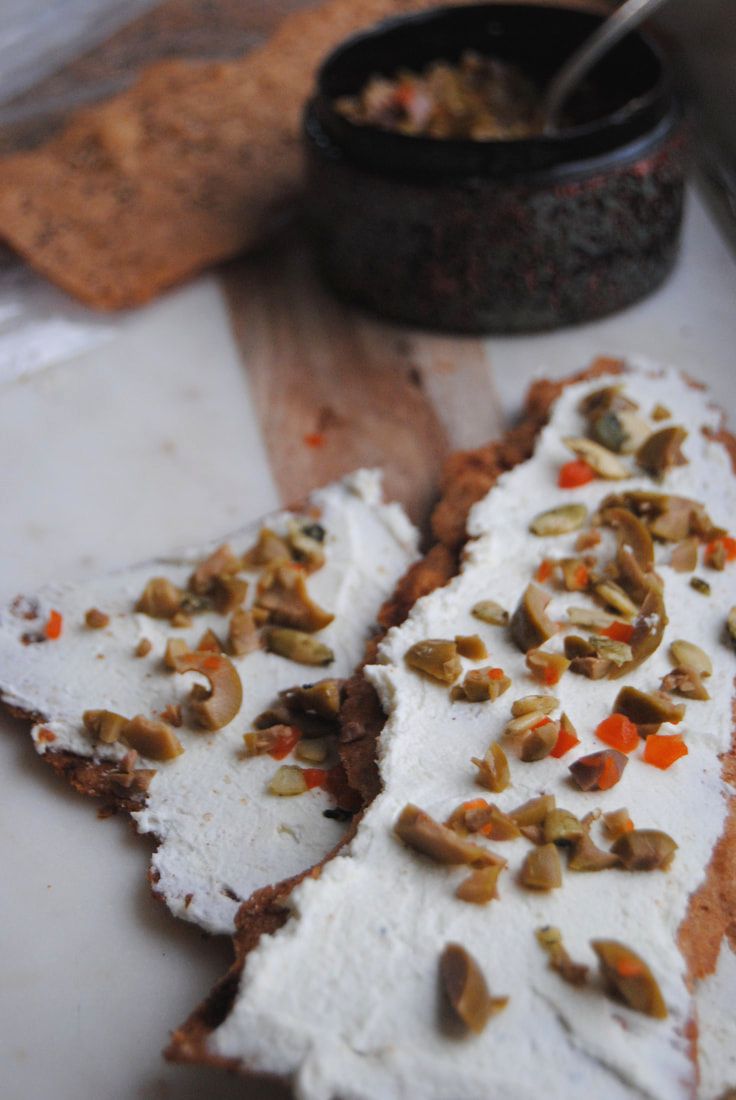
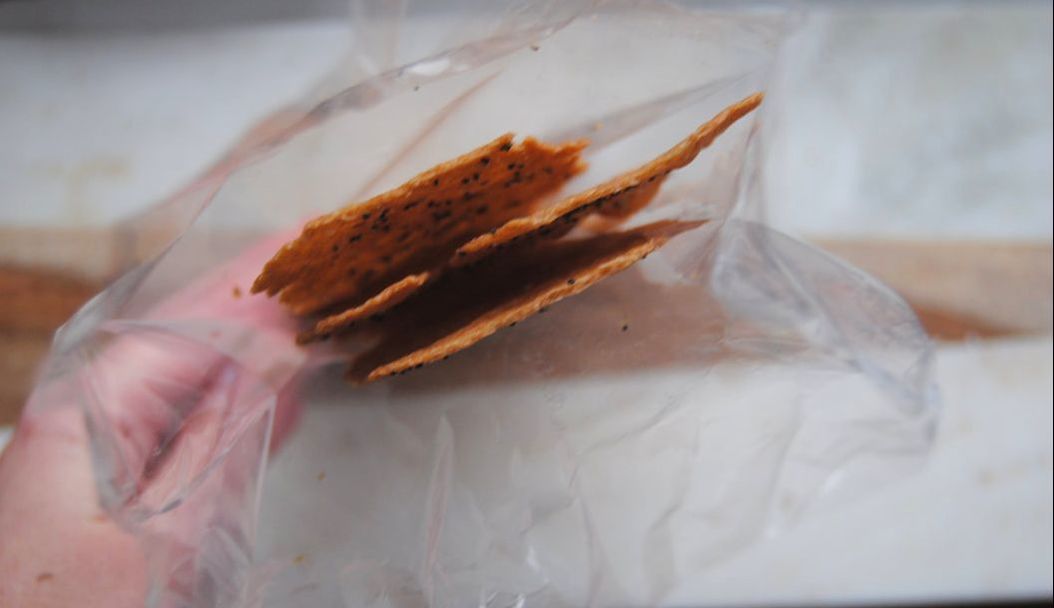
PREP TIME: 20 minutes TOTAL TIME: 30 minutes Servings: 18-20 crackers Ingredients 1 3/4 cup whole wheat flour 1 tsp baking powder 3/4 tsp sea salt 1/3 cup extra virgin olive oil + 1/3 cup olive oil reserved for brushing the top of the crackers 1/2 cup + 1 Tbsp room temperature water Seasoning of your choice, we used poppy seeds and sea salt (crackers taste best with a heavy hand of seasoning!) Add spreadable cheese or yogurt on top and sprinkle with additional toppings, whipped feta cheese and green olives with pimentos was a favorite of ours Preheat oven to 450 degrees. Line a baking sheet with parchment paper and set aside. In a bowl combine the whole wheat flour, baking powder, and salt then mix until combined. Make a well in the middle of the flour mixture and pour 1/3 cup olive oil and the water into the well. Using your hands, combine the dry with the wet ingredients until a dough is formed. Place dough on a floured work surface and knead 8-10 times or until a smooth dough ball is formed. Cut dough into 6 equal pieces then roll each piece through a pasta machine*, starting with setting #1 working up to setting #5 for extra thin and crispy crackers. Carefully cut cracker dough into pieces about 9-10" long then place on prepared baking sheet. Brush the top of each cracker with olive oil and sprinkle with seasoning of choice. Bake the crackers in a preheated oven for 6-8 minutes or until golden brown. Remove from the oven and allow crackers to fully cool on a cooling rack. Once cooled, the crackers can be enjoyed right away or stored in an airtight container for up to 3 days. *If you do not have a pasta machine, you can use a rolling pin, however the dough may not roll out as thin which may add 1-2 minutes of cooking time. Turn the oven light on and watch crackers closely as they can burn quickly.
These crackers are perfectly thin and crispy and can be adapted to any flavor combination your craving. They will hold up to a variety of toppings, we enjoyed goat cheese and olives for a salty snack.
Enjoy, Jess and Cecelia
In Our Cupboard
Though you can make these crackers with a rolling pin, the KitchenAide Pasta Roller Attachment makes the job SO much easier:
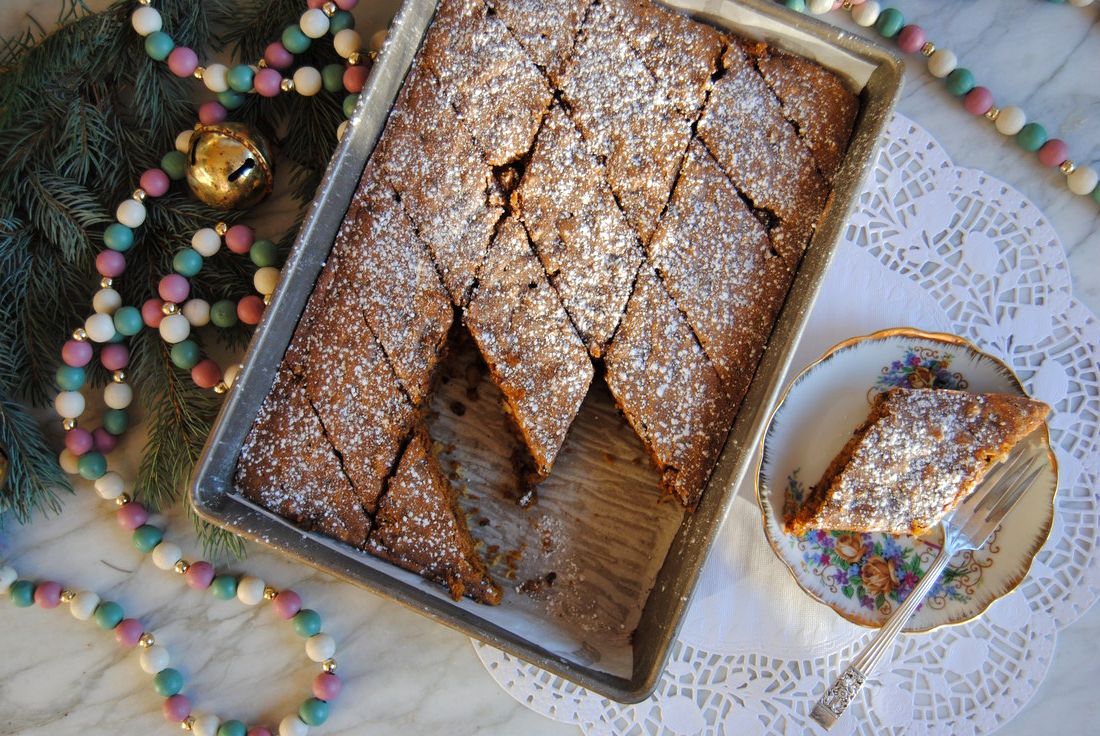
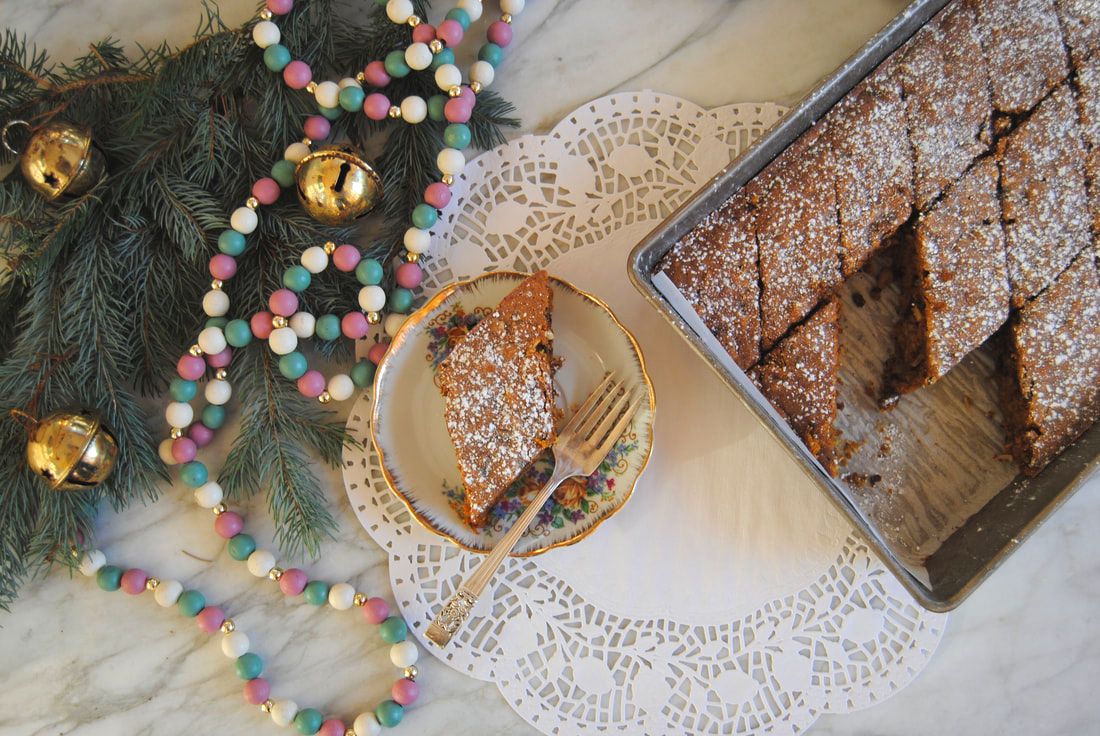
Happy New Year friends! As you may be able to tell from the pictures, this recipe was intended for Christmas morning. However, time got away from us at the holidays and we are finally getting to share today, as our first post in 2018. Better late than never, are we right? Same goes for any resolution or intention you set for the New Year, or that you set last year and may still need some work on (wink, wink). If there is something you want to do, a recipe you want to make, a place you want to visit (etc) that you've been putting off, the time is now! Better late than never so set your mind to it for this year. Maybe start with making this special cake and see where it leads, you never know...
Christmas Coffee Cake
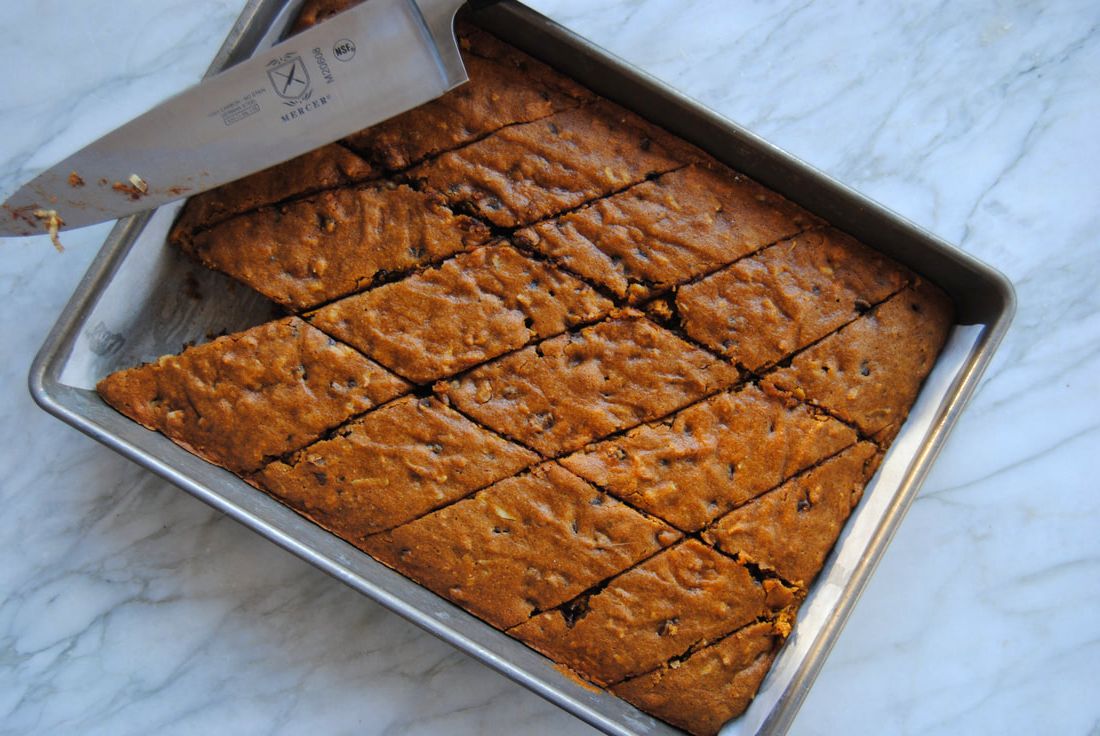
PREP TIME: 40 minutes TOTAL TIME: 1 hour 15 minutes Servings: 16 Slices Ingredients Cake 1 1/2 + 1/6 cup whole wheat flour 1 tsp baking soda 1/4 tsp baking powder 3/4 tsp salt 3/4 tsp nutmeg 1 1/2 tsp cinnamon 1 1/3 cup cane sugar 1/3 cup coconut oil, melted and cooled to room temperature 1/2 cup cooked carrot puree (pureed pumpkin, butternut squash, or sweet potato would also work) 2 eggs 1/3 cup water 1/2 tsp vanilla 1/2 cup unsweetened coconut flakes 1/2 cup mini chocolate chips 1/2 cup walnuts, chopped (or nut of your choice) Topping Dusting of powdered sugar Preheat oven to 350 degrees. Line a 9" x 13" baking pan with parchment paper and lightly grease the bottom and sides of the pan with coconut oil then set aside. Wash, peel, and chop carrots then place in a steaming basket set in a pan with water over medium heat and steam carrots until tender, about 12-15 minutes. Remove carrots from the steaming basket and place in a food processor or blender and process on high until smooth then set aside. In a large mixing bowl combine the dry ingredients: flour, baking soda, baking powder, salt, nutmeg, and cinnamon and stir to combine. In a separate bowl combine the wet ingredients: cane sugar, melted coconut oil, carrot puree, eggs, water, and vanilla and whisk until combined. Add the wet ingredients to the dry ingredients and mix until evenly combined, avoid over mixing. Stir in the coconut flakes, chocolate chips, and walnuts. Pour batter into prepared pan and bake in preheated oven for 35-40 minutes or until a toothpick comes out clean. Allow cake to cool for about 15 minutes then sprinkle the top with powdered sugar and cut into desired shape (we chose diamonds - see above). Serve cake warm or room temperature. Store leftovers in an air tight container at room temperature for up to 3 days.
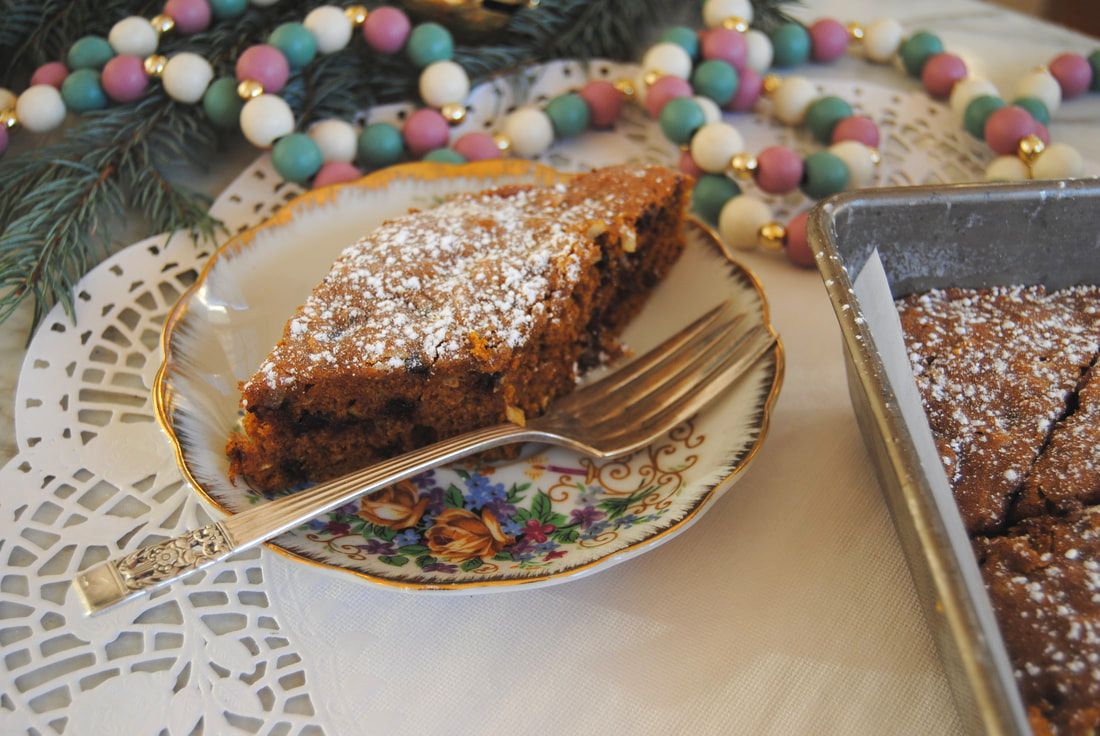
This cake is light and fluffy though decadent with subtle sweet and spicy flavors. A treat to enjoy at holidays or anytime a treat is in order. We wish for you all a happy and healthy New Year and send a gentle nudge toward anything you may have been putting off in 2017 that it is time to just do!
Enjoy, Jess and Cecelia
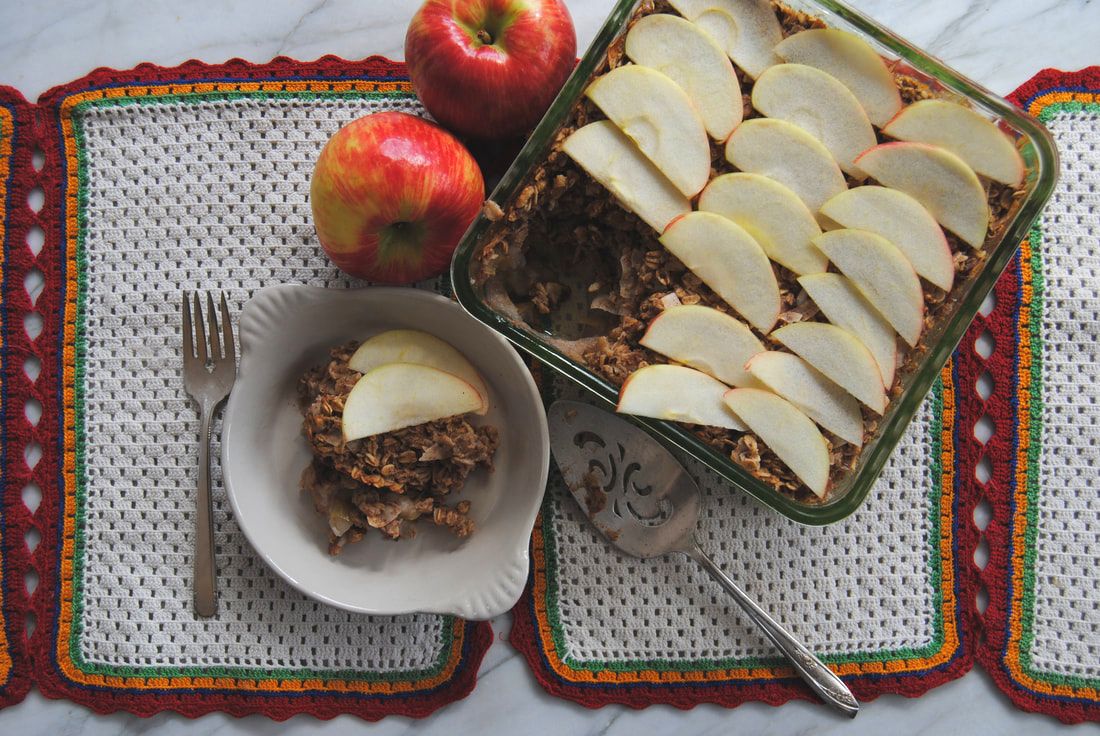
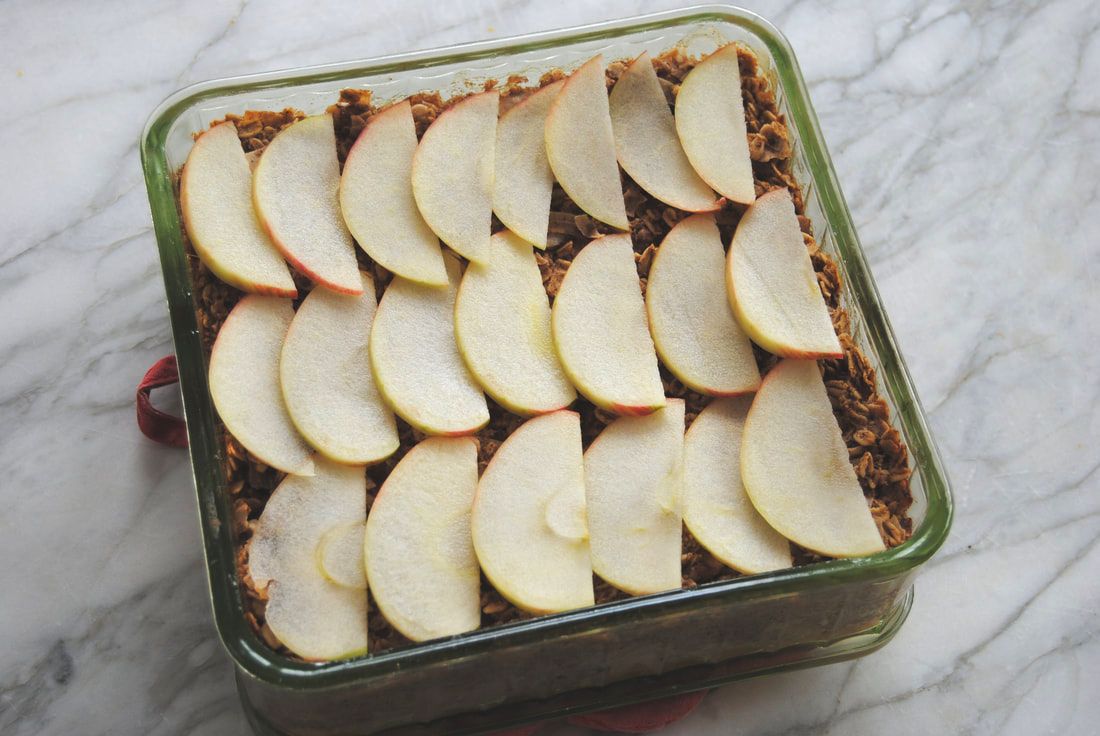
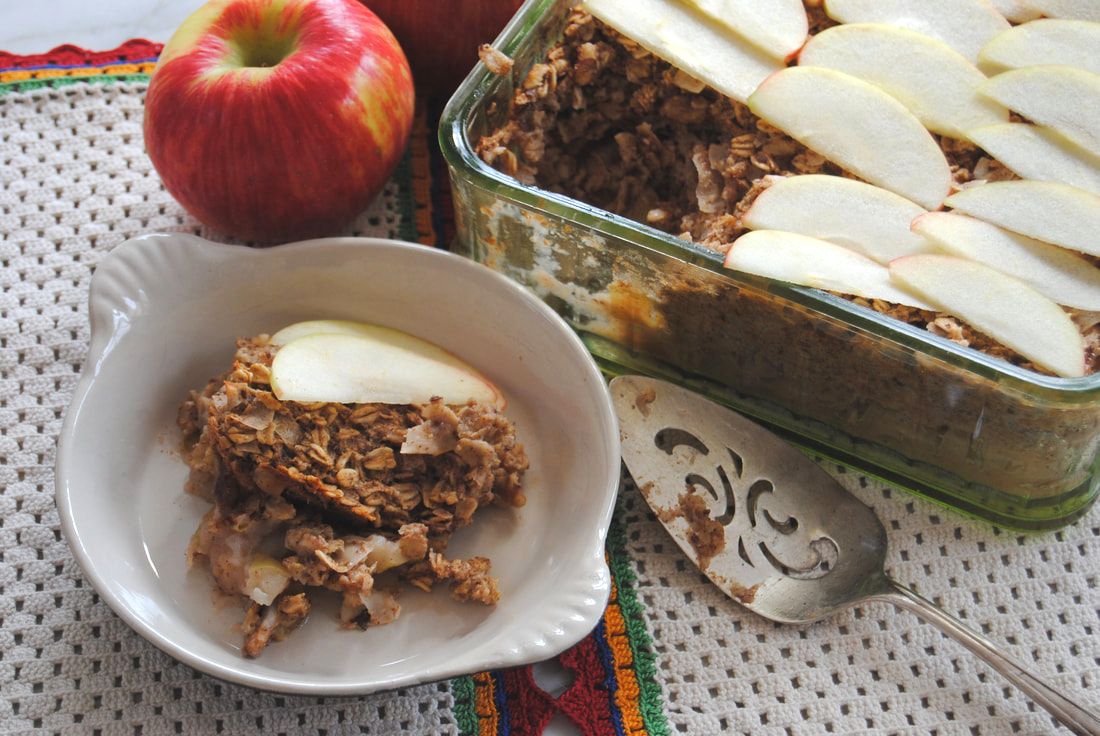
It is apple picking season and you know what that means, an abundance of apples! If you're like us there is no such thing as self control when there are so many varieties of fresh from the tree, local apples to choose from. With that being said, we have to get creative in ways to use all these apples. Apple slices with nut butter will always be a favorite but we love finding new and exciting ways to enjoy this fabulous fall fruit. It's also interesting how different varieties lend themselves to different types of recipes depending on their flavor profile. For this recipe (which is also a unique use of oatmeal might we add), a tart apple variety worked perfect for the bottom of the bake and a sweeter apple for the raw slices on top. So pick your favorites and let's get to it!
Baked Apple Oatmeal
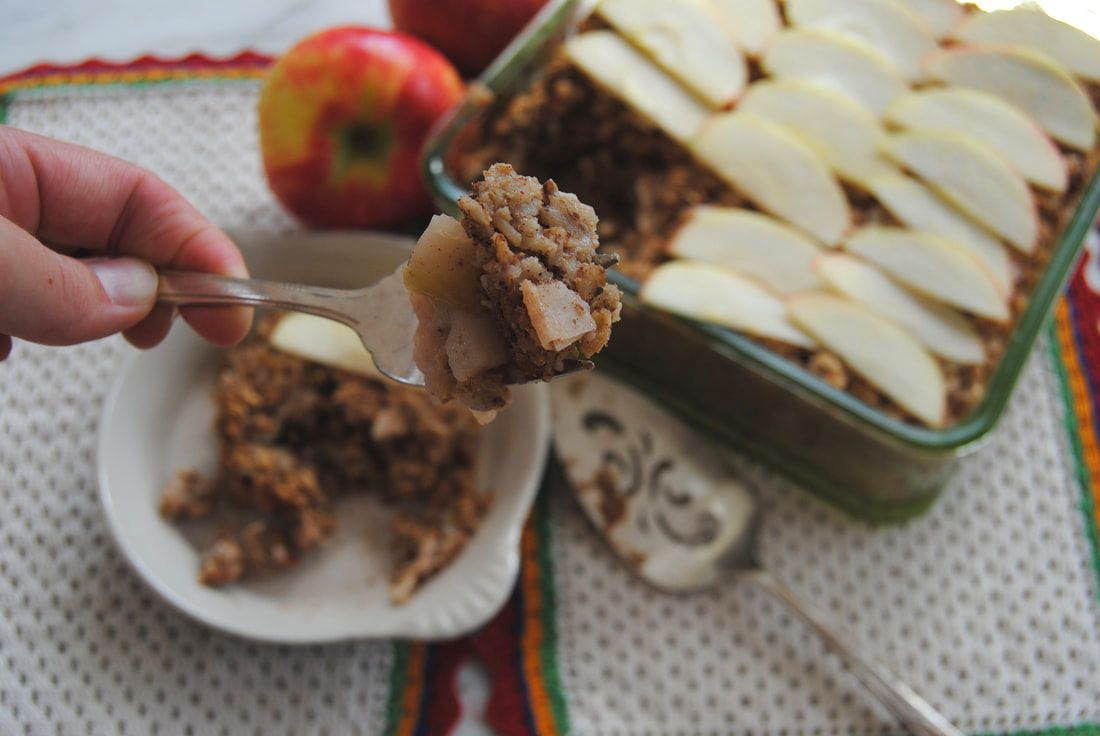
PREP TIME: 30 minutes TOTAL TIME: 90 minutes Servings: 9 Ingredients 2 1/2 cup rolled oats 1 cup unsweetened toasted shaved coconut 1 cup chopped walnuts 2 tsp ground cinnamon 1 tsp baking powder 2 flax eggs (2 Tbsp ground flax seeds mixed with 4 Tbsp water + 2 Tbsp ginger juice) 1 1/2 cup unsweetened vanilla soy milk (or milk alternative of your choice) 1/2 cup no sugar added apple sauce 1/4 cup pure maple syrup 2 Tbsp melted coconut oil + 1 tsp to oil the pan 1 tsp vanilla extract 2 large tart apples, chopped into 1"x 1" pieces (~3 cups) 1 small sweet apple, sliced thin (optional topping) Preheat oven to 325 degrees. Lightly grease a 9"X9" glass pan with coconut oil. Wash and chop apples into 1"x1" squares and place in the bottom of the prepared pan. In a large bowl combine oats, toasted coconut, chopped walnuts, ground cinnamon, and baking powder then mix well until combined. In a separate bowl whisk flax seeds with water and ginger juice and let sit for about 5 minutes or until gelatinous. Add soy milk, apple sauce, maple syrup, melted coconut oil, and vanilla extract to the flax seed eggs and whisk until combined. Add dry ingredients to wet ingredients and stir until combined. Spread oatmeal mixture over the chopped apples making sure they are fully covered. Place pan in preheated oven and bake for 60 minutes. Remove oatmeal from the oven, allow to set and slightly cool for ~5 minutes. Layer top with apple slices if desired and enjoy! Oatmeal is great by itself, on top of yogurt or ice cream, or in a bowl with additional milk. Leftover oatmeal can be stored in an air tight container in the fridge and reheated in the microwave for 60 seconds or placed back in a preheated oven at 325 degrees for 10-12 minutes. Oatmeal will keep in the fridge for up to 5 days.
Though this recipe may look unassuming, it tastes SO good. The warm baked apples meld perfectly with the hearty oatmeal and finish with a fresh crunch of sweet apple topping. Can be enjoyed for breakfast/brunch though may be best enjoyed over vanilla ice cream for dessert (wink, wink).
Any way you choose - enjoy, Jess and Cecelia
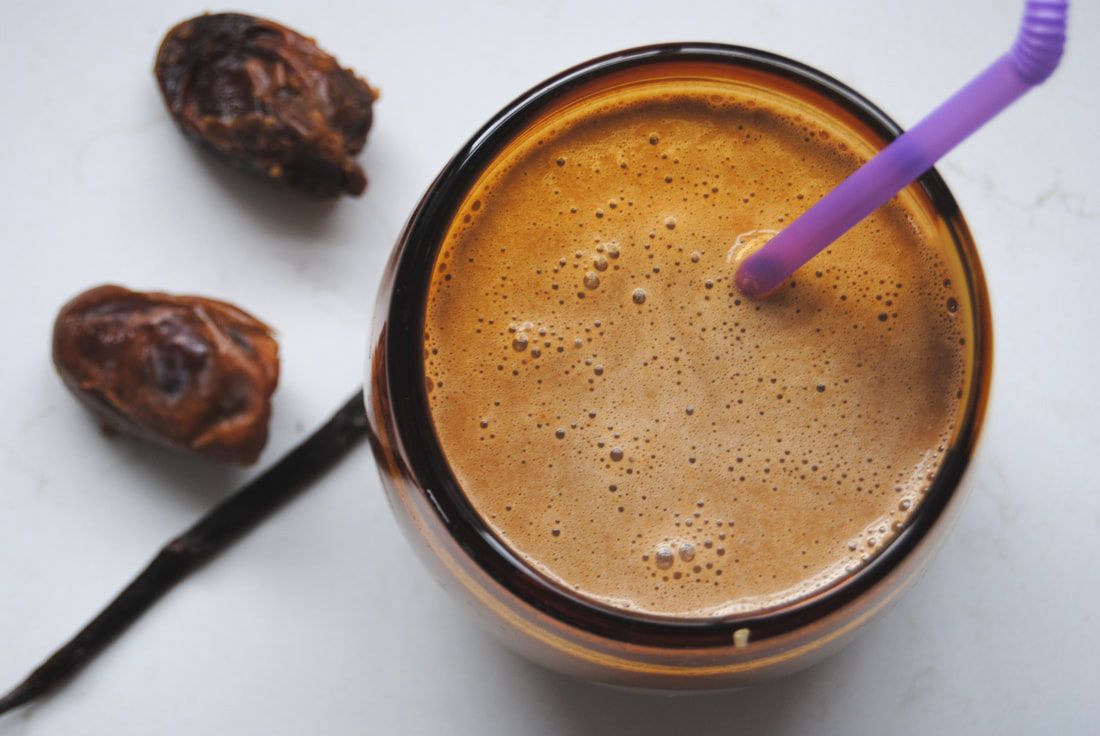
The school year is back in full swing which means, for many, a change in schedules very different from the lazy days of summer. For those of you finding the adjustment difficult - this recipe is for you! A delicious breakfast drink combining protein, natural sugar, and your morning dose of caffeine. Perfect for the hectic days where time is too precious to be making separate breakfast and coffee (we get it).
Sweet and Creamy Cold Brew Smoothie
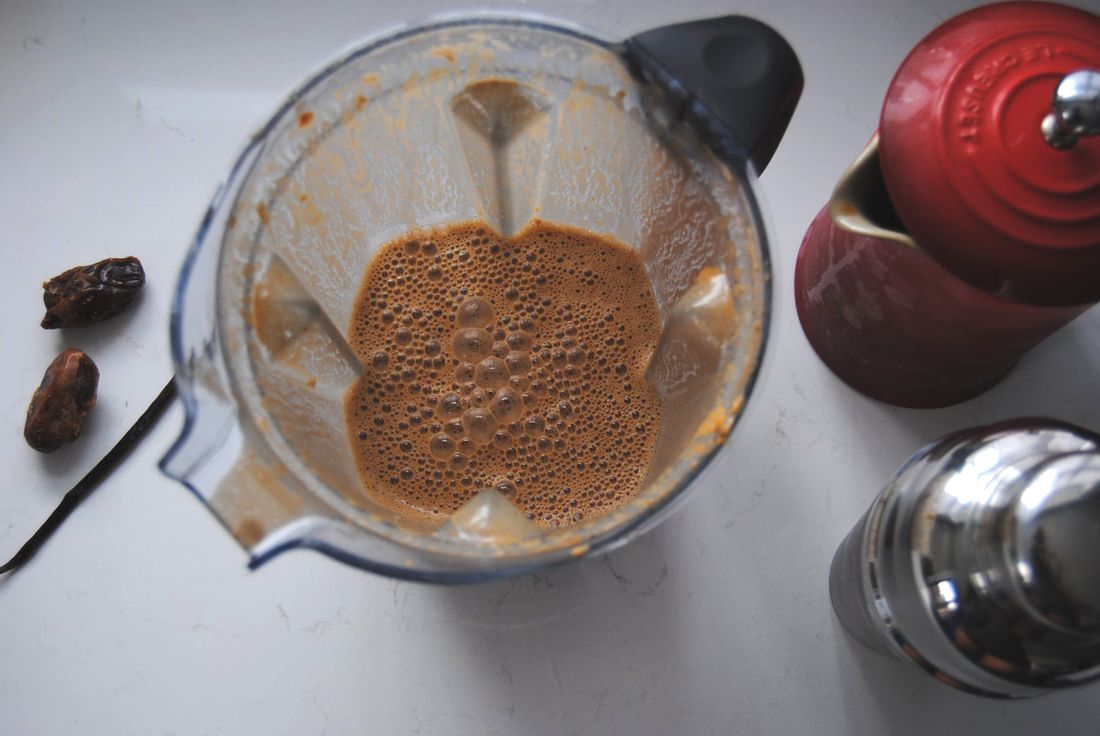
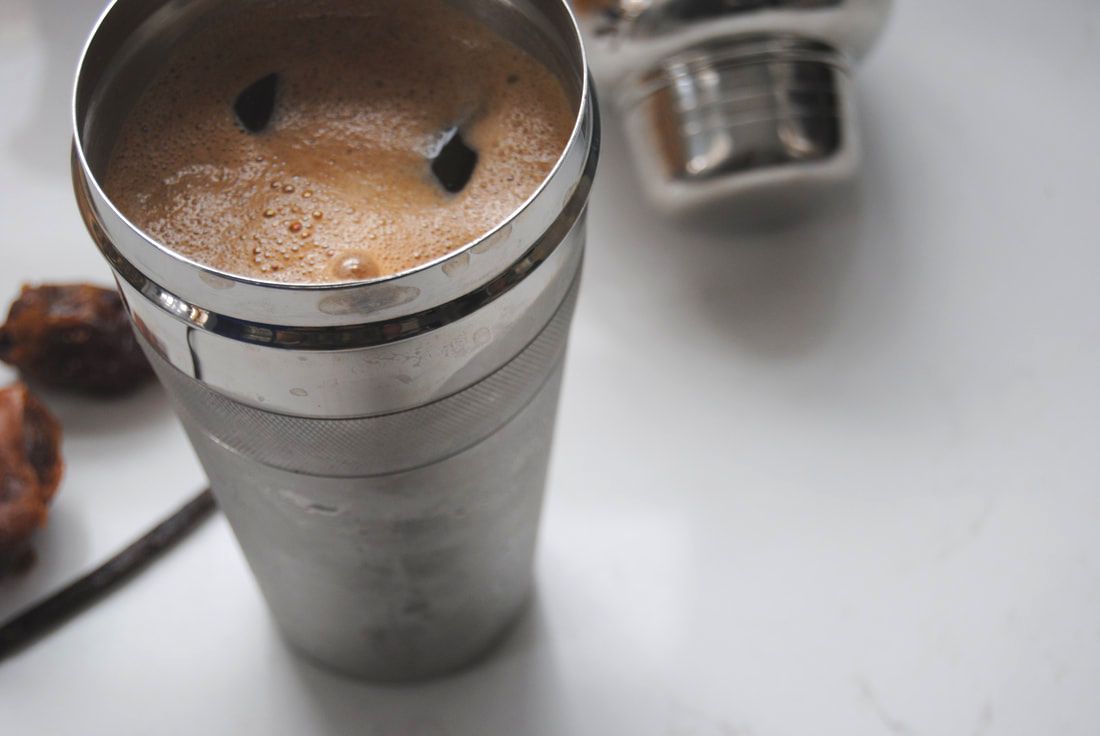
PREP TIME: 5 minutes TOTAL TIME: 5 minutes Servings: one 8 oz smoothie Ingredients: 6 oz unflavored cold brew coffee, homemade or store bought 1 Tbsp cashew butter 2 medjool dates 1/4 vanilla bean or 1/4 tsp pure vanilla extract In a high speed blender combine cold brew, cashew butter, dates, and vanilla and blend on high speed for 30-60 seconds. Add blender contents to a drink shaker filled with ice and shake vigorously to chill the smoothie then pour through a strainer into a glass. Sip chilled smoothie and enjoy!
We hope this recipe makes your busy days just a little bit easier. The creamy texture combined with sweet coffee flavor may make this a recipe you enjoy on more that just your busy days - it's that good.
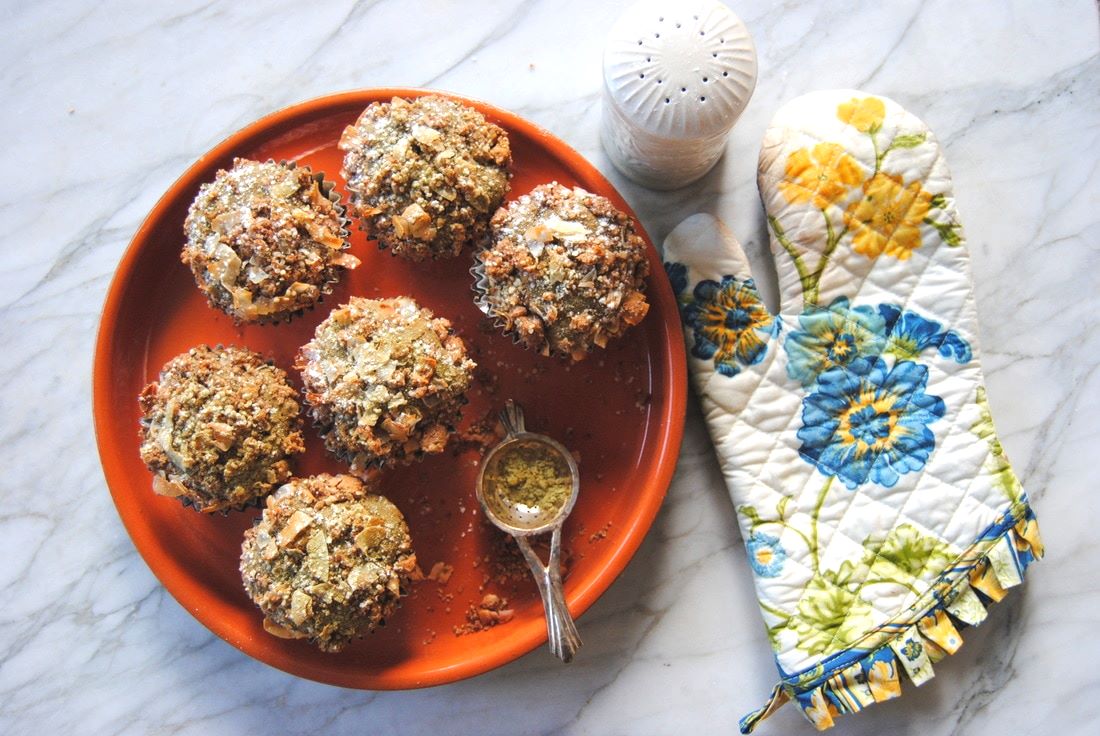
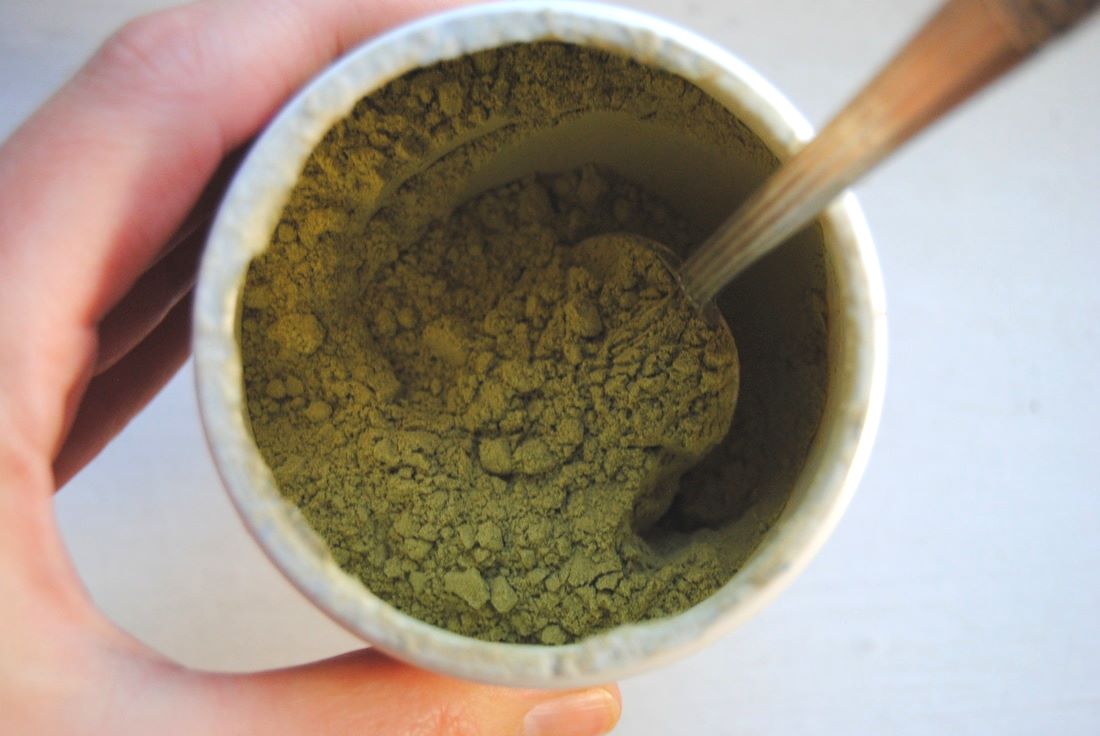
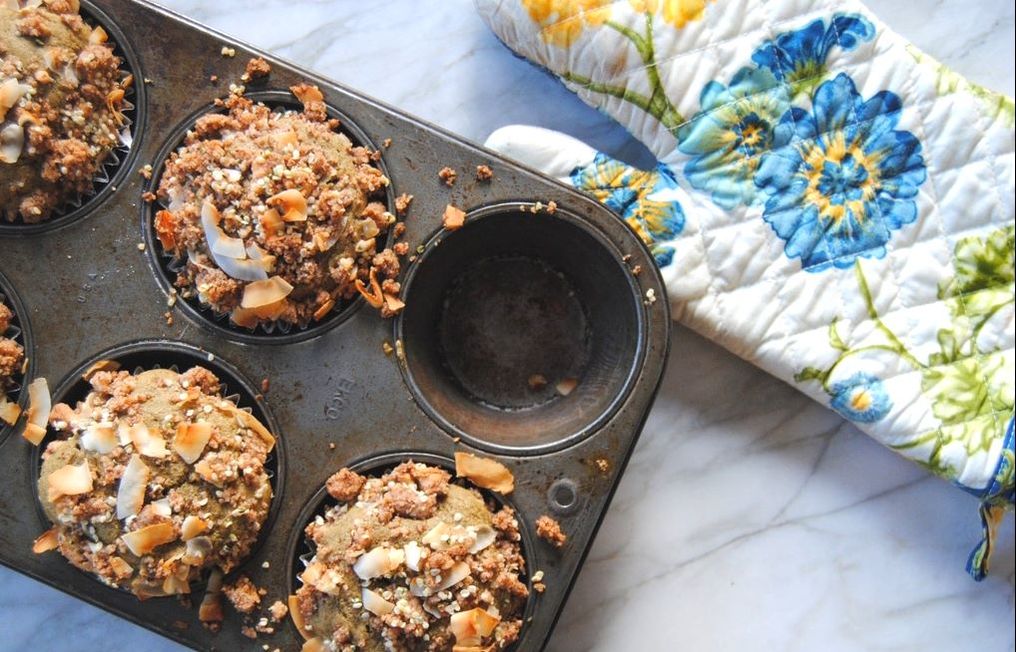
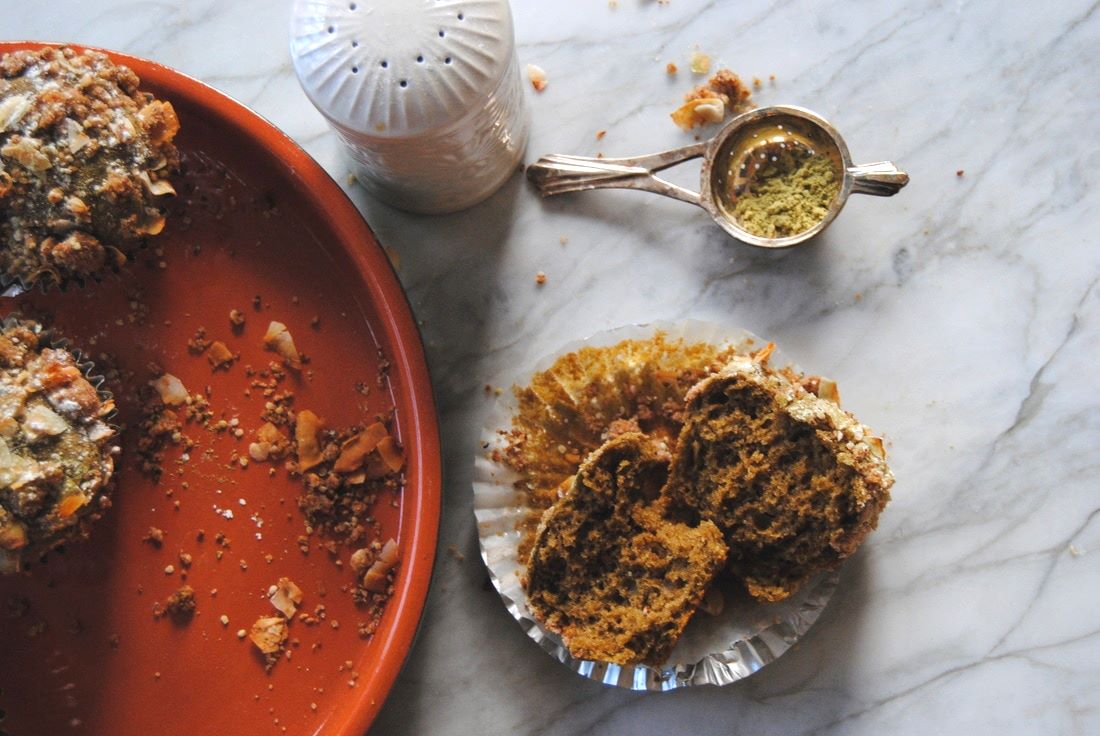
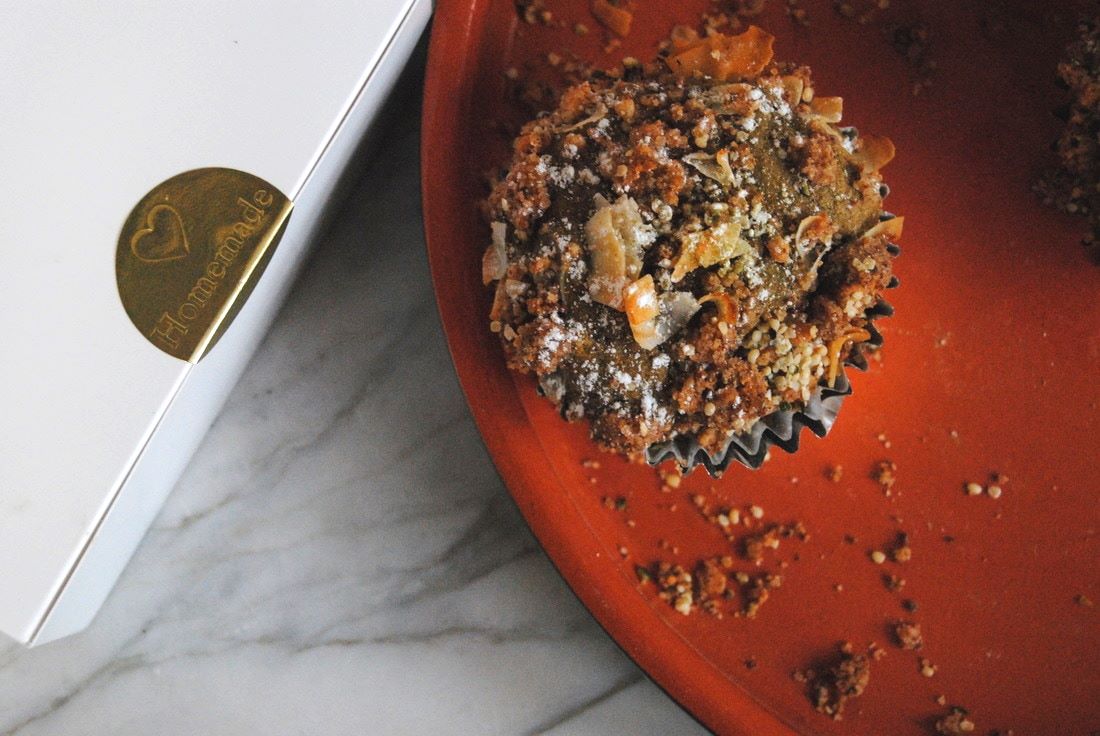
Enjoy, Jess and Cecelia For you tea lovers out there, this post is for you. We've got a recipe to enjoy tea (green tea powder to be exact) in muffin form and with hot or iced tea on the side if you like! Though any tea can be adapted to culinary uses, one of our favorites to experiment with is matcha powder. The bright color and flavor profile are just so unique and fun - we hope you think so too once you learn more. Read on! A few years ago (boy time flies!) we introduced matcha with this post. Take a look back for the fun facts we shared then. Now matcha is back but in a much different recipe. Though matcha is powdered green tea leaves and perfect for making tea beverages, it can also be incorporated into baked goods for an interesting twist! Some matcha powder is sweetened and can provide sweetness to your recipe and all is green and can bring an interesting pop of color if used in the right amounts. For the color to really show, enough matcha powder needs to be used and combined with other lighter colored ingredients so as not to overshine the light green matcha powder. Flavor wise, we think matcha has a fresh, bright, somewhat grassy taste (but in a really good way, promise!). If you are skeptical then you'll just have to try for yourself, matcha has been somewhat of a food craze lately and becoming more and more available in beverages and food products. And remember, when consuming matcha you are getting the benefits of green tea (think antioxidants) in a higher dose than traditional steeped tea because you are consuming the whole tea leaf. Finally, a note on caffeine content which is much less in matcha than coffee though matcha is considered a mild stimulant. Caffeine in the form of whole tea leaves is believed to metabolize slower and provide more sustained energy as compared to the typical jolt and crash some may experience with highly caffeinated coffee beverages. But today we are making matcha muffins and it's time to get to it! Coconut Crumb Matcha Muffins PREP TIME: 20 minutes TOTAL TIME: 55-60 minutes Servings: 6 large muffins Ingredients Crumb Topping 1/4 cup whole wheat flour 1/3 cup coconut sugar 3 Tbsp coconut butter, melted 1 Tbsp coconut oil, melted 3 Tbsp unsweetened coconut flakes 3 Tbsp hemp seeds 1/8 tsp sea salt 2-3 tsp matcha powder, sprinkled over the top of each muffin once cooled 2-3 tsp powdered sugar, sprinkled over the top of each muffin once cooled Muffin Batter 1/3 cup plain Greek yogurt + 3 Tbsp 1 large egg 1 large egg yolk 2 tsp pure vanilla extract 1 cup whole wheat flour 1/2 cup cane sugar 3 Tbsp unsweetened matcha powder 1/2 tsp baking soda 1/2 tsp baking powder 1/4 tsp salt 6 Tbsp coconut oil, softened Preheat oven to 350 degrees. Line a large muffin pan with 6 large liners, or lightly oil with coconut oil to prevent muffins from sticking to the pan. To make the crumb topping, melt coconut butter and coconut oil in a microwave safe bowl. Add flour, coconut sugar, coconut flakes, hemp seeds and sea salt to the melted butter and oil then stir to combine. Place mixture in the fridge to cool while you prepare the muffin batter. To make the muffin batter add the yogurt, egg, egg yolk, and vanilla in a bowl and whisk to combine. Using a standing mixer fitted with a paddle attachment, combine the flour, sugar, matcha powder, baking soda, baking powder, and salt. Add softened coconut oil and half of the yogurt to the standing mixer and mix on medium speed for about 20 seconds. Add the remaining yogurt and continue to mix for 10 seconds. Stop the mixer and scrap down the sides of the bowl then continue to mix for an additional 10 seconds to fully incorporate all ingredients. Remove crumb topping from the fridge and use your hands to gently break mixture into big crumbs. Fill each muffin liner 2/3 full with batter then sprinkle crumb mixture over the top of each muffin. Continue this process until all 6 muffin liners have been filled. Place pan in a preheated oven and bake for 35-40 minutes or until a toothpick comes out clean. Allow muffins to cool to room temperature then sprinkle with powdered sugar and additional matcha powder. These muffins are best served the same day, however will keep at room temperature for an additional day or two. These muffins are picture perfect and taste even better than they look. They have the perfect cake-like texture with a light sweetness and gentle matcha flavor. The crumb topping adds some additional sweetness, a little salt, and hints of coconut. All together, a unique blend of colors and flavors to excite your eyes and palate. Remember, this recipe is for jumbo muffins that can easily be split and/or shared with friends and family. Now everyone can have their tea, and eat it too!
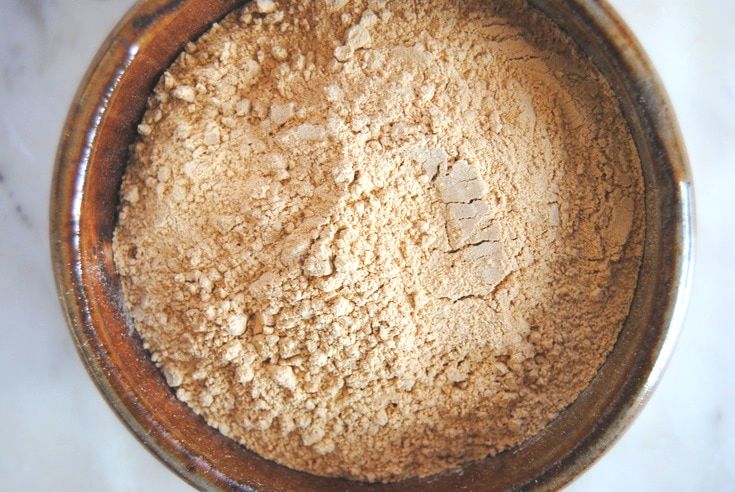
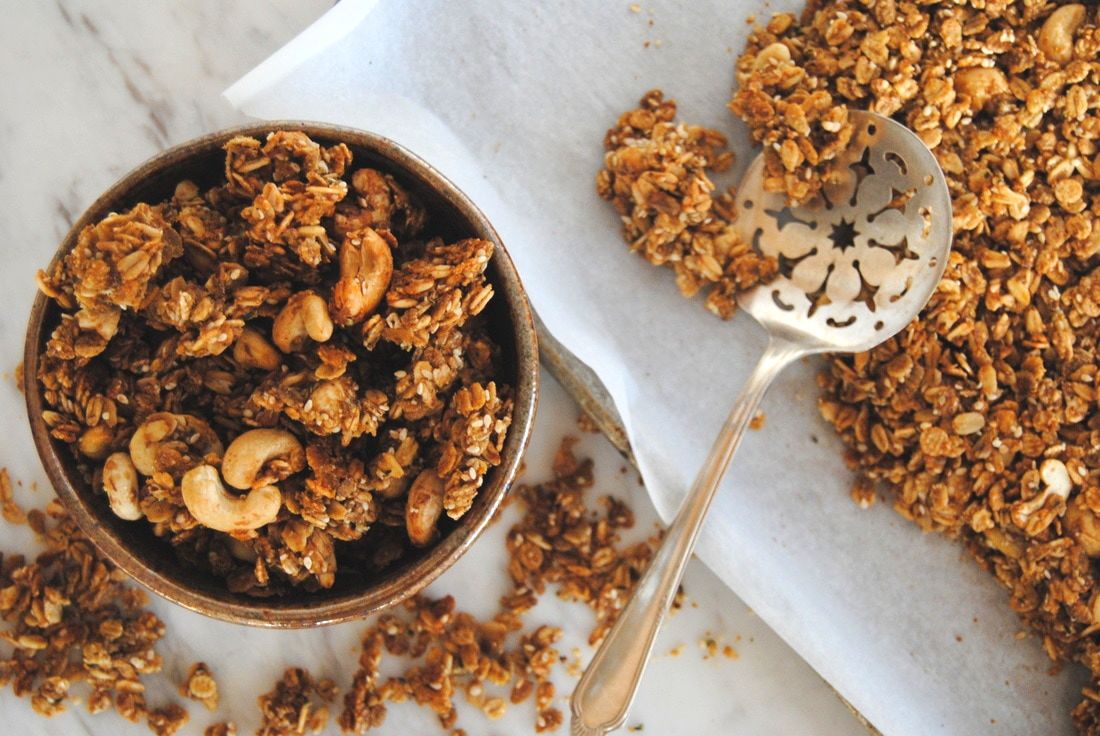
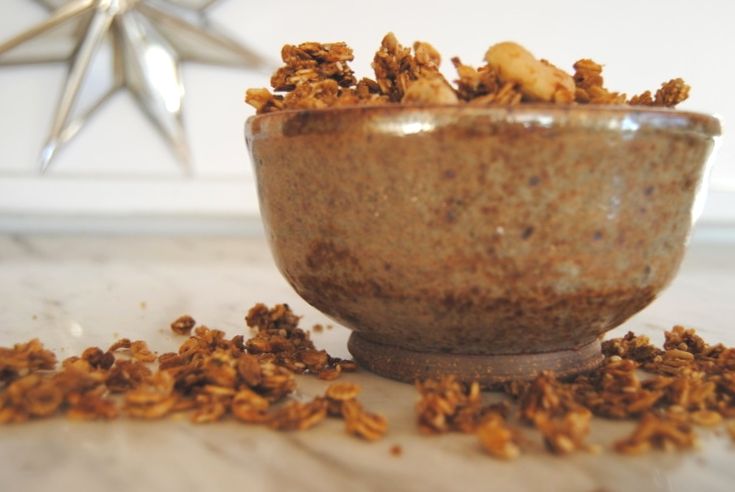
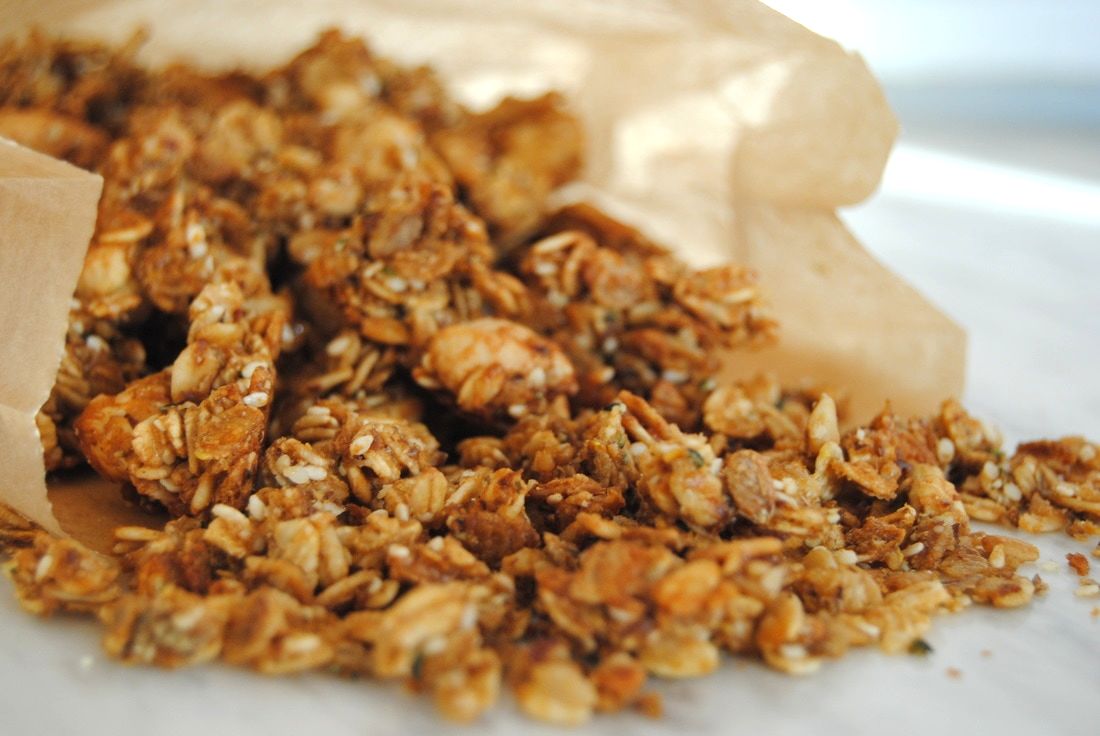
Enjoy, Jess and Cecelia March has been a month to remember here at TGBK. We've had the best time celebrating National Nutrition Month by teaming up with Navitas Organics as Insiders of the Month and sharing recipes featuring their superfood products. Maca has been one of this month's highlighted superfoods and by now we hope you've given it a try. If not, it's definitely time to get some maca in your pantry! Like other superfoods, the benefits one might experience from maca in the diet are based on consistency - we suggest about a tablespoon of maca daily. Maca can simply be added to yogurt, smoothies, and drinks or incorporated into recipes to make things more interesting and fun. And that's where we come in! We've been filling the blog this month with maca packed recipes and decided to finish up with an oldie but goodie. We created this recipe for Magical Maca Maple Granola over year ago but are still enjoying it frequently in our recipe rotation. We love this granola over yogurt, handfuls as a snack, or simply with homemade nut milk. It's definitely a delicious way to add maca to your diet. If you don't already have this recipe printed and posted on your fridge (wink, wink), we've provided it for you again. Enjoy! Magical Maca Maple Granola PREP TIME: 15 mins TOTAL TIME: 45 mins Servings: 18-24 quarter cup servings (note that granola is quite rich and best eaten in small portions or as a crunchy topping) Ingredients 2 cups thick rolled oats 1 cup rolled barley* 1 cup rolled rye* 1/4 cup oat bran 1/4 cup Navitas Organics maca powder 1/4 cup ground flax meal 1/2 tsp sea salt 1 1/2 cups Navitas Organics cashew nuts 1/4 cup Navitas Organics hemp seeds 1/8 cup unbleached, white sesame seeds* 1/2 cup coconut oil 3/4 cup pure maple syrup 1/2 cup Navitas Organics coconut sugar 1/4 cup water 1/2 vanilla bean pod (insides scraped out) or 1 tsp pure vanilla extract Preheat the oven to 350°. Line a large baking sheet with parchment paper and set aside. In a large bowl, mix together the oats, barley, rye, oat bran, maca, flax, salt, cashews, hemp, and sesame seeds. In a sauce pan, combine coconut oil, maple syrup, coconut sugar, and vanilla. Turn burner on to medium heat and stir until the oil has melted and sugar has dissolved. Pour warm oil and sugar mixture over dry ingredients and stir until evenly covered. Add 1/4 cup water to the mixture and stir to combine. Evenly spread mixture onto the parchment lined baking sheet. Bake for 30 minutes or until granola is golden brown. Let sit until cooled. Using a large spoon, break granola into large chunks. Place granola back into the oven and continue cooking for an additional 7-10 minutes. Make sure to stir granola at least once while cooking. Allow granola to completely cool before storing in an air tight container. Adding granola to the container before it has completely cooled will add moisture and soften the granola. *Note that you can use 4 cups of rolled oats and omit rolled barley and rye which may be more difficult to find. Hemp seeds and sesame seeds can also be used interchangeably, just keep the total amount the same (~2/3 cup). Well friends, that should do it for our maca-filled month. We hope you've had as much fun as we did and have started your own experiments with Navitas products. The nutrient quality of your food and brands you support with food purchases DOES matter. Your body will thank you and your money can be well spent - now is the time to put ideals into practice.
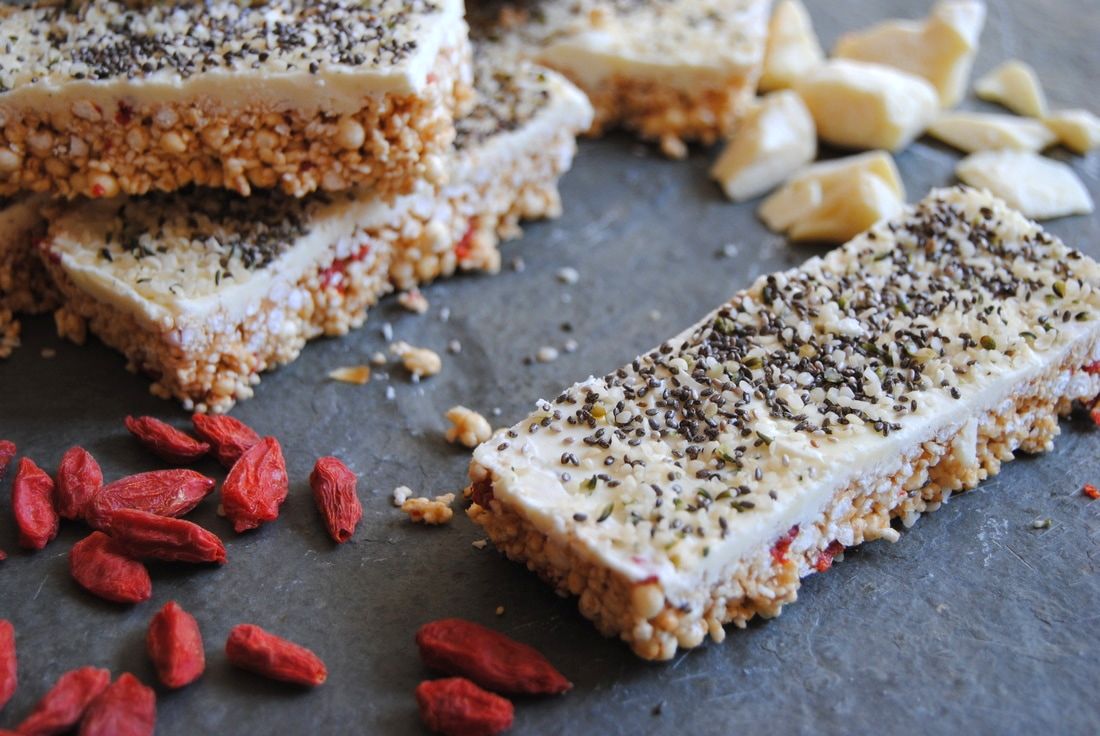
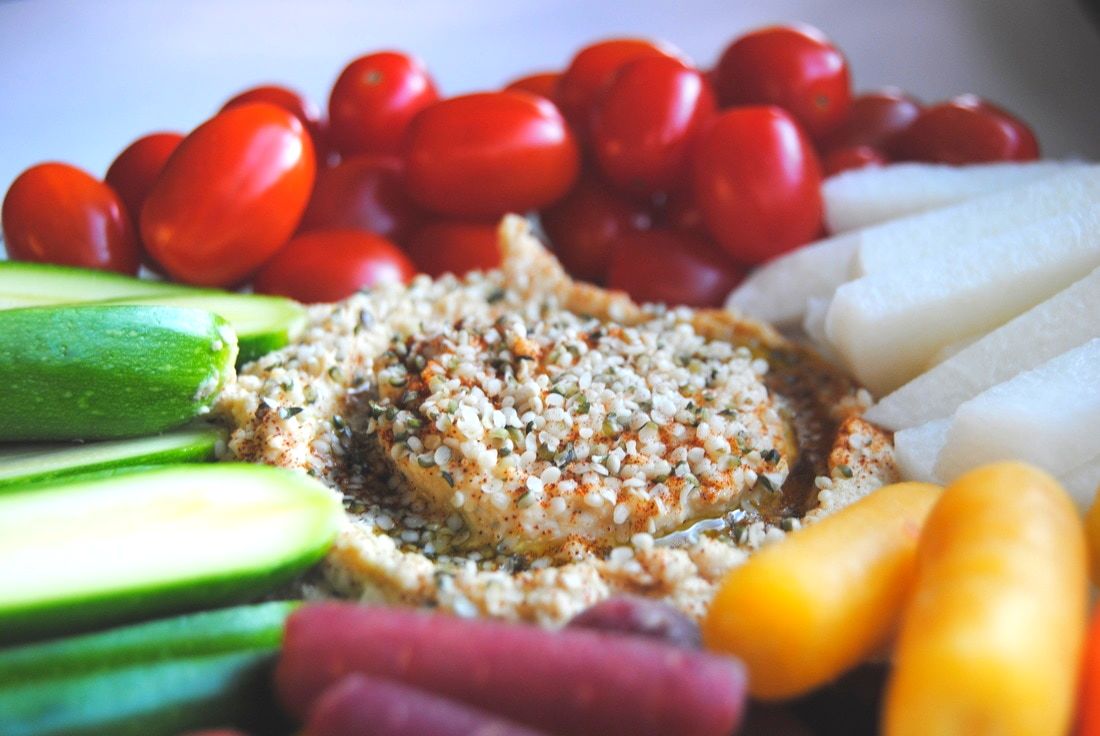
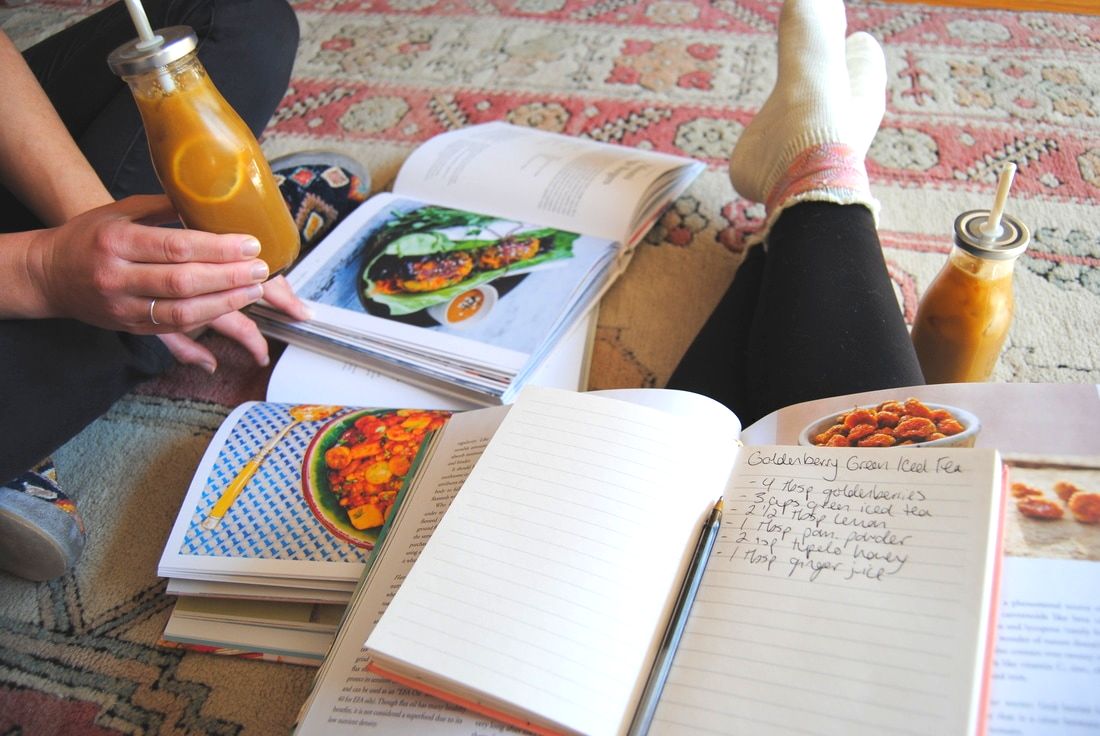
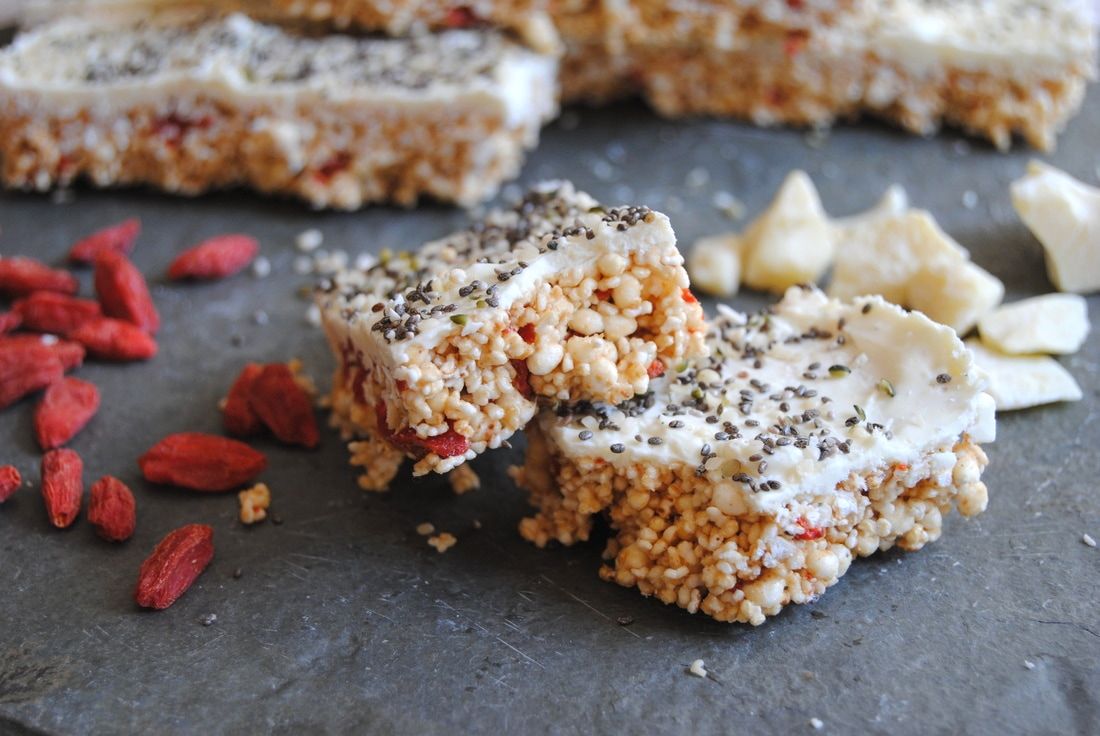
Go for it! Jess and Cecelia We've had an exciting day taking over Navitas Organics' Instagram page with our favorite superfood packed recipes. From start to finish it has been a delicious and nutritious day. If you missed us on Instagram, no worries! Read on to find out more about what we've been up to. We tend to like a little sweetness in the morning and this recipe did the trick! Inspired by a previous TGBK favorite for our Snack Attack Bars (recipe here), this time around we took a superfood spin and packed these bars with amazing Navitas products. The outcome was fabulous, most impressive being the velvety mouth-feel from the homemade white chocolate made with organic cacao butter. We almost can't imagine starting a morning without these bars now. Superfood Snack Attack Bars Prep Time: 15 minutes Total Time: 45 minutes (includes cooling) Servings: 8 bars Ingredients Bars 1 1/2 cup puffed amaranth 1 cup puffed millet 1/2 cup honey (we used clover honey, pure maple syrup would also work) 1/4 cup unsweetened cashew butter 1/4 cup Navitas Organics cacao butter, melted 1/4 cup Navitas Organics goji berries, chopped 1 Tbsp Navitas Organics maca powder 1/2 tsp sea salt Topping 1/2 cup Navitas Organics cacao butter 2 Tbsp + 1 tsp coconut oil 1 Tbsp organic powdered sugar 1/2 vanilla bean, inside seeds scraped out (1 tsp pure vanilla extract will also work) 1 Tbsp Navitas Organics chia seeds 2 Tbsp Navitas Organics hemp seeds Prepare a 8" X 8" pan with a sheet of parchment paper overlapping two sides for easy removal of bars once set. Combine the puffed grains, goji berries, maca powder and sea salt in a large bowl then set aside. In a small sauce pan combine the honey, cashew butter, and 1/4 cup cacao butter. Heat mixture over low heat, stirring constantly until fully melted. Turn the heat off, allow to slightly cool, and slowly pour mixture into the bowl with the puffed grains. Stir until puffed grains are evenly coated. Pour mixture into prepared pan and press down using a small sheet of parchment paper (easier and less messy on your hands) until firm and level. Now begin the white chocolate topping. To make the topping add 1/2 cup cacao butter and coconut oil to a double boiler set to medium heat. Stir mixture until fully melted. You could also do this in the microwave in 10 second increments, however watch closely to avoid overheating. Remove from the heat and stir in the powdered sugar and vanilla bean until fully incorporated. Allow chocolate to cool and thicken up slightly either in the fridge for 10 minutes or at room temperature for 20-25 minutes. Wait until the chocolate has thickened and almost solidified to spread a thin layer over the top of the puffed grains using the back of a spoon to cover evenly. Sprinkle chia and hemp seeds over the white chocolate then place in the fridge for 10-15 minutes or until the white chocolate topping has set. Cut bars into 8 equal pieces. Store any leftover bars in an air tight container in the fridge for up to 5 days. Midday, we threw it back to our past recipe for High Protein Hemp Hummus (here). A high protein dip, like this hummus, is a great addition to sandwiches, wraps, salads, and simply as a dip with veggies or crackers with lunch to keep you full and satisfied all afternoon. And if you remember from our past post, hemp is a fabulous source of plant based protein. Hemp protein contains all the essential amino acids that our bodies can't produce making it a source of complete protein - rare for plant foods! Hemp also contains an ideal ratio of omega-6 to omega-3 fats and is a good source of omega-3 fats which are generally lacking compared to omega-6 fats in our modern diets. With so much benefit, there honestly isn't a good reason not to start adding more hemp into your diet. Towards the late afternoon we needed a bit of pick me up to finish out our busy day of recipe development. We reached for one of our favorite superfood berries, goldenberries, and created something pretty special. Paired with green iced tea, honey, lemon, ginger juice, and pomegranate powder, this is a superfood packed and slightly caffeinated beverage that will give you a boost of energy and nourishment when it's needed most. Just returning from a trip from Peru, Cecelia heard these native berries called Incan berries during her travels which makes them seem even more special, doesn't it?
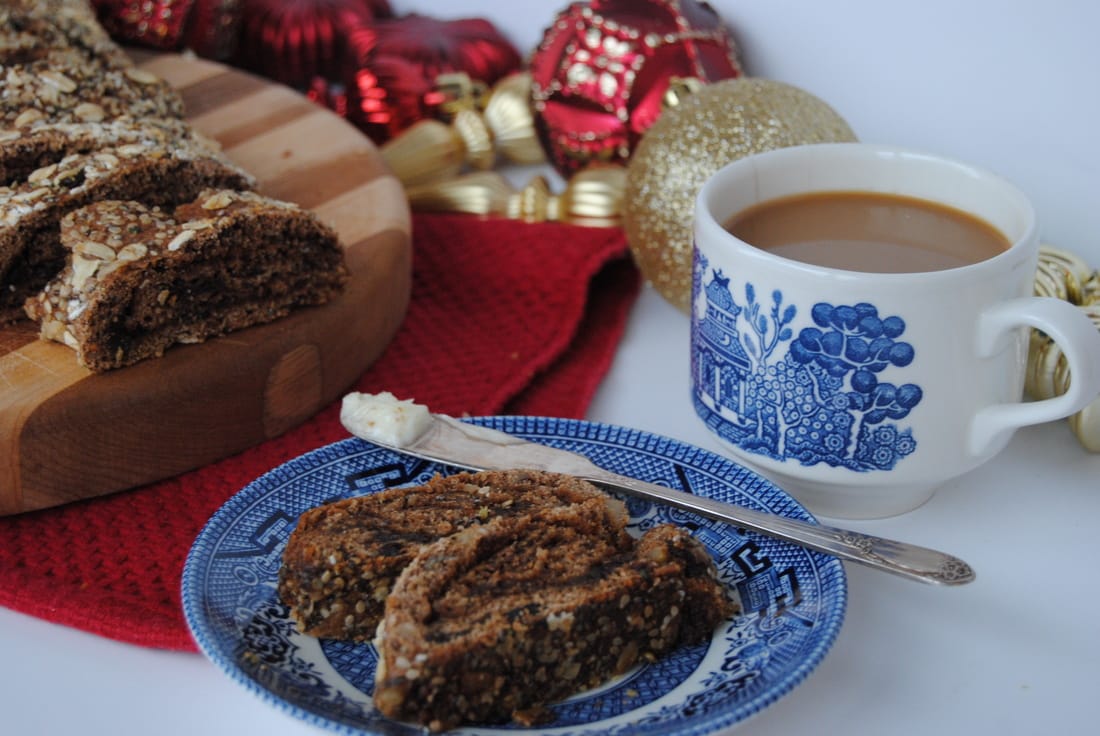
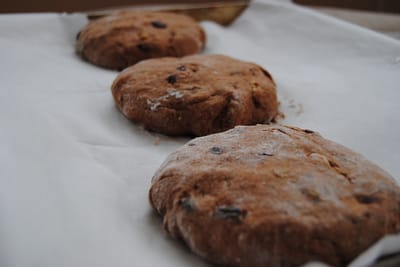
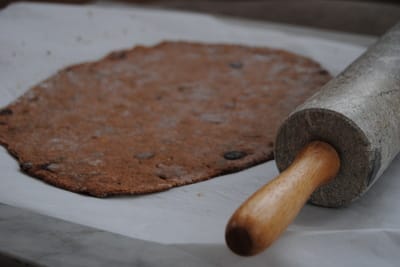
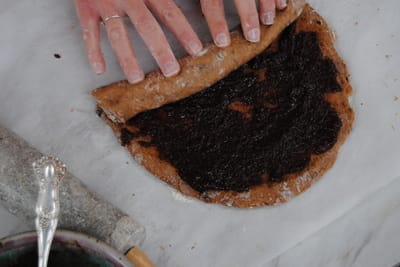
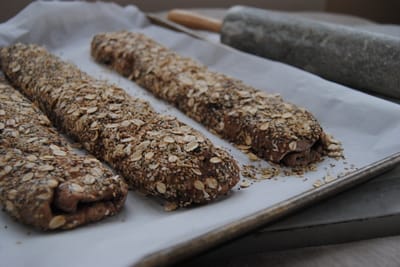
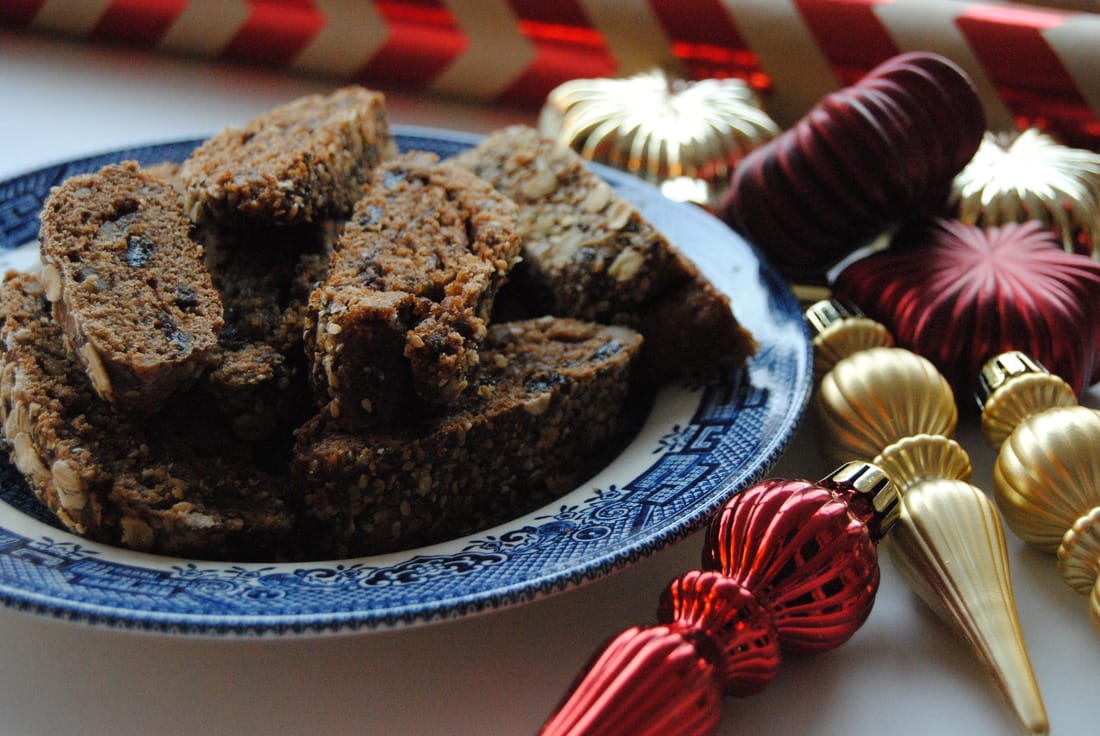
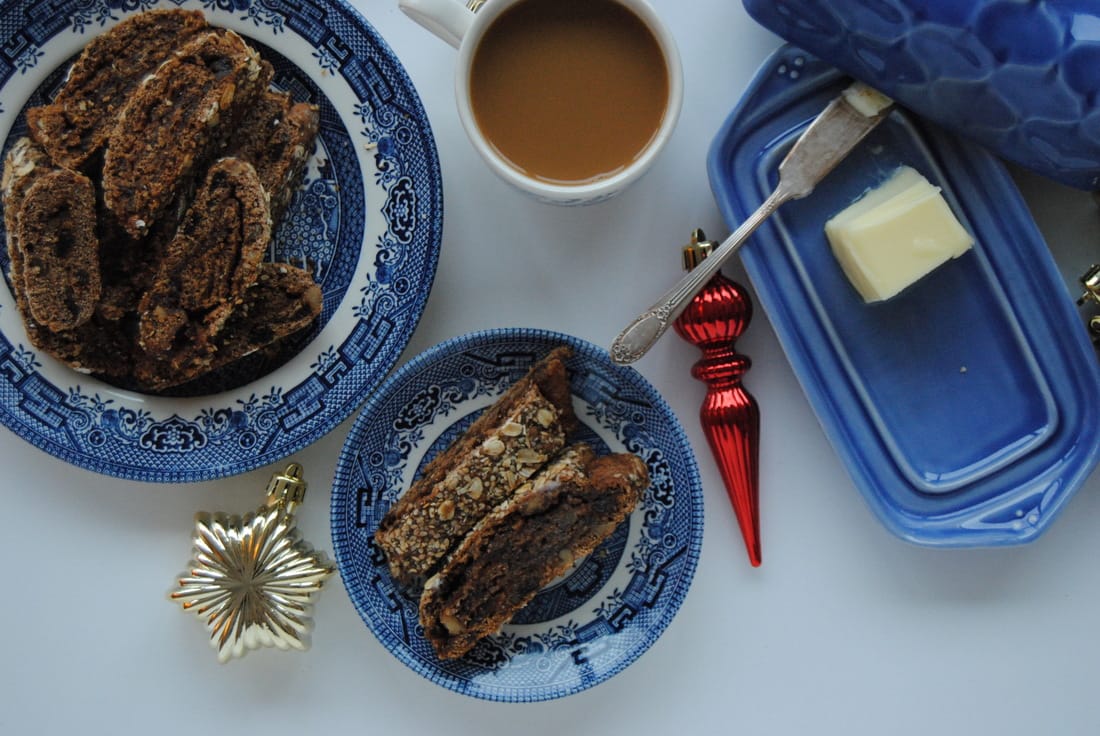
Goldenberry Green Iced Tea Prep Time: 10 minutes + 8 hours soaking time Total Time: 10 minutes + 8 hours soaking time Servings: 2, 14 ounce teas Ingredients 3 cups unsweetened green iced tea (using 2 standard size tea bags) 1/4 cup Navitas Organics dried goldenberries, soaked for 8 hours or overnight in room temperature water 3 Tbsp fresh lemon juice 1 Tbsp ginger juice or 1" knob of peeled ginger 1 Tbsp Navitas Organics pomegranate powder (optional) 2 tsp honey (we used tupelo honey, light clover honey would also work) Sliced lemon rounds (optional) In a bowl fitting with a lid or plastic wrap, soak the goldenberries in room temperature water for at least 8 hours or overnight. Combine 2 standard green tea bags with 8 ounces of hot water. Allow tea to steep for 3-5 minutes then remove tea bags and add 16 ounces of cold water to the concentrated tea. Once berries are done soaking strain them through a fine mesh strainer then add to a high speed blender (Vitamix or Blendtec work best for this recipe). Add cooled green tea, lemon juice, ginger juice, pomegranate powder, and honey. Blend on high for 3 minutes or until the berries are completely broken up and the mixture is liquefied. Pour over ice, add sliced lemon rounds and enjoy! Any leftover tea should be stored in the fridge in an air tight jar for up to 24 hours. There are so many warm and fuzzy feelings to describe the way we feel this time of year when sharing and spending time with friends and family. To put it simply, special. There are just so many things we love about the holiday season that we sure do miss when the time has come and gone. And for such a special season we just had to share a special recipe. This recipe is one of Jess's favorites that she often shares at special gatherings or gives as gifts. You might say she is even famous for this sought after recipe! Though it may look somehwat unassuming, after one bite you will realize that this is the best cinnamon bread you've ever tasted. We will get straight into the recipe this week so that you have time to add this to your holiday baking que. Sinful Cinnamon Bread Adapted from Dave's Killer Bread Sin Dawgs recipe PREP TIME: 1 hour 40 minutes TOTAL TIME: 2 hours 15 minutes Servings: Recipe makes 3 ~12" loaves Ingredients Sponge 1 1/4 cup spelt flour (whole wheat flour will also work) 3 Tbsp coconut sugar (cane sugar will aso work) 1 Tbsp gound flax seeds 1 Tbsp sesame seeds 2 Tbsp rolled oats 2 1/2 tsp instant yeast 3 1/2 Tbsp coconut oil, melted 1 1/2 Tbsp molasses 1/2 cup warm water Dough 1 cup raisins 1/2 cup walnuts, chopped 1 1/2 cup + 2 Tbsp spelt flour (whole wheat flour will also work) 1 1/4 tsp salt 1 Tbsp + 2 tsp cinnamon 2/3 cup water (reserve soaking water from raisins and walnuts) Filling 2 Tbsp + 2 tsp ground flax seeds 2 Tbsp + 2 tsp water 1 cup coconut sugar (cane sugar will also work) 2 Tbsp molasses 2 Tbsp + 2 tsp ground cinnamon 1/2 cup coconut oil, melted 3 Tbsp coconut flour 1 tsp vanilla Topping 4 Tbsp rolled oats 2 Tbsp hemp seeds 2 Tbsp sesame seeds 2 tsp chia seeds 2 tsp ground flax seeds In a bowl of a standing mixer (or with a hand-held electric mixer) combine the sponge ingredients starting with the dry ingredients and add in the wet ingredients. Mix on low until mixture comes together. Cover bowl with a clean cloth and let sit for 30-60 minutes. In a bowl combine the raisins and walnuts and cover with warm water then allow to soak for 5-10 minutes while you start preparing the dough. Reserve 2/3 cup water to use for the dough. To make the dough add the remaining flour, salt, 2/3 cup soaking water, and cinnamon to the sponge mixture and mix on medium-high speed (or knead by hand) for 10 minutes or until dough pulls away from the bowl and has a smooth texture. Add the soaked raisins and walnuts to the dough and continue mixing adding in 1 Tbsp of additional flour as needed. The final dough should be smooth, elastic, and should not stick to your hands. Place the dough on a lightly floured surface and divide into 3 equal pieces. Allow dough to rest while you make the filling. To make the filling combine the coconut sugar, melted coconut oil, molasses, ground flax seeds, water, cinnamon, vanilla, and coconut flour. Mix until fully combined. Lightly dust a piece of parchment paper or a reusable baking mat with flour. Using a rolling pin, roll each dough ball out into a rectangle about 1/4" thick. Evenly spread 1/3 of filling mixture on top of dough, making sure to get as close to the edges as possible. Starting with the short end, roll dough into a cylinder. Repeat this step until all 3 loaves are made. Combine topping ingredients (rolled oats, hemp seeds, sesame seeds, chia seeds, and ground flax seeds) on a large plate and set aside. Using a pastry brush, carefully brush water on all sides of each loaf then roll loaf in topping mixture. The water helps the seeds adhere to the loaves. Place each loaf side by side on a parchment lined baking sheet . Cover the loaves with a clean cloth and allow to rise for 30 minutes or so. Preheat the oven to 350 degrees. Bake the loaves in preheated oven for 35-40 minutes or until slightly browned. Allow the bread to cool for at least 15 minutes before slicing. Store cinnamon bread in an air tight container for up to 5 days. We have also found out that baked, uncut loaves store well in the freezer, just make sure to completly thaw out and rewarm in a 350 degree preheated oven for 7-10 minutes prior to serving. We highly recommend eating this bread warm out of the oven slathered with butter of choice (this bread is vegan so maybe coconut butter) and your favorite warm beverage. The explosion of gooey cinnamon with each bite is something that just can't be explained and has to be tasted. We hope this recipe is a gift you enjoy this holiday season and share with others that you love. As we spend time with our loved ones we will be taking a break from new posts until the New Year but have lots in store for our loyal TGBK followers then.
Happiest of holiday and see you in 2017, Jess and Cecelia |
AuthorsJess and Cecelia welcome you to our kitchen. We are fun-loving and passionate foodies working to make the world a healthier, happier place one plant based recipe at a time. Categories
All
Archives
December 2018
|

