|
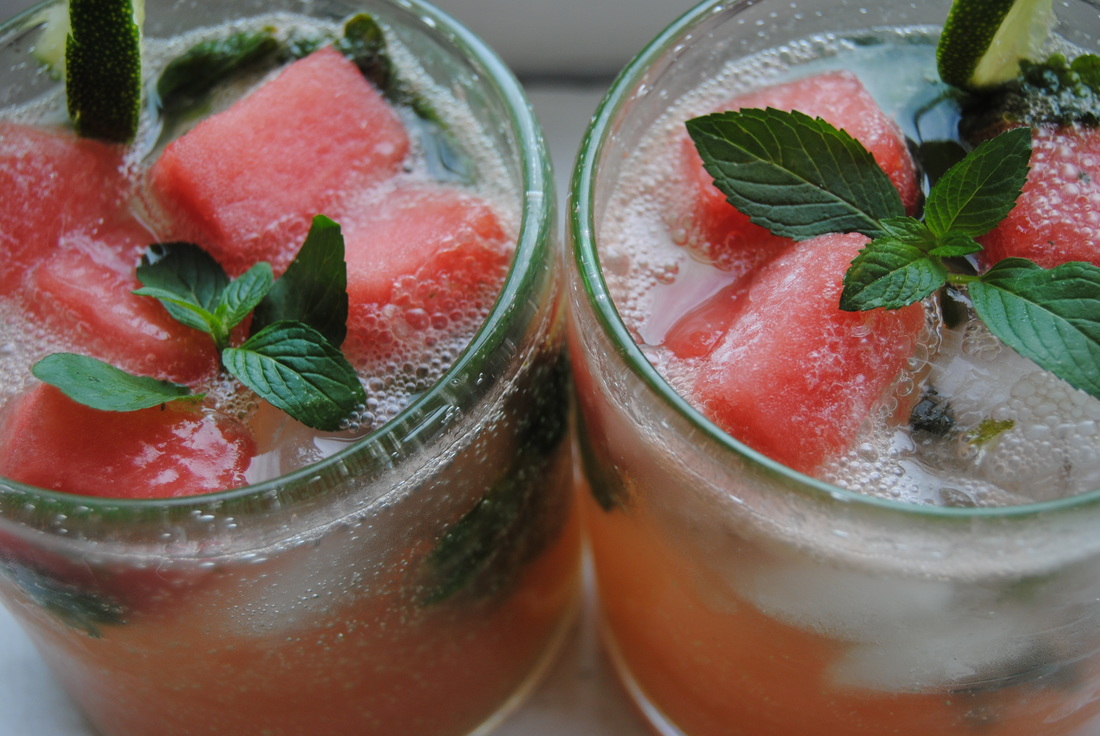
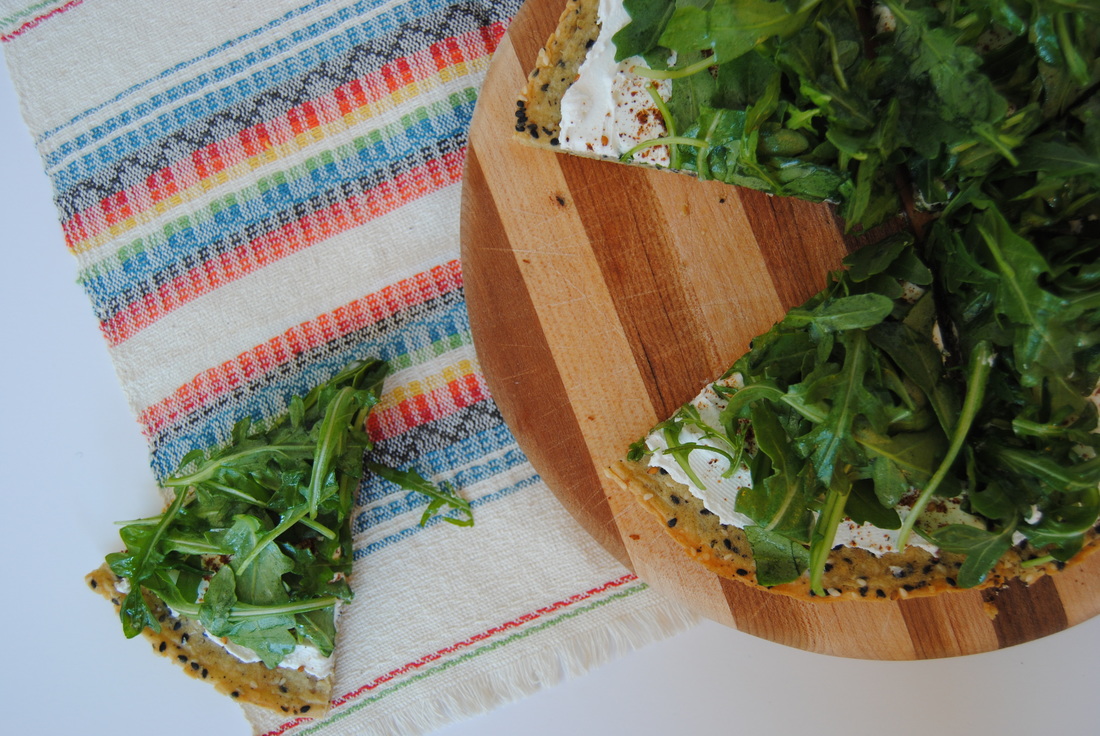
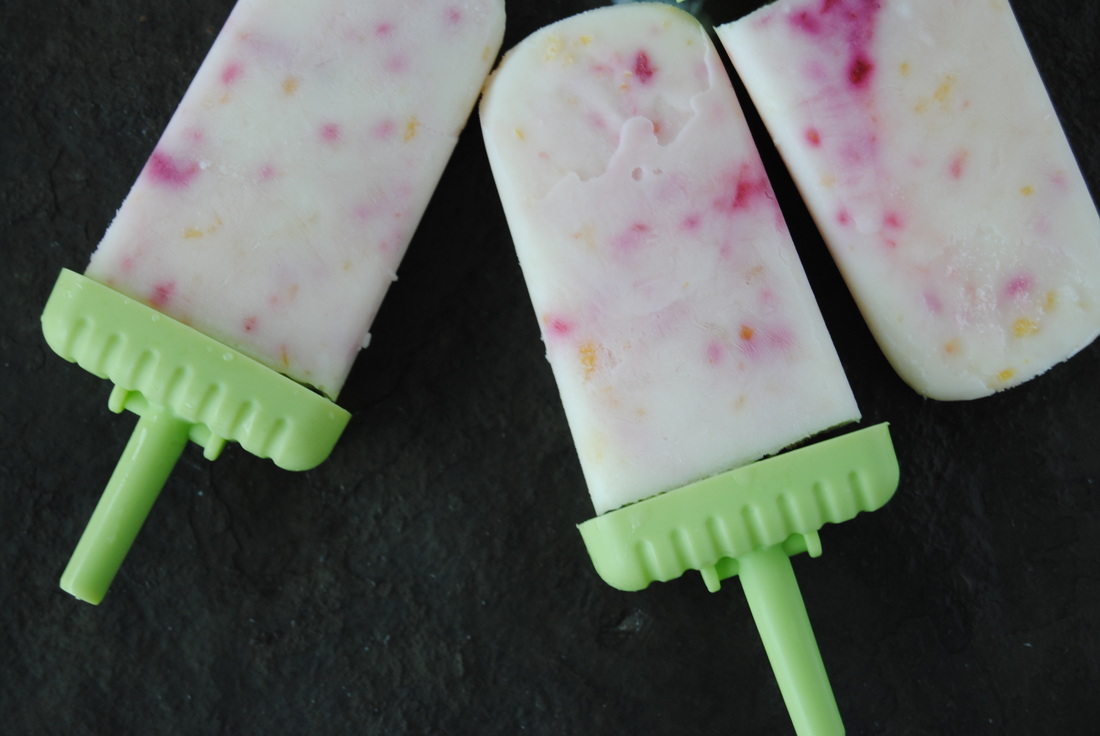
Labor Day weekend is upon us friends which does signify an "end" to summer - even though we firmly remind everyone in Chicago that the summer season really ends on September 21st. As you get ready for a weekend of fun and relaxation we want to remind you about some of our favorite recipes from this summer that you might choose to enjoy. Definitely a summer favorite and a MUST this holiday weekend. Have fun with our recipe for Watermelon Coconut Mojitos - best enjoyed poolside with good company. The warm weather (fingers crossed!) this weekend may have you wanting some lighter meals. Our Super Seeded Socca Pizza recipe is just that - a light meal that is still satisfying and packed with flavor! Enjoy a perfect "end" to summer and any meal you enjoy this weekend with our popsicle recipe. These Sour Raspberry Kefir Popsicles are delicious and contain probiotics, how great is that?
Happy Labor Day, Jess and Cecelia
0 Comments
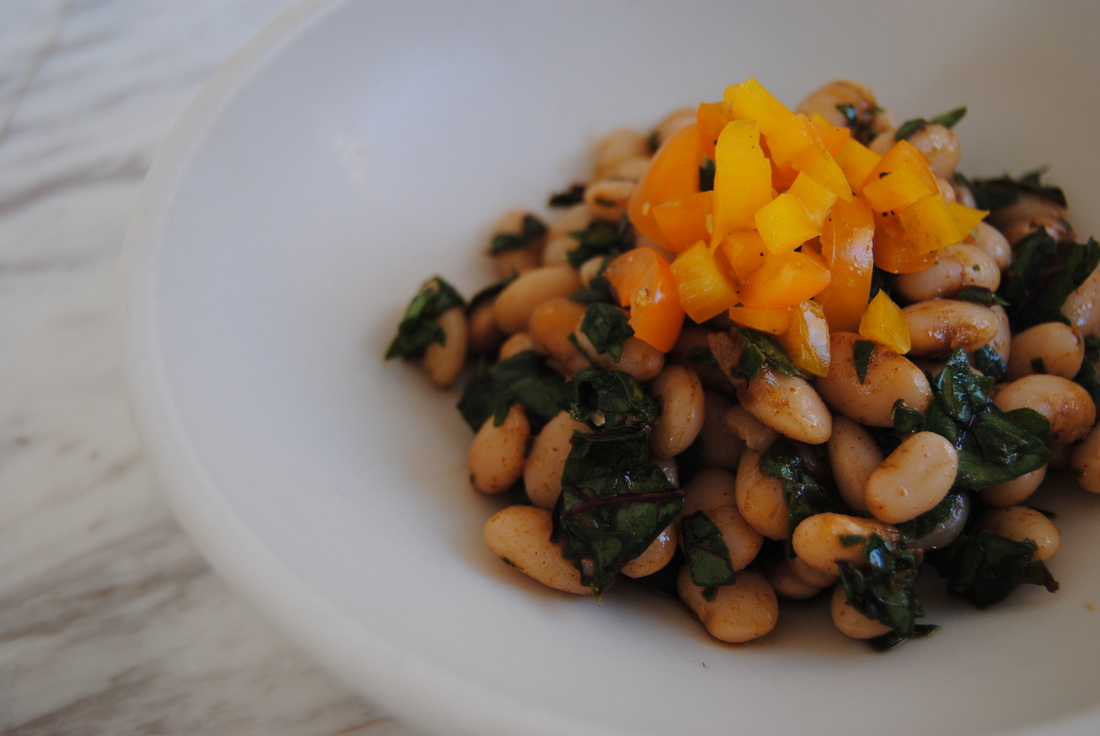
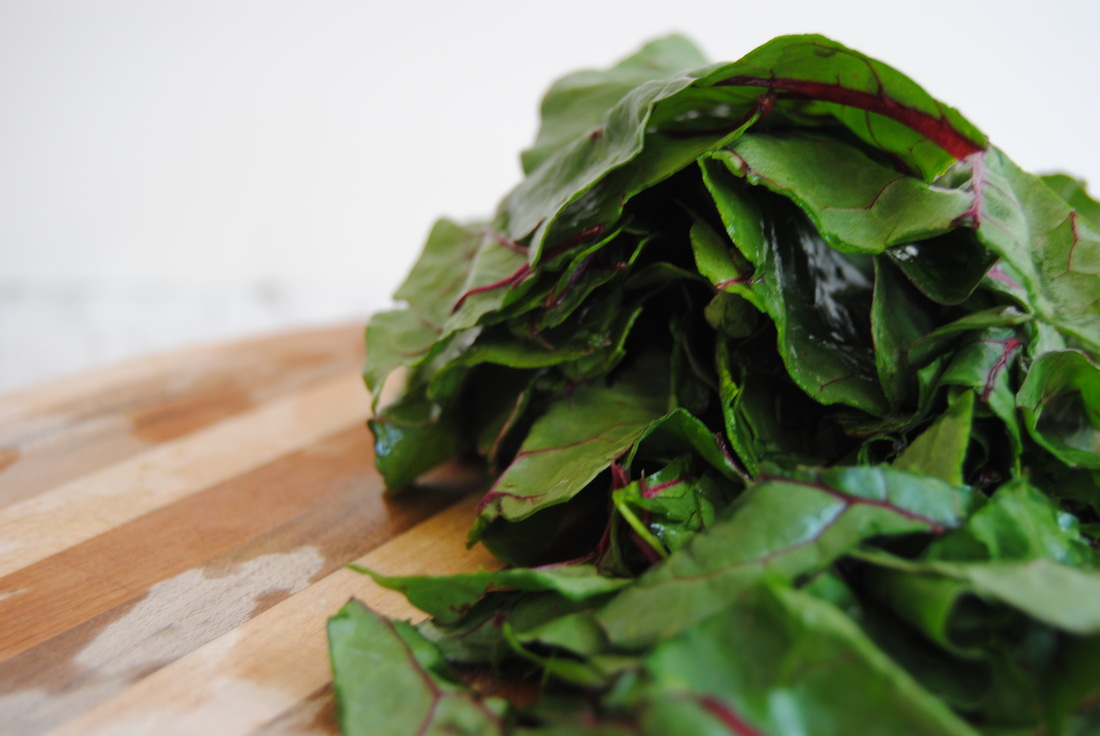
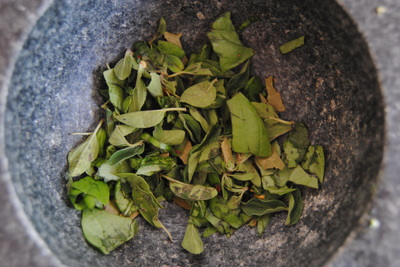
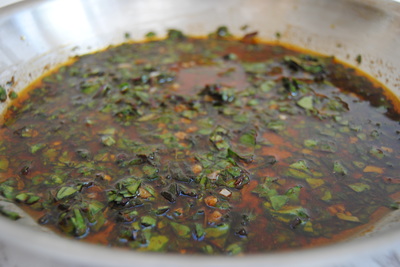
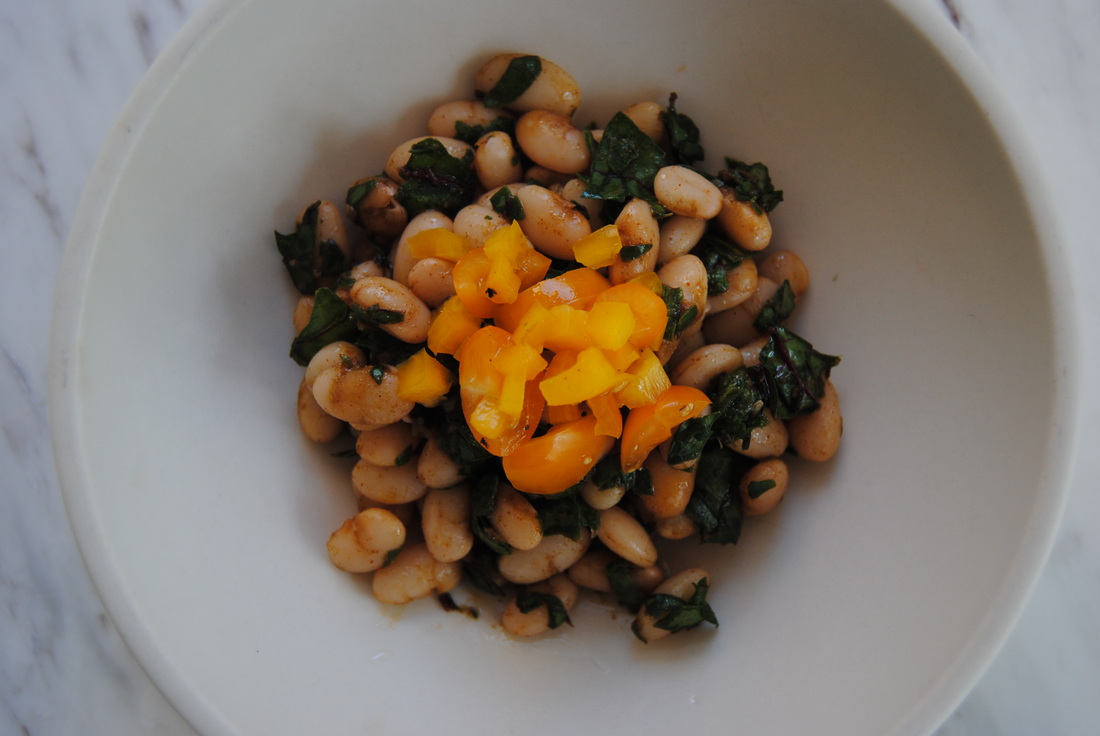
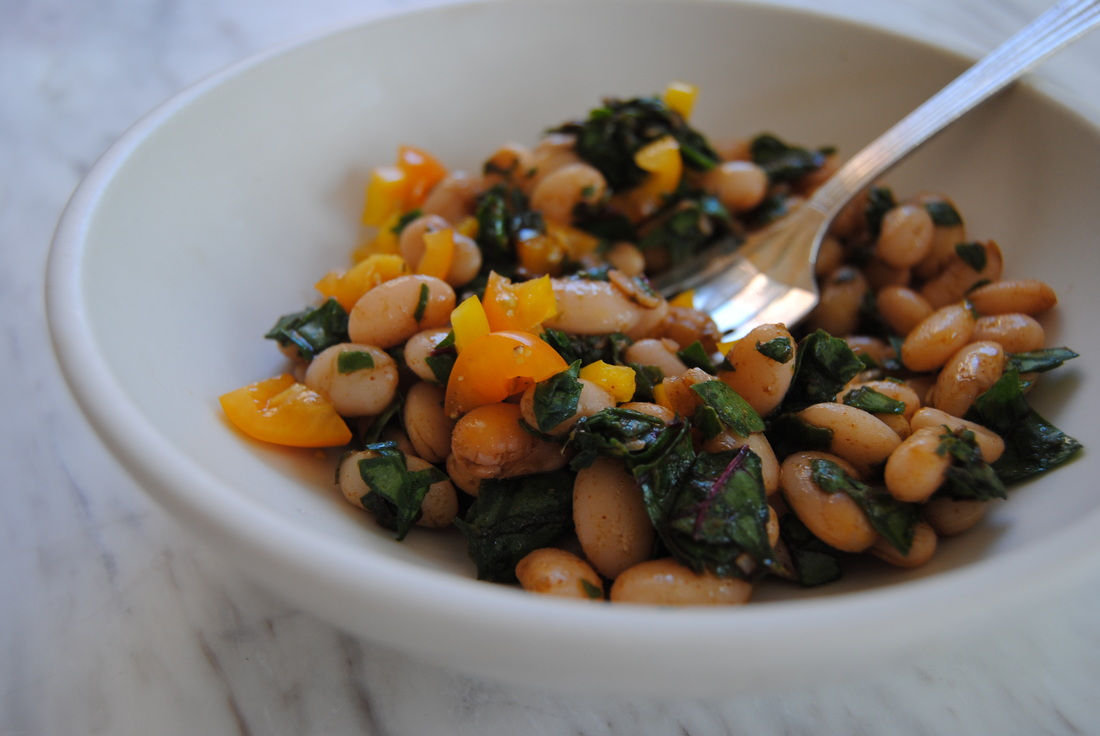
If you've been enjoying your local farmers market or CSA program as we've been this summer you may be seeing an abundance of hearty greens just waiting to make their way into your next recipe. Though kale is a very popular super green, there are many other varieties of hearty greens that offer similar benefits. We do have to admit that we love kale and had to challenge ourselves this week to give another hearty green a chance, and boy are we glad we did! Swiss chard has been making a steady appearance at the local markets and in our CSA boxes recently and inspired this recipe. But more on greens first! The term dark green leafy vegetables refers to a large variety of lettuces (romaine, butterhead, arugula), greens (kale and collards), as well as spinach and swiss chard to name a few. Leafy greens are considered nutritional powerhouses due to their variety and high content of certain vitamins, minerals and antioxidants. Swiss chard in particular contains vitamin A, vitamin K, vitamin C, potassium, calcium, and iron. It is regarded as an important iron source specifically for those following vegan diets though may not be a reliable source of calcium due to the presence of oxalic acid in swiss chard which can bind calcium and inhibit absorption in the intestine. Swiss chard does have a more bitter taste than other greens and is less likely to be consumed raw for this reason. It cooks down well with long, slow cooking methods though we wanted to find a fresher use for this power green perfect for the late summer season. We think this recipe highlights chard in a subtle way and may help you fall in love with another green, we sure did! Swiss Chard and White Beans with Lemon Herb Olive Oil PREP TIME: 45 mins (+ 12 hour soaking time) TOTAL TIME: 50 minutes (+ 12 hour soaking time) Servings: 4 Ingredients Beans 1 1/2 cup dried white navy beans or any other variety of white bean Sauce* 1/2 cup extra virgin olive oil 1 bunch swiss chard 2 cloves garlic, minced 3 stems of fresh oregano, ~1 Tbsp of removed leaves 4 large fresh basil leaves, torn into small pieces I bay leaf, finely crushed 1 1/2 tsp paprika 1 /2 tsp sea salt Dash of red pepper flakes Juice of 1 small lemon Fresh tomato and pepper relish 1/2 cup diced cherry tomatoes (we used sweet yellow) 1/2 cup diced sweet pepper (we used sweet yellow) 1/4 tsp sea salt 1/4 tsp cracker black pepper 2 tsp red wine vinegar Start by placing the dried beans in a large bowl, cover with water, and place a lid or plate over the top. Allow beans to soak at room temperature for ~12 hours. Drain soaking water and give the beans a quick rinse before adding to a pot with enough liquid to cover and a sprinkle of sea salt. Bring mixture to a boil then lower heat to medium-low, partially cover with a lid allowing steam to escape, and simmer for ~45 minutes or until beans are tender but still firm enough to hold their shape. Drain beans from cooking liquid while reserving ~2-3 Tbsp of cooking water in a small bowl. Dice tomatoes and peppers into small cubes. Add red wine vinegar, salt, and pepper and stir to combine then set aside. Rise, de-stem, and chop swiss chard into bite size pieces and set aside. Using a mortar and pestle lightly smash the fresh oregano, basil, and bay leaf until fragrant. Add olive oil to a large pan and turn to medium low heat. Add crushed garlic to oil and stir until fragrant. Once oil has warmed, turn heat off and add chopped swiss chard, smashed herbs, paprika, salt, red pepper flakes, and lemon juice to the oil and stir to combine all ingredients. Add cooked beans to the finished sauce and stir until sauce is well dispersed. Serve beans warm with a spoon of fresh tomato pepper relish over the top. *Sauce inspired by this recipe from another food blog we love, 101 cookbooks by Heidi Swanson This dish is leafy green perfection. The rich olive oil sauce brightened with plenty of paprika and flowery oregano creates a perfect medium for the slightly bitter swiss chard to truly shine. This over firm white beans and topped with a fresh tomato and sweet pepper relish is a meal you surely don't want to miss. With this recipe you won't have to wonder again what to do with those unique hearty greens - we think this will work with just about any variety!
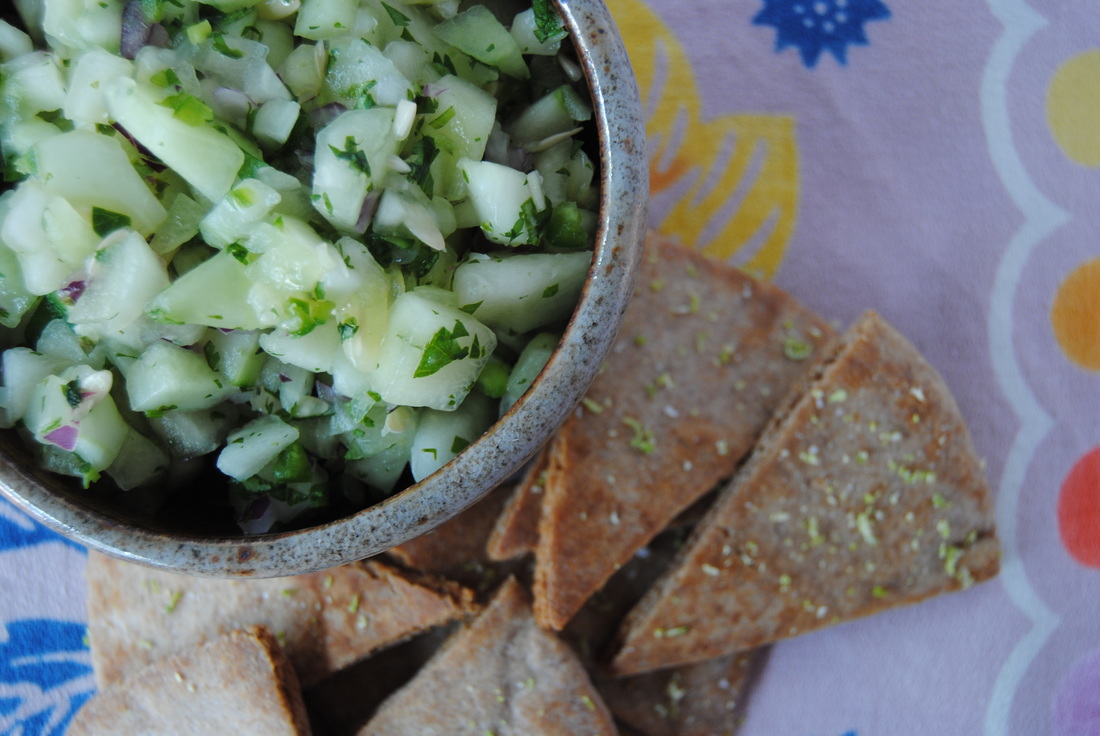
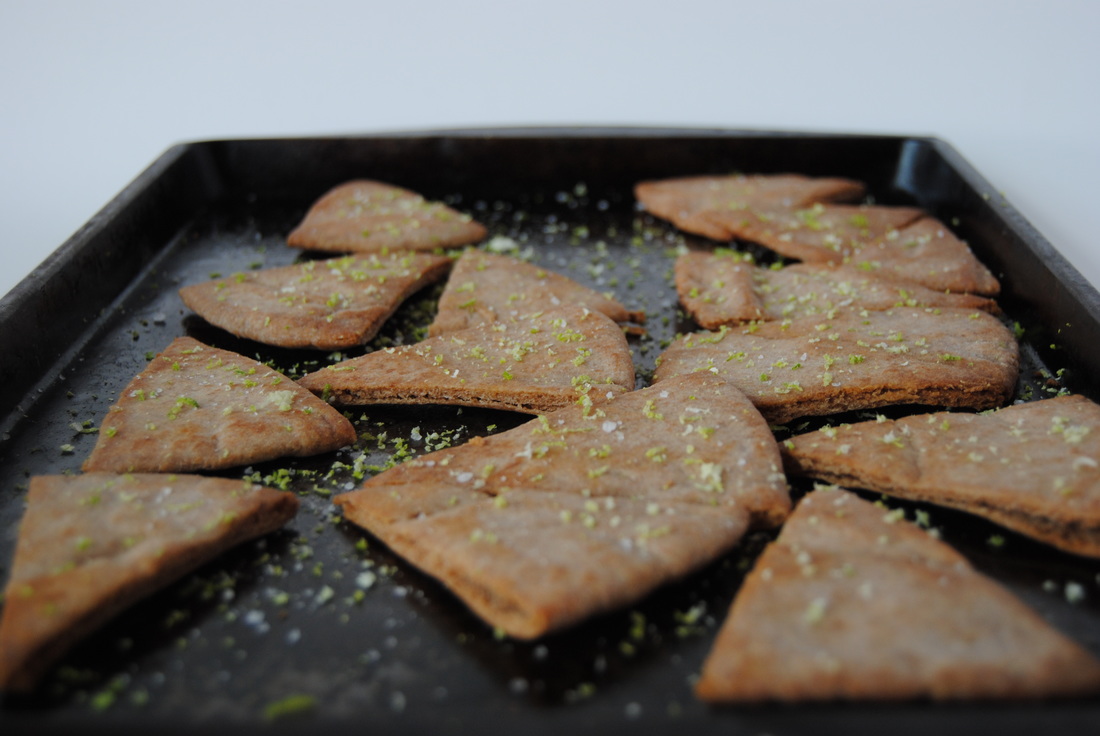
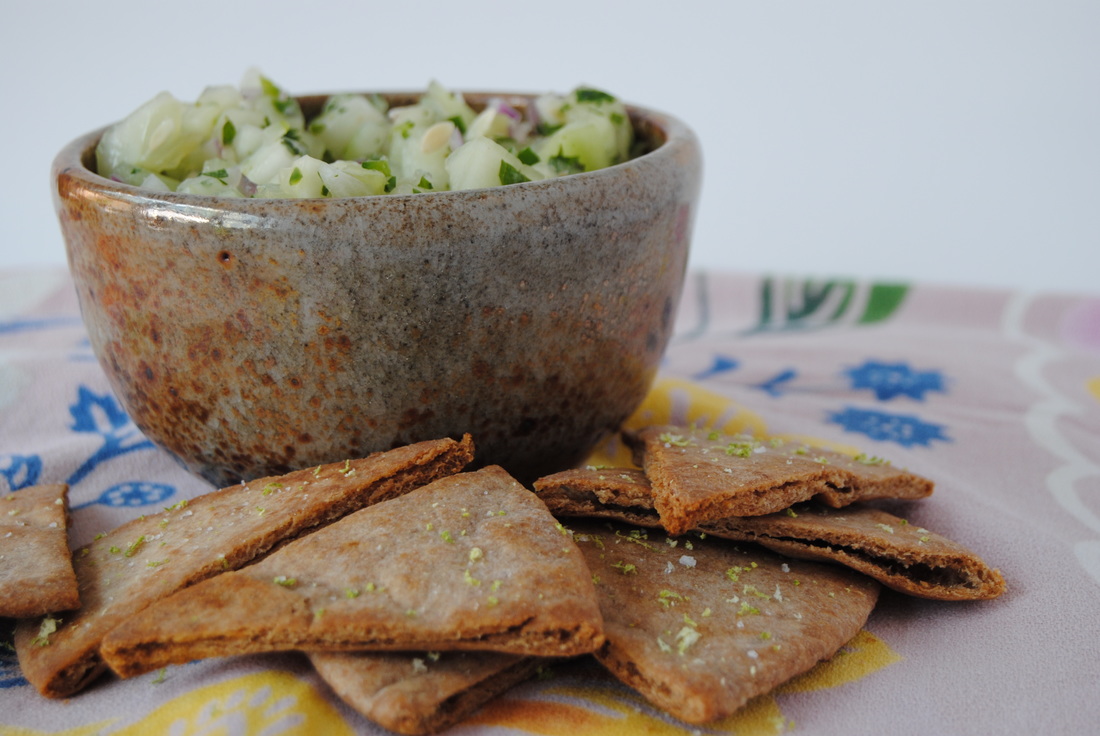
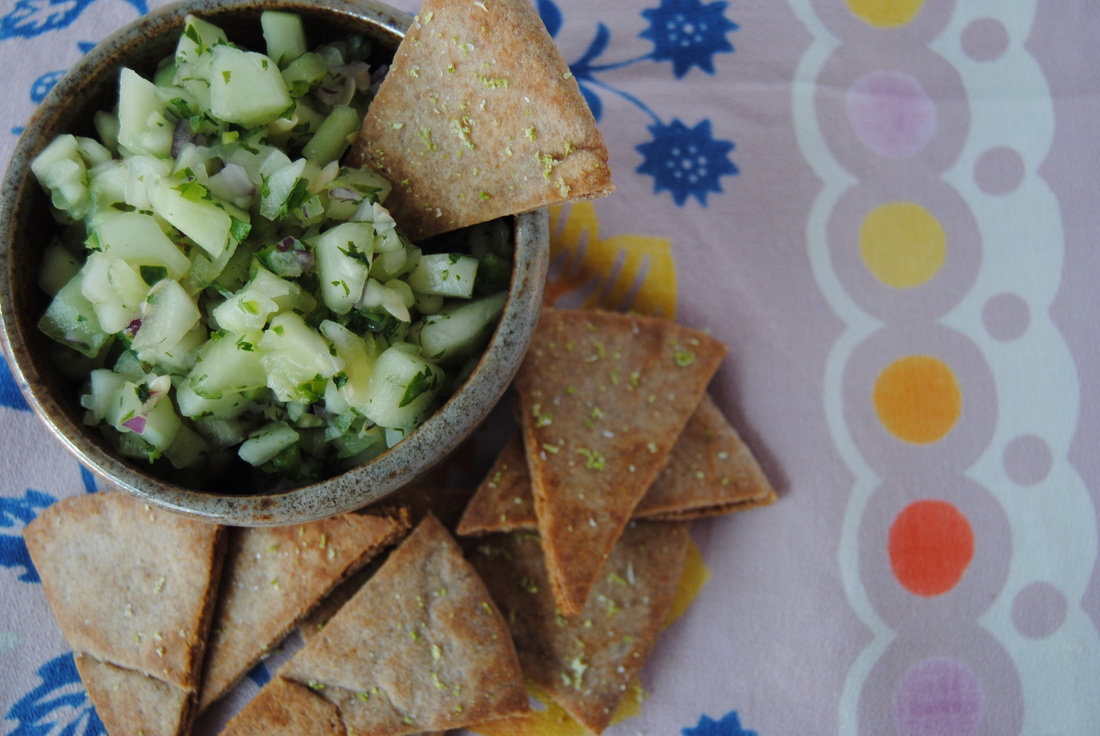
Enjoy, Jess and Cecelia We have a very special post for you this week friends because it was inspired by two loyal TGBK followers. One requested unique cucumber recipes to utilize all those garden spoils, and of course we couldn't disappoint! The other shared a family secret when she introduced us to the simple deliciousness of honeydew melon dressed in fresh lime juice. The two combined and inspired this fresh summer recipe that we just know you are going to love. And in the spirit of enjoying summer we will skip on the food education this week and get straight to the eats. Cucumber Honeydew Salsa with Lime and Sea Salt Pita Chips PREP TIME: 25 minutes TOTAL TIME: 40-45 minutes with cooking time Servings: 8-12 (makes ~8 cups salsa) Ingredients Salsa 2-3 large cucumbers, ~4 cups chopped 1 small honeydew melon, ~4 cups chopped 1 small jalapeño pepper, ~1/4 cup diced 1/2 medium red onion, ~1/2 cup diced 1/2 cup fresh, chopped cilantro 1/4 cup fresh, chopped mint 2 organic limes (reserve peels for pita chips) 3/4 tsp salt Pita Chips 4 whole wheat pitas 2 Tbsp coconut oil 1 Tbsp lime juice Zest of 1-2 limes Sea salt to taste Begin by preparing the pita chips. Preheat oven to 350 degrees and cut each pita into 8 triangle shaped pieces using a pizza cutter. Place in a single layer on un-greased baking sheets. Combine liquid coconut oil and lime juice in a small bowl and brush onto both sides of each pita chip. Bake in preheated oven for 15-20 minutes until golden brown. Flip chips halfway through cooking. Remove from oven and sprinkle with sea salt and lime zest. While pita chips are cooking prepare salsa ingredients. Peel and chop cucumber into small squares. Discard honeydew seeds, remove melon from rind, and chop into small cubes. Finely dice jalapeño and red onion and chop cilantro and mint. Combine prepared ingredients in a large bowl. Add the juice of two limes and 3/4 tsp salt and stir well to combine. Allow to sit at room temperature 5-10 minutes prior to serving. Uneaten salsa can be stored in an airtight container in the fridge for 2-3 days though is best day of. Pita chips will keep well in an airtight bag or container for up to a week. Salsa can also be enjoyed as garnish for veggie burgers or sandwiches, on top of salad, or combined with garbanzo beans and feta cheese for a more complete meal. This salsa is a fresh flavor explosion and we think a perfect use for both cucumbers and honeydew. Being the same color they are difficult to tell apart in the recipe until you take a bite - the cucumber provides the fresh summer crunch we all crave and the honeydew with lime is a perfect sweet and sour flavor combination that can't quite be explained. Not to mention the lime and salt covered, perfectly toasted pita chips for dipping. And remember, this recipe is inspired by YOU. We'd love to hear more about what you like, love, and want more of from TGBK. Comment or contact us, we'll be waiting.
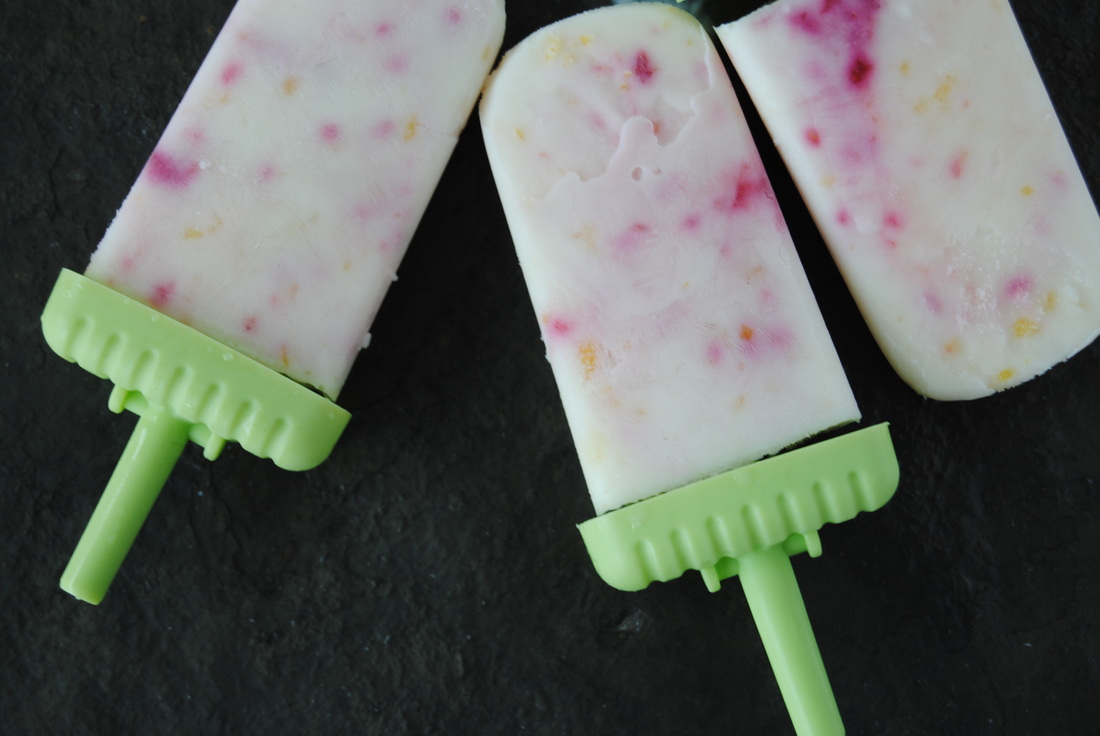
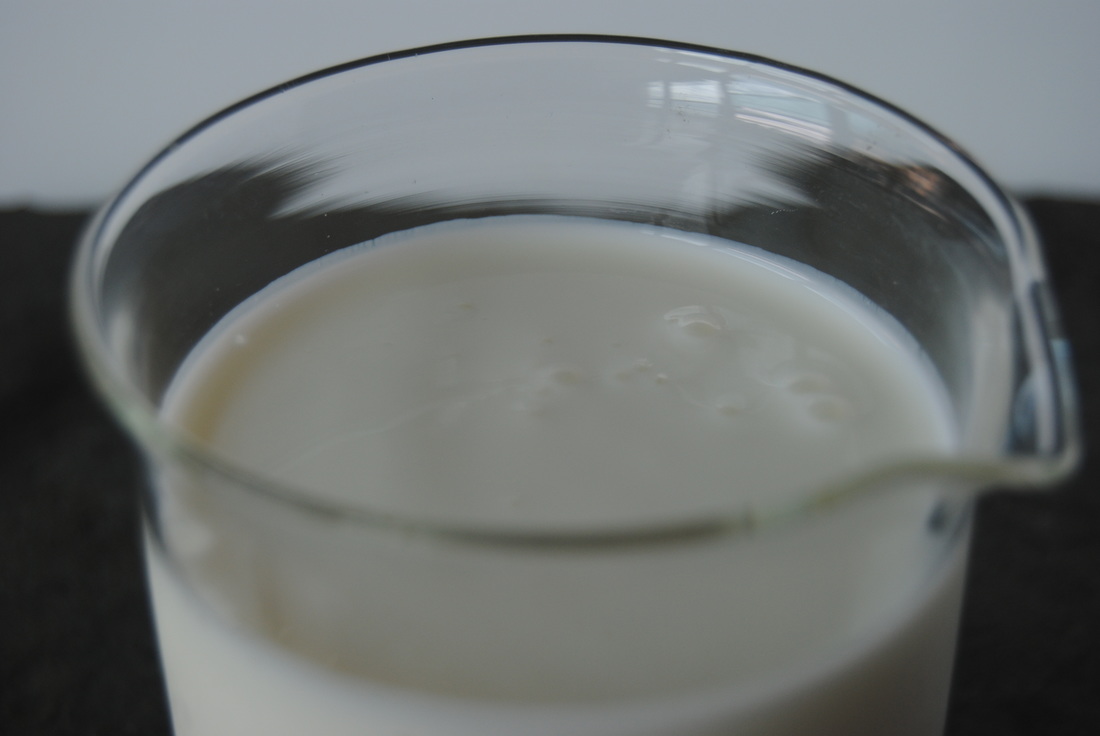
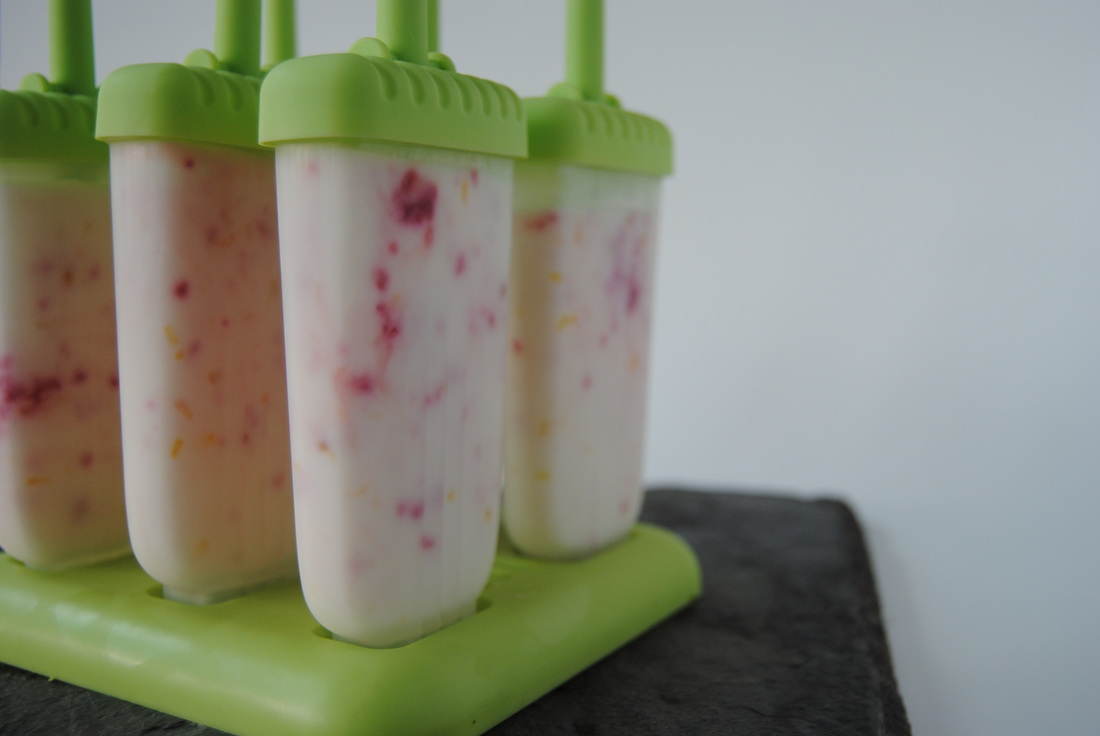
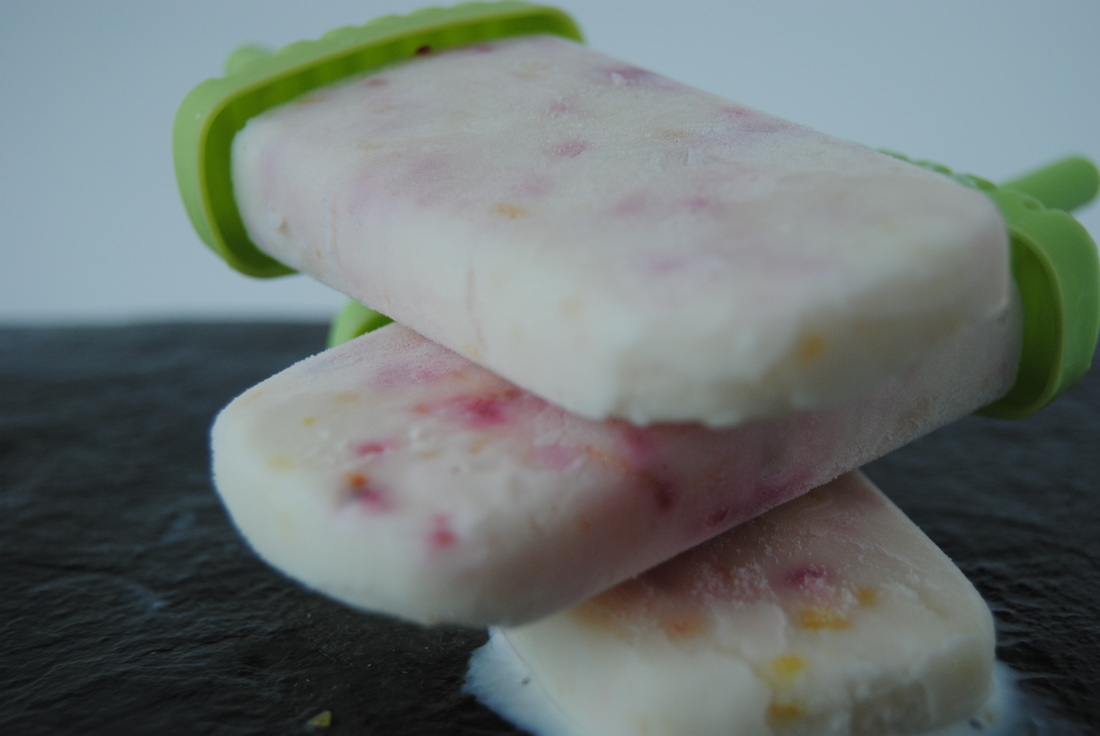
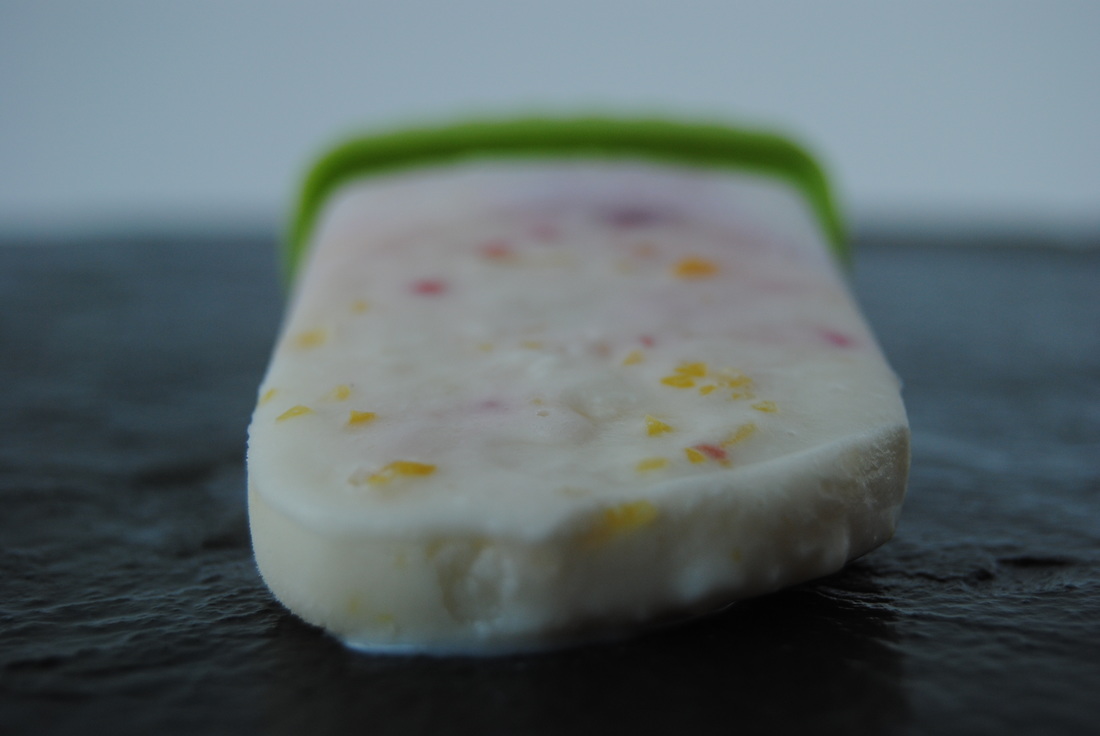
Enjoy, Jess and Cecelia Of the many ways to stay cool during hot and humid August days, one of our all time favorites is enjoying frozen treats. Though often frozen treats are dessert (ice cream!) and provide mostly calories and added sugar without much nutritional benefit. Sometimes frozen yogurt is chosen as a healthier alternative but we are usually less than impressed with this lower fat (and lower taste!) option. But this doesn't have to be the case! With full fat yogurt products and the right flavorings, homemade frozen yogurt popsicles can and will be delicious. We are making frozen yogurt cool again with this recipe, join us! Our secret ingredient for this popsicle recipe is Kefir - a probiotic beverage made from milk and kefir grains. So you are now probably wondering, what are kefir grains? Kefir "grains" are not actual grains such as wheat, rye, or barley but are referred to as grains because of their similar appearance and size. Kefir grains contain bacteria and yeast that work together to culture dairy milk or coconut milk creating a finished fermented product loaded with gut friendly probiotics. Dairy kefir is also a great source of protein with eight ounces containing eleven grams of protein to help keep you satisfied until your next meal. Dairy kefir is also a great source of calcium with an eight ounce serving containing 30% of your daily calcium needs and is very low in lactose making it a better dairy option for people who are lactose sensitive. Plain dairy kefir has a slightly sour/tangy flavor similar to yogurt and can be used in a variety of ways. We love kefir to drink plain, in smoothies, chilled soups, and frozen into popsicles as we did in this recipe. And not to worry, those amazing probiotics will survive freezing! They will become dormant when frozen but re-activate after consuming to provide the many benefits of probiotics to your gut. Also, a note that we chose full fat kefir for this recipe. We find the full fat option to be the richest and tastiest, so perfect for a frozen treat. Full fat dairy in general provides a balanced dose of both diary protein and fat in its natural state, meaning less processing (yay!) and more satisfying. And despite historical nutrition recommendations to chose skim and low-fat dairy, current research has not shown improved outcomes to support this recommendation. This makes sense to us - the less you mess with the natural form of a food the better. Except of course when you ferment something and make it a probiotic containing superfood like kefir! So let's get to making those kefir popsicles shall we? Sour Raspberry Kefir Popsicles PREP TIME: 10 minutes (+ 4 hours freezing time) TOTAL TIME: 15 minutes Servings: 6 popsicles Ingredients Flavored kefir 8 oz plain whole milk kefir 4 oz plain whole milk Greek or Icelandic yogurt 3 Tbsp raw honey (regular honey or light maple syrup will also work) 1 oz fresh ginger juice Zest of 1 medium organic lemon, ~2 tsp Sprinkle of sea salt Raspberry swirl 1/4 cup fresh or frozen raspberries, thawed 1 Tbsp raw honey (regular honey or light maple syrup will also work) 2 tsp bee pollen (optional) In a medium bowl, mix together kefir and yogurt. Stir in honey, ginger juice, lemon zest, and salt then set aside. To make the raspberry swirl, add the raspberries, honey and bee pollen to a small food processor and whip to combine. If you do not have a small food processor mix by hand using a whisk. Please note, you may need to add 1-2 tsp of water to thin the raspberry puree slightly. Evenly pour ~2 tsp raspberry puree into each popsicle mold and top with kefir mixture. As you pour the kefir you should notice the raspberry sauce begin to swirl throughout the popsicle, if not you can swirl by hand with a thin utensil (knife, chopstick etc.). Place popsicle stick into each pop and freeze according to popsicle mold directions. Run molds under hot water to easily remove popsicles once frozen. Frozen yogurt is making a comeback with these popsicles! So rich and filling from the kefir and with an amazing balance of sweetness and tang from the lemon, ginger and fresh raspberry swirl. You can bet that our freezers will be stocked with these for the rest of the summer season. And as you enjoy this recipe make sure to share the good news about full fat dairy - it's cool again too.
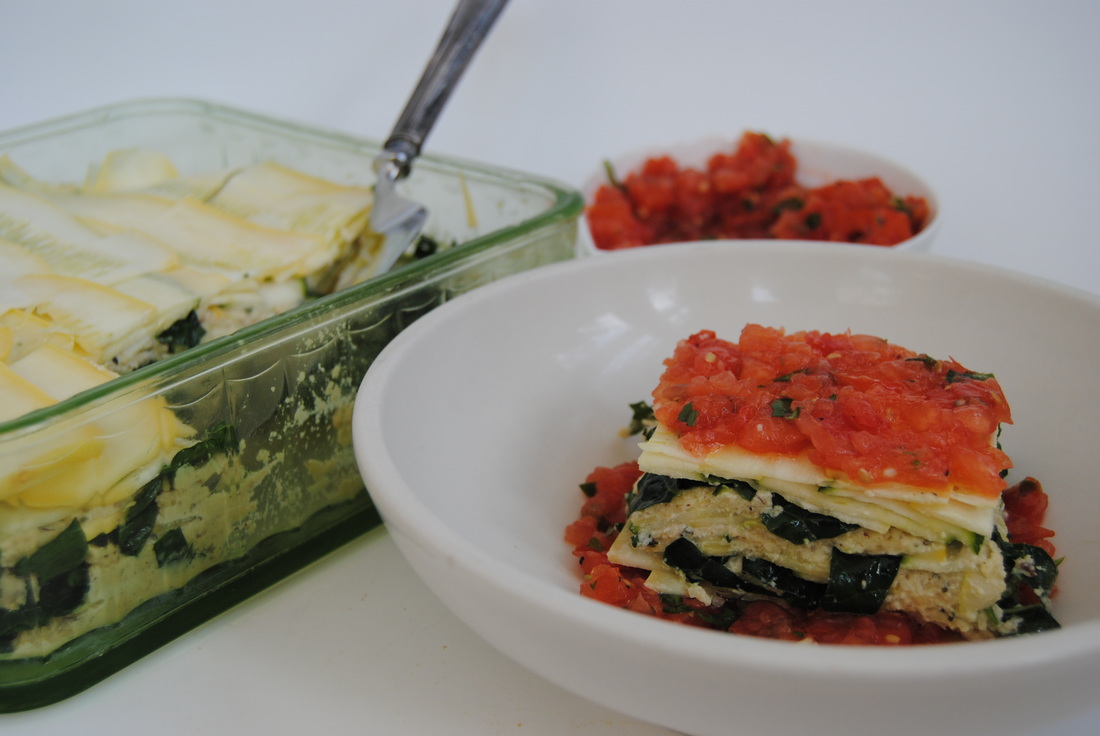
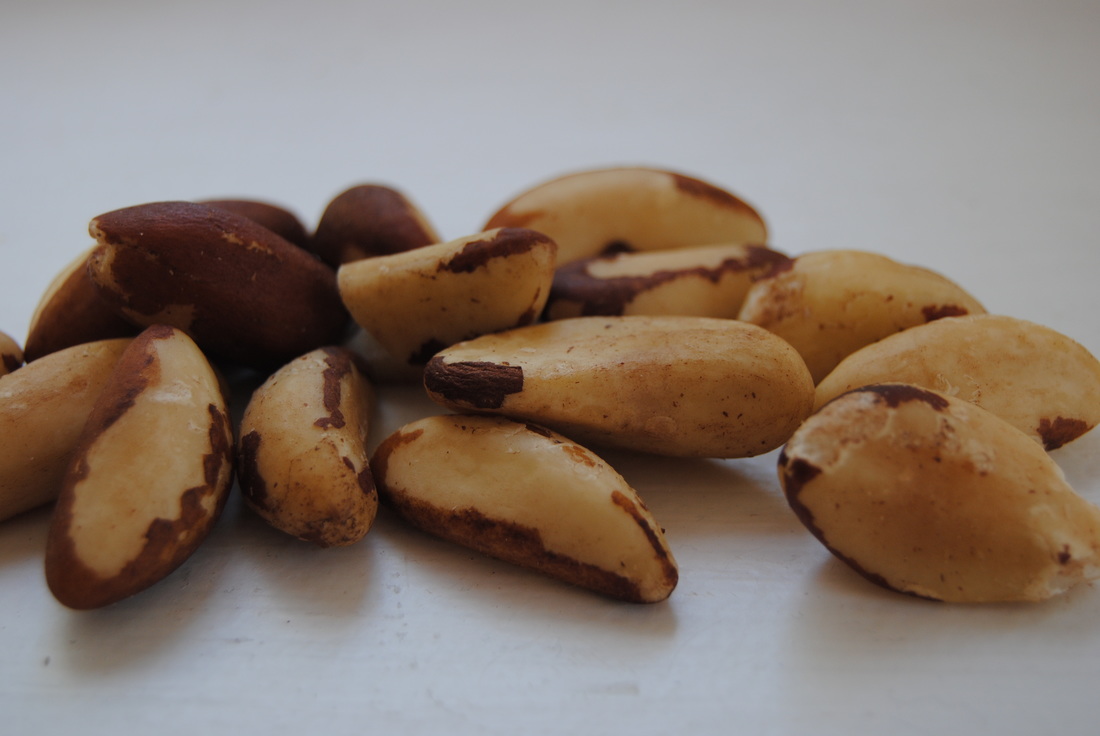
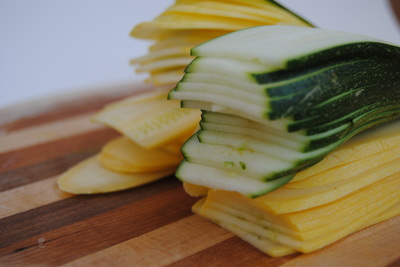
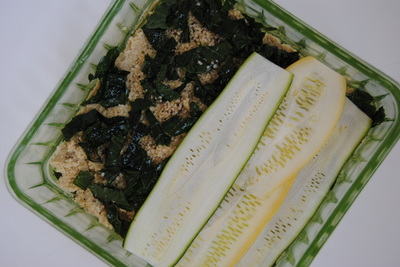
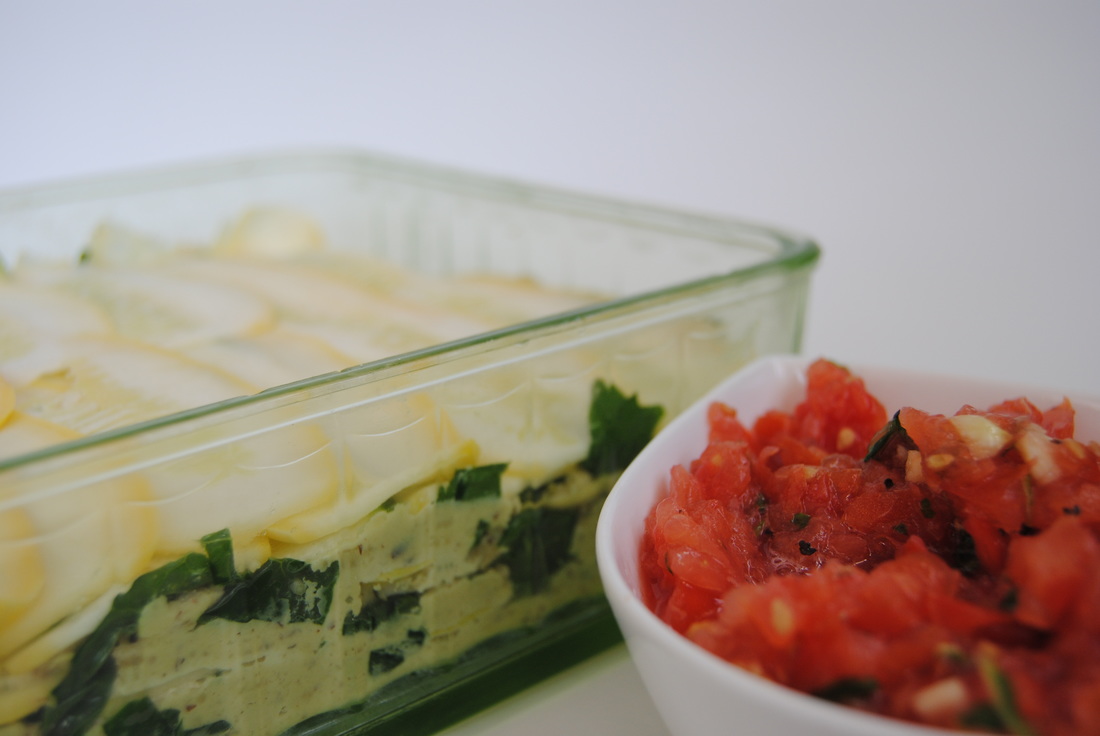
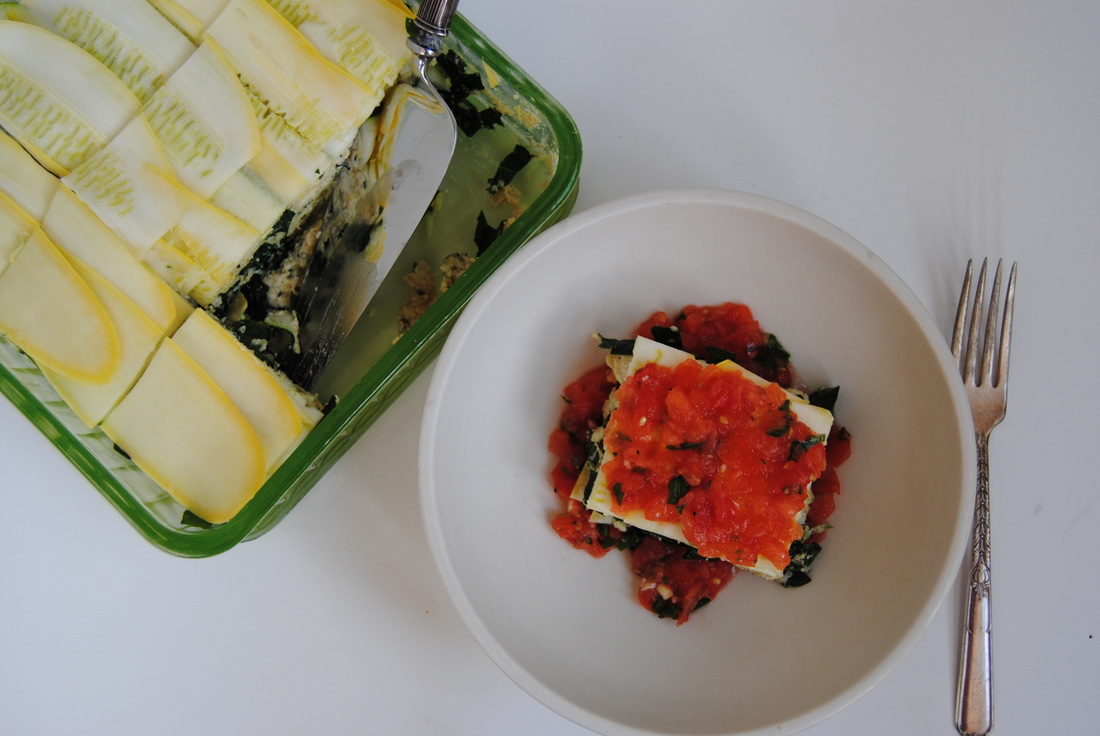
Stay cool, Jess and Cecelia We've done it again friends. Another fresh summer recipe is waiting to make its way from our kitchen to yours. This dish is so right in the midst of summer. When it's this hot out we doubt you have plans to make standard lasagna anytime soon. This recipe is relatively quick, requires no cooking, and is a great way to use the abundant zucchini available at farmers markets and in home gardens. Just don't expect this to be anything like standard lasagna. Instead imagine a summer version of lasagna wearing a bikini. Still can't picture it? Well then this is a recipe you'll just have to try! Though first let's learn more about the star ingredient in this raw lasagna filling. With the summer Olympics kicking off in Brazil this past weekend we were inspired to highlight the unique Brazil nut in this recipe. Though maybe less well known than some other nuts, Brazil nuts are an interesting nut variety with an important nutrient profile. Brazil nuts have protein, fiber, heart-healthy monounsaturated fat, and the highest selenium content of any other food (wow!). Selenium is an essential trace mineral necessary for inhibiting the oxidation of fat within the body, is important for immune protection, and helps to maintain healthy heart function. Selenium is also an antioxidant that when paired with vitamin E or vitamin A can help protect against inflammation. Given this fun fact, Brazil nuts paired with vitamin A rich tomatoes (as featured in this recipe!) may help improve inflammation from acne. Amazingly, Brazil nuts are the only naturally occurring concentrated source of selenium - you can get your daily dose with just two Brazil nuts a day! So now that you're completely pumped about Brazil nuts, let's hit the recipe. Raw Lasagna PREP TIME: 20 minutes + 12 hour soaking time TOTAL TIME: 30 minutes Servings: 9-12 Ingredients Nut cheese 1 1/2 cup raw unsalted Brazil nuts 1 1/2 cup raw unsalted cashews 1/4 cup raw shelled hemp seeds 1/4 cup nutritional yeast 2-4 Tbsp water 3 small cloves garlic, minced 1 tsp sea salt 1/8 tsp cracked black pepper Lasagna 3 medium or 5 small zucchinis 1 bunch raw kale (any variety will work) 1 Tbsp extra virgin olive oil 1/4 tsp sea salt 1/3 cup raw shelled hemp seeds Sauce 4 large tomatoes (we prefer a firmer tomato such as the roma variety which will hold their shape once cut) 2 small cloves garlic, minced 1/4 cup fresh basil, chopped 1/8 tsp cracked black pepper In a large bowl, combine Brazil nuts, cashews, and room temperature water to cover. Cover with a lid and allow nuts to soak for 8-12 hours. Drain water from nuts and place soaked nuts in a food processor. Add hemp seeds, nutritional yeast, garlic, salt, and pepper to the food processor. Turn machine on low and slowly add in 1 Tbsp water at a time until the texture resembles that of ricotta cheese. Place cheese in a bowl and set to the side. Using a mandolin, carefully cut zucchini into long strips 1/8" thick. Keep in mind you do not want the zucchini to be too thin as a thicker noodle will add texture to this dish. Place sliced zucchini to the side. Chop kale into bite size pieces and massage with olive oil and salt until kale has a wilted appearance. To make the tomato sauce, dice tomatoes and add to a bowl. Add minced garlic, chopped basil, and black pepper to the bowl of tomatoes and stir to combine. If you have very juicy tomatoes leading to a watery sauce, pour or strain off some of the additional liquid. To assemble the lasagna, place zucchini strips on the bottom of a 8"x 8" pan making sure to slightly overlap the strips. Spread 1/3 of the nut cheese over the zucchini, add 1/3 of the messaged kale, and a sprinkling of the hemp seeds. Repeat until you have 3 layers. Add an additional layer of zucchini on top. Using a piece of wax paper gently press down on the top of the finished lasagna. This will help to seal the layers. Using a very sharp knife, carefully cut lasagna into 9-12 pieces. Spoon tomato sauce onto a plate, place a piece of lasagna on top of the sauce, and finish with additional tomato sauce and a sprinkle of salt. Keep lasagna in an air tight container in the fridge. Lasagna is best consumed within 1-2 days. This raw lasagna is every bit as different from standard lasagna as you can imagine, but in a really good way! So fresh and light from the thin strips of zucchini and massaged kale but satisfying and rich from the nut based filling. This all topped with a bright tomato sauce in the midst of tomato season is almost too good to be true. But it is true and can easily be making an appearance at your dinner table sometime soon.
Enjoy (in a bikini), Jess and Cecelia |
AuthorsJess and Cecelia welcome you to our kitchen. We are fun-loving and passionate foodies working to make the world a healthier, happier place one plant based recipe at a time. Categories
All
Archives
December 2018
|

