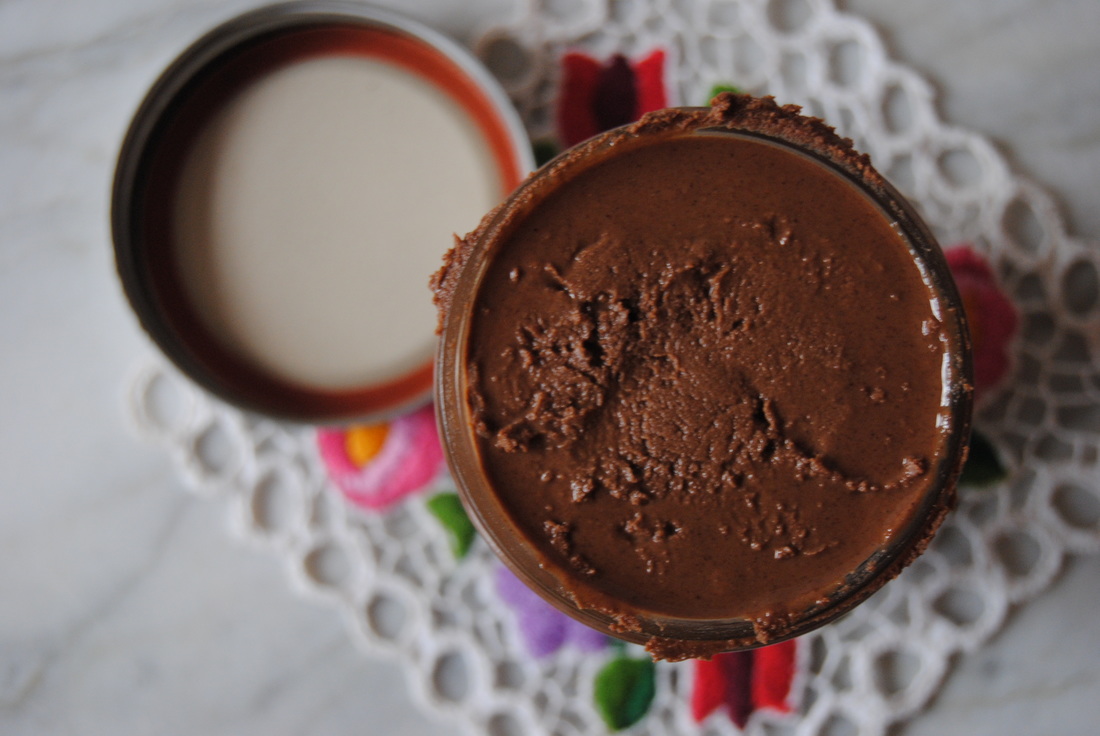
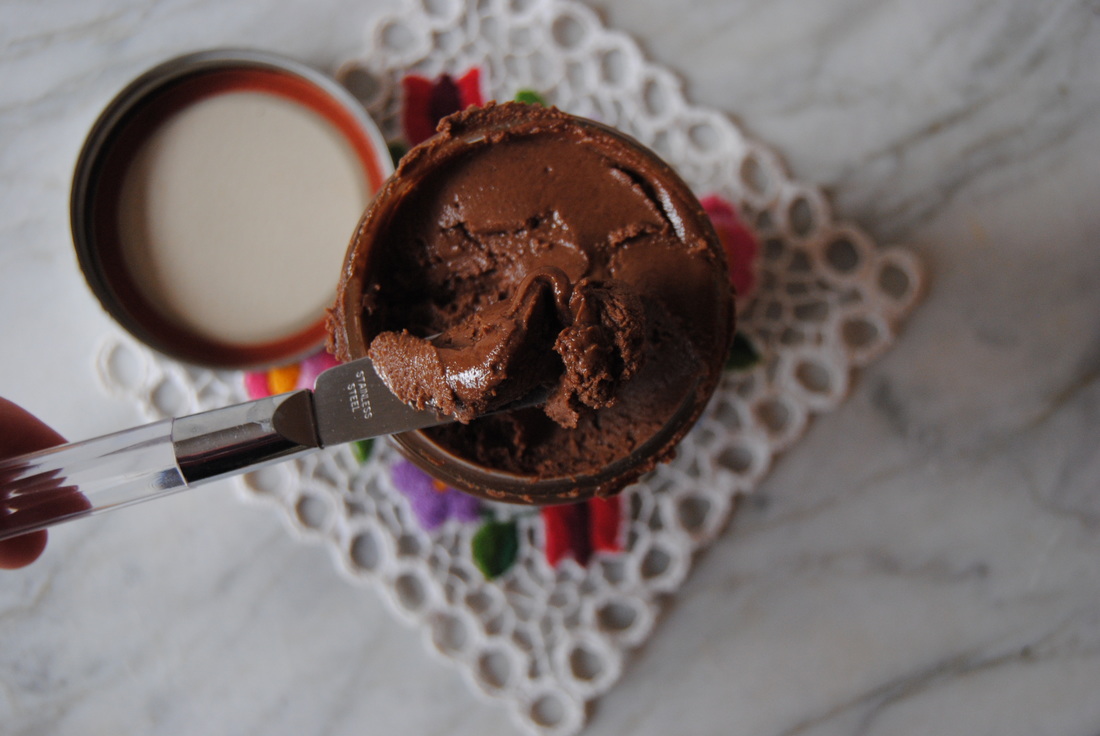
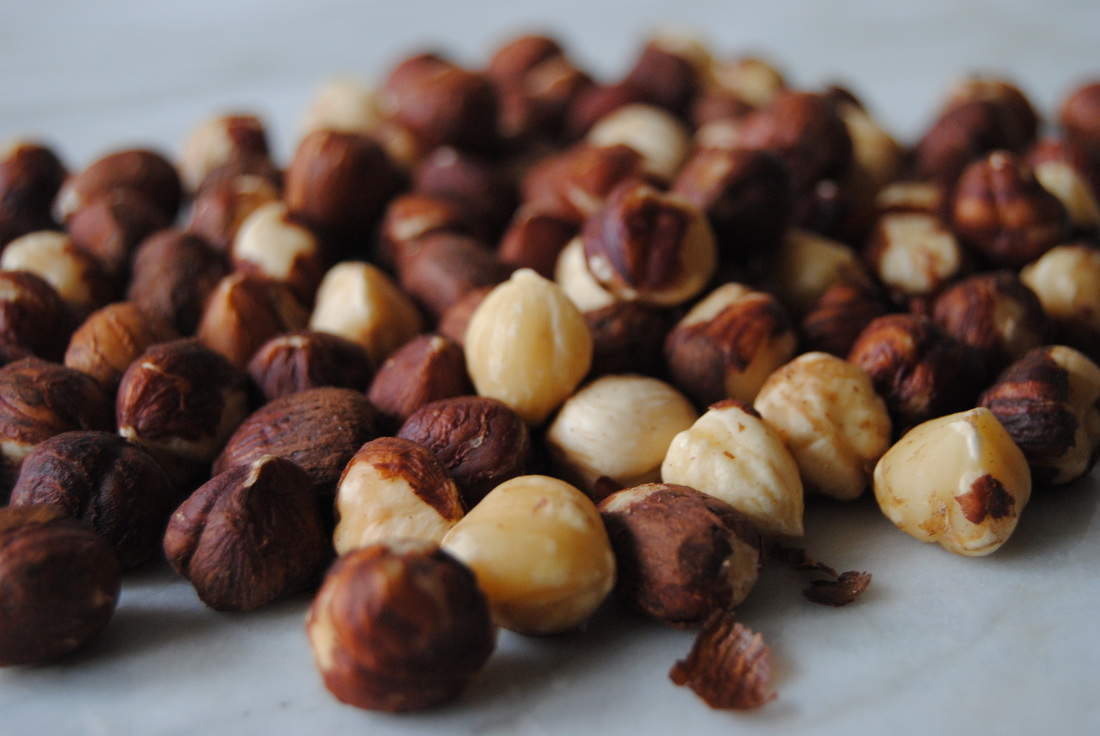
 We were in need of some fun this week and decided to do a little experimenting in the kitchen. First, we picked a food to experiment with and decided on the delicious hazelnut. They are just so cute and provided the perfect range of culinary options for our plans this week. And boy did we learn more than we ever expected! 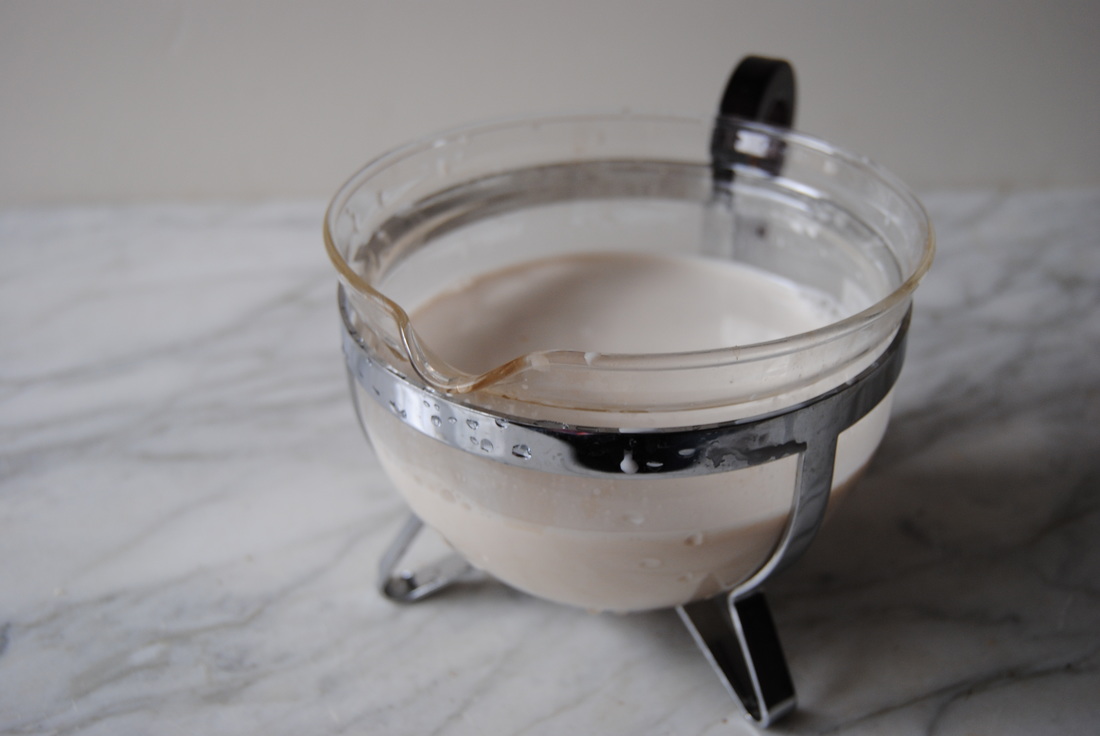 1. Hazelnuts make the BEST nut milk! So we've sworn to never make another nut milk again (okay maybe an exaggeration). We found hazelnut milk to have a rich and creamy texture and full flavor that can't be matched by other homemade nut milks. Don't believe us, try for yourself! Hazelnut Milk PREP TIME: 8-12 hour soaking time TOTAL TIME: 8-12 hour soaking time + 10 minutes to blend and strain Servings: 16 oz Ingredients 1 cup raw hazelnuts 2 cups room temperature water Place hazelnuts and water in a large glass bowl and either cover with a lid or plastic wrap then allow to sit out at room temperature for at least 8 hours. Once nuts are done soaking, drain off the soaking water. Add 2 cups of fresh room temperature water and soaked nuts to a high speed blender or food processor and blend on high for 2-3 minutes. Using a colander layered with a piece of cheese cloth or a nut milk bag, strain "milk" from the solids making sure to ring out as much liquid as possible into a pitcher or bowl. If using a small colander or small nut milk bag, this works best to do in a few batches. Store hazelnut milk in an air tight container in the fridge for 5-7 days. 2. Homemade "nutella" is tricky to make but worth the effort! Though we didn't exactly replicate the smooth texture and sweetness of store-bought nutella we still love the final outcome. We added almond to our recipe to help with texture and found the final product to be a delicious spread somewhere between traditional nutella and a chocolate nut butter. And with the added nuts this spread is higher in protein and overall nutrition, so a win there! Chocolate Hazelnut-Almond Spread PREP TIME: 10 minutes TOTAL TIME: 15 minutes Servings: ~12 oz Ingredients 1 1/2 cups unsalted almonds, roasted 1 1/2 cups unsalted hazelnuts, roasted 2/3 cups dark chocolate chips 1 tsp pure vanilla extract 1/2 tsp sea salt If you purchased raw nuts roast on a baking sheet in a single layer at 350 degrees for about 5-10 minutes watching closely so that the nuts don't burn. Allow to cool. In a high speed blender (ex: Vitamix or Blendtec), process almonds and hazelnuts on high until a semi-smooth nut butter is formed, about 3-5 minutes. In a microwave safe bowl or over a double boiler melt chocolate chips. If using a microwave, heat chocolate in 10 seconds increments stirring every 10 seconds to make sure you do not burn the chocolate. Pour melted chocolate, vanilla extract, and salt into the blender and continue to blend on high until a smooth spreadable nut butter is formed. Store in the fridge in an air tight container for up to 2 months. 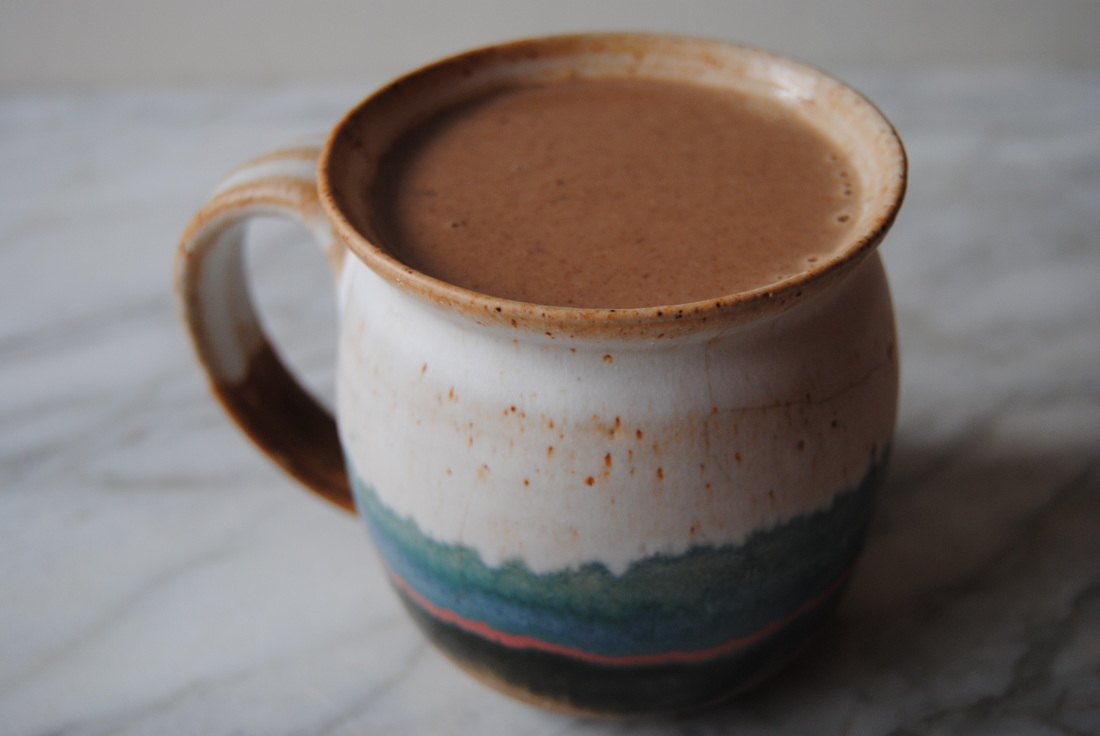 3. These two recipes combined make an amazingly rich and delicious hot chocolate. The creamy hazelnut milk and chocolate hazelnut-almond spread are the perfect companions in this warm dessert beverage. We did find this hot chocolate best consumed in a small portion (4 ounces) as it is filling from the nut spread and hot off the stove for ideal texture. Definitely a pick me up treat as the days get darker and colder.
Almond Hazelnut Hot Chocolate PREP TIME: 5 minutes TOTAL TIME: 5 minutes Servings: 2 Ingredients 8 oz hazelnut milk 2 Tbsp chocolate hazelnut-almond spread In a small pan over medium heat, mix together 8 oz of hazelnut milk and 2 Tbsp nut butter. Stir constantly until the nut butter has dissolved and milk is warm. Remove from the heat and pour into 2 glasses and sip away. So we hope you've enjoyed learning more about hazelnuts with us this week and have some fun for yourself with these recipes. If you have kitchen experiments you'd like to share, please do! We love to hear from you. Have fun, Jess and Cecelia
0 Comments
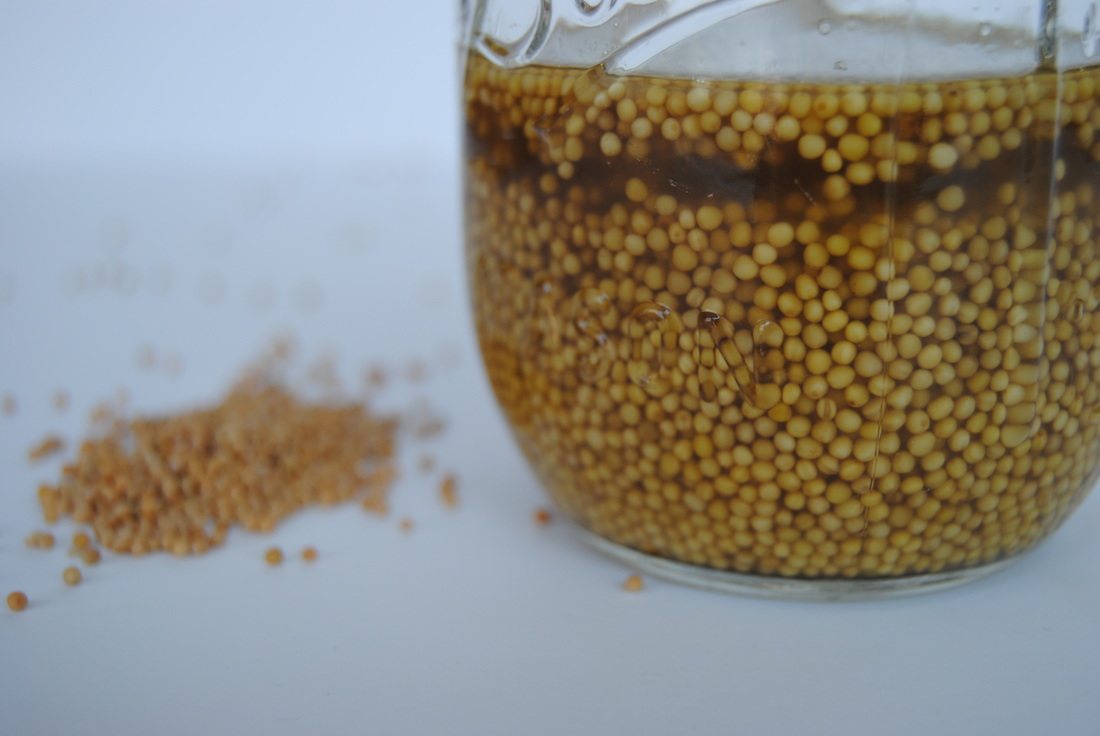
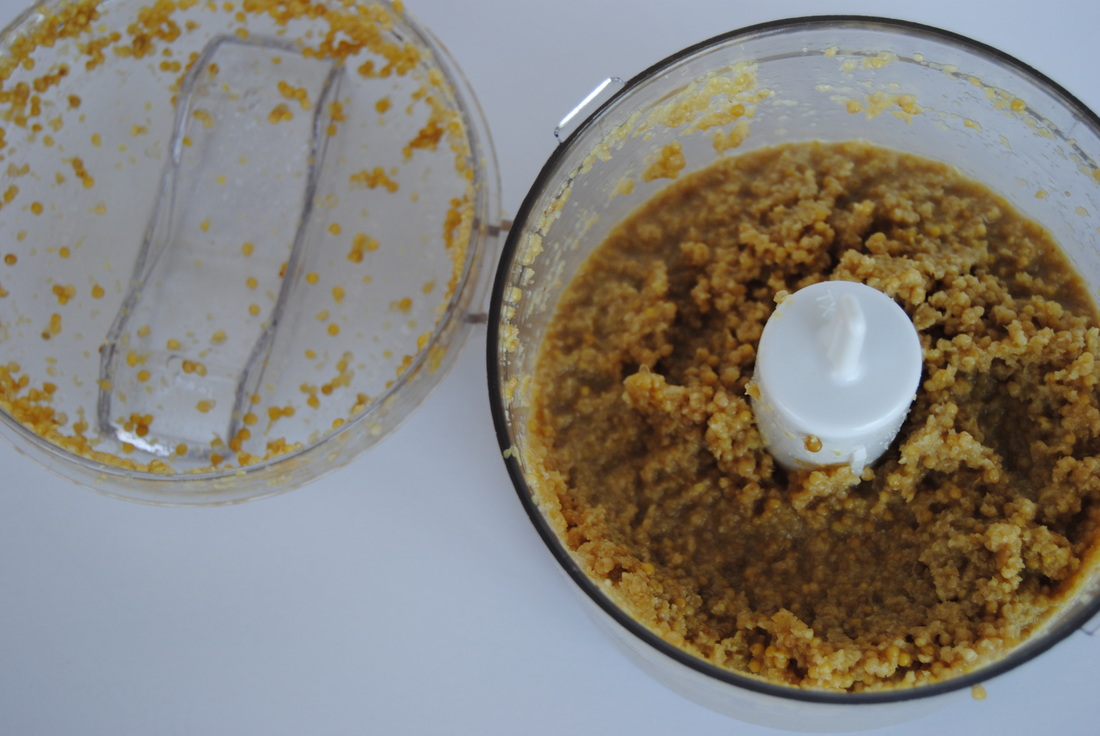
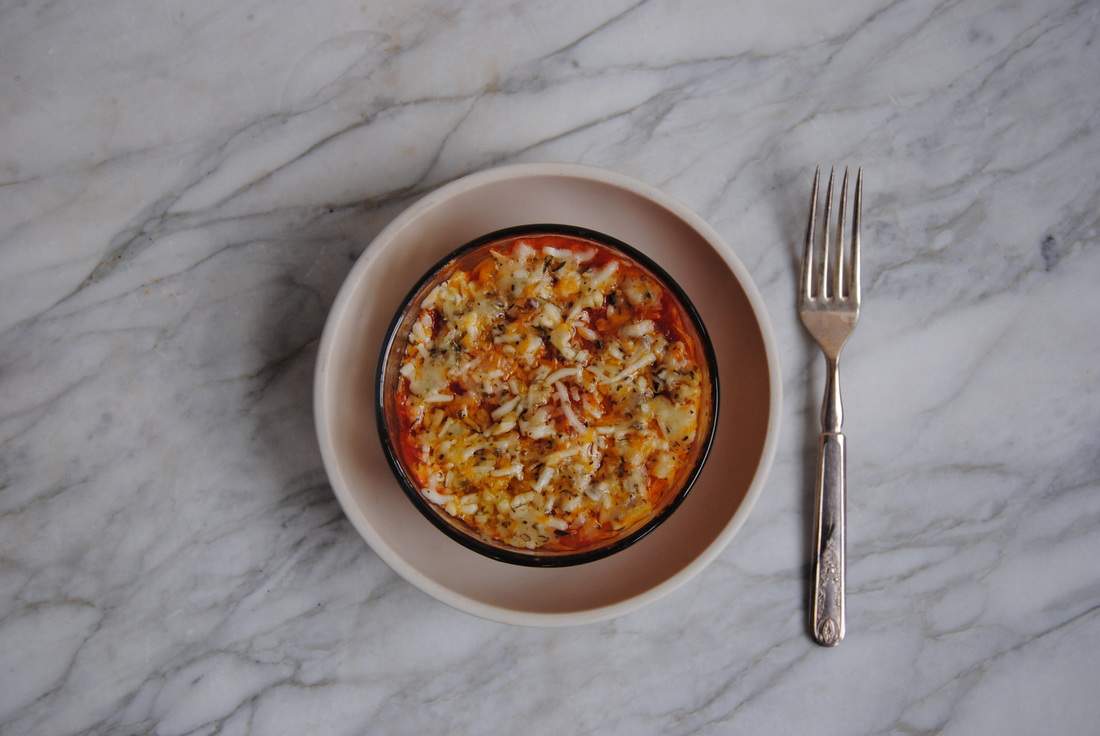 It's becoming that time of year when we start to crave comfort food and cold salads and sandwiches no longer cut it as a meal. While we excitedly dive head first into comfort food (and quickly approaching holiday) season, meals tend to become warmer and heavier. Though delicious and well deserved as we start to deal with the colder weather, these comfort food cravings can make healthy eating more challenging. But that's where we come in! Our recipe this week is still so comfy but substitutes squash for the traditional pasta ingredient, making this a recipe you can indulge in as often as you like. We've even made an indulgent garlic cheese spread with a special ingredient - let's find out more! 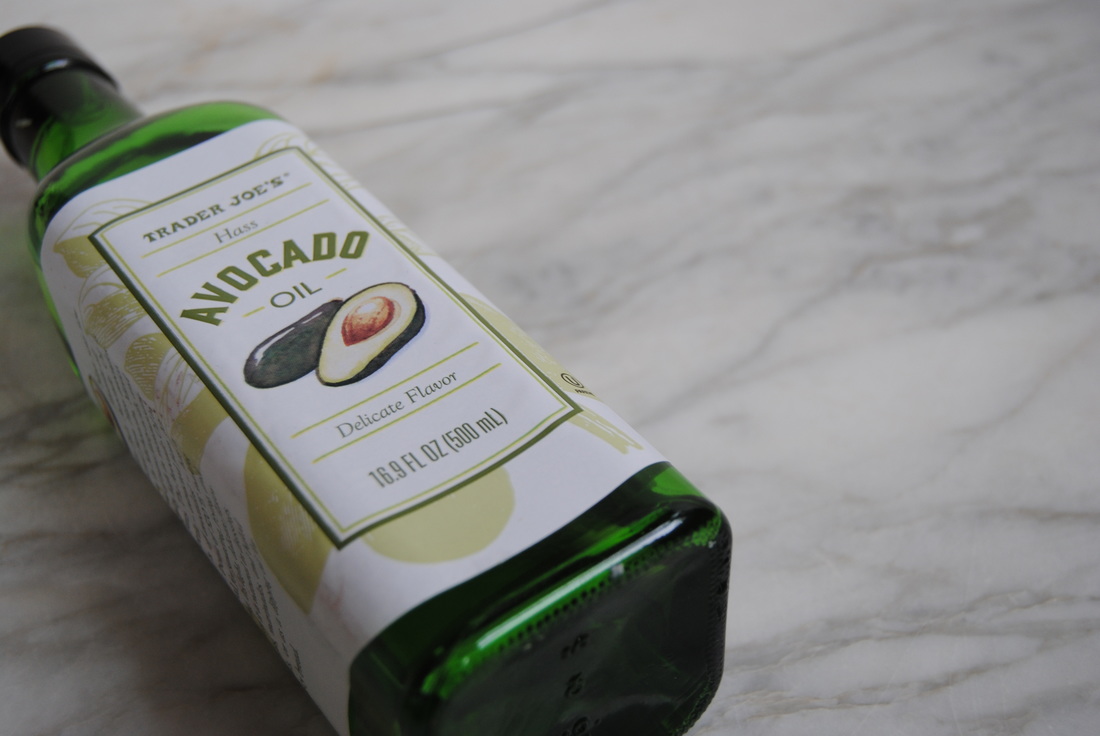 Talking about oil and the "best" oils to use in the diet can be tricky. Besides thinking about the actual properties of the oil and types of fat it contains, processing methods should be considered. Many of the commonly used oils in our food system are extracted from seeds through chemical processing methods and have a higher percentage of polyunsaturated omega-6 fatty acids than omega-3 fatty acids which can make them pro-inflammatory when consumed in large quantities. Seed oils are widely used due to availability, cost, and stability in processed foods and can be found on ingredient labels as canola, sunflower, safflower, soybean, cottonseed, grapeseed, corn, and rice brain oil. Though not all these oils sound like they come from seeds the oil itself is extracted from the seed of the plant, many of which don't sound like they should contain a whole lot of fat or oil to begin with. On the other hand, foods like olives, coconut, and avocado are known to be high in fat and therefore an oil created from these foods just seems to make more sense, doesn't it? Because of the high fat content physical extraction methods (cold or expeller pressing) are frequently utilized and preferred to chemical methods in our opinion. Avocado oil was first extracted by heating the mashed flesh of the fruit in water to allow the fat to rise to the surface and be skimmed off. For time and cost considerations, avocado oil is now extracted from dried fruit and either heated to high temperatures and pressed or placed in a machine called a centrifuge which rapidly spins the avocado to separate the oil from the solids. Unlike the seed oils, avocado oil (and olive oil) are lower in polyunsaturated omega-6 fats and contain mostly monounsaturated fats. Monounsaturated fats do not contain omega-6 or omega-3 fatty acids so the ideal ratio of the two in a high fat source, such as an oil, is not a concern. In the kitchen, avocado oil is a useful compliment to olive oil - it is stable and has a higher smoke point of ~500 degrees allowing it to be used for hotter cooking methods. Also different from olive oil is avocado oil's mild flavor which allows the addition of richness to recipes without changing the flavor. So if you've had your fill of oil education by now, on to the recipes! Five Cheese Garlic Spread PREP TIME: 10 minutes TOTAL TIME: 15 minutes Servings: makes ~4 cups Ingredients 1 cup mozzarella cheese, shredded 1 cup cheddar cheese, shredded 1 cup Havarti cheese, shredded 1/2 cup Parmesan cheese, shredded 1/2 cup Romano cheese, shredded 1/2 cup extra virgin olive oil 1/2 cup avocado oil 1 head of garlic (~10 cloves), minced 1 1/2 tsp oregano, fresh or dried 1 tsp parsley, fresh or dried 1 tsp thyme, fresh or dried In a large bowl mix all ingredients and stir to combine. Set aside 1 cup of cheese spread to top squash pot pies with and place remaining cheese spread in glass jars. Cheese spread will keep in the fridge for 2-3 weeks or freezes well for up to 6 months. Spaghetti Squash Pot Pie PREP TIME: 25 minutes TOTAL TIME: 40 minutes Servings: 4 Ingredients 1 medium spaghetti squash 1 cup mozzarella cheese, shredded 1 1/2- 2 cups red sauce (we prefer olive oil based red sauce*) 1 cup five cheese garlic spread Requires 4 small casserole dishes, we used 2-cup Pyrex bowls Preheat oven to 350 degrees. Carefully cut spaghetti squash in half (from stem to bottom), remove seeds, and place flat side down on a parchment lined baking sheet. Cook squash for 30-40 minutes or until a knife slides into the outer skin easily. Remove squash from the oven and allow to cool for 5 minutes or until easy to handle. Using a fork, scrap the inside to create long strands of "spaghetti". Place 1/8 of the squash in each oven proof bowl. Top squash layer with 1/4 cup red sauce and 1/4 cup mozzarella cheese then repeat with the rest of the squash and red sauce and ending with the five cheese garlic spread as the top cheese layer. Turn oven up to 400 degrees, place pot pies on a oven proof baking sheet, and bake for 7-10 minutes or until the cheese has melted and the pies are warmed through. If you do not plan to serve all the pot pies the same day, skip the last warming step and place in the fridge with an air tight lid for up to 5 days. The pot pies can be reheated in a 400 degree oven for 12-15 minutes. *Feel free to prepare from scratch or use your favorite jarred sauce. Read your ingredients lists and look for a sauce made with olive oil as a base oil instead of some of the other seed oils we've mentioned. 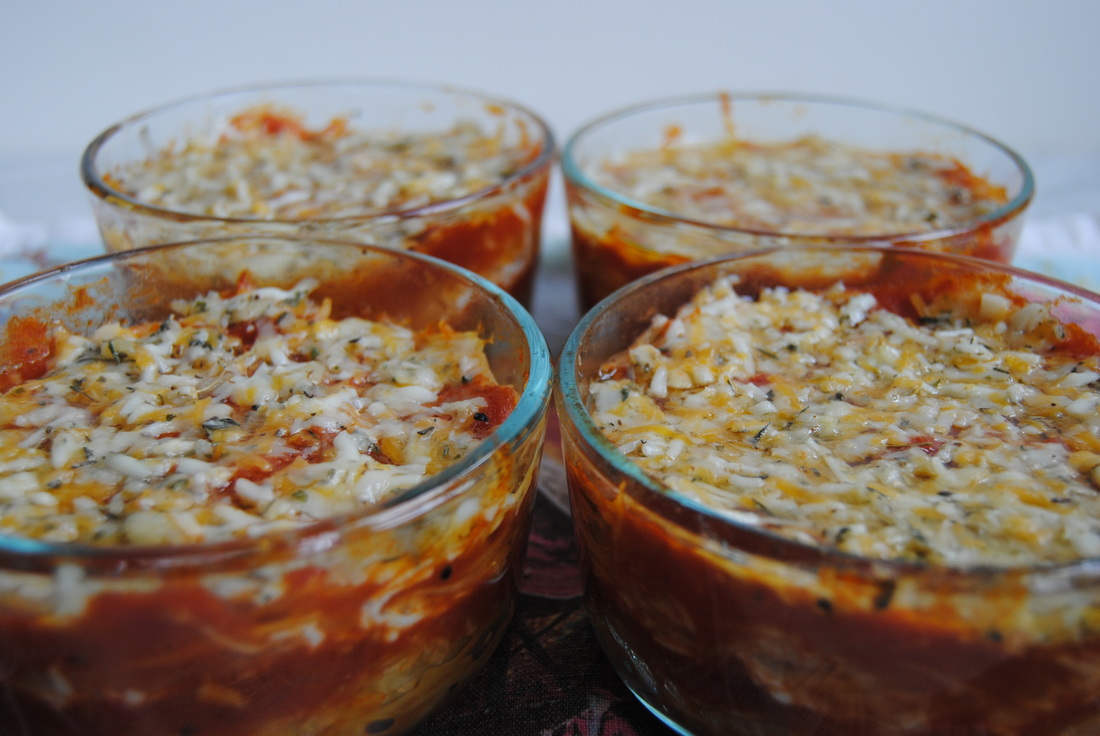 This recipe is so comfy that it almost makes the approaching cold weather okay, almost! Spaghetti squash substitutes perfectly for pasta noodles and provides an extra crunch of texture to the dish. And what else is there to say about warm cheese garlic spread other than yum!? If you don't make the garlic cheese spread right away this can be topped with plain mozzarella, garlic, and spices to keep things simple and even lighter. However you enjoy this one, please share! Stay comfy, Jess and Cecelia 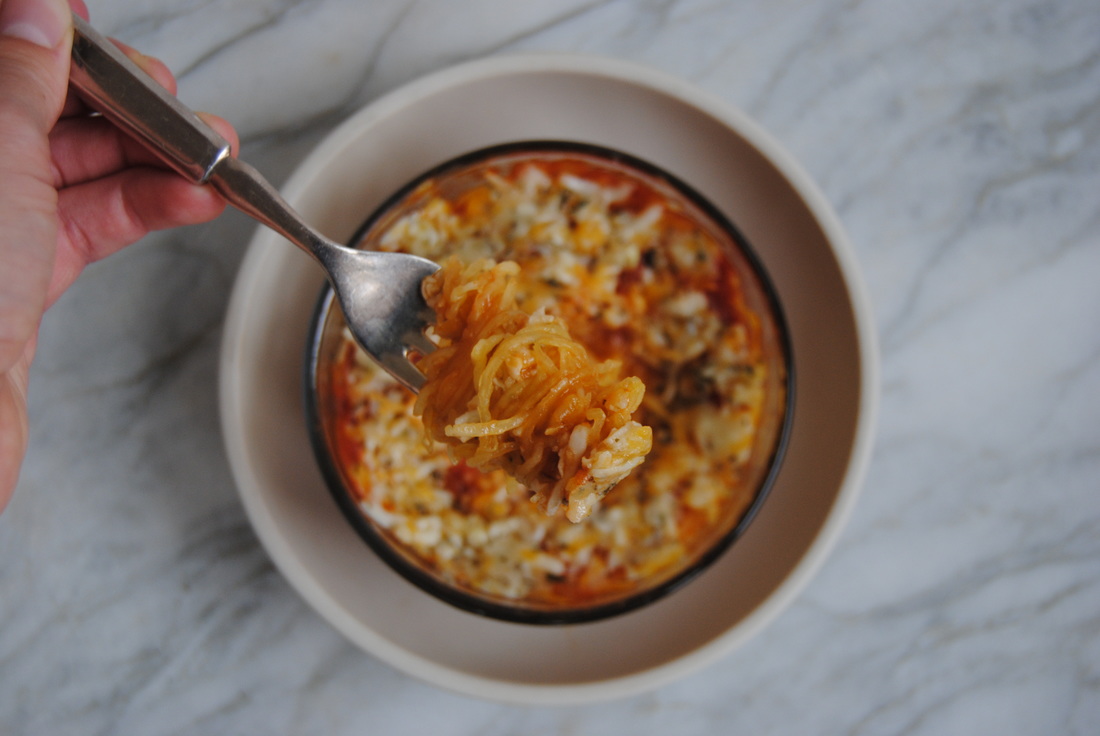 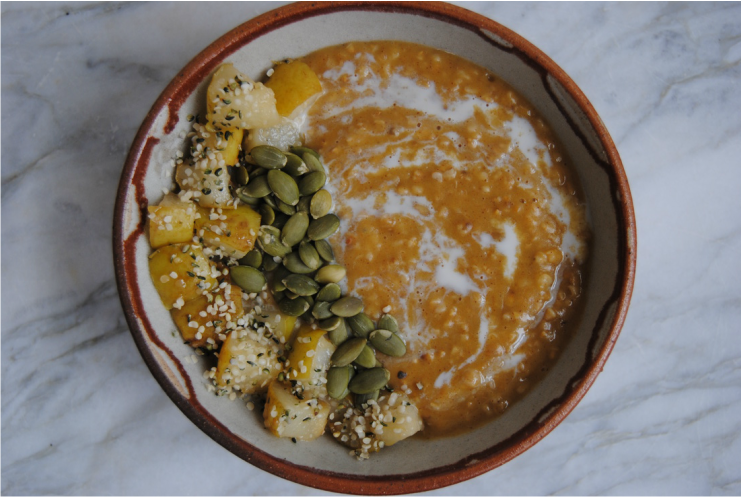 With the coming of October it is truly starting to feel like fall. We are known to boycott all things fall (and pumpkin flavored) until summer is truly over, but now the season is here! The time for pumpkin is in full swing - from festive home decor to pumpkin flavored foods and beverages, there are just so many ways to enjoy this gorgeous bright orange squash. Our recipe this week is a great example of how pumpkin can spice up your fall cuisine. But first, more on pumpkin! 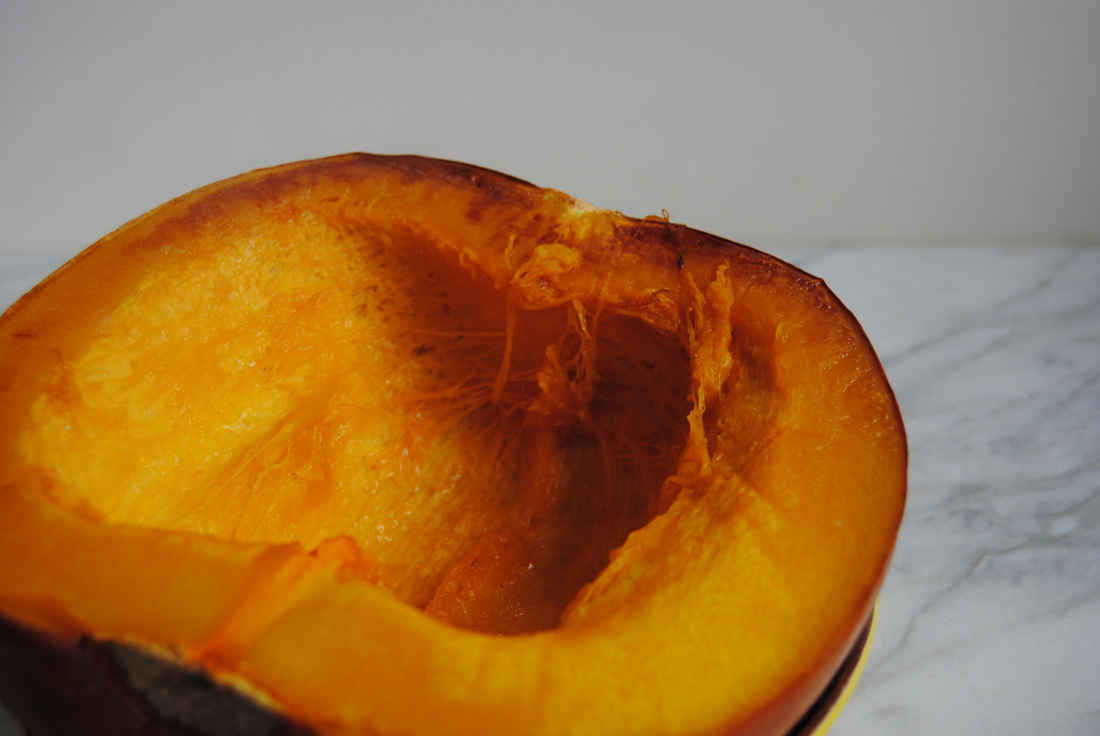 Pumpkin is a variety of squash though has more non-edible uses than any other squash we know (jack-o-lanterns anyone!). When being used in the kitchen smaller pumpkins, named "sugar" or "pie pumpkins", should be chosen because of their firm sweet flesh instead of the large pumpkins better suited for carving. Canned pumpkin puree is easy and readily available this time of year but making from scratch is pretty simple and more festive. Simply cut, roast, scoop and puree the pumpkin flesh until smooth. As far as taste, pumpkin alone is pretty mild and lightly sweet. When people crave the classic pumpkin "taste" they are likely thinking of pumpkin pie spice which is a mixture of cinnamon, ginger, nutmeg, allspice and sometimes lemon peel. So if you are making something with pumpkin puree and the taste isn't the way you want it, we suggest adding these spices (or a pre-made spice blend) to your liking. As far as nutritional value, pumpkin is high in fiber, low in carbohydrate and total calories, and loaded with vitamin A. Oh and don't forget the seeds! Packed with fiber, protein, healthy fats, minerals, and of course great taste. Seeds can be separated from the flesh and roasted to enjoy as a festive snack during pumpkin season. Our recipes below will guide you in detail through pumpkin preparation! 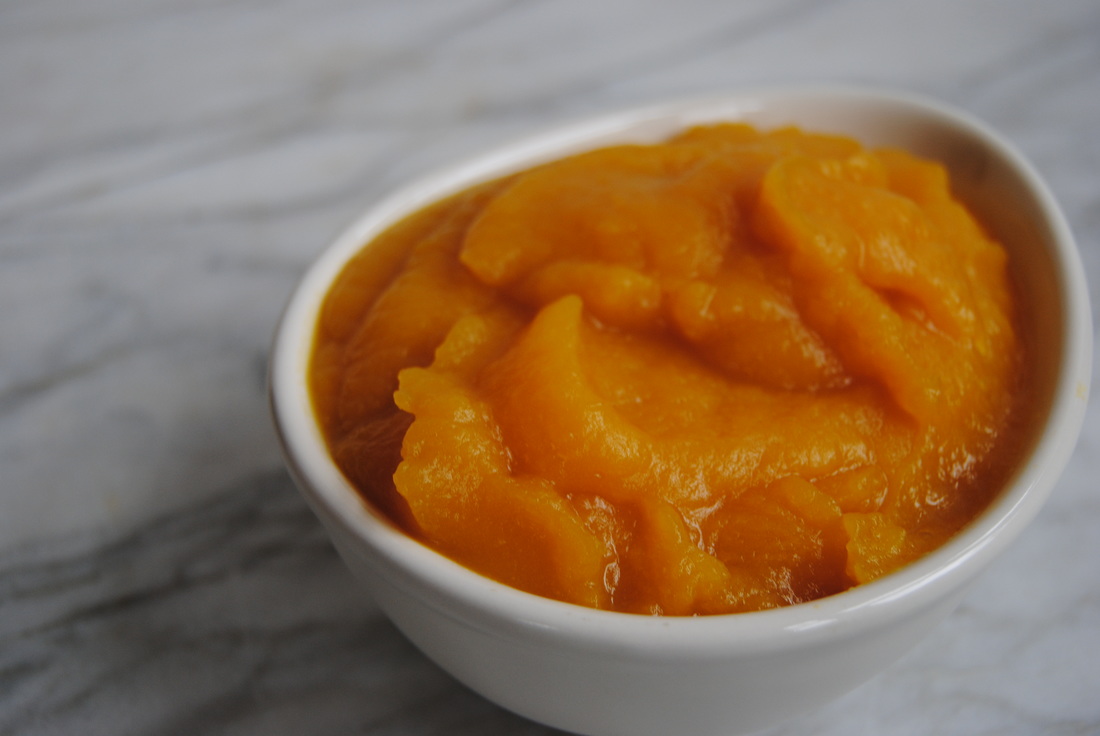 Pumpkin Steel Cut Oats PREP TIME: 1 hour 5 minutes TOTAL TIME: 1 hour 10 minutes Servings: 4 Ingredients Pumpkin Oatmeal 2 cups pureed pumpkin (homemade or canned pumpkin would also work) 2 cups water 1 cup steel cut oats 1 tsp pumpkin pie spice or cinnamon 1 cup unsweetened soy milk or other milk of your choice + 2 Tbsp maple syrup ¼ cup pepitas or homemade roasted seeds (1 Tbsp per bowl) Caramelized Maple Pears with Hemp Seeds 2 cups diced pears 2 Tbsp maple syrup 2 Tbsp hemp seeds Pinch of sea salt To make pumpkin puree first preheat oven to 350 degrees. Carefully cut pie pumpkin in half, scoop out the seeds and set aside. Place pumpkin flat side down on a baking sheet lined with parchment paper and roast for 35-45 minutes or until soft. Allow pumpkin to cool prior to scooping out the “meat”. To make simple pumpkin puree, blend in a blender or food processor until smooth. For pumpkin oatmeal recipe add 2 cups cooked pumpkin, 2 cups water, and 1 tsp pumpkin pie spice or cinnamon to a blender and blend on high until smooth. This is your pumpkin water used to cook the oatmeal. To prepare oatmeal, add spiced pumpkin water to a large pot and bring to a boil. Add 1 cup steel cup oats to the boiling pumpkin water, leave uncovered, and reduced to a simmer. Continue cooking for 30-35 minutes or until liquid is absorbed and oats are soft. While the oatmeal is cooking, dice pears and add to a small sauté pan over medium heat. Add 2 Tbsp maple syrup, 2 Tbsp hemp seed, and a pinch of sea salt then stir to combine. Continue cooking pears making sure to stir often until soft and edges are lightly golden, ~5-7 minutes. Ladle oatmeal into a bowl, add a swirl of sweetened milk, caramelized pears, pepitas, and an optional drizzle of maple syrup if desired. Serve warm. Leftover oatmeal can be kept in an air tight container in the fridge for up to 5 days. When ready to eat add milk, pears, and pepitas and either warm in the microwave or on the stove top. Roasted Pumpkin Seeds PREP TIME: 10 minutes TOTAL TIME: 25 minutes Serving: Depends on how many seeds your pumpkin had! A small pie pumpkin will generally have ¼- ½ cup seeds Ingredients Pumpkin seeds 1 Tbsp oil for every 1/2 cup seeds 1/4 tsp sea salt for every 1/2 cup seeds To make roasted pumpkin seeds first rinse seeds and allow to fully dry. Tossing seeds in a clean kitchen towel or paper towel can speed up the drying process. Add 1-2 Tbsp oil (we choose ghee) and sea salt or other flavorings of your choice. Mix with hands to make sure seeds are evenly covered in oil and seasoning. Roast in preheated oven at 350 degrees for 12-15 minutes or until golden and crunchy. Make sure to stir the seeds mid-way through cooking time and watch the seeds the last couple of minutes as they can burn fast. Allow seeds to cool to room temperature then store in an air tight container. Seeds will keep for 1-2 weeks or longer if kept in the fridge. 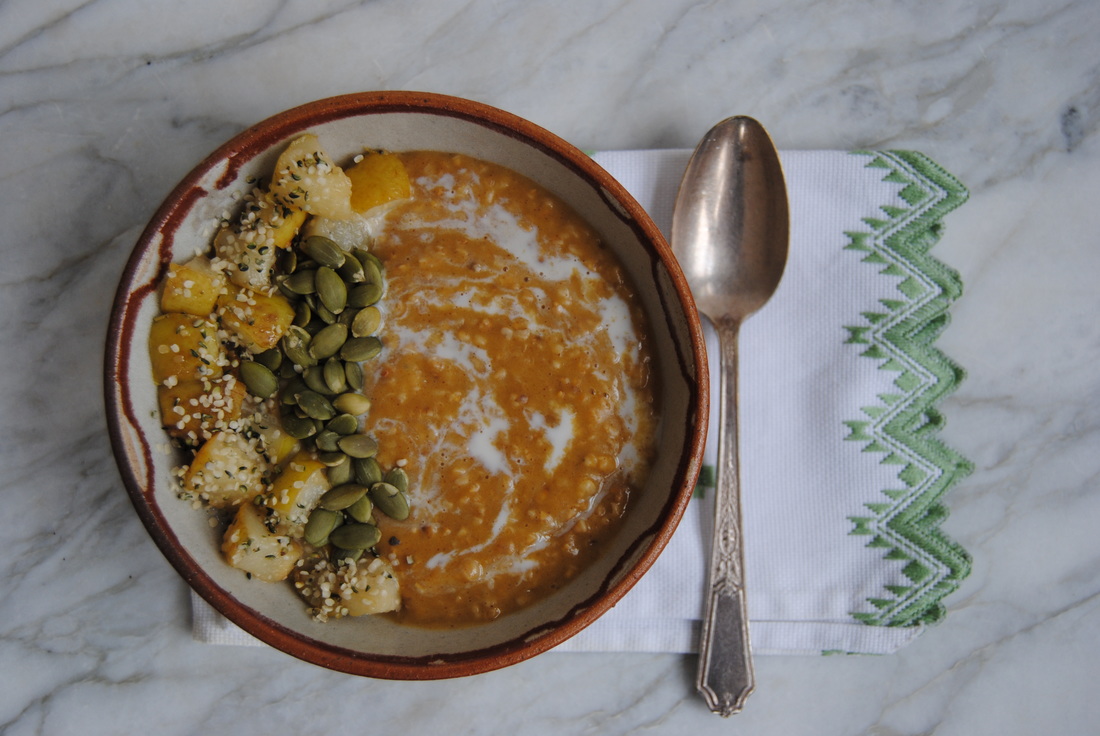 Welcome pumpkin into our hearts and bellies. This oatmeal is so comforting and satisfying on a crisp fall morning. The spiced pumpkin with maple syrup, soft candied pears, and crunchy seeds combine wonderfully to showcase pumpkin for this fall dish. We hope we've inspired you to get creative with pumpkin in the kitchen this month and can't wait to see what you create. Please share! Enjoy, Jess and Cecelia  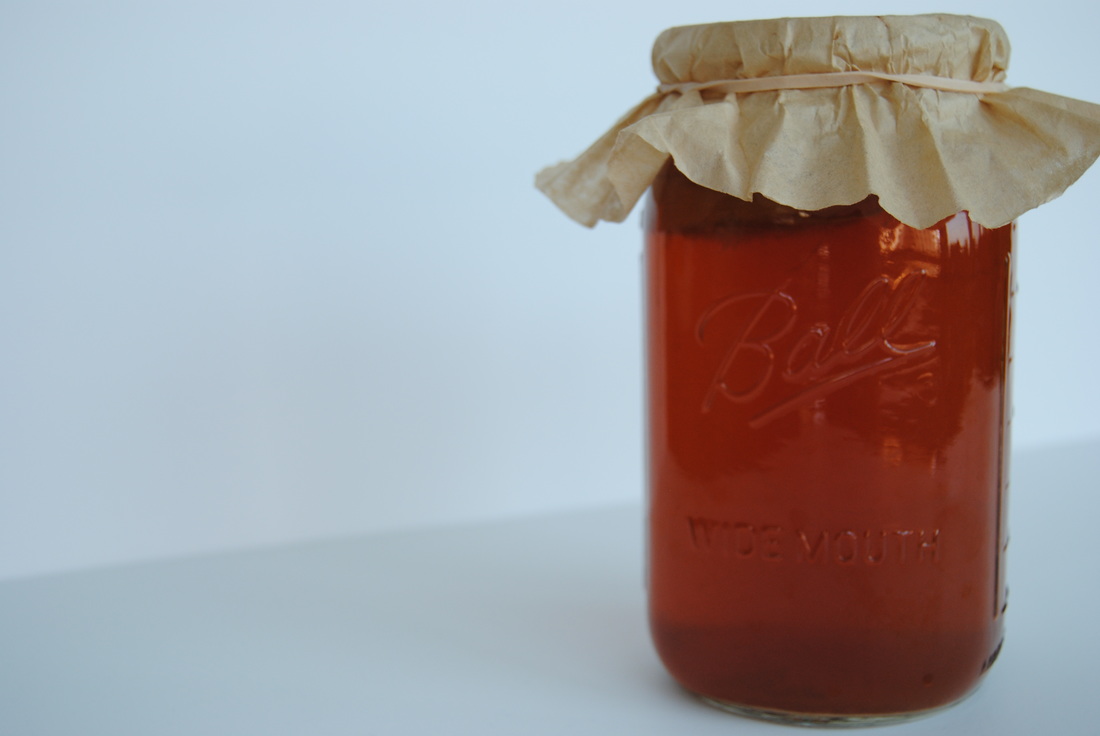 Oh boy do we have a treat for you this week friends! Two new recipes hot from our kitchen and featuring one of our most favorite topics, fermentation. We've surely discussed the benefits of fermentation before (here and here and here) but just can't get enough. And if you're serious about packing your diet with fermented foods and especially home fermentation, kombucha is a quick and easy item you can whip up week to week (once you get the hang of it of course). So we've got basic kombucha brewing instructions for you as well as a must have mustard recipe using kombucha as an ingredient. Let's get started! 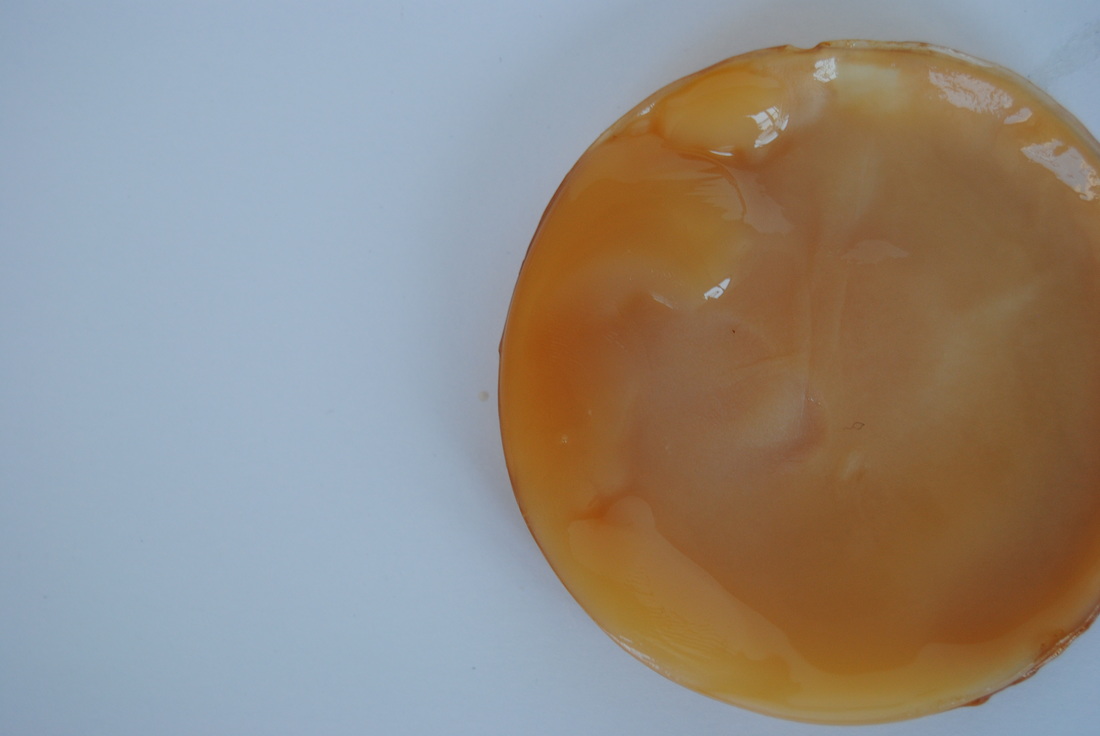 You've probably heard of, tried, or been completely weirded out by kombucha by now as this fermented tea drink has hugely grown in popularity in recent years. Kombucha is believed to have originated thousands of years ago in Asia and was regarded as medicine to treat a variety of ailments. It's health benefits come from the fact that kombucha is a fermented food which provides a healthy dose of good bacteria and yeast into the digestive tract of the consumer. And as you may know from previous posts, creating a healthy gut environment can impact the health of the rest of the body through improved digestion and immunity. Surprising to many, the health of the gut environment plays a huge role in overall immune function because the intestines contain more immune cells then the entire rest of the body (wow!). Though certain sources may cite specific diseases that kombucha may treat, we believe that as a fermented food kombucha promotes overall health and wellness but should not be considered a medical treatment. Instead, we highly recommend regular use of fermented foods in the diet (superior to probiotic supplements) to promote balance and health maintenance. So if we've finally convinced you to give home fermentation a try, great! For kombucha you'll need to get started with a SCOBY, or a symbiotic culture of bacteria and yeast, which is pictured above. And though this may look strange, it's basically magic! If you have a friend making kombucha they can share a SCOBY with you because a new one is created with each batch (basically every week). Or you can purchase starter cultures, other brewing tools, and learn tons more on the Cultures for Health website here. 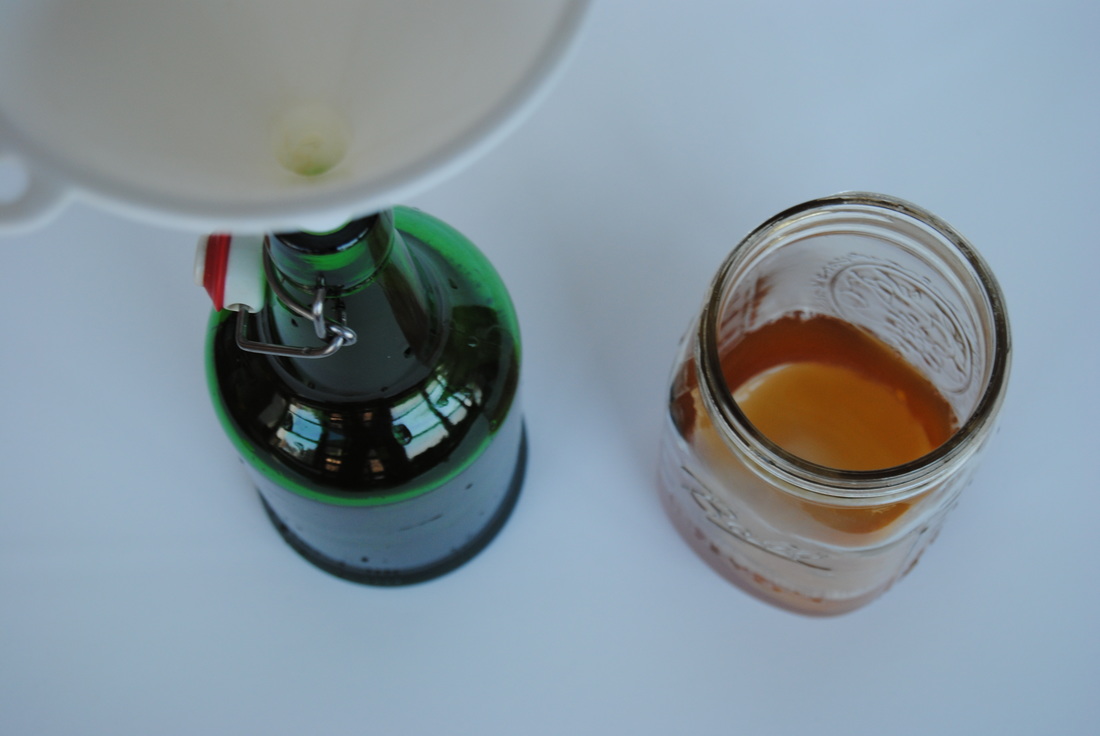 Basic Kombucha PREP TIME: 30 mins TOTAL TIME: 1 week (for fermentation) Yield: 32 ounces Ingredients 1/4 cup organic sugar 1/2 cup starter liquid (plain kombucha, from previous batch or store bought) 4 cups filtered water 4 organic black tea bags (plain, unflavored tea) Additional Items SCOBY (symbiotic culture of bacteria and yeast) Large wide mouth glass jar Coffee filter or cheese cloth Rubber band or cloth string Plastic or wooden spoon Plastic funnel Bring water to a boil, remove from heat, and add tea bags. Allow to steep for 5 minutes then remove the tea bags. Add 1/4 cup cane sugar to hot tea, stir to dissolve (using a plastic or wooden spoon instead of metal to protect the SCOBY) and allow to come to room temperature. Combine cooled tea, 1/2 cup kombucha starter, and SCOBY in a large, sterilized glass jar. Place coffee filter over the top of the jar, secure with a rubber band or tie, and allow kombucha to sit out at room temperate for a minimum of 7 days. If you prefer a longer ferment (more sour and vinegary tasting kombucha) continue to ferment past 7 days and taste the kombucha daily until it is to your liking. With clean hands, carefully remove the SCOBY and place on a clean surface. Reserve 1/2 cup kombucha in a small cup and set aside as this will be your starter for your next batch. Pour the remaining kombucha into a sterilized glass bottle (or bottles) with tight fitting seals making sure to leave enough "head space" (~2-3" between liquid and top of the bottle) for desired effervescence. Keep in the fridge for up 2 weeks. Note that the first time you open the bottle of kombucha you should hear a nice pop from the top and see a good amount of carbonation. But the more you open the bottle, the less carbonation your kombucha will have. For this reason, we prefer to use smaller, individual size bottles (10-12 oz) if available. *If you need tools, tips, or more kombucha brewing instruction visit the Cultures for Health website mentioned above for all your kombucha brewing needs! Kombucha Mustard PREP TIME: 5 mins TOTAL TIME: 1+ weeks (for fermentation) Yield: 8 ounces Ingredients 5-6 oz kombucha 1/2 cup mustard seeds 2 Tbsp honey 2 Tbsp raw apple cider vinegar 1/4 tsp salt In a glass, sterile jar combine mustard seeds and kombucha. The kombucha should fully submerge the seeds with ~ 1/2" of liquid on top (see photo below). The seeds will expand as they sit, so make sure your jar is large enough. Cover with an air tight lid and allow to sit at room temperature for a minimum of 7 day or up to 3 weeks. The longer you let it sit the more vinegary taste the end product will have. Make sure to "burp" or open the lid at least once daily. Once the mustard seeds are to your desired taste, strain from the kombucha brine (reserving the brine in a separate bowl) and combine soaked mustard seeds and ~3/4 of kombucha brine to start in a blender or food processor. Add honey, salt, and apple cider vinegar to the blender and process until desired texture. Feel free to add additional kombucha brine to blender as needed if you prefer a thinner mustard. We like ours with some texture and went with a "stone ground like" mustard. Place finished mustard in a jar with a tight fitting lid and keep in the refrigerator. Use this probiotic rich mustard just as you would with any other mustard. Plain kombucha has a sour, mildly sweet, slightly vinegary taste that we've come to love but can definitely be flavored in a variety of ways (recipes in posts to come!). And this mustard just has something about it incomparable to it's regular, unfermented counterpart. Tangy, tart, spicy, and sweet, this mustard will add a punch of flavor to your summer recipes (think sandwiches, veggie burgers, wraps, and more). We'd love to stay and chat friends but we have a few more batches of kombucha that need our attention (we told you we can't get enough!). Happy fermenting, Jess and Cecelia   Okay we have to admit, one of the ways we have a ton of fun on a Friday night is experimenting with fermented foods. It may sound lame but if you get started we promise you'll never look back! There are just so many possibilities for homemade fermented food and drinks (if you catch our drift). But today we'll get you started with lacto-fermented hot sauce. It's quick, easy, and oh so tasty. Read on! In basic terms, fermentation is the process of exposing food to bacteria and yeast (the good kind!). The bacteria and yeast consume carbohydrates in foods creating different flavors and benefits in the final food product. The benefits of fermented foods are immense and mostly due to the presence of large amounts of probiotics ("good bacteria") that thrive in our intestinal track supporting healhty digestion and immune function. We have talked about fermented foods before in this post. The type of fermentation we experimented with this week is called lacto-fermentation because lactobacillus is the primary bacteria doing all the hard fermentation work. This type of fermentaion is nice and easy becuse you can get lactobacillus from a food that might already be sitting in your fridge. We got our lactobacillus from fresh whey. You may have noticed whey before when you let a tube of yogurt sit after scooping out a serving - the next day you come back and see a yellowish liquid that has separated from the yogurt. That's fresh whey! And it contains the lactobacillus we want for lacto-fermentation. Whey can be collected through the process we show you in this recipe (described below and pictured above) and used in many different ways. You can freeze fresh whey into ice cubes for smoothies, use it to make fresh whey cheese, lacto-fermented beverages, or just how we did to make lacto-fermented hot sauce! Now how easy is that? You're already on your way to becoming a fermentation pro. We'll get to our recipe now but it you have to know more about fermentation we love Sandor Ellix Katz's book Wild Fermentation and Cultures for Health website where we got the inspiration for this recipe and so much more! Green Chili Lacto-Fermented Hot Sauce Recipe adapted from Cultures for Health PREP TIME: 35 mins TOTAL TIME: 35 mins plus 7 days of fermentation Servings: makes ~12 ounces hot sauce Ingredients Whey Culture 4 oz organic plain yogurt (Greek or regular) Hot Sauce 1 cup green or red thai chili peppers, washed and stemmed 1 1/2 tsp sea salt 1 Tbsp fresh whey Un-chlorinated filtered water 1/2 cup raw apple cider vinegar To make the fresh whey culture, place Greek yogurt in a colander lined with cheese cloth and set over a bowl (as shown in the above picture). Place in the fridge for 30 minutes to allow the whey to drain off of the yogurt. The whey is the liquid that collects in the bottom of the bowl. Wash and de-stem peppers (leave the seeds) and pack tightly into a glass jar. Add salt, whey, and enough water to cover peppers. Lightly screw lid on and give the peppers a good shake to help dissolve salt. Place in a warm, dark spot in your kitchen and let the fermentation begin! It's important to "burp" the jar daily (quickly unscrew lid to allow air out). Let sit on the counter for 5-7 days. The liquid should take on a cloudy appearance. Feel free to taste the liquid at day 5 and keep fermenting until it's to your liking. Once fermenting is finished drain the peppers over a bowl reserving the fermentation liquid. Blend peppers in a blender or food processor until they are fully pureed, using a small amount of the fermentation liquid as needed. Once pureed, return peppers to the glass jar with 1/2 of the fermentation liquid and about 1/2 cup apple cider vinegar. Close with a tight lid and let sit on the counter again for another 12-24 hour ferment before placing in the fridge for storage. *Remember to save the yogurt that you strained. It will be thicker without all that whey but still delicious. You can eat it plain, use as a dip, or spread on toast!  This hot sauce is nice and spicy (as it should be!) and has a sweet tang from the fermentation process. Overall it's a total winner and won't last long. Add this to anything and everything you love hot sauce on. And stay tuned for more home fermentation to come. Have fun, Jess and Cecelia  |