|
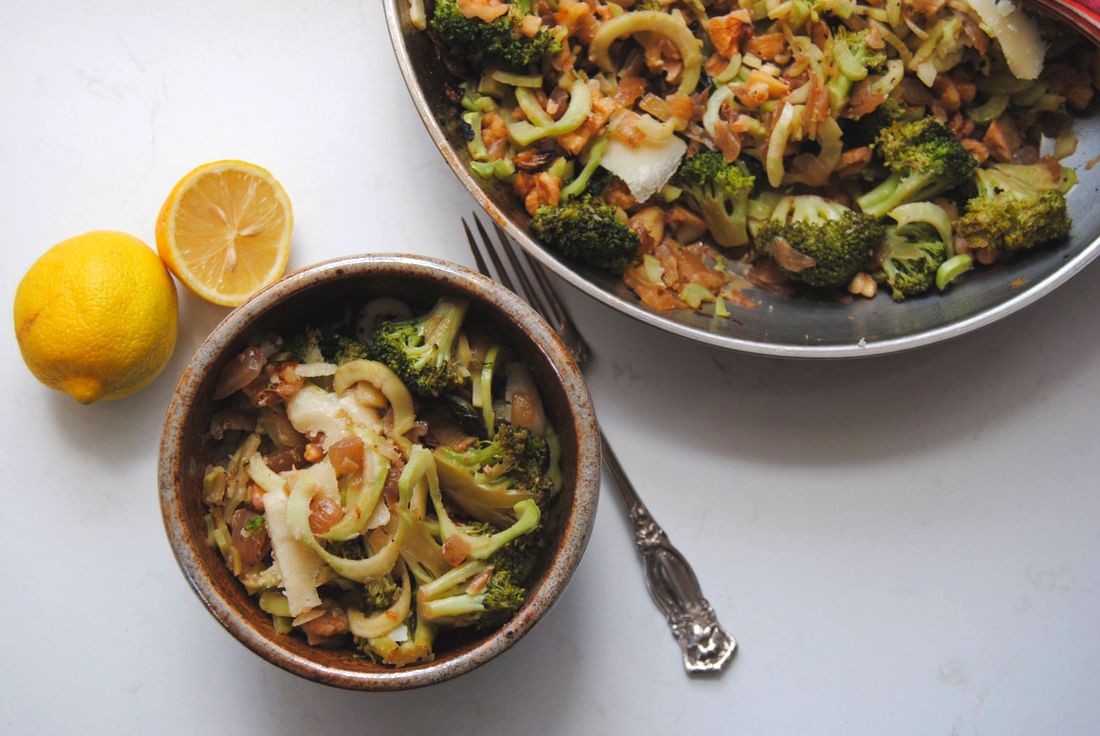
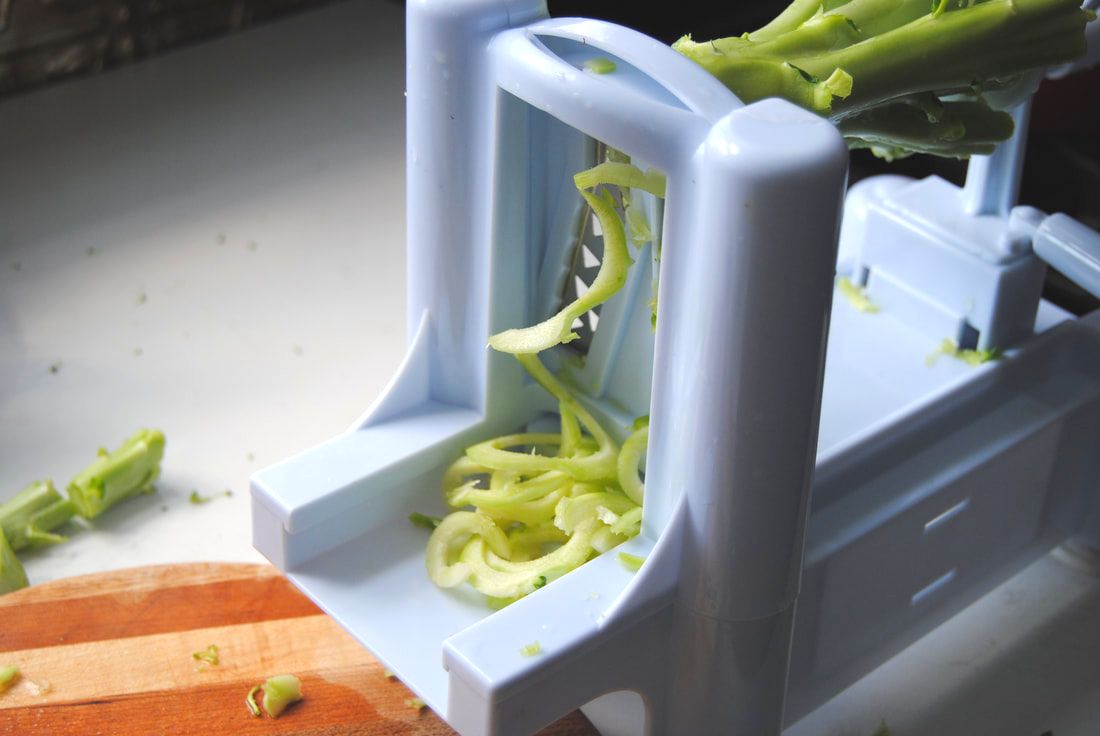
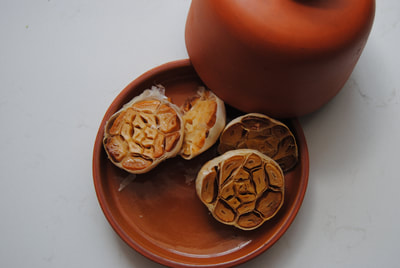
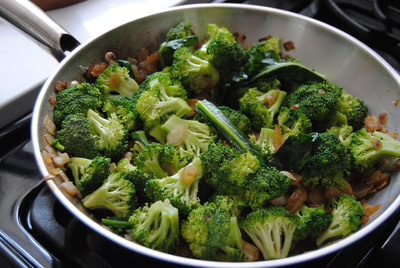
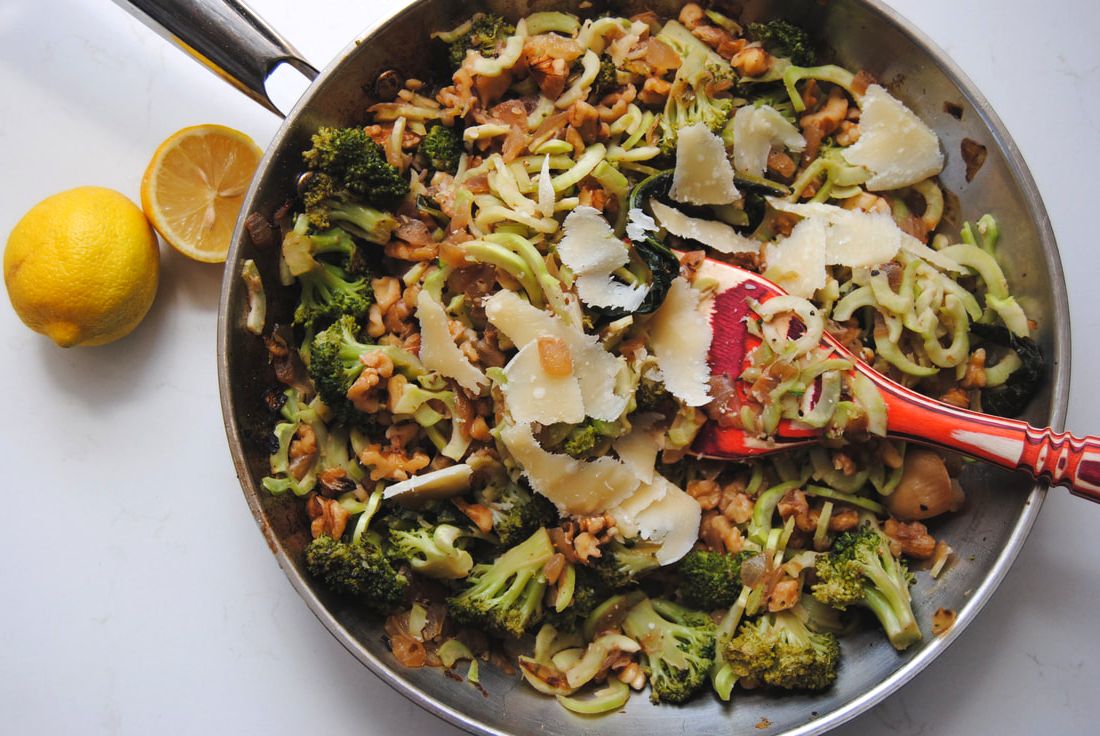
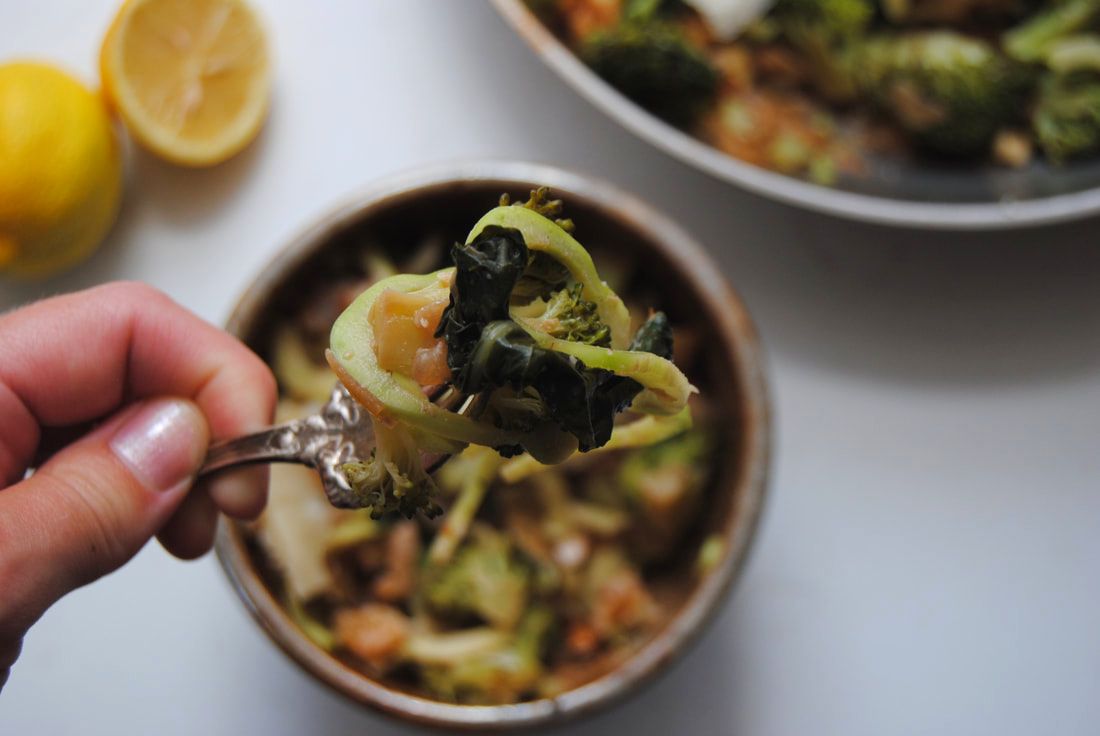
Hey there friends! You know we couldn't let a summer season pass us by without pulling out our spiralizer. The summer is the perfect time to experiment with alternate and lighter "noodle" options. We were inspired by broccoli this summer and the idea of using the entire plant - and boy we did! A little less common than the famous zucchini noodle (previous post here) though just as good. So get out your spiralizer that may or may not have been hiding away in your cupboard and join us! For this recipe we used ALL of the fresh, organic broccoli that we purchased at our local farmers market. Even more of a plus if you are purchasing broccoli by the pound - you are paying for that stalk so use it! The stalks we spiralized into broccoli noodles (boodles?) with success, though it was slightly trickier than spiralizing zucchini. We looked for broccoli with large, wide stalks to maximize the boodle outcome. If you have a spiralizer with multiple settings, we found the boodles to be good at any thickness though we used the larger noddle setting. The boodles did tend to break into smaller pieces unlike zucchini noodles which can get very long without breaking. This was due to variations in shape of the broccoli stalk that is different than a zucchini. The broccoli florets we chopped and cooked as usual though we also used the small leaves that can be found nestled between the florets. The leaves are small and tender, cook down well, and taste very similar to dark leafy greens. So no need to create broccoli waste again! The whole plant can be eaten and enjoyed with this recipe. Broccoli Florets, Leaves, and Noodles with Walnuts and Roasted Garlic PREP TIME: 45 minutes TOTAL TIME: 50 minutes Servings: 4 Ingredients Roasted garlic 1 head garlic 1 Tbsp olive oil Pasta 2 stalks of broccoli with florets and leaves 1 medium yellow onion, diced 1 head roasted garlic cloves 1 cup roasted walnut pieces 2 Tbsp olive oil 1/4 cup dry white wine 1/4-1/2 cup water 1-2 oz Parmesan cheese, shaved (or other salty hard cheese) Juice of 1 lemon Salt and pepper to taste To roast garlic, preheat oven to 350 degrees. Slice garlic in half and drizzle with 1-2 tsp olive oil then place in a garlic roaster (or loosely wrapped in tinfoil) and roast for 45 minutes. Wash broccoli and cut florets and leaves from the stalks and set aside. Try to cut high on the stalk to preserve as much stalk as possible for spiralizing. Use a spiralizer with the medium noodle attachment to make broccoli "noodles" with the broccoli stalks then set aside. In a medium-large sauté pan add 2 Tbsp olive oil and diced onion and sauté for 20-25 minutes or until the onion is golden. Add broccoli florets, broccoli leaves, and peeled roasted garlic cloves to the pan along with 1/4 cup dry white wine and 1/4 cup water. Place a lid over the pan, reduced to a simmer, and cook for 5-7 minutes or until broccoli is tender. Remove from heat and add broccoli "noodles", roasted walnuts, shaved Parmesan cheese, and lemon juice and sprinkle with salt and pepper to taste. Stir to combine all flavors then serve immediately. *This dish does change color as it sits (lemon juice reacting with chlorophyll in the broccoli - food science!), so for the best texture and presentation we recommend eating this noodle dish right away! That's all there is to it. Grab a couple stalks of broccoli and a few simple ingredients and you have a whole dish! This recipe has a great mix of texture from the different forms of broccoli - crunchy boodles and softer florets - and a unique array of flavors from earthy broccoli leaves to sweet caramelized onions and roasted garlic. Your summer dinner solution is here.
Enjoy, Jess and Cecelia
0 Comments
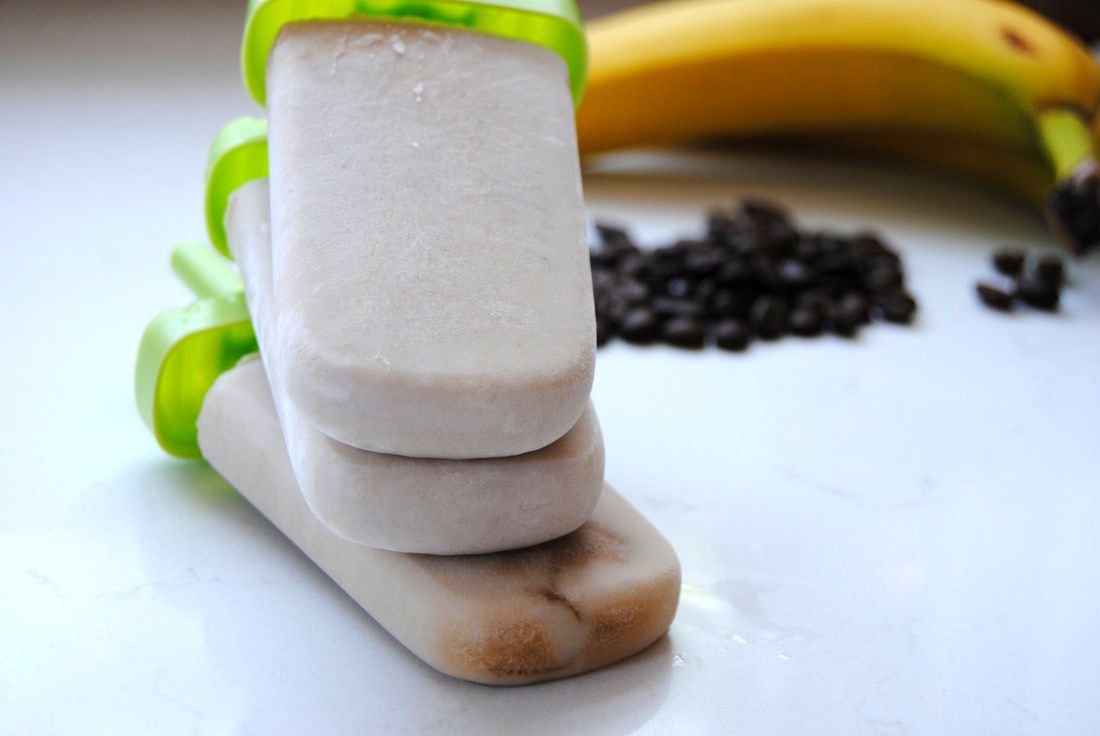
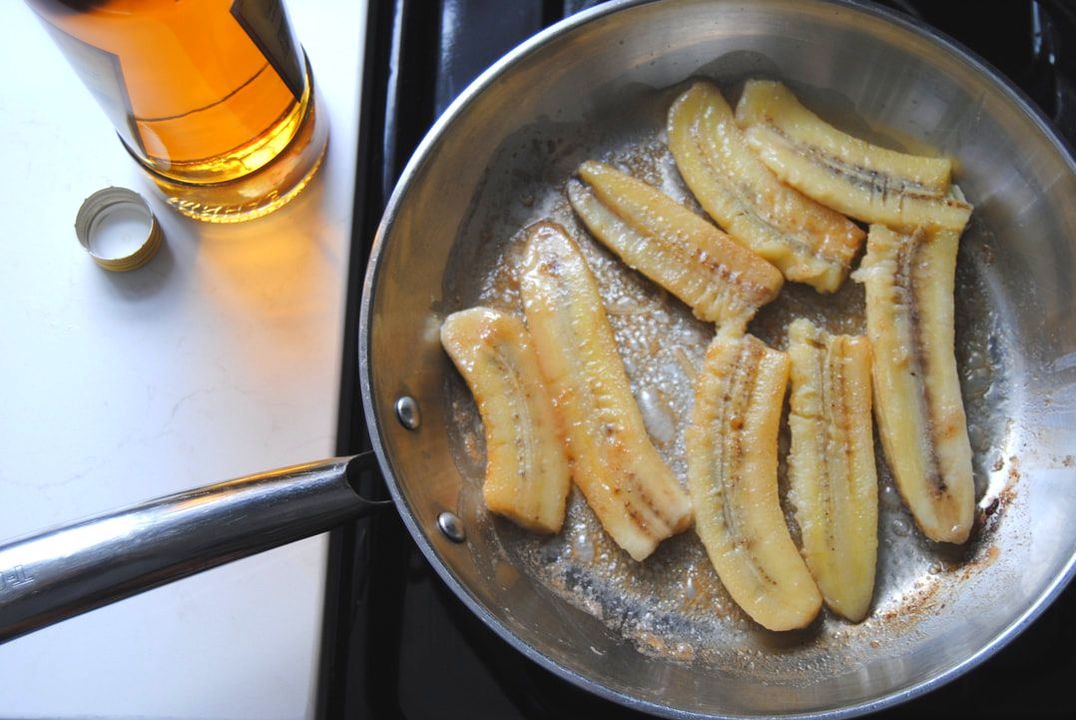
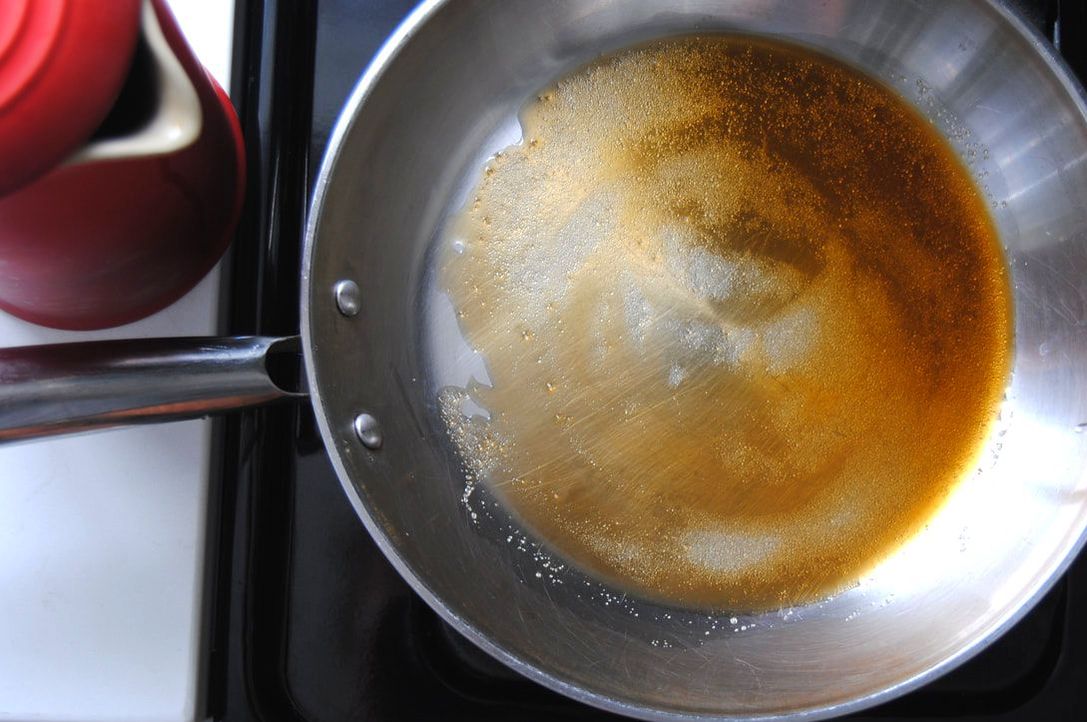
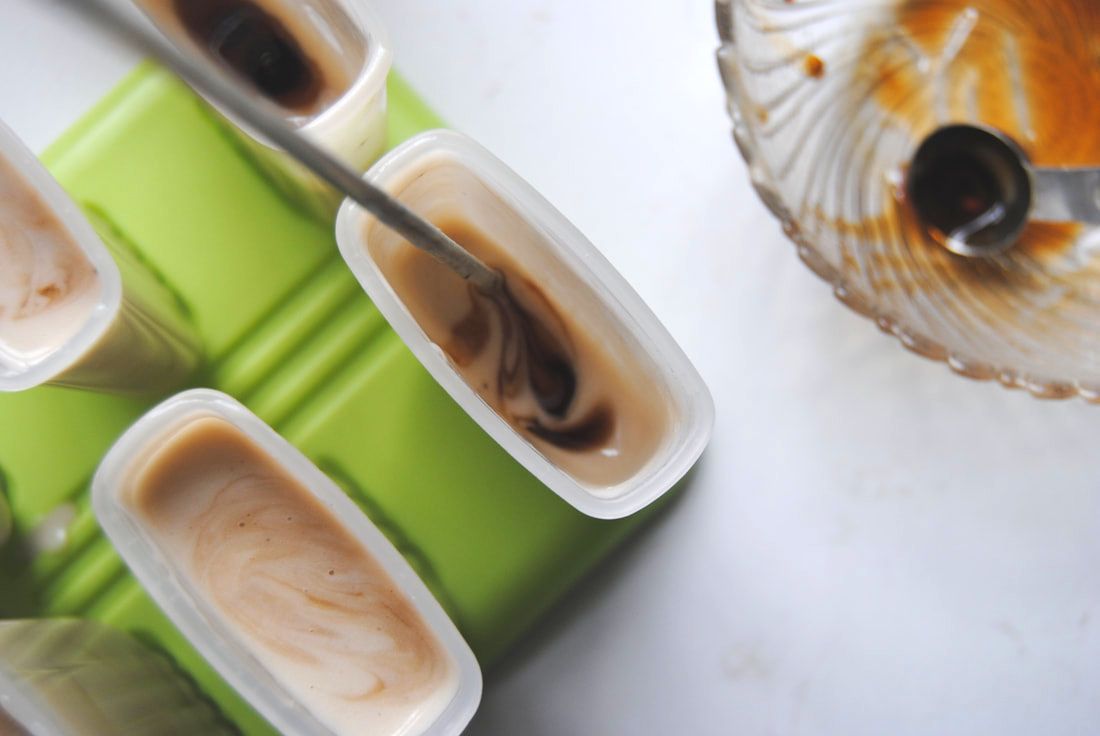
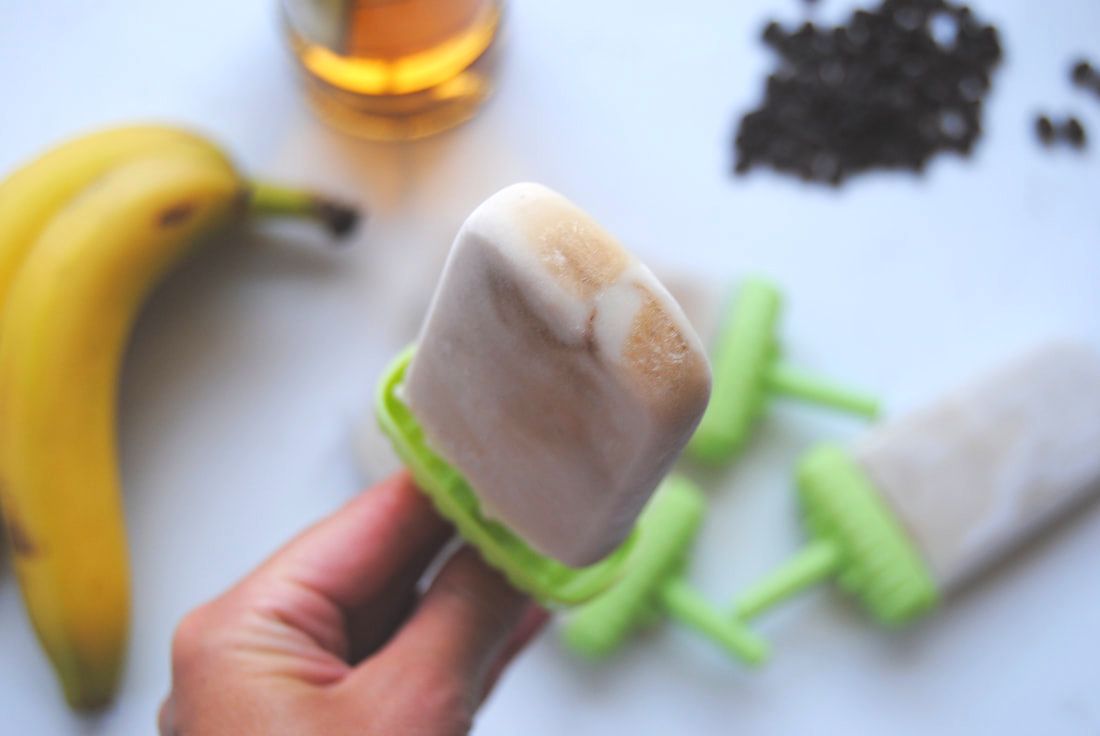
Okay, okay, we know - bananas aren't technically a seasonal summer fruit - but we've just had such a craving lately! Maybe it's the warm breezes and lazy summer days reminding us of vacations to tropical places where bananas actually are seasonal. But either way, this recipe is amazing! We did some experimenting with a new cooking method and have some lessons learned to share. Because hey, not every experiment goes 100% accordingly to plan, are we right? This week we attempted to flambe to create a version of bananas foster. Bananas foster is a dessert created in the mid 1900's in New Orleans containing caramelized banana in a sugary butter sauce and topped with vanilla ice cream. To develop flavor, and for some extra flair, the flambe technique is used. Flambe is French for "flaming" or "flamed" and is essentially the process of lighting alcohol on fire during the cooking process. This technique imparts the flavor of the liquor to the food and allows the alcohol to burn off quickly. And of course it looks super impressive. We unfortunately did not achieve a true flambe and got the alcohol to ignite only very briefly. The alcohol from the rum still simmered off after a few minutes and the bananas tasted great, though we just had to search ways to troubleshoot the flambe method for next time. Here's what we found: -Use a hard alcohol higher than 80 proof (no beer, wine, etc.) -Liquor should be warmed slowly but not boiling prior to adding to the pan to flambe -Cooking pan and contents should be very hot -Pour warmed liquor slowly into the hot pan and attempt to light immediately -Attempt to light the fumes at the edge of the pan and not the liquid itself -Use a long match or barbecue lighter and have a pan lid handy to extinguish the flame if needed As we attempt again and learn more we will update these flambe tips and tricks but hopefully this is enough to get you started. Though flambe or not, this recipe still works - time to get to it! Coconut Bananas Foster Coffee Popsicles PREP TIME: 15 minutes + 4-6 hour chill time TOTAL TIME: 15 minutes + 4-6 hours chill time Servings: 6 popsicles Ingredients Popsicle 2 very ripe bananas 1 Tbsp salted butter 1 1/2 tsp pure maple syrup Sprinkle of cinnamon 1/4 cup dark rum 1 1/4 cup canned full fat coconut milk Coffee Simple Syrup 4 Tbsp strong brewed coffee 4 Tbsp cane sugar In a medium sauté pan set to medium/low heat melt the butter then mix in the maple syrup and cinnamon and stir to combine. Peel and cut the bananas in half lengthwise and place flat side down in the pan with the melted butter mixture. Cook bananas for 2-3 minutes on each side then add the dark rum to the pan. Use a long match or lighter to carefully light the fumes of the alcohol at the edge of the pan, not the liquor itself, to flambe. Be prepared for a whoosh and a bright flame to appear in the pan. If you do not see a flame, this could be due to the food/pan not being hot enough but don't worry! Instead allow the mixture to simmer for 2-3 more minutes until the alcohol (and most of the liquid) evaporates off. Remove the pan from heat and allow bananas to cool slightly before adding to a blender. Pour any remaining liquid and scrape any caramelized pieces from the bottom of the pan into the blender. Add coconut milk and puree on high speed for 1-2 minutes. To make the coffee simple syrup, add brewed coffee and cane sugar to a small sauce pan over medium heat. Stir continuously until the mixture is simmering and the sugar has dissolved. Continue stirring until the mixture thickens (about 2-3 minutes) and will stick to the back of a spoon. Remove pan from heat. Next pour banana coconut puree into popsicle molds to halfway full. Spoon one teaspoon of coffee simple syrup into each popsicle mold and swirl with a long, thin utensil (we used a skewer) to incorporate the coffee simple syrup throughout the banana coconut puree. Fill popsicle molds the rest of the way with the banana coconut puree and again add one teaspoon of coffee simple syrup to each pop and swirl to combine. Insert popsicle sticks and allow popsicles to freeze for at least 4-6 hours. Run popsicle molds under warm water for 30-60 seconds to remove popsicles from molds. Every moment of preparation that goes into these pops is completely worth it. The taste of the final outcome is unexpected and yet completely familiar. A rich sweetness from the caramelized banana balanced by a creamy richness from the coconut milk and finished with a hint of coffee flavor. This might truly be the answer to our summertime "ice cream" cravings.
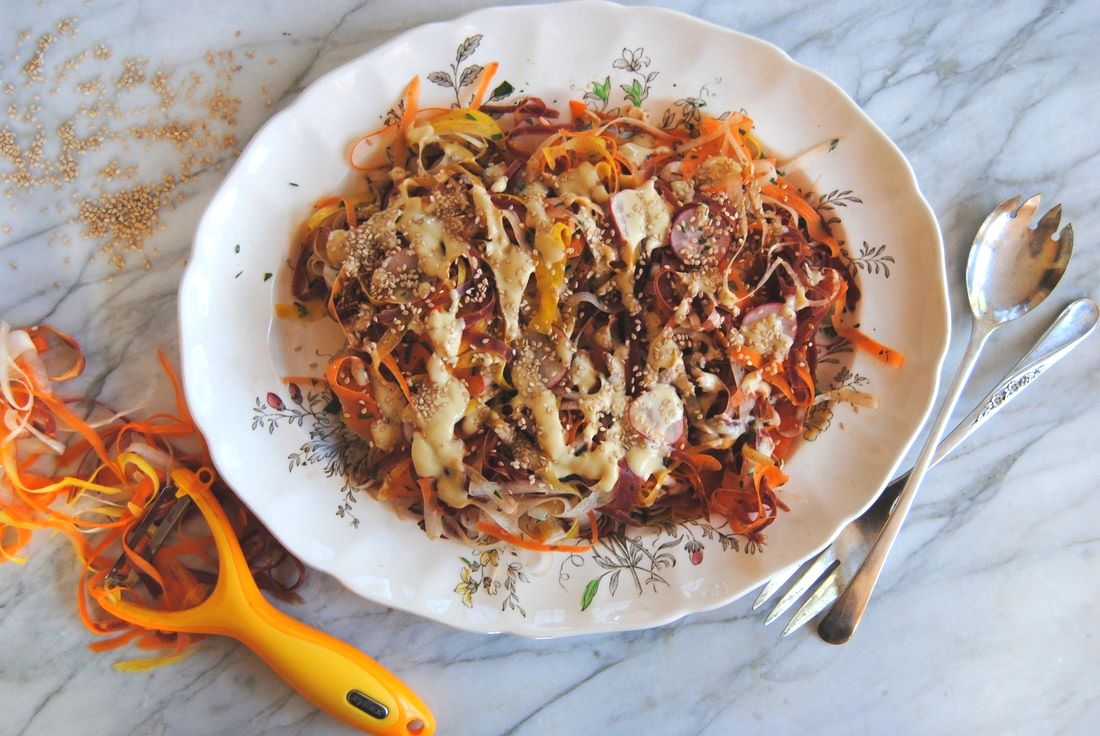
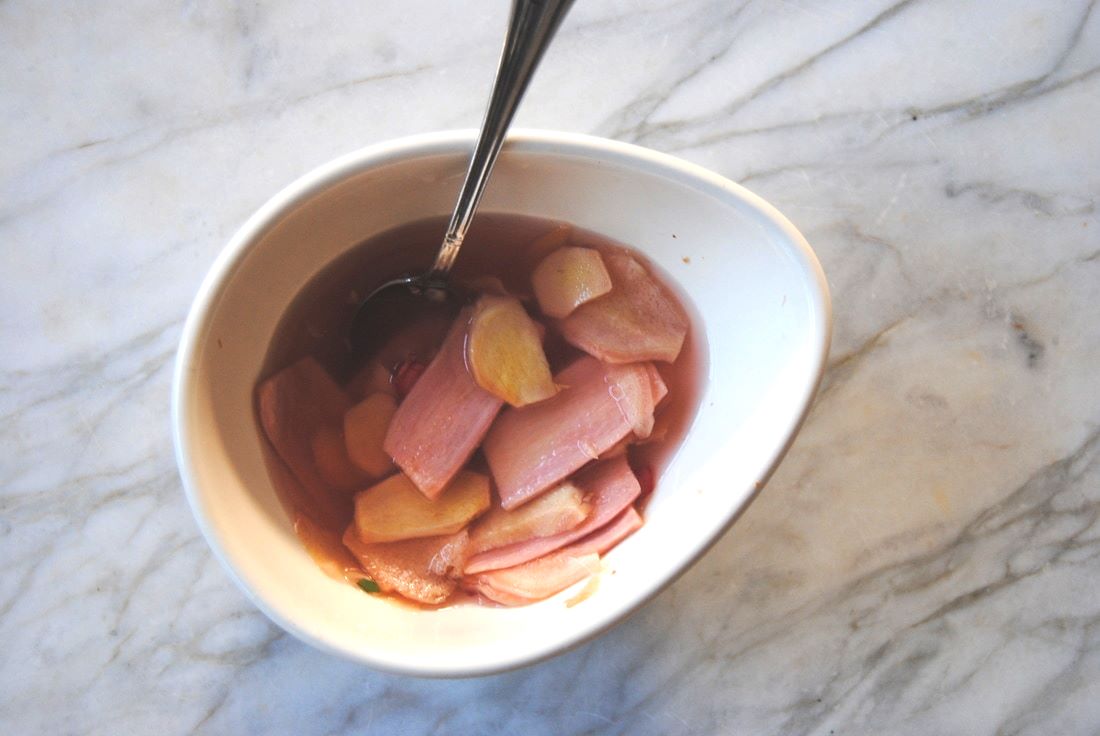
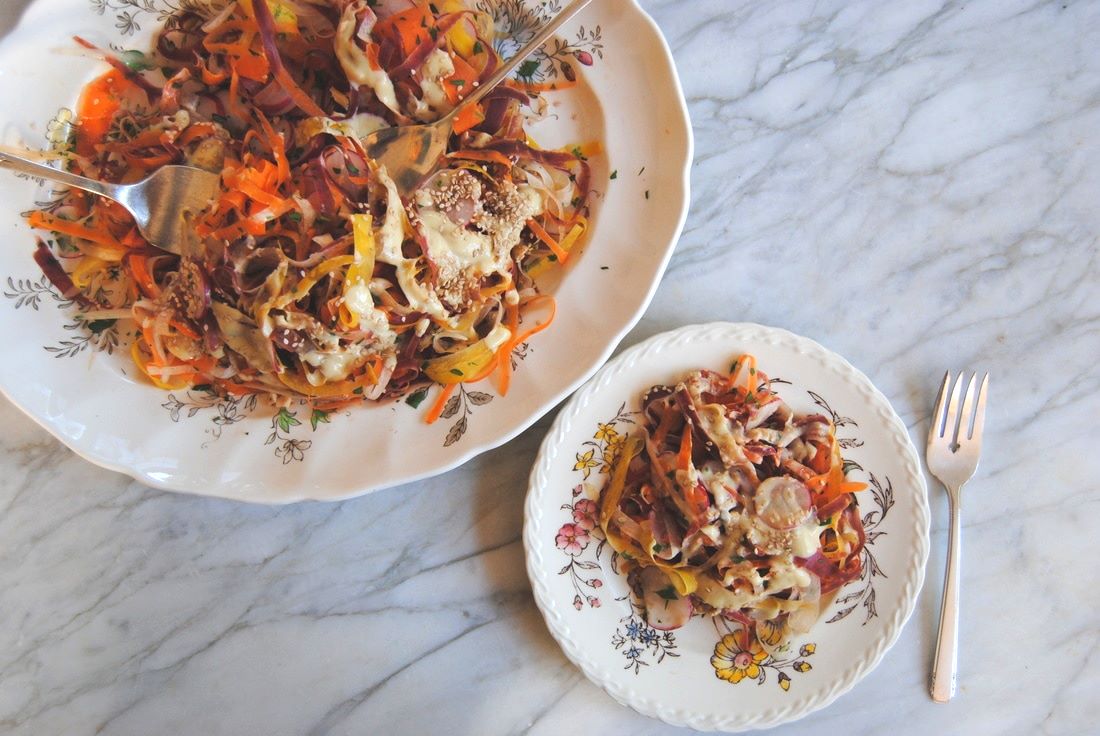
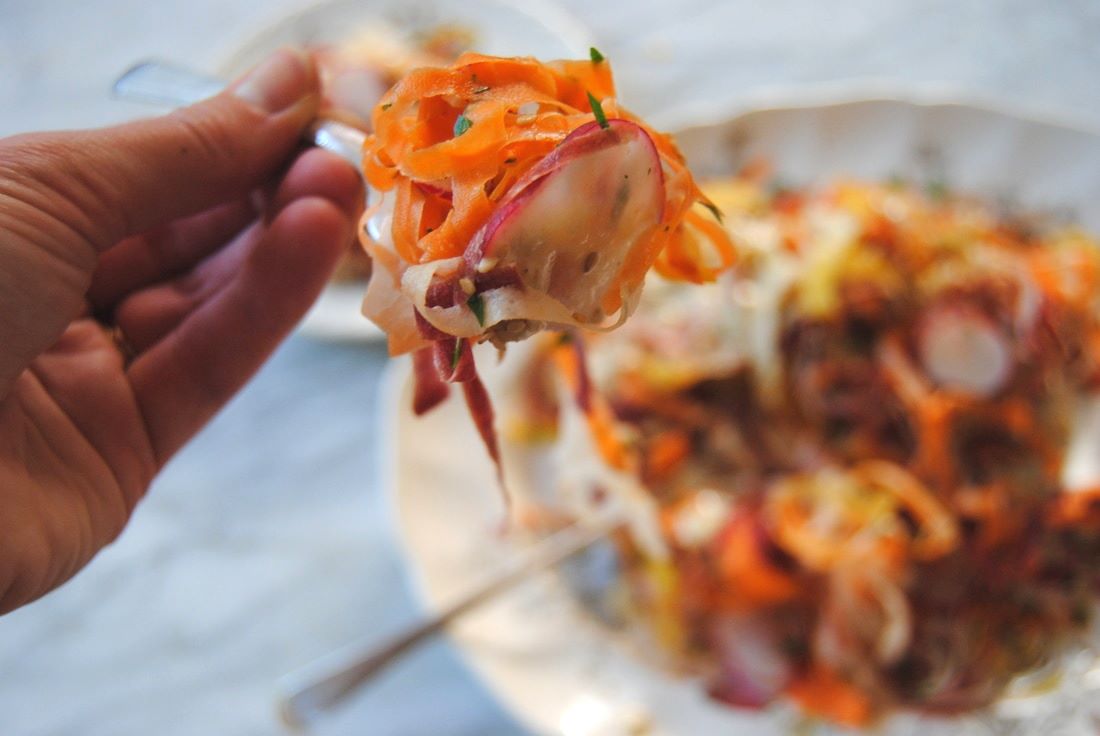
Enjoy, Jess and Cecelia Friends! It's been a while since our last recipe and we hope you've been finding some delicious ways to enjoy the bounty of the season. If you've been growing or finding fresh carrots at your local farmers market this one's for you! We found a gorgeous bunch of rainbow carrots that made this salad even that much more special, though a single color palate would be beautiful too. This recipe includes quick pickled ginger (pictured below) to add some extra pizzaz and another unique preparation to your repertoire. Homemade pickles in 60 minutes - yes please! And not to overshadow the preparation of these carrots into ribbons which are interesting to look at and even better to eat. Forget about a boring vegetable platter or garden salad - this is the recipe for your next summer gathering to savor and impress. Let's get to it! Rainbow Ribbon Carrot Salad Prep Time: 15 minutes + 1 hour for pickling Total Time: 1 hour 15 minutes (includes 1 hour of pickling time) Servings: 4 side salads, 2 main salads Ingredients Salad 6 large carrots 5 radishes 2 Tbsp quick picked ginger, minced 1 Tbsp chopped parsley 1 Tbsp sesame seeds (preferably unbleached) Dressing 1 1/2 Tbsp extra virgin olive oil 1 Tbsp tahini 2 tsp fresh lemon juice 1 tsp water ½ tsp honey (we used clover honey) ¼ tsp sea salt 2-3 drops toasted sesame oil Quick Pickled Ginger 1 three-inch piece of ginger, peeled and sliced thin 1 red radish, sliced thin 3 Tbsp rice vinegar 1 Tbsp sugar 1 tsp sea salt To make the pickled ginger, add the vinegar, sugar, and salt to a glass jar and stir until the sugar and salt have dissolved. Add the sliced ginger and one radish (for color) to the jar with the liquid and allow mixture to sit covered for at least 1 hour. Pickled ginger can be kept in an air tight container in the fridge for up to 7 days. To make the dressing, combine olive oil, tahini, lemon juice, water, honey, sea salt, and toasted sesame oil in a bowl and whisk until combined. Dressing will keep in the fridge in an air tight container for up to 7 days. To make the salad, wash and peel the outer skin on the carrots. Next use a vegetable peeler to shave carrots into long thin strips*. Continue this process until all 6 carrots have been shaved. Using a sharp knife, slice radishes as thin as possible (this could also be done using a mandolin on the thinnest setting). Add chopped parsley, minced pickled ginger and sesame seeds to the carrots then toss with the tahini dressing and serve immediately. If you do not plan to serve the whole salad at once, keep the dressing on the side and add just prior to serving. Undressed salad will keep in the fridge in an air tight container for up to 3 days. *This process is similar to peeling outer carrot skins. We recommend holding carrots firmly in a clean dish towel and rotating the carrots as you shave. Once you get to the tougher center of the carrots shaving will become more difficult. When this happens you can stop and discard part of the carrots or save to enjoy as traditional carrot sticks. As we mentioned, the texture of these carrots really brings a uniqueness to this salad - reminiscent of pasta salad but light and fresh with a satisfying crunch. The radish rounds and quick pickled ginger provide a subtle spice and the creamy tahini dressing tops it all off, literally. We hope the fresh, local produce you're finding this summer is inspiring your own kitchen creations.
Enjoy, Jess and Cecelia |
AuthorsJess and Cecelia welcome you to our kitchen. We are fun-loving and passionate foodies working to make the world a healthier, happier place one plant based recipe at a time. Categories
All
Archives
December 2018
|

