|
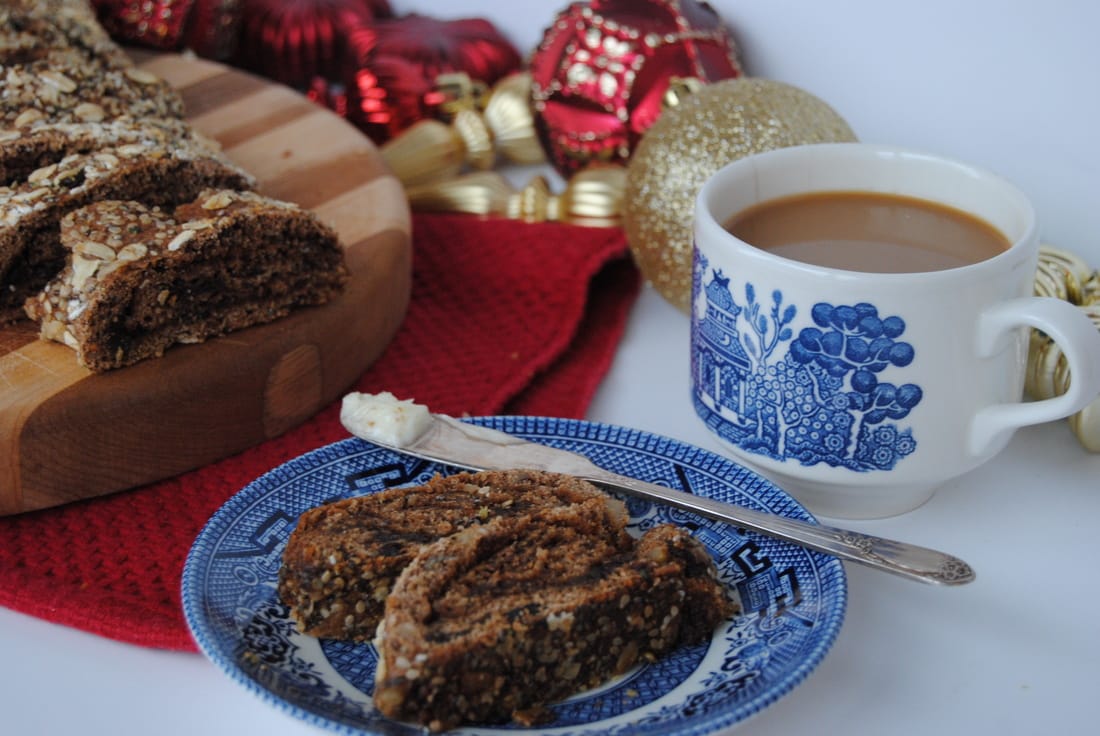
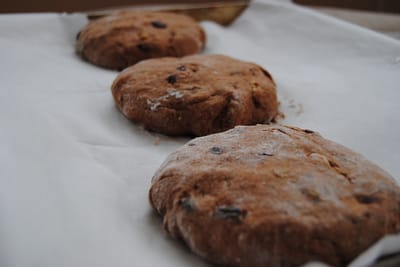
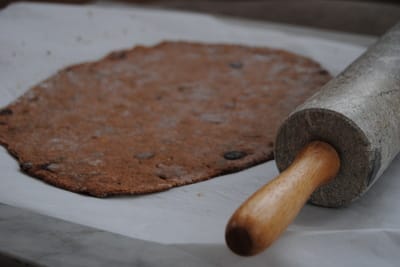
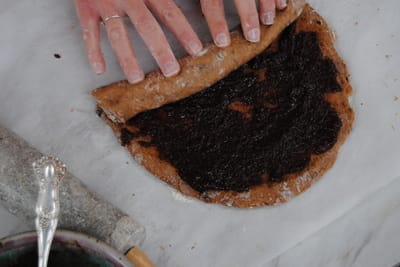
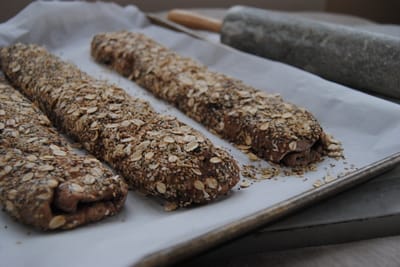
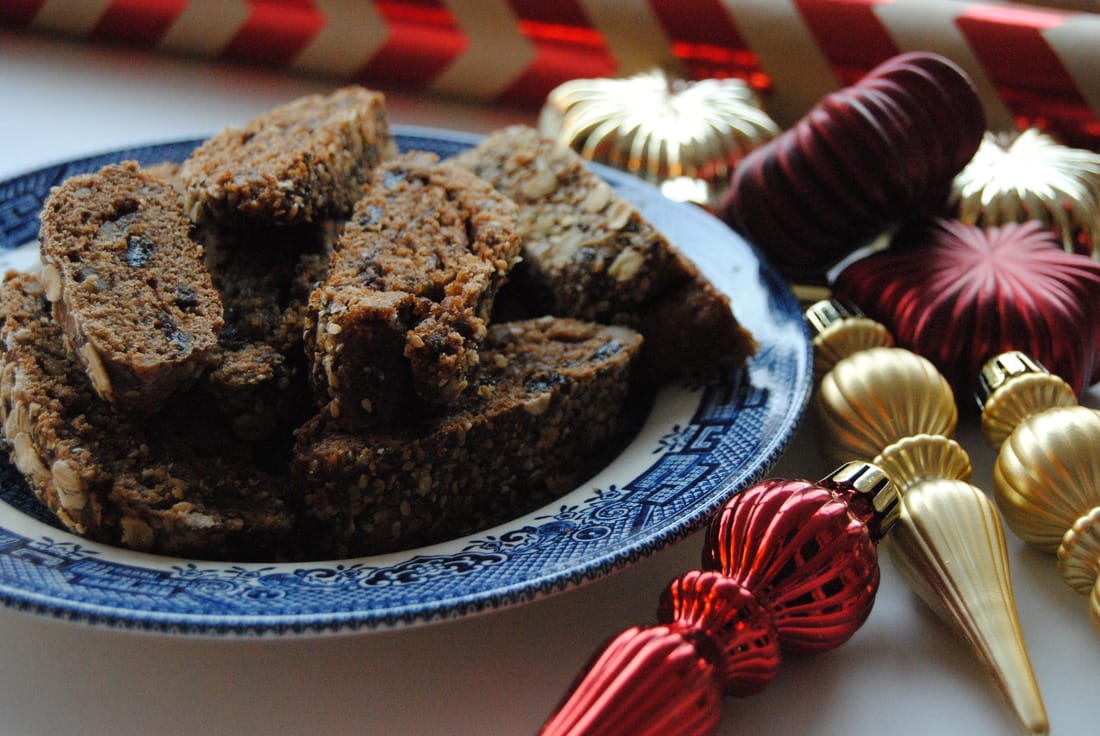
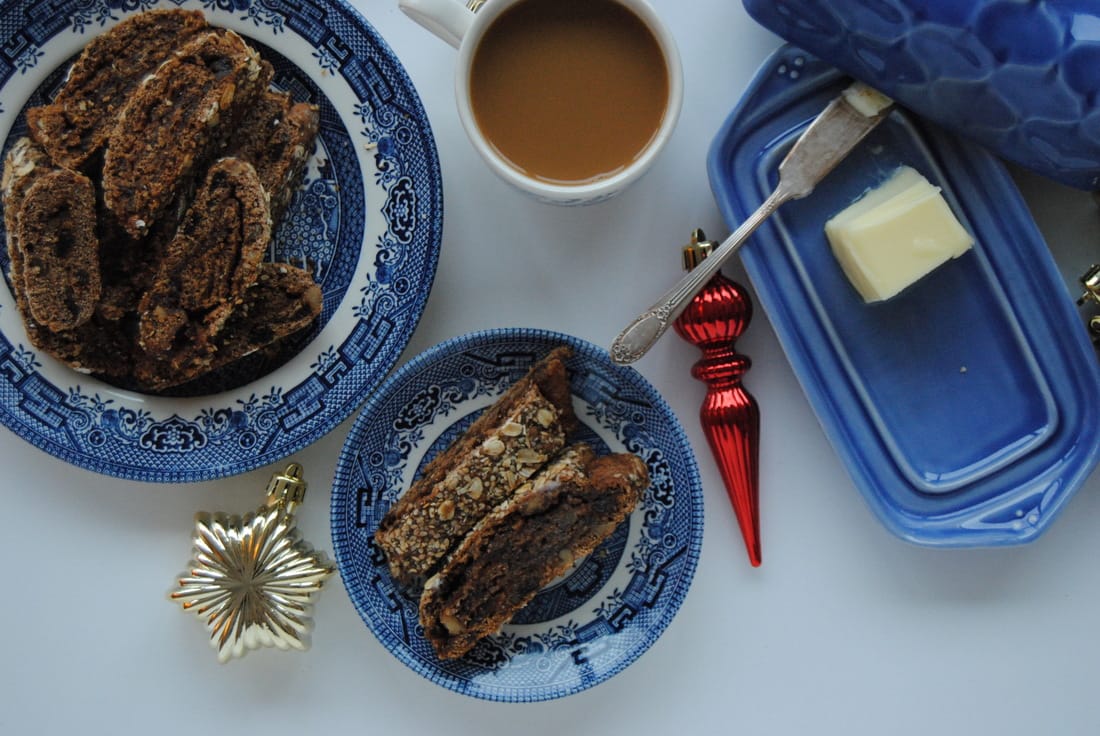
There are so many warm and fuzzy feelings to describe the way we feel this time of year when sharing and spending time with friends and family. To put it simply, special. There are just so many things we love about the holiday season that we sure do miss when the time has come and gone. And for such a special season we just had to share a special recipe. This recipe is one of Jess's favorites that she often shares at special gatherings or gives as gifts. You might say she is even famous for this sought after recipe! Though it may look somehwat unassuming, after one bite you will realize that this is the best cinnamon bread you've ever tasted. We will get straight into the recipe this week so that you have time to add this to your holiday baking que. Sinful Cinnamon Bread Adapted from Dave's Killer Bread Sin Dawgs recipe PREP TIME: 1 hour 40 minutes TOTAL TIME: 2 hours 15 minutes Servings: Recipe makes 3 ~12" loaves Ingredients Sponge 1 1/4 cup spelt flour (whole wheat flour will also work) 3 Tbsp coconut sugar (cane sugar will aso work) 1 Tbsp gound flax seeds 1 Tbsp sesame seeds 2 Tbsp rolled oats 2 1/2 tsp instant yeast 3 1/2 Tbsp coconut oil, melted 1 1/2 Tbsp molasses 1/2 cup warm water Dough 1 cup raisins 1/2 cup walnuts, chopped 1 1/2 cup + 2 Tbsp spelt flour (whole wheat flour will also work) 1 1/4 tsp salt 1 Tbsp + 2 tsp cinnamon 2/3 cup water (reserve soaking water from raisins and walnuts) Filling 2 Tbsp + 2 tsp ground flax seeds 2 Tbsp + 2 tsp water 1 cup coconut sugar (cane sugar will also work) 2 Tbsp molasses 2 Tbsp + 2 tsp ground cinnamon 1/2 cup coconut oil, melted 3 Tbsp coconut flour 1 tsp vanilla Topping 4 Tbsp rolled oats 2 Tbsp hemp seeds 2 Tbsp sesame seeds 2 tsp chia seeds 2 tsp ground flax seeds In a bowl of a standing mixer (or with a hand-held electric mixer) combine the sponge ingredients starting with the dry ingredients and add in the wet ingredients. Mix on low until mixture comes together. Cover bowl with a clean cloth and let sit for 30-60 minutes. In a bowl combine the raisins and walnuts and cover with warm water then allow to soak for 5-10 minutes while you start preparing the dough. Reserve 2/3 cup water to use for the dough. To make the dough add the remaining flour, salt, 2/3 cup soaking water, and cinnamon to the sponge mixture and mix on medium-high speed (or knead by hand) for 10 minutes or until dough pulls away from the bowl and has a smooth texture. Add the soaked raisins and walnuts to the dough and continue mixing adding in 1 Tbsp of additional flour as needed. The final dough should be smooth, elastic, and should not stick to your hands. Place the dough on a lightly floured surface and divide into 3 equal pieces. Allow dough to rest while you make the filling. To make the filling combine the coconut sugar, melted coconut oil, molasses, ground flax seeds, water, cinnamon, vanilla, and coconut flour. Mix until fully combined. Lightly dust a piece of parchment paper or a reusable baking mat with flour. Using a rolling pin, roll each dough ball out into a rectangle about 1/4" thick. Evenly spread 1/3 of filling mixture on top of dough, making sure to get as close to the edges as possible. Starting with the short end, roll dough into a cylinder. Repeat this step until all 3 loaves are made. Combine topping ingredients (rolled oats, hemp seeds, sesame seeds, chia seeds, and ground flax seeds) on a large plate and set aside. Using a pastry brush, carefully brush water on all sides of each loaf then roll loaf in topping mixture. The water helps the seeds adhere to the loaves. Place each loaf side by side on a parchment lined baking sheet . Cover the loaves with a clean cloth and allow to rise for 30 minutes or so. Preheat the oven to 350 degrees. Bake the loaves in preheated oven for 35-40 minutes or until slightly browned. Allow the bread to cool for at least 15 minutes before slicing. Store cinnamon bread in an air tight container for up to 5 days. We have also found out that baked, uncut loaves store well in the freezer, just make sure to completly thaw out and rewarm in a 350 degree preheated oven for 7-10 minutes prior to serving. We highly recommend eating this bread warm out of the oven slathered with butter of choice (this bread is vegan so maybe coconut butter) and your favorite warm beverage. The explosion of gooey cinnamon with each bite is something that just can't be explained and has to be tasted. We hope this recipe is a gift you enjoy this holiday season and share with others that you love. As we spend time with our loved ones we will be taking a break from new posts until the New Year but have lots in store for our loyal TGBK followers then.
Happiest of holiday and see you in 2017, Jess and Cecelia
0 Comments
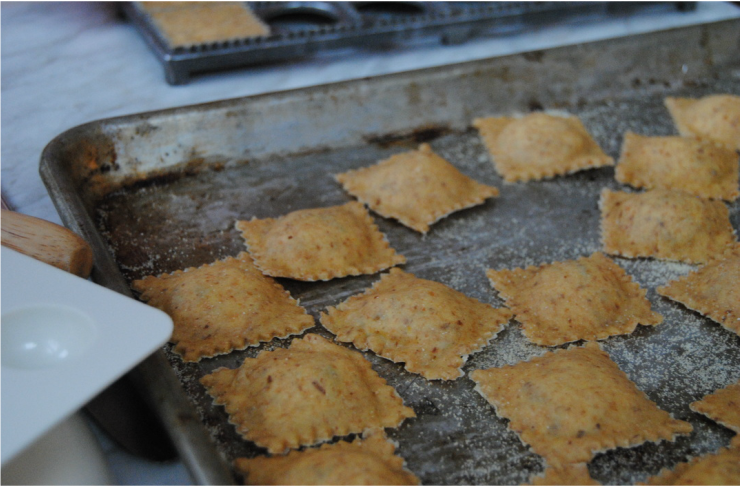
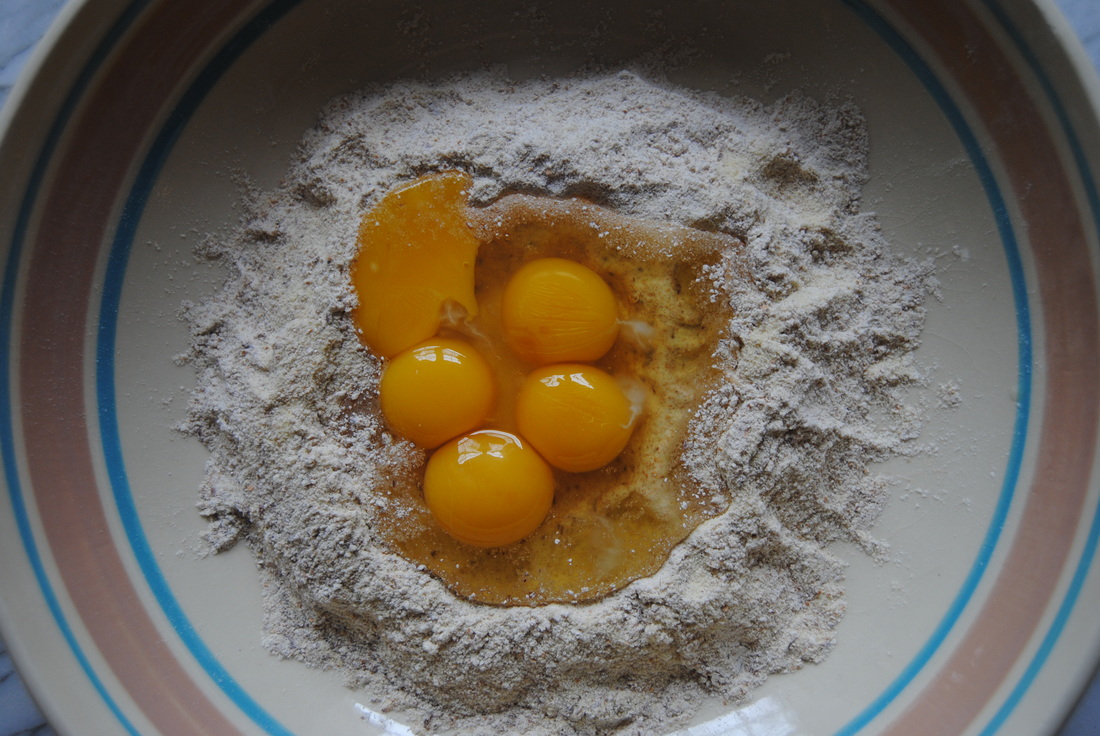
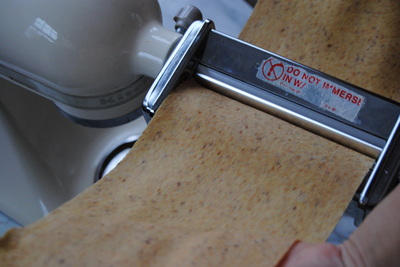
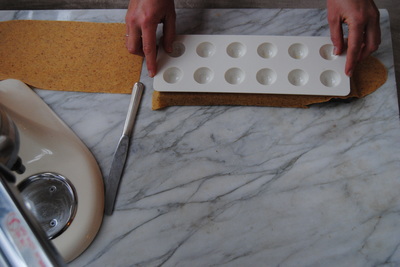
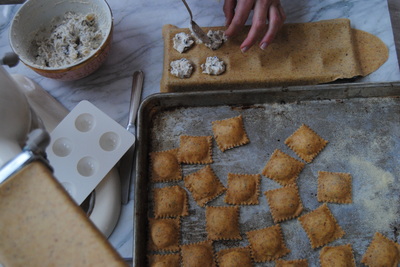
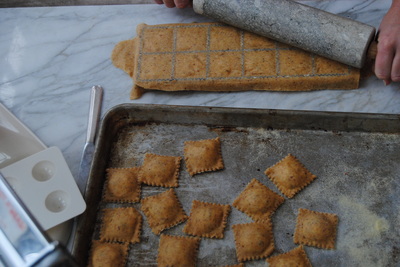
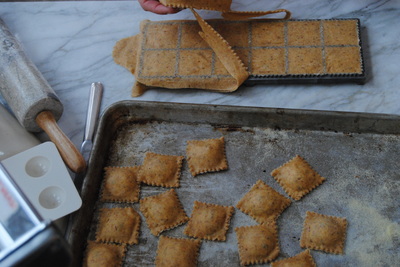
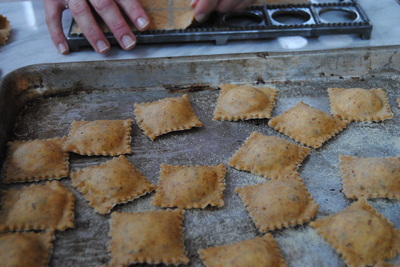
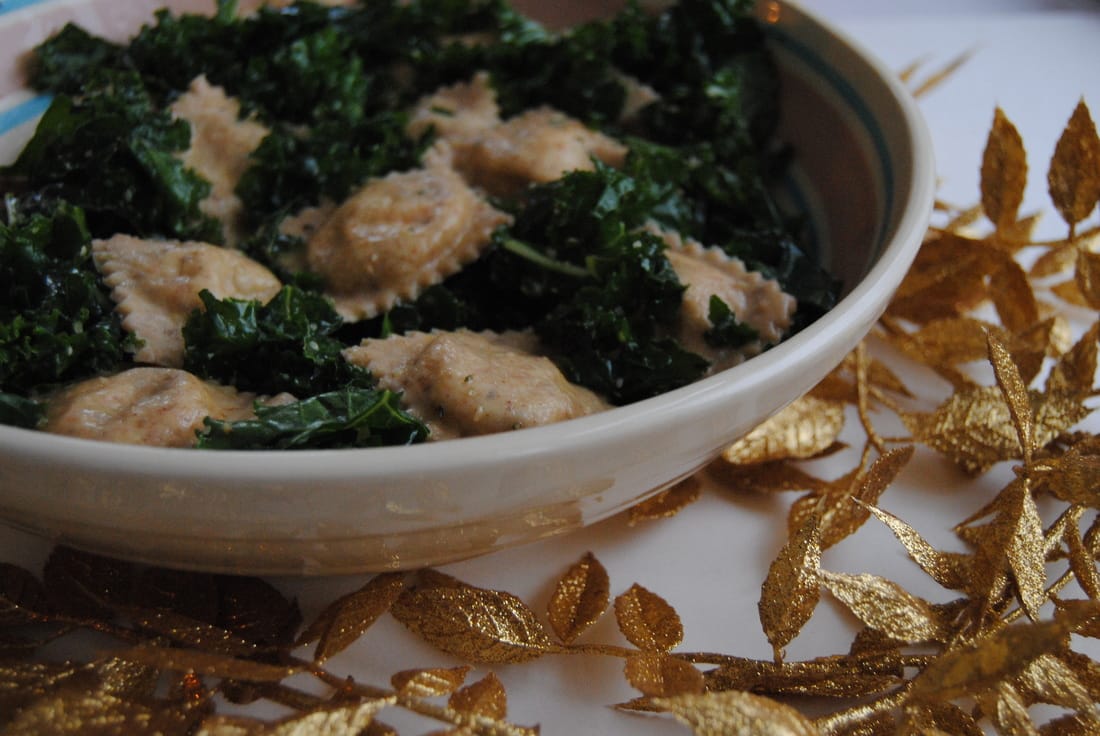
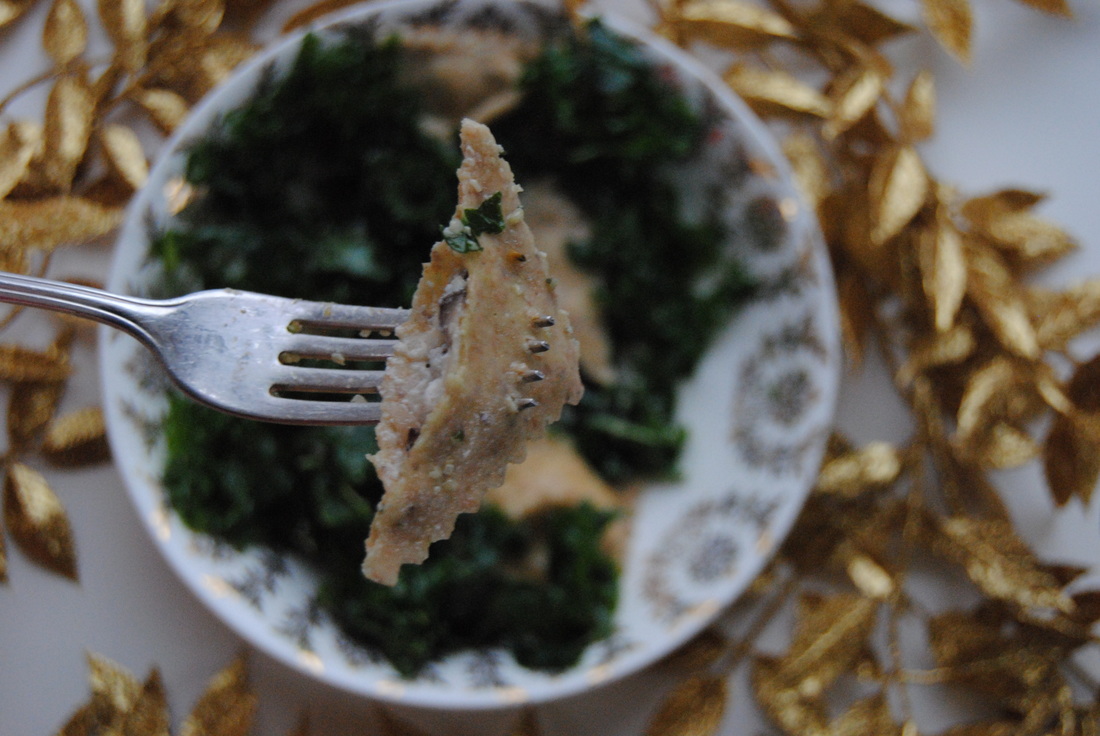
Okay, so last week we provided some special kitchen tips to make the holidays a little easier and this week we are tackling home pasta!? We get how different these posts must seem, but think that vacations around the holidays can be the perfect time to have some fun and try something new in the kitchen. If you've been wanting to tackle homemade pasta, or even if you haven't, now is your chance! Add a pasta roller (hand or electric) to your holiday wish list and let's get started. First of all we want to comment on the fact that this is our first recipe including eggs - a complete must for fresh, homemade pasta. Being plant based foodies we do try to use plant based egg substitutes when possible to keep plants the focus of our diets. We find this quite easy when baking as ground flax seed produces a similar texture in the final product and what we feel is a superior taste in certain baked goods when substituted for eggs. However, there are specific homemade recipes that just aren't possible or the same without eggs - so we use them! Eggs provide a good dose of protein, B vitamins, and are one of the few natural sources of vitamin D. When using eggs we try to choose eggs that come from happy/healthy animals so eggs from local farmers or friends raising chickens are our first choice. This would be considered "pasture raised" and will likely not be found in stores. If purchasing eggs from the store we do spring for the more expensive options which include organic, cage-free, and free range. Though these designations do not guarantee that the chickens were raised as happily and healthfully as "pasture raised," the animal conditions will be better than most standard grade. One day we will have a chicken coop along with our kitchen to ensure the quality of our eggs - hey we can dream right! But back to pasta making, with the right ingredients and tools it is very manageable and so fun. We have detailed instructions for you and step by step pictures of the raviolis we created this week. Good luck! Shiitake Mushroom Ravioli Kale Salad with Brown Butter Miso Sauce PREP TIME: 1 hour TOTAL TIME: 1 hour 30 mins Servings: salad serves 4 (recipe makes 48-50 raviolis) Ingredients Dough 1 1/2 cup spelt flour 1/2 cup semolina flour 1 Tbsp ground flax seed 2 whole eggs 3 egg yolks Filling 5 oz shiitake mushroom, diced 1 medium yellow onion 1 medium garlic clove, minced 2 Tbsp butter 1/4 tsp sea salt 1/8 tsp cracked black pepper 7 1/2 oz whole milk ricotta cheese 4 oz goat cheese Sauce 4 Tbsp unsalted butter (we used Kerrygold butter) 2 tsp miso paste, any variety would work 2 Tbsp starch water (reserved from cooked ravioli) 2 Tbsp organic half and half or cream 1 small clove garlic, minced Kale Salad 6 cups raw kale 2 Tbsp extra virgin olive oil 1/4 tsp sea salt 2 Tbsp shelled hemp seeds In a shallow dish mix together spelt flour, semolina flour and ground flax seeds. Make a well in the middle of the flour mixture and add both the eggs and egg yolks. Using your hands, mix together flours and eggs until a dough is formed. Using a standing mixer with dough hook attachment or by hand knead dough for ~10 minutes or until a smooth dough that holds its shape is formed. Add 1 Tbsp additional flour at a time if dough is sticky while kneading. Make sure you knead the dough long enough to properly develop the gluten which will results in a strong and stretchy dough. Cover finished dough with plastic wrap and allow to sit at room temperature while you prepare the filling. To make the filling, begin by dicing the onion and mushrooms. In a saute pan on medium heat add butter and chopped onions and cook until onions are wilted with golden edges, ~5 minutes. Add chopped mushrooms to the pan along with the minced garlic and continue to cook for and additional 5 minutes. Remove from heat, place sauteed vegetables in a bowl, then add both the ricotta cheese and goat cheese. Add salt and pepper and stir until mixture is combined. Allow mixture to cool at room temperature while you roll out the pasta dough. Cut dough into 4 segments. Either using a standing mixer with the pasta attachment or a hand held pasta machine, set the roller to #1 (and if using a standing mixer turn to speed #2) then run pasta dough through the machine. Fold pasta sheet in half and repeat this step 4 times. Set roller to #2 then feed pasta sheet through the machine twice (now without folding) and continue this process until you have reached the #5 setting. The higher the number, the thinner the dough. Place finished dough on well floured surface and cut dough in half to fit metal ravioli mold making sure to leave about 1" of additional dough on both ends. Using the ravioli press, gently indent dough to create wells in the dough - this is where your filling will be placed (see photo above). Carefully place ~1 tsp of filling in each well then place the other flat pasta sheet on top. Using a rolling pin, press top dough sheet onto bottom filled dough sheet. The weight of the rolling pin along with the zig-zag grooves on the metal mold will seal the raviolis. At this point you should be able to remove the excess dough from the edges of the ravioli mold. Carefully remove each ravioli from mold and place on lightly floured pan. Repeat process with eat segment of dough until you have made ~48-50 raviolis. Cook raviolis in salted boiling water, 8-10 at a time, for 5-6 minutes. Repeat process until all raviolis are cooked. Please note, this recipe calls for 16 raviolis (4 per person). Any uncooked raviolis you do not plan to eat within 2-3 days should be placed on a pan in a single layer and put in the freezer until fully frozen . The frozen raviolis can then be stored in a freezer bag for up to 3 months. To make the sauce add butter to a small sauce pan and cook on medium heat, stirring constantly until butter begins to brown and become fragrant. Lower heat to a simmer, add garlic and miso paste to brown butter, and continue to stir until the miso is well incorporated. Add cream and starch water and continue to stir until sauce comes together. Remove from heat and set aside. To make the messaged kale salad, wash, destem, and chop the kale. Add olive oil, salt, and hemp seeds and begin to message kale until it is well covered and kale is slightly wilted. To assemble the salad, combine the cooked ravioli with the brown butter sauce then place over messaged kale salad. Serve warm with additional brown butter sauce as desired. How fun was that? And so worth it! We just love, love this meal! The raviolis are so fresh and rich that they seem to melt in your mouth. The massaged kale wilts slightly from the warmth of the ravioli yet still provides a delightful crunch. To top this off, the brown butter sauce envelopes everything with a decadent finish. Just the meal to enjoy this holiday season or anytime at all.
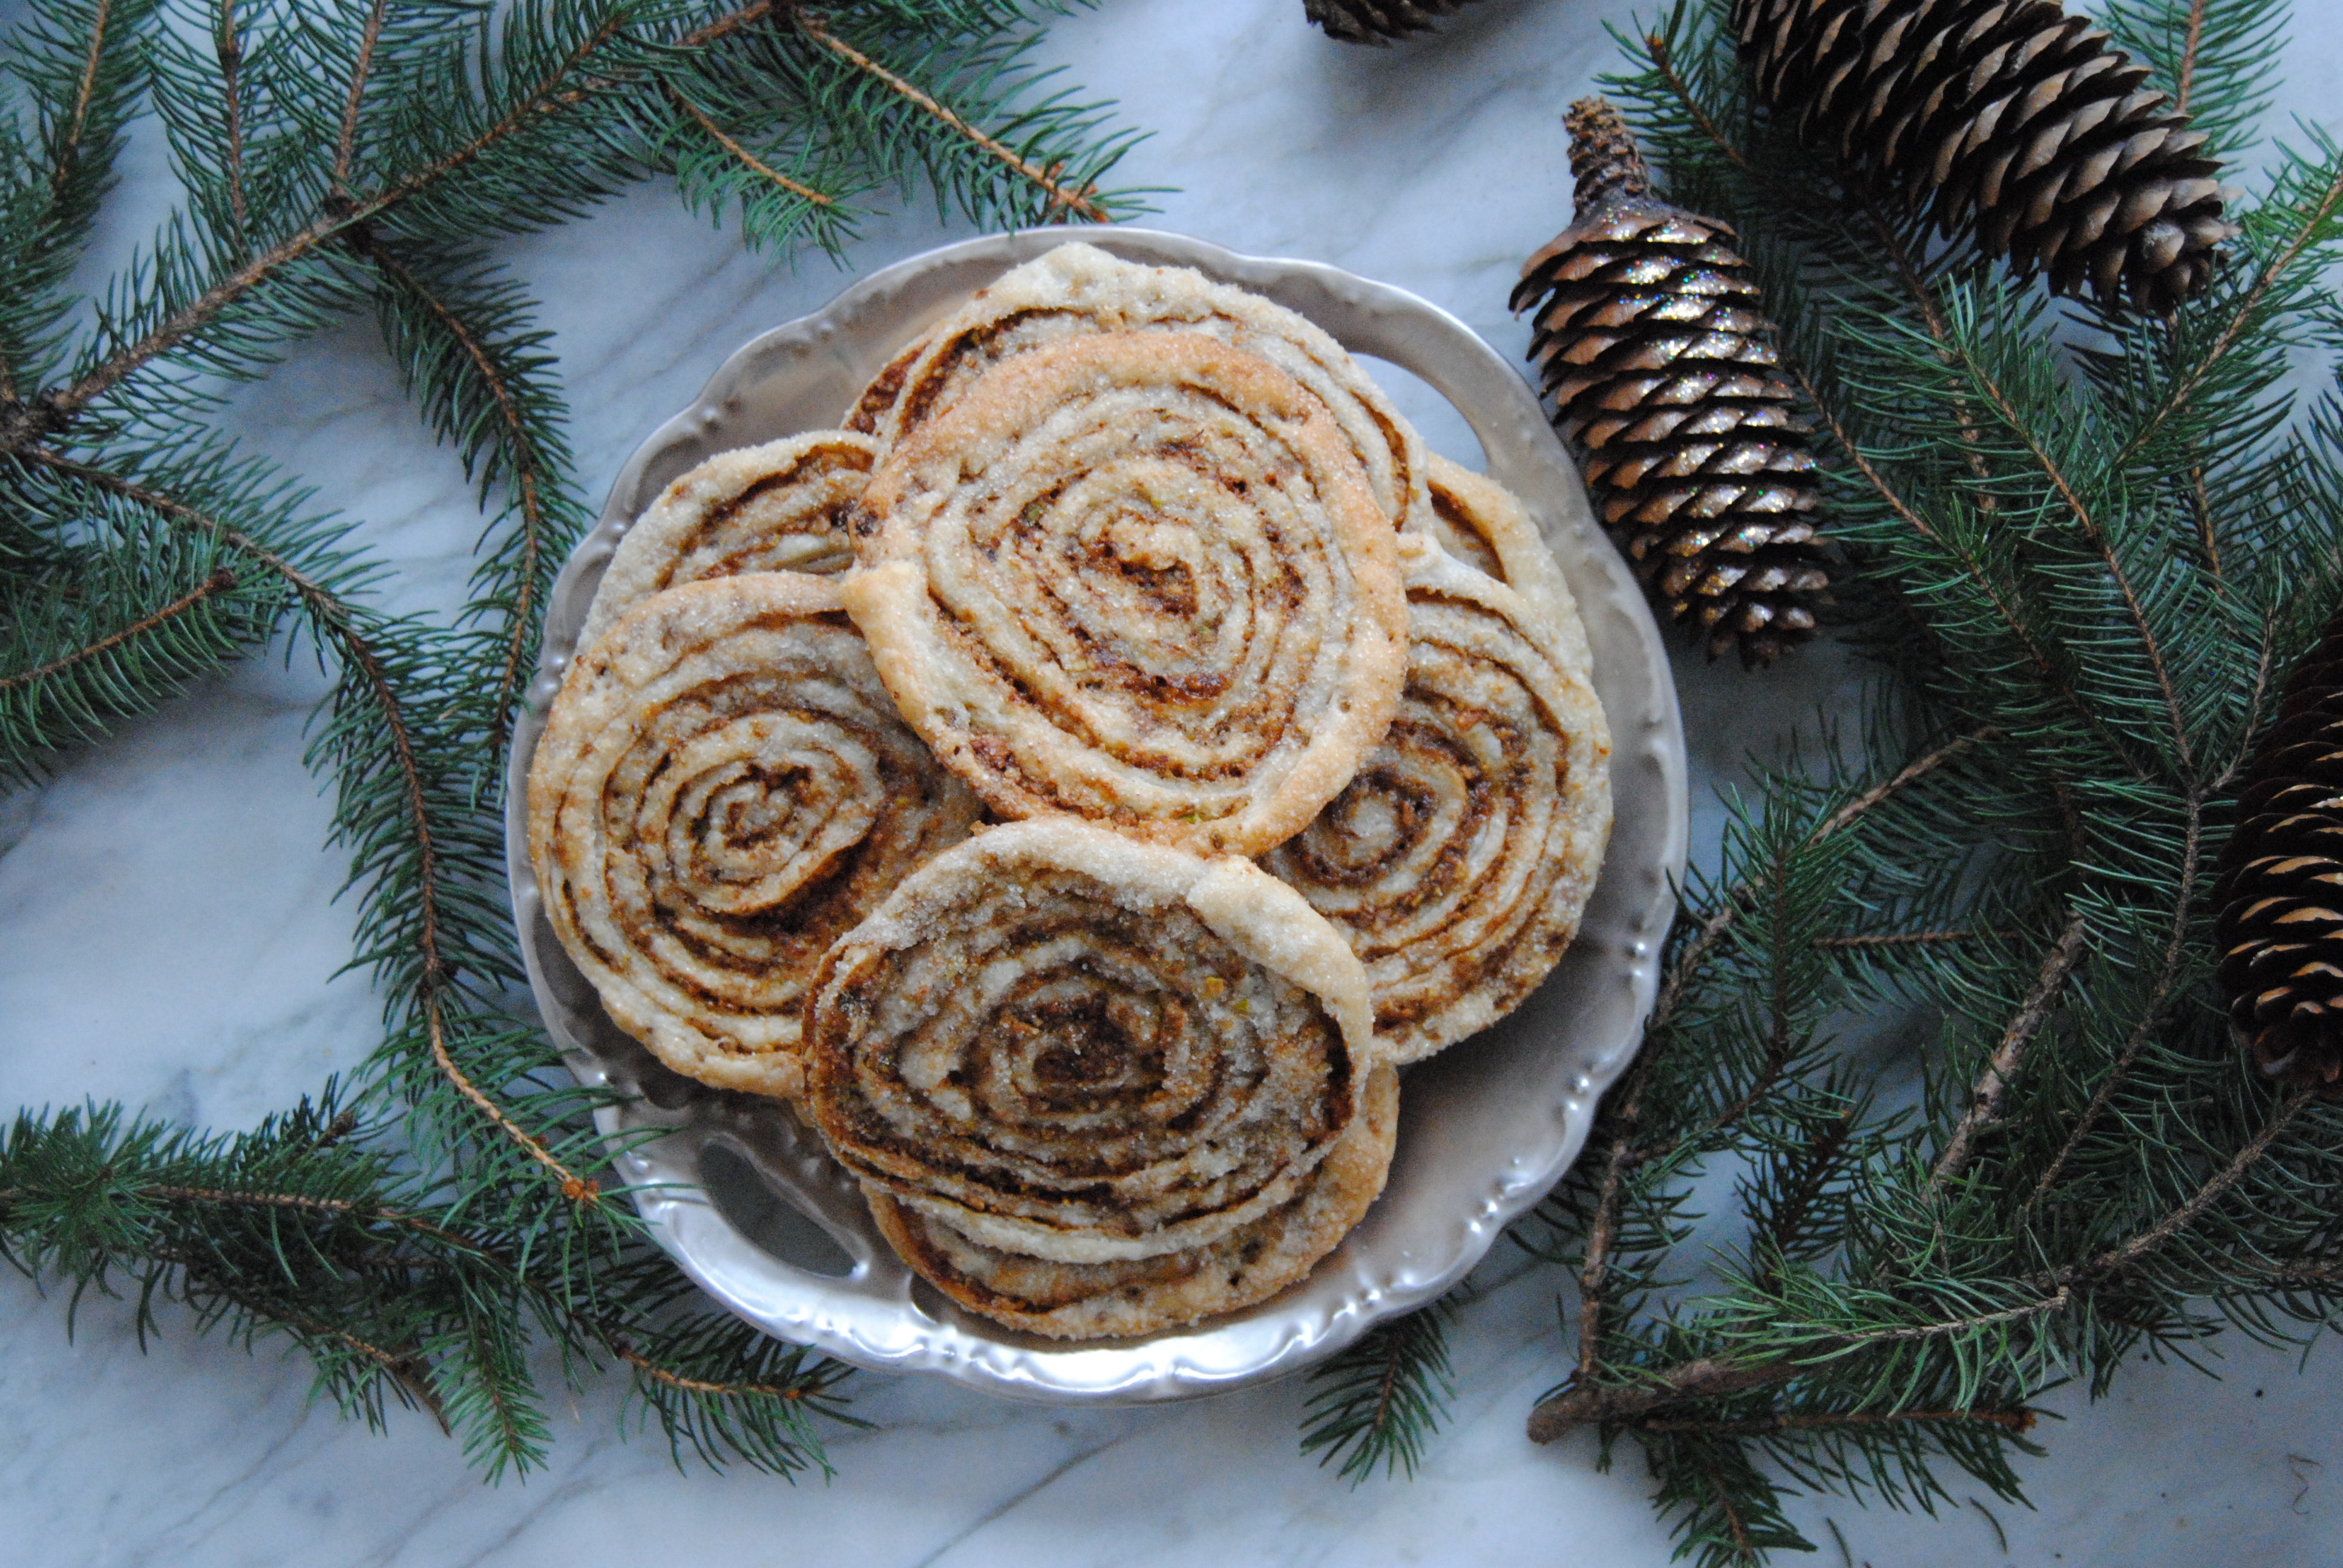
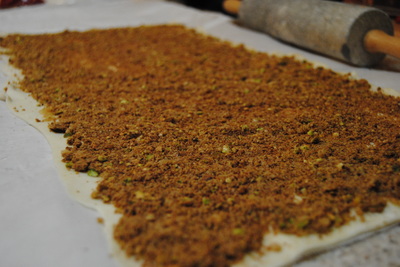
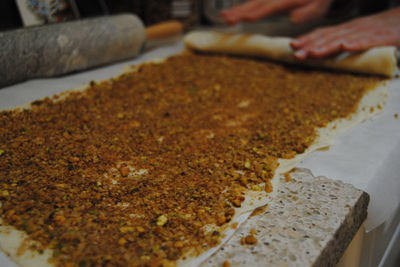
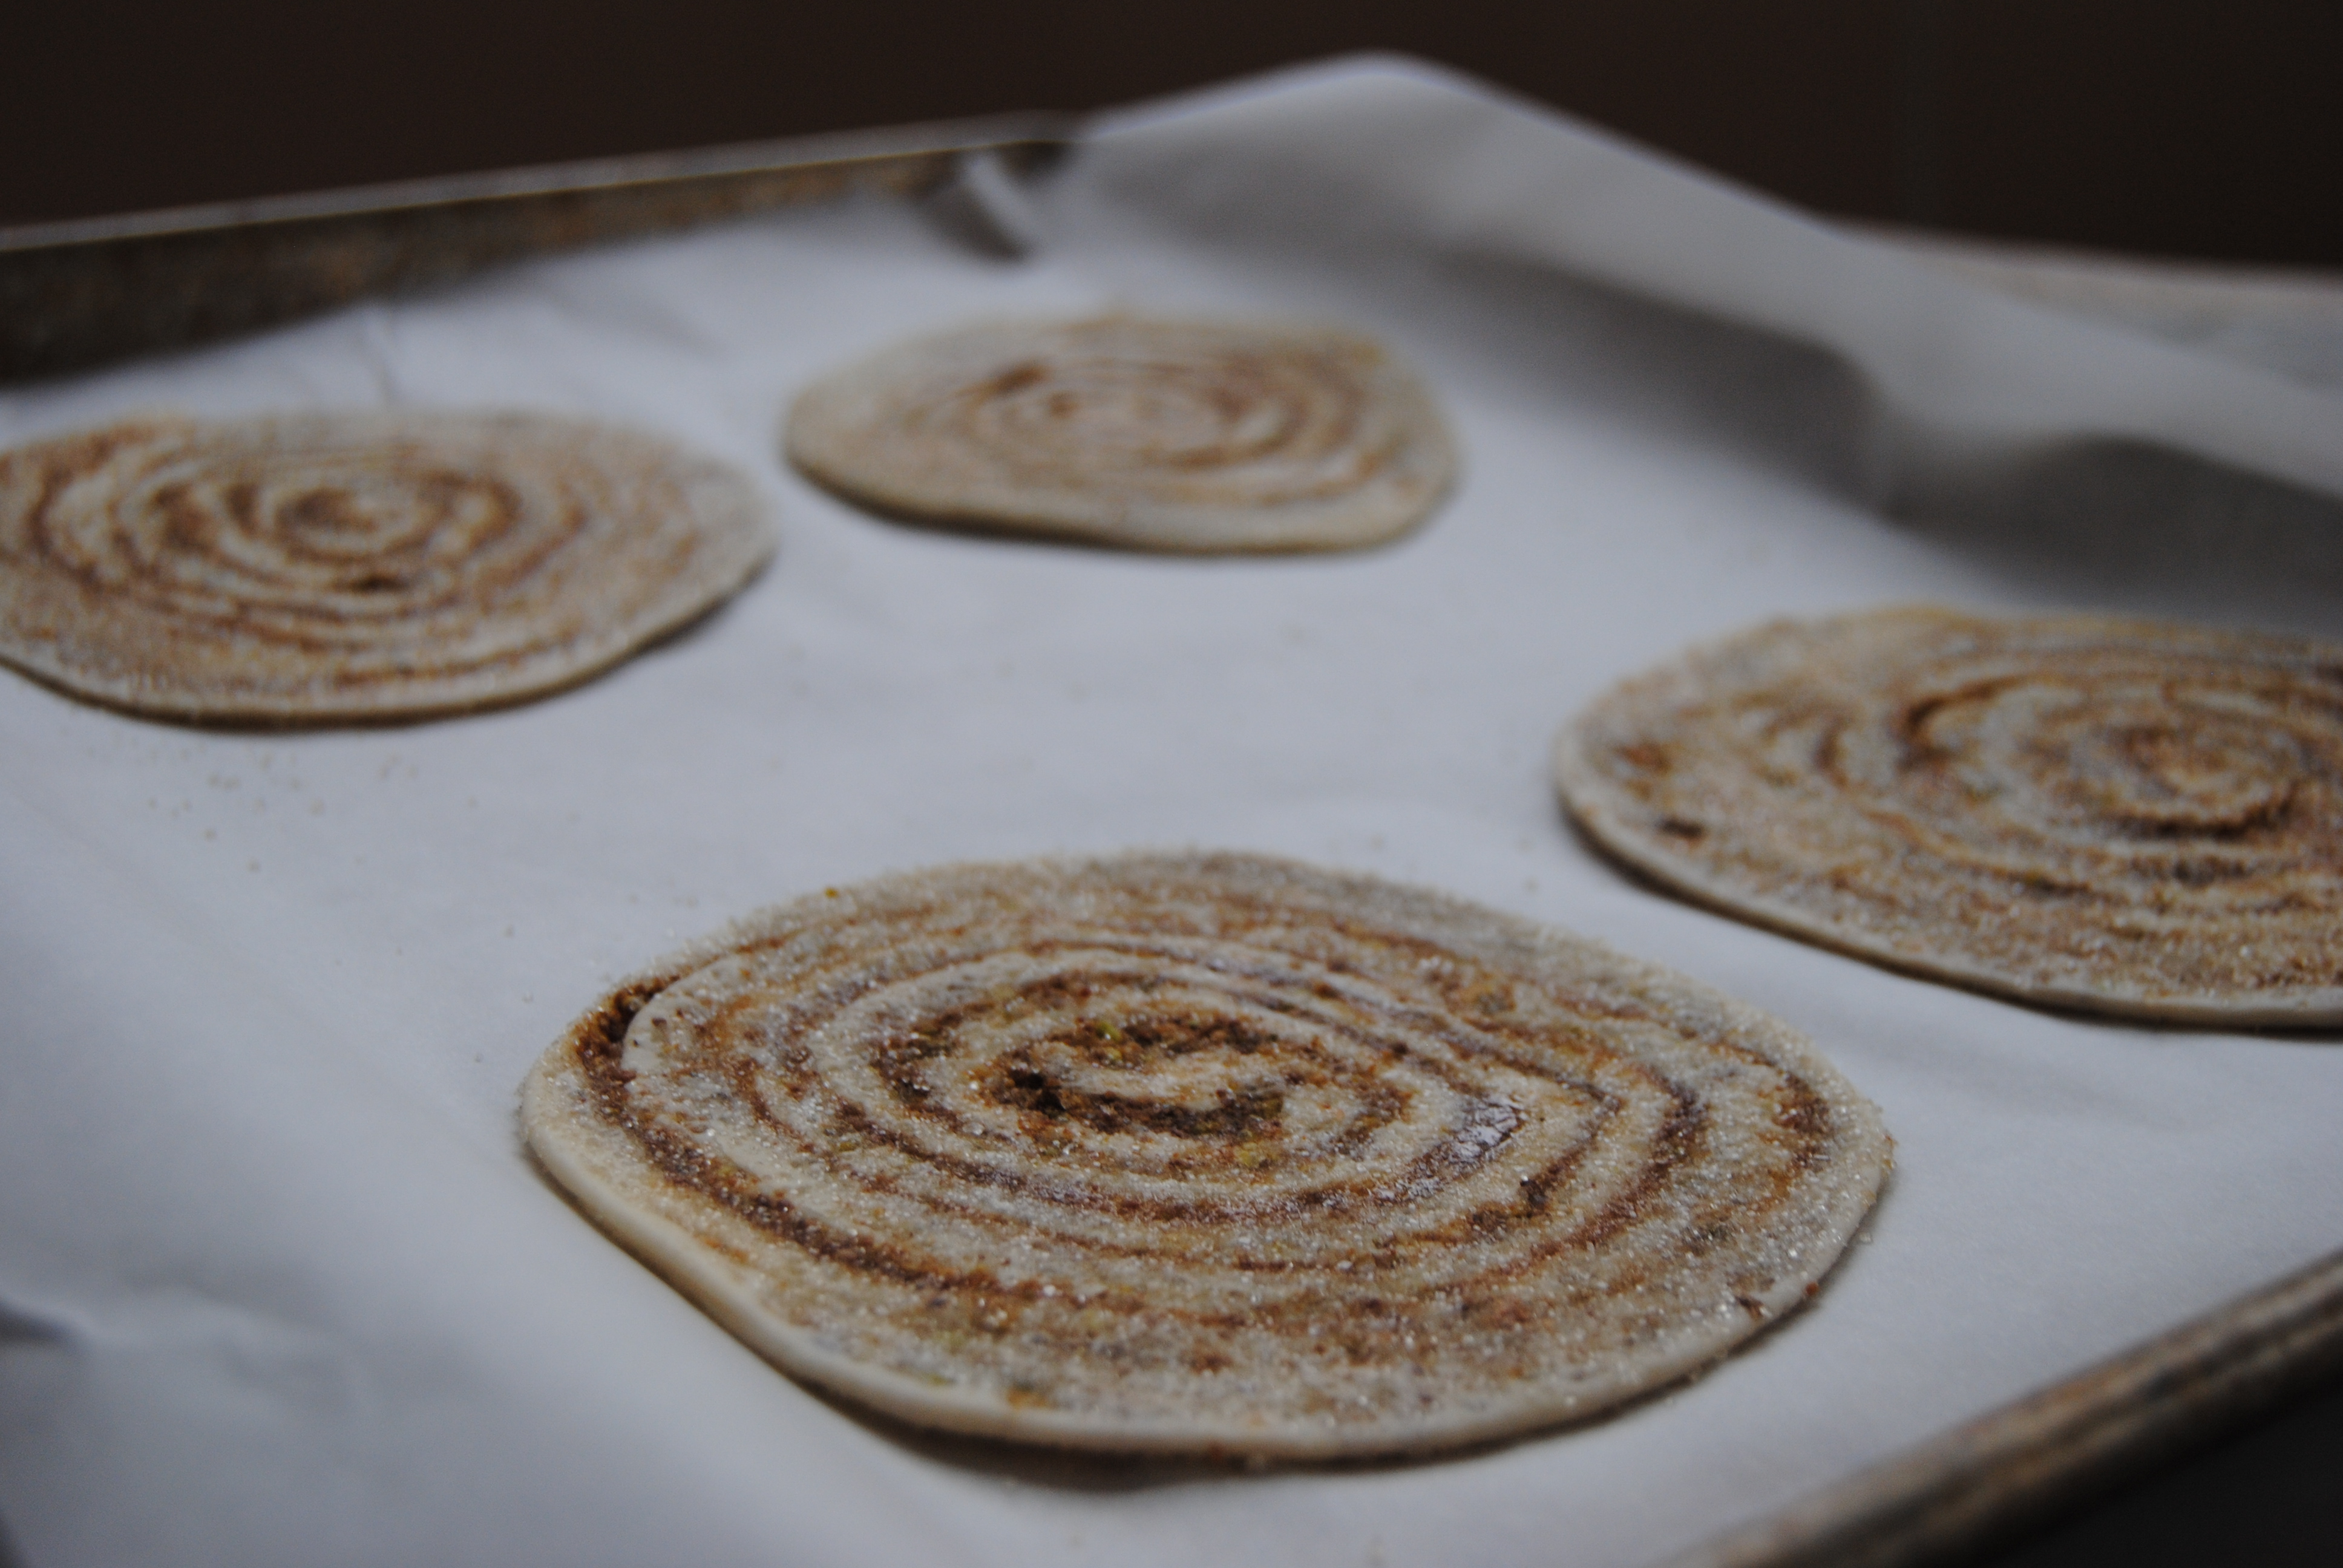
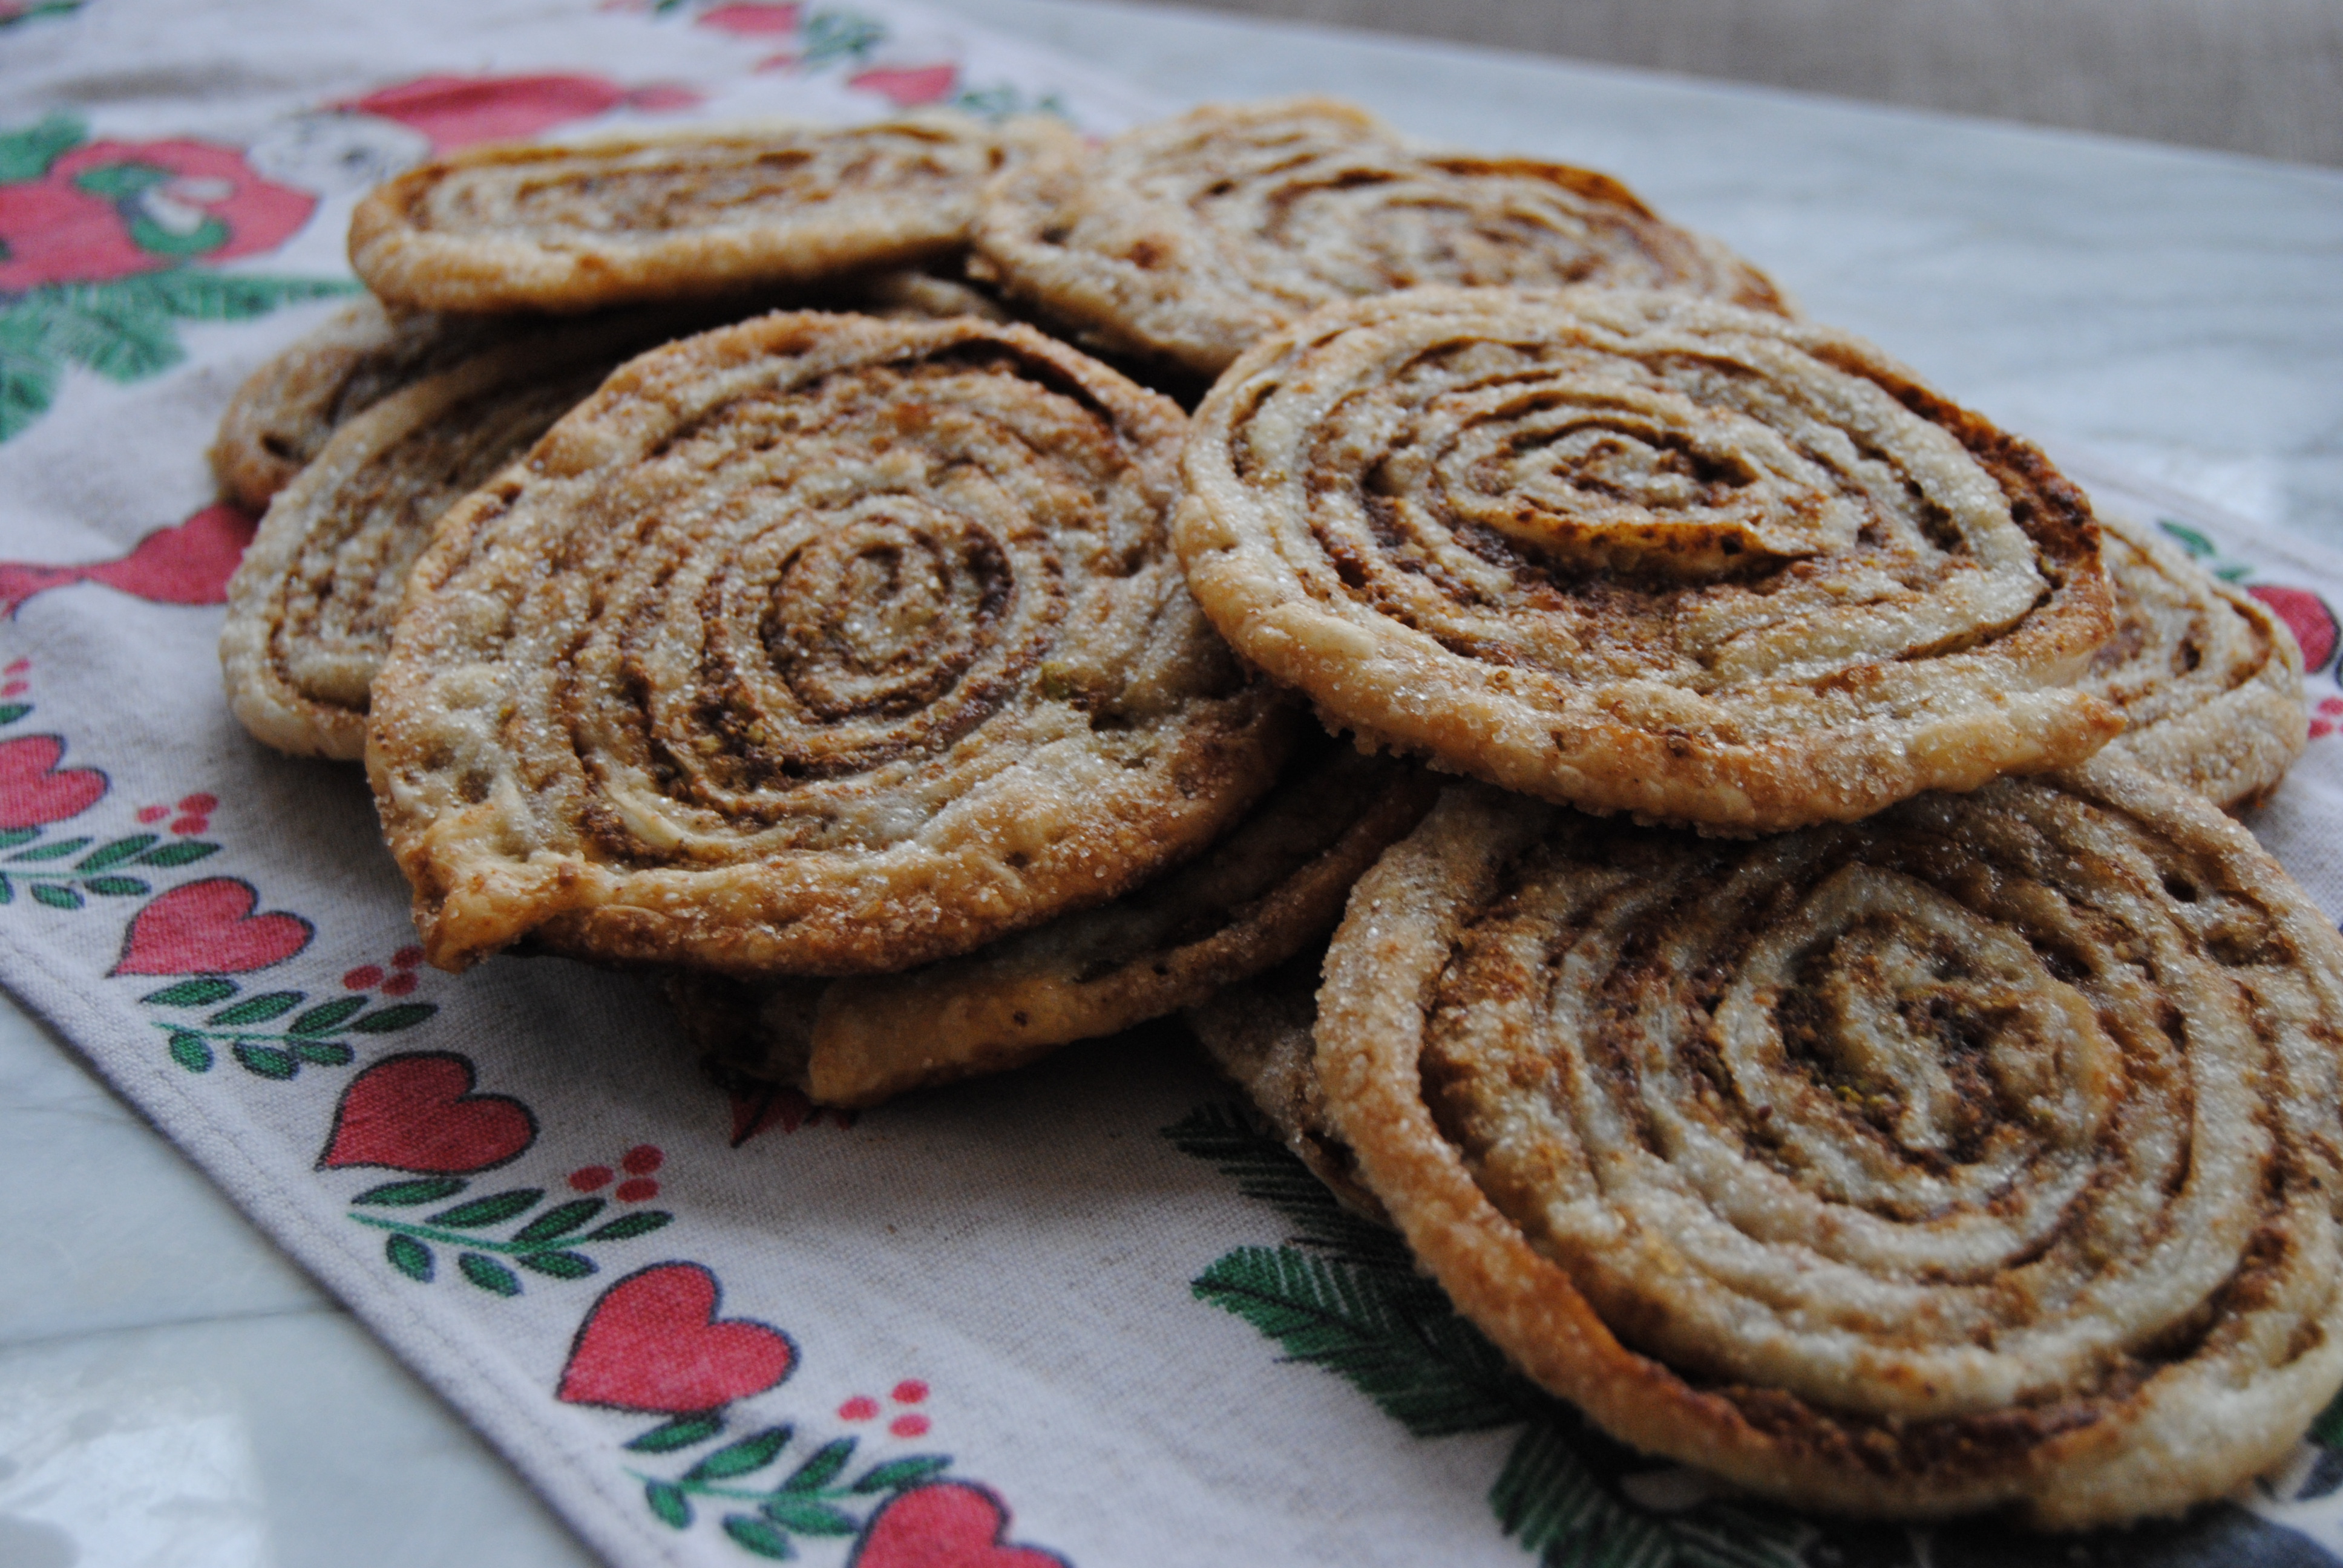
Enjoy, Jess and Cecelia Hi TGBK friends, don't you just love the holiday season? There are so many wonderful things to celebrate (including good food!) and gatherings with friends and family. Though we enjoy the festivities, it can sometimes be hard to keep up with the visiting, shopping, and gourmet cooking/baking. That's why we're here with tips and tricks straight from our kitchen to yours. Take the cookies pictured above for example - looks like these took an afternoon of baking right? Well, not exactly.... Though we love making most things homemade as much as possible, there are some pre-made food products that are just too good to pass up. This week we are featuring pre-made puff pastry. And if you know anything about pastry making you'll know that it can be time consuming for a beginner and requires much attention to detail. Not things that we have time for during the holiday season! Puff pastry is essentially alternating layers of butter and flour based dough that will puff up (hence the name) when cooked and is frequently used for tarts and croissants. Luckily, it is readily available to purchase pre-made in frozen sheets. Just be sure to check your ingredients labels as some brands will use unfavorable ingredients including vegetable oil instead of butter. The ingredients list should contain flour, butter, water, salt, and possibly vinegar - simple. So grab some quick and let's hit this kitchen for this impressive (how does she/he do it) recipe! Pinwheel Pistachio Cookies Adapted from Martha Stewart's Elephant Ear Cookies recipe PREP TIME: 30 mins TOTAL TIME: 45-50 mins Servings: ~16 cookies Ingredients 2 sheets (~17 oz) of puff pastry, thawed (remember to look for puff pastry made with real butter not oil) 1/2 cup walnuts 1/2 cup pistachios 1/2 cup + 1 Tbsp cane sugar (reserved for rolling cookies in) 1/3 cup coconut sugar 1 Tbsp honey 1 tsp cinnamon 1/2 tsp sea salt Preheat oven to 400 degress. In a food processor or a blender grind walnuts, pistachios, coconut sugar, cinnamon, and salt until a coarse sand like texture is created. Remove thawed puff pastry from container, lightly dust parchement paper with flour, then place dough side by side to create a long rectangle. Using a rolling pin, seal two pastry edges together and gently roll out into 11" x 20" rectangle. Evenly drizzle 1 Tbsp honey over the pastry then evenly spread the nut and sugar mixture over the dough making sure to gently press mixture into the dough. Starting with the short end, roll dough into a tight cylinder then place in the fridge to cool for at least 10 minutes. Once chilled, remove dough from the fridge. Using a sharp serrated knife, cut dough roll into 1" rounds. Generously dust a piece of parahcment paper with cane sugar then individually coat both sides of each cookie with sugar and use a rolling pin to roll cookies out into 6"-7" rounds. Carefully place cookies on a parchment lined baking sheet with no more than 4 cookies per sheet (pictured above). Continue process until all cookies have been coated in sugar and rolled out. Bake in 400 degree preheated oven for 16-18 minutes or until cookies are slightly golden brown with visable caramelization on the bottom. Allow to cool, then store in an air tight container for 5-7 days. Ta da! Delicious, stunning, and impressive holiday cookies done in less than an hour. You truly can do it all this holiday season. Just a warning, these cookies are very easy to eat with the lightness from the puff pastry and depth of flavor from the carmalized honey and won't stay around your kitchen for long. Maybe a few batches are in order?
You CAN do it all, Jess and Cecelia |
AuthorsJess and Cecelia welcome you to our kitchen. We are fun-loving and passionate foodies working to make the world a healthier, happier place one plant based recipe at a time. Categories
All
Archives
December 2018
|

