|
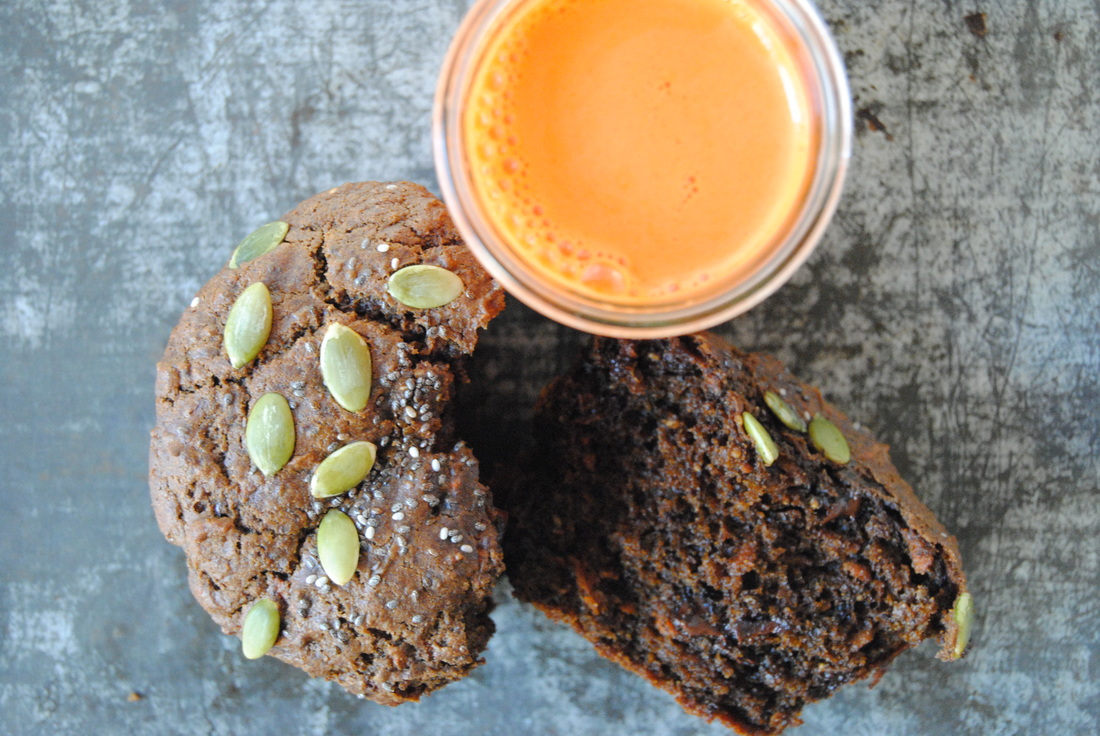
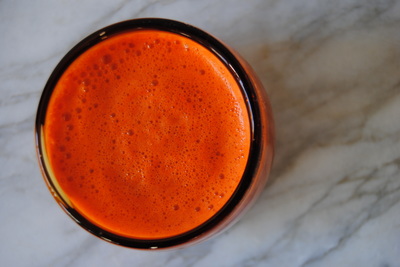
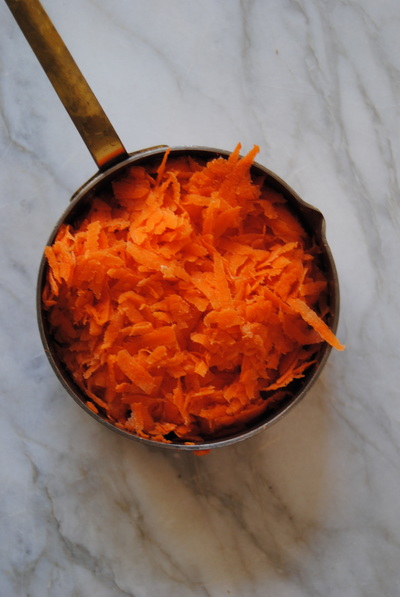
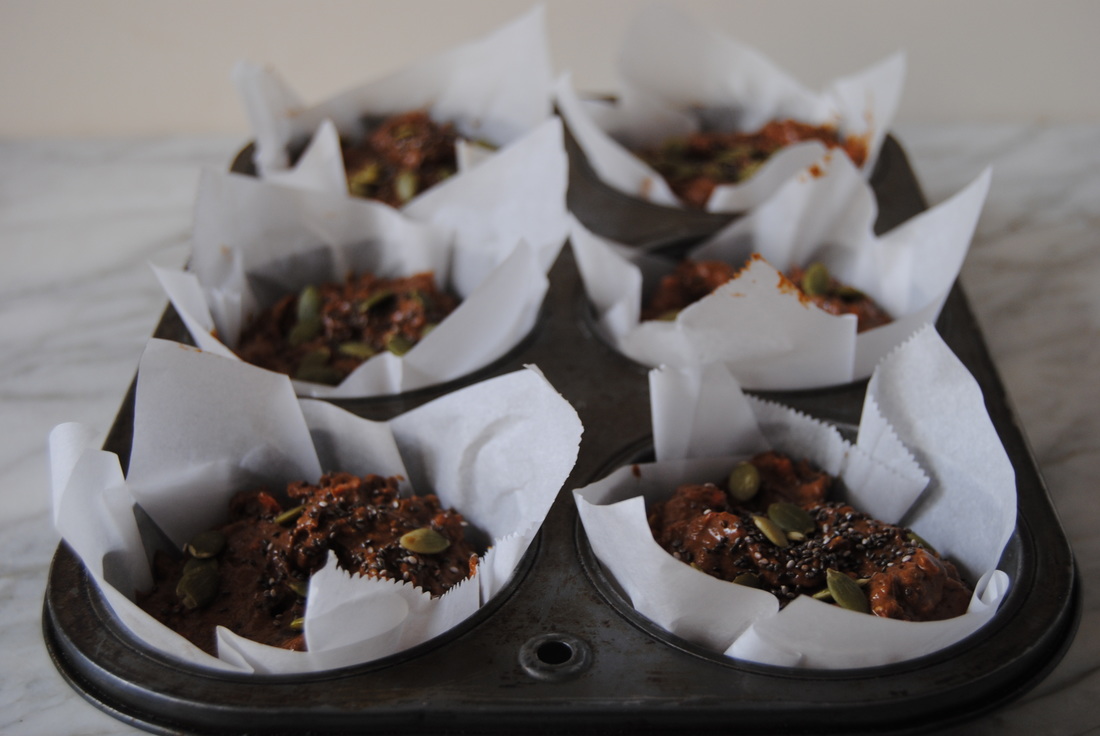
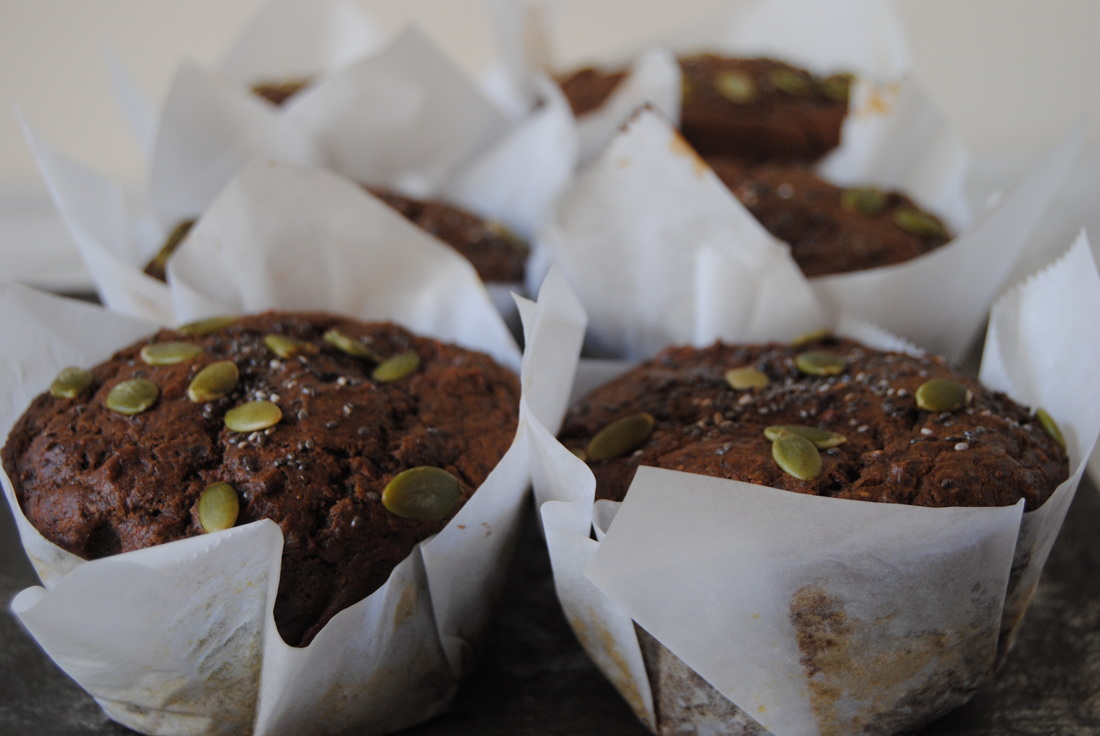
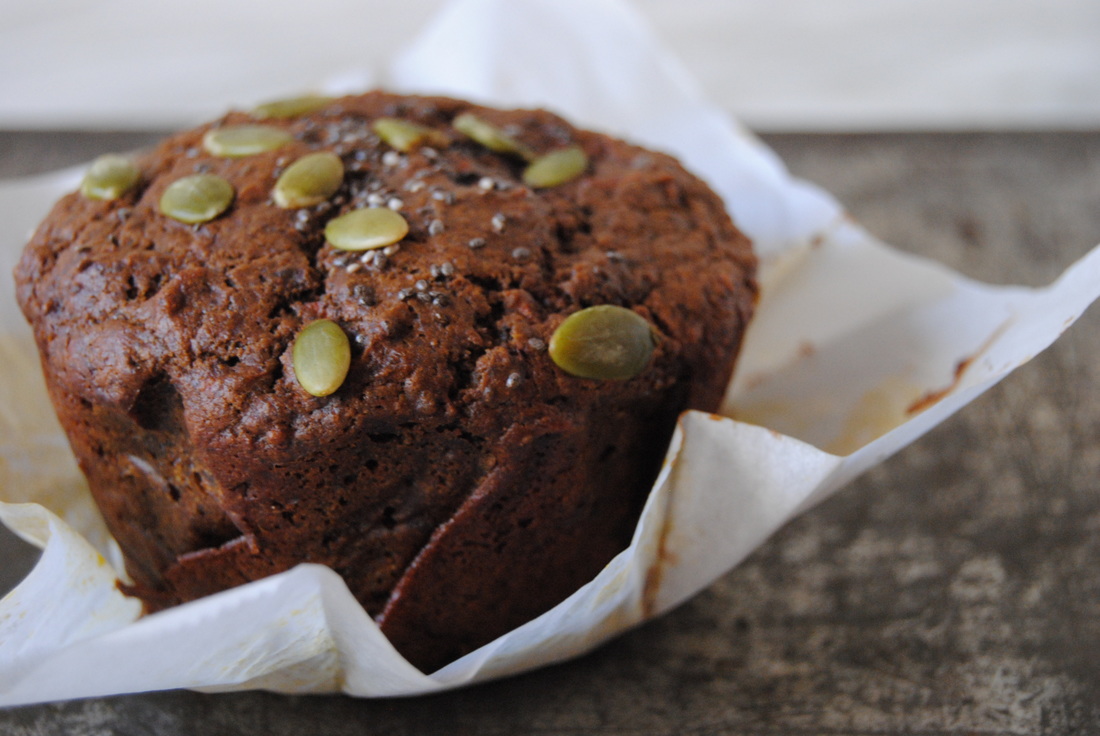
With the silly and spooky holiday of Halloween upon us we got to thinking about the trick or treat tradition. Why does it have to be one or the other? Why can't we enjoy both a trick and a treat? So what the heck are we talking about? Foods that seem like treats can provide more than just sugar, fat, and a treat for our taste buds - they can be nourishing too! And we've got a few tricks up our sleeve. Let's find out more. These muffins are not just chocolatey goodness but a whole lot more. We've packed in shredded vegetables (carrots) and vegetable juice (again carrot) in a subtle way that definitely doesn't make you feel like you're eating a vegetable muffin. Not just that, these muffins also contain omega 3 from flax seeds for healthy fat, chick pea flour for additional protein, chia seeds for added fiber, carrots for beta-carotene, and dark chocolate (100% cocoa) for antioxidants. WOW! What a muffin. Each jumbo muffin contains ~6 grams of fiber and 7 grams of protein. Now that's a breakfast muffin that will keep you going, and going, and going! Triple Chocolate Carrot Muffins PREP TIME: 15 minutes TOTAL TIME: 30-35 minutes Servings: 6 jumbo muffins, or 12 standard muffins Ingredients 1 cup shredded carrots, about 2 medium carrots 3/4 cup whole wheat flour 1/2 cup gram flour (chickpea flour) 1/3 cup cacao powder 1 tsp baking soda 1 tsp baking powder 1/4 tsp sea salt 1/3 cup dark honey (pure maple syrup would also work) 1/3 cup coconut oil, melted 2 tsp pure vanilla extract (inside of 1 vanilla bean would also work) 2 Tbsp ground flax seeds 1/4 cup carrot juice + 6 Tbsp to mix with ground flax seed (fresh or store bought juice will both work) 1/2 cup labneh (a Middle Eastern strained yogurt though full fat Greek or Icelandic yogurt would also work) 3 oz 100% cocoa, shaved 1/2 cup dark chocolate chips 2 Tbsp chia seeds + 1 Tbsp reserved to sprinkle on the top of each muffin 1/4 cup pepitas to sprinkle on the top of each muffin Preheat oven to 350 degrees. Line a muffin tin with 6 jumbo, or 12 regular muffin liners or lightly grease with coconut oil and set pan aside. Finely grate carrots into a clean dish towel or a double lined piece of cheese cloth. Carefully pick up cloth with grated carrots inside and squeeze until carrots are noticeably dry and juice has separated. You should end up with at least 3-4 Tbsp carrot juice. Make sure to reserve this carrot juice for use later in the recipe. Note, you will need additional carrot juice which can be freshly juiced or store bought. Combine 2 Tbsp ground flax seeds with 6 Tbsp carrot juice and mix with a fork until combined. Sift together the whole wheat flour, gram flour, cacao powder, baking soda, baking powder, and salt and set aside. In another bowl, combine the honey, coconut oil, vanilla extract, flax seed carrot mixture, labneh, and remaining carrot juice and whisk until fully combined. Add the shredded carrots and the wet ingredients into the to the dry ingredients and stir until combined. Avoid over mixing the batter. Add the shaved cocoa, chocolate chips, and 2 Tbsp chia seeds to the batter and again stir to combine and avoid over mixing. Divide the batter evenly into each prepared muffin tin. Top each muffin with additional chia seeds and pepitas. Bake for 20-25 minutes or until a toothpick inserted comes out clean. Serve warm or allow to cool then place in an air tight container for up to 3 days. Aren't we right? It should be trick AND treat! These muffins are light and fluffy but densely chocolatey. They are the perfect amount of sweet and have a subtle sense of wholesomeness about them that we just know you'll enjoy. Share one of these with a friend with a side of carrot juice for a festive Halloween treat. You may even see us handing these out to trick and treaters, just maybe!
Happy Halloween, Jess and Cecelia
0 Comments
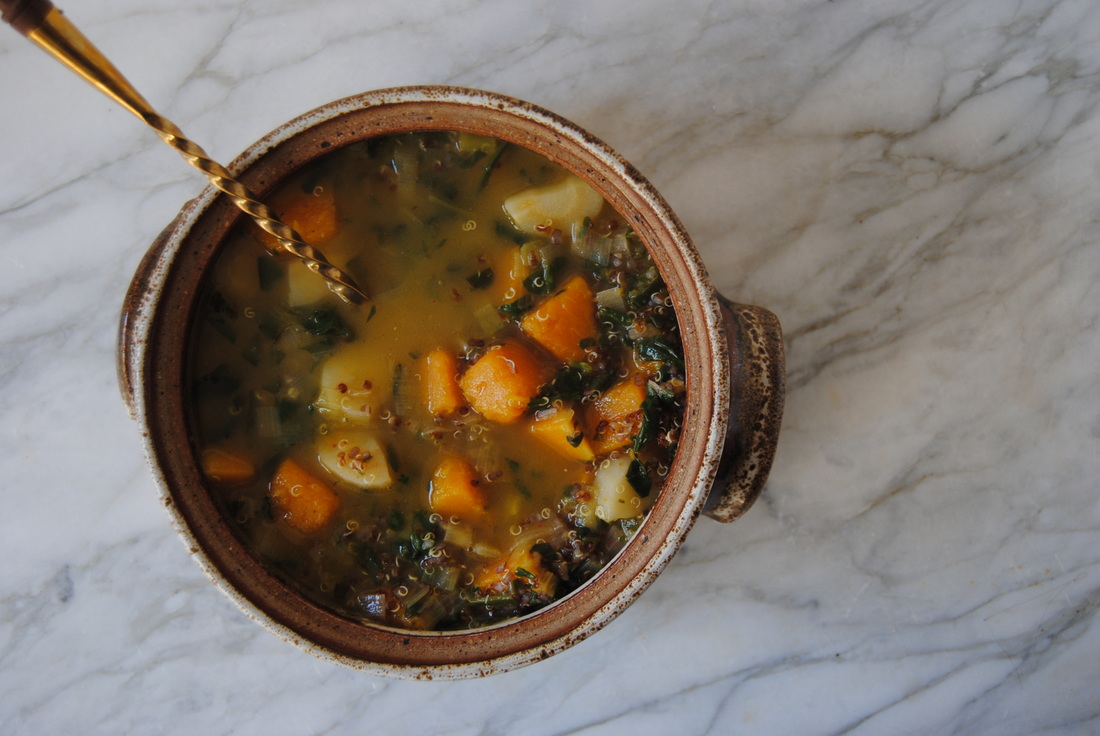
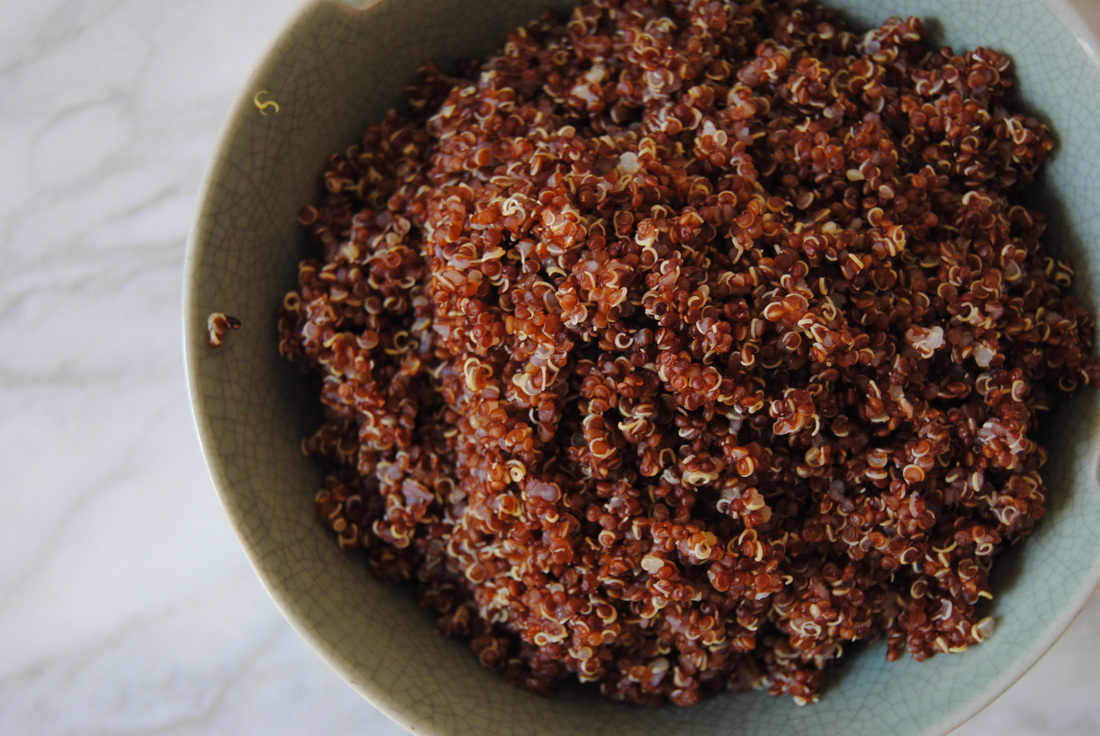
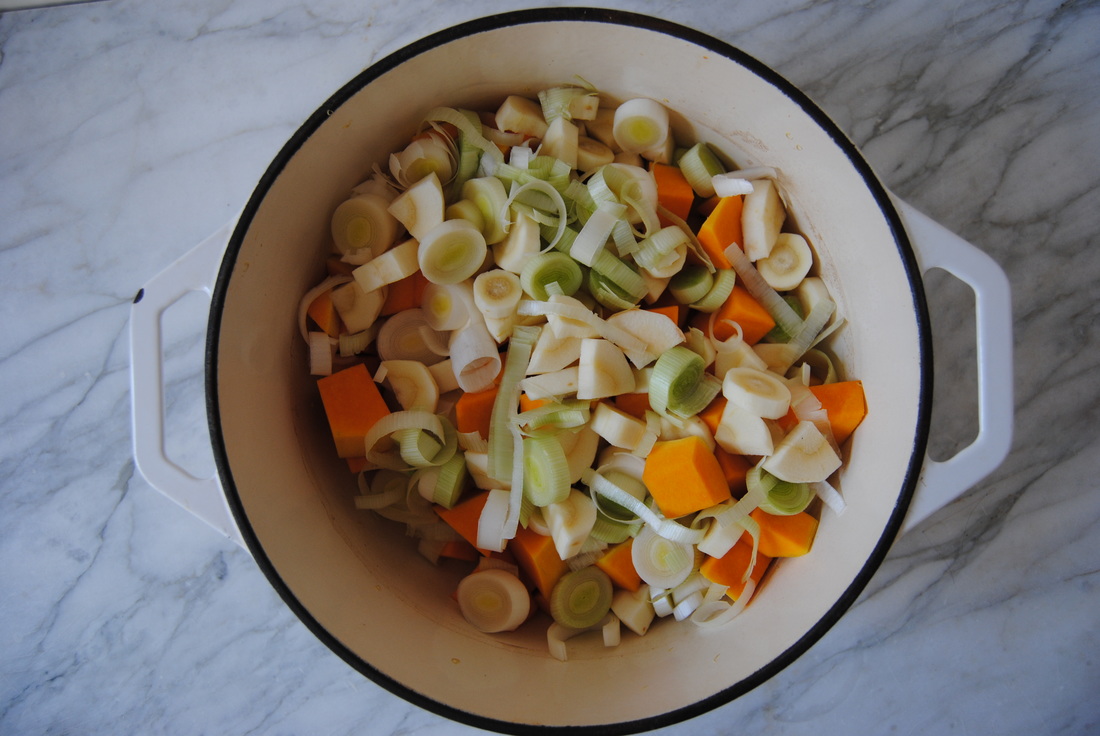
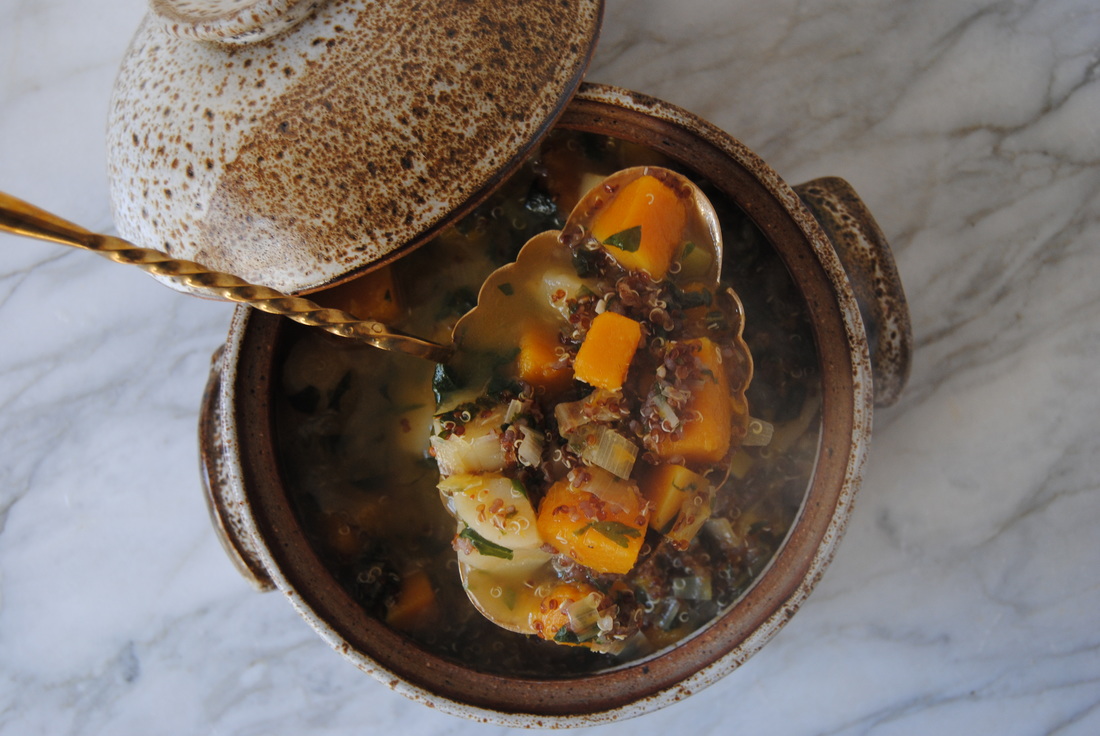
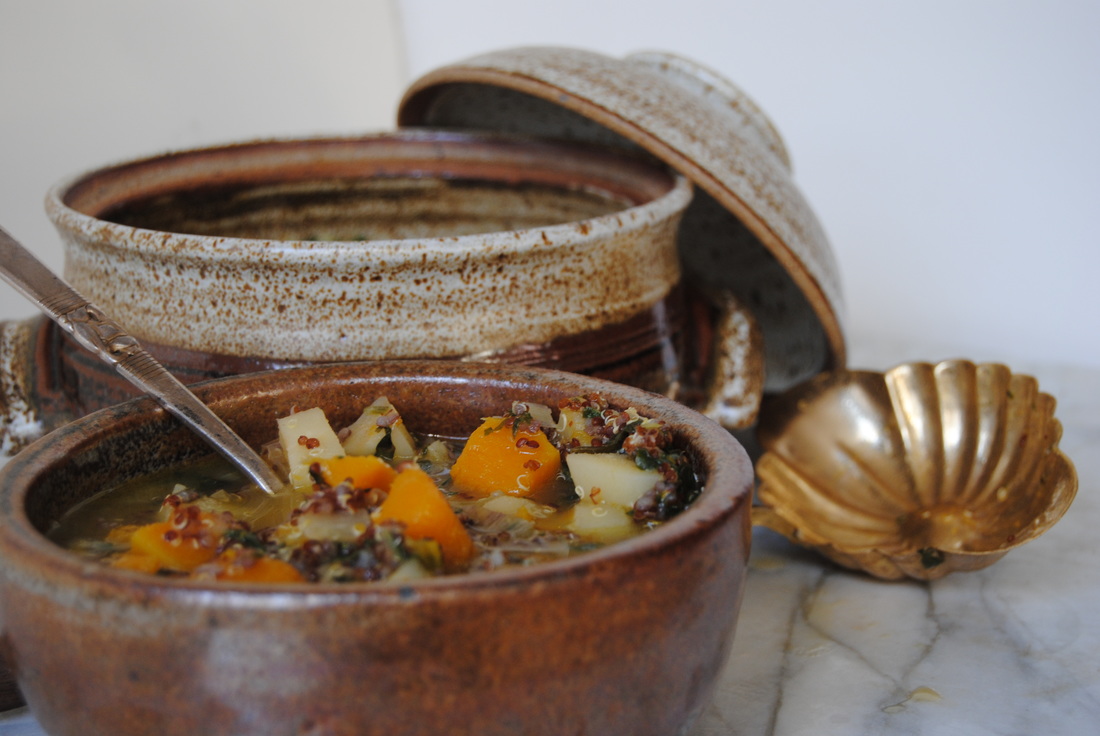
Here at TGBK we believe that there are many ways to explore the world. Though travel is an exciting and obvious choice, experimenting with cuisine inspired by other countries and continents can bring a similar sense of wonder and new experience. With that being said, Cecelia has recently book a trip to Peru (can't wait!) and Jess has frequented Chile visiting a childhood best friend (hi Britt and family!). These two experiences came together in a wonderful way with our recipe this week. Using native South American ingredients, like quinoa, and our favorite Chilean spice blend, merken, we've created a warm fall stew that will take you beyond the four walls of your kitchen. Quinoa (pronounced keen-wah) is an interesting grain and perfect for our South American inspired stew as it is native to the Andes mountains and the countries of Bolivia, Chile, and Peru. Quinoa was a staple food of the ancient Incan civilization and is still a prominent food source for their indigenous descendants. After the arrival of Spanish explorers, quinoa was replaced in the standard diet by more common cereal grains though has since regained popularity worldwide. This can partly be attributed to quinoa's unique nutritional profile. First being the fact that the quinoa plant is not a cereal grass like wheat, barley, oat etc. but a member of the Goosefoot plant family which contains beets, swiss chard, and spinach. This makes quinoa naturally gluten free and a perfect grain option for those following gluten free diets. Secondly, quinoa is one of the few plant sources of complete protein meaning it contains all of the essential amino acids that our bodies can't produce. In the kitchen quinoa should always be rinsed before using due to a bitter natural outer coating (saponin) even though this is usually removed during processing. We love quinoa's unique nutty flavor and versatility but our favorite way to enjoy it is in a good soup or stew just like this recipe. South American Inspired Vegetable Stew PREP TIME: 30 minutes TOTAL TIME: 90 minutes Servings: 6-8 Ingredients Stew 1 cup dried quinoa (we used red, any variety will work) 8 cups water 2 Tbsp olive oil 3-4 cups cubed butternut squash (about one medium squash) 2 medium parsnips, sliced 2 medium leeks, sliced 2 cloves garlic, minced 4 oz spinach, chopped 1/2 tsp ground coriander 3/4 tsp merken spice (if unable to find merken mix see substitute below) 1 1/2 tsp ground cumin 2 1/2 tsp sea salt 1 cup unsalted vegetable broth (we used homemade, our instructions here) Juice of 1 lemon 1 cup chopped cilantro 6-8 oz soft crumbly cheese (We used kefir cheese. Goat or feta would also be nice) Merken substitute 1 tsp dried oregano 1 tsp cayenne 1/2 tsp smoked paprika 1/2 tsp ground coriander Rinse quinoa under running water until water runs clear before cooking. Bring quinoa, 8 cups of water, and 1/2 tsp salt to a boil. Reduce the heat to simmer, cover pan, and continue cooking for 12-15 minutes. Drain quinoa and reserve cooking liquid for later use. Wash and peel butternut squash. A good tip for peeling butternut squash is to prick skin with a fork and place it in the microwave for 2 minutes. Carefully remove (it will be warm to the touch!) and peel outer skin with a vegetable peeler. Dice squash into 1" by 1" cubes and set aside. Peel and slice parsnips into 1/4" rounds and set aside. Wash leeks and slice into 1/4" rounds and set aside. Add olive oil to a large soup pan, set to medium heat, and stir in the minced garlic. Allow garlic to cook until fragrant ~1 minute then stir in the coriander, merken, cumin, remaining 2 tsp sea salt, butternut squash, parsnips, and leeks and allow to cook for ~5 minutes stirring often. Add the reserved quinoa liquid to the pan and continue cooking for another 10 minutes. Finally, add chopped spinach, vegetable broth, and cooked quinoa and continue to cook for an additional 10 minutes or until all the vegetables are soft. Stir in the fresh lemon juice and chopped cilantro. Serve soup warm with 1 oz of soft crumbly cheese of your choice. Leftover soup can be stored in the fridge for 3-5 days; soup will thicken as it sits so feel free to add a bit more vegetable broth as needed when re-warming. These flavors will take you around the world and back; the rich cumin and sweet coriander combine with the smokey spice of merken to create a flavor profile worth making this stew for. And not to mention the delicious and nutritious ingredients of the stew itself. A perfectly hearty and soul warming bowl to enjoy during the fall season. You never know where this South American inspired stew may inspire you to travel this winter!
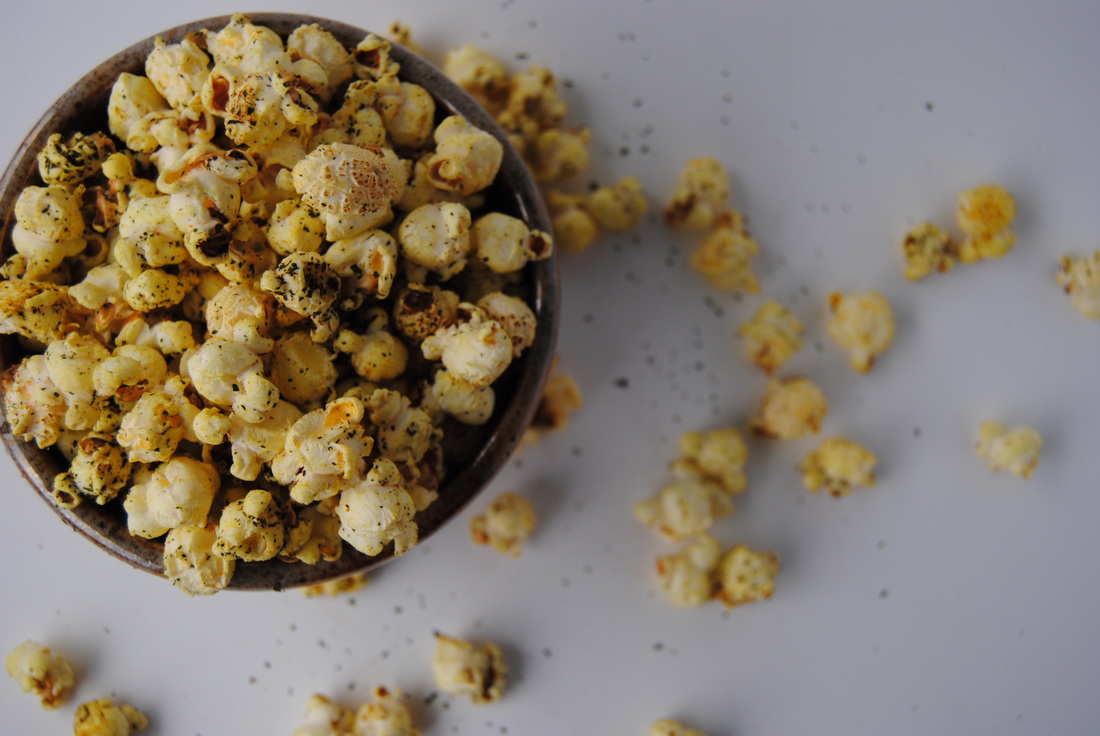
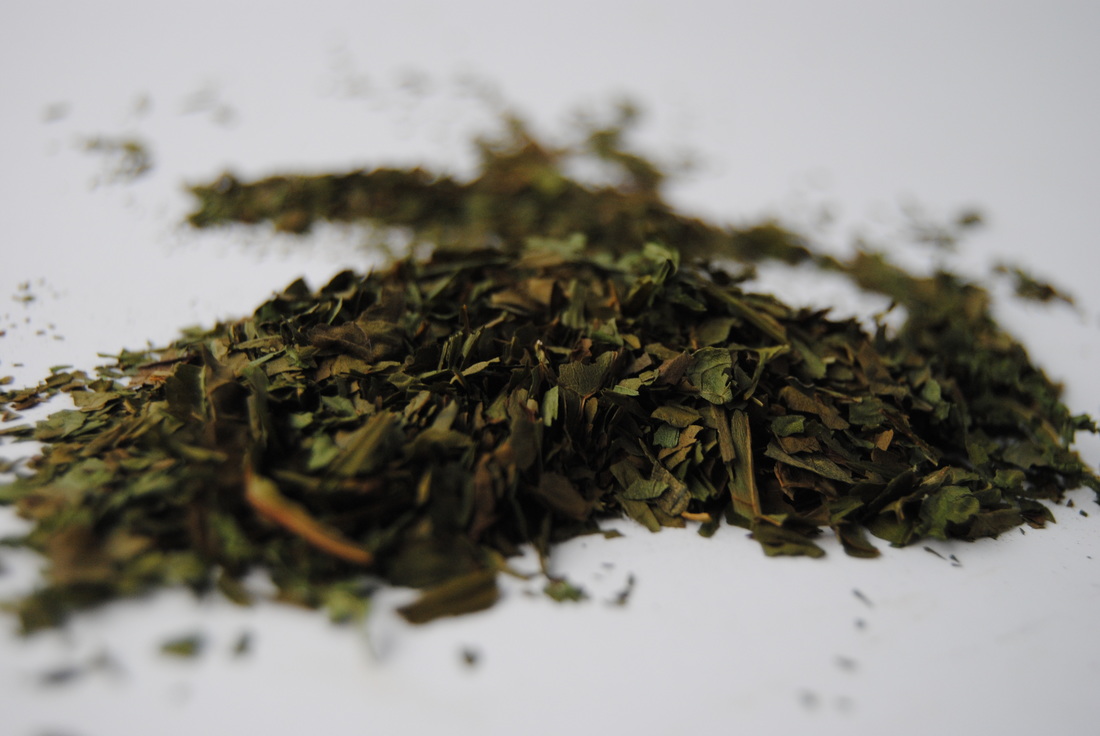
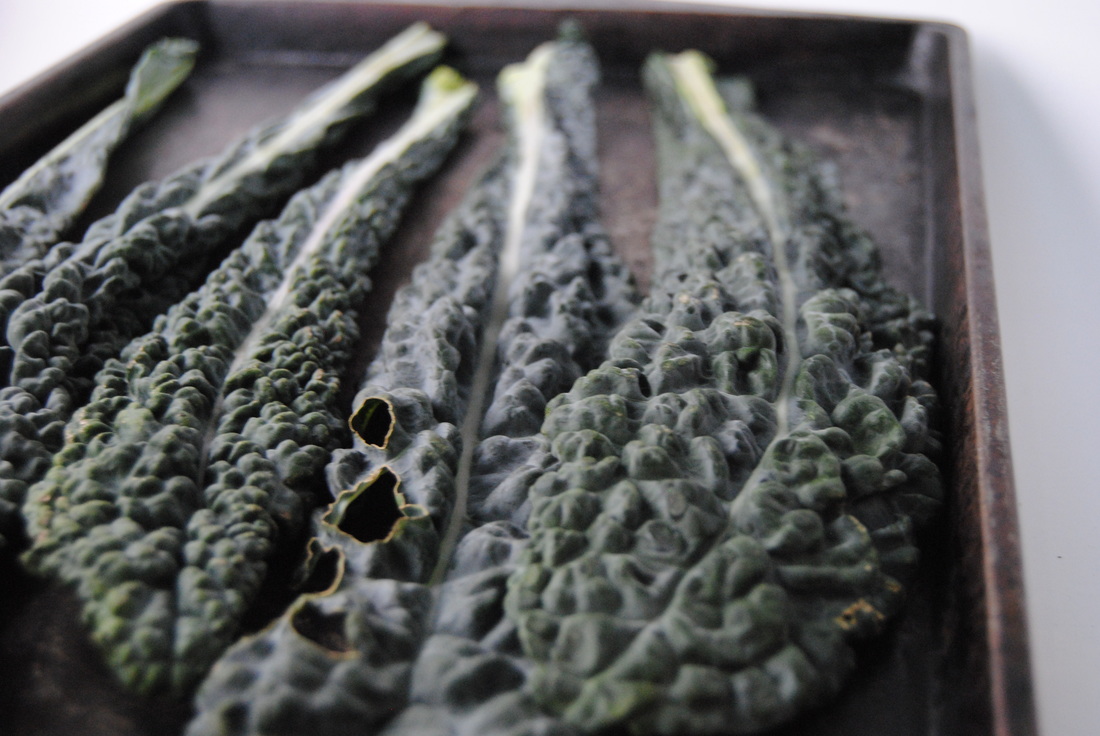
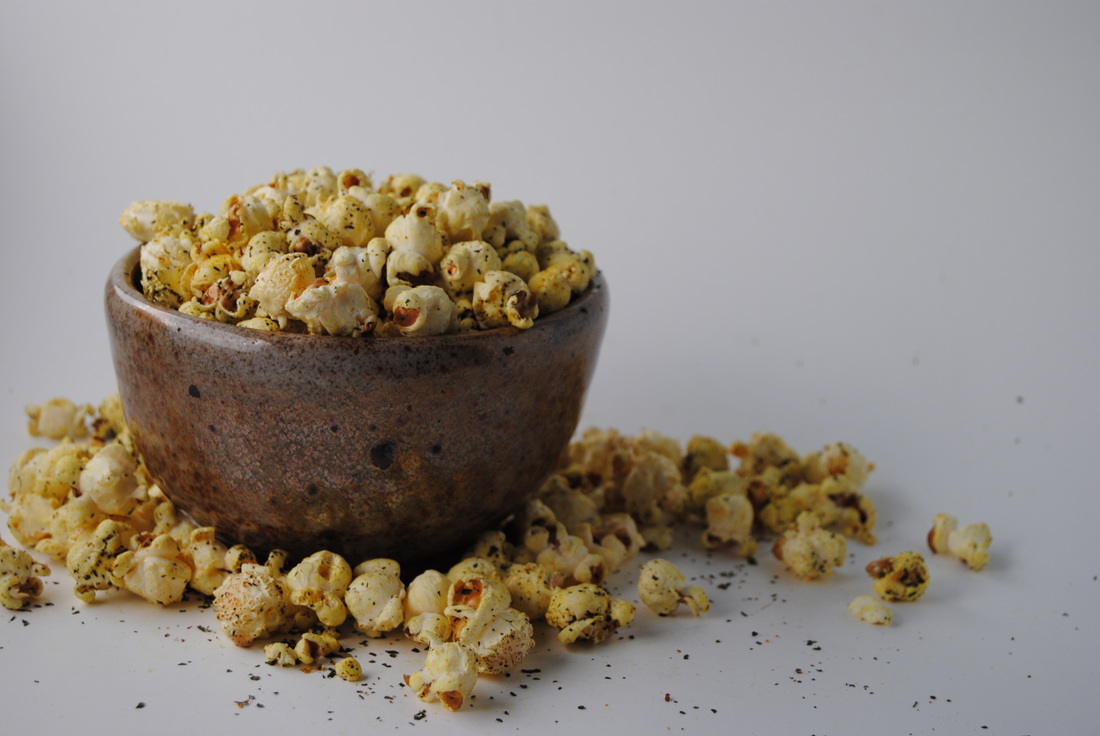
Happy trails, Jess and Cecelia Round two, we love a good bowl of popcorn as you may remember from this post. Though this isn't just any bowl of popcorn as you may have already guessed. We're making this bowl interesting and nutritious with the use of a favorite power green, kale of course, and a famous antioxidant, turmeric, in the curry powder. And just look at that beautiful color created from the turmeric - no artificial butter coloring here! Actually this recipe is butter-free using coconut oil for an extra depth of flavor. But first, more on the unique form of kale we used for this recipe. When you think of kale you most likely think of a big healthy salad...right? But we have found so many other ways to add this power house green into almost every meal and snack! Powdered kale can be used much like a dehydrated herb. Add this nutritious dark green powder to popcorn, soups, sauces, guacamole, hummus, smoothies, homemade crackers, to the cooking liquid of grains, or believe it or not this can actually be snuck into chocolate chip cookies (we've done it!). Once kale leaves are dried and turned into a powder the possibilities are truly endless. And what a great use for all that end of the season kale in your garden or at the local farmers market. Powdered kale will not only add a nutritional boost but also an earthy flavor to your recipes. Try it out soon and tell us what you think! If in need of ideas, we've got the perfect popcorn recipe waiting for you. Dehydrated Kale Powder PREP TIME: 5 minutes TOTAL TIME: 20 minutes Servings: Varies Preheat oven to 300 degrees. Rinse then dry kale leaves and use a sharp knife to remove the stems. Evenly place kale leaves on a parchment lined baking sheet making sure to not overlap. Cook kale in the oven for 10-12 minutes (flipping mid way through) or until kale is dried and crunchy. Watch kale leaves carefully as they burn quickly. Allow kale to cool completely then place in a resealable bag, release all the air, and crunch leaves until they form a powder. Store dehydrated kale powder in a cool and dry place. Kale powder will last for up to 3 months if stored in an air tight container. Sweet and Savory Curry Popcorn PREP TIME: 5 minutes TOTAL TIME: 15 minutes Servings: 12 cups Ingredients Popcorn 3 oz organic popcorn kernels (about 1/2 cup) 3 Tbsp coconut oil 1/2 tsp sea salt Topping 2 Tbsp dehydrated kale powder 2 tsp yellow curry powder 2 tsp sugar In a dutch oven or deep cast iron skillet add 3 Tbsp coconut oil and sea salt. Turn stove top on to medium-high heat and allow oil to melt. Add one popcorn kernel to melted oil and wait a few minutes until the kernel pops (this is how you know the oil is ready). Add 3 oz of kernels to the pan and cover with a lid. Bring the temperature down to medium heat. While wearing oven mits, gently shake the pan back and forth to allow kernels to evenly pop. Continue doing this until you no longer hear popping. You may also lift the lid to take a peak, just be careful! While the popcorn is still hot, add the curry powder, sugar, and kale powder over the top and stir to combine. Use a large spoon (or your hands) to evenly disperse the flavors. Pour prepared popcorn into a large bowl and snack on! We've really done it this time. This popcorn is changing the popcorn game. Sweet, spicy, salty, bright, and earthy all at the same time. And again, that color! We suggest making this recipe now while you're inspired, you won't be sorry.
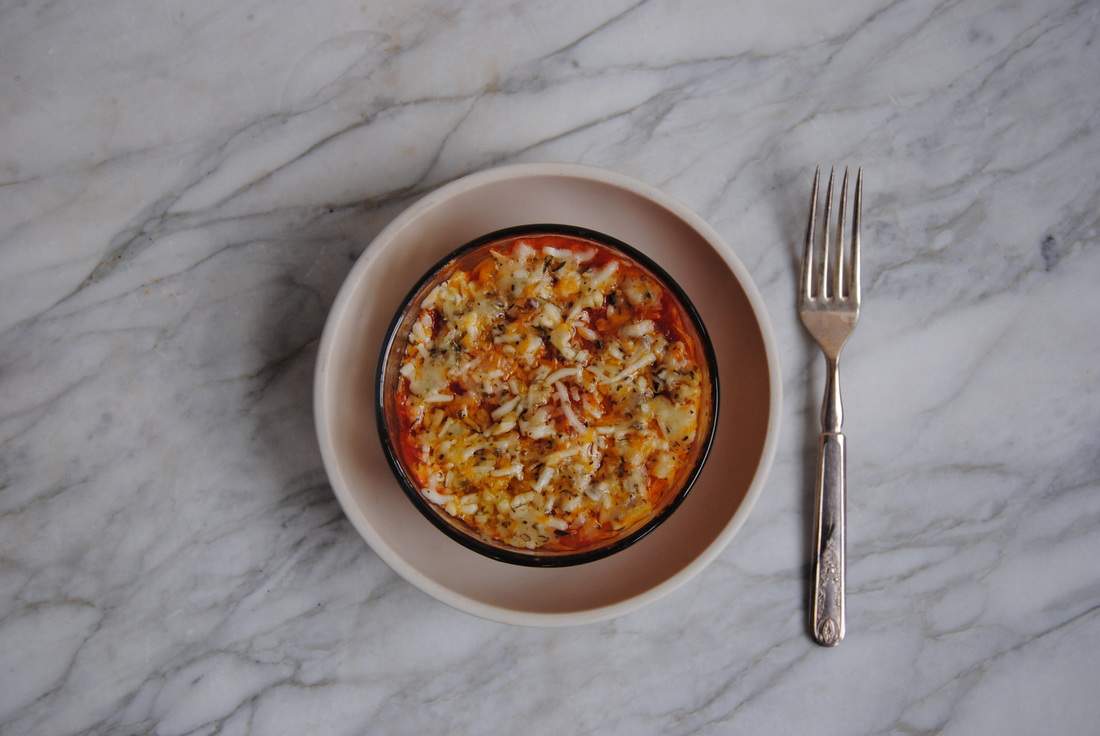
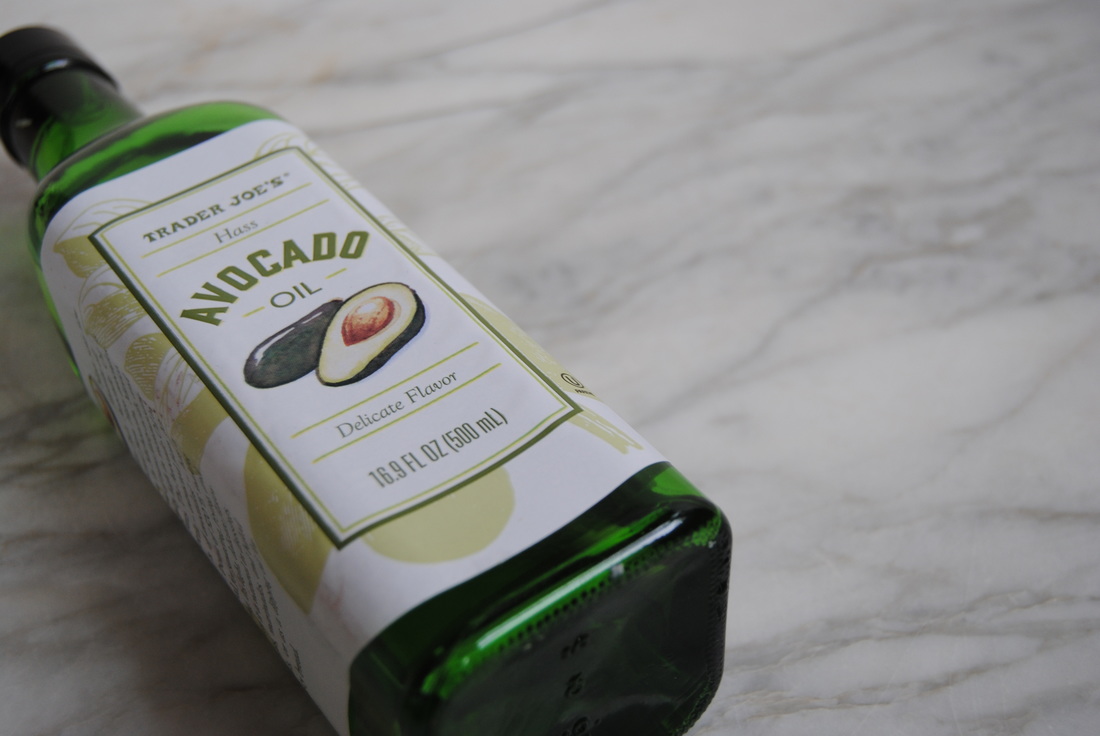
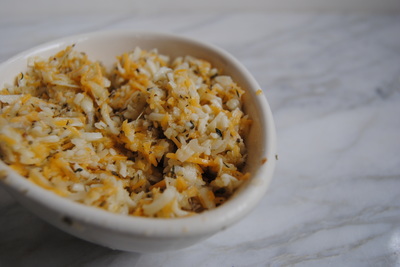
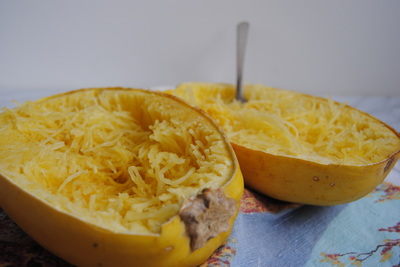
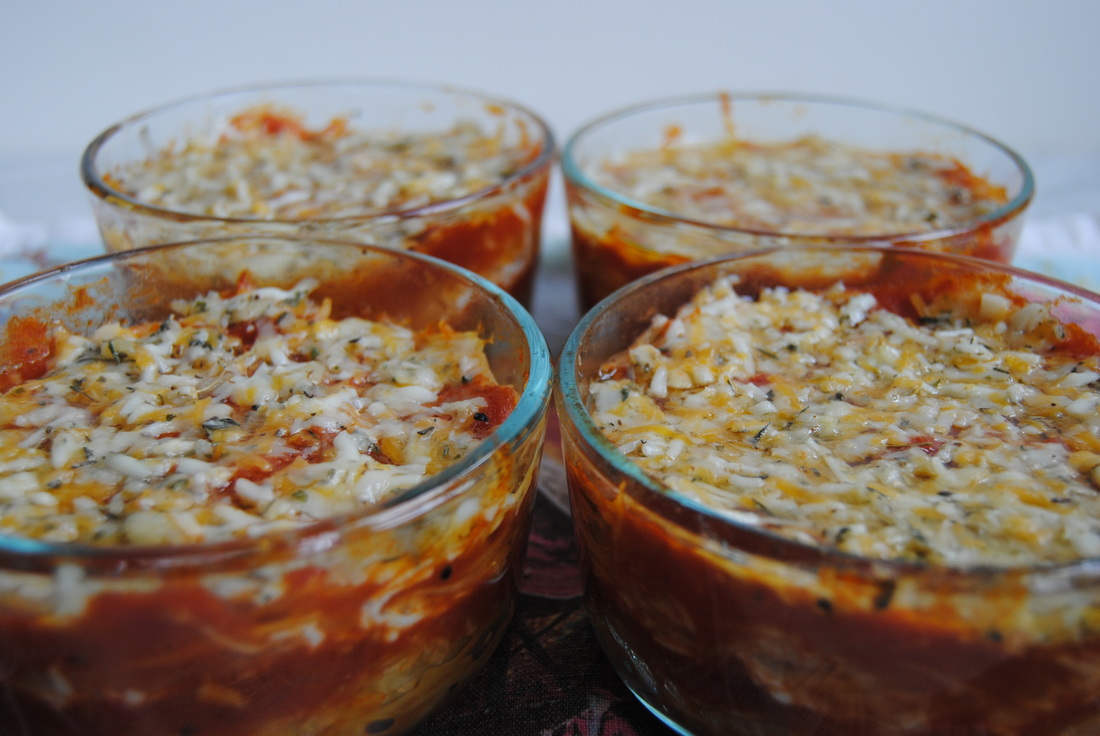
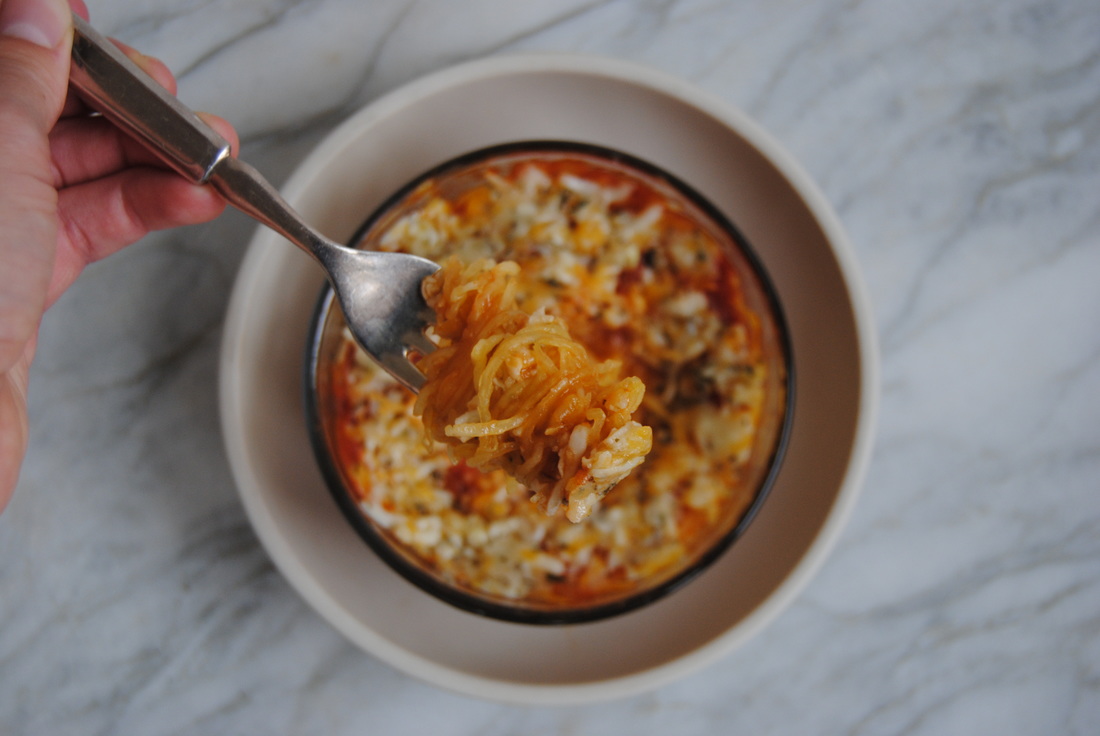
Enjoy, Jess and Cecelia It's becoming that time of year when we start to crave comfort food and cold salads and sandwiches no longer cut it as a meal. While we excitedly dive head first into comfort food (and quickly approaching holiday) season, meals tend to become warmer and heavier. Though delicious and well deserved as we start to deal with the colder weather, these comfort food cravings can make healthy eating more challenging. But that's where we come in! Our recipe this week is still so comfy but substitutes squash for the traditional pasta ingredient, making this a recipe you can indulge in as often as you like. We've even made an indulgent garlic cheese spread with a special ingredient - let's find out more! Talking about oil and the "best" oils to use in the diet can be tricky. Besides thinking about the actual properties of the oil and types of fat it contains, processing methods should be considered. Many of the commonly used oils in our food system are extracted from seeds through chemical processing methods and have a higher percentage of polyunsaturated omega-6 fatty acids than omega-3 fatty acids which can make them pro-inflammatory when consumed in large quantities. Seed oils are widely used due to availability, cost, and stability in processed foods and can be found on ingredient labels as canola, sunflower, safflower, soybean, cottonseed, grapeseed, corn, and rice brain oil. Though not all these oils sound like they come from seeds the oil itself is extracted from the seed of the plant, many of which don't sound like they should contain a whole lot of fat or oil to begin with. On the other hand, foods like olives, coconut, and avocado are known to be high in fat and therefore an oil created from these foods just seems to make more sense, doesn't it? Because of the high fat content physical extraction methods (cold or expeller pressing) are frequently utilized and preferred to chemical methods in our opinion. Avocado oil was first extracted by heating the mashed flesh of the fruit in water to allow the fat to rise to the surface and be skimmed off. For time and cost considerations, avocado oil is now extracted from dried fruit and either heated to high temperatures and pressed or placed in a machine called a centrifuge which rapidly spins the avocado to separate the oil from the solids. Unlike the seed oils, avocado oil (and olive oil) are lower in polyunsaturated omega-6 fats and contain mostly monounsaturated fats. Monounsaturated fats do not contain omega-6 or omega-3 fatty acids so the ideal ratio of the two in a high fat source, such as an oil, is not a concern. In the kitchen, avocado oil is a useful compliment to olive oil - it is stable and has a higher smoke point of ~500 degrees allowing it to be used for hotter cooking methods. Also different from olive oil is avocado oil's mild flavor which allows the addition of richness to recipes without changing the flavor. So if you've had your fill of oil education by now, on to the recipes! Five Cheese Garlic Spread PREP TIME: 10 minutes TOTAL TIME: 15 minutes Servings: makes ~4 cups Ingredients 1 cup mozzarella cheese, shredded 1 cup cheddar cheese, shredded 1 cup Havarti cheese, shredded 1/2 cup Parmesan cheese, shredded 1/2 cup Romano cheese, shredded 1/2 cup extra virgin olive oil 1/2 cup avocado oil 1 head of garlic (~10 cloves), minced 1 1/2 tsp oregano, fresh or dried 1 tsp parsley, fresh or dried 1 tsp thyme, fresh or dried In a large bowl mix all ingredients and stir to combine. Set aside 1 cup of cheese spread to top squash pot pies with and place remaining cheese spread in glass jars. Cheese spread will keep in the fridge for 2-3 weeks or freezes well for up to 6 months. Spaghetti Squash Pot Pie PREP TIME: 25 minutes TOTAL TIME: 40 minutes Servings: 4 Ingredients 1 medium spaghetti squash 1 cup mozzarella cheese, shredded 1 1/2- 2 cups red sauce (we prefer olive oil based red sauce*) 1 cup five cheese garlic spread Requires 4 small casserole dishes, we used 2-cup Pyrex bowls Preheat oven to 350 degrees. Carefully cut spaghetti squash in half (from stem to bottom), remove seeds, and place flat side down on a parchment lined baking sheet. Cook squash for 30-40 minutes or until a knife slides into the outer skin easily. Remove squash from the oven and allow to cool for 5 minutes or until easy to handle. Using a fork, scrap the inside to create long strands of "spaghetti". Place 1/8 of the squash in each oven proof bowl. Top squash layer with 1/4 cup red sauce and 1/4 cup mozzarella cheese then repeat with the rest of the squash and red sauce and ending with the five cheese garlic spread as the top cheese layer. Turn oven up to 400 degrees, place pot pies on a oven proof baking sheet, and bake for 7-10 minutes or until the cheese has melted and the pies are warmed through. If you do not plan to serve all the pot pies the same day, skip the last warming step and place in the fridge with an air tight lid for up to 5 days. The pot pies can be reheated in a 400 degree oven for 12-15 minutes. *Feel free to prepare from scratch or use your favorite jarred sauce. Read your ingredients lists and look for a sauce made with olive oil as a base oil instead of some of the other seed oils we've mentioned. This recipe is so comfy that it almost makes the approaching cold weather okay, almost! Spaghetti squash substitutes perfectly for pasta noodles and provides an extra crunch of texture to the dish. And what else is there to say about warm cheese garlic spread other than yum!? If you don't make the garlic cheese spread right away this can be topped with plain mozzarella, garlic, and spices to keep things simple and even lighter. However you enjoy this one, please share!
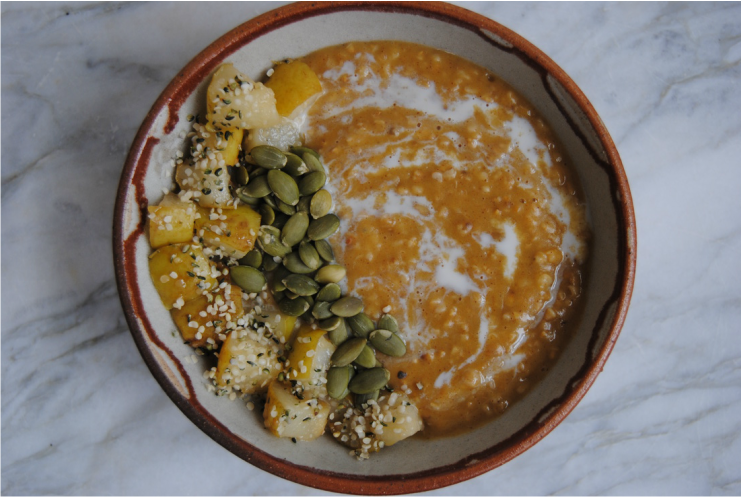
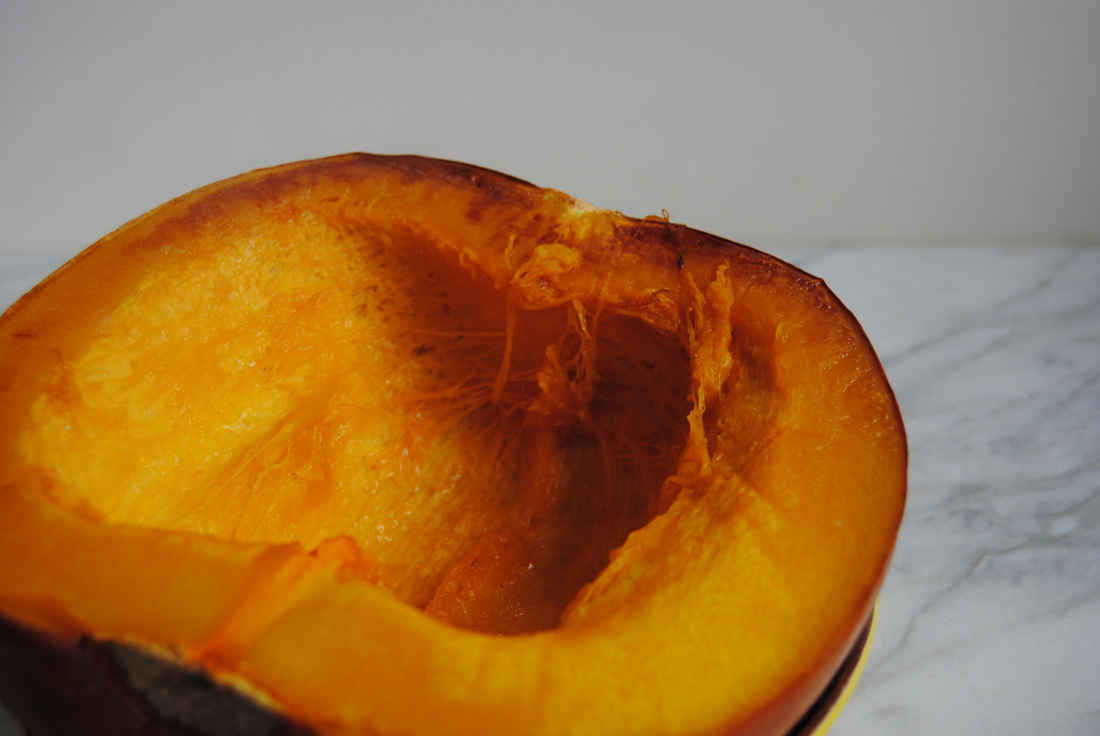
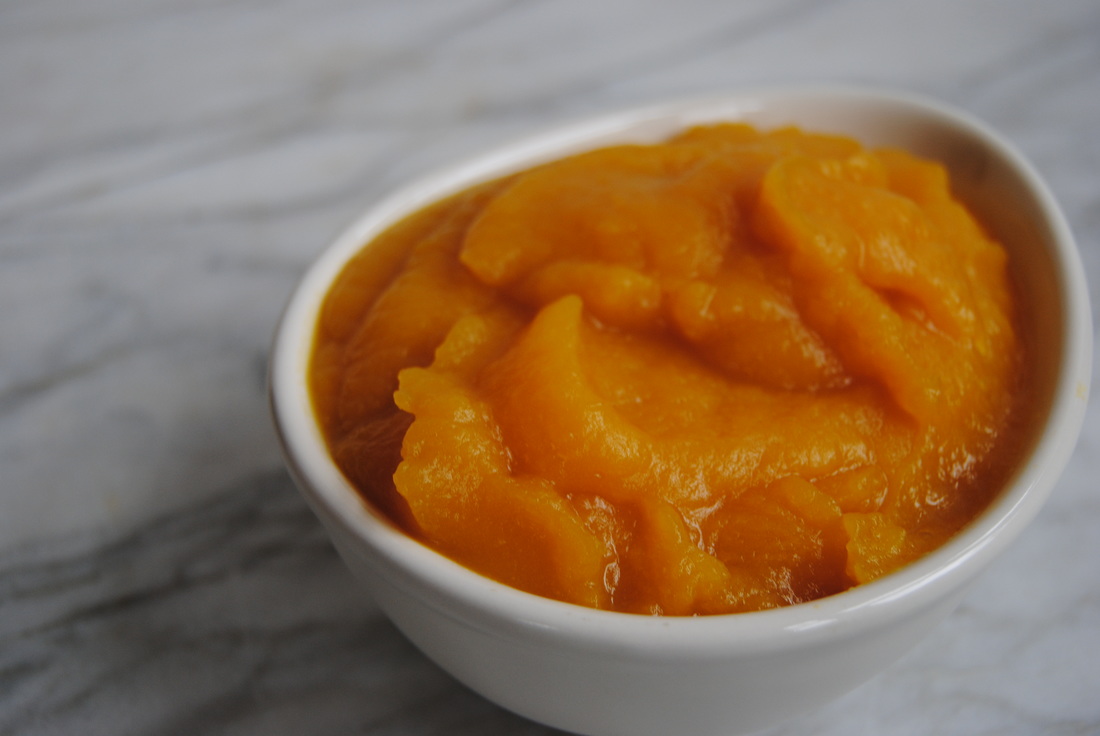
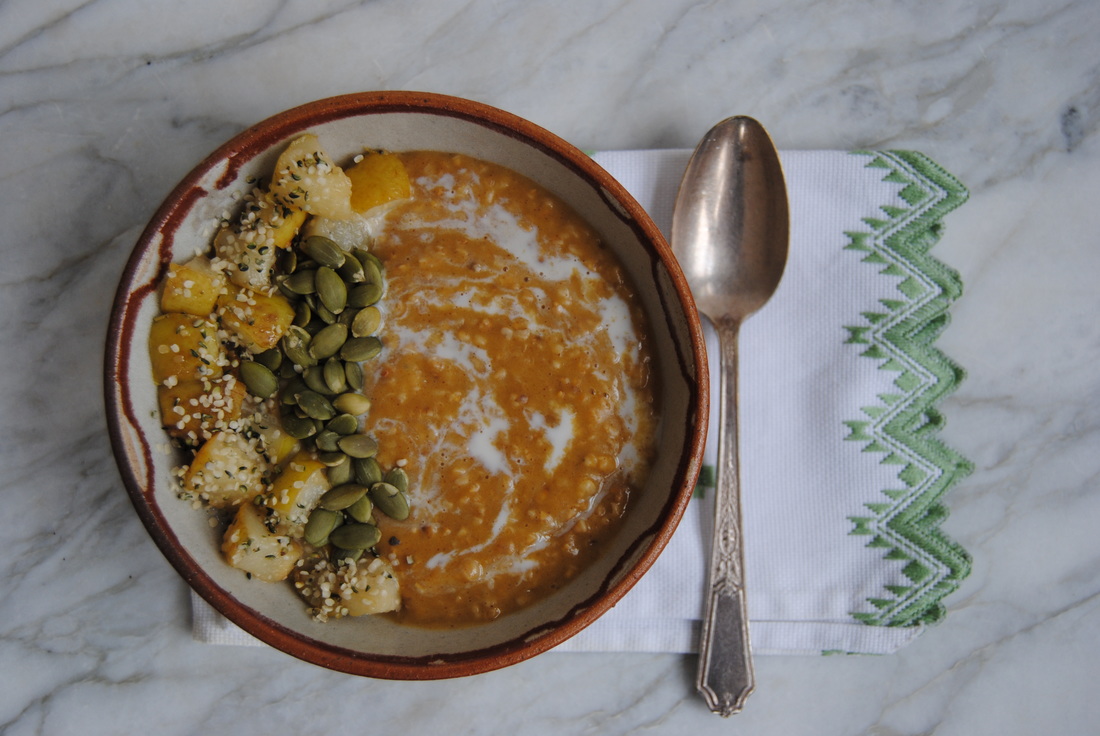
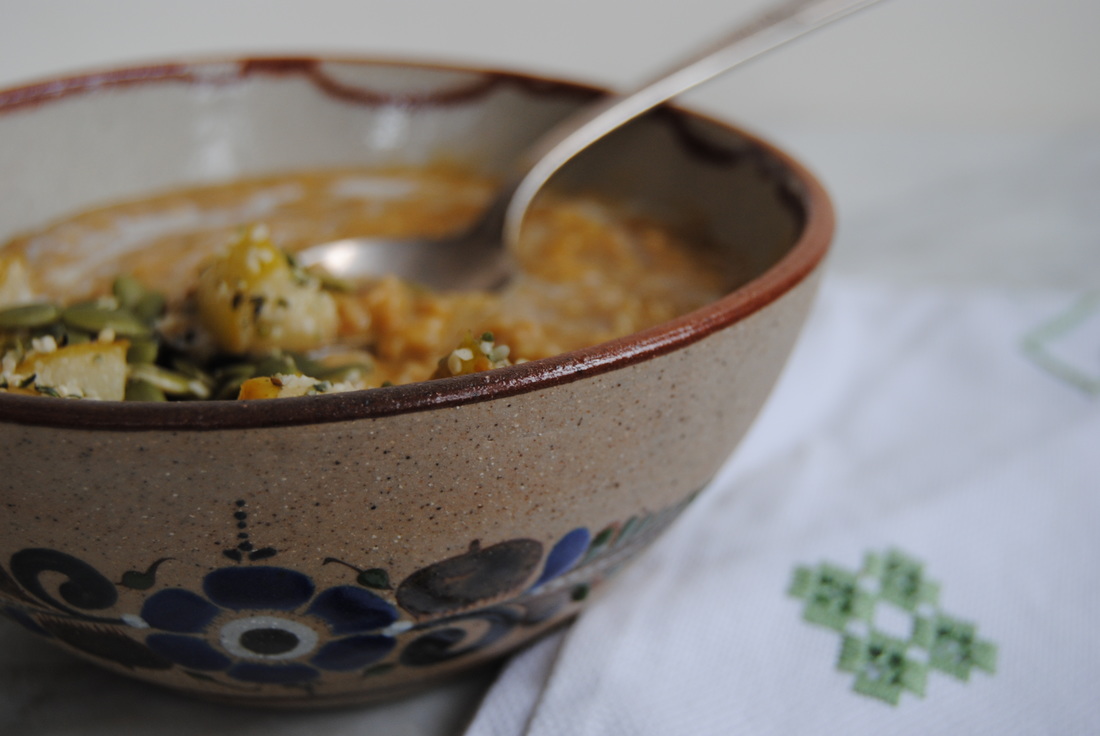
Stay comfy, Jess and Cecelia With the coming of October it is truly starting to feel like fall. We are known to boycott all things fall (and pumpkin flavored) until summer is truly over, but now the season is here! The time for pumpkin is in full swing - from festive home decor to pumpkin flavored foods and beverages, there are just so many ways to enjoy this gorgeous bright orange squash. Our recipe this week is a great example of how pumpkin can spice up your fall cuisine. But first, more on pumpkin! Pumpkin is a variety of squash though has more non-edible uses than any other squash we know (jack-o-lanterns anyone!). When being used in the kitchen smaller pumpkins, named "sugar" or "pie pumpkins", should be chosen because of their firm sweet flesh instead of the large pumpkins better suited for carving. Canned pumpkin puree is easy and readily available this time of year but making from scratch is pretty simple and more festive. Simply cut, roast, scoop and puree the pumpkin flesh until smooth. As far as taste, pumpkin alone is pretty mild and lightly sweet. When people crave the classic pumpkin "taste" they are likely thinking of pumpkin pie spice which is a mixture of cinnamon, ginger, nutmeg, allspice and sometimes lemon peel. So if you are making something with pumpkin puree and the taste isn't the way you want it, we suggest adding these spices (or a pre-made spice blend) to your liking. As far as nutritional value, pumpkin is high in fiber, low in carbohydrate and total calories, and loaded with vitamin A. Oh and don't forget the seeds! Packed with fiber, protein, healthy fats, minerals, and of course great taste. Seeds can be separated from the flesh and roasted to enjoy as a festive snack during pumpkin season. Our recipes below will guide you in detail through pumpkin preparation! Pumpkin Steel Cut Oats PREP TIME: 1 hour 5 minutes TOTAL TIME: 1 hour 10 minutes Servings: 4 Ingredients Pumpkin Oatmeal 2 cups pureed pumpkin (homemade or canned pumpkin would also work) 2 cups water 1 cup steel cut oats 1 tsp pumpkin pie spice or cinnamon 1 cup unsweetened soy milk or other milk of your choice + 2 Tbsp maple syrup ¼ cup pepitas or homemade roasted seeds (1 Tbsp per bowl) Caramelized Maple Pears with Hemp Seeds 2 cups diced pears 2 Tbsp maple syrup 2 Tbsp hemp seeds Pinch of sea salt To make pumpkin puree first preheat oven to 350 degrees. Carefully cut pie pumpkin in half, scoop out the seeds and set aside. Place pumpkin flat side down on a baking sheet lined with parchment paper and roast for 35-45 minutes or until soft. Allow pumpkin to cool prior to scooping out the “meat”. To make simple pumpkin puree, blend in a blender or food processor until smooth. For pumpkin oatmeal recipe add 2 cups cooked pumpkin, 2 cups water, and 1 tsp pumpkin pie spice or cinnamon to a blender and blend on high until smooth. This is your pumpkin water used to cook the oatmeal. To prepare oatmeal, add spiced pumpkin water to a large pot and bring to a boil. Add 1 cup steel cup oats to the boiling pumpkin water, leave uncovered, and reduced to a simmer. Continue cooking for 30-35 minutes or until liquid is absorbed and oats are soft. While the oatmeal is cooking, dice pears and add to a small sauté pan over medium heat. Add 2 Tbsp maple syrup, 2 Tbsp hemp seed, and a pinch of sea salt then stir to combine. Continue cooking pears making sure to stir often until soft and edges are lightly golden, ~5-7 minutes. Ladle oatmeal into a bowl, add a swirl of sweetened milk, caramelized pears, pepitas, and an optional drizzle of maple syrup if desired. Serve warm. Leftover oatmeal can be kept in an air tight container in the fridge for up to 5 days. When ready to eat add milk, pears, and pepitas and either warm in the microwave or on the stove top. Roasted Pumpkin Seeds PREP TIME: 10 minutes TOTAL TIME: 25 minutes Serving: Depends on how many seeds your pumpkin had! A small pie pumpkin will generally have ¼- ½ cup seeds Ingredients Pumpkin seeds 1 Tbsp oil for every 1/2 cup seeds 1/4 tsp sea salt for every 1/2 cup seeds To make roasted pumpkin seeds first rinse seeds and allow to fully dry. Tossing seeds in a clean kitchen towel or paper towel can speed up the drying process. Add 1-2 Tbsp oil (we choose ghee) and sea salt or other flavorings of your choice. Mix with hands to make sure seeds are evenly covered in oil and seasoning. Roast in preheated oven at 350 degrees for 12-15 minutes or until golden and crunchy. Make sure to stir the seeds mid-way through cooking time and watch the seeds the last couple of minutes as they can burn fast. Allow seeds to cool to room temperature then store in an air tight container. Seeds will keep for 1-2 weeks or longer if kept in the fridge. Welcome pumpkin into our hearts and bellies. This oatmeal is so comforting and satisfying on a crisp fall morning. The spiced pumpkin with maple syrup, soft candied pears, and crunchy seeds combine wonderfully to showcase pumpkin for this fall dish. We hope we've inspired you to get creative with pumpkin in the kitchen this month and can't wait to see what you create. Please share!
Enjoy, Jess and Cecelia |
AuthorsJess and Cecelia welcome you to our kitchen. We are fun-loving and passionate foodies working to make the world a healthier, happier place one plant based recipe at a time. Categories
All
Archives
December 2018
|

