|
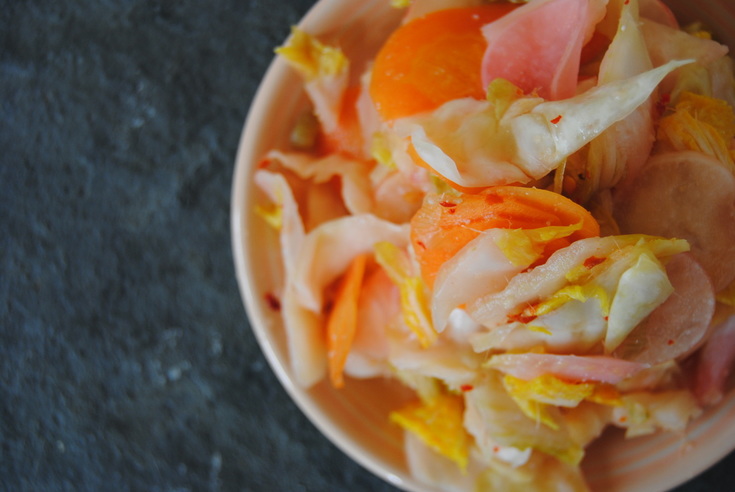
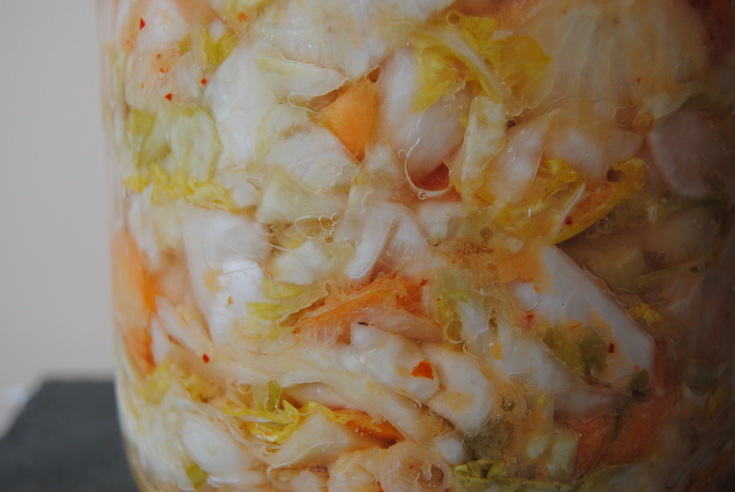
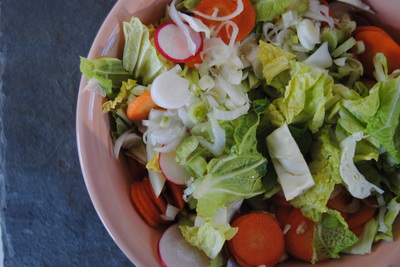
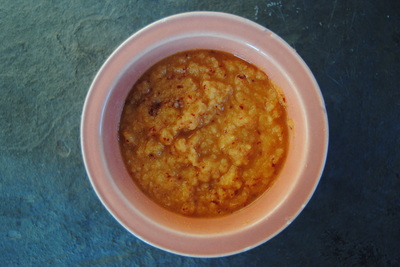
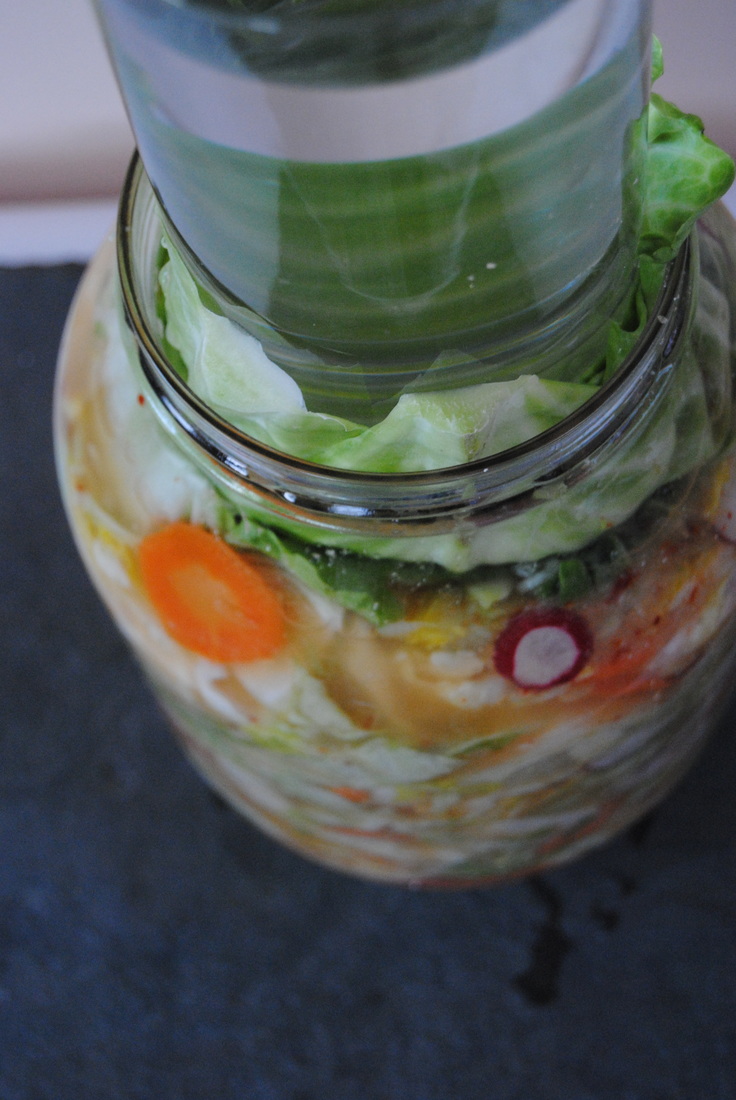
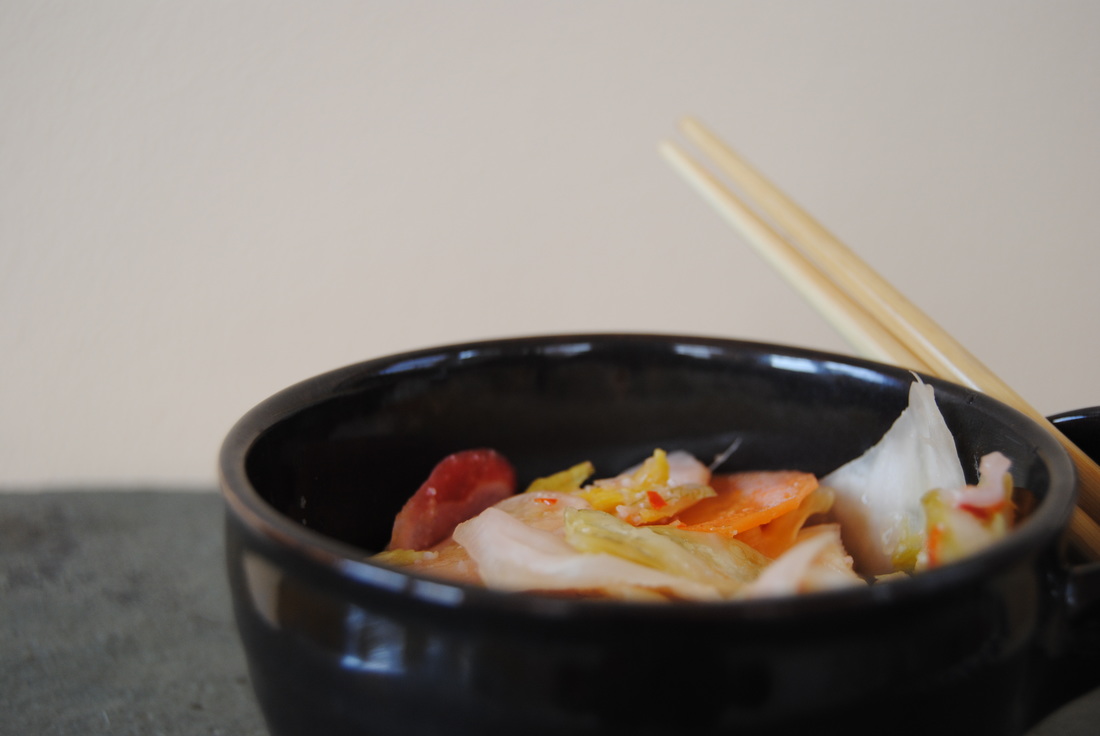
As you can probably tell from following our recipes, we just love beautiful looking and delicious tasting foods. But almost more important than that we just adore foods that keep our gastrointestinal tracts (guts - the internal kind!) happy and healthy. Because good digestion is just one of those things that can really change your life if you've ever struggled with any sort of digestive issues. And it completely makes sense that what we put into our bodies day in and day out will create our internal environment and affect the happiness or unhappiness of our guts and digestion as a whole. With that being said, we have another fermented foods recipe for you this week, kimchi! Kimchi is a classic Korean fermented side dish made from vegetables and a combination of spices. Kimchi has long been known as one of the healthiest foods to consume because it is fermented. If you remember from these previous posts (learn more here and here), fermented foods are great for our guts because they contain live, active probiotic cultures, specifically lactobacilli. And even better that kimchi not only contains probiotics (good bacteria) but also contains prebiotics found in the green onion and garlic. Prebiotics are non-digestible carbohydrates found in certain foods and are necessary in the gut to feed the probiotics, which in turn creates that healthy gut environment we've been talking about! So we hope that by this post we've convinced you that fermented foods need to be in your diet ASAP, starting with this recipe... Basic Kimchi PREP TIME: 1.5 hours TOTAL TIME: 1.5 hours (+ 1 week fermentation time) Servings: 1 quart (4 cups) Ingredients 4 Tbsp sea salt dissolved in 4 cups water 1/2 pound Napa cabbage 1/2 pound green cabbage 4-6 red radishes 2 -3 large carrots 3 green onions 3 garlic cloves 4 dried red chili peppers 2 Tbsp fresh ginger root, grated 3 Tbsp rice flour Remove the outer layer of both the Napa and green cabbage and set aside. Roughly chop both cabbages and place in a very large bowl. Using a mandolin, or if you are able to do this by hand, thinly slice the radishes and carrots and place into the same bowl as the cabbage. Chop white and light green parts of the green onion and add to the bowl. Next make a brine using sea salt and warm water. Stir brine until salt has fully dissolved. Pour brine over prepared vegetables. Using your hands, gently massage the vegetable to help draw water out of the vegetables and completely coat in brine. Using a plate that fits nicely inside the bowl, place on top of the massaged vegetables and then add a weight on top of the plate (we used a jar filled with water). You basically want something heavy enough to fully submerge the vegetable under the brine. Allow to sit at room temperature for at least 1 hour. Now begin to make your flavor paste. In a high speed blender or a food processor, combine garlic, ginger, and chili peppers and add just a splash of water to allow mixture to come together in the blender. You should end up with a semi-chunky paste. Add 1 Tbsp rice flour to the paste at a time until a thick mixture has formed. The rice flour helps to thicken the paste so that it adheres to the vegetables. Once vegetables have soaked in the brine for at least 1 hour, taste test for desired level of salt. If you feel the vegetable are too salty, rinse them off. We thought the level of salt was perfect and therefore did not rinse. Drain off brine making sure to save the liquid in a separate bowl. Add drained vegetables to a new, large bowl and gently massage the vegetables with the chili-ginger-garlic paste until vegetables are completely coated. Now gradually add prepared vegetables to a large, sanitized glass jar or a crock. It is important to make sure you pack the vegetables down to allow for a tight "seal" which will prevent your kimchi from molding. Continue this process until all the vegetables are tightly packed into the jar. There should be at least a 4" space from the top of the jar and the vegetables. Pour enough reserved brine over vegetables until the top is fully submerged. Hint- you do not want to add too much brine to the jar because as the vegetables ferment they will release more liquid which could lead to a brine overflow! Place reserved full cabbage leaves over the top of the prepared vegetables pressing the edges tightly down the sides of the jar making a top seal over your vegetables. Place a clean jar filled with water or a fermentation weight on top of the cabbage leaves to apply pressure (pictured above). Remember, it is very important to make sure you have a tight seal to make sure your kimchi ferments properly. Place in a warm spot in your kitchen and let the fermentation begin! After about seven days, taste your kimchi. If desired flavor (tang, spice, and sourness) is to your liking then it's time to chill the kimchi. Remove top cabbage leaves and discard. Tightly pack kimchi and enough brine to submerge vegetables into air tight containers, cover with a lid, and place in the fridge. Note that large mason jars work well for fermentation jars and kimchi storage once fermentation is complete. If you've never had kimchi the flavor might surprise you at first - quite salty, tangy, spicy, and sour all at the same time in a special way that just well, works. And we can't say enough about how happy your gut will be if you get this (or other) fermented foods into your diet on a daily basis. We suggest enjoying kimchi over rice, in miso soup, diced up and mixed into cream cheese for toast or bagels, hidden in grilled cheese, or on top of Korean BBQ tofu tacos. Get creative with it and remember to tell us your favorite way to enjoy your kimchi!
Stay happy, Jess and Cecelia
0 Comments
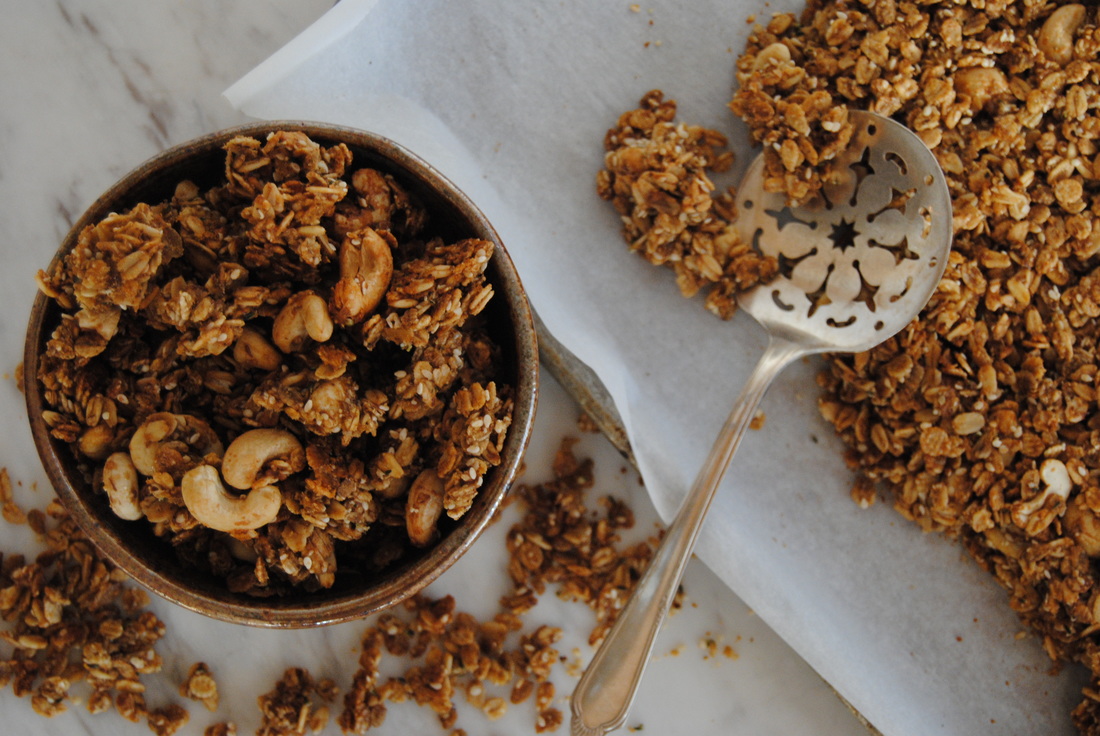
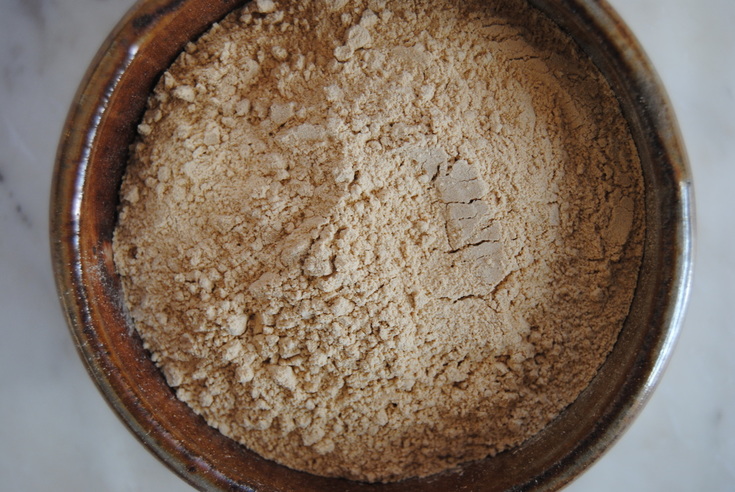
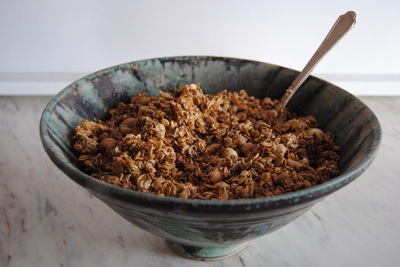
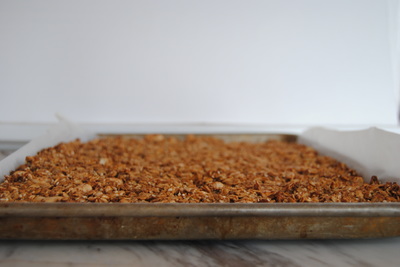
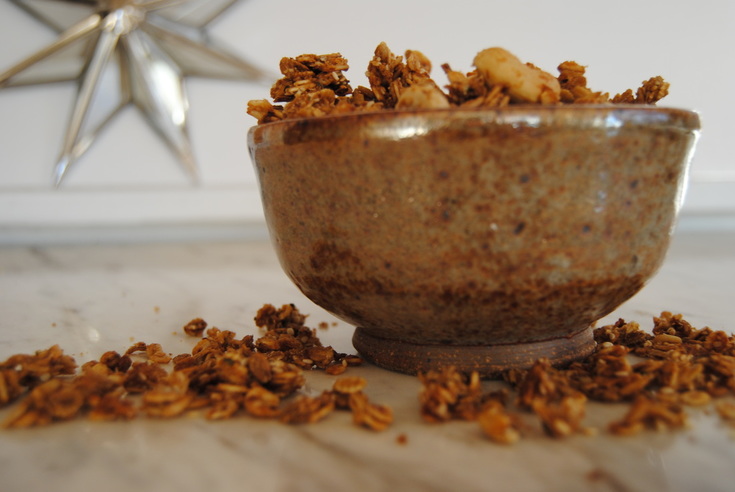
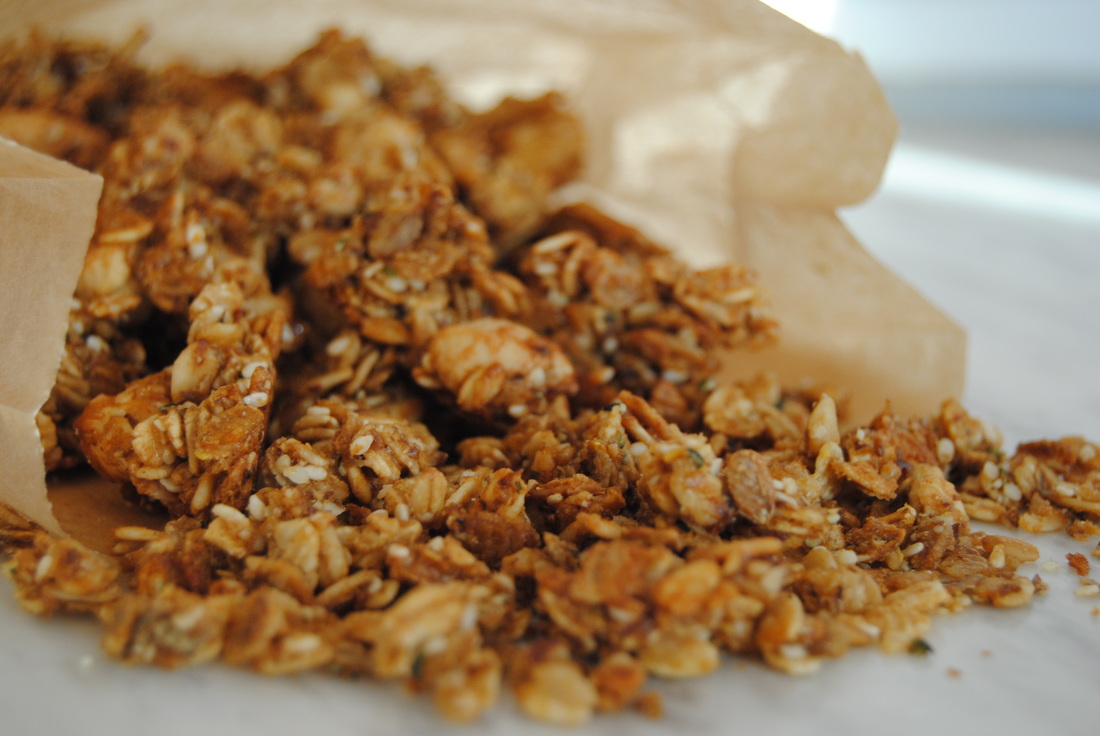
Here at TGBK we just love when foods have almost magical qualities. Of course, all whole foods provide vital nutrients to our bodies but some, more than others, have additional benefits above and beyond what is expected. And maca powder is just one of those super (or magical!) foods for us. Even an ancient civilization utilized maca in a variety of ways. So let's learn why before we get to our magical granola recipe. Maca powder comes from a root native to central Peru which grows at a high altitudes in the Andes mountains. Maca has been harvested and consumed for over 3,000 years and was known to be sacred to the Incas as food and medicine. Even to this day, maca is considered a super food for its superior nutritional profile. Maca powder contains primarily fatty acids, amino acids, fiber, electrolytes, and minerals. As mentioned, maca has been used historically for medicinal purposes and continues to be used today in efforts to balance hormones and aid in menstrual problems, symptoms of menopause, and fertility issues. This magical root has also been used to enhance energy and memory (yes please!). But please remember that like any other medicinal herb, maca may help with these problems/symptoms but is not a cure. The most common form of maca powder is ivory in color though it can be found more rarely in a variety of colors including red, purple, and black. In terms of flavor, maca has a slightly sweet and roasted butterscotch flavor and works well in baked goods, smoothies, ice cream, and of course granola! Magical Maca Maple Granola PREP TIME: 15 mins TOTAL TIME: 45 mins Servings: 18-24 quarter cup servings *Note that granola is quite rich and best eaten in small portions or as a crunchy topping Ingredients 2 cups thick rolled oats 1 cup rolled barley 1 cup rolled rye 1/4 cup oat bran 1/4 cup maca powder 1/4 cup ground flax meal 1/2 tsp sea salt 1 1/2 cups raw cashews 1/4 cup hemp hearts 1/8 cup white sesame seed 1/2 cup coconut oil 3/4 cup pure dark maple syrup 1/2 cup coconut sugar 1/4 cup water 1/2 vanilla bean pod (scrape the inside) or 1 tsp pure vanilla extract Preheat the oven to 350°. Line a large baking sheet with parchment paper and set aside. In a large bowl, mix together the oats, barley, rye, oat bran, maca, flax, salt, cashews, hemp, and sesame seeds. In a sauce pan, combine coconut oil, maple syrup, coconut sugar, and vanilla. Turn burner on to medium heat and stir until the oil has melted and sugar has dissolved. Pour warm oil and sugar mixture over dry ingredients and stir until evenly covered. Add 1/4 cup water over the granola and stir to combine. Evenly spread mixture onto parchment lined pan. Bake for 30 minutes or until granola is golden brown. Let sit until cooled. Using a large spoon, break granola into large chunks. Place granola back into the oven and continue cooking for an additional 7-10 minutes. Make sure to stir granola at least once while it is cooking. Again, allow granola to completely cool before storing in air tight container. Adding granola to the container before it has completely cooled will add moisture and soften the granola. *Note that you can use 4 cups of rolled oats and omit rolled barley and rye which may be more difficult to find. Hemp hearts and sesame seeds can also be used interchangeably, just keep the total amount the same (~2/3 cup). After a snack of this granola we hope you are satisfied, energized, and hormonally balanced. And even if you're not in it for maca's magical qualities, this granola is just plain delicious! So savory, sweet, crunchy, and with a full maca flavor that can't quite be explained - so you'll just have to try it.
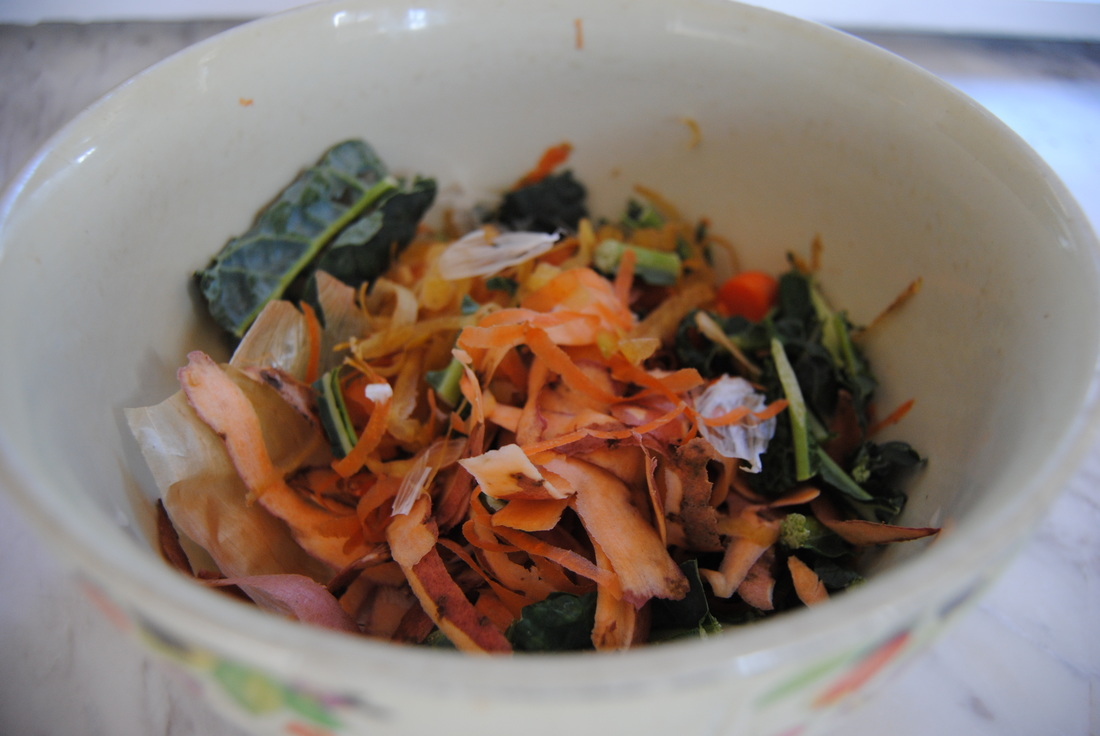
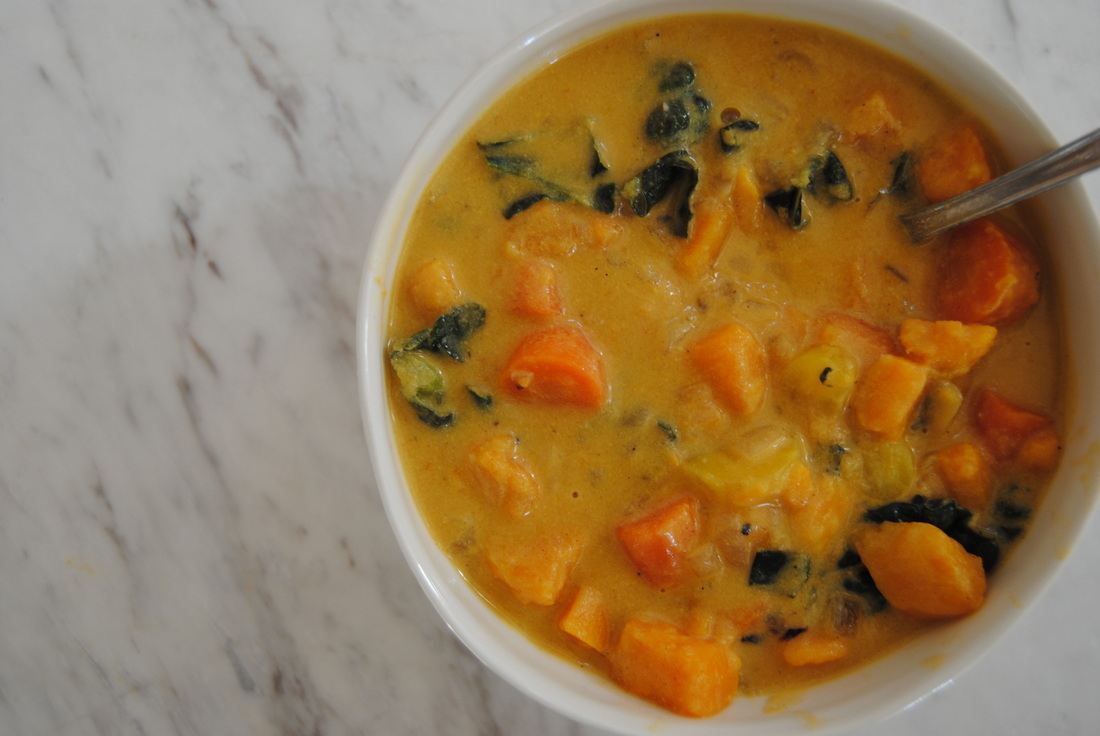
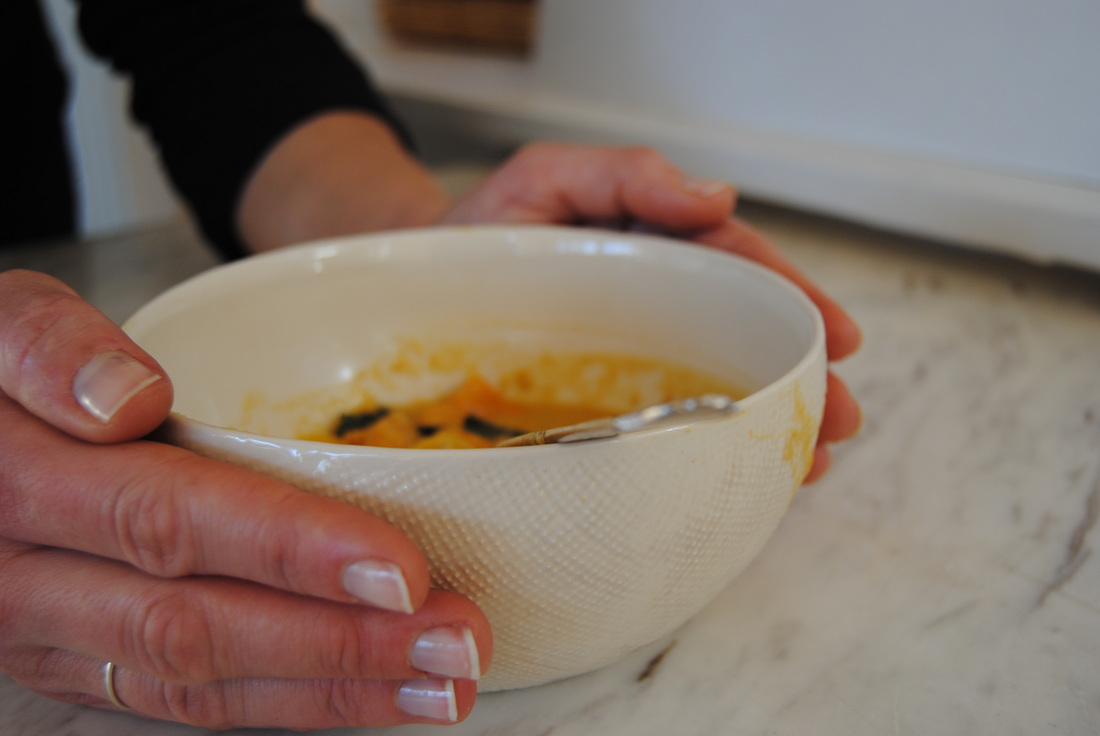
Enjoy the magic, Jess and Cecelia Well, it's that time of year friends - the dead of winter with no end in sight. And we have to admit that finding food inspiration can be pretty difficult when there are no foods in season. But that won't stop us! This dilemma calls for nothing other than a big pot of soup. The whole process of making and eating soup is completely warming inside and out and just what we all need on these cold January days. So first let's discuss vegetable broth and then get to this soul warming recipe. Vegetable broth has a complex vegetable flavor with an earthy robust aroma. Store bought vegetable broth is easy and convenient but guess what...homemade vegetable broth is too! When preparing a dish with vegetables, simply save the "scraps" such as peels, ends, and pieces (like the picture above). When you have accumulated a good amount (at least 2 cups), add the scraps to a medium pot, cover with water, add a sprinkle of sea salt, and bring the mixture to a boil. Cover with a lid and reduce to a simmer allowing the vegetables to slowly break down and develop a rich, complex flavor. We simmered ours for 2 hours. Strain vegetables in a colander while collecting the golden vegetable broth in a bowl. When making homemade vegetable broth the ratio of vegetables to liquid is not precise. Just remember to generously cover the vegetables with water. The broth can stored in an air-tight container in the fridge for 5-7 days. If you made a large batch and want to save some for another day, place in a freezer safe container and freeze for use on a later date. Vegetable scraps can also be saved in the freezer until you have accumulated enough to make broth. But remember, when you know you will be using your broth in a recipe, make sure to remove it from the freezer and place it in the fridge one day prior to thaw. Once you make your first batch of homemade vegetable broth, you will never go back to store bought! It's that easy and oh so delicious! Sweet Carrot Stew with Cumin and Cashew Cream PREP TIME: 30 mins TOTAL TIME: 1 hour 20 mins Servings: 4-6 Ingredients 1 small sweet onion 1 large shallot 1-2 Tbsp olive oil 3 garlic cloves 3 small sweet potatoes, about 3 cups diced 5-6 carrots, about 2 cups cut 3-4 ounces kale, about 3 cups chopped 1/2 cup raw cashews 2-3 cups low sodium vegetable broth (or homemade, orange/reddish hue preferred) 1 tsp ground cumin 1/4 tsp cayenne pepper sea salt, cracked black pepper and lemon juice to taste Start by soaking cashews in one cup water for the cashew cream. Cashews can soak in cold water overnight or boiling water for about 30 minutes. After soaking, strain water and add cashews to a high speed blender with enough fresh water to cover the cashews by one inch. Blend on high until creamy, adding more water as needed. For more on cashew cream see this post. Next, chop the onion and shallot. Heat olive oil on medium heat in a small pan and saute the onion and shallot with a pinch of salt, stirring frequently. Cook on medium-low heat until soft and lightly browned, about 20 minutes, then set aside. Meanwhile, scrub and peel sweet potatoes and chop into one inch cubes. Peel carrots and cut into circles. Peel garlic cloves and leave whole. In a large soup pot combine sweet potatoes, carrots, garlic cloves, enough water to just cover vegetables, cumin and 1/2 tsp salt. Simmer vegetables for about 10 minutes, until tender but not falling apart. Remove stems and chop kale. Once the carrots and sweet potatoes are tender add kale, cashew cream, caramelized onion and shallot, 2 cups vegetable broth and cayenne pepper to the soup pot. Simmer covered until all the vegetables are tender, about 20-30 minutes. Finish soup with 1-2 Tbsp fresh lemon juice, cracked back pepper, and more salt to taste. You can also add an additional 1/2-1 cup vegetable broth at this stage if you prefer a thinner soup. It may also need a bit more vegetable broth if reheated the next day. Also note that you may need to use more salt to season if using homemade vegetable broth. Are you warmed yet? This soup has a depth of flavor that only lovingly made, home cooked soup can have. The balance of sweetness from the potatoes and carrots, spice from the cumin and cayenne, and creaminess from the cashews will entice you to make this soup again and again all winter long. We just can't think of anything we would rather be eating right now.
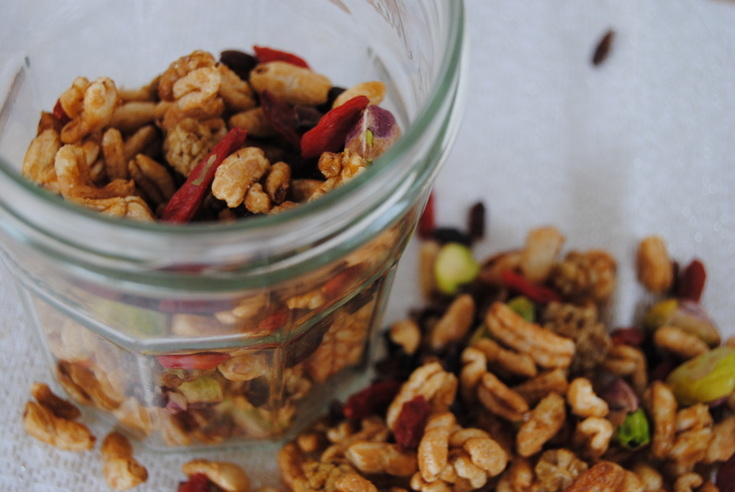
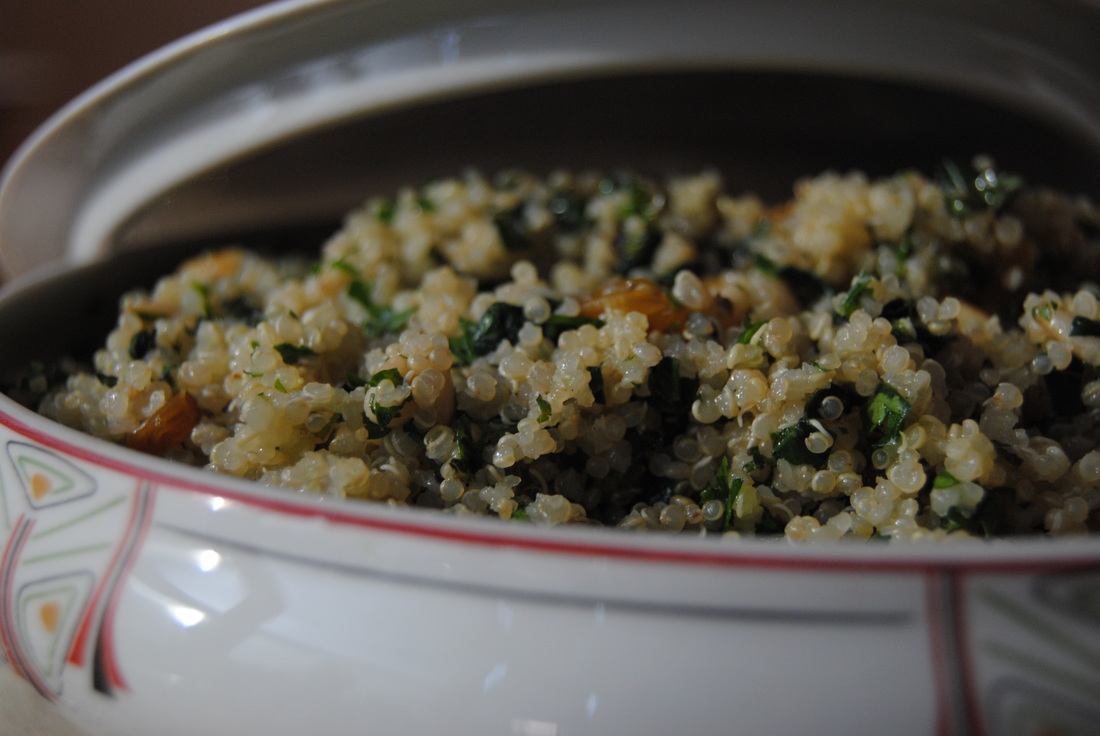
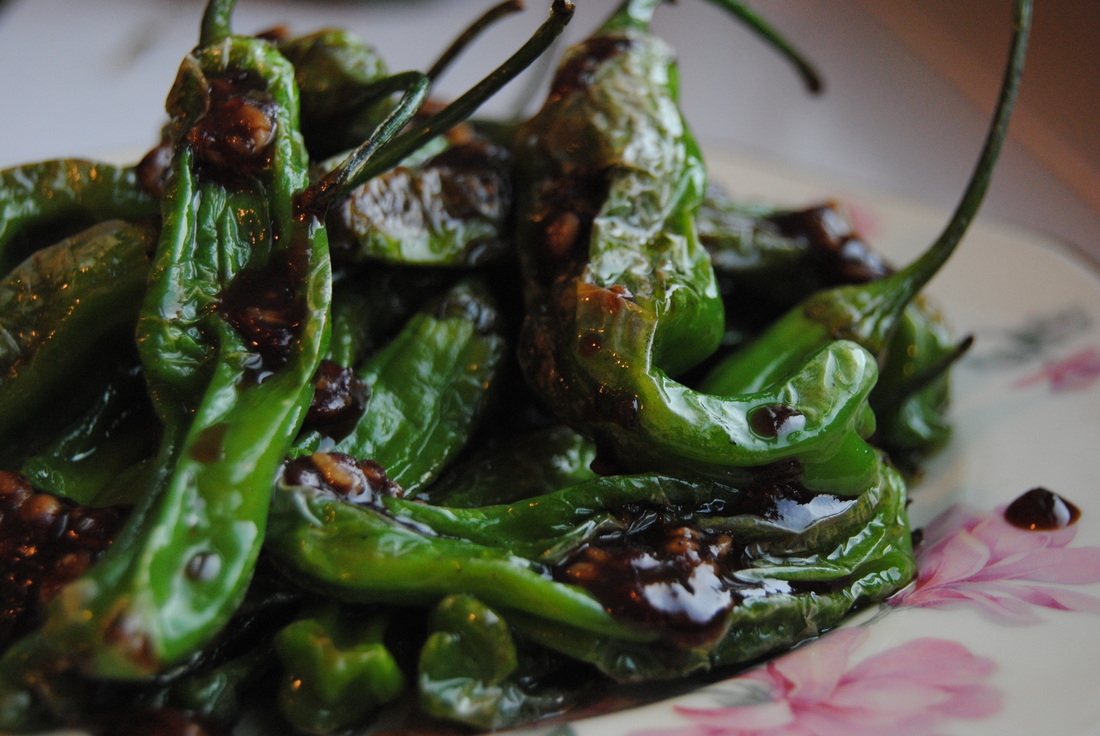
Stay warm, Jess and Cecelia Happy New Year TGBK friends! We are so excited to get back to creating awesome recipes for you in 2016. But before we get started on new eats we want to remind you of some of our favorite healthy recipes from 2015. These recipes will be helpful if any (or all!) of your resolutions include eating well. If you're looking for a colorful, delicious, and power-packed snack for the new year, our Superfood Power Mix will do the trick. This mix is loaded with superfoods and perfect for an on the go snack or post workout refuel. Get the recipe here. Light but satisfying, our Herbalicious Tabouli Inspired Salad is the perfect meal to help you stick to your "eat well" resolutions. Easy to prepare ahead and save for the busy weeks as we get back to work after the holidays (wah!). Must have recipe here. And finally, one of our all time favorite recipes from 2015, our Sweet and Salty Shishito Bites. Because let's face it, we all need salty treats now and again despite our best resolutions. And this treat is still nutritious and veggie based! Recipe is waiting for you here.
Wishing you a wonderful year, Jess and Cecelia |
AuthorsJess and Cecelia welcome you to our kitchen. We are fun-loving and passionate foodies working to make the world a healthier, happier place one plant based recipe at a time. Categories
All
Archives
December 2018
|

