|
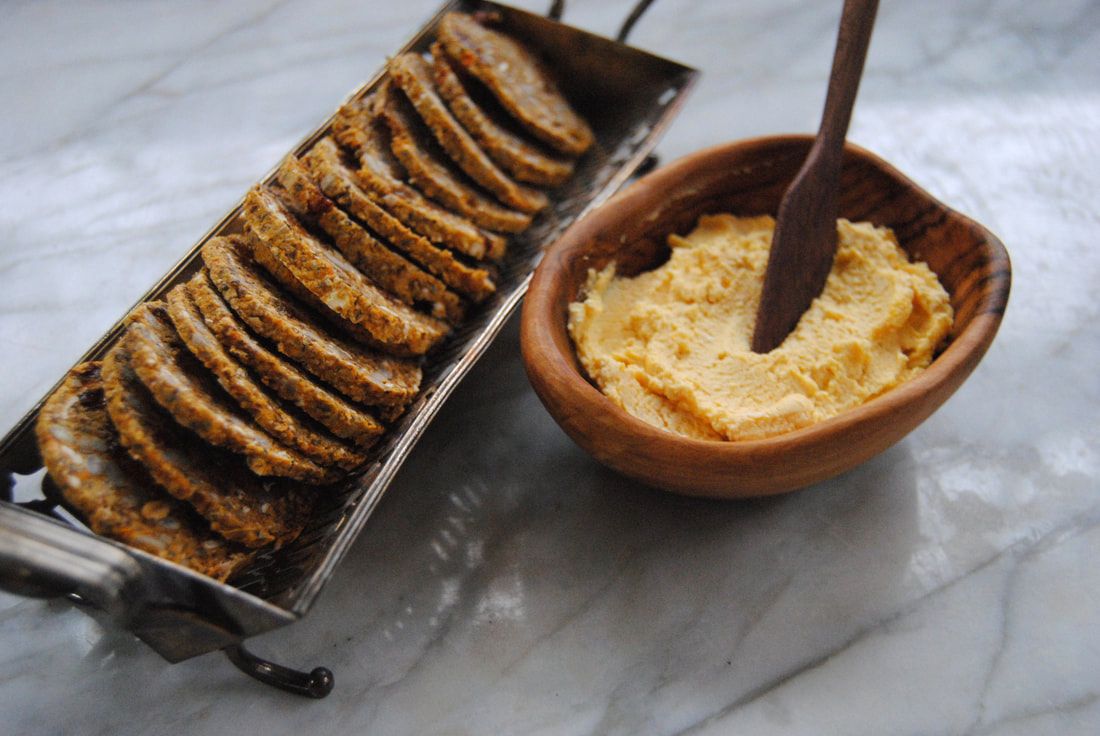
This recipe came about in a completely unexpected way. Jess is a pet Mom to a very special pup - an English Bulldog with a huge personality and unbelievable strength. To keep in shape (heavy, muscular build) her pup gets a daily assortment of homemade, whole food based treats. Just one of the perks of having a dietitian/foodie Momma! Jess makes her pup a cracker treat that inspired our recipe this week. Disclaimer: this is not dog food! This recipe is made specifically for humans and our unique needs. This recipe does contain grain but is gluten free. We also made our "human treats" a larger size appropriate for dipping into any assortment of toppings. So now that you know our so called family secret, let's get to this recipe!
Fruit & Seed Crackers (Gluten Free)
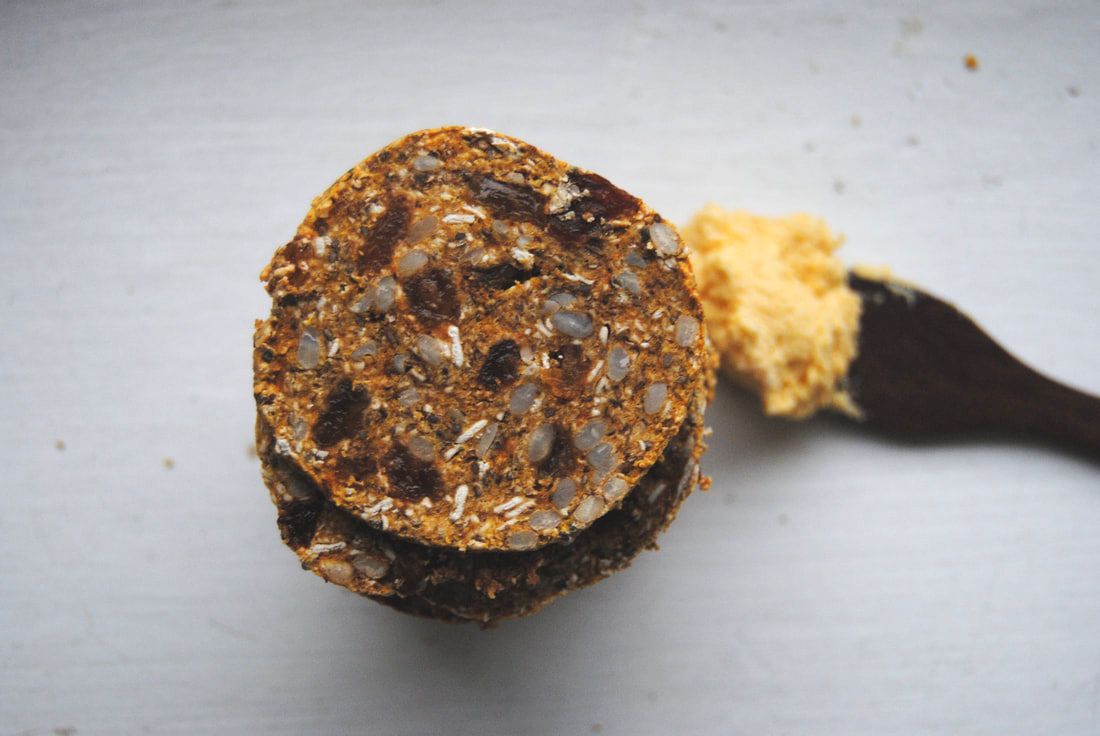
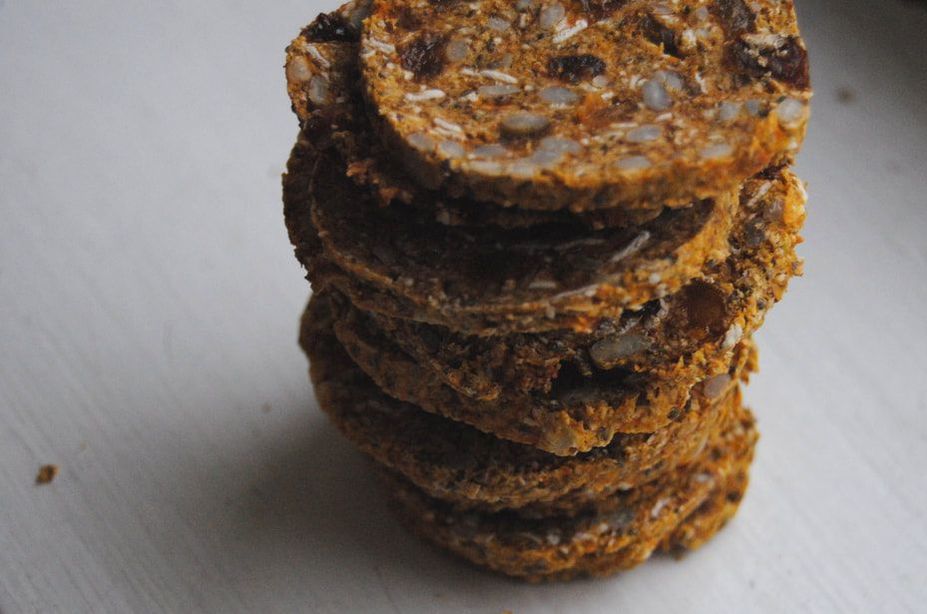
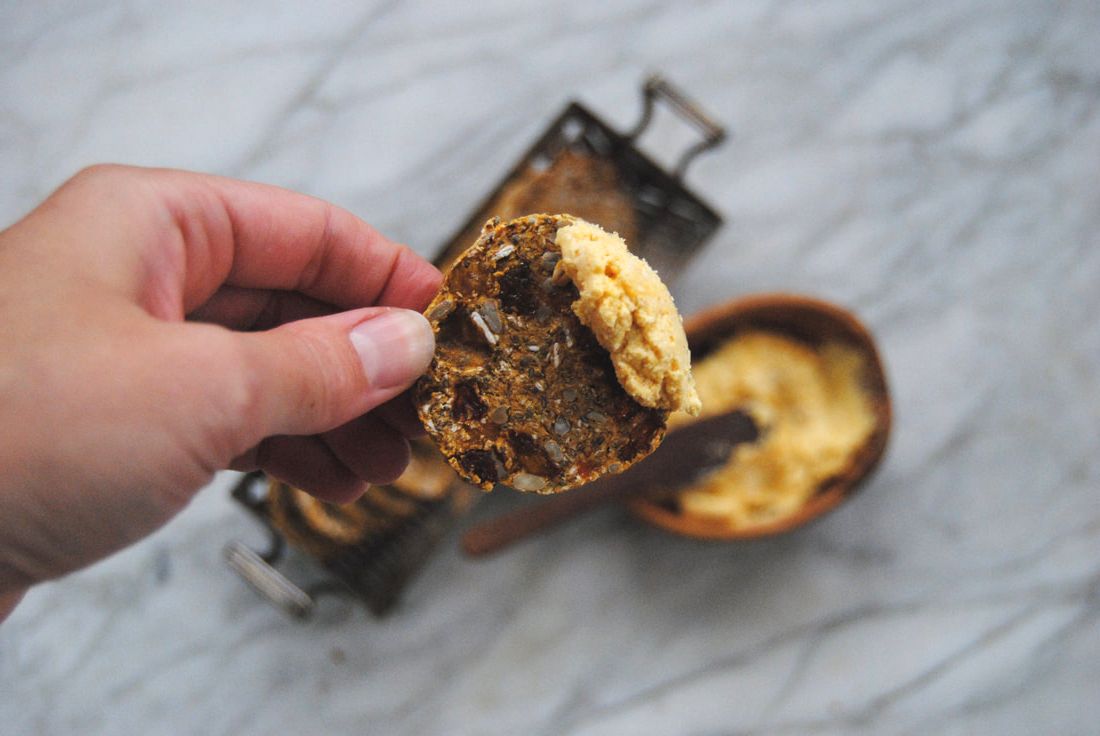
PREP TIME: 1 hour (includes ~50 min freezing time) TOTAL TIME: 2 hours Servings: ~ 20 crackers Ingredients Cracker 1 cup oat flour 1/2 cup sweet potato puree (pureed pumpkin would also work) 1/4 cup raw unsalted sunflower seeds 1/4 cup golden raisins 2 Tbsp ground flax seeds 2 Tbsp whole rolled oats 1 Tbsp chia seeds 2 Tbsp water Pumpkin Goat Cheese 2 oz plain goat cheese 2 Tbsp canned plain pumpkin puree 1/8 tsp sea salt In a large bowl combine all cracker ingredients and stir with a spoon until a cohesive dough is formed. Using slightly wet hands, roll dough into a cylinder about 8" long and 3" in diameter. Place dough cylinder on a sheet of parchment paper and set in the freezer until frozen, about 50 minutes or longer. The dough can be made a few days in advance. It is important to not skip this step as freezing the dough allows you to cut the crackers super thin. Preheat oven to 350 degrees and place parchment paper on a large baking sheet. Once the dough is frozen, let sit at room temperature for about 10 minutes. Then use a sharp knife to cut crackers into thin pieces; the thinner the crackers, the quicker they will cook. If the dough is frozen solid, you will not be able to cut through the dough. If this is the case, allow the dough to thaw out for a few more minutes. Once all crackers have been cut, place in a single layer on the prepared pan and bake for 15 minutes - flip crackers at the halfway mark. Turn oven off and allow crackers to cool down with the oven. This step helps make the crackers extra crunchy. Meanwhile, combine pumpkin goat cheese ingredients in a small bowl and mix well. Dip and enjoy! Crackers will store in an airtight container for up to 2 weeks.
As expected, this cracker is oh so unique. Crunchy, as a cracker should be, but dense and chewy from the added whole food ingredients. The flavor is mild and nutty with pops of sweetness - a perfect vehicle for your favorite seasonal dip or toppings. We paired with a pumpkin goat cheese for added color and creamy richness. Finally a cracker that looks AND feels good! Now you, and Jess's sweet pup, can enjoy this nutrient packed snack cracker with all its nut, seed, and fruity goodness.
Enjoy, Jess and Cecelia
4 Comments
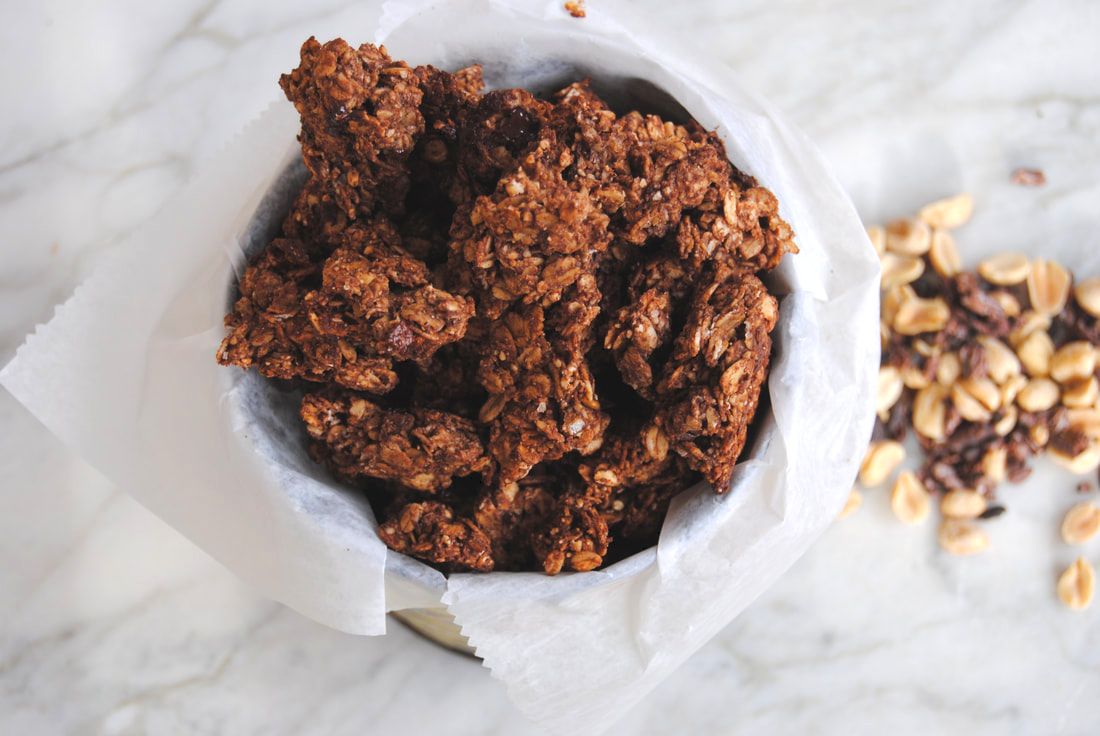
We have a treat of a recipe for you this week, friends! Inspired by a classic flavor combination, peanut butter and banana, we've made a granola sweetened mostly with natural sugar from banana (with a hint of maple syrup). Because we love the health benefit of the core granola ingredients, oats and nuts, but often find granola to be overly sweet with too much added sugar to be eating as an everyday snack or topping. But not this recipe! Though it does include some dark chocolate, feel free to use any percentage dark chocolate to adjust sweetness/sugar level to your liking (the higher percent dark chocolate the less sweet it will be). Let's get to it!
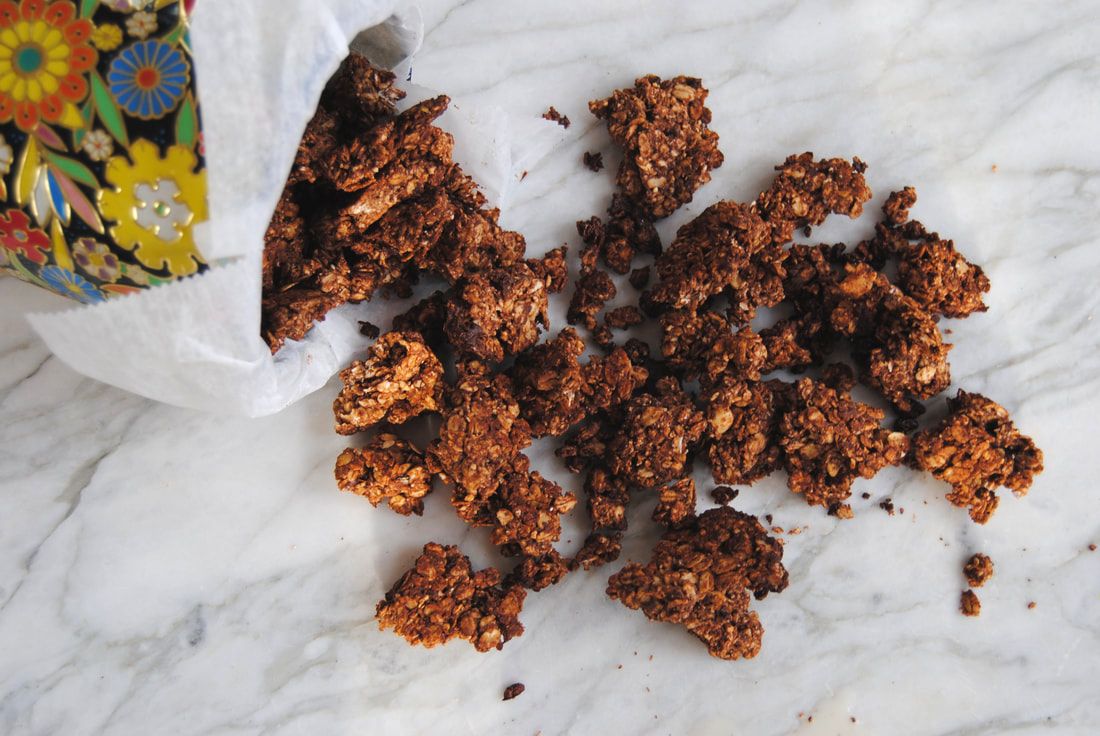
Banana Peanut Butter Chocolate Chunk Granola
PREP TIME: 20 mins TOTAL TIME: 60 mins Servings: 9-12, 1/2 cup servings Ingredients 4 cups old fashioned rolled oats 1 cup powdered peanuts (super finely crushed roasted unsalted peanuts) 1/4 cup oat bran 1/4 cup cacao powder 1/8 cup ground flax meal 1/2 tsp sea salt 1/2 cup creamy peanut butter (natural peanut butter without added sugar or oil) 1/4 cup pure maple syrup 2 small roasted bananas (~1/2 cup cooked banana) 1/4 cup water 1/2 cup chopped dark chocolate (65% cacao or higher) 1/2 cup cacao nibs Preheat the oven to 350°. In a small pan, roast bananas in preheated oven in their skin for 12 minutes or until banana skin is dark brown and bananas have started to seep. Remove bananas from the oven and allow to cool. Once cool, squeeze bananas out of their skin and into a sauce pan for later use. Line a large baking sheet with parchment paper then set aside. In a large bowl, mix together the oats, powdered peanuts, oat bran, cacao powder, flax meal, and salt. In a sauce pan with the bananas, combine the peanut butter, maple syrup, and vanilla. Turn burner on to medium heat and whisk until the peanut butter has melted and all ingredients are combined. Pour warm peanut butter banana mixture over dry ingredients and stir until evenly coated. Add 1/4 cup water over the granola and stir to combine. Evenly spread mixture onto parchment lined pan then sprinkle the top with cacao nibs and chopped chocolate. Bake for 30 minutes or until granola is golden brown. Let sit until cooled. Use a large spoon to break granola into large chunks. Place granola back into the oven and continue cooking for an additional 7-10 minutes. Make sure to stir granola at least once while it is cooking. Allow granola to completely cool before storing in air tight container. Adding granola to the container before it has completely cooled will add moisture and soften the granola.
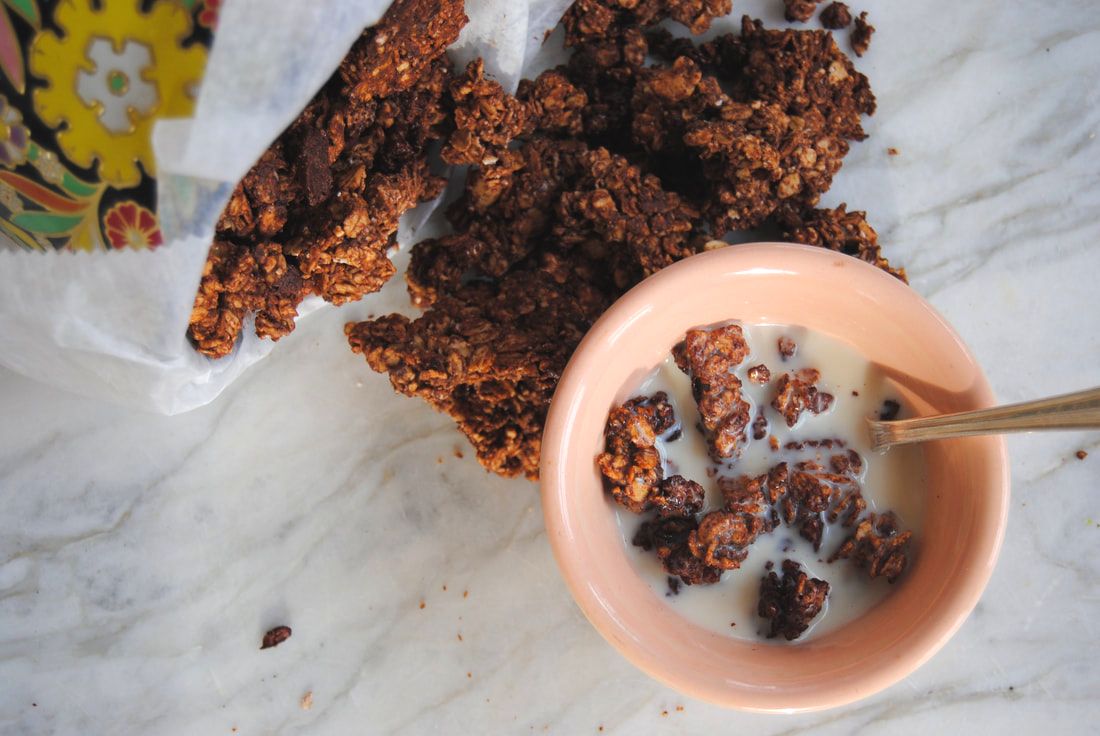
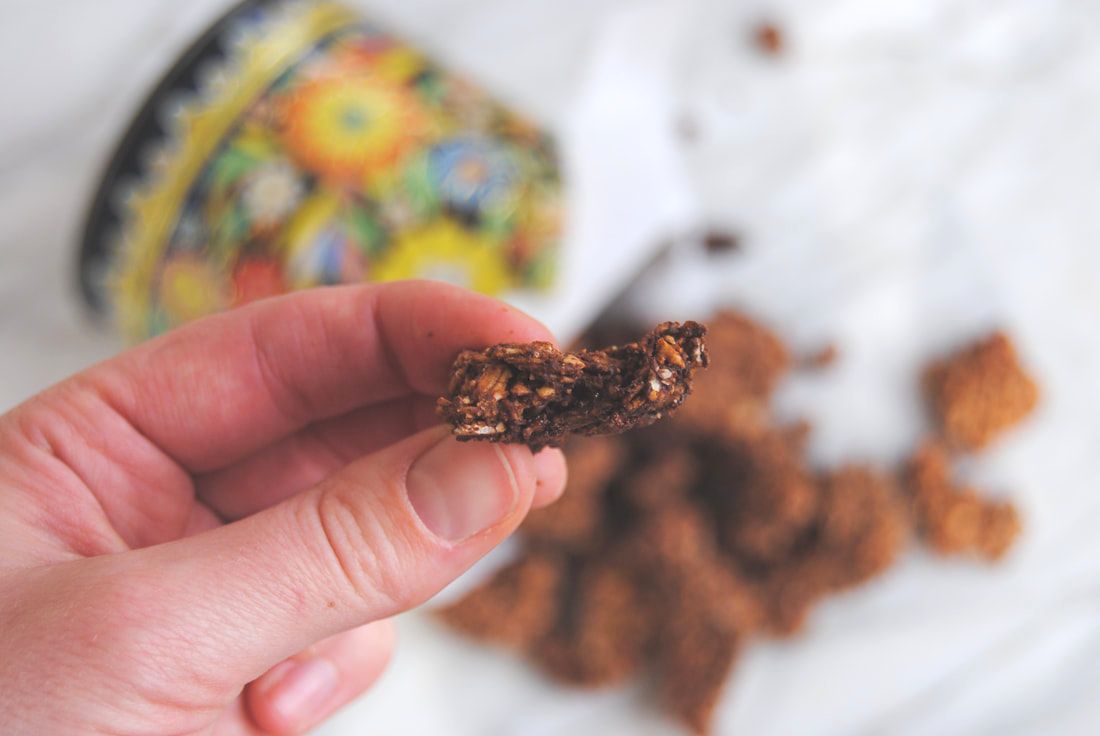
We love this granola as cereal with milk of choice, a handful dry as a snack, or as a topping for yogurt or ice cream - though feel free to enjoy any way you like! The flavor is classic peanut butter banana with a subtle toasted flavor and just the right amount of sweetness.
Enjoy, Jess and Cecelia
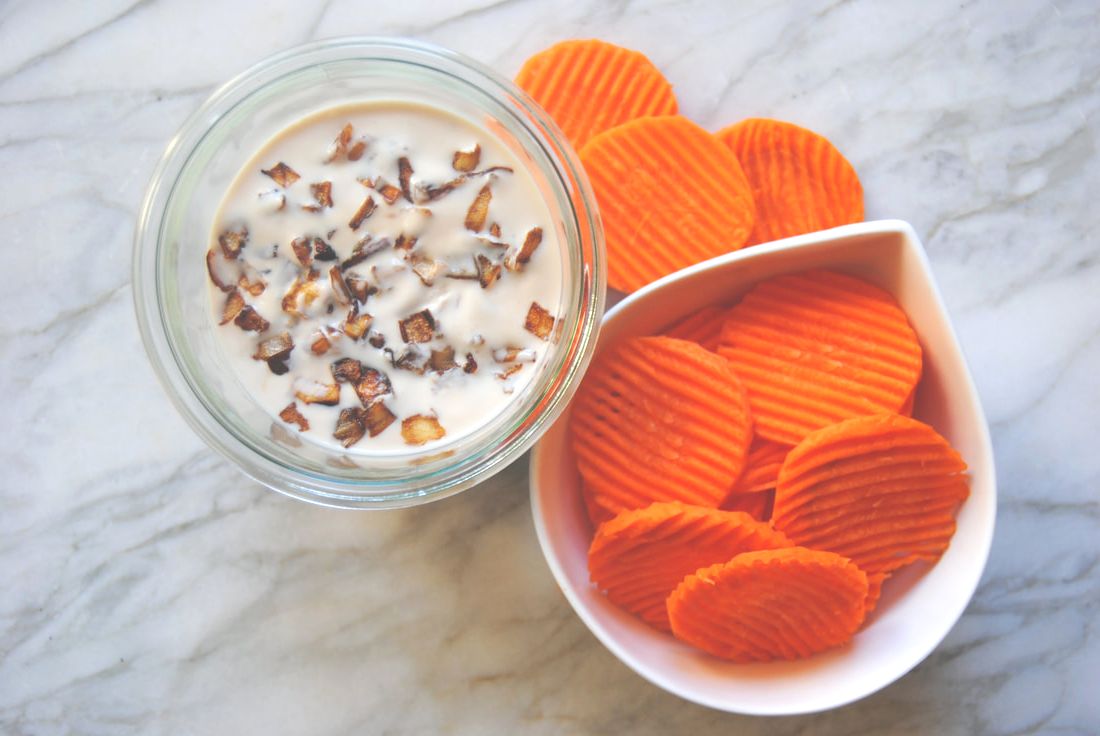
As the weather gets warmer (finally!) we naturally start to transition our eating habits from a few larger meals to more frequent, smaller snacks. A good dip is perfect for this "snacky" eating style and perfect for Spring entertaining. A complaint that we have when purchasing pre-made dips is the lack of decent vegan options. For this we had to go with homemade, and worked to perfect a recipe for a vegan alternative to the traditional caramelized onion dip. We hope you love this one as much as we do!
Vegan Caramelized Onion Dip
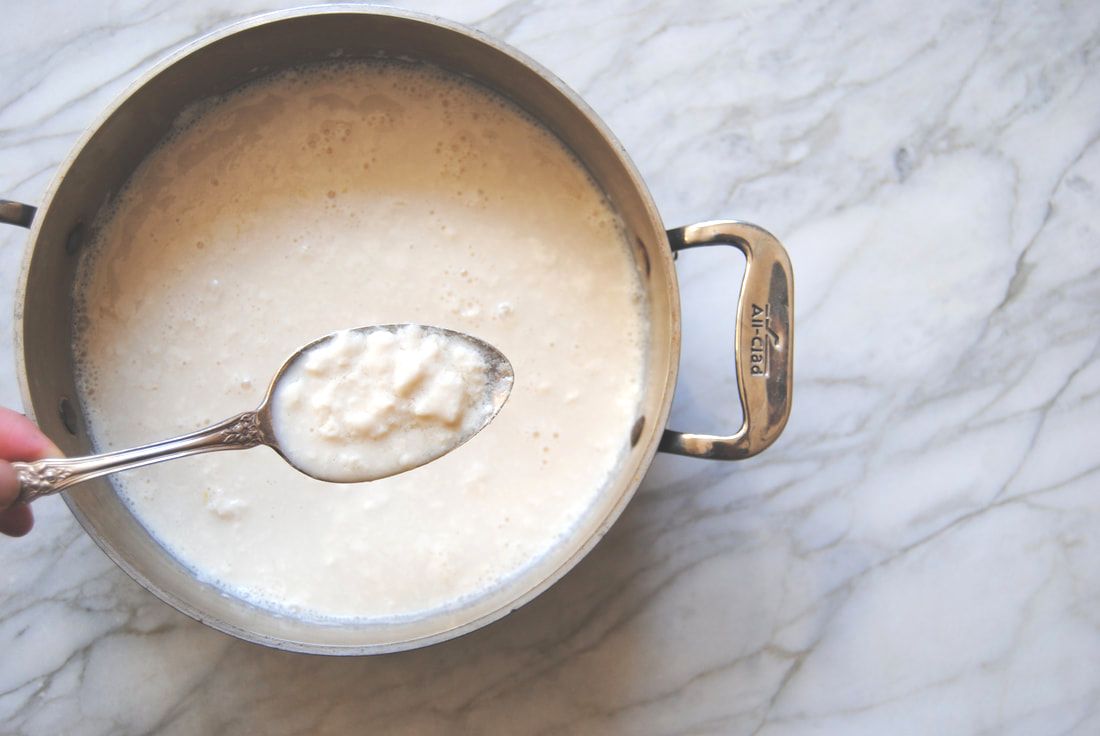
PREP TIME: 1 hour TOTAL TIME: 5 hours (includes chill time) Servings: 2 cups dip Ingredients 32 oz plain unsweetened soy milk, without additives* 3 Tbsp fresh lemon juice 1/4 tsp sea salt 1 large sweet onion, chopped 1 Tbsp olive oil In a large saute pan set to medium heat add 1 Tbsp olive oil and 1/4 tsp salt. Add chopped onion a saute until edges are golden brown and onion is slightly translucent, ~5-7 minutes. Lower heat to simmer and continue cooking onion until fully caramelized, ~45 minutes, stirring often so that the onion does not burn to the pan. Be patient, low, slow heating until the onion is fully browned and caramelized is important. While the onions are cooking, add 32 oz soy milk to a deep pot over medium heat and use a thermometer to bring the milk up to 100 degrees, stirring constantly. This step is important to ensure the milk properly curdles. Do not heat milk over 100 degrees and be careful not to burn the milk. Remove heated soy milk from the stove and add lemon juice to the pot. Allow mixture to sit for 15-20 minutes or until defined curdles have formed. Gently pour contents into a large nut milk bag and allow the liquid to drain from the solid. We secured the drawstring of the nut milk bag around the faucet of our sink and allowed gravity to take over. This step will take at least 30 minutes or longer. You know your soy milk solids are ready when no additional liquid is draining from the bag. Remove soy milk solids from the bag and place into a food processor or blender. Add 1/2 of the caramelized onions to the blender with the soy milk solids and 1/4 tsp onion powder. Mix until contents are smooth. Stir in the remainder of the caramelized onions and store in a glass container with a lid in the fridge for at least 4 hours or overnight. Dip will continue to develop flavor and thicken up as it sits in the fridge, so it is best to make this dip one day in advance for the tastiest results. *Use a soy milk with no additives. Look for only soy beans and water in the ingredient list for best results with curdling.
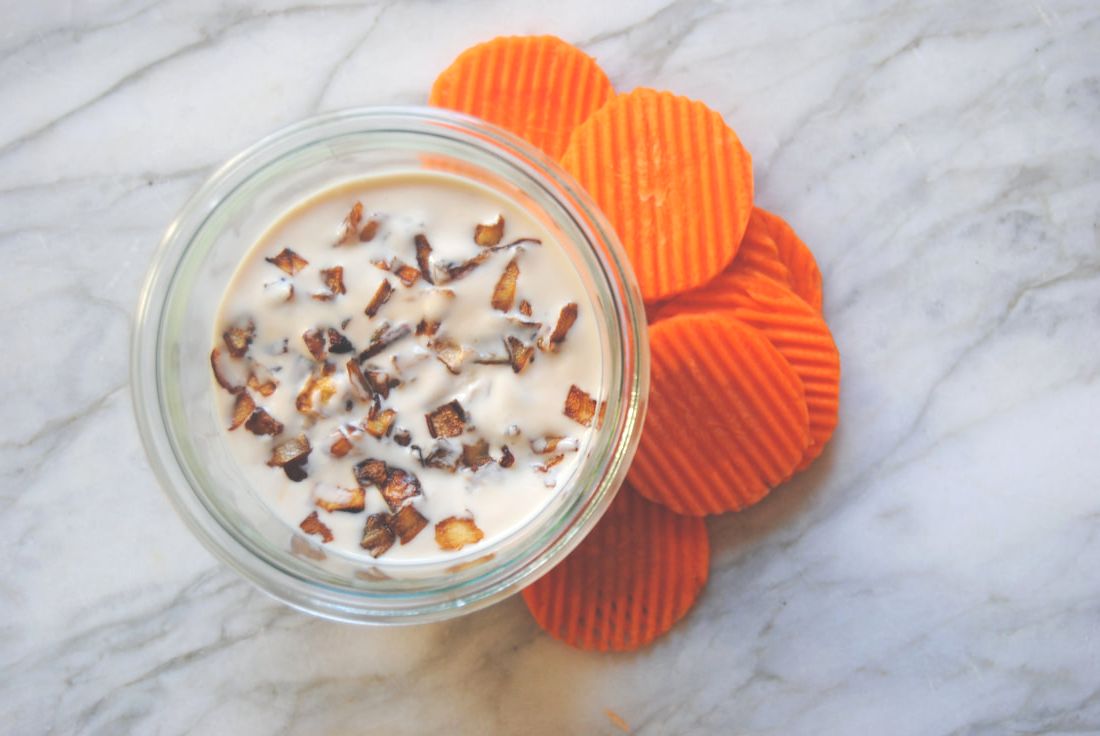
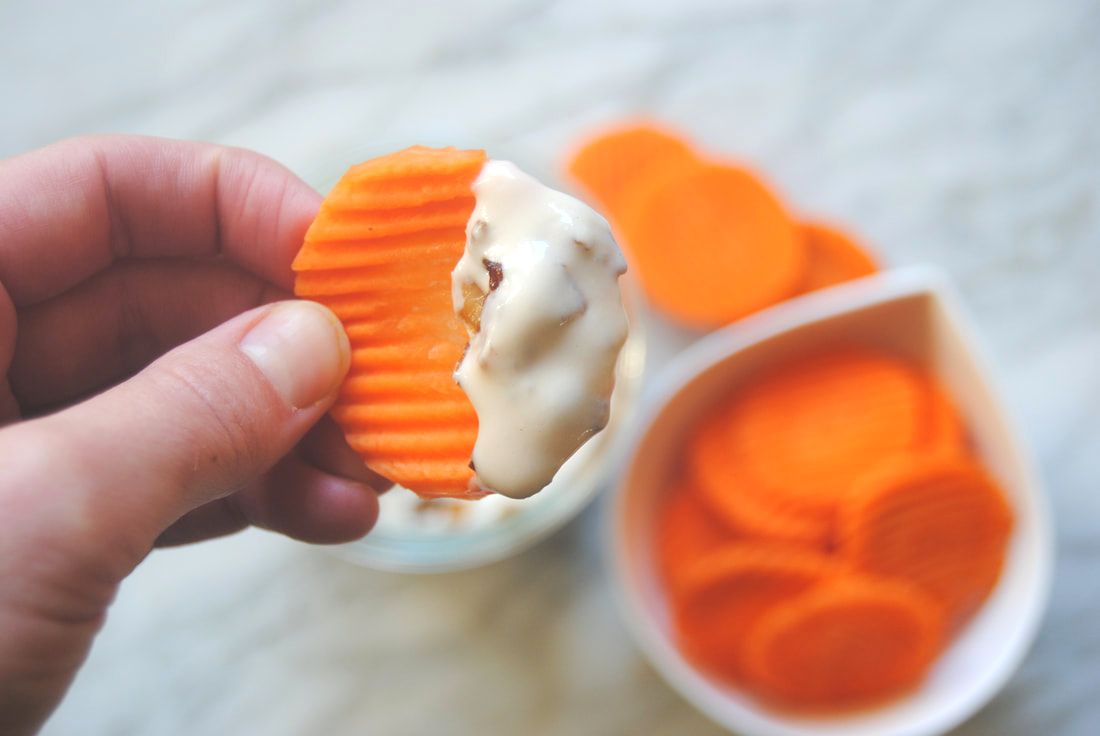
Well, are you dippin' yet? Caramelized onion dip is traditionally crave worthy and this vegan version doesn't make it any less so. A guest or two may even be fooled if you don't mention that this dip wasn't made with dairy. Pair this with your favorite chip or veggie (we made crinkle cut carrots on a mandolin) and dip away!
Enjoy, Jess and Cecelia
In Our Pantry
*We mentioned using a quality soy milk without preservatives for best results, here is the product we found/used with the simplest ingredient list:
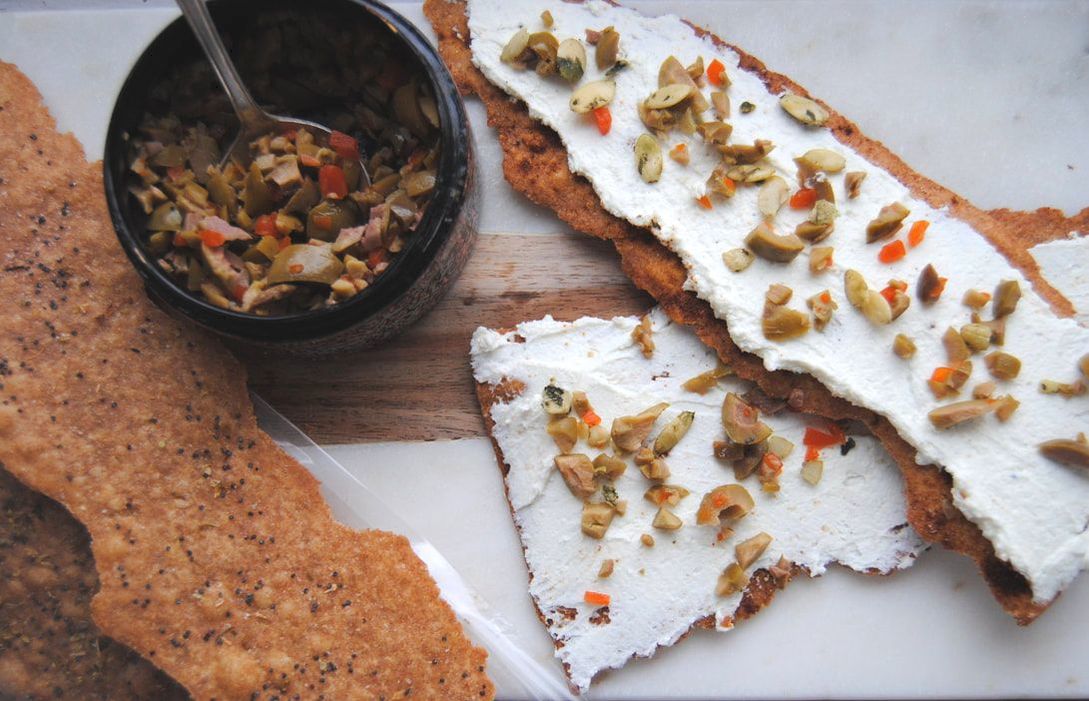
Hi friends! Remember our homemade resolution and the goal of making more foods from scratch this year? Well, these crackers are a great example. Crackers are a snack food typically bought pre-made/processed but as we will show you, are not too difficult to make homemade. Especially if you like working with homemade bread or pasta dough, this recipe is for you! What we most like about homemade crackers is the ability to flavor them any way you like. We tried a few different flavor combinations before deciding on poppy seed and sea salt for this post. Also, don't worry about making each cracker look the same - the different shapes are unique and make the final that much more special for you or whomever you share them with.
Thin and Crisp Whole Wheat Crackers
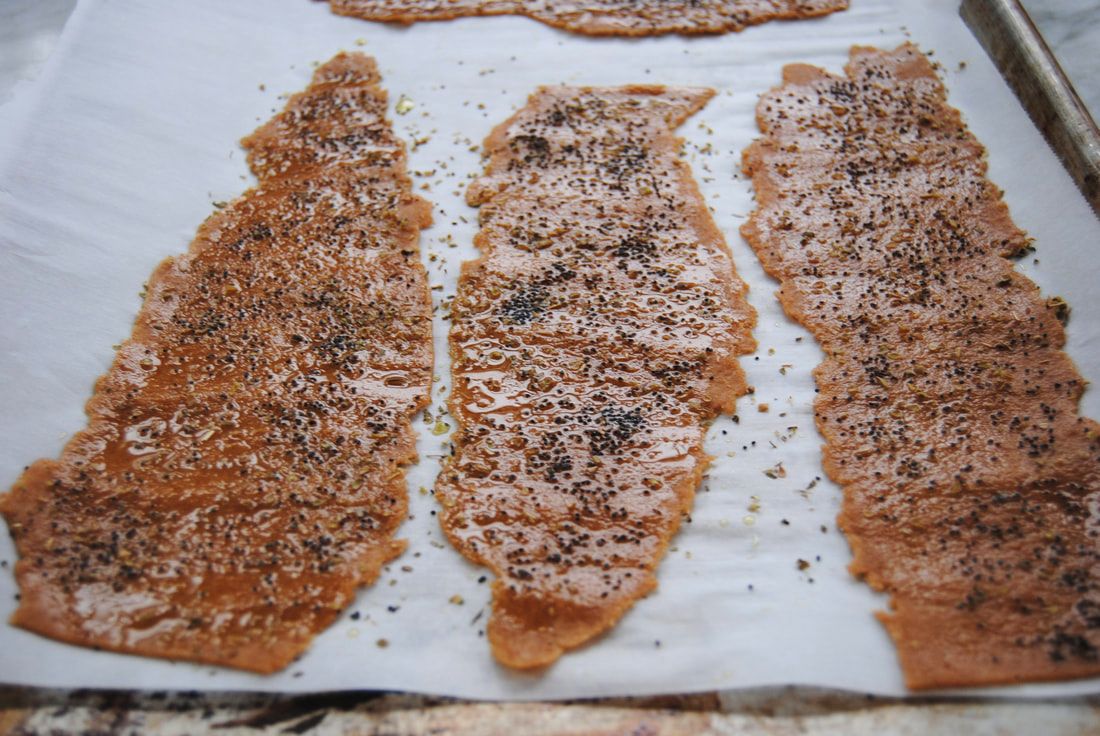
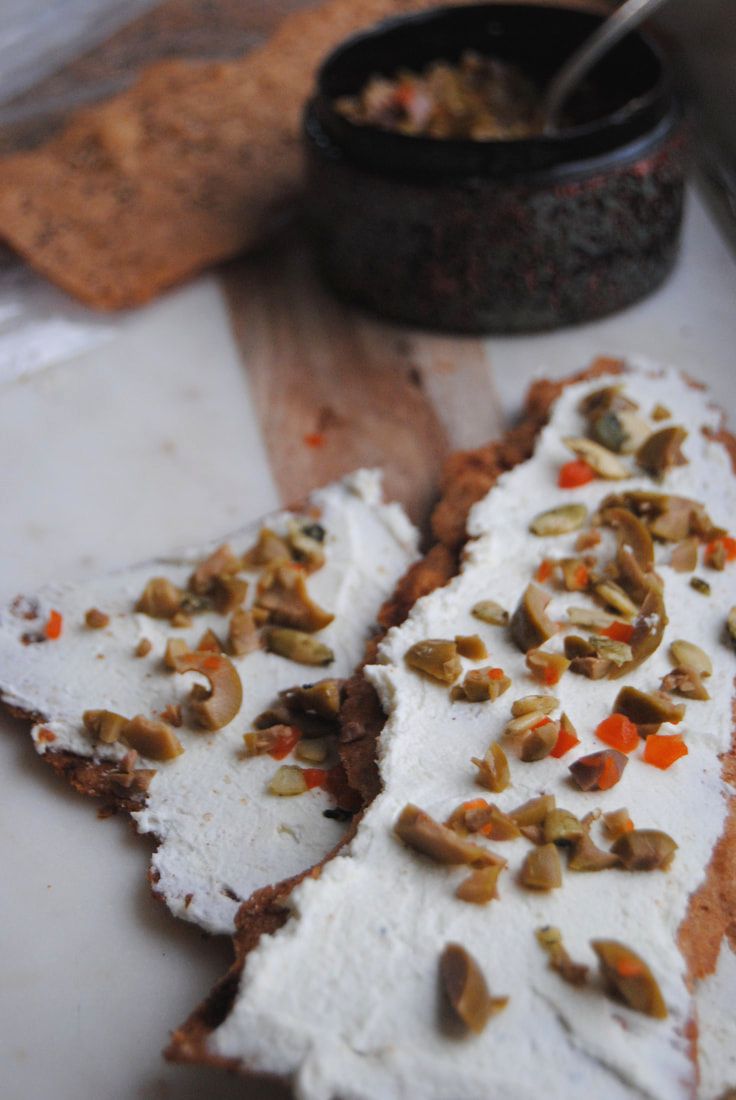
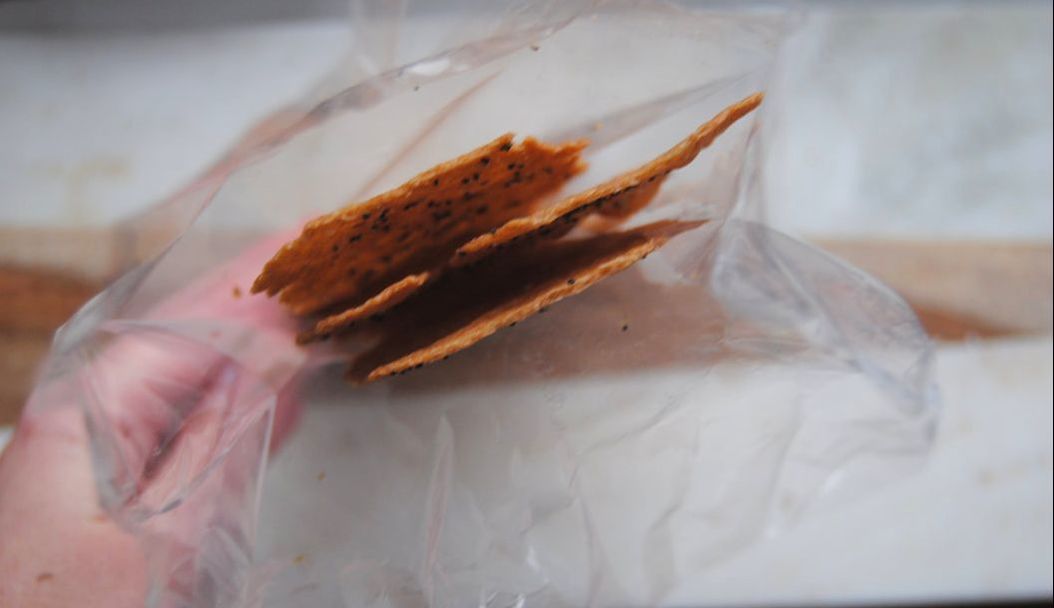
PREP TIME: 20 minutes TOTAL TIME: 30 minutes Servings: 18-20 crackers Ingredients 1 3/4 cup whole wheat flour 1 tsp baking powder 3/4 tsp sea salt 1/3 cup extra virgin olive oil + 1/3 cup olive oil reserved for brushing the top of the crackers 1/2 cup + 1 Tbsp room temperature water Seasoning of your choice, we used poppy seeds and sea salt (crackers taste best with a heavy hand of seasoning!) Add spreadable cheese or yogurt on top and sprinkle with additional toppings, whipped feta cheese and green olives with pimentos was a favorite of ours Preheat oven to 450 degrees. Line a baking sheet with parchment paper and set aside. In a bowl combine the whole wheat flour, baking powder, and salt then mix until combined. Make a well in the middle of the flour mixture and pour 1/3 cup olive oil and the water into the well. Using your hands, combine the dry with the wet ingredients until a dough is formed. Place dough on a floured work surface and knead 8-10 times or until a smooth dough ball is formed. Cut dough into 6 equal pieces then roll each piece through a pasta machine*, starting with setting #1 working up to setting #5 for extra thin and crispy crackers. Carefully cut cracker dough into pieces about 9-10" long then place on prepared baking sheet. Brush the top of each cracker with olive oil and sprinkle with seasoning of choice. Bake the crackers in a preheated oven for 6-8 minutes or until golden brown. Remove from the oven and allow crackers to fully cool on a cooling rack. Once cooled, the crackers can be enjoyed right away or stored in an airtight container for up to 3 days. *If you do not have a pasta machine, you can use a rolling pin, however the dough may not roll out as thin which may add 1-2 minutes of cooking time. Turn the oven light on and watch crackers closely as they can burn quickly.
These crackers are perfectly thin and crispy and can be adapted to any flavor combination your craving. They will hold up to a variety of toppings, we enjoyed goat cheese and olives for a salty snack.
Enjoy, Jess and Cecelia
In Our Cupboard
Though you can make these crackers with a rolling pin, the KitchenAide Pasta Roller Attachment makes the job SO much easier:
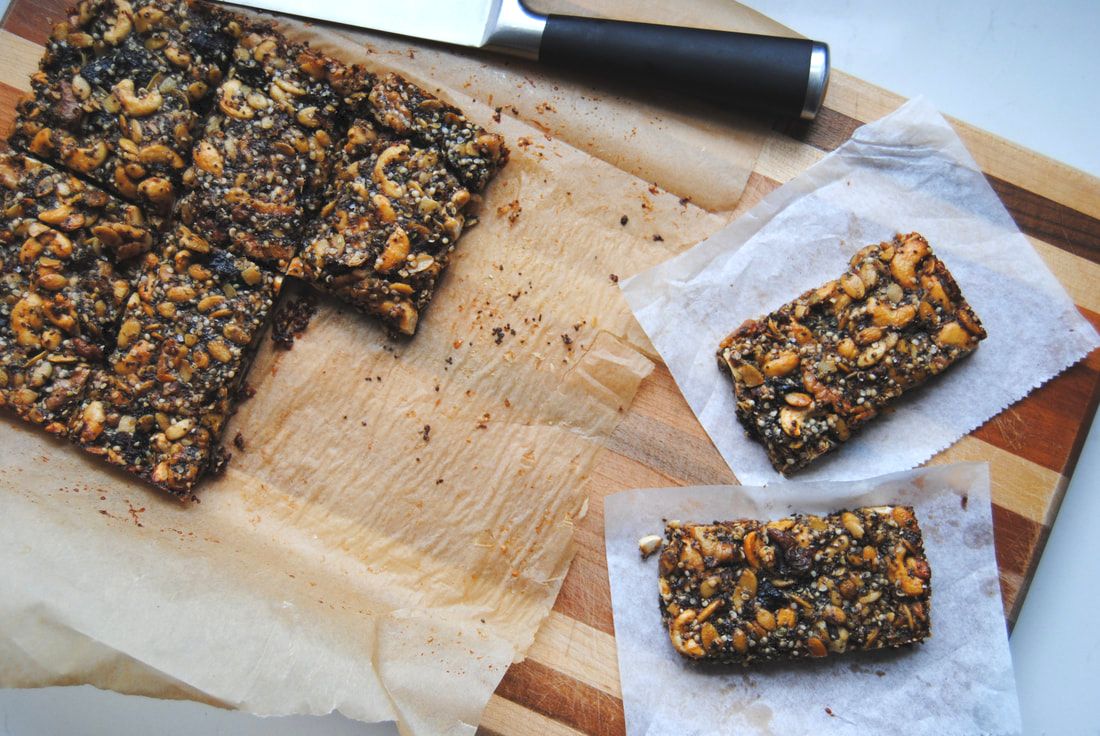
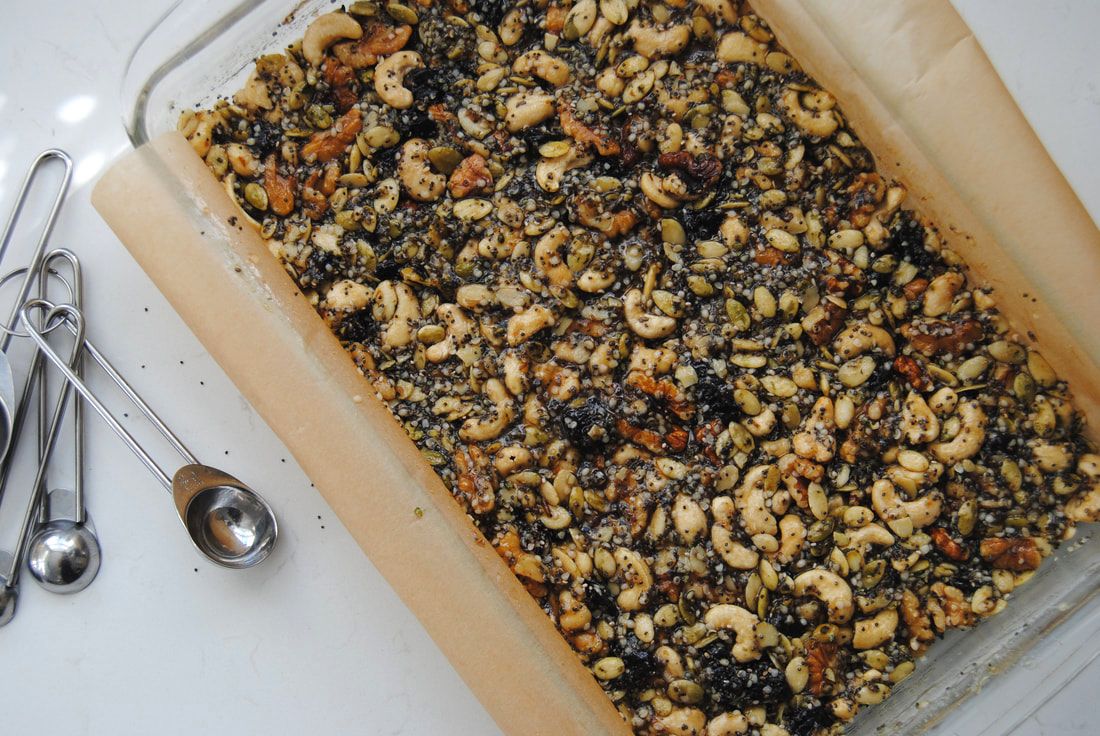
Hi friends! How are things going with well intended New Year's resolutions set over a week ago now? Success rates can definitely be variable, but don't be hard on yourself! Resolutions are intentions to do something differently but shouldn't be a reason to feel discouraged if you aren't always reaching (sometimes lofty) goals. Jess had a resolution last year, for example, that she is still working on this year. She wanted to make more foods homemade and use less pre-made foods. Seems like something she already does a great job at as a recipe blogger, but hey, there is always room for improvement! Last year she started making homemade bread weekly instead of buying pre-made loaves. This year she is tackling snack foods - like this week's recipe. Pre-made snack bars are abundant in stores but don't always contain ideal ingredients. Like other pre-made snacks, snack bars can contain fillers and preservatives that won't be necessary if making homemade. With homemade snacks you can completely control the quality and quantity of ingredients used and are free to use any variety of your favorite foods. These snack bars we loaded with our favorite nuts, seeds, and dried fruits, and just the right amount of sugar ingredient to hold together. The result inspired us to keep on Jess's (and now our) homemade food journey this year. Does this sound like a resolution you might want to make (or swap for another you had)? Join us!
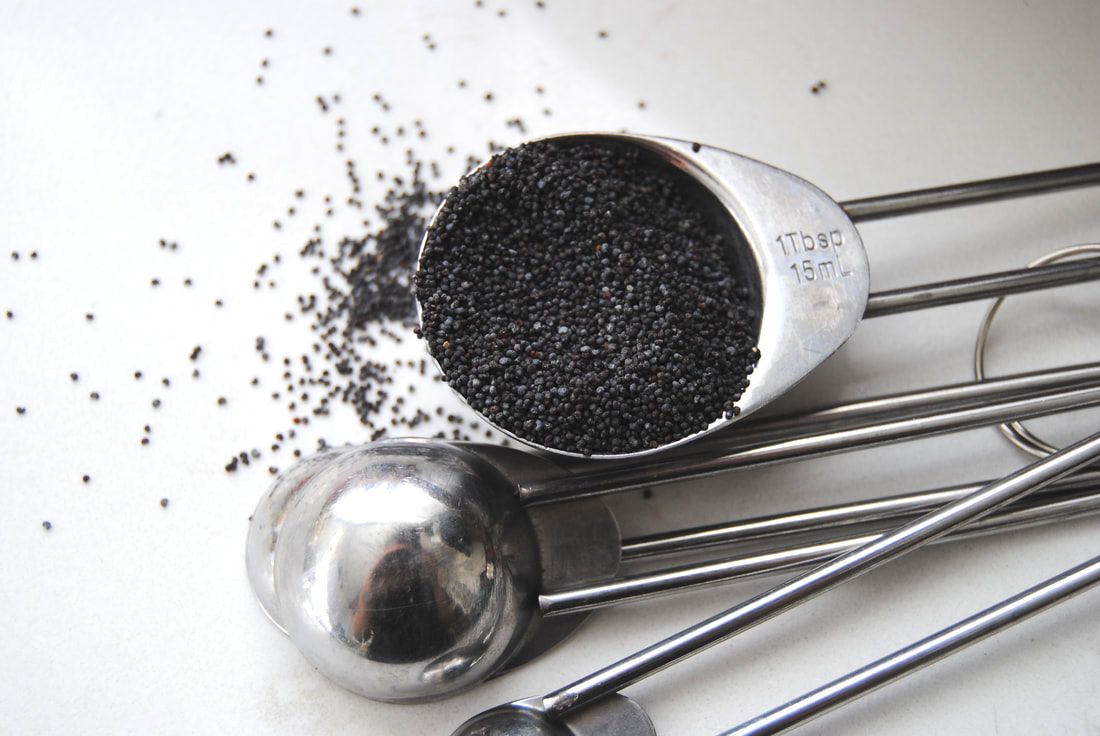
Also a quick note on an interesting ingredient we used this week - poppy seeds. We love poppy seeds for obvious seed reasons (plant protein, dietary fiber, etc.) but also for their unique nutty flavor and crunch. A delicious and unique addition to baked goods and homemade bars like these. This ingredient is also intriguing for the drama it can cause (yes, drama!). Because poppy seeds come from the same plant - the opium poppy - used to make heroin and opiates, poppy seeds contain trace amounts of opiate. This amount of opiate is not enough to have a narcotic affect when consumed in dietary amounts but can confuse results of drug testing. After consuming poppy seeds a drug test may test positive for opiate, which can't be distinguished from poppy seed vs opioid medication source. Also notable, the sap from the opium poppy plant is what's used to make drugs NOT the seeds though it can be illegal to grow the poppy plant. We recommend buying (instead of producing) your poppy seeds juuust to be safe. We like and use Bob's Red Mill brand.
Chewy Poppy Seed Bars
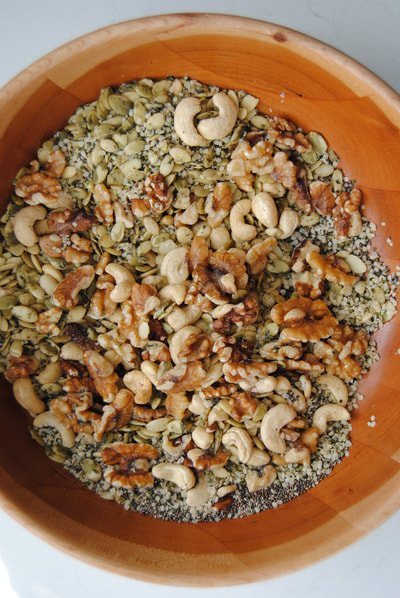
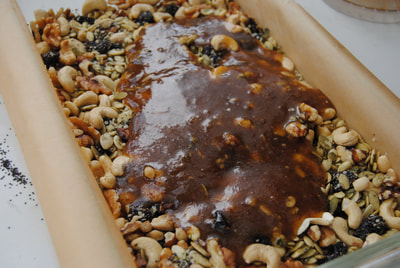
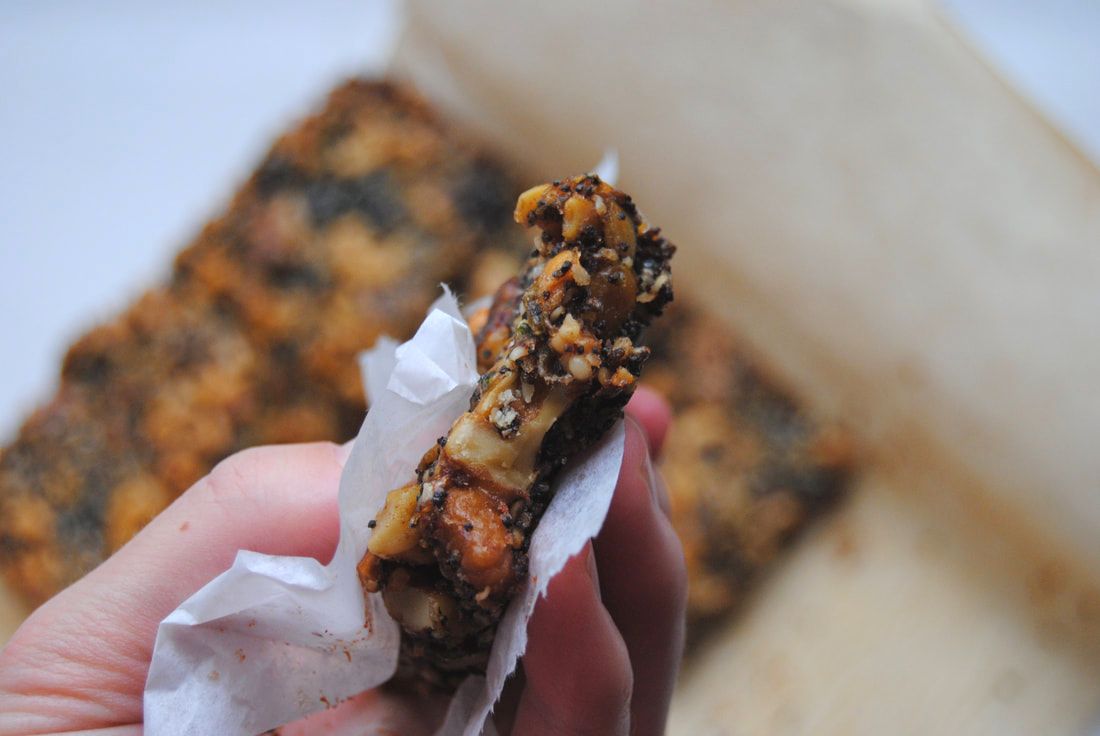
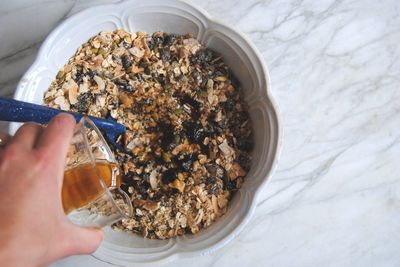
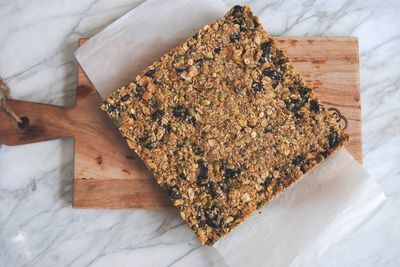
PREP TIME: 10 minutes TOTAL TIME: 90 minutes Servings: 12-14 bars Ingredients 1/2 cup honey 2 Tbsp coconut sugar 2 Tbsp coconut oil 1 tsp pure vanilla extract 1 cup raw walnuts 1 cup raw cashews 1/2 cup raw pepitas 1/4 cup hemp seeds 1/4 cup poppy seeds 1/4 cup sesame seeds 1 cup prunes, chopped Sprinkle of sea salt Preheat oven to 350 degrees. Line a 9x13 inch pan with parchment paper that is cut to the exact shape of the bottom of pan with a 1-2" overhang on both edges then lightly coat the parchment paper on the bottom and sides of the pan with coconut oil and set aside. This step is important in making sure the bars come out of the pan easily. In the prepared pan, add the nuts, seeds, and chopped prunes and stir mixture to uniformly combine then set aside. In a medium sauce pan, add the honey, coconut sugar, and coconut oil and bring the mixture to a boil while stirring constantly. Continue to boil the mixture for 3-4 minutes then remove from the heat and stir in the vanilla. Avoid boiling over 4 minutes given you may burn the honey and the longer you boil the mixture, the harder the bars will be. Carefully pour the hot honey mixture over the nut, seed, and dried fruit mix and stir until evenly combined. Level the top of the mixture with the back of a spoon. Sprinkle with sea salt then place in the preheated oven for 30-35 minutes or until the top is golden brown. Remove from the oven and allow bars to fully cool, about 45-60 minutes or overnight before cutting into them. Store bars individually wrapped in parchment paper in an air tight container for up to 7 days. Note bars will hold together better if refrigerated.
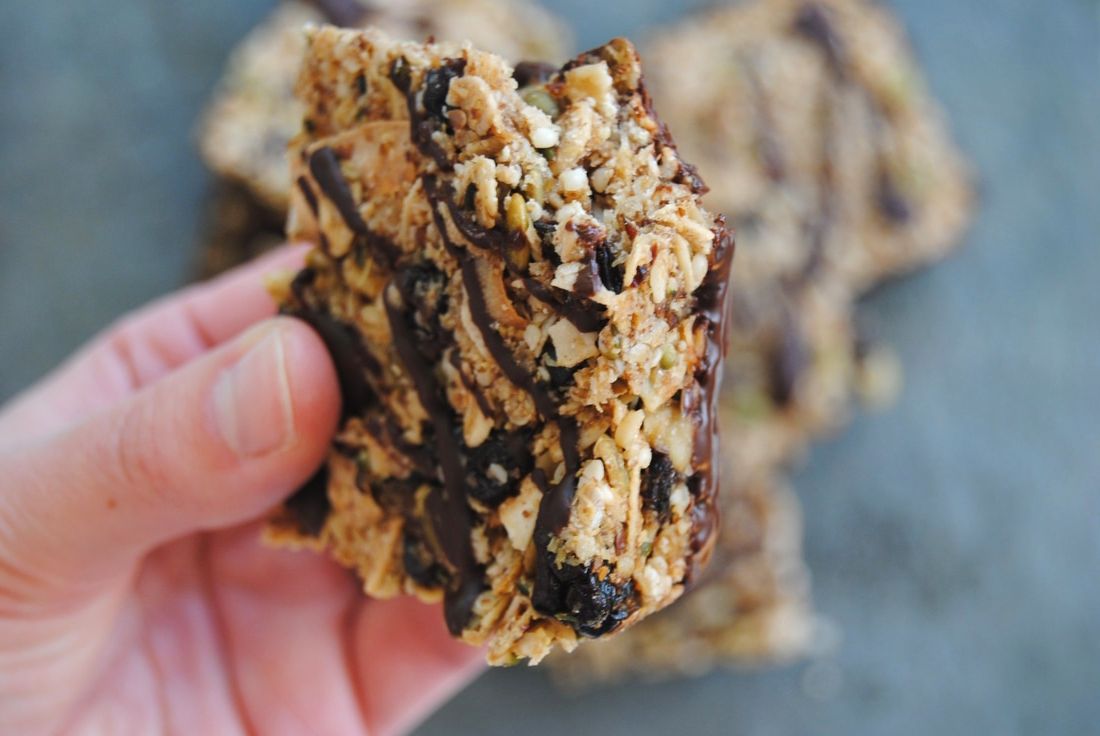
These bars are chewy but crunchy, sweet and salty, and completely satisfying from the mix of protein, complex carbohydrates, and simple sugars. If you keep the ratios similar, feel free to replace the nuts, seeds, and dried fruit with your favorites and share your variations. Here's to a year of homemade food experiments in 2018!
Enjoy, Jess and Cecelia
In Our Pantry
You may be stocked with many of these seeds but if not here are some easy links. Remember, buying in bulk always saves money!
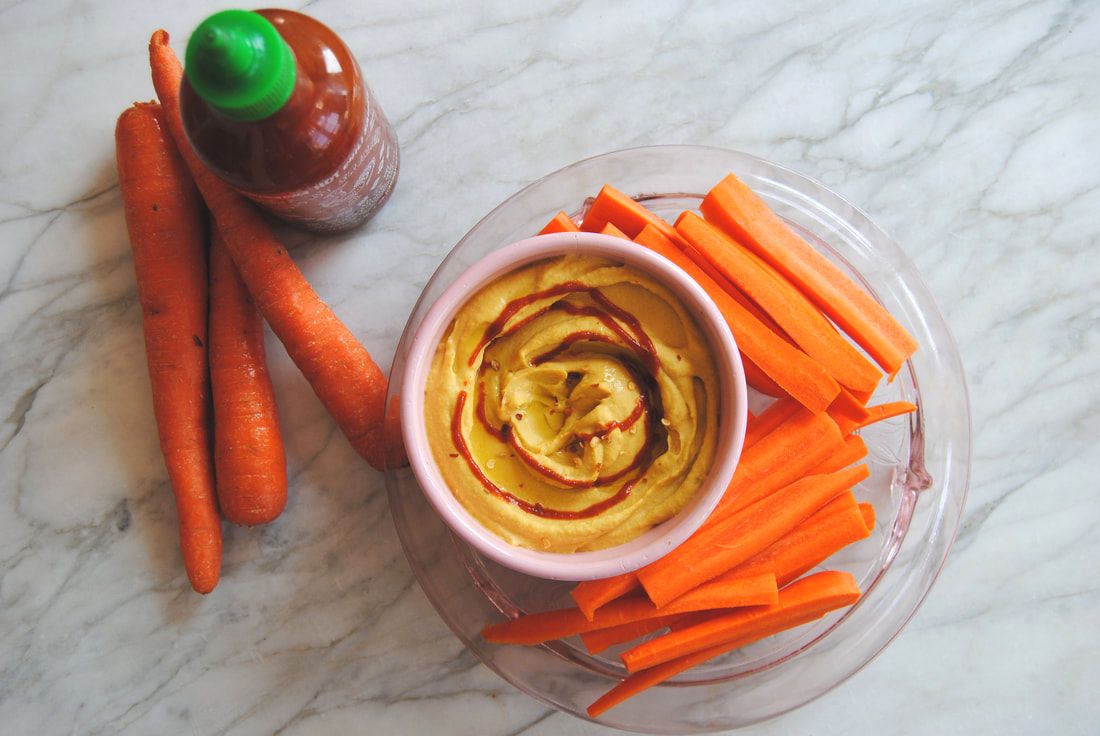
A whole new season of recipes is upon us here in Chicago and we can barely contain our excitement. And why should we!? The abundance of fall produce has sparked our creativity as we dream up hearty and festive ways to utilize the new ingredients. One of our ultimate fall favorites, squash. With so many varieties to choose from the recipe ideas are almost endless. We decided to start with something simple and familiar. A recipe that lends itself to your favorite squash variety. We used butternut for our hummus but know that the recipe would be just as great with acorn squash or pumpkin. We look forward to a fun filled fall with you!
Spicy Squash Hummus
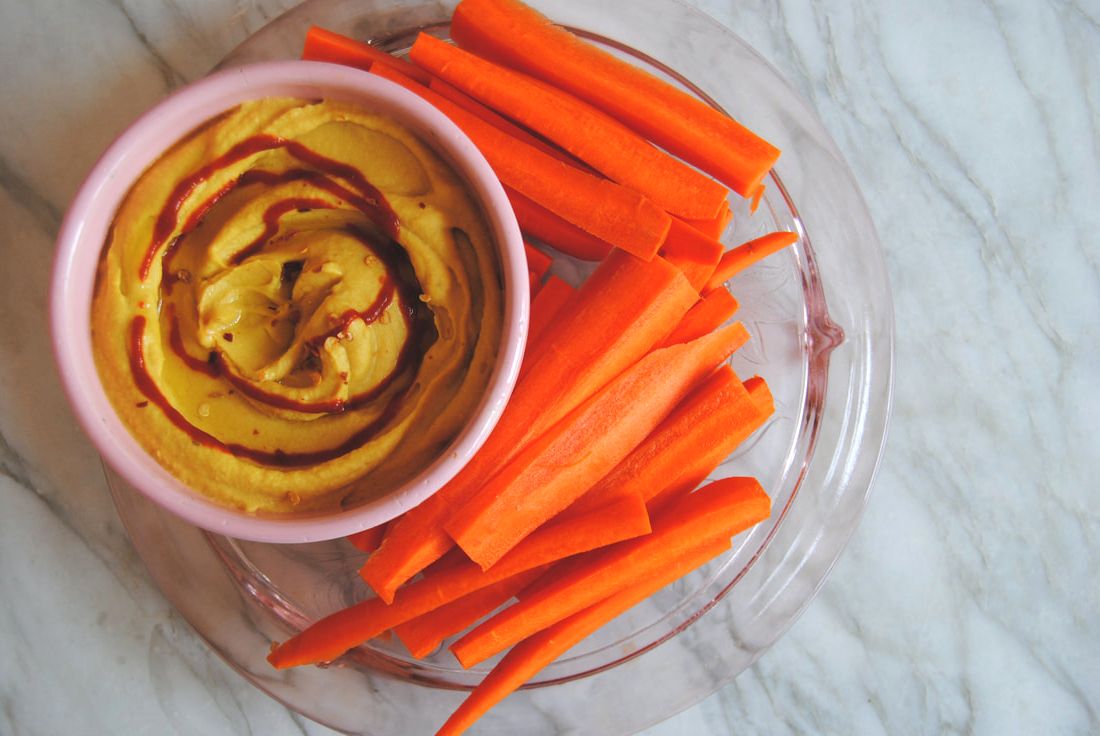
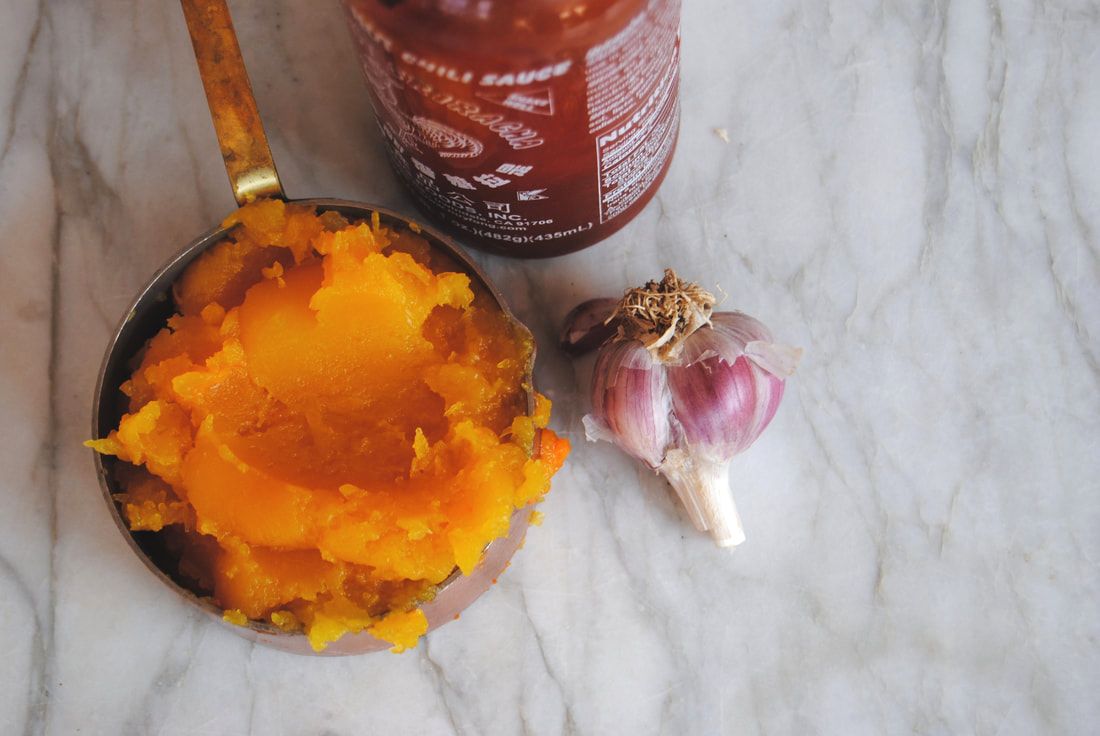
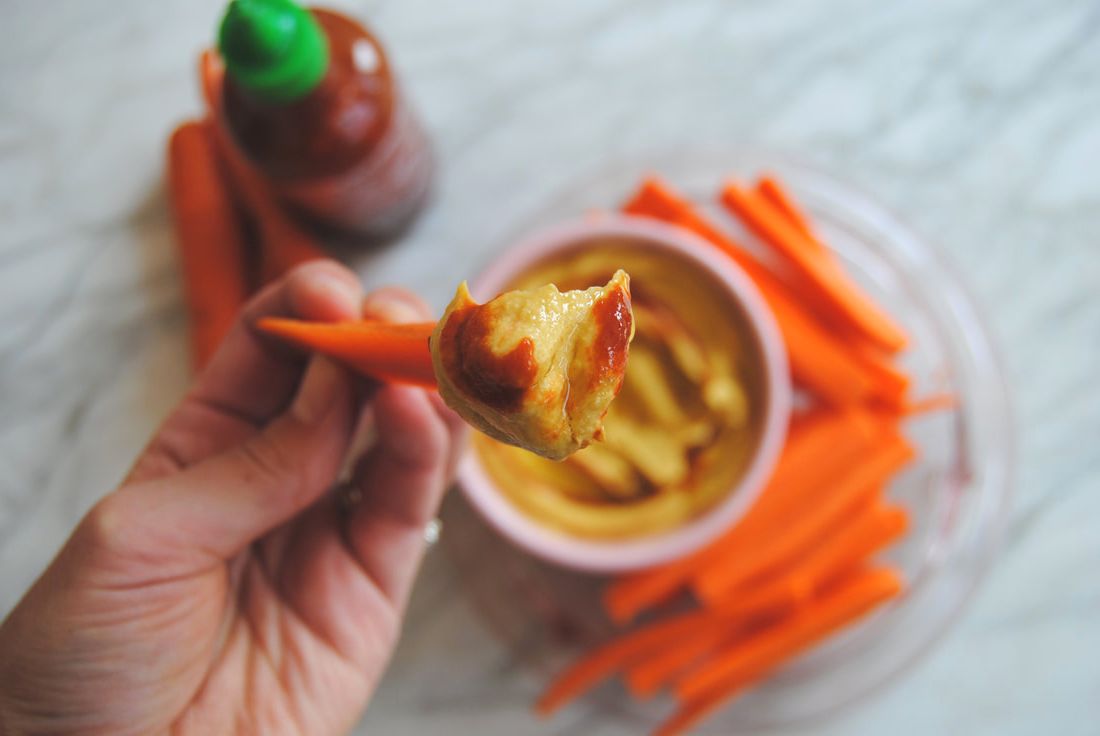
PREP TIME: 35-40 mins TOTAL TIME: 45 mins Servings: 4-6 Ingredients 1 can organic chick peas 1 cup cooked squash (we used butternut squash) 1/4 cup tahini paste 2 Tbsp extra virgin olive oil + 1 tsp drizzled on top 1 Tbsp sriracha sauce + 1 tsp drizzled on top 2 cloves garlic, chopped 1/2 tsp ground cumin 1/4 tsp salt Preheat oven to 350 degrees. Cut butternut squash in half, lengthwise then place on a parchment lined baking sheet and roast for 35-40 minutes or until inside is soft. Scoop out the inside of the squash and place in a bowl to the side to cool to room temperature. Combine chick peas, 1 cup cooled squash, tahini, olive oil, sriracha, garlic, cumin, and salt in a blender and process on high until a smooth hummus is formed. Scoop out hummus into a bowl or platter and drizzle with additional olive oil and sriracha. Hummus can be made a day ahead and stored in the fridge in an air tight container. Any left overs can be stored in an air tight container in the fridge for up to 5 days.
The squash addition makes this hummus SO creamy and provides a stunning pop of color. Though the flavor is mild and similar to traditional hummus, exactly why we decided to mix it up with a spicy ingredient. And don't forget about the extra nutrients (specifically vitamin A - more on that coming in another post this season) that you'll get by adding this simple, seasonal ingredient.
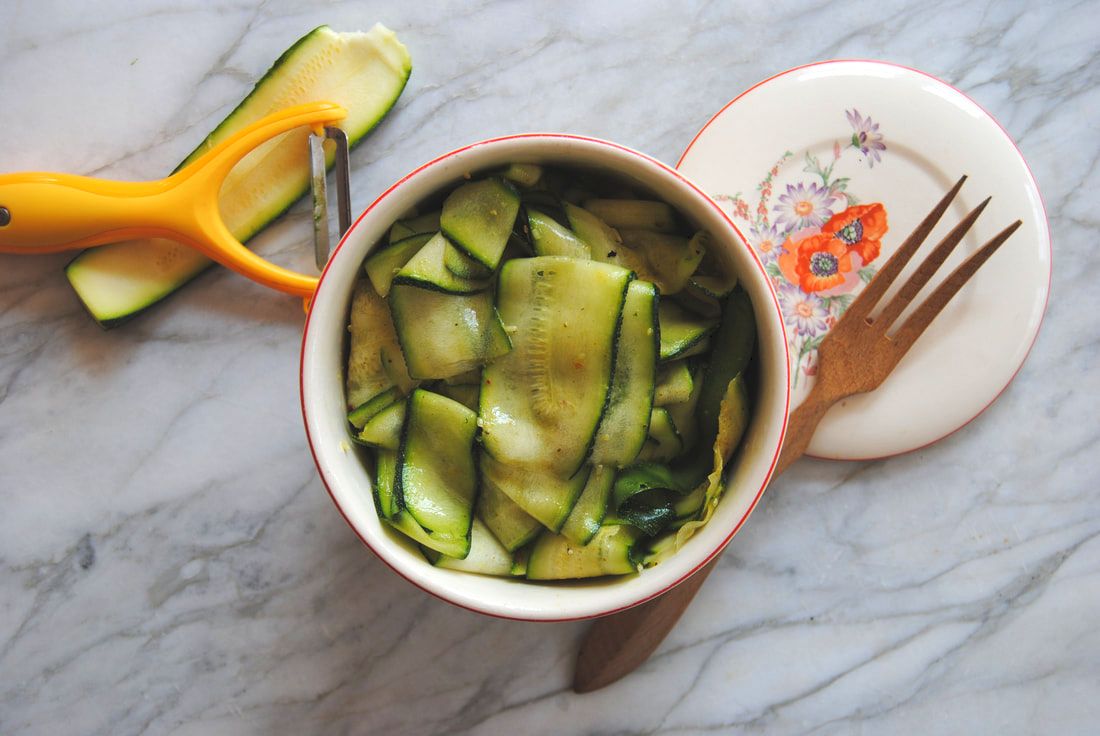
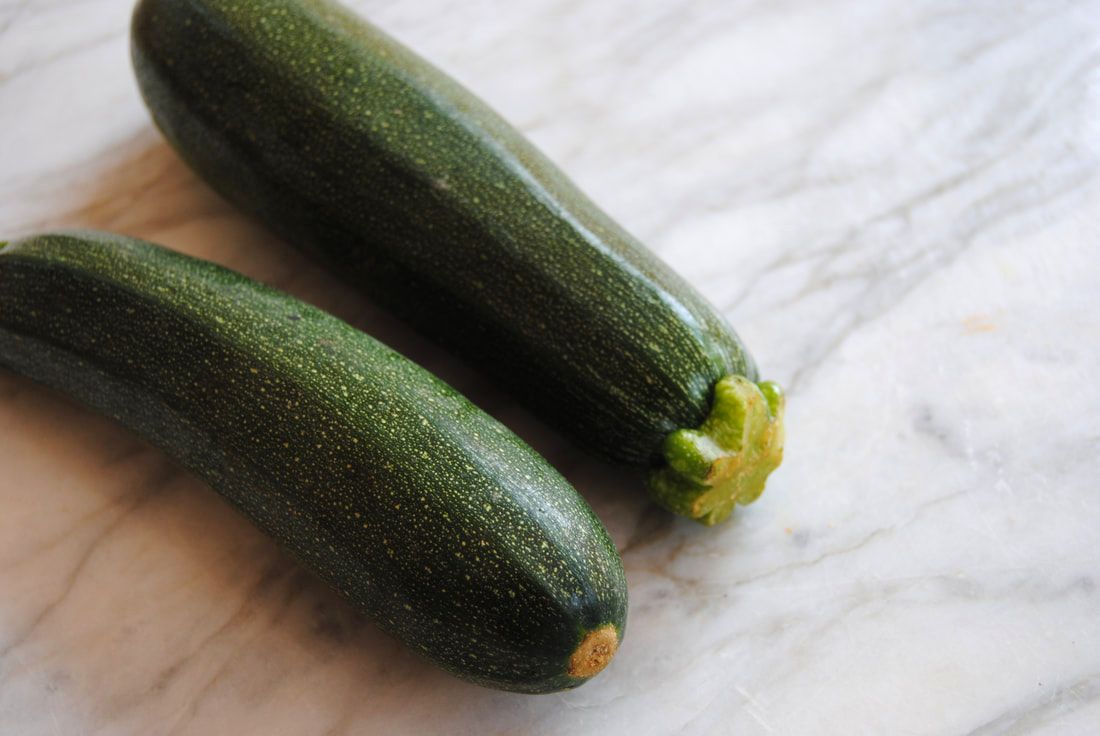
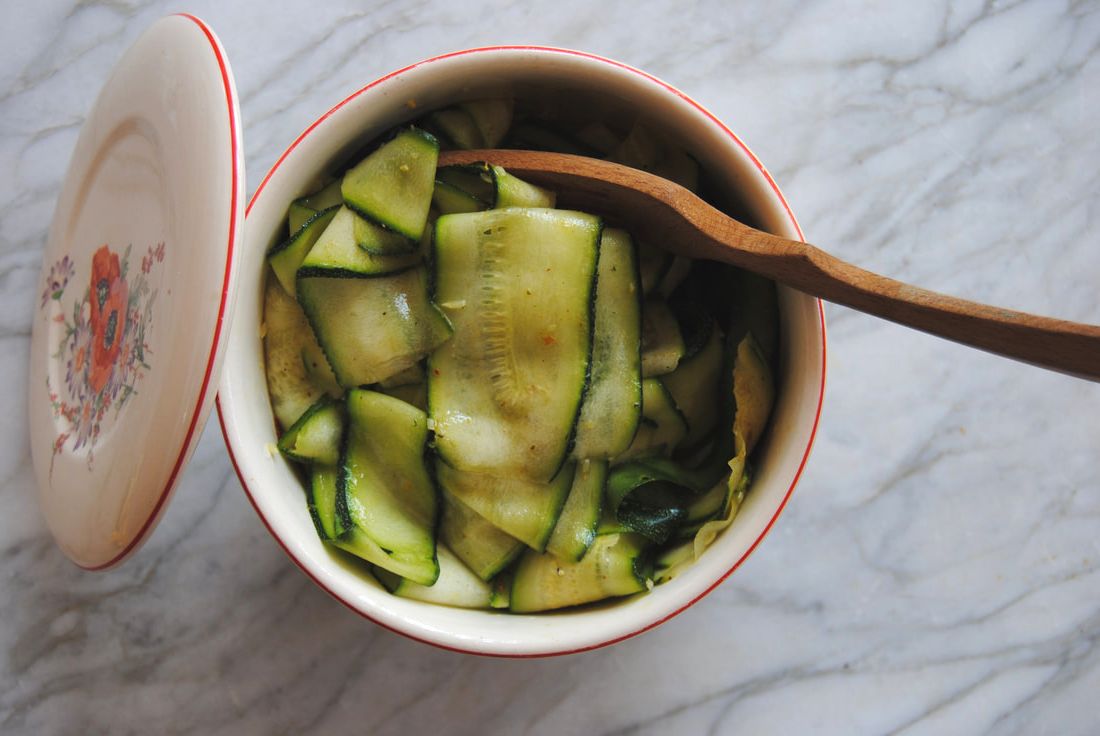
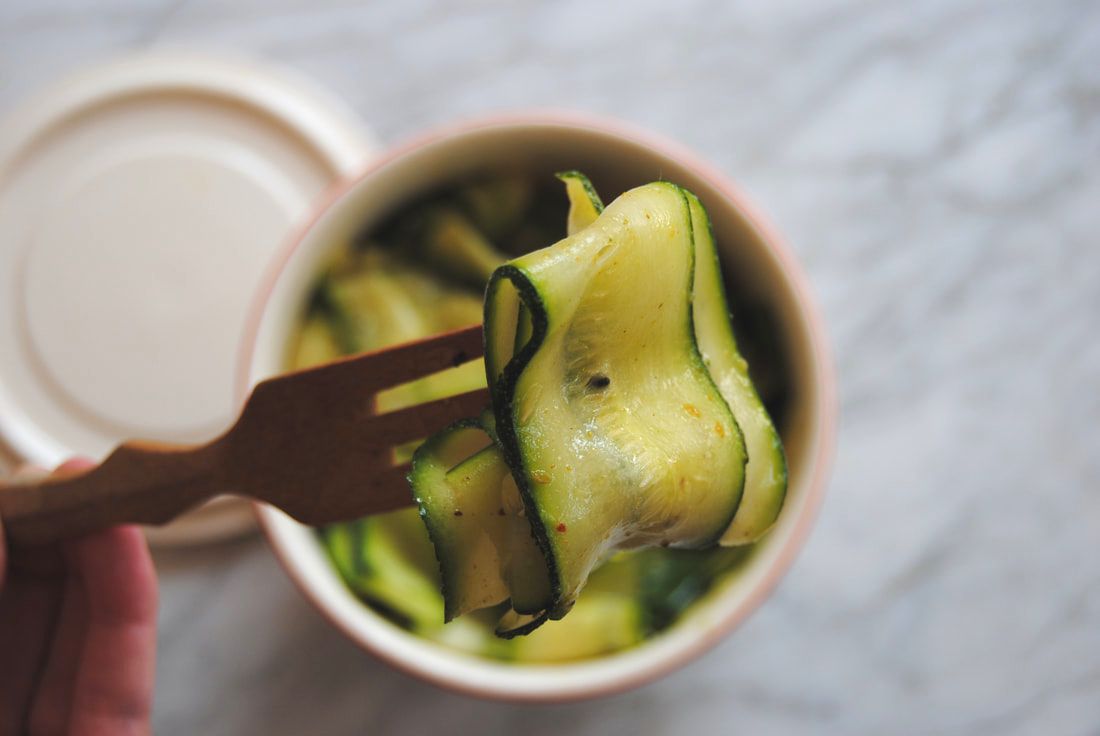
Enjoy, Jess and Cecelia We got to counting the other day and realized that TGBK now features almost 150 recipes on our site! Not to boast (well maybe a little), but we've got tons of great recipe options of all different varieties and skill levels. Some of our recipe preparations are complex and call for lesser known ingredients though we love the simplicity of one step, few ingredient recipes too. Sometimes the simplest recipes are the best because they allow the featured ingredient to really shine - this week, zucchini. Their abundance in home gardens or at farmers markets this time of year can lead to the inevitable question, what to do with all this zucchini? This recipe was born of just that question and with simplicity in mind. Similar but a unique alternative to the popular zucchini noodles. Zucchini Ribbon Salad Prep Time: 5 minutes Total Time: 5 minutes Servings: 2-4 servings Ingredients 4 medium zucchini Juice of 1/4 of a lemon, ~2 tsp 1 tsp green curry powder (red curry powder will also work) Sprinkle of salt and pepper Use a vegetable peeler or mandolin set on 1/8" setting to peel or slice zucchini into ribbons. Combine zucchini ribbons in a bowl with lemon juice, curry powder, and salt and pepper. Enjoy immediately at room temperature or this salad can be saved in the fridge for up to one day. Zucchini prepared this way is just so good! The texture is soft but with a fresh crunch, the flavor light and bright, and the presentation is well, gorgeous. The seasoning can be adjusted to whatever you have or like as zucchini is mild and takes to flavor well. Swap out the curry powder for basil and oregano and you've got an Italian take on this zucchini salad. Zucchini is the perfect late summer food "canvas" for your flavor creations and the possibilities are endless.
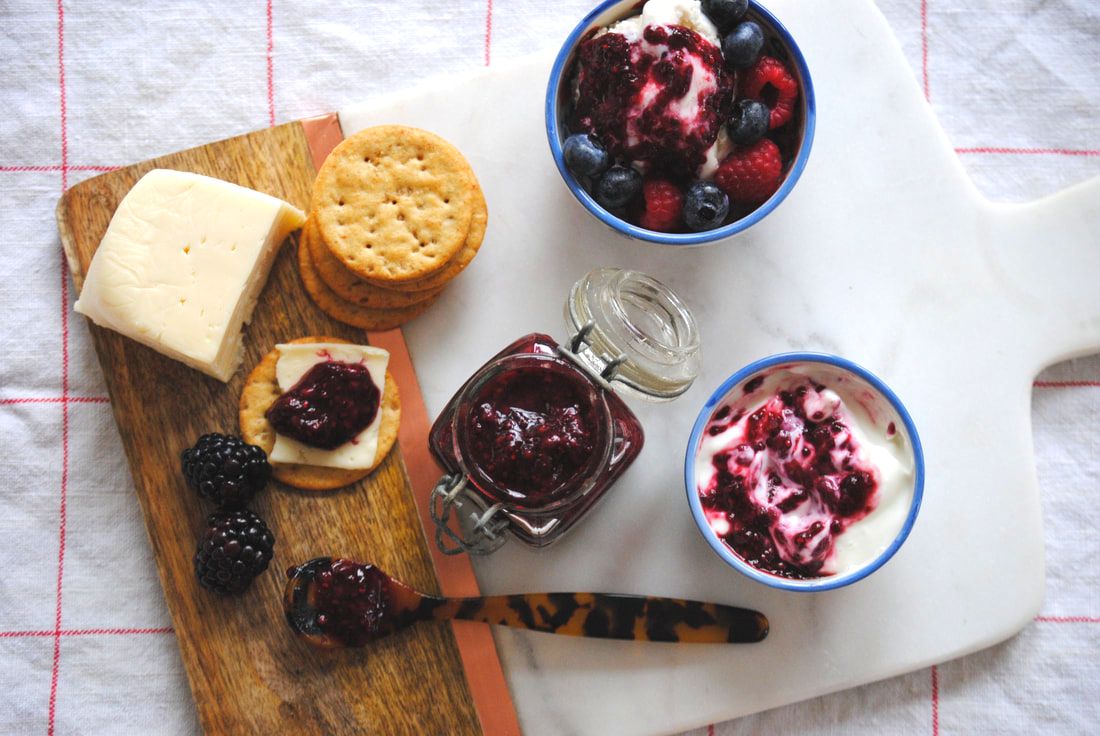
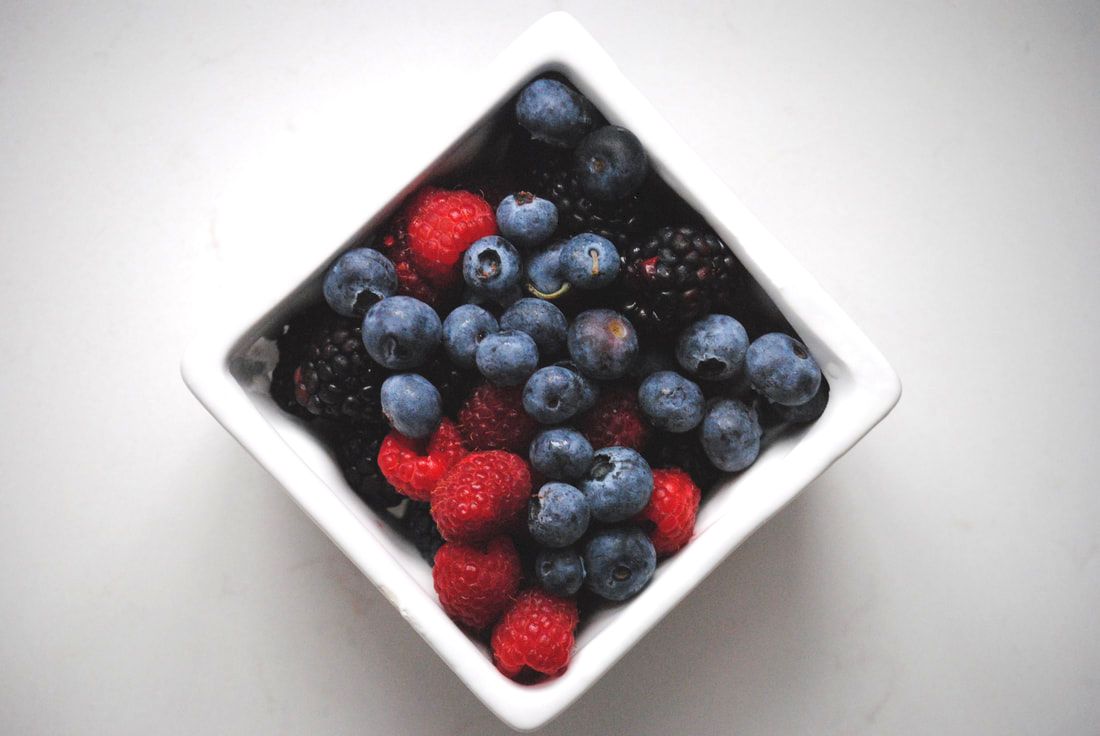
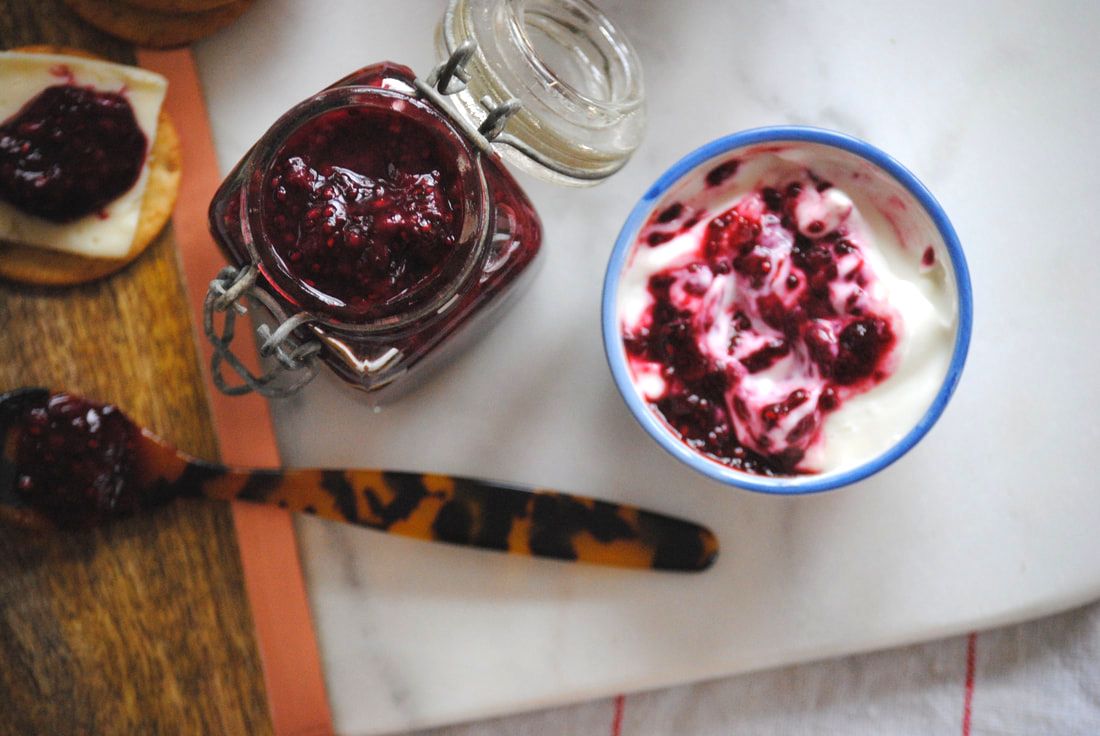
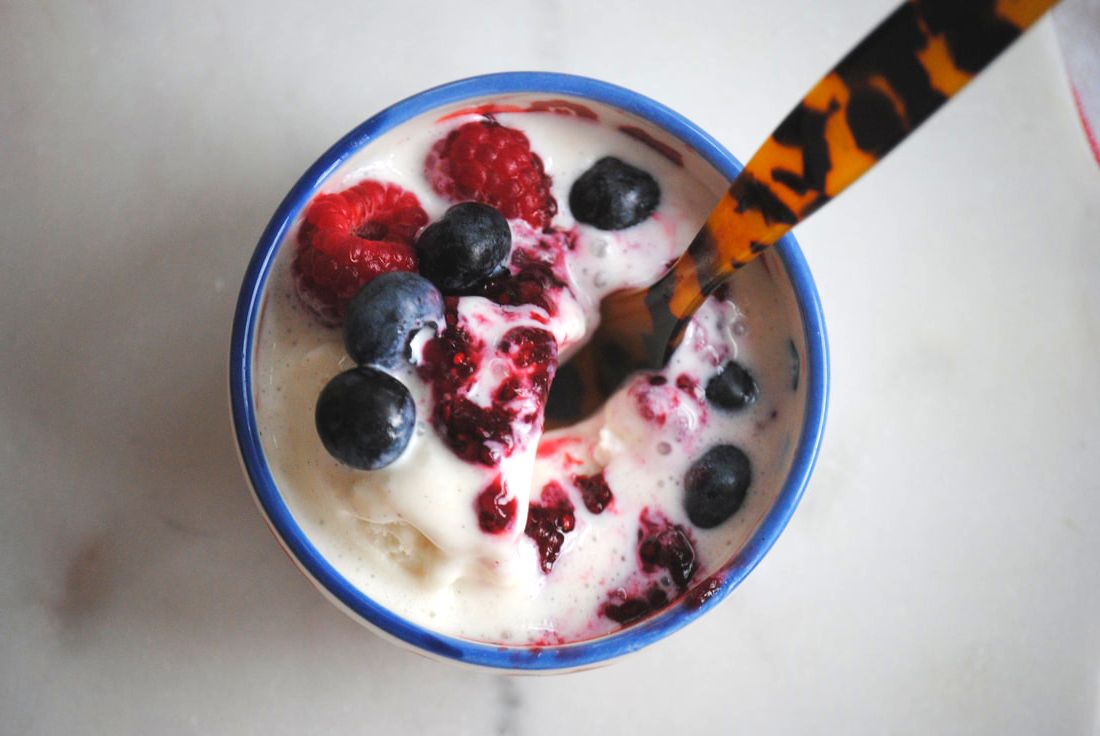
Enjoy, Jess and Cecelia Summer produce is so inspiring. This week we had an abundance of berries that we just couldn't let go to waste. The decision to make a compote was a berry (get it?) good idea! The flavor and freshness of the mixed summer berries was maintained but the compote will last much longer than raw berries will. The compote pairs well with a variety of foods and is a great compliment to your summer picnics (cheese, crackers, and compote anyone?). The best part about this recipe, it's SO simple. Find out for yourself! Mixed Berry Compote Prep Time: 5 minutes Total Time: 30 minutes (includes cooking and cooling time) Yield: ~1.5 cups compote Ingredients 3 cups fresh or frozen mixed berries (we used blueberries, blackberries, raspberries, and strawberries) Juice of 1/2 medium lemon, ~2 Tbsp 2 Tbsp pure maple syrup (honey would also work) 1/8 tsp sea salt 2 Tbsp chia seeds To make the compote combine all berries in a medium sauce pan set to medium heat and cook until the berries start to burst. Lower heat to a simmer and continue cooking for 5-10 minutes stirring often. Remove compote from the heat, stir in the lemon juice, salt, and maple syrup and allow to cool to room temperature. Once compote is cooled add in 2 Tbsp chia seeds and whisk well until the chia seeds are well dispersed in the compote. Place in an air tight jar and store in the fridge for 1-2 weeks. Well, that's it friends. A fresh and delicious compote that pairs amazingly with cheese and crackers, toast, yogurt, ice cream, or anything else you can dream up. We'd love to hear what you slather and spread this berry compote on - please share!
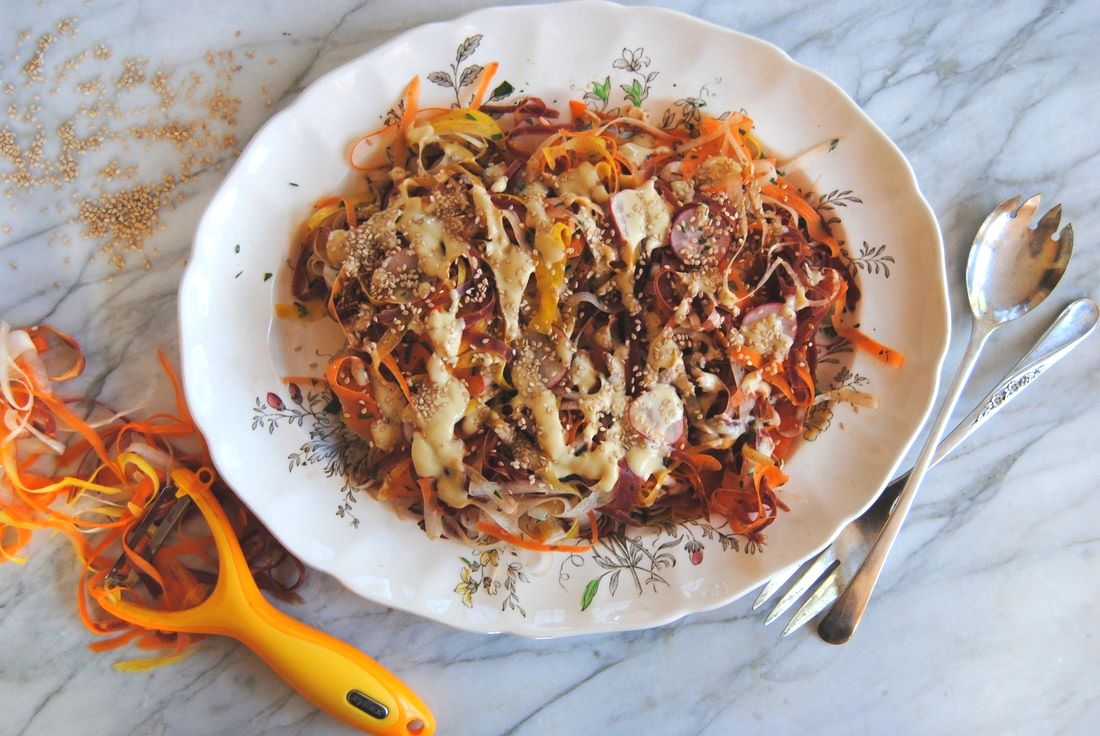
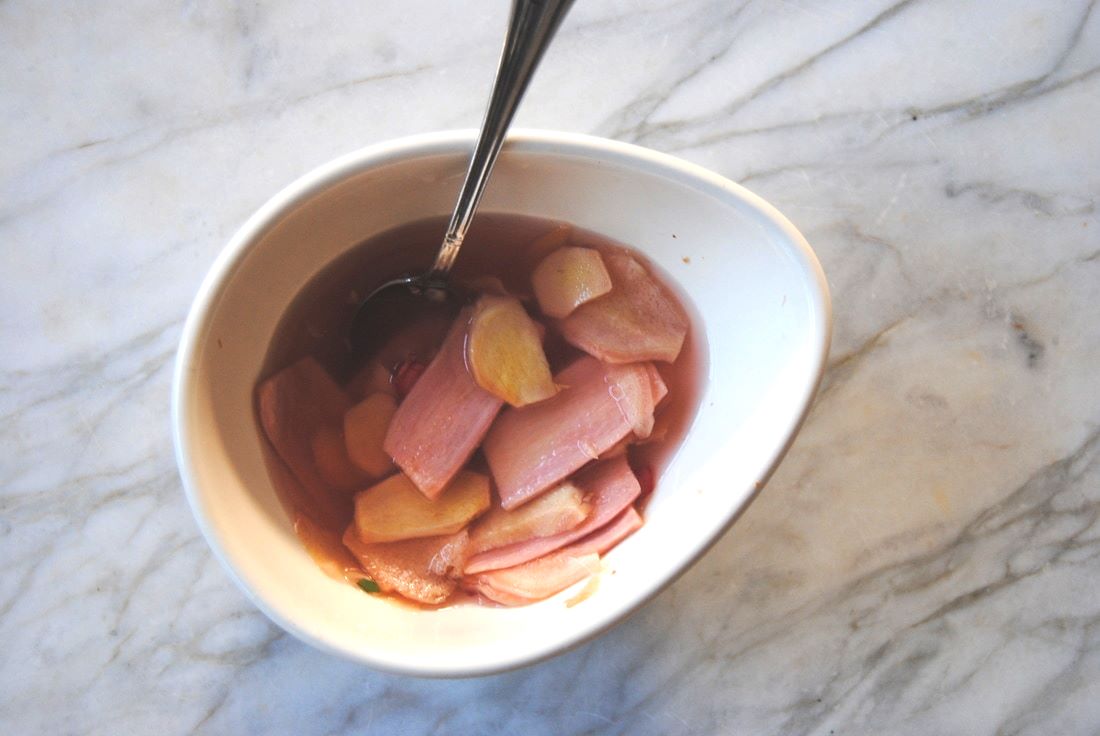
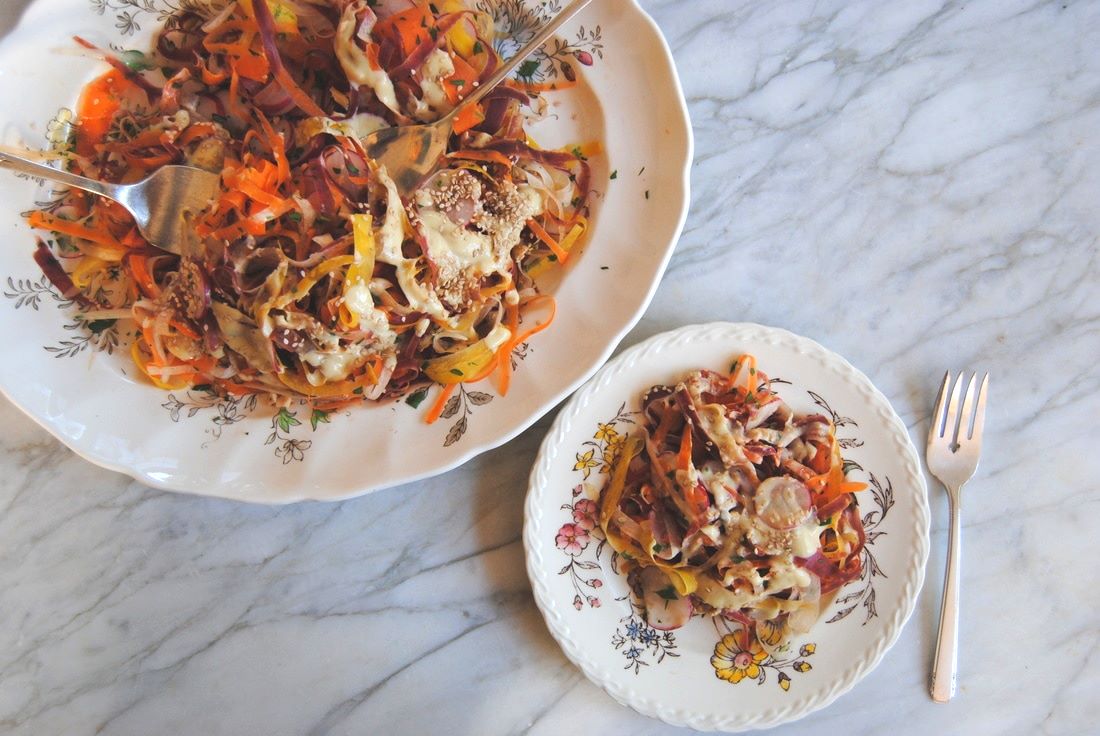
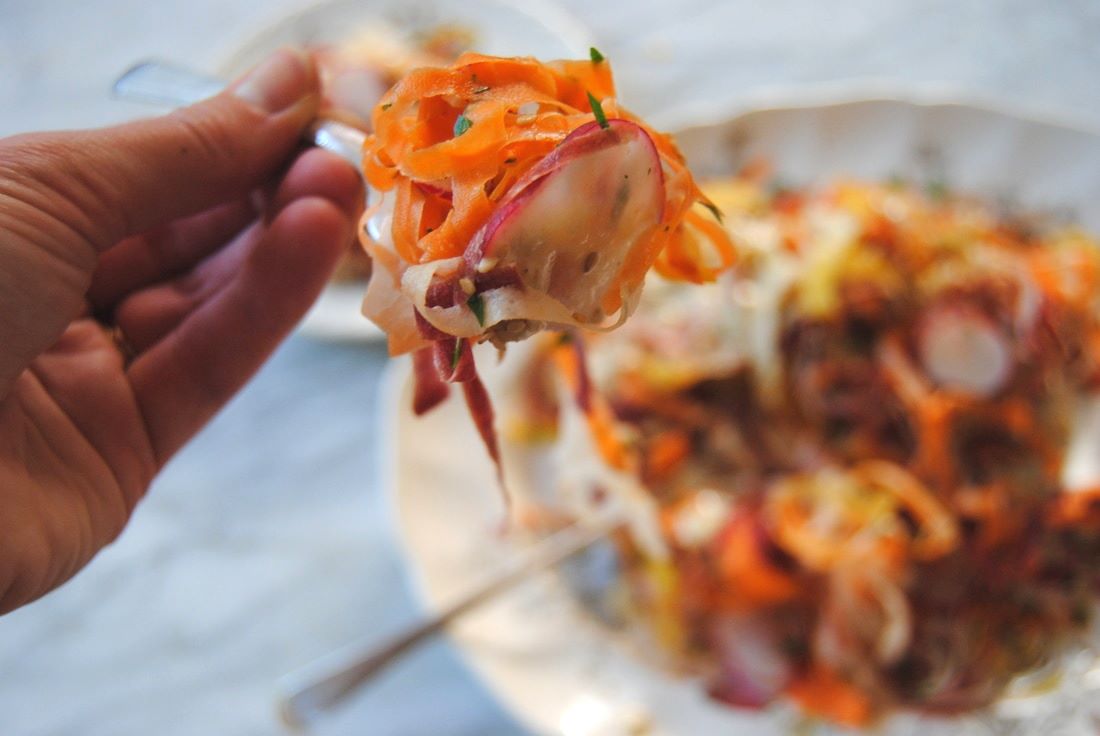
Enjoy, Jess and Cecelia Friends! It's been a while since our last recipe and we hope you've been finding some delicious ways to enjoy the bounty of the season. If you've been growing or finding fresh carrots at your local farmers market this one's for you! We found a gorgeous bunch of rainbow carrots that made this salad even that much more special, though a single color palate would be beautiful too. This recipe includes quick pickled ginger (pictured below) to add some extra pizzaz and another unique preparation to your repertoire. Homemade pickles in 60 minutes - yes please! And not to overshadow the preparation of these carrots into ribbons which are interesting to look at and even better to eat. Forget about a boring vegetable platter or garden salad - this is the recipe for your next summer gathering to savor and impress. Let's get to it! Rainbow Ribbon Carrot Salad Prep Time: 15 minutes + 1 hour for pickling Total Time: 1 hour 15 minutes (includes 1 hour of pickling time) Servings: 4 side salads, 2 main salads Ingredients Salad 6 large carrots 5 radishes 2 Tbsp quick picked ginger, minced 1 Tbsp chopped parsley 1 Tbsp sesame seeds (preferably unbleached) Dressing 1 1/2 Tbsp extra virgin olive oil 1 Tbsp tahini 2 tsp fresh lemon juice 1 tsp water ½ tsp honey (we used clover honey) ¼ tsp sea salt 2-3 drops toasted sesame oil Quick Pickled Ginger 1 three-inch piece of ginger, peeled and sliced thin 1 red radish, sliced thin 3 Tbsp rice vinegar 1 Tbsp sugar 1 tsp sea salt To make the pickled ginger, add the vinegar, sugar, and salt to a glass jar and stir until the sugar and salt have dissolved. Add the sliced ginger and one radish (for color) to the jar with the liquid and allow mixture to sit covered for at least 1 hour. Pickled ginger can be kept in an air tight container in the fridge for up to 7 days. To make the dressing, combine olive oil, tahini, lemon juice, water, honey, sea salt, and toasted sesame oil in a bowl and whisk until combined. Dressing will keep in the fridge in an air tight container for up to 7 days. To make the salad, wash and peel the outer skin on the carrots. Next use a vegetable peeler to shave carrots into long thin strips*. Continue this process until all 6 carrots have been shaved. Using a sharp knife, slice radishes as thin as possible (this could also be done using a mandolin on the thinnest setting). Add chopped parsley, minced pickled ginger and sesame seeds to the carrots then toss with the tahini dressing and serve immediately. If you do not plan to serve the whole salad at once, keep the dressing on the side and add just prior to serving. Undressed salad will keep in the fridge in an air tight container for up to 3 days. *This process is similar to peeling outer carrot skins. We recommend holding carrots firmly in a clean dish towel and rotating the carrots as you shave. Once you get to the tougher center of the carrots shaving will become more difficult. When this happens you can stop and discard part of the carrots or save to enjoy as traditional carrot sticks. As we mentioned, the texture of these carrots really brings a uniqueness to this salad - reminiscent of pasta salad but light and fresh with a satisfying crunch. The radish rounds and quick pickled ginger provide a subtle spice and the creamy tahini dressing tops it all off, literally. We hope the fresh, local produce you're finding this summer is inspiring your own kitchen creations.
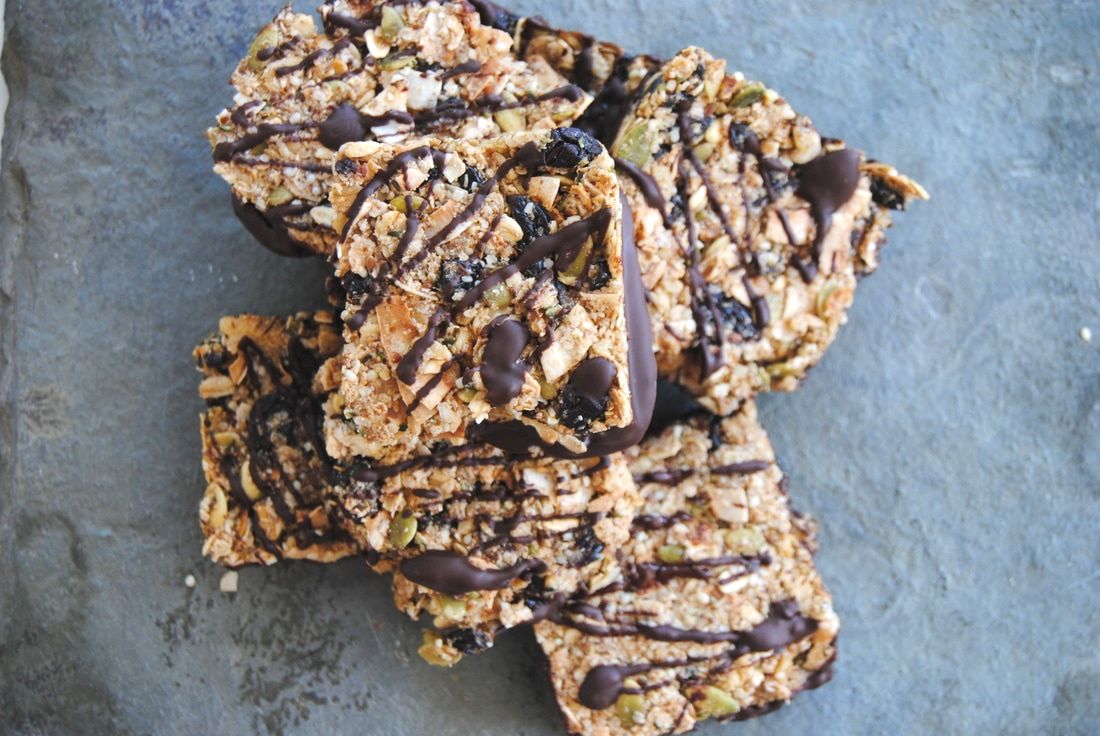
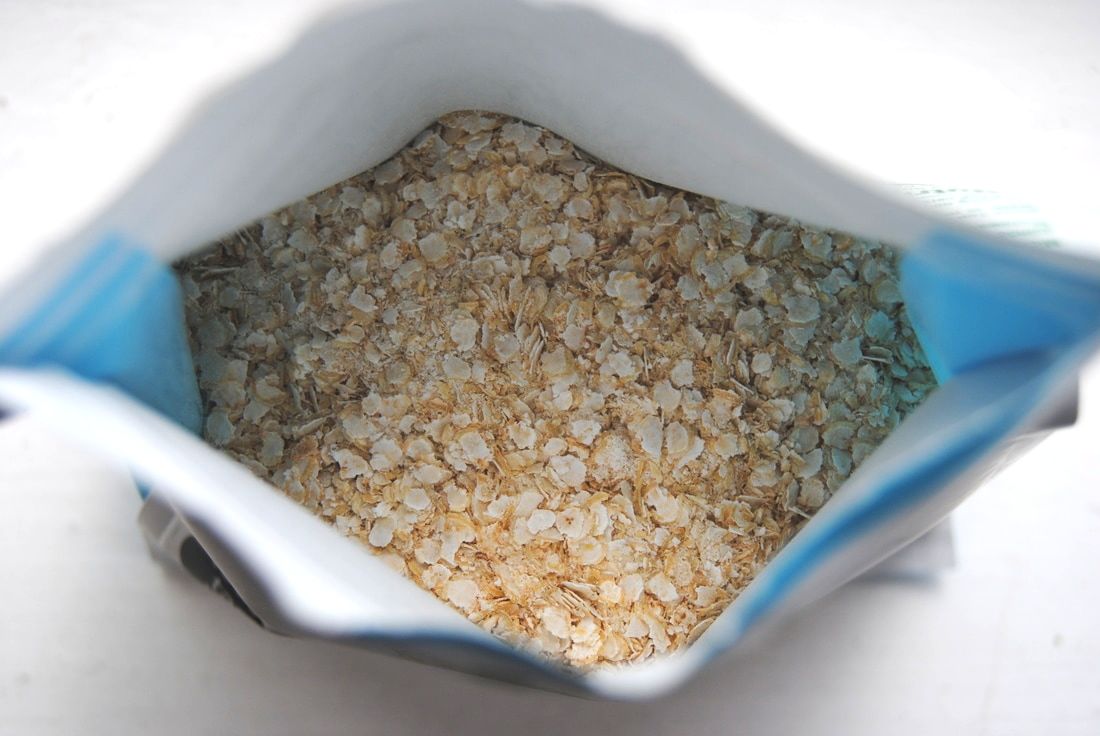
Enjoy, Jess and Cecelia Hi friends! We've got a recipe for granola bars to clear out your pantry this week for some late Spring cleaning. These bars are packed full of SO much goodness and the ingredients are easily adaptable to what you have in your pantry. Of course we had to try one new food product - quinoa flakes - though this recipe will definitely work without it! We found quinoa flakes similar to instant oatmeal but with a mild quinoa flavor. They don't provide a different nutritional benefit from standard quinoa but rather, another interesting way to include this ancient grain in your diet. Ready? Dark Chocolate Cherry Quinoa Granola Bars PREP TIME: 25 minutes TOTAL TIME: 1 hour 45 minutes Servings: 9 large or 12 small granola bars Ingredients 1 cup old-fashioned oatmeal 1 cup quinoa flakes (instant unflavored oatmeal would also work) 1/2 cup raw walnuts, chopped (or raw chopped nut of your choice) 1/2 cup raw pepitas (raw sunflower seeds would also work) 1 cup unsweetened coconut flakes 1/4 cup ground flax seeds 1/4 cup oatmeal flour (wheat bran would also work) 1/8 cup hemp seeds + 1 Tbsp reserved for the top 2/3 cup pure maple syrup 3 Tbsp coconut oil, melted 1 1/2 teaspoons pure vanilla extract 1/4 teaspoon kosher salt 1 cup dried cherries, chopped (or dried fruit of your choice) 6 oz dark chocolate, shaved + 2 tsp coconut oil Preheat oven to 350 degrees. Line a 9x9" pan with parchment paper allowing two ends to overhang for easy removal. Mix together the oatmeal, quinoa, walnuts, pepitas, and coconut on a large sheet pan and bake in preheated oven for 6-8 minutes, stirring at least once for even toasting. Remove from the oven then add mix to a large bowl. Stir in the ground flax seeds, oatmeal flour, hemp seeds, sea salt and dried cherries. In a separate bowl add maple syrup, vanilla extract, and melted coconut oil and stir to combine. Pour liquid ingredients over dry and stir until well coated. Add granola mixture to a parchment lined pan. Use your hands and a small piece of parchment paper to press mixture firmly into the pan to create compact bars. Sprinkle remaining 1 Tbsp hemp seeds on top and place in preheated oven to bake for 35 minutes or until golden. Allow to fully cool prior to cutting (about 30 minutes). If you cannot wait to dig in, and cut the bars too soon, you may end up with uneven shaped/more crumbly bars...they will still taste the same but may not be as uniform in size and shape! Once fully cooled, cut into desired bar size (we used a 9"x9" pan which made 9 large bars). In a microwave safe bowl combine the shaved chocolate with 2 tsp coconut oil and melt the mixture in the microwave in 10 second increments (making sure to stir between each 10 seconds to avoid burning the chocolate). Dip each bar into the chocolate half way then place on a wax paper lined baking sheet. Allow bars to cool in the fridge for 15 minutes. Store bars in an air tight container in the fridge for up to 5 days. Well friends, that's it. By this point your pantry should be clean and your belly full of nutrient packed ingredients. Depending on what you choose to use the flavor can vary though our bars were a perfect mix of tart and sweet from the cherries and chocolate with an undertone of toastiness from the toasted grains, nuts/seeds, and coconut.
Enjoy the goodness, Jess and Cecelia |
AuthorsJess and Cecelia welcome you to our kitchen. We are fun-loving and passionate foodies working to make the world a healthier, happier place one plant based recipe at a time. Categories
All
Archives
December 2018
|

