|
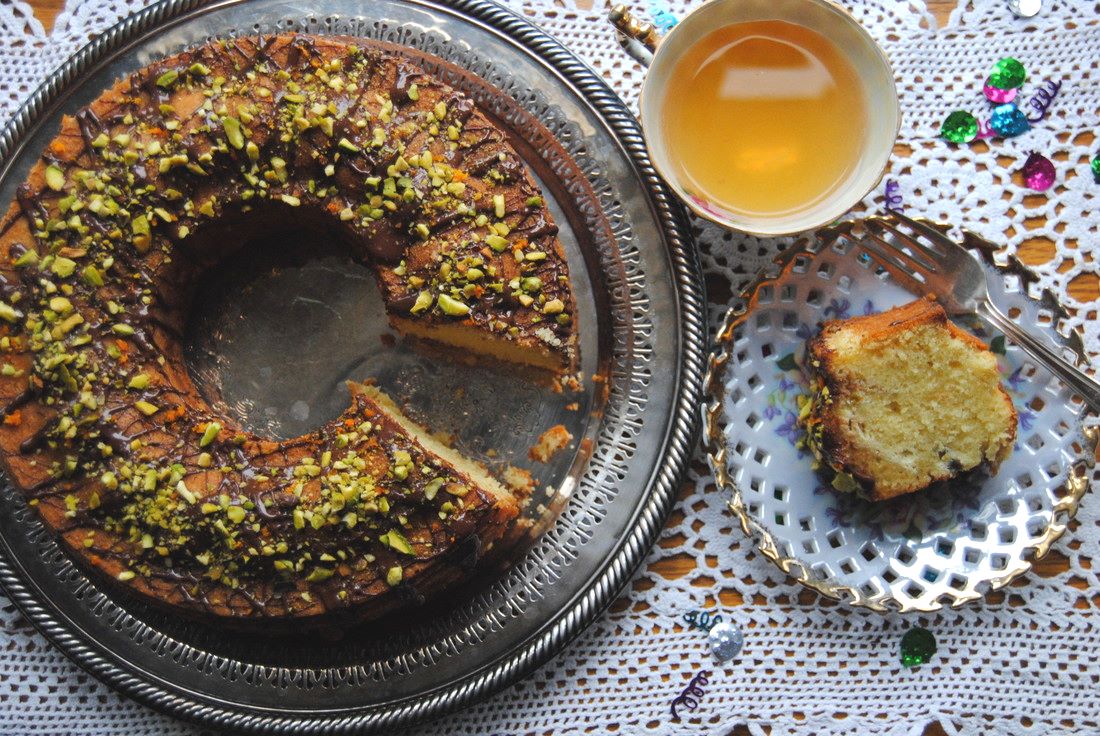
Join us friends in celebrating three years of plant based recipes from The Green Blossom Kitchen! These past three years have taught us a lot, both in the kitchen and out, about the ways we can continue to inspire others through plant based eating and healthier lifestyle. We so enjoy hearing your stories about how our recipes have helped you and changed your experience with food for the better. With your support we hope to continue this journey for years to come. So how do we celebrate such a big event? With food of course! This year a homemade pound cake with flavors of orange, pistachio, and chocolate. Though not technically a health food, this cake is still made with whole food ingredients and is 100% homemade. All the ingredients are pronounceable and recognizable unlike what might be found in a boxed cake mix. We hope you love this cake as much as we do.
Celebration Pound Cake
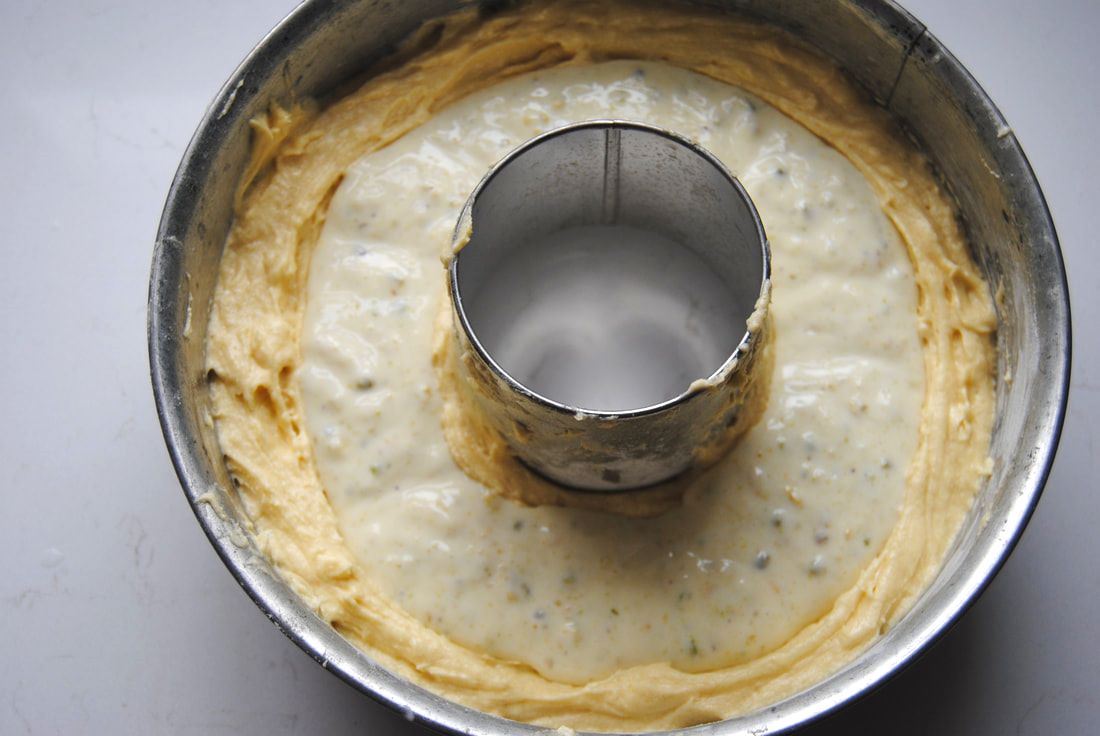
PREP TIME: 40 mins TOTAL TIME: 2-2.5 hours Servings: 10-12 Ingredients Cake 2 sticks unsalted butter 2 cups whole wheat flour or gluten containing flour of your choice 1 1/2 tsp baking powder 1 tsp salt 4 large eggs 1/3 cup whole milk 1 1/4 cup cane sugar 1 tsp vanilla Filling 8 oz, 4% fat Greek or Icelandic yogurt 1 egg 1/2 cup sugar 1 Tbsp + 1 tsp whole wheat flour 1 oz cacao butter, melted 1/3 cup powdered pistachios Glaze 1/3 cup semisweet chocolate chips 1 tsp coconut oil 2 tsp orange zest 1 Tbsp crushed pistachios Preheat oven to 325 degrees. Lightly oil or butter a 14 cup Bundt pan then dust with flour, making sure to tap out the excess. Prepping the pan is very important to make sure that your cake releases easily. To prepare the filling, combine yogurt, egg, sugar, flour, and cacao butter in a food processor. Mix until smooth then fold in powdered pistachios and set aside. In the bowl of a standing mixer fitted with a paddle attachment, add the flour, baking powder, salt and sugar and mix until combined. In a separate bowl, whisk the eggs, milk, and vanilla together until incorporated and set aside. With the mixer on low speed, add 1 Tbsp butter at a time, mixing until crumbly. Add half of the milk mixture to the mixer and increase speed to medium-high until light and fluffy, about 1 minute. Add the remaining milk to the mixer and continue mixing until fully incorporated, making sure to scrape down the sides of the bowl as needed. Pour half of the cake mixture into the prepared pan then use the back of a spoon to create a concave well in the center of the mixture. Spoon the filling into the well, then top with the remaining cake batter and spread evenly with a spatula. Place cake in preheated oven and bake for 1 hour or until a toothpick comes out clean. Remove cake from the oven and allow to cool on a wire rack for at least 15-20 minutes. Remove cake from the pan by inverting slightly cooled cake onto a plate and then placing on a cake plate/stand. Allow cake to continue cooling to room temperature for an additional 30-45 minutes. Melt chocolate chips with coconut oil in a double boiler or microwave then drizzle over cooled cake. Sprinkle orange zest and chopped pistachios over the top. Serve and enjoy! Cake will keep best in an air tight container at room temperature for 2-3 days.
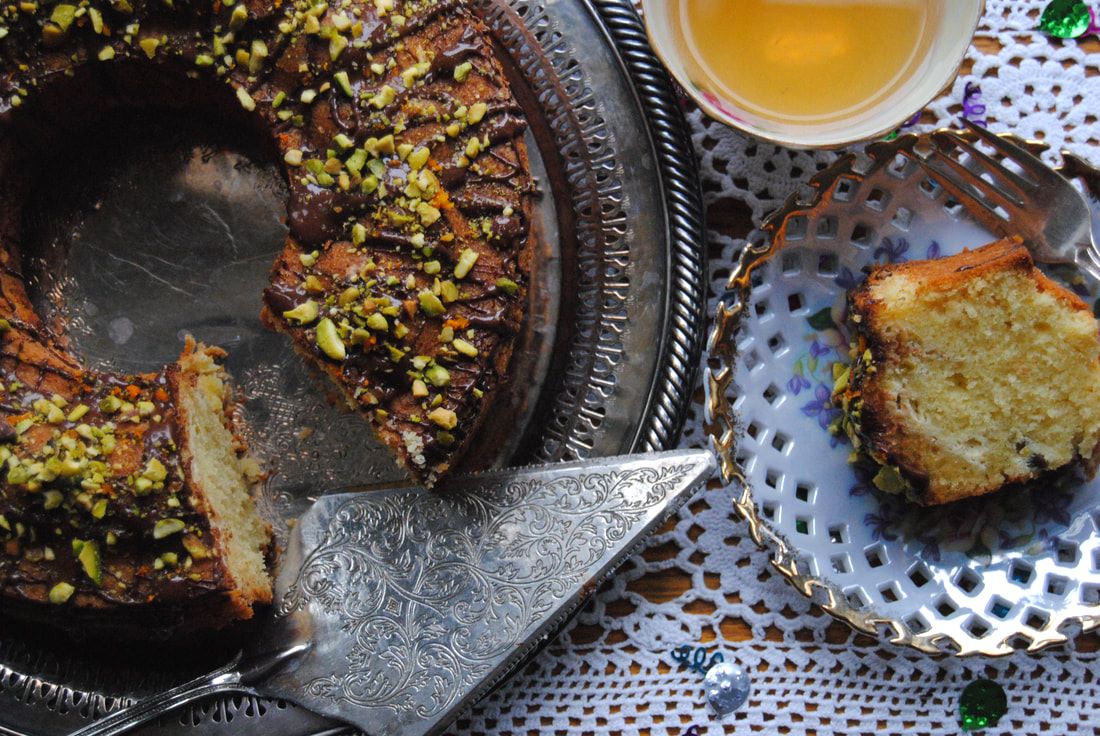
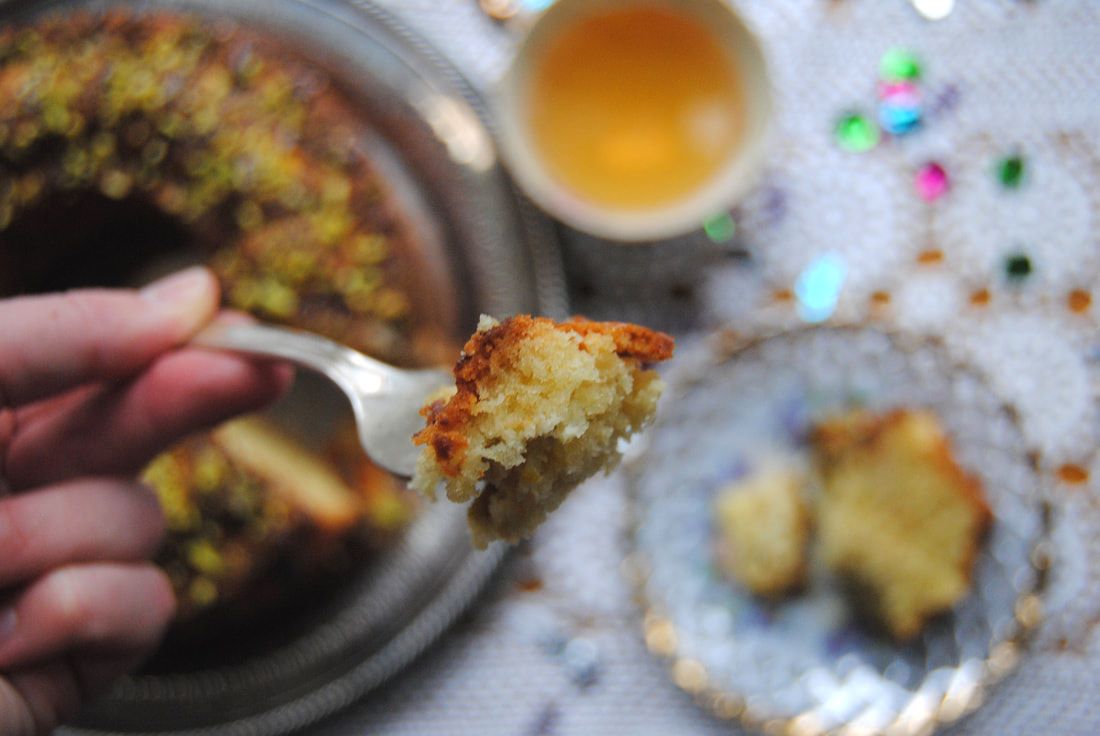
This cake is definitely celebration worth with a taste that feels special with every bite. Starting with a bright orange and sweet chocolate flavor from the topping melding into a rich, buttery center highlighted by the tangy yogurt filling. We enjoyed this with afternoon tea but also as breakfast to make the blog's birthday week extra special.
Enjoy, Jess and Cecelia
In Our Cupboard
Cake making wouldn't be the same without our Kitchen Aide Mixer. Worth every penny as an lifetime investment for your kitchen. Which color matches your kitchen best?
0 Comments
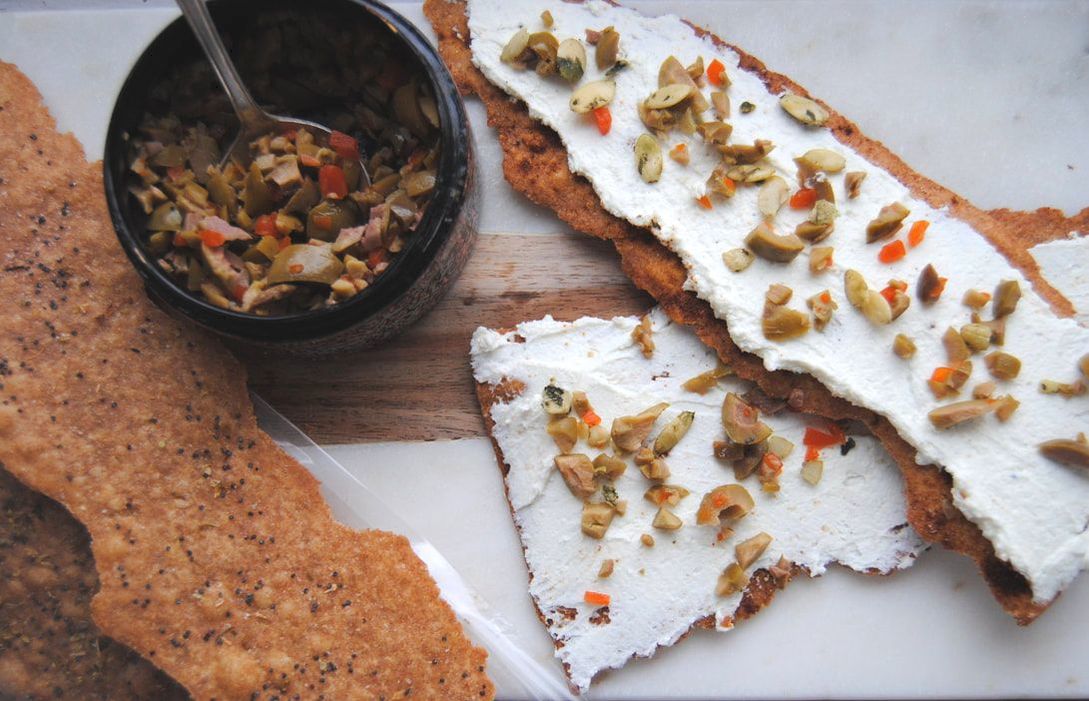
Hi friends! Remember our homemade resolution and the goal of making more foods from scratch this year? Well, these crackers are a great example. Crackers are a snack food typically bought pre-made/processed but as we will show you, are not too difficult to make homemade. Especially if you like working with homemade bread or pasta dough, this recipe is for you! What we most like about homemade crackers is the ability to flavor them any way you like. We tried a few different flavor combinations before deciding on poppy seed and sea salt for this post. Also, don't worry about making each cracker look the same - the different shapes are unique and make the final that much more special for you or whomever you share them with.
Thin and Crisp Whole Wheat Crackers
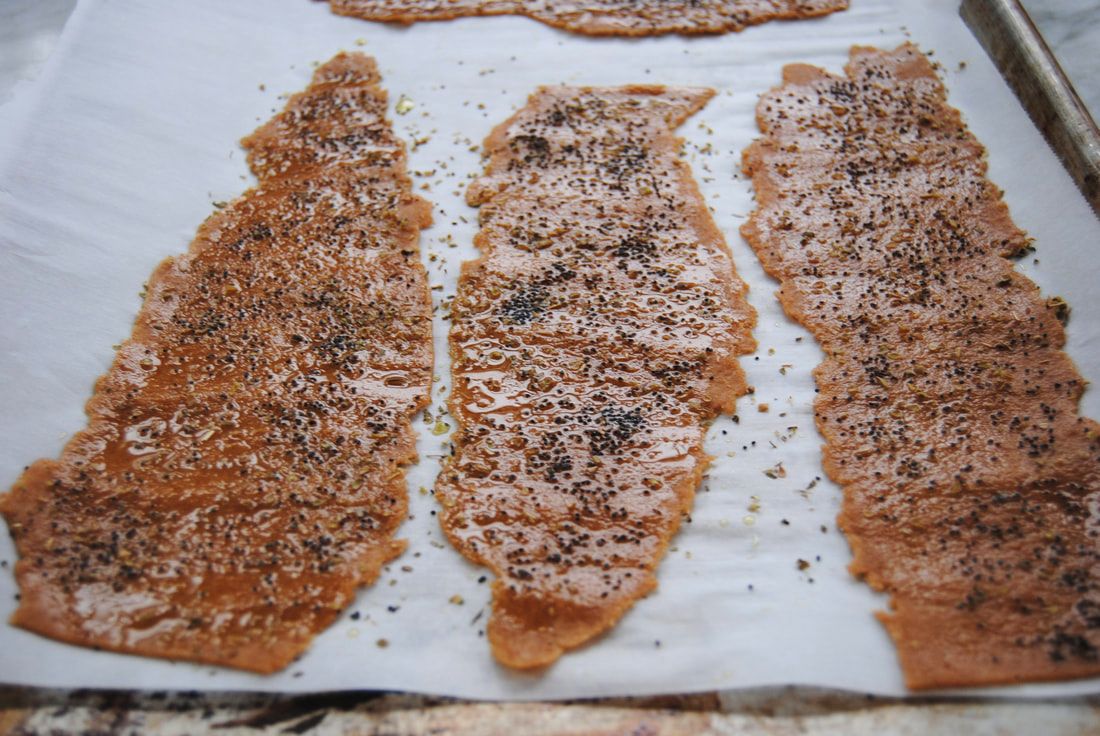
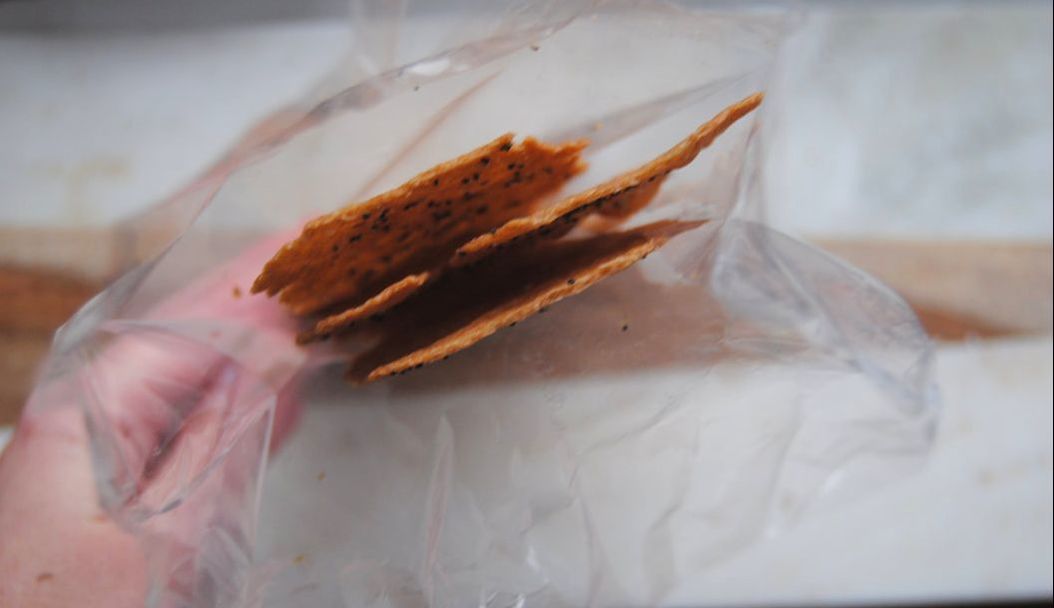
PREP TIME: 20 minutes TOTAL TIME: 30 minutes Servings: 18-20 crackers Ingredients 1 3/4 cup whole wheat flour 1 tsp baking powder 3/4 tsp sea salt 1/3 cup extra virgin olive oil + 1/3 cup olive oil reserved for brushing the top of the crackers 1/2 cup + 1 Tbsp room temperature water Seasoning of your choice, we used poppy seeds and sea salt (crackers taste best with a heavy hand of seasoning!) Add spreadable cheese or yogurt on top and sprinkle with additional toppings, whipped feta cheese and green olives with pimentos was a favorite of ours Preheat oven to 450 degrees. Line a baking sheet with parchment paper and set aside. In a bowl combine the whole wheat flour, baking powder, and salt then mix until combined. Make a well in the middle of the flour mixture and pour 1/3 cup olive oil and the water into the well. Using your hands, combine the dry with the wet ingredients until a dough is formed. Place dough on a floured work surface and knead 8-10 times or until a smooth dough ball is formed. Cut dough into 6 equal pieces then roll each piece through a pasta machine*, starting with setting #1 working up to setting #5 for extra thin and crispy crackers. Carefully cut cracker dough into pieces about 9-10" long then place on prepared baking sheet. Brush the top of each cracker with olive oil and sprinkle with seasoning of choice. Bake the crackers in a preheated oven for 6-8 minutes or until golden brown. Remove from the oven and allow crackers to fully cool on a cooling rack. Once cooled, the crackers can be enjoyed right away or stored in an airtight container for up to 3 days. *If you do not have a pasta machine, you can use a rolling pin, however the dough may not roll out as thin which may add 1-2 minutes of cooking time. Turn the oven light on and watch crackers closely as they can burn quickly.
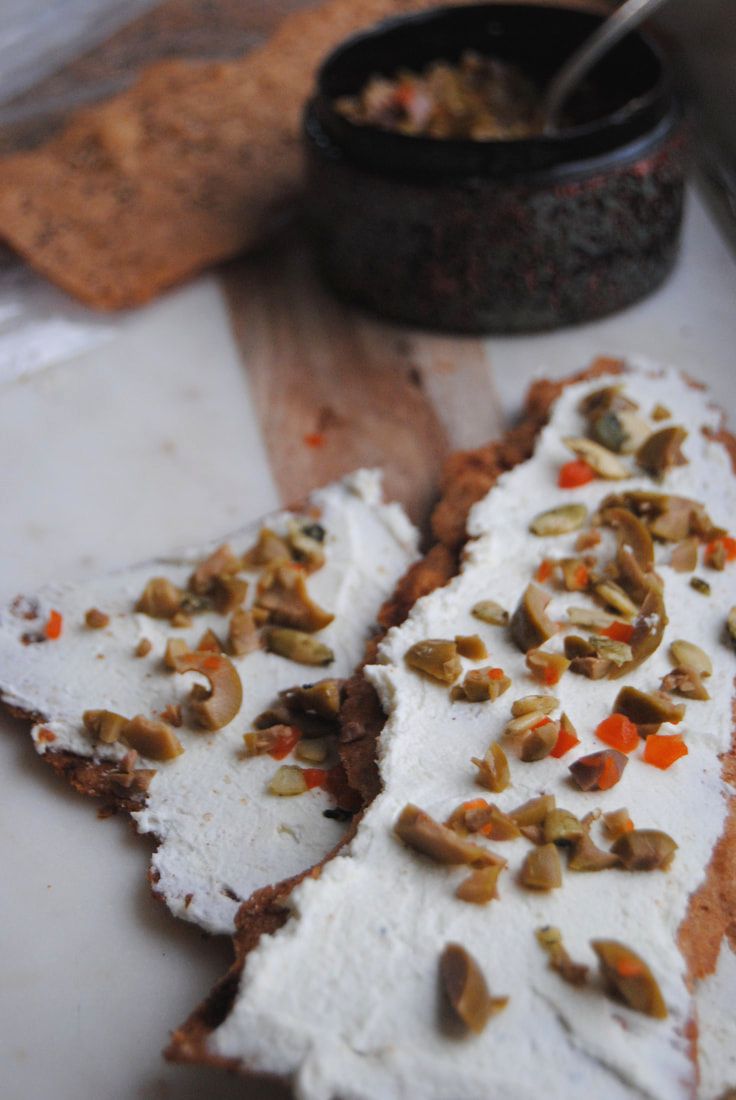
These crackers are perfectly thin and crispy and can be adapted to any flavor combination your craving. They will hold up to a variety of toppings, we enjoyed goat cheese and olives for a salty snack.
Enjoy, Jess and Cecelia
In Our Cupboard
Though you can make these crackers with a rolling pin, the KitchenAide Pasta Roller Attachment makes the job SO much easier: |
AuthorsJess and Cecelia welcome you to our kitchen. We are fun-loving and passionate foodies working to make the world a healthier, happier place one plant based recipe at a time. Categories
All
Archives
December 2018
|

