|
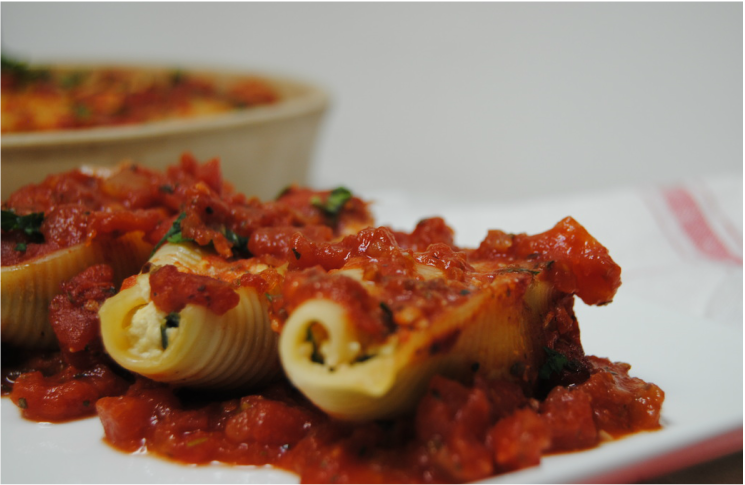
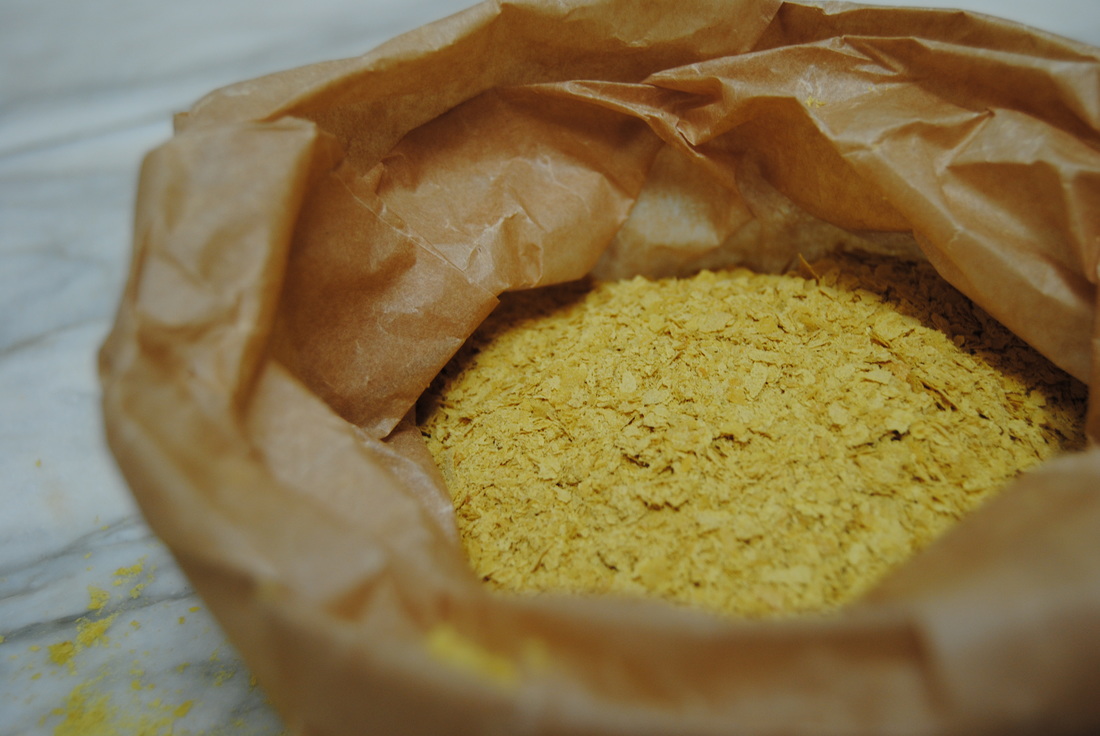
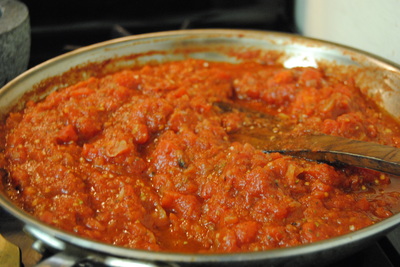
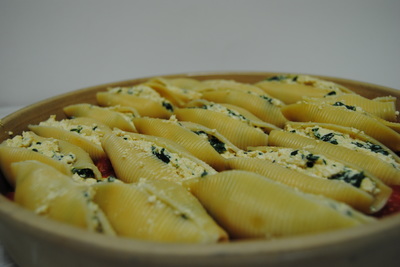
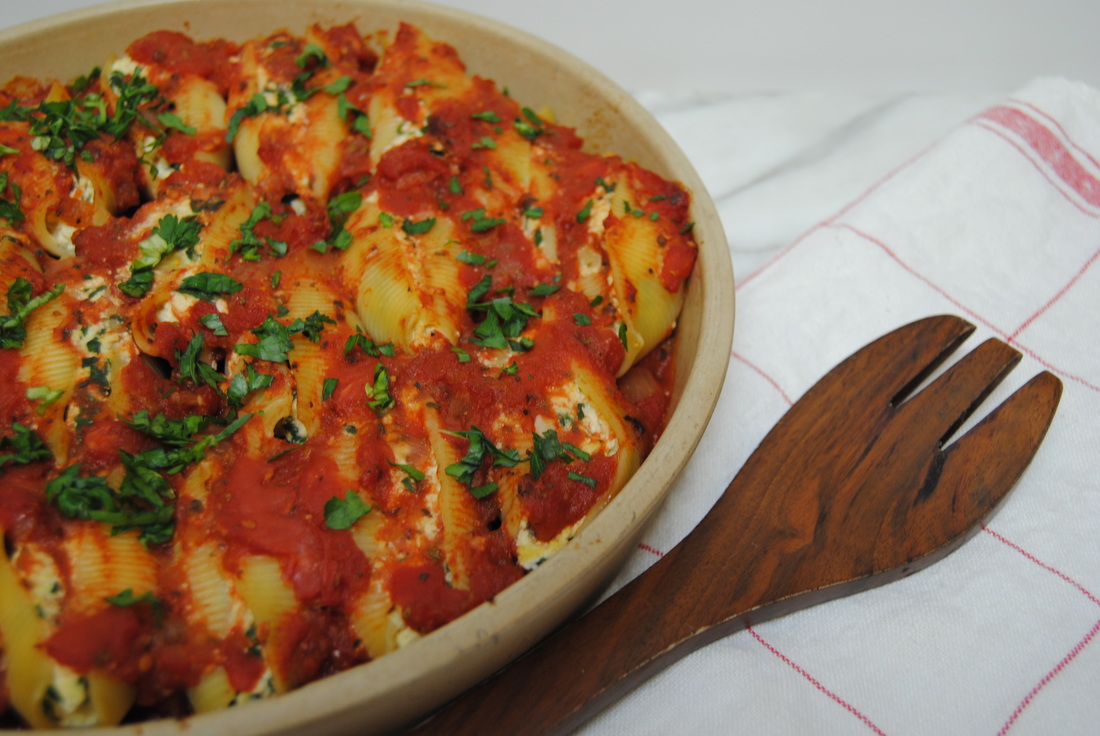
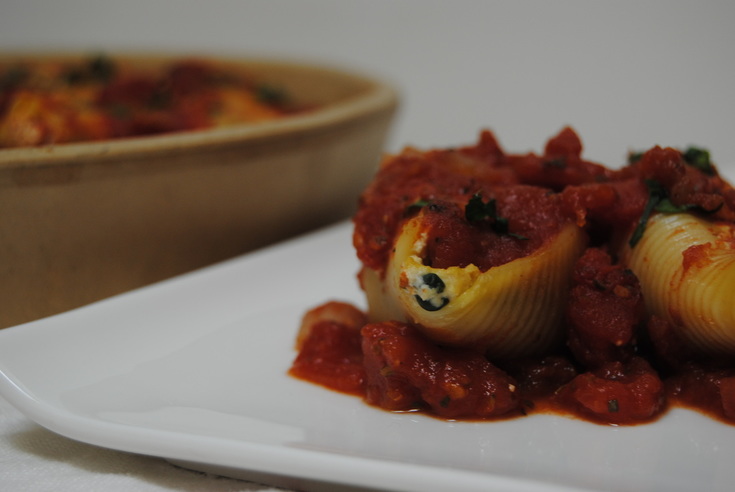
Mangia is an Italian word for eat which is just what you'll want to do with this recipe; invite over all your closest friends and family and have a huge vegan feast. Yes that's right, vegan! These stuffed shells are SO good and completely dairy free. How is that even possible? Read on to learn more about a vegan superfood, nutritional yeast, that makes this recipe possible. Nutritional yeast is a product you just have to have in your vegan/vegetarian pantry. Pictured above, you can see that nutritional yeast is crisp, light. golden flakes that have a cheese reminiscent flavor (well you can't see the flavor but will have to try it!). Nutritional yeast is made from a pure culture strain of Saccharomyces Cerevisiae grown on cane and/or beet molasses. This yeast is harvested, fermented, and then heated to a temperature high enough to pasteurize and make the yeast inactive which means nutritional yeast does not have the power to leaven foods such as bread and pastry. Nutritional yeast is utilized more for flavor and nutritional quality including it's unexpected protein content of four grams complete protein per tablespoon (wowza!) and as an excellent source of B vitamins including B12 which is rare to find in plant based foods. In terms of uses in the kitchen, nutritional yeast's cheesy flavor lends itself well to vegan recipes such as "cheese" popcorn, cashew based "cheese" sauce, and vegan tofu stuffed shells like we've made for you this week. Find it at specialty grocers and let's get started! Vegan Stuffed Shells PREP TIME: 35 mins TOTAL TIME: 1 hour Servings: 6 Ingredients Shells 1 large box of jumbo pasta shells (containing 30+ shells) 16 oz package organic firm or extra firm tofu, ~8 oz tofu once drained 16 oz organic raw spinach 3 Tbsp nutritional yeast 1 Tbsp lemon juice 3/4 tsp sea salt black pepper and crushed red pepper to taste Sauce 28 oz can organic crushed tomatoes 28 oz can organic chopped tomatoes 2 medium onions 2 large cloves garlic 1 Tbsp olive oil 1 Tbsp sugar 1 Tbsp + 1 tsp dried oregano 1 tsp sea salt 4-6 large basil leaves, chopped *reserve for when the shells come out of the oven Begin by cooking the pasta shells according to directions for al dente. Drain and set side. To make the sauce, dice both onions, finely chop garlic, and set both aside. In a large pan, warm olive oil over medium heat. Place onions in hot pan and sauté for 5-7 minutes until lightly golden and fragrant. Add chopped garlic and cook for an additional 2 minutes. Add crushed and chopped tomatoes (*do not drain the tomatoes), sugar, dried oregano, and salt to the pan. Turn the heat down to low and simmer the sauce for ~25 minutes stirring occasionally. While the sauce is simmering, start the filling. Sauté spinach until wilted and then press through a sieve to remove excess liquid. Rough chop and set aside. Drain liquid from tofu container though note that it is ok if some liquid remains in the tofu as this will help give the texture of a "ricotta like cheese". In a large bowl, combine the tofu, nutritional yeast, lemon juice, salt, and pepper and mash with a fork until thoroughly combined. Make sure there are no large pieces of tofu in the mix, if there is keep mixing until the entire mixture has the appearance of ricotta cheese. Add chopped spinach and again stir to combine. In a large baking dish, add 2 cups of sauce to fully cover the bottom of the pan. Carefully fill each shell with ~3 Tbsp filling and place in prepared pan. Continue the process until all the filling is used. Cover shells with an additional 2 cups sauce, cover with tinfoil, and bake for 20 minutes. Once removed from oven, sprinkle shells with fresh chopped basil and serve warm. These stuffed shells store perfectly in the fridge up to 5 days and are great to pop back into a 350 degrees oven for 10 minutes for a quick mid-week meal. They also freeze well in an air tight container, just make sure to thaw in the fridge about 24 hours prior to reheating. By now we hope you're ready to eat! Because these stuffed shells are so rich and packed with flavor that you won't even miss the standard cheese variation. Even those persistent tofu dislikers (we all have those friends/family) may just change their minds with recipe. Or maybe they don't even have to know your little secret, we won't tell...
Mangia! Jess and Cecelia
0 Comments
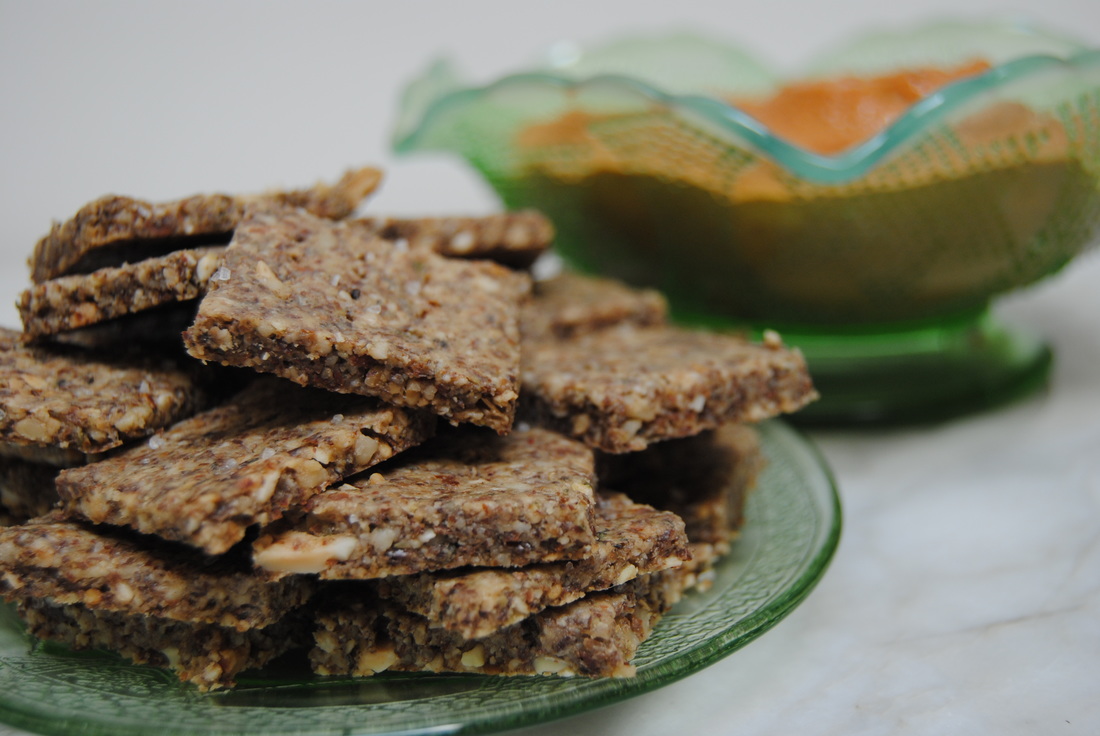
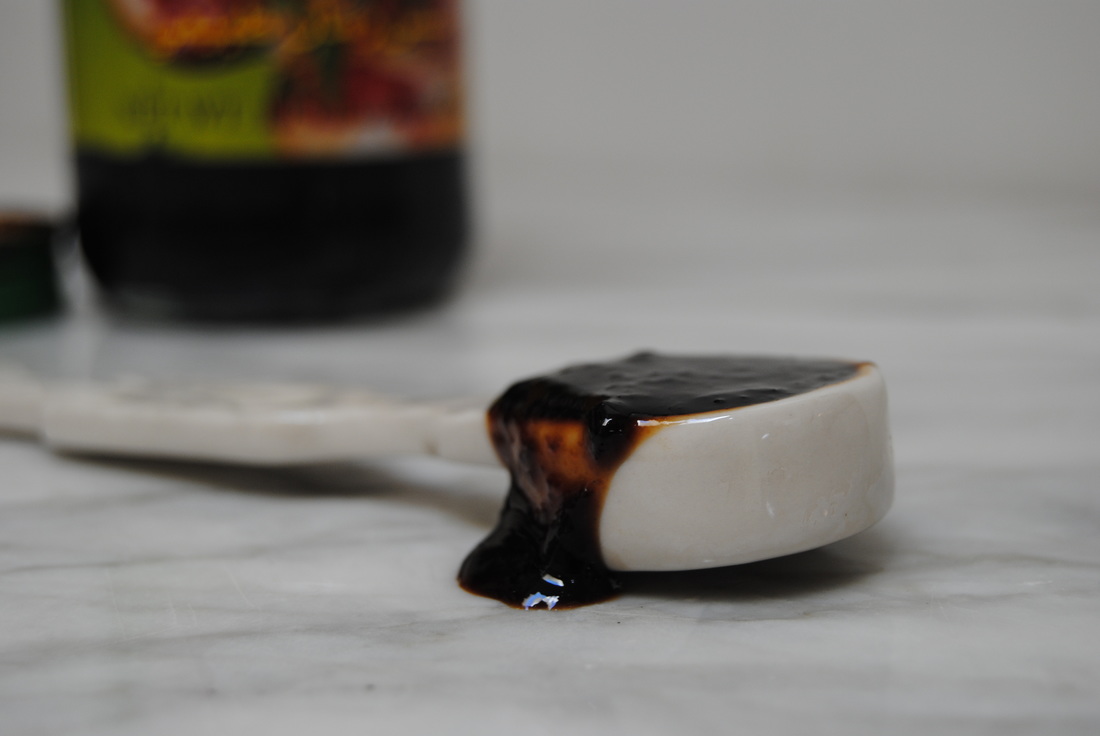
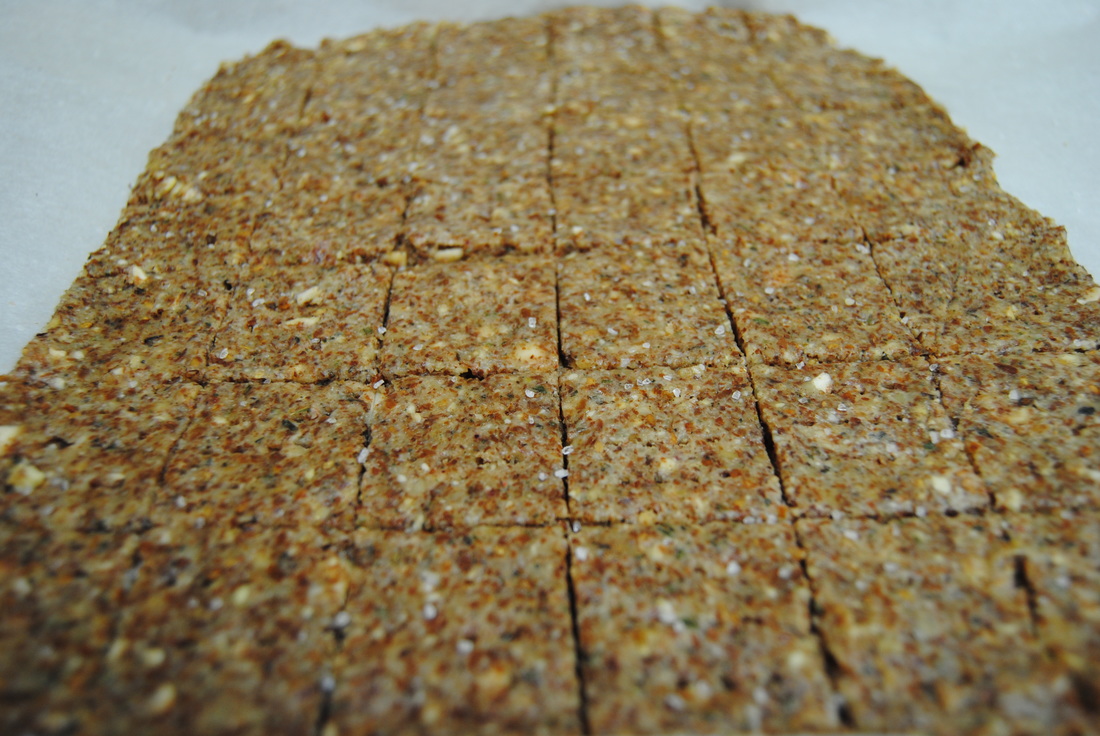
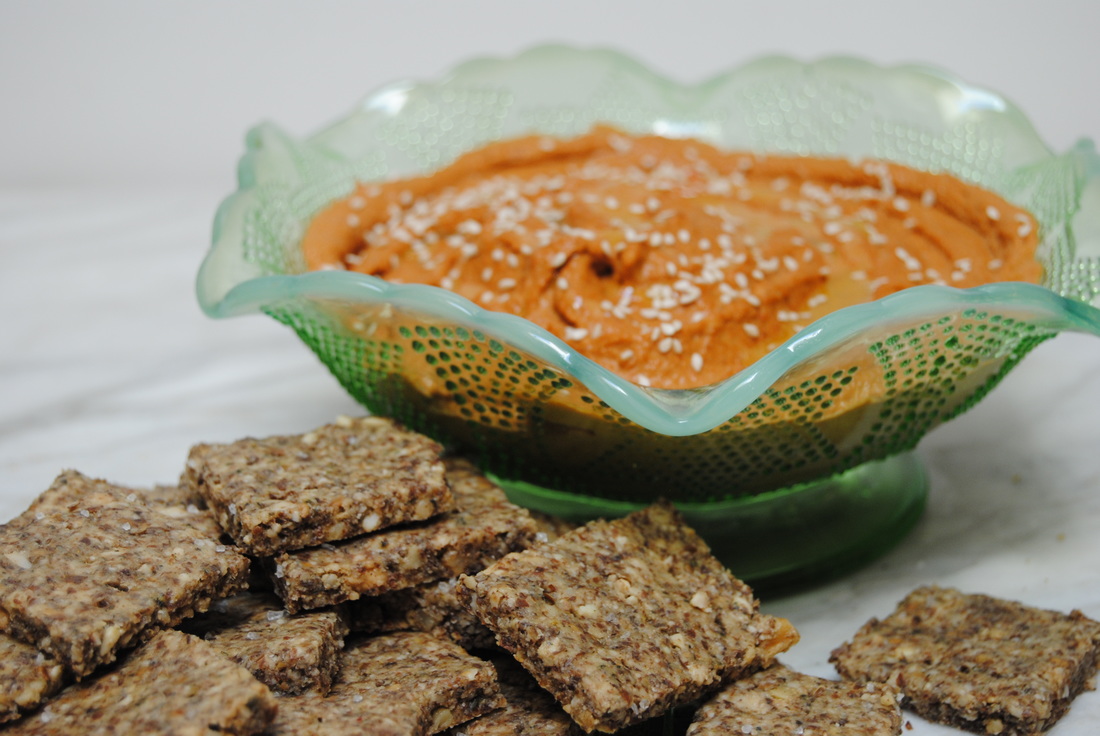
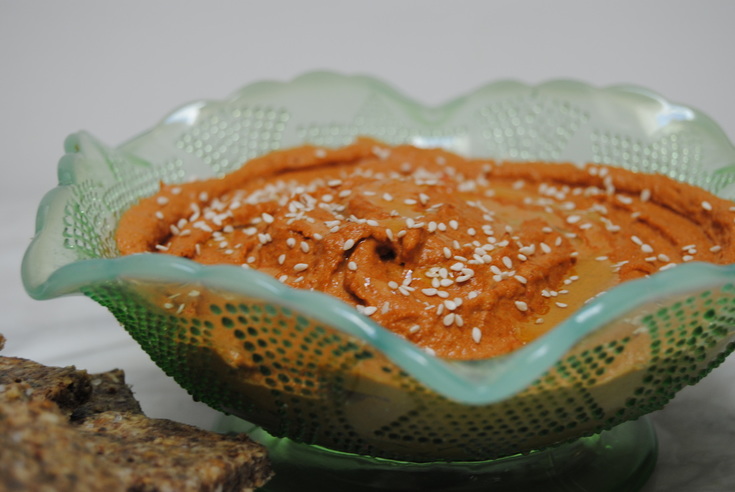
The weather was beautiful here in Chicago this past weekend! And though it may not be time for a dip in Lake Michigan yet, it is the perfect time for a delicious dip recipe. Because what is better than a good dip? Not much in our opinion. And we even made a gluten free, homemade cracker for the ultimate dipping experience. But first let's learn about a new ingredient that you'll be needing and wanting in your pantry, pomegranate molasses. Pomegranate molasses is a version of molasses made from pomegranate juice rather than sugarcane or sugar beets. Molasses from sugarcane or sugar beets is more common in North America because it is created as a by-product from the sugar refining process. In the Middle East where pomegranate is a native fruit, pomegranate molasses is traditional and used frequently in cooking. It is used to add a depth of flavor to sweet or savory dishes and has a unique tartness different than standard molasses that yields itself to a variety of different uses. Pomegranate molasses can be used in many ways including in dips, dressing and marinades, stirred into drinks like iced tea or sparkling water, or drizzled over dips, plated dishes or even dessert for a touch of flavor. In terms of nutritional profile, pomegranate molasses is pretty much a sugary sweetener but does contain antioxidants and B vitamins. But one of the largest benefits in our opinion is the variety this product adds to your pantry, because most foods can fit in a balanced diet if that balance truly exists. So swap out that sugarcane based sweetener next time for pomegranate molasses and you won't be sorry! Oh and look for this product in ethic sections or ethnic grocers and you'll be ready to create a delectable dip featuring this ingredient. Savory Gluten Free Crackers PREP TIME: 15 mins TOTAL TIME: 1 hour Servings: ~2 dozen crackers Ingredients 1 cup raw almonds (we used sprouted) 1 cup raw walnuts 1/3 cup ground flax seed 1/2 cup room temperature water 1 Tbsp za'atar seasoning (Middle Eastern spice blend) 1 tsp garlic powder Coarse sea salt to sprinkle over the top Preheat oven to 300 degrees. In a food processor or blender, pulse almonds and walnuts into a coarse flour. In a large bowl, combine the ground nuts, ground flax, za'atar, garlic powder, and water. Mix with a spoon until batter comes together. Place a sheet of parchment paper down on a large baking sheet. Drop dough onto the parchment paper and place another sheet of parchment paper on top. Using a rolling pin, evenly spread dough out into a large rectangle. Note it is important to make the cracker thickness as even as possible for proper cooking. We spread our crackers out to ~1/3" thick (the thinner the cracker the less time it will take to cook). Using a sharp knife, score dough into 2" by 2" squares and poke the middle of each cracker with fork prongs 2-3 times (see picture above). Sprinkle the top with coarse sea salt. Place in a pre-heated oven and cook for 35-45 minutes. Check and rotate the baking sheet half way through cooking. Remember the thinner the cracker, the less cooking time required. Once crispy, remove from the oven, carefully separate crackers, and allow to cool. Serve with favorite dip or store in an air tight container for up to 7 days. Muhammara (Red Pepper Dip) PREP TIME: 30 mins TOTAL TIME : 35 mins Servings: ~2 cups Ingredients 3/4 cup walnuts, toasted 1/4 cup whole wheat bread crumbs 1/4 cup extra virgin olive oil 2 Tbsp pomegranate molasses 1/4 cup tomato paste 1 large or 2 small red bell peppers*, roasted 1 tsp red pepper flakes 1/2 tsp sea salt 1/2 tsp ground cumin Preheat oven to 500 degrees. Roast red pepper for ~30 minutes making sure to turn frequently until the outer skin is wrinkled and charred. Remove pepper from the oven and place in a brown paper bag. Allow the pepper to sit for ~5-10 minutes or until cool enough to handle. Carefully remove the skin and seeds from the pepper. By allowing the pepper to sit in a covered bag to cool, the skin should be rather easy to remove. In a shallow pan on medium heat, lightly toast walnuts for 3-5 minutes or until golden and fragrant. In a blender or food processor add roasted red pepper, toasted walnuts, bread crumbs, olive oil, pomegranate molasses, tomato paste, red pepper flakes, sea salt, and cumin. Blend on high until creamy. Serve immediately or place in an air tight container in the fridge for up to 5 days. We served our muhammara with a combo of nut crackers and raw veggies. It is also delicious as a spread for veggie and cheese sandwiches or wraps. *If you prefer to buy store bought roasted red peppers make sure there is no added spices or marinades on the peppers as this will change the flavor of the dip These crackers are amazing warm from the oven and have a rich, nutty flavor with a great zing from the za'atar. Not only gluten free but 100% homemade and sure to impress. And this dip, wow! So. Much. Flavor. The flavor profile is just too complex to begin to explain so you might as well whip this up soon and try it for yourself. And keep that pomegranate molasses handy, we guarantee you'll be using it again and again.
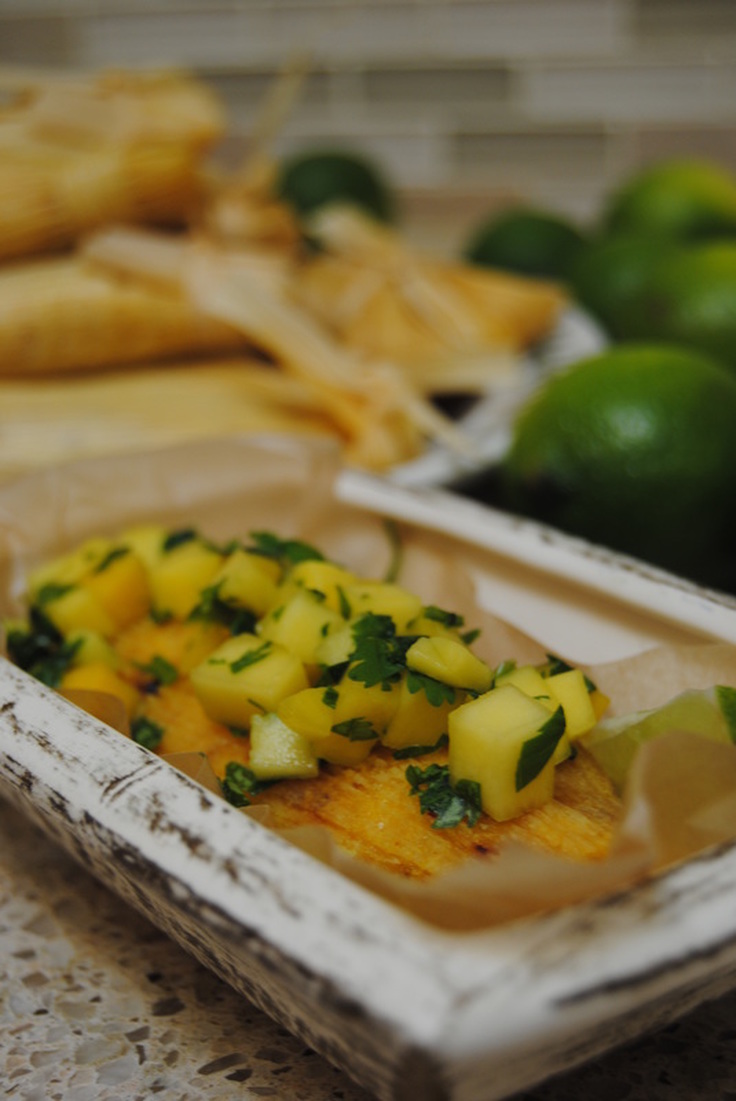
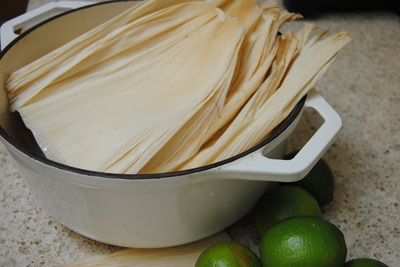
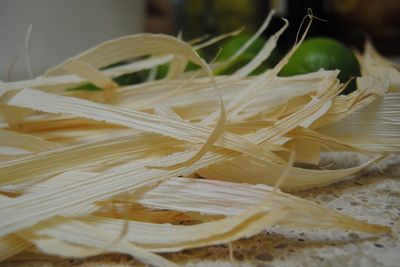
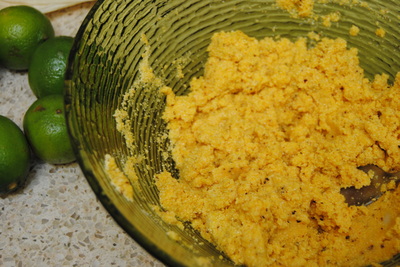
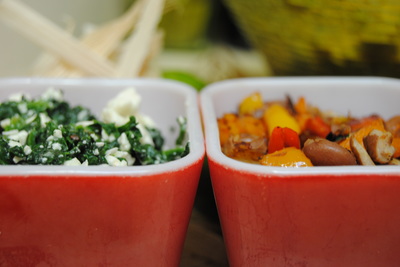
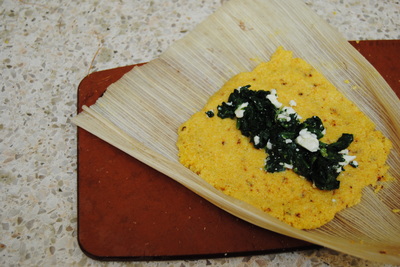
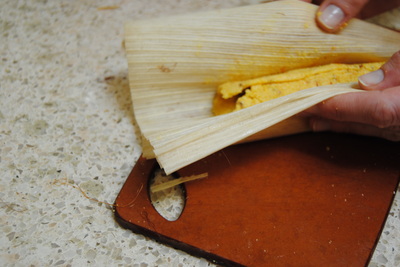
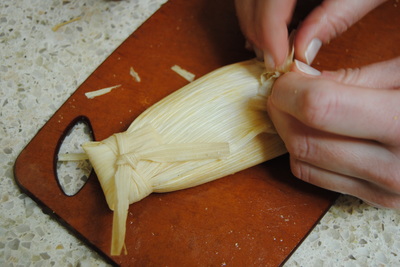
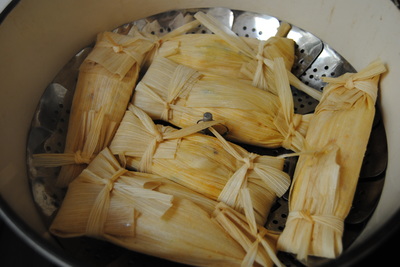
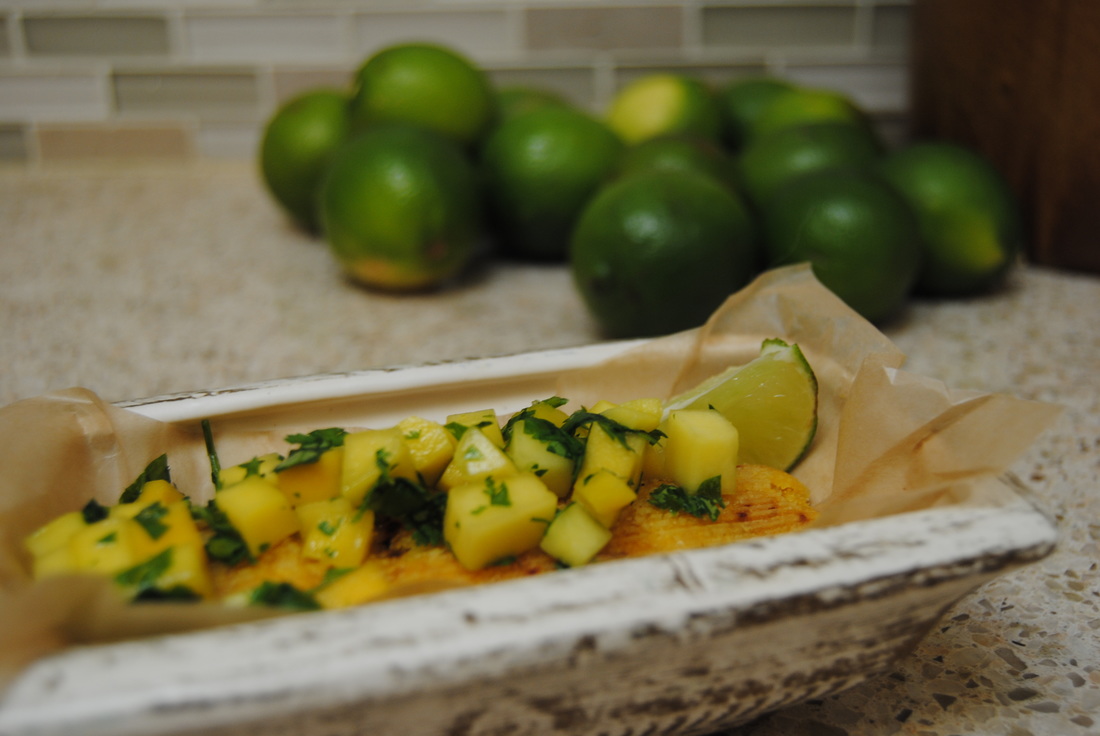
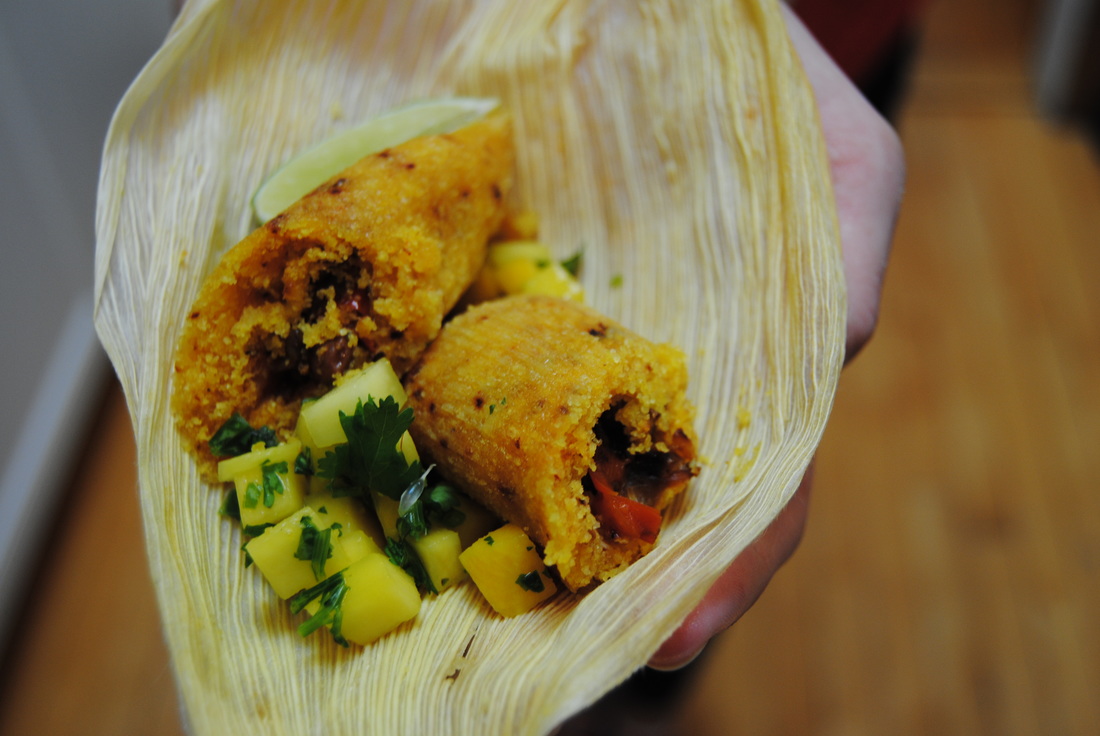
Happy dipping, Jess and Cecelia Okay, so picture a town with streets full of different varieties of tamale vendors....amazing right! So we had the bright idea of recreating that image right here in the TGBK kitchen. Being that we don't have a town full of people to feed, we decided on just two delicious varieties of tamales this time around. Also, as this is a plant and health based blog we of course used a few substitutes to make these tamales not only friendly to the taste buds but to our bodies as well. If you are new to tamale making then read (and look!) on, we have plenty of pictures and instructions to help you get started creating tamales in your own kitchen. Tamales are a traditional Mexican dish of a variety of fillings stuffed in a corn dough, or masa, and wrapped in corn husks. Traditionally, the fat source used in the masa is animal lard but we substituted with coconut oil with great success! We've given you one vegan and one vegetarian filling option but the possibilities are endless: consider any variety of beans, veggies, and cheese, meat options if you are a meat eater, or even sweet, dessert variations. Tamales are so delicious and very portable given their corn husk wrapping. Dried corn husks can be found at most grocery stores and definitely at ethnic and specialty grocers. Remember that they have to be pre-soaked before tamale making to become pliable. The masa flour for the corn dough is a specialty type of corn flour used for tamale making and can also be found at most grocers. So once you have your corn husks, masa, and filling ready (pictured above), you move on to the art of tamale making. As you can see (pictured below) the masa is pressed into the pre-soaked corn husks, layered with filling, wrapped, and then tied into a neat little package for steaming. They are easy to freeze and save for future meals and easy to pack and transport for on the go meals, what could be better? So now that you have the gist of the tamale process let's get to the recipe! Vegetarian Tamales PREP TIME: 45 mins TOTAL TIME: 1 hour Servings: 16-20 tamales Ingredients 24 corn husks Filling Option #1 16 oz fresh spinach, cooked and drained 4 oz feta cheese 1/4 tsp red pepper flakes Sprinkle of sea salt Filling Option #2: 1/2 sweet onion 8-10 mini bell peppers or 1 small- medium bell pepper 1/4 cup black beans 1 Tbsp olive oil 1 Tbsp taco seasoning 1/4 tsp sea salt Masa Dough 3 cups masa flour 1 1/2 tsp baking powder 1 1/2 tsp salt 1 tsp turmeric (optional, gives the dough a beautiful golden hue) 1 Tbsp powdered ancho chili pepper (optional for a slightly smokey flavor) 1 cup coconut oil, softened 1 cup room temperature water Fill a large bowl with water and soak about 24 corn husks making sure they are fully submerged. Allow to soak while you prepare the fillings. Reserve 4 soaked husks and tear into small strips to tie your tamale packages. To make filling option one, place spinach in a large pan over medium heat and saute until wilted. Press spinach through a mesh strainer to remove excess water then rough chop spinach and place in a bowl. Add feta cheese, red pepper flakes, and sea salt and stir to combine. To make filling option two, add olive oil to a medium pan over medium heat. Dice onion into small cubes and add to the hot pan. Cook the onion for 3-5 minutes until edges are golden brown. Dice the peppers to about the same size as the onion and rough chip the beans. Add peppers and beans to the pan along with taco seasoning and sea salt. Continue cooking until the onions have caramelized and the peppers and beans are softened. Remove from heat and set aside. To make the dough, combine masa flour, baking powder, salt, turmeric, and chili pepper in a large bowl. Add the softened coconut oil to the dry ingredients and slowly add the water, stirring gently until a soft dough is formed. Now it's time to assemble the tamales! Remove the corn husks from the water. Lay softened husks on a clean work space and evenly spread about 2 heaping tablespoons of dough in the center of the husks (view pictures above). Spread about 1 tablespoon of filling down the center of the dough then press the tamale together lengthwise. Wrap the corn husk around the dough and fold the ends in like a package. Carefully wrap a thin piece of husk around each end of the corn husk package and tie together. Continue this process until all the dough has been used. This recipe makes about 16-20 tamales depending on the size you make them. Place wrapped tamales in a steamer basket over boiling water, making sure to not overlap them for even steaming. Partially cover with a lid and steam for 15 minutes. Repeat process until all tamales have been steamed. Serve warm or keep in the fridge for 5 days. If you do not plan to eat your tamales within this time frame, feel free to freeze them. When heating frozen tamales keep in mind that they should first be thawed and then re-steamed for about 5-7 minutes. Serve with salsa (we whipped up a mango salsa) or hot sauce of your choice. Oh and share with friends, you'll have plenty! Mango Salsa PREP TIME: 10 mins TOTAL TIME: 12 mins Servings: ~ 2 cups Ingredients 2 ripe mangos 1/4 cup cilantro 1 inch jalapeño pepper Splash of fresh lime juice Sprinkle of sea salt Peel and chop the mangos into 1/4" cubes. Chop cilantro and dice jalapeño pepper then add to the chopped mango. Sprinkle with fresh lime juice and salt to taste. Just like that you have fresh, fruity, and spicy salsa! Serve over hot tamales or keep in an air tight container in the fridge for 5-7 days. So this is definitely just what we had pictured, tamales of all varieties just waiting to be shared. We hope that you enjoy the crumbly but rich, coconut oil based masa dough stuffed with your favorite variety of fillings. Just remember to discard (and not eat!) the corn husk packaging. Hopefully this instruction and recipe has given you the confidence to create your own tamale town!
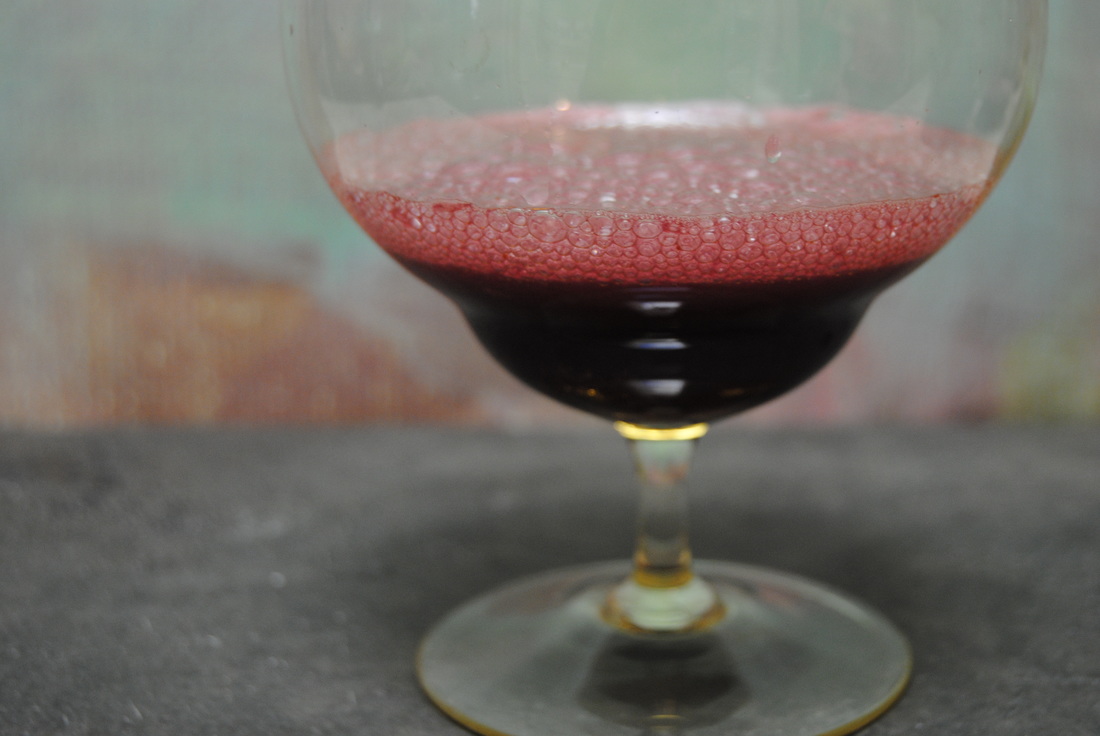
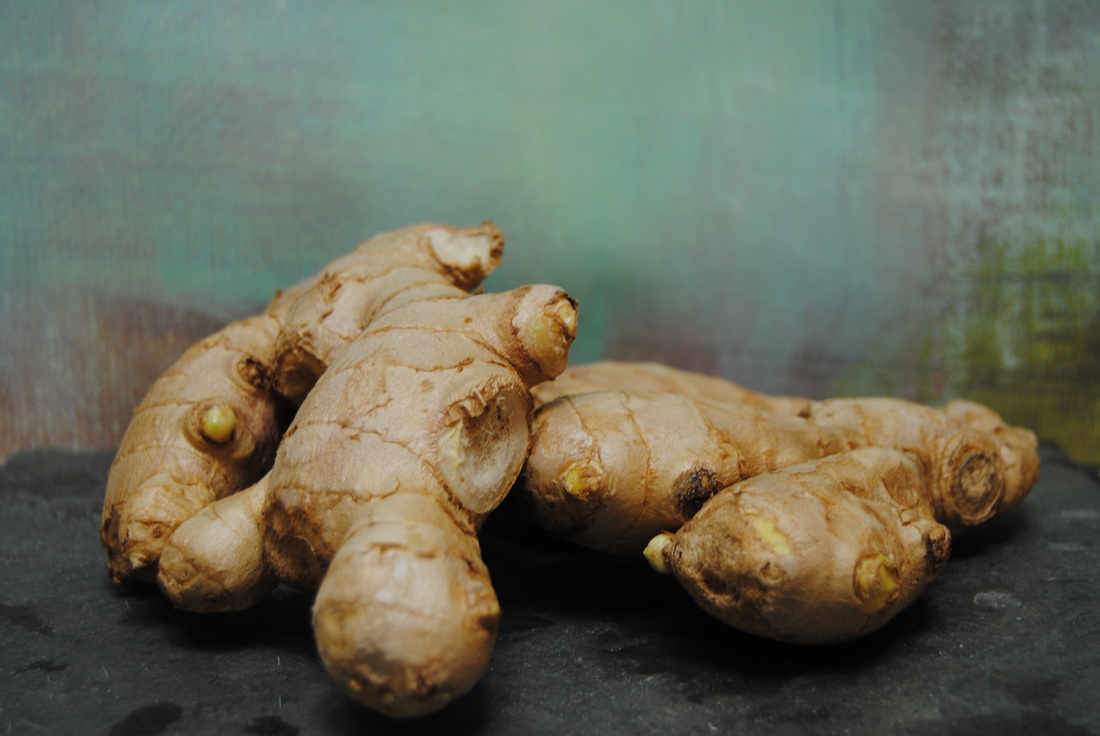
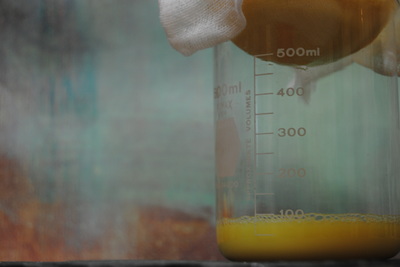
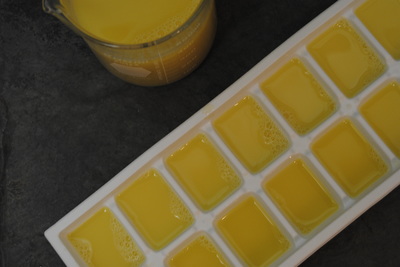
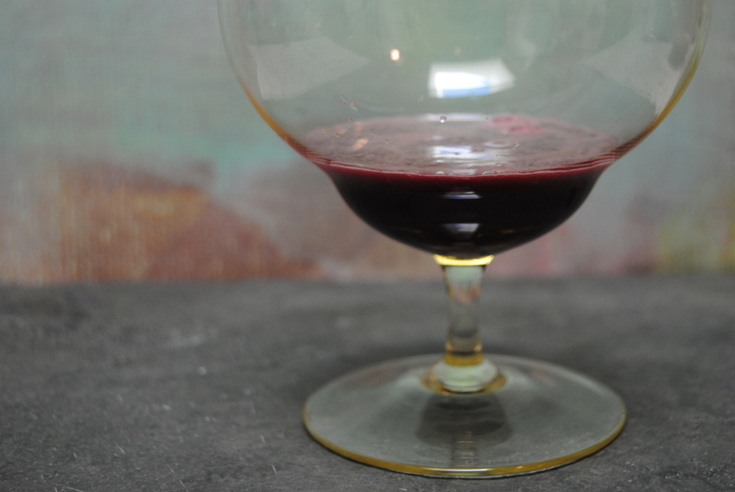
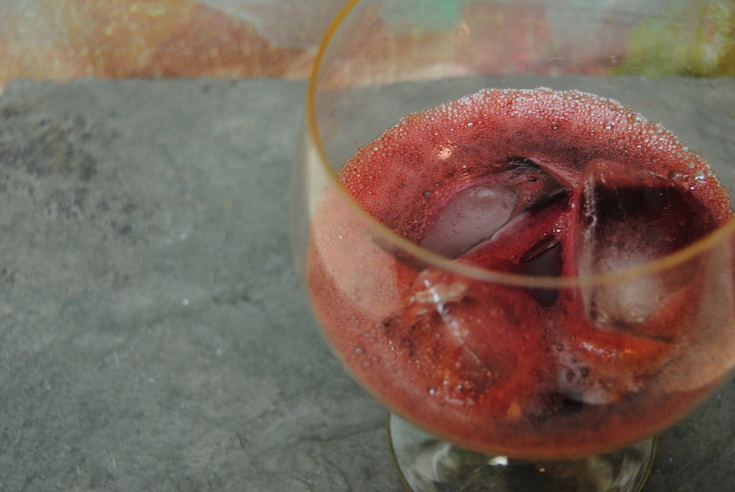
Enjoy, Jess and Cecelia Though we love the change of the seasons when it means warmer weather on the horizon, this time of year can be hard to adjust to when there are large changes in temperature and weather from day to day. Here in Chicago it was snowing yesterday and in the seventies today! More than the problem of not knowing what to wear, change of season colds can occur while our bodies adjust to the shifts in weather. If this is happening to you right now we've got just the right recipe for you this week. It features seasonal citrus and the amazing ginger root, so let's find out more. We are considering this recipe a tonic which is defined as "a medicinal substance taken to give a feeling of vigor or well-being". It is so because of the blood orange juice packed with vitamin C, well known to support immunity, and the ginger root which has been studied for many medicinal uses. In terms of cold easing properties and it's use in this recipe, ginger can act as an antihistamine and decongestant. But that's not all, ginger actually has so many medicinal uses that in Ayurvedic medicine it is is known as the "universal medicine". Ginger contains the compound gingerol which acts as an anti-emetic and can help settle an upset stomach and treat nausea and vomiting. This can be a great natural option for pregnant women battling morning sickness or for anyone trying to avoid drug based treatments. All of the active ingredients in ginger are considered antioxidants which can help to reduce inflammation in the body. Ginger even has the ability to increase saliva production which may aid in digestion. Finally, we should note that ginger has the ability to thin the blood and should be taken with some caution in people using blood thinning medication. The form of ginger we are using in this recipe is ginger juice which is convenient to store and easy to use in so many ways! You can add a splash to sparkling water or hot tea, use in sauces and stir fry dishes, add in place of ground ginger in baked goods, or freeze in ice cub trays to save for use at a later date. The short time it will take to make will pay off in convenience and taste. So let's start our recipe with simple instructions for ginger juice. Ginger Juice PREP TIME: 5 mins TOTAL TIME: 7 mins Servings: ~4 cups of juice Ingredients 3 lb fresh ginger root (5-6 cups chopped ginger) Water Using a hand held vegetable peeler, carefully peal the ginger root. Roughly chop the ginger and place in a high speed blender (we used a Vitamix). Add enough water to cover the ginger and blend on high for 3-5 minutes until fully processed. Place a double layered cheese cloth over a colander and carefully strain the ginger juice mixture into a jar or pitcher. It is best to do this in a few batches to make sure to catch all the ginger fibers within the cloth. To get the maximum amount of juice we recommend to lightly squeeze the cheese cloth until there is nothing left but dry ginger fiber. Continue this process until all the blender contents have been fully strained. If you have a nut milk bag, use it instead of the cheese cloth method. As you can see above, this recipe makes a lot of fresh ginger juice. We love to freeze the ginger juice in ice cube trays to extend the juice's expiration date and always have ginger easily available. Once frozen, store cubes in an airtight container for 3-6 months. Otherwise, fresh juice can be refrigerated for 1-2 weeks. Ginger Blood Orange Tonic PREP TIME: 5 mins TOTAL TIME: 7 mins Servings: 4 Ingredients 6 blood oranges (will make ~8 oz of juice) 2 oz fresh ginger juice 1 Tbsp honey 1/4 tsp cayenne pepper powder 2 oz plain sparkling water plus more to taste Using a high speed juicer (or a hand held citrus juicer), juice the blood oranges. Mix in the ginger juice, honey, and cayenne pepper and stir well. Evenly pour the tonic into four glasses and top with a splash of sparkling water. Serve the tonic at room temperature or over ice. If you prefer to drink your tonic warm, add a splash of boiling water and omit the sparkle. This tonic is a perfect balance of sweetness and spice and just what you need to invigorate your spirits if you do happen to be feeling under the weather. And once you start making ginger juice we swear you'll never stop! With ginger ice cubes on hand in the freezer you will always have that extra kick to add to hot or cold beverages or a ready to go ingredient (once thawed) for many recipes. We'd love to hear about the ways you find to enjoy ginger!
Be well, Jess & Cecelia |
AuthorsJess and Cecelia welcome you to our kitchen. We are fun-loving and passionate foodies working to make the world a healthier, happier place one plant based recipe at a time. Categories
All
Archives
December 2018
|

