|
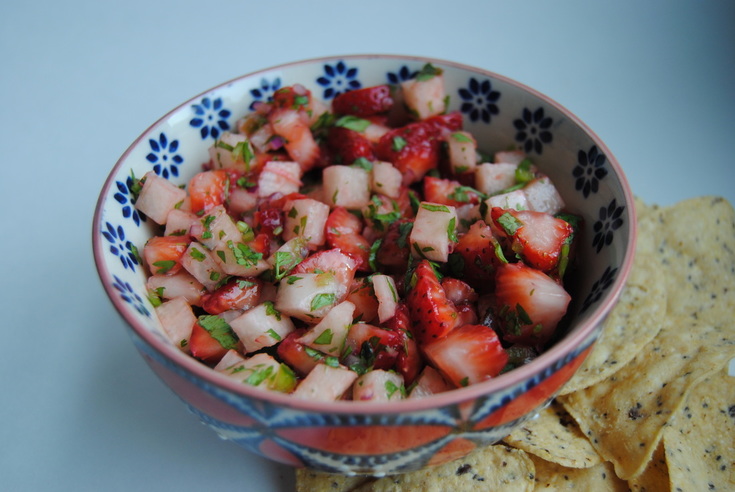
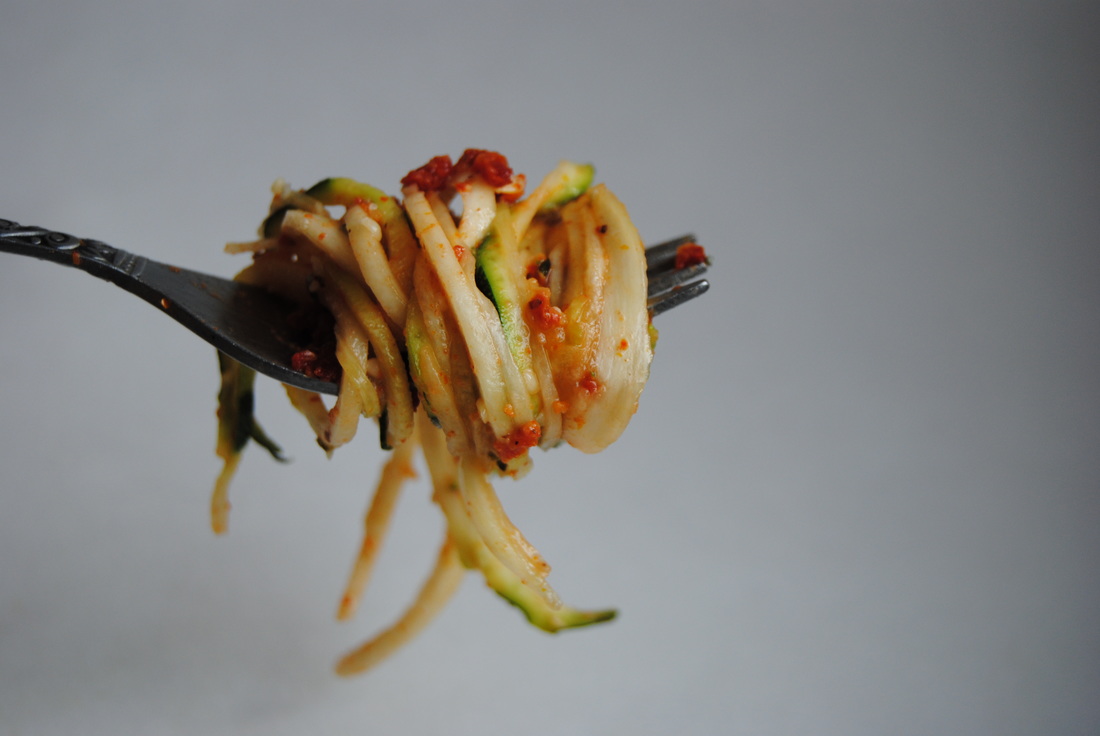
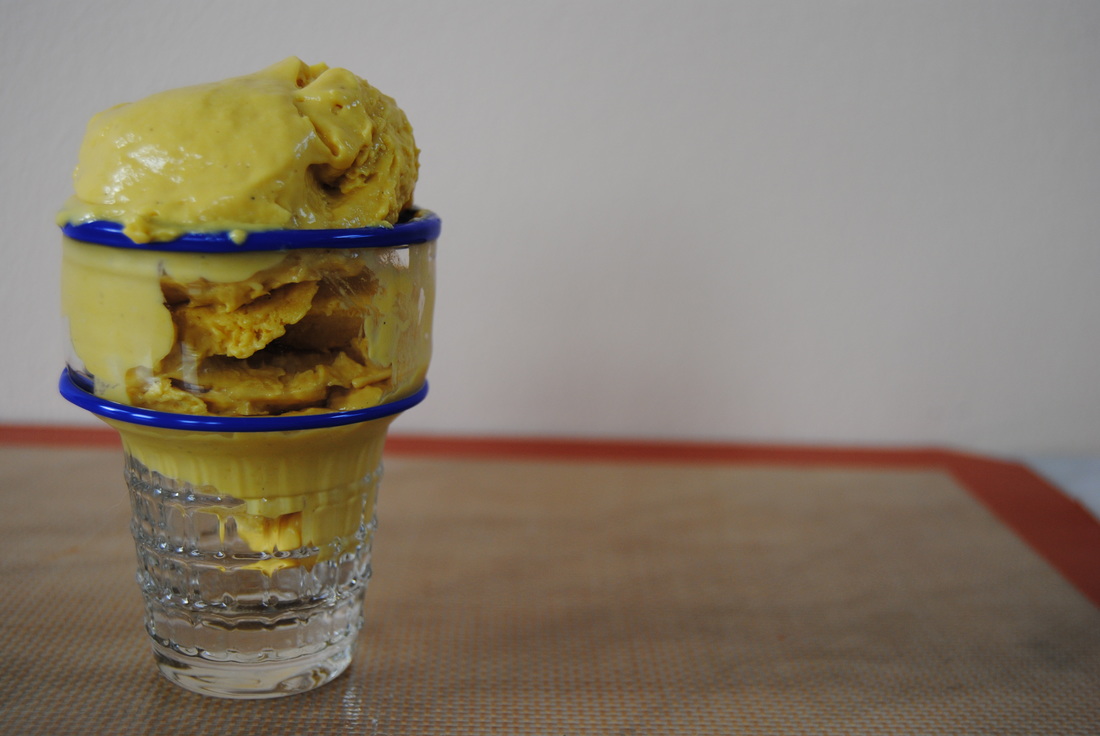
Well friends, we made it! It's the first holiday weekend of the late spring/summer season and we are oh so happy to be welcoming warm weather here in Chicago. We hope you find time this weekend to reflect, remember, spend time with loved ones, and of course enjoy good food. So before we get started with a whole new season of warm weather recipes, we want take a look back at some favorites from last summer. We've created a fresh and fun menu from appetizer to dessert to help plan any events you may be hosting this weekend or any to come! This Strawberry Patch Salsa (recipe here) puts a sweet spin on your traditional salsa. Keep an eye out for fresh, organic strawberries at your local farmers market because these babies are coming into season! Our Raw Sun Dried Tomato Pesto Pasta (recipe here) made with zucchini noodles is already a fan favorite that we hope you didn't miss last year. If you did, this is a must try with abundant zucchini this summer. We have been dreaming about this Mango Tango Raw Cashew Ice Cream (recipe here) since we made it last August. When you make this we'd suggest doubling (or tripling!) the recipe, you're going to want it!
Enjoy your extended weekend, Jess and Cecelia
2 Comments
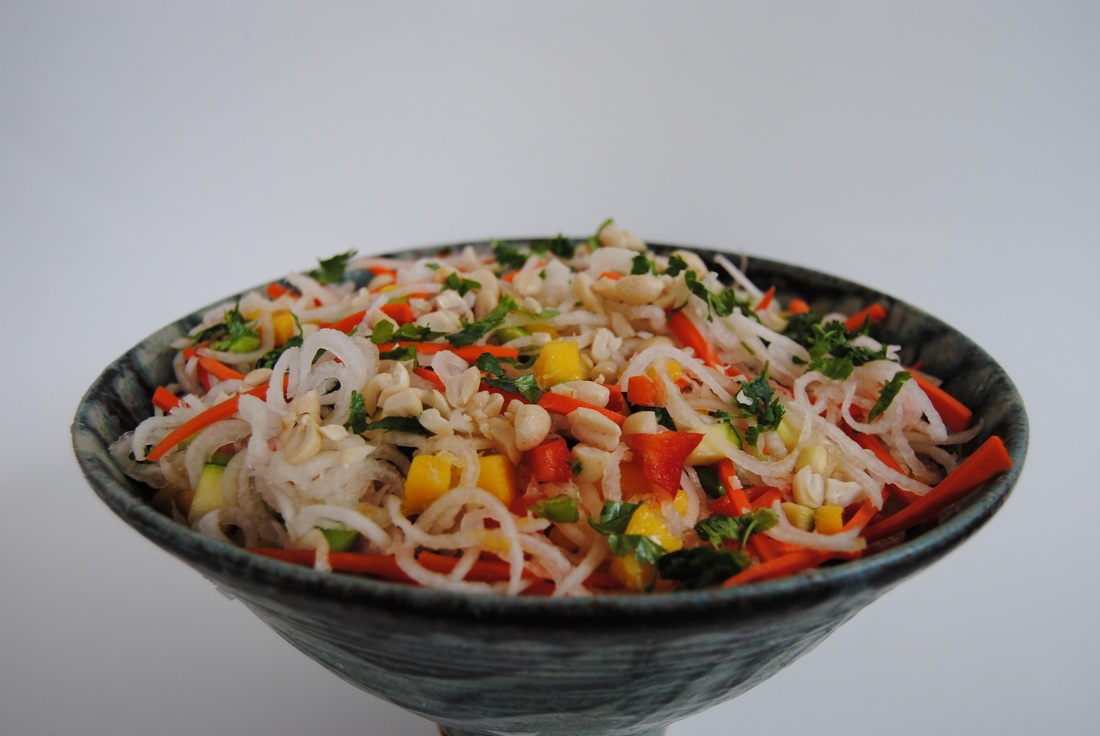
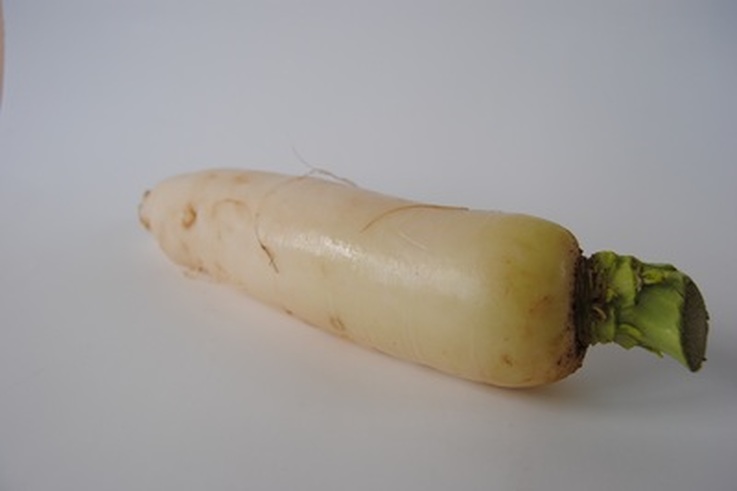
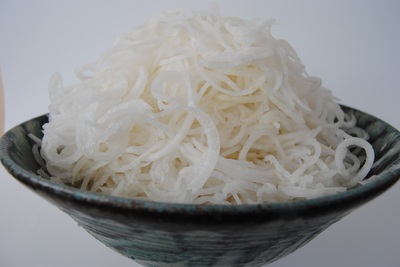
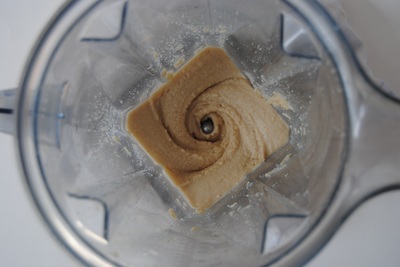
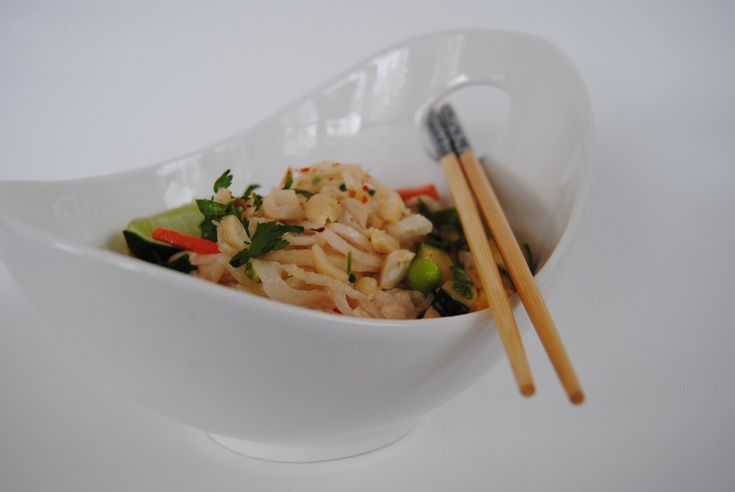
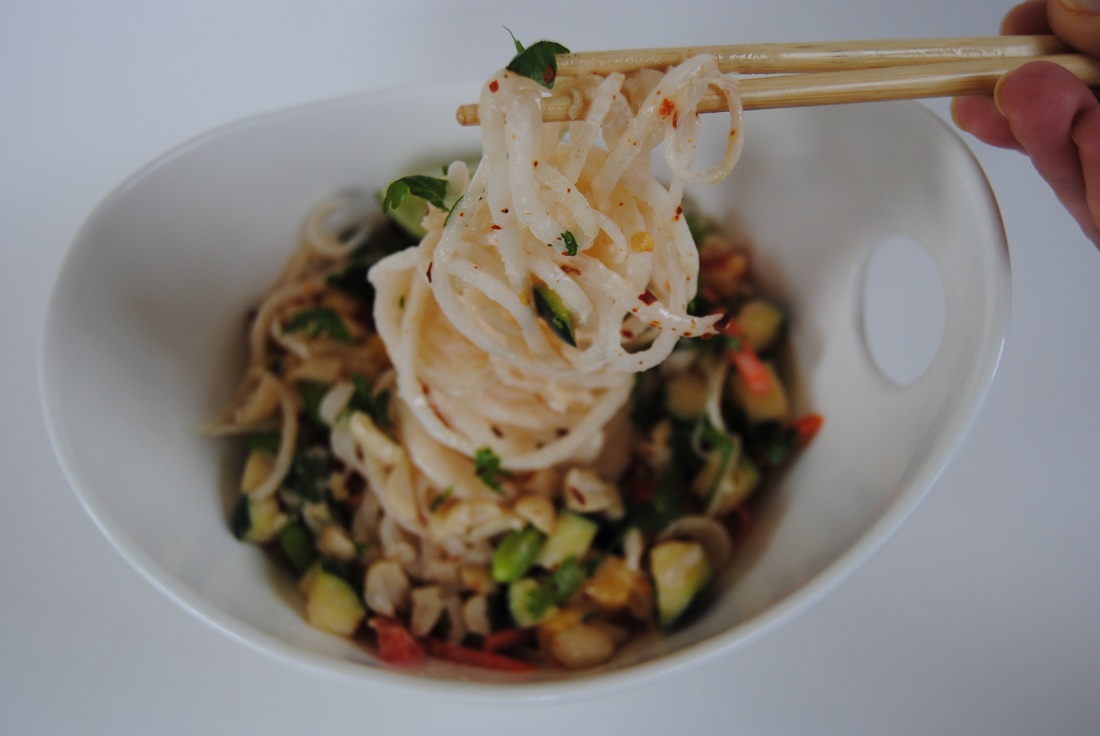
Can you think of a food you love that you wish you could eat in endless portions without a care in the world? I'm sure we all can and may share one food that comes to our minds, noodles. Noodles of all varieties are just so good and satisfying but definitely cannot be eaten endlessly, well maybe until now. We've created for you this week an amazing recipe featuring an almost calorie free and never-ending noodle. But how is this even possible? Read on! So this seemingly impossible noodle became a reality because of a unique vegetable, the daikon radish (pictured above). The daikon radish is a root vegetable used widely in Asian cooking and also called the Japanese horseradish. Though popular in especially Southeast Asian cuisine, this vegetable is grown and available around the world. The daikon radish has a crunchy texture and more mild radish flavor compared to the commonly known red radish. It's high fiber and water content make it a very low calorie food with just 6 calories per ounce or about 50-60 calories per radish, though this can vary because daikon radishes can grow up to 20 inches long! For this recipe we chose large daikon radishes and used our spiralizer (featured in this recipe) to create insanely long, basically never-ending, low-calorie noodles. See, it is possible! Also a note that this recipe is completely raw so we used liquid aminos (basically a raw version of soy sauce) and made our own peanut butter from raw peanuts. Though if you aren't heart-set on making this a raw dish yourself, feel free to use standard soy sauce or tamari and natural, roasted peanut butter as substitutes to simplify (it's okay really!). Raw Peanut Pad Thai PREP TIME: 30 mins TOTAL TIME: 35 mins Servings: 6 Ingredients Noodle Bowl 3 large daikon radishes, ~10 cups of noodles once spiralized 2 medium zucchini, ~3.5 cups diced 2 small red peppers, ~1 cup diced 2 green onions, cut on the bias 1 medium carrot, ~1 cup julienned 1 medium mango, ~1 cup cubed 1 1/2 cups raw, shelled edamame 1/2 cup raw peanuts, chopped 1/4 cup cilantro, chopped 6 lime wedges to serve Marinade 1/8 cup fresh lime juice 1/4 cup liquid aminos 1 clove garlic, minced 1/8 tsp dehydrated red pepper flakes Dressing 1/3 cup raw peanut butter *If making your own you will need 1 cup of raw unsalted peanuts 1/4 cup reserved marinade Juice of 1 lime 1 Tbsp raw clover honey 1 Tbsp room temperature water 1 tsp liquid aminos 1/4 tsp dehydrated red pepper flakes Cut zucchini and bell pepper into small cubes and place in a bowl. Mix together marinade ingredients, pour over zucchini and pepper cubes, and allow to marinate for at least 15 minutes. Peel radishes then using a spiralizer with the thin noodle insert, process radishes into noodles and place in a very large mixing bowl. Peel carrot, thinly cut julienne style, and add to the bowl of noodles. Peel and cut mango into small cubes then add to the bowl of noodles along with the shelled edamame and green onion. Strain zucchini and peppers from marinade, add to the bowl of noodles, and set reserved liquid aside. Gently toss all ingredients together. If making your own raw peanut butter, in a high speed blender add 1 cup of raw unsalted peanuts and process on high for 5 minutes until a creamy butter is formed. To make the peanut dressing, combine 1/3 cup raw peanut butter, 1/4 cup reserved marinade, juice of 1 lime, 1 Tbsp honey, 1 Tbsp water, 1 tsp liquid aminos, and 1/4 tsp dehydrated red pepper flakes. Whisk to combine and set aside. Pour dressing over noodle bowl and gently toss to combine making sure to incorporate dressing all the way down to the bottom of the bowl. Add chopped raw peanuts and chopped cilantro to the top. Divide into 6 bowls and serve with a lime wedge and a pair of chop sticks. *If you do not plan to serve the whole salad at once, pour dressing over the portion you plan to eat and reserve remaining dressing in an air tight container for later use. The raw vegetables will keep in an air tight container for ~3-5 days in the refrigerator. This raw pad thai is going to blow your mind. The noodles are crunchy with a mild radish flavor and go on and on until you've had your noodle fill. The variety of raw veggies in different preparations keeps things interesting, and the salty, raw peanut sauce slathers everything in decadent goodness. We just love this recipe and hope we've made your endless noodle dreams come true.
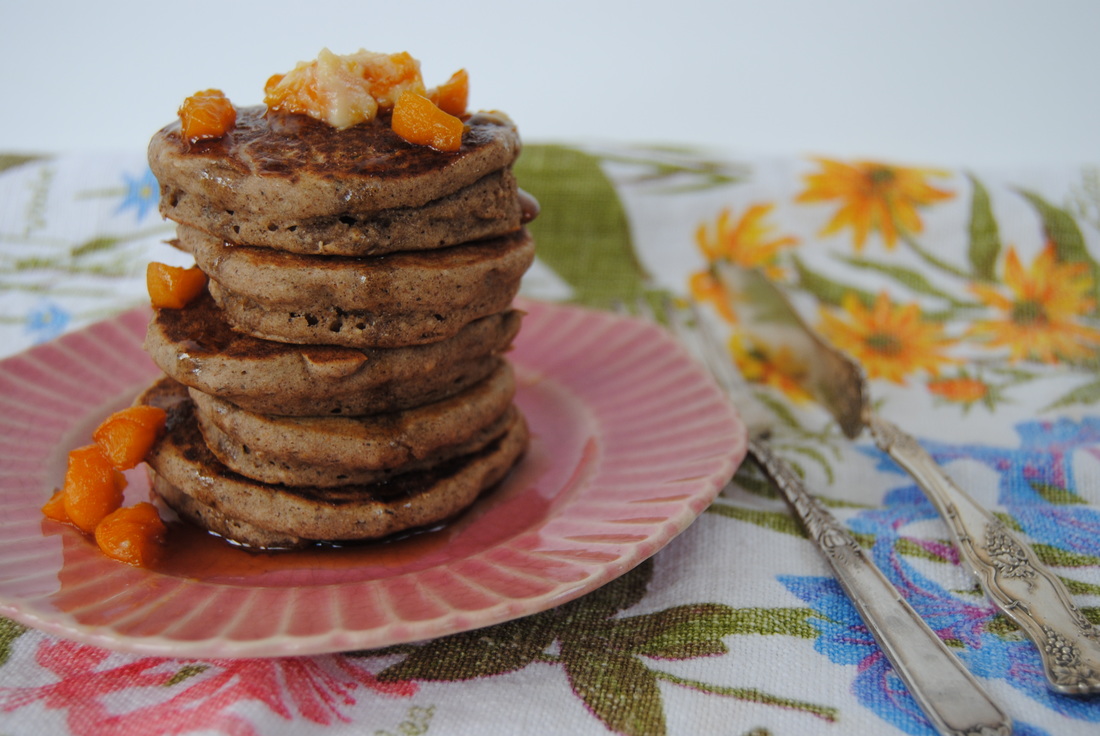
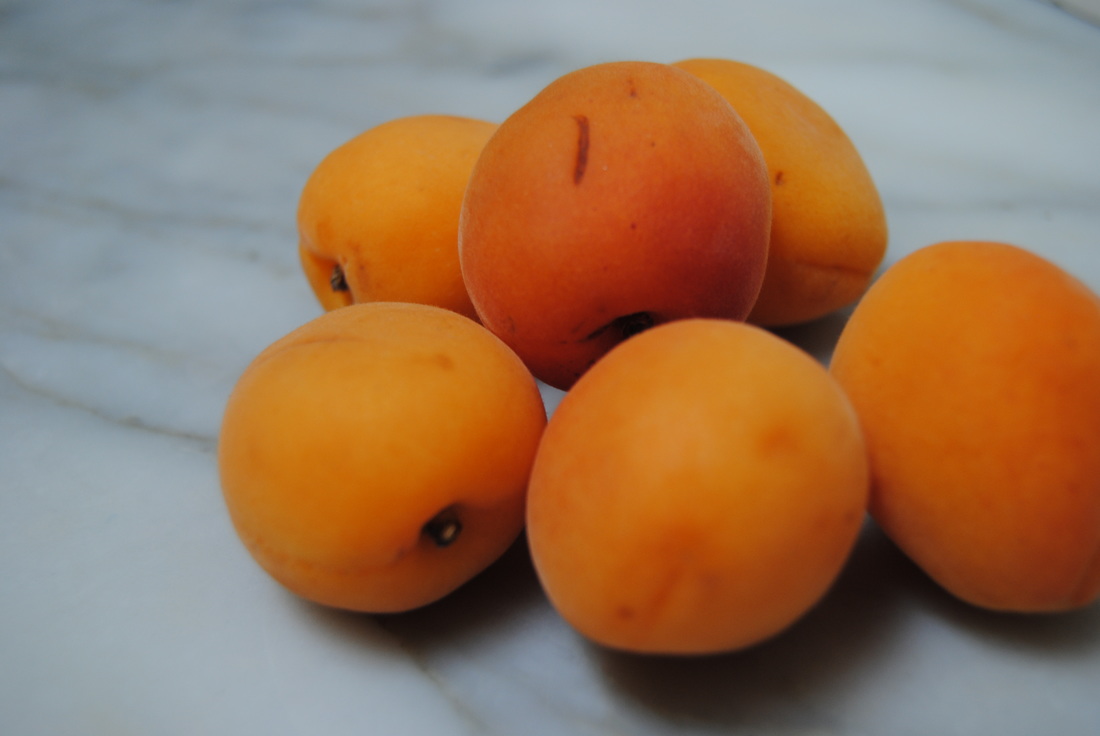
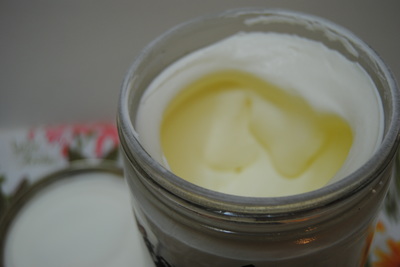
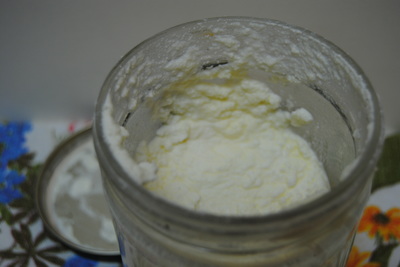
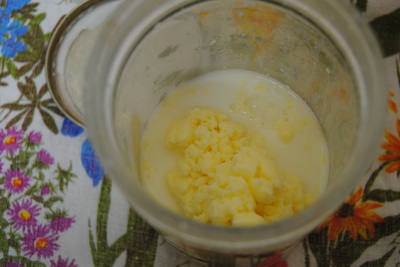
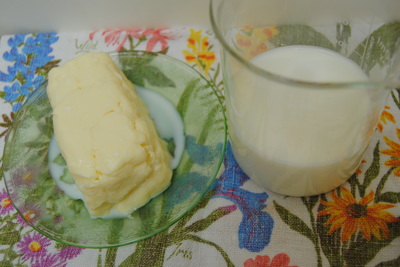
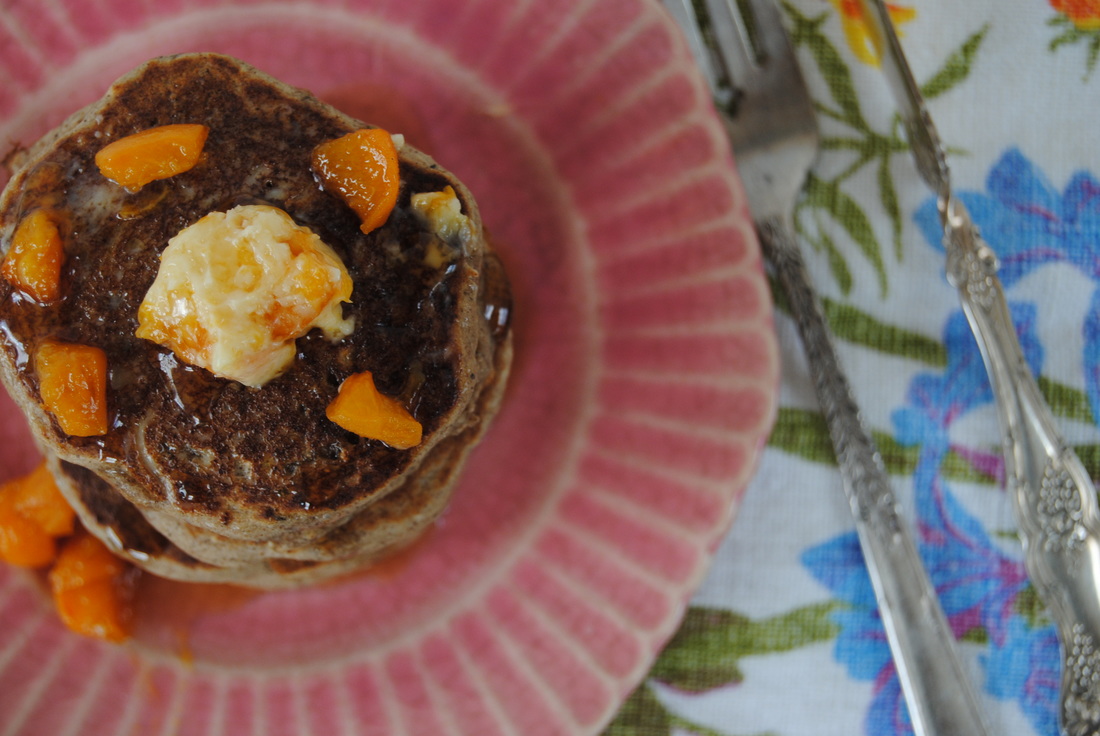
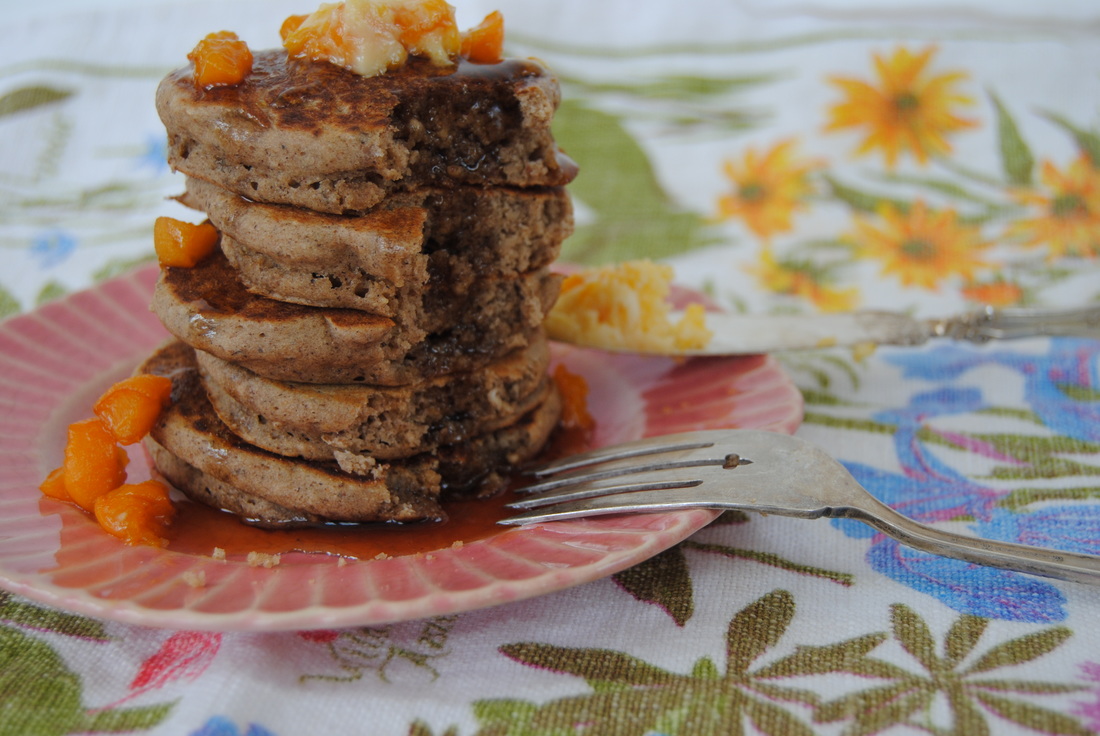
Enjoy, Jess and Cecelia We decided to get ambitious this week and made our own homemade butter, yes butter! And it's not as difficult as you may think, besides the intense arm work-out that comes with it, but more on that later. The final product was amazing though and we had the additional satisfaction of knowing that we truly earned this decadent breakfast. But first, how do you make butter? Butter is made with heavy cream because the properties of fat molecules allow an amazing transformation to take place when the cream is agitated. The cream can be agitated by hand (as we did) or in a food processor or blender, but we decided to stick to tradition and also get our work-out in for the day this time around. During the agitation process, the cream first becomes whipped cream. With continued agitation the whipped cream will become butter and buttermilk as the fat solids separate from the other contents of the original cream (water, sugar, proteins, and minerals). What you are left with is delicious, fresh, and well earned butter and buttermilk. So you are probably quite familiar with butter (aren't we all!) but what is buttermilk really? Well, traditional buttermilk is the liquid left behind after making butter as we just discussed. Though buttermilk may also refer to a fermented drink which is called cultured buttermilk. Cultured buttermilk is made from raw cream that has been left out at room temperature to curdle, or ferment, thanks to lactococcus lactis or lactobacillus bulgaricus bacterias. The increased acid in the buttermilk , primarily from acid produced during fermentation, is what gives it the classic tart flavor and curdled appearance . If you cannot get your hands on raw cream straight from the cow, and you end up using pasteurized cream from the grocery store (as we did being Chicagoans!), you will need to inoculate the cream with a starter culture to mimic the old-fashion cultured butter and buttermilk. But if you find yourself just wanting to whip up a simple batch of sweet cream butter and buttermilk without the fermentation process, remember to make sure that the cream you use is high quality, organic, and from pastured raised (grass-fed) cows. For one, because butter that is made from grass-fed cows is rich in healthy fats such as omega-3's and CLA (conjugated linolenic acid) - it's good stuff, trust us! And for two, well that's enough learning for one post. On to the recipe! Homemade Sweet Cream Butter & Buttermilk PREP TIME: 15 mins TOTAL TIME: 15 mins Servings: 1/2 pound butter, 1 cup buttermilk Ingredients 1 pint organic heavy whipping cream In a large glass jar fitted with a tight lid, add 1 pint of heavy whipping cream. Tightly close jar with a lid and vigorously shake for about 15 minutes. You will notice about 5 minutes into shaking that the cream will start to thicken, this is the start of making whipped cream! Continue to shake jar for another 3-5 minutes or so. You will notice the cream is more dense and does not make as much sloshing noise when shaken. The cream will also appear a light yellow color, this is good as you are now starting to separate the fat from the liquid...yes you are now making butter! Continue to shake for an additional 3-5 minutes or until you can see that the fat "butter" has separated from the liquid. See pictures above of the different stages and final products. Carefully strain the liquid "buttermilk" away form the solids "butter". You may now add salt if desired or any additional flavorings to your butter. Apricot Maple Cinnamon Butter PREP TIME: 30 mins TOTAL TIME: 35 mins Servings: 1/4 pound butter Ingredients 5 ripe apricots 1 Tbsp pure maple syrup Dash of cinnamon Dash of sea salt 1/4 pound freshly made butter Cut apricots in half and remove pits then chop into small cubes and add to a sauté pan. Add 1 Tbsp maple syrup to the pan and cook on low heat stirring occasionally until fruit is soft and starting to break down (~30 minutes). Remove from heat and allow to come to room temperature. Add 1/3 of the cooled apricots to butter then stir in salt and cinnamon. *Reserve the rest of the cooked apricots for topping your pancakes. Using a piece of wax paper, carefully mold butter into desired shape. Buttermilk Buckwheat Tea Cakes PREP TIME: 15 minutes TOTAL TIME: 30 minutes Servings: 20 silver dollar pancakes, serves 4 Ingredients 1 1/2 cups buckwheat flour 1/2 cup oatmeal flour 2 Tbsp cane sugar 1/2 tsp sea salt 1/2 tsp baking powder 1/2 tsp baking soda 1 cup buttermilk 1/2 cup brewed strong black tea (we used 2 earl grey tea bags with 4 oz of water) 1 Tbsp fresh squeezed lemon juice 1 tsp pure vanilla extract 1 Tbsp ground flax seed + 3 Tbsp warm water 3 Tbsp butter, melted Toppings Pure maple syrup Cooked apricots reserved from Apricot Butter recipe In a large bowl, combine buckwheat flour, oat flour, sugar, salt, baking powder, and baking soda then stir to combine. In a separate bowl combine butter milk and lemon juice. Allow mixture to sit for ~10 minutes to thicken. In another separate, small bowl combine the ground flax seed with warm water. Whisk with a fork until combined then allow mixture to sit for ~5 mins to thicken. Mix together the buttermilk, cooled black tea, vanilla, and flax seed mixture and add wet ingredients to the dry ingredients. Stir in the melted butter and continue to stir mixture until combined, making sure to avoid over mixing. Using a well seasoned cast iron skillet or a ceramic based non-stick skillet (free of carcinogenic properties in the non-stick coating) ladle batter into preheated pan in the shape of silver dollars. When the batter begins to bubble, flip pancakes over and continue to cook until golden brown. Repeat until all the batter is used. Stack 5 or so tea cakes on your plate, smear a generous portion of apricot butter between cakes, and top with maple syrup and reserved cooked apricots. You deserve this meal! The buckwheat pancakes are hearty and fluffy in a way that only pancakes can be, and slathered with the rich, sweet, tangy, and so fresh apricot butter it's almost too good to be true. So skip the arm work-outs at the gym this week and get to making this homemade butter instead. When you're done you'll understand why we say, you earned it.
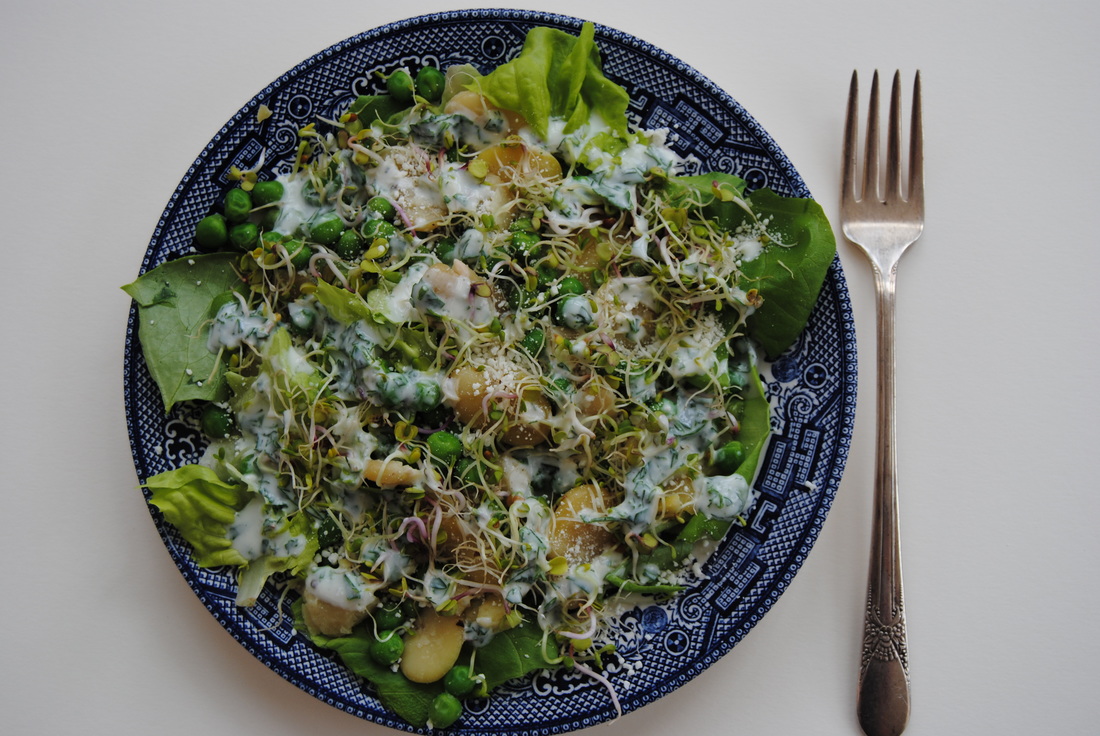
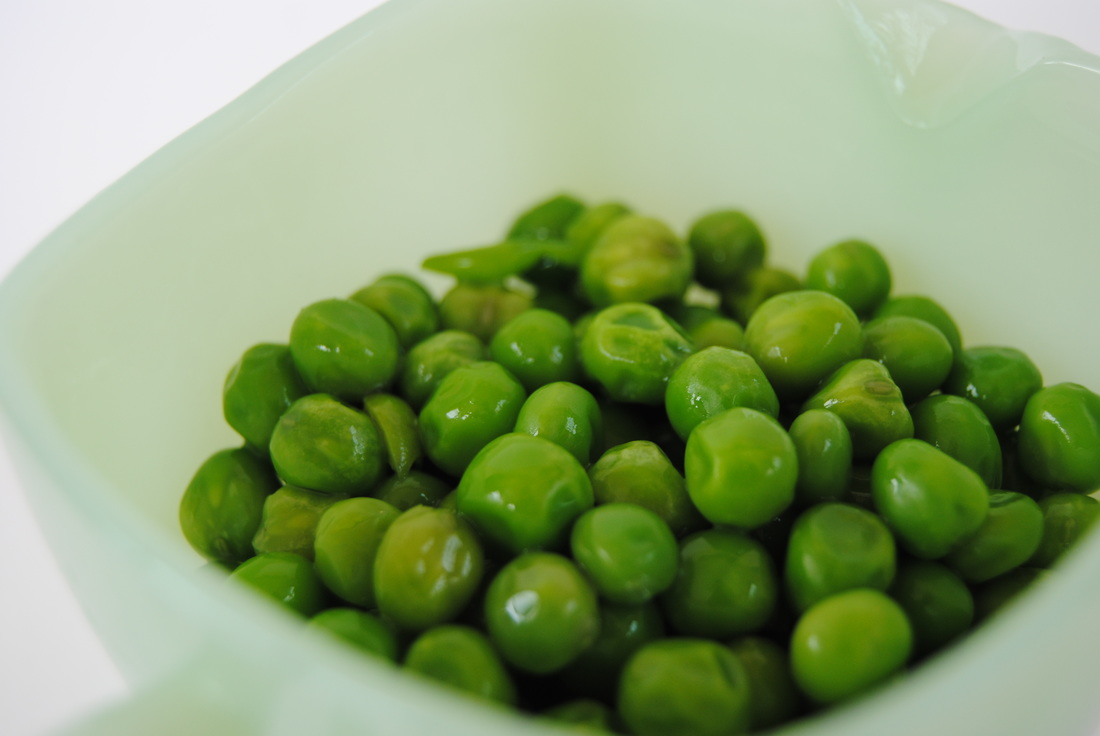
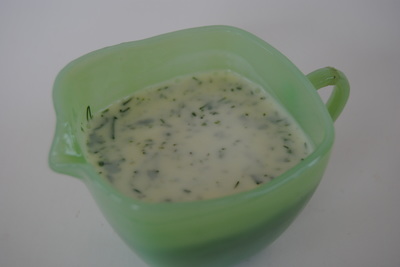
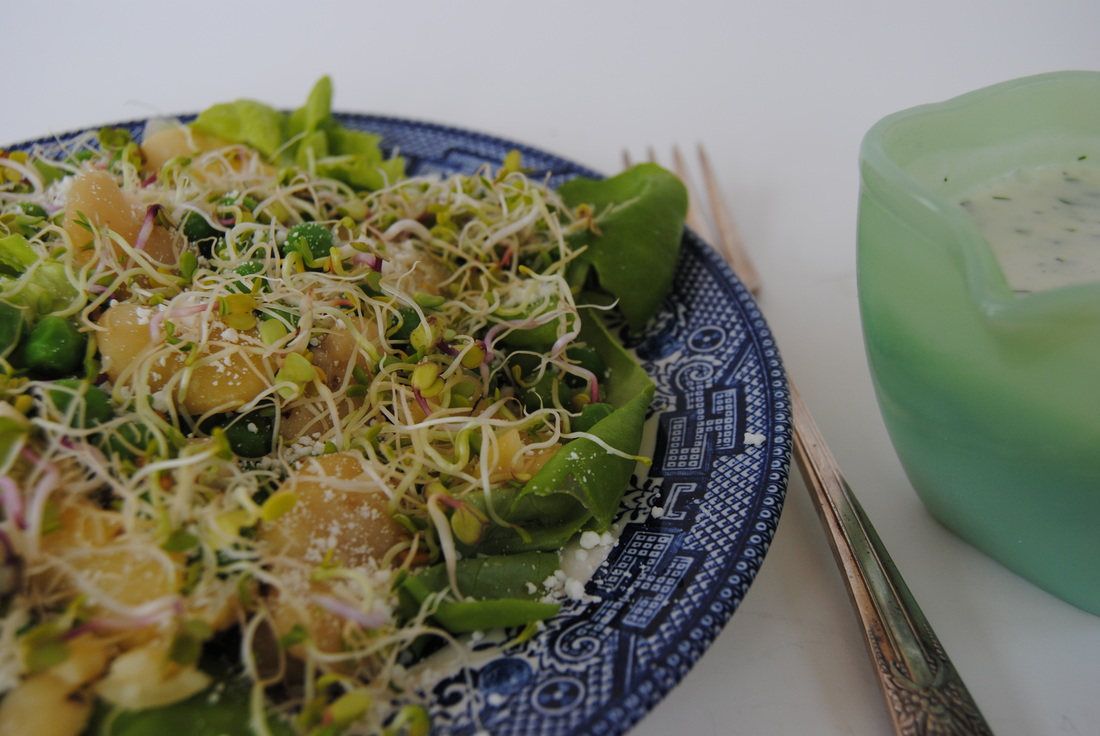
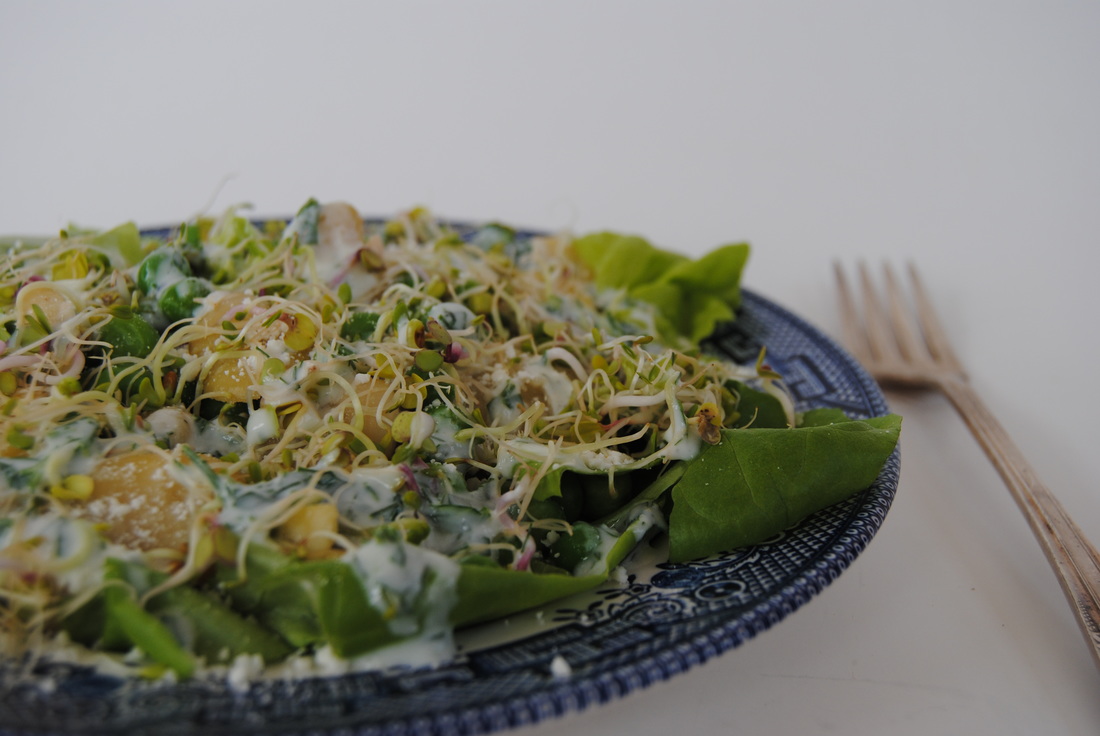
Have fun, Jess and Cecelia We got to wondering this past week why peas get such a bad reputation. Maybe it's because of their traditional presentation as overcooked, off-color mush next to a steak and potatoes dinner. Well not in this kitchen! We are elevating peas back to their rightful (and sexy) place in our diets with this week's recipe. We swear you'll never think of peas the same again. The first problem we've found with pea preparation is that they are often served cooked, when really we find them to shine when served raw. Now there are many varieties of peas but what we are referring to this week are "green peas" also known commonly as garden, English, or pod peas and not to be confused with snow peas or sugar snap peas which are served in the pod. Green peas should be removed from the pod, or shelled, and can be served raw or cooked though we much prefer raw. Peas are sweet and starchy and when raw have a nice firm texture similar to grapes. And though commonly thought of as a vegetable, peas are high in complex carbohydrate and nutritionally more similar to corn or potatoes. During the spring and early summer peas can be found raw in the pod or pre-shelled and are very easy to find frozen year round. When using frozen peas we suggest steaming until just thawed because once cooked they can start to become off color and mushy, which is fine if that's what you like but we prefer our peas on the sexy side. Yes, peas are sexy. Don't believe us? On to the recipe... Spring Pea and Fava Bean Salad PREP TIME: 45 mins + 8-12 hour soaking time TOTAL TIME: 50 mins + 8-12 hour soaking time Servings: 4 Ingredients Salad 1 cup green peas, shelled (fresh or frozen) 1/2 cup dry shelled fava beans (1 cup cooked) 1 Tbsp olive oil 1/8 tsp sea salt 1/8 tsp cracked black pepper 5 oz butter lettuce 1/2 cup bean/vegetable sprouts of choice 1/4 cup grated cotija cheese (or fresh grated parmesan) Dressing 1/2 cup whole milk plain kefir 2 tsp chopped parsley 1 tsp chopped dill 1 tsp lemon juice 1/4 tsp garlic powder 1/4 tsp sea salt Cracked black pepper to taste Begin by pre soaking dried shelled fava beans for at least 8 hours, or overnight, in room temperature water. Once the beans have soaked, drain and add beans to a large pot and cover with water. Bring water to a boil, reduce to a simmer, and slightly cover with a lid allowing a little air to escape. Continue to cook the beans until tender but not falling apart ~40-50 minutes. Carefully drain beans then add 1 Tbsp olive oil, 1/8 tsp sea salt, and 1/8 tsp cracked black pepper and set aside to come to room temperature. If using frozen peas, allow to thaw by letting them sit out while the fava beans are cooking, or lightly flash steam until soft in texture ~2 minutes in a basket steamer and allow to cool to room temperature. If using fresh peas make sure to rinse peas well then set aside. Meanwhile, to make the dressing combine kefir, chopped parsley, chopped dill, lemon juice, garlic powder, sea salt, and pepper. Mix dressing with a fork until fully combined. Wash and tear butter lettuce and divide among 4 plates. Wash and dry sprouts and add to each plate. Add cooled fava beans, peas, and cheese to each salad. Generously add dressing to the top of each salad. Serve and enjoy! Okay so you get it now? Peas are amazing! And they deserve a spot in our kitchens and diets. Not to mention this salad which is basically spring perfection with the fresh crunch from the butter lettuce and sprouts, satisfying starchiness from the peas and fava beans, and all topped with salty cheese and a too good to be true "ranch" style dressing. So join the pea revolution and spread the word starting with this recipe.
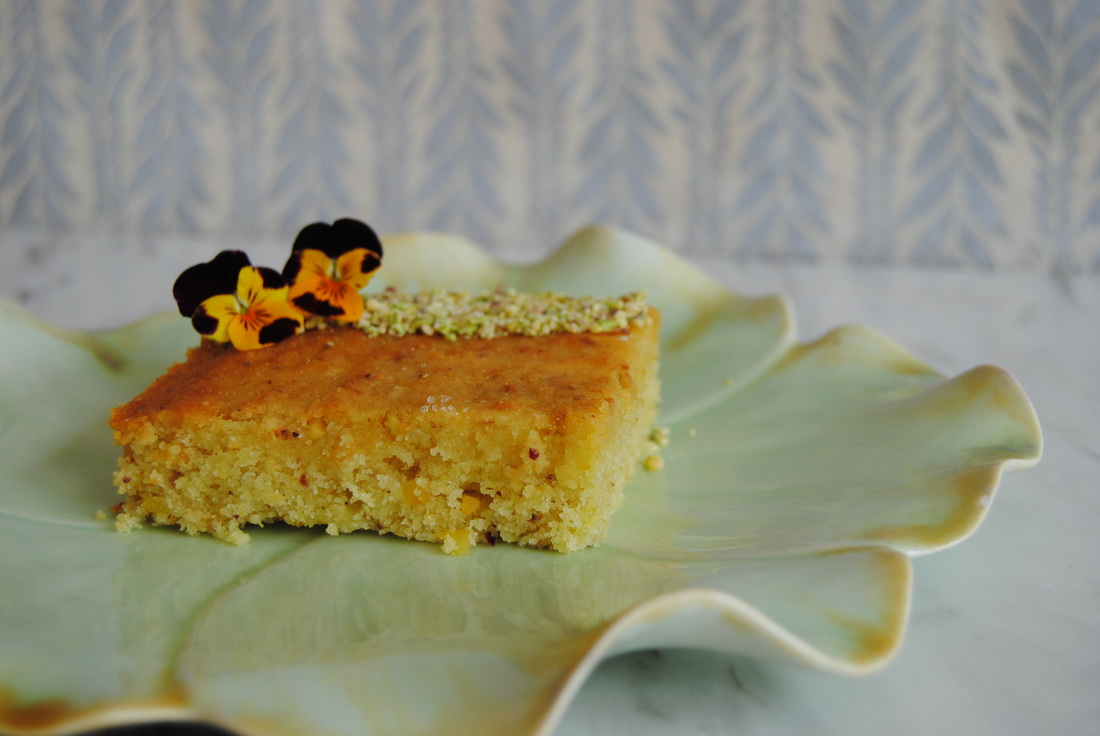
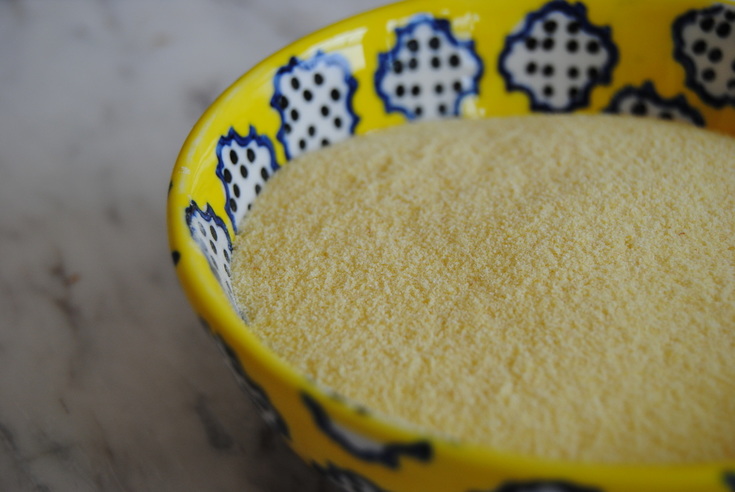
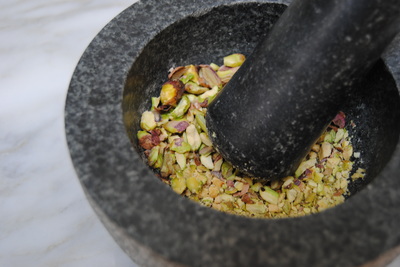
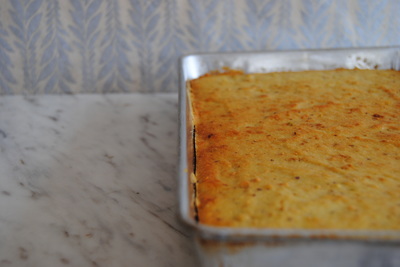
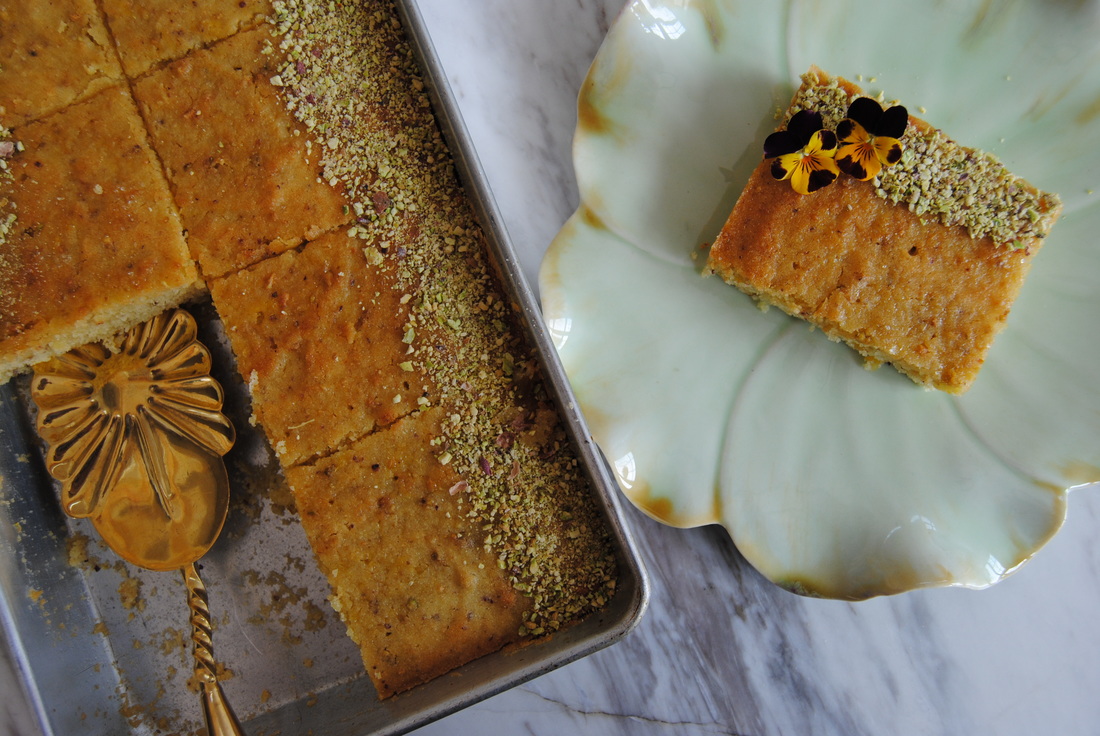
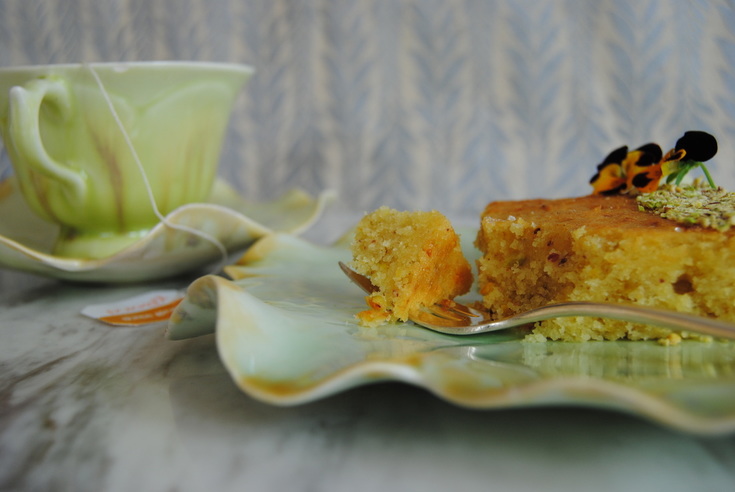
Stay sexy, Jess and Cecelia Oh mamma, this cake is delicious! So delicious, actually, that we've been eating it all week for breakfast but that can be our little secret. Though when making this cake we weren't just thinking about ourselves. We've been taste testing, preparing, and now perfecting a recipe to dazzle your amazing mothers with this Mother's Day. And we've given you a whole week to make it, you're welcome! Quickly, before the recipe we'd like to introduce you to a new ingredient this week, semolina flour. Semolina flour is first of all, beautiful, as you can see from the picture above. It is made by coarsely grinding a variety of wheat known as durum wheat, a hard wheat with a high protein content. The durum wheat is milled to remove the bran and germ leaving the yellow endosperm granules known as semolina which are then ground into flour. Semolina flour is traditionally used for pasta making because of it's high content of wheat protein, or gluten. The properties of gluten allow pasta to be molded, stretched, and cooked without falling apart. And we all love us some pasta don't we? But we've taken a different approach this week and made a cake from this beautiful flour. Not only unique and impressive, semolina flour provides a lovely color and dense, crumbly texture much different from cakes made with traditional cake flours. So now that we've convinced you to make this cake for your mamma this year, let's get to the recipe. Pistachio Semolina Cake PREP TIME: 15 mins TOTAL TIME: 50 mins Servings: 10-12 Ingredients Cake 2 cups semolina flour 1 cup cane sugar 1 1/2 cups raw unsalted shelled pistachios (makes 3/4 cup powdered with 1/4 cup reserved for the top of the cake) 10 Tbsp unsalted butter 1 cup + 2 Tbsp plain milk kefir (We prefer Siggi's kefir) 1/3 cup thick vanilla yogurt; Greek or Icelandic (We prefer Siggi's 4% milk fat) 1 tsp baking powder Syrup 4 Tbsp freshly squeezed orange juice 2 Tbsp light clover honey 1/4 tsp sea salt Preheat oven to 350°. Lightly butter a 9x13" pan and set aside. In a small bowl melt butter in the microwave and set aside. Using mortar and pestle grind pistachios into a fine powder similar to the texture of coarse sand. Note if you do not have a mortar and pestle, place nuts in a sealable plastic bag and crush with a rolling pin until desired texture. In a large mixing bowl combine the kefir, yogurt, and sugar. Stir the semolina flour, 1/2 cup ground pistachios, and baking powder into the yogurt mixture. Finally, stir in the melted butter and mix until just combined. Avoid over mixing the batter. Pour batter into prepared pan and cook in preheated oven for 35 minutes or until a toothpick comes out clean. Once the cake is fully cooked turn the oven to broil and move the cake to a higher rack for 3-5 minutes so that the top becomes a golden brown (pictured above). Though watch carefully the entire time you are broiling to avoid burning the top of the cake. While the cake is baking, prepare the orange syrup. Combine orange juice, honey, and sea salt and mix well. Once the cake comes out of the oven, use a toothpick to carefully poke holes (making sure to reach the bottom of the pan) every one inch across the surface of the cake. The purpose of this is to help the cake absorb the syrup. While the cake is still warm, evenly pour the orange syrup over the top of the cake. Sprinkle the outside edges of the cake with the reserved 1/4 cup powdered pistachios. Serve and enjoy! Now doesn't this fancy tea and cake celebration look like every childhood tea party dream? Well it is! This cake is dense, crumbly, savory, and sweet all at the same time. And lends itself well to any toppings or decor (we chose edible flowers) that you know your mother will love. And we are sending all of our love to you mamma superheroes out there, this one is for you.
Happy mother's day, Jess and Cecelia |
AuthorsJess and Cecelia welcome you to our kitchen. We are fun-loving and passionate foodies working to make the world a healthier, happier place one plant based recipe at a time. Categories
All
Archives
December 2018
|

