|
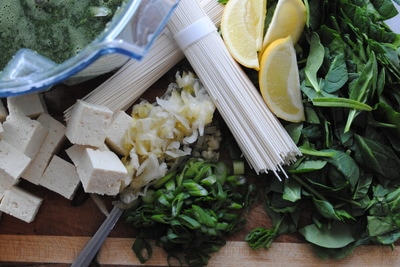
The weather in Chicago this week has been unseasonably warm to a point where we are enjoying it but also slightly missing winter (gasp!). Mostly, we are realizing that the time for warming recipes is getting shorter and shorter as spring approaches. We decided that another hot soup recipe was in order and took inspiration from another oldie but goodie fan favorite recipe from our first days at TGBK (recipe for Soul Warming Miso Soup here). We know you love the flavors and ease of this previous recipe and created another miso broth based, one pot soup. Yes one pot! All the ingredients go into one large pot for easy preparation and clean-up. You must be super excited about this one so let's get straight to the recipe! Super Green One Pot Noodle Bowl PREP TIME: 10 minutes TOTAL TIME: 15 minutes Servings: 4 bowls Ingredients 8 oz organic tofu (we used sprouted extra firm tofu), cut into cubes 5 oz dried Japanese style noodles (udon or soba) 5 cups fresh spinach, washed and roughly chopped 1 cup raw sauerkraut (homemade or store bought) 2 green onions (green part only cut on the bias) 6 cups low sodium vegetable broth 3 Tbsp miso paste 1 bunch cilantro , destemmed and chopped 2 medium cloves garlic, minced Toppings 1 lemon, cut into 4 wedges 1 tsp toasted sesame oil (1/4 tsp per bowl) 1 tsp sesame seeds (1/4 tsp per bowl) Add 1 cup vegetable broth, miso paste, chopped cilantro, and minced garlic to a blender and process mixture until cilantro is finely chopped then set aside. In a large pot, add remaining vegetable broth and bring to a soft boil. Add noodles and cook for 2-3 minutes or follow cooking instructions the specific noodle you're using. Once noodles are fully cooked, add tofu, spinach, sauerkraut, and green onions to the pot. Remove pot from the heat, add the cilantro miso broth and stir. Divide soup into 4 bowls. Top each bowl with 1/4 tsp toasted sesame oil, 1/4 tsp sesame seeds, and a squeeze of lemon. Serve warm and enjoy! This soup is best served right from the stove. However, if you do have leftovers we recommend that you store them in the fridge for up to 2 days and keep the cilantro miso broth separate from the soup until ready to serve to keep the fresh cilantro flavor and bright green color. Simply reheat soup in a pan until hot (~2-3 minutes) then pour the cilantro miso broth into the hot soup. Add toasted sesame oil, sesame seeds, and lemon wedge. This recipe is quick and easy but still impressive and definitely tasty. The ingredients are easily adaptable to what you are able to find until produce is abundant in the upcoming seasons. But the true star of this recipe is the warming broth; it has a depth of flavor from the miso, a brightness from the cilantro, and an inside out warming quality that only a good, homemade broth can provide. We hope you enjoy this winter recipe as we transition towards a new season and warmer weather. Do we dare mention that we are still hoping for one last pretty snowfall?
Enjoy, Jess and Cecelia
0 Comments
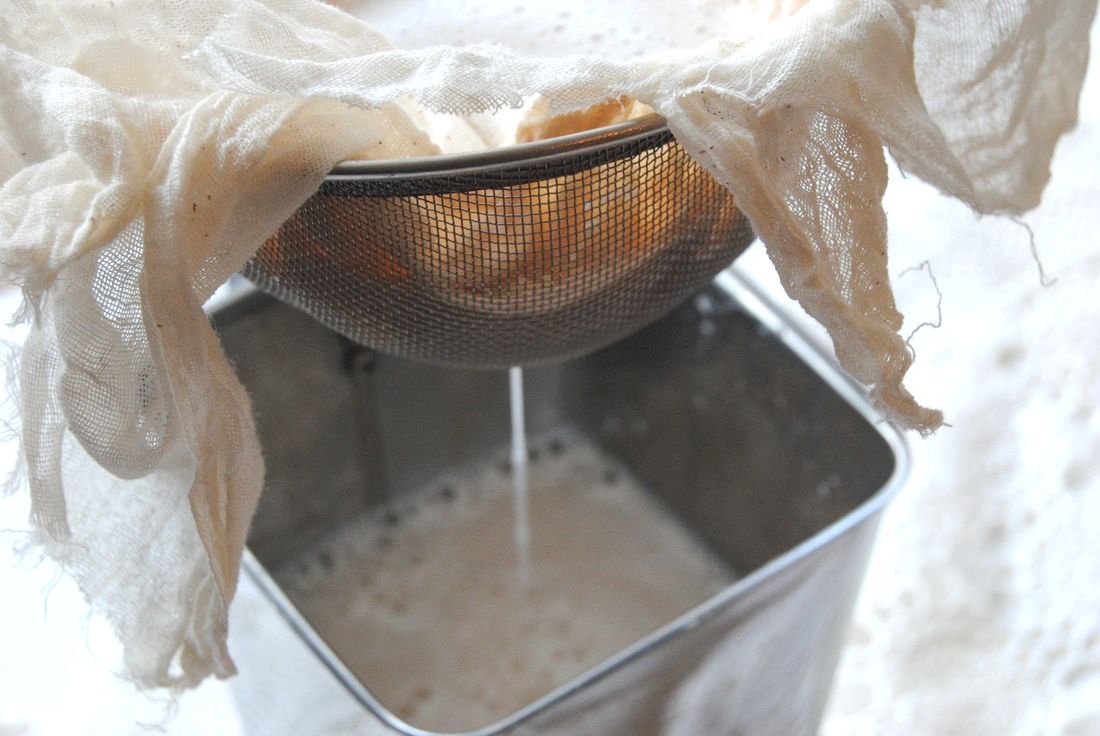
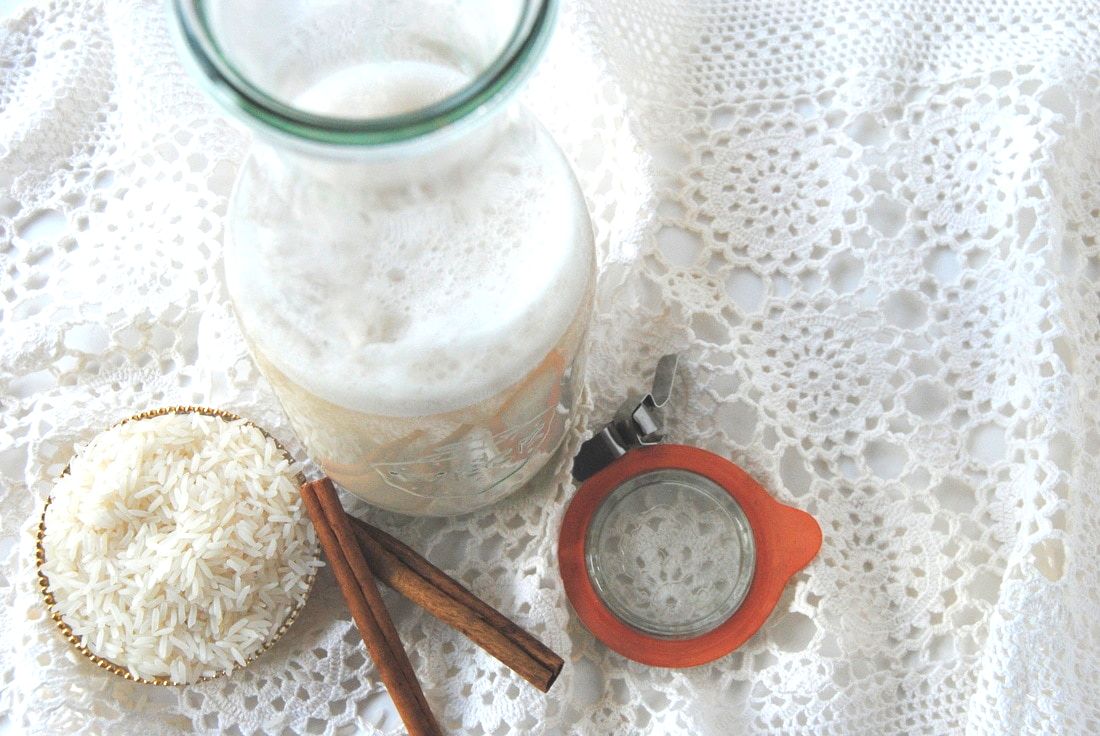
In need of an extra dose of caffeine this week in a unique preparation? We gotcha here at TGBK because that's just what we needed this week too! We love mixing up our beverage game and trying new things - this week horchata. What is horchata you ask? We gotcha... Horchata is a traditional beverage consumed in Latin America with different varieties of recipes/flavors depending on location. In Mexico, horchata is made with long grain rice, cinnamon, and sugar. In Spain, horchata's main ingredient is tiger nuts instead of rice which gives the final product a nutty flavor. In Puerto Rico, horchata is made with sesame seeds, cinnamon, vanilla, and sugar and sometimes has added almonds, evaporated milk, coconut milk, allspice, and even rum! We like the versions of horchata that provide an alternative, non-dairy milk beverage and created a rice based recipe this week. An important lesson that we learned just yesterday is that horchata is pronounced with a silent H - you're welcome! Horchata Iced Latte PREP TIME: 10 minutes + 4 hours soaking time TOTAL TIME: 10 minutes + 4 hours soaking time Servings: 6 cups horchata milk Ingredients 1 cup long grain white rice 6 cups water 1 cinnamon sick 1/3 cup pure maple syrup Combine 1 cup of rice with 3 cups room temperature water and 1 cinnamon stick in a large bowl covered with a lid or clean towel. Allow mixture to sit out at room temperature for at least 4 hours or overnight. Transfer soaked rice, soaking water, cinnamon stick, and 3 additional cups of room temperature water to a high speed blender. Blend mixture on high for 2-3 minutes then strain through a fine sieve lined with 2 pieces of cheese cloth over a large pitcher. Once solid and are liquid are separated, discard the solid retained in the cheese cloth and place the liquid horchata milk back into a clean blender. Add 1/3 cup pure maple syrup and blend for a few seconds until combined. Store horchata milk in a glass container fitted with a tight lid for up to 7 days. Note that liquids and solids will separate when sitting but easily recombine with a good shake. To make a horchata iced latte pour 4 oz of cold brew coffee (recipe here) and 4 oz of horchata milk into a glass with ice. Top with a spoon of foam created from blending and a sprinkle of cinnamon, stir, and sip away! We hope this beverage is a refreshing pick-me-up amidst your busy week. Having homemade horchata on hand is never a bad idea so that you have an alternative milk ready to go for any of your culinary needs. To spark your imagination we used horchata as our milk ingredient in a sweet crepe recipe and it was amazing!
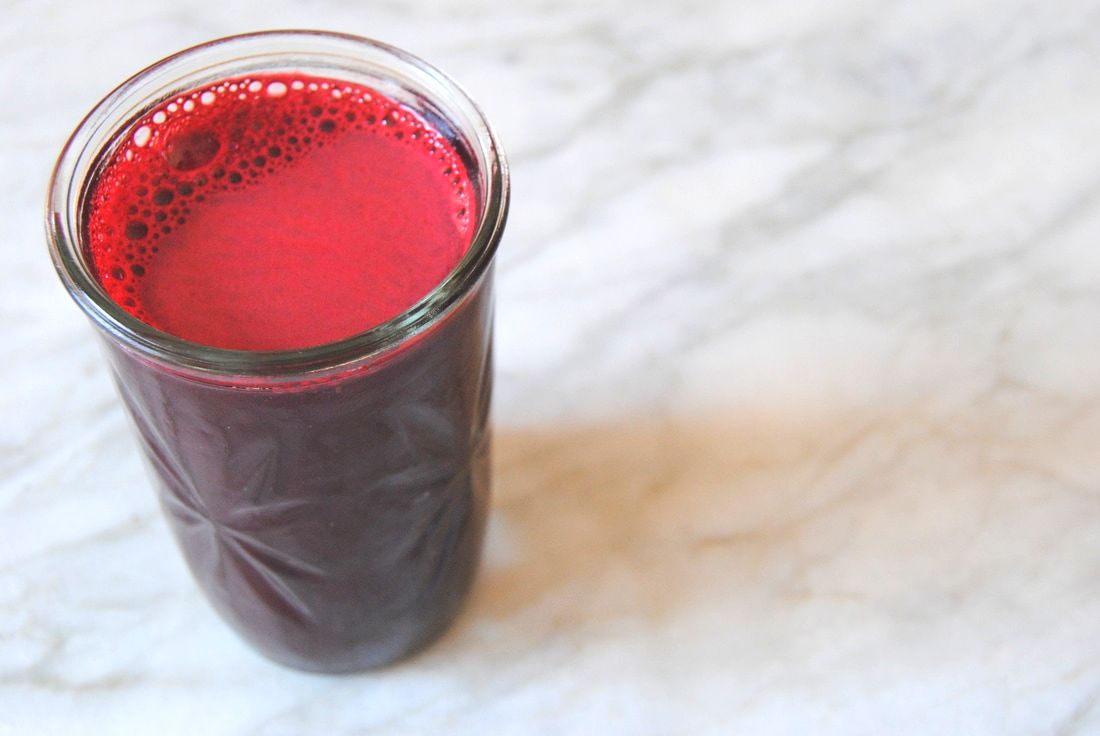
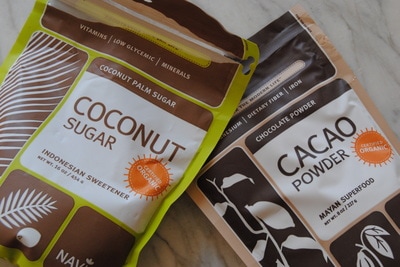
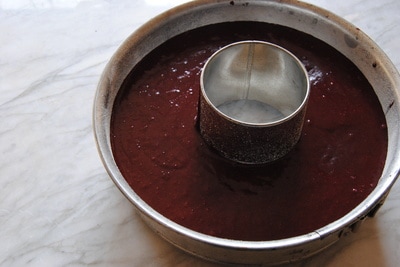
Enjoy, Jess and Cecelia You must know by now that here at TGBK we just love YOU (our followers!) and love to celebrate every and all occasions. Well then, this is our week. We've created a special cake in celebration of Cecelia's 30th birthday, The Green Blossom Kitchen's second full year, and of course, Valentine's Day. And this really is a special cake. If you remember our first ever post and still fan favorite recipe, then you may notice a resemblance this week. We used a similar chocolate cake base recipe but with some very different spins. Come find out what we did! First we must note that this cake was made with a lot of love and no artificial colors. We attempted a red velvet cake variation using beet juice as our natural coloring. As you will notice from the pictures, our uncooked batter had a beautiful red color but our final cake was mostly chocolatey goodness. We still knew the beet juice was there and enjoyed our version of red velvet but think the red color may be brighter in your final cake if less cacao powder is used. This is your chance to experiment and let us know! If you do decide to play around, increase the flour in the same ratio that you decrease the cacao powder - we suggest no less then 1/4 cup cacao. So why did we choose beet juice as coloring anyways? Well, the traditional red velvet cake is most often simply chocolate cake with red food coloring added. We prefer foods without chemical coloring for the simple fact that food dye is not a natural part of the diet and not necessary to be consumed. And with so may natural food sources of coloring agents, we just don't see a reason for chemical additives. Finally, we'd like to send a huge thank you to Navitas Naturals for sending us a box full of natural superfoods to use in our recipes. We just love this brand and their products and suggest you check out their website soon. With all that said, on to the recipe! Natural Red Velvet Cake PREP TIME: 40 minutes TOTAL TIME: 1 hour 30 minutes Servings: 8-12 Ingredients Cake 1 3/4 cup whole wheat flour 2 cups coconut sugar 3/4 cup cacao powder 2 tsp baking soda 1 tsp baking powder 1 tsp sea salt (we used pink Himalayan) 1 cup "buttermilk" (1 cup coconut milk + 1 Tbsp apple cider vinegar, let sit for 10 minutes to curdle) 1/2 cup coconut oil, melted 2 Tbsp ground flax seeds + 6 Tbsp room temperature water (let sit for 5 minutes until gelatinous) 1 tsp pure vanilla extract 1 cup fresh beet juice (store bought will also work) Frosting 1/2 cup Lebneh (strained Greek yogurt) 1/2 cup powdered sugar 1 Tbsp coconut oil 1-2 tsp beet juice to decorate Pre-heat oven to 350 degrees. Lightly coat a 10-12 cup Bundt pan with coconut oil and dust with flour to lightly coat. Sift the dry ingredients together - whole wheat flour, coconut sugar, cacao, baking soda, baking powder, and salt - into a large bowl. In a separate bowl, combine the wet ingredients - "buttermilk", coconut oil, ground flax with water, and vanilla. Add the dry ingredients to a standing mixer fitted with a paddle attachment and mix on low speed while slowly adding the wet ingredients to the dry. With the mixer still on low, add the beet juice and mix to just combine, making sure to scrape the bottom of the bowl with a rubber spatula. The batter will be pretty thin but don't worry, this is what you want. Pour the batter into the prepared pan and bake for 45-50 minutes until a toothpick comes out clean. Cool in the pan for at least 30 minutes. While the cake is cooling, begin making the frosting. To make the frosting combine the lebneh, powdered sugar, and coconut oil in a standing mixer and beat on medium high until fluffy. Spoon frosting into a plastic sealed bag and place in the fridge to cool for at least 15 minutes. Cut a small hole in the bottom corner of the bag to allow for easing piping. Carefully invert the cake onto a cake stand or cake plate. Use your best decorating skills to decorate the cake with the frosting, piping it out into your favorite design. Use a toothpick dipped in beet juice to add a red natural food coloring to the top of the frosting. Serve cake at room temperature or store in the fridge for 3-5 days. This cake will make you feel loved - it's true! The ingredients are real, natural foods and combine in such a delightful way in this recipe. And what a perfect way to include beets in the diet of those who are not as fond of this colorful root vegetable. We hope you make this cake for a special occasion and share it with those that you love. Thank you for an amazing two years of creating recipes for YOU.
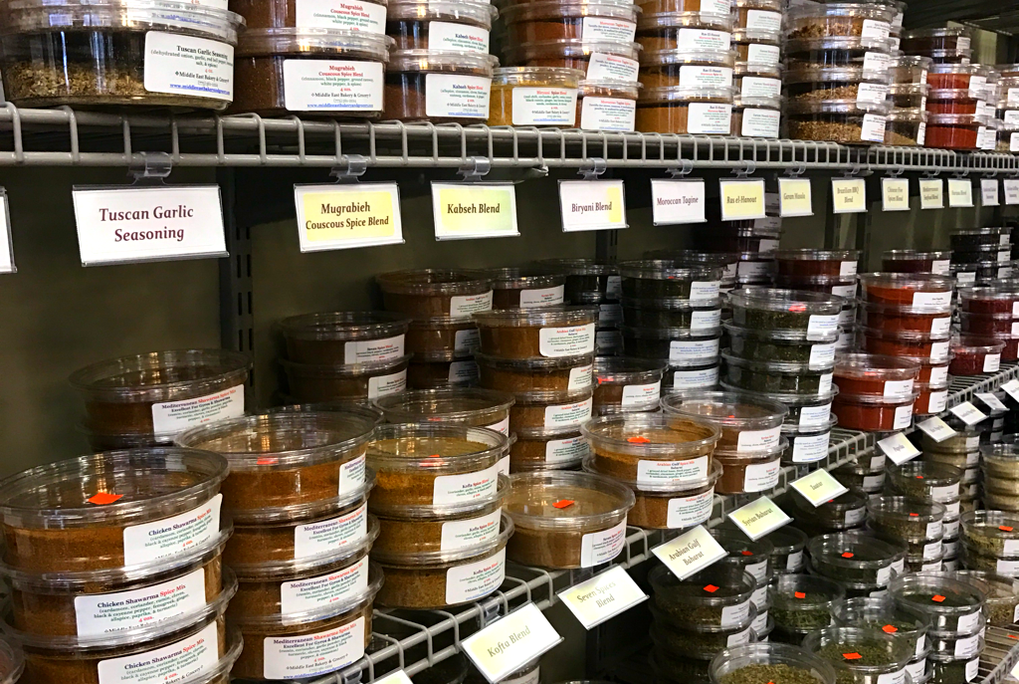
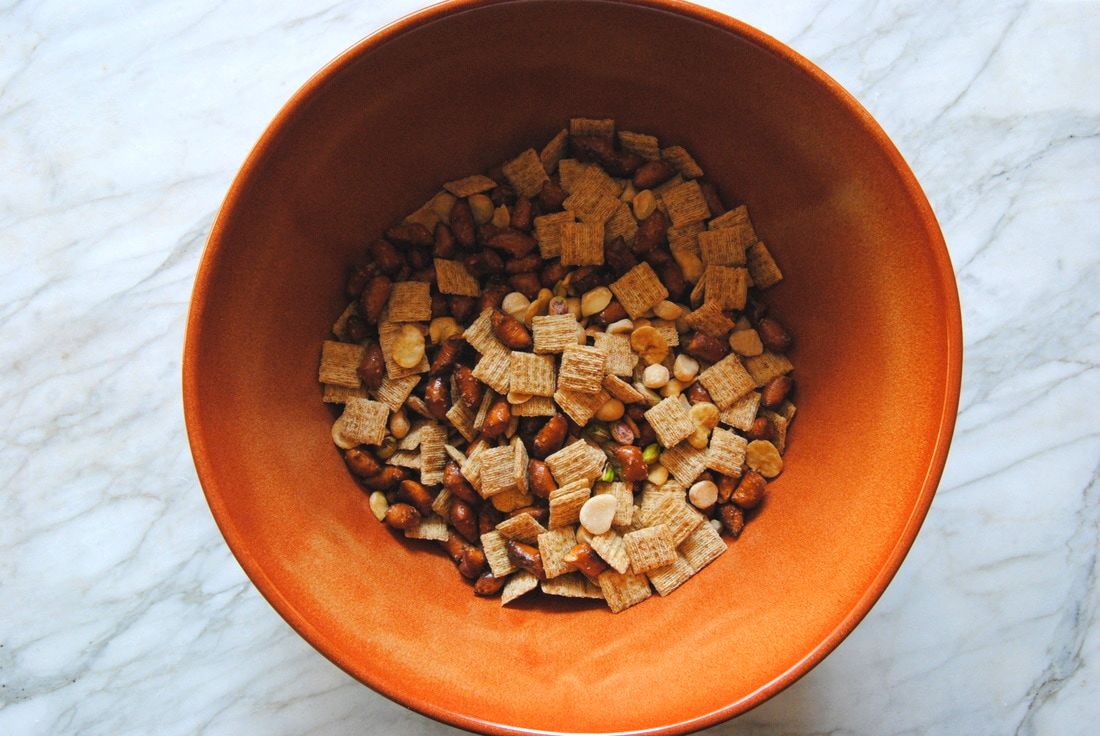
With love and gratitude, Jess and Cecelia Super Bowl shenanigans yesterday got us in a snacking mood and thinking about better, homemade snacks. Often prepackaged snack mixes have undesirable ingredients and leave no room for creativity. If you love our oldie but goodie recipe for Snack Attack Bars than you'll be glad that we're back with round two - Snack Attack Berbere Mix. But what is berbere you ask, let's find out! We had some fun at one of our favorite specialty grocers in Chicago this weekend - Middle East Bakery and Grocery in Andersonville. They have a delicious eat in cafe and an amazing selection of hard to find Mediterranean ingredients. What really wows us about this grocer, however, is their colorful selection of spices and unique spice blends without strange additives. It's here that we discovered berbere and are sure glad we did. Berbere is a traditional Ethiopian spice blend with a delectable balance of spice, savoriness, and a touch of sweetness. Our blend contains paprika, ginger, cumin, gram masala, anise seeds, cinnamon, allspice, cardamom, curry, onion, and garlic powder. From what we've found there can be a variety of spices in different berbere blends or recipes but we love the one that Middle East Bakery and Grocery carries. Check them out soon for this gem or find a local specialty grocer that carries unique spices. If you have a great spice cabinet already and want to experiment with a mixture of these ingredients that would be fun too! Though this snack mix would be amazing with any of your favorite spices/spice blends. Snack Attack Berbere Mix PREP TIME: 10 minutes TOTAL TIME: 40 minutes Servings: ~7 cups Ingredients 3 cups mini woven wheat crackers (rice, corn, or wheat woven unsweetened plain cereal would also work) 2 cups pretzels (any shape will work, we used whole wheat pretzel bites) 1 1/4 cup roasted broad bean crisps (we used Enlightened brand, roasted chickpeas would also be great) 1/2 cup unsalted macadamia nuts 1/2 cup unsalted, shelled pistachios 4 Tbsp melted, unsalted butter 2 Tbsp + 2 tsp low sodium soy sauce 2 tsp apple cider vinegar 1 tsp honey 1 Tbsp + 1 tsp berbere seasoning powder (paprika, ginger, cumin, gram masala, anise seeds, cinnamon, allspice, cardamom, curry, onion, & garlic powder) OR spice mix of your choice Pre-heat oven to 250 degrees. In a large bowl, mix together the mini woven wheat crackers, pretzels, roasted broad beans, macadamia nuts, and pistachios then set aside. In another small bowl, combine the melted butter, soy sauce, apple cider vinegar, and honey then pour over the dry ingredients. Gently stir the mix until well coated. Sprinkle berbere seasoning powder over the mix and stir again to evenly coat. Spread mix in an even layer on a large parchment lined sheet pan then bake for 30 minutes, stirring every 10 minutes. Remove from the oven, allow mix to fully cool for ~15 minutes, then store in an air tight container for up to 10 days. This mix is a snack that won't quit. It's perfectly crunchy but also rich and buttery, the mixture of nut and bean protein will keep you full and satisfied, and the unique tang of the berbere will keep you coming back for more. This can be shared with a group and will easily travel for an on the go snack. And don't forget to support your local businesses and specialty ethnic grocers - finds like this mix may not be possible without them! Thank you Middle East Bakery and Grocery, see you soon.
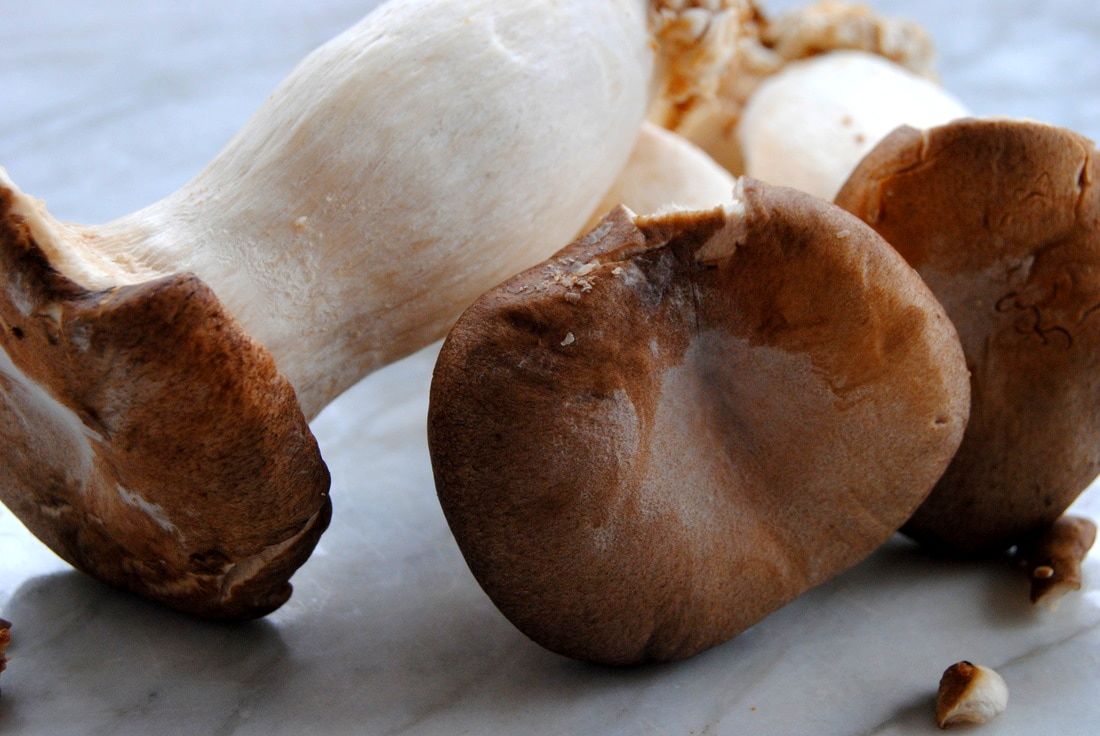
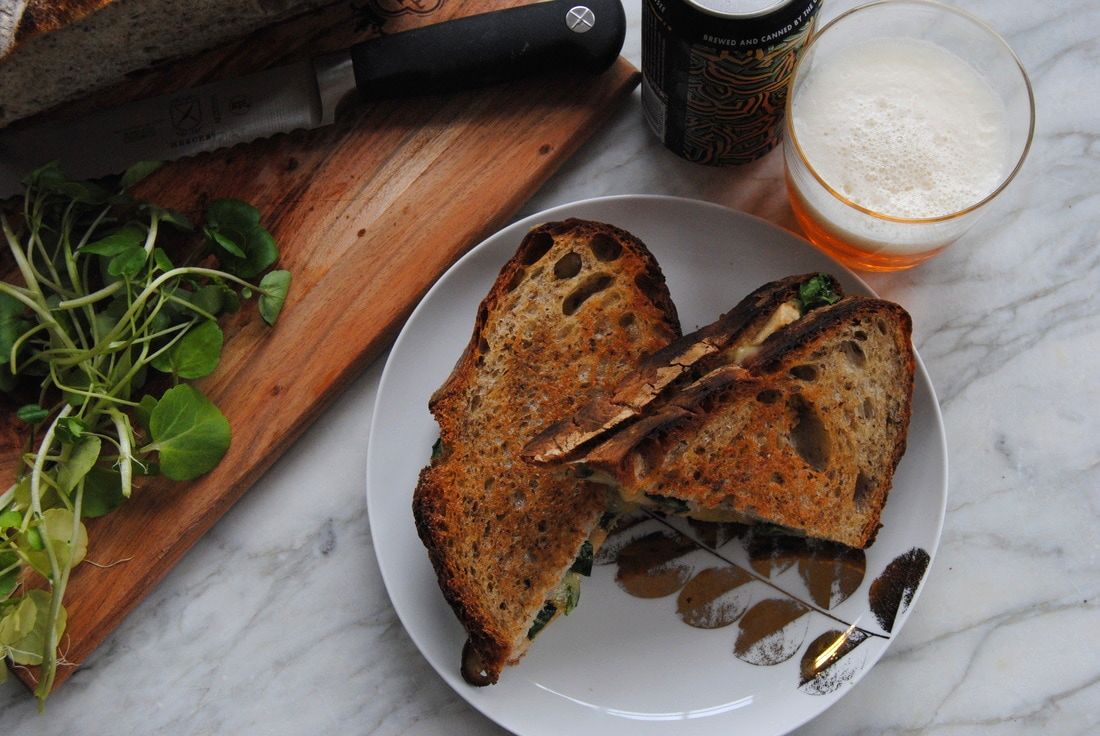
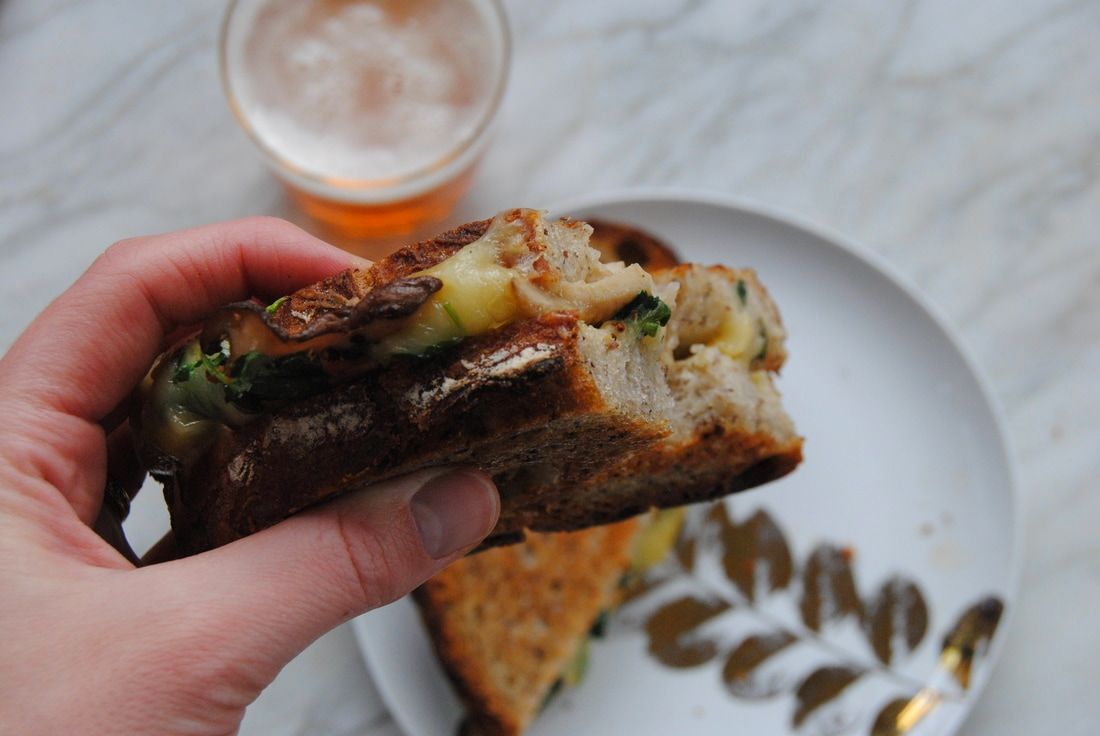
Snack on, Jess and Cecelia We don't know about you friends but we've had one heck of a busy week! Between work, personal, and social commitments schedules can get out of control. When this happens we find that we may skip on other very important things like eating well, physical activity, and/or sleep. Though skimping on self-care routines usually makes hectic times more stressful and difficult to deal with. That's why our recipe this week is a healthier version of comfort food that can be prepared in under 15 minutes. Instead of a traditional grilled cheese, we've packed this recipe with mushrooms and greens for a more complete meal. Depending on the bread used this may be a very large sandwich that can be shared for two or saved for another rushed moment. If you can't find trumpet mushrooms don't stress! Any thinly sliced mushroom will work. We had fun shopping at the Golden Pacific Market in Edgewater last weekend and found this beautiful mushroom variety there - we hear they carry these year round! So let's get straight to the recipe this week... Trumpet Mushroom Grilled Cheese PREP TIME: 10 minutes TOTAL TIME: 15 minutes Servings: 1 large sandwich Ingredients Mushrooms 3-4 oz trumpet mushrooms, sliced ~1/4" thick 1 tsp butter (we used Kerrygold unsalted butter) sprinkle of salt and pepper Grilled cheese 2 slices of thick crusty bread Sautéed trumpet mushrooms 1/2 cup watercress or green of your choice 2 oz Havarti cheese 1 oz Gruyere cheese 1 tsp stone ground mustard 2 tsp butter In a medium pan melt 1 tsp butter then add sliced mushrooms. Sprinkle mushrooms with salt and pepper and sauté for 2 minutes per side until mushrooms have golden edges then remove from the heat and set aside. Butter each side of bread with 1 tsp butter. Layer inside of bread with cheese, sautéed mushrooms, greens, and mustard. Place the other slice of bread on top with the butter side facing up and cook on a cast iron griddle or in a cast iron pan on medium heat for 4-5 minutes, flipping sandwich half way through cooking time. If the cheese needs help melting, cover the sandwich with a lid over the pan or another pan upside down over the griddle creating a dome for the last 2 minutes of cooking. Cut sandwich in half, serve warm, and enjoy! If saving half for later this does reheat well at 350 degrees for 5-7 minutes. Unbelievably satisfying and so comforting during a hectic week. Taking those extra few minutes to prepare and sit down to a home cooked plate is worth it. We love our grilled cheese paired with a good IPA but beverage choice is up to you! After this, some rest and then back to the business, but right now, we eat.
Enjoy, Jess and Cecelia |
AuthorsJess and Cecelia welcome you to our kitchen. We are fun-loving and passionate foodies working to make the world a healthier, happier place one plant based recipe at a time. Categories
All
Archives
December 2018
|


