|
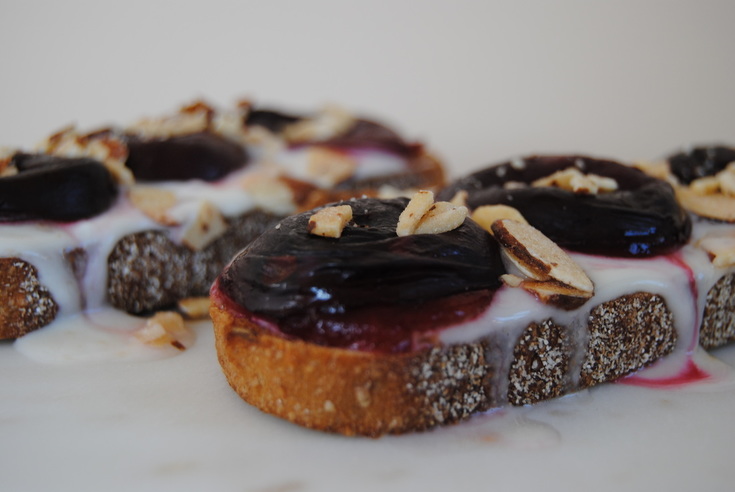
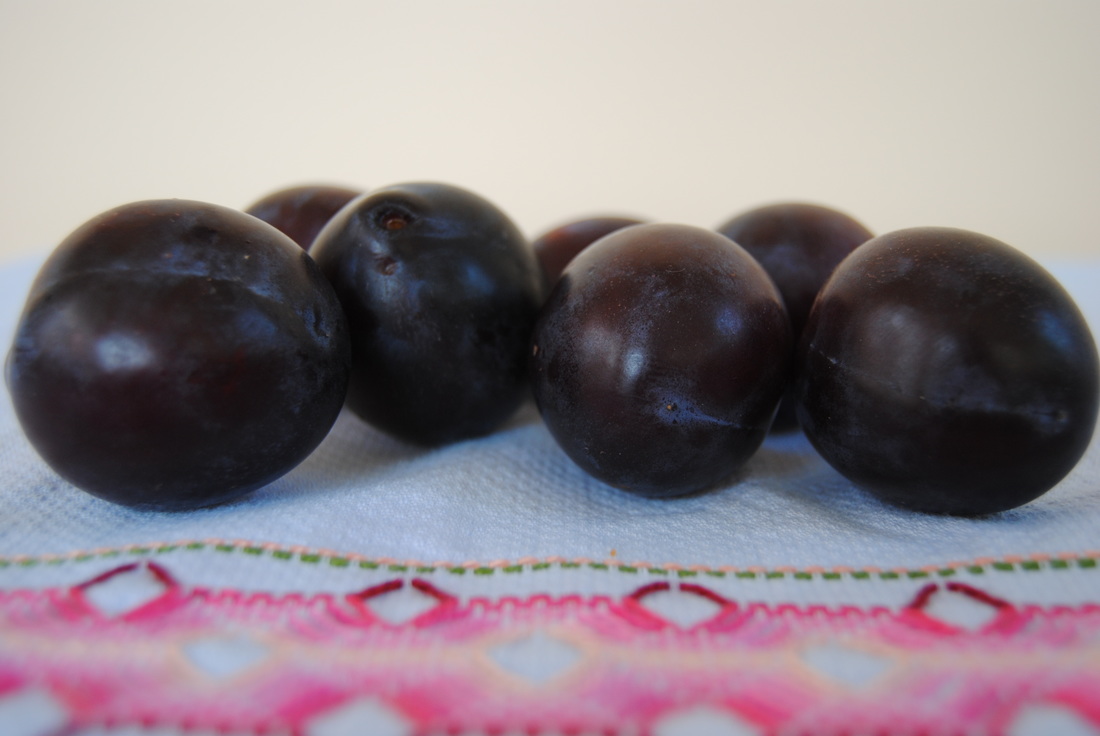
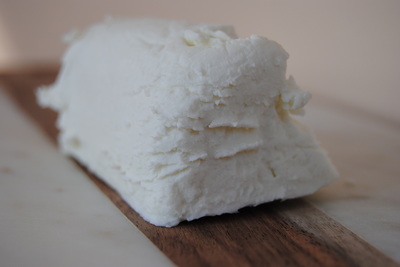
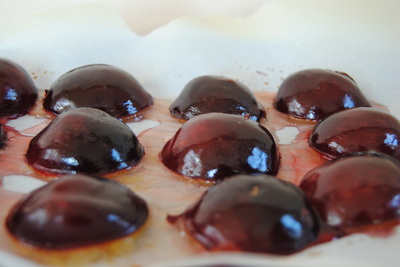
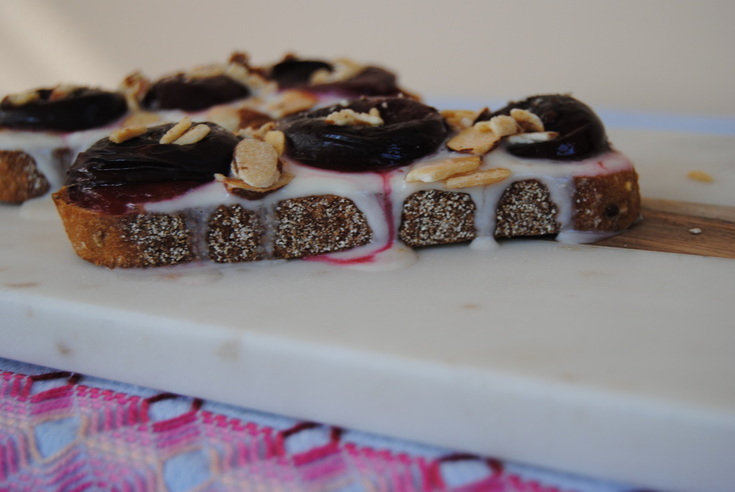
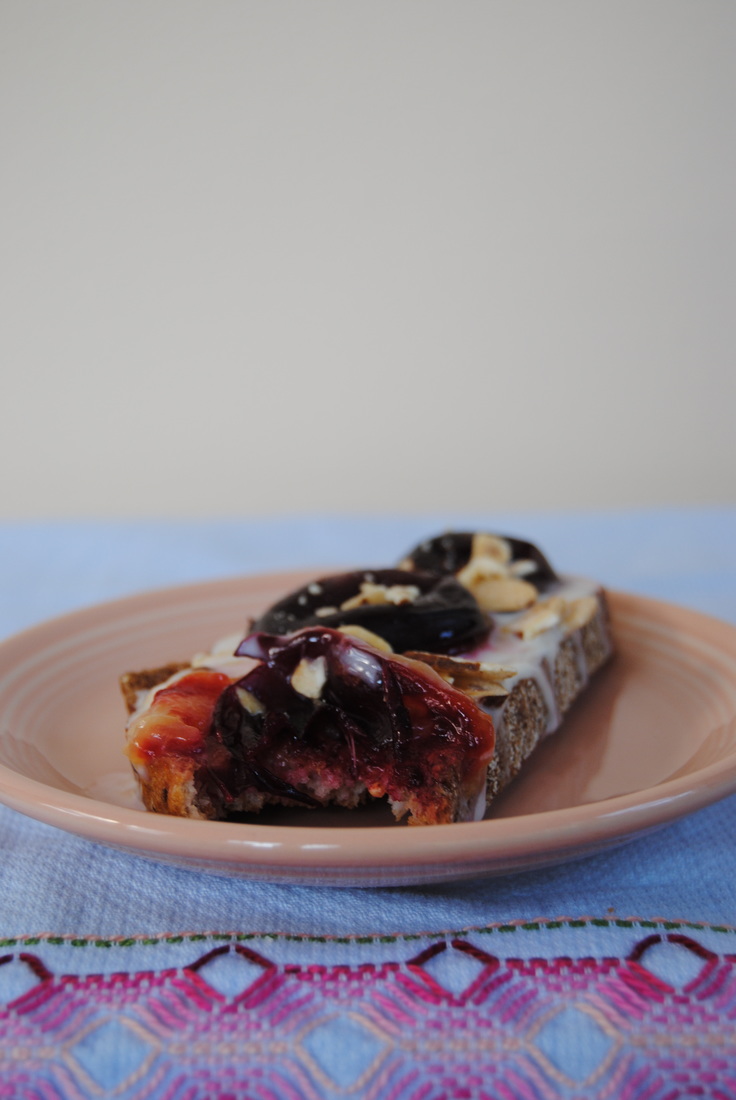
In honor of our last post this August we just had to feature another favorite summer fruit, actually a whole family of fruits at that. There will be plenty of time for apples this fall but the season for stone fruits is short and almost over so don't miss out! Wondering what a stone fruit is? Let's find out before getting to this must have breakfast recipe. If you've ever had a fresh plum (who hasn't!), you'll know that they contain a hard inner seed or pit. It's this quality that allows plums to be commonly called "stone fruits" along with nectarines, peaches, apricots, and cherries to name a few more commonly found during the summer months in North America. Most stone fruits are native to warmer climates and will only be found locally June-September. These stone fruits have thin, edible outer skin and soft flesh making them ideal for a variety of culinary preparations. We love them fresh, grilled, roasted and even dried. Dried plums, also unfortunately known as prunes, have gotten a bad reputation for bad taste and one important use (if you catch our drift). Though dried plums have been proven to be great for digestion, we also think that they taste great and can be utilized for convenient, on the go energy. Just remember to call them dried plums (instead of prunes) to avoid any negative connotations! But this time of year fresh, local stone fruits should be in abundance so get them while you can. This breakfast recipe is a must before stone fruits are gone until next year so let's get to it! Roasted Plum Toast PREP TIME: 10 mins TOTAL TIME: 12 mins Servings: 4 Ingredients 4 slices of hearty bread (tips for picking a quality bread here) 6 small plums 1/4 cup slivered almonds (we used honey roasted) 2 1/2 oz plain, organic goat cheese 2 tsp honey (we used raw clover honey) Sprinkle of sea salt Preheat oven to 325°. Cut plums in half, place on a lined baking sheet, and roast for 8-10 minutes or until plums are soft but still hold their shape. Lightly toast the bread on both sides and set aside. Combine the goat cheese, honey, and sprinkle of salt. Whip mixture with a fork into a thick frosting like texture. Evenly spread whipped honey goat cheese on each slice of toast. Using your hands gently place 3 small roasted plum halves (cut side down) on top of goat cheese. Sprinkle with slivered almonds. Serve warm or room temperature with napkins handy! The sweet, creamy goat cheese is a perfect compliment to the warm, tart roasted plums creating a perfect start to any morning. Reminiscent to cream cheese and jam we find the roasted plums to be an exciting replacement for jelly while the season is right- you've got plenty of time for plain jam the rest of the year. So stick to stone fruit until the season is gone.
Enjoy, Jess & Cecelia
0 Comments
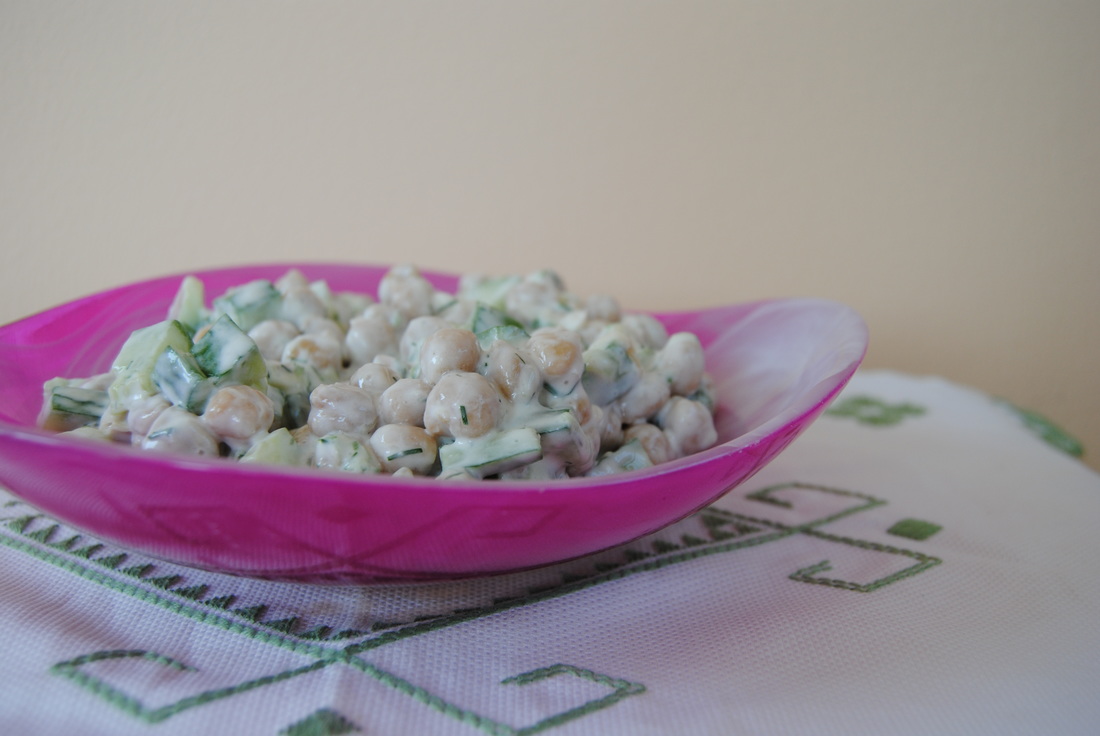
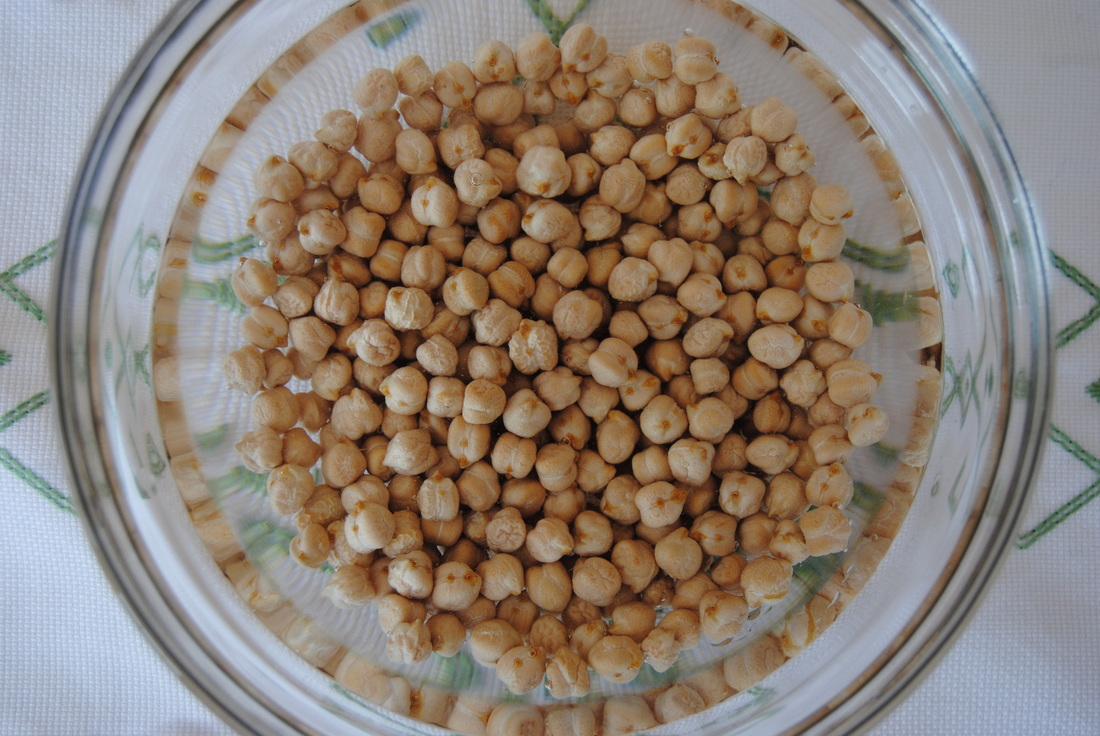
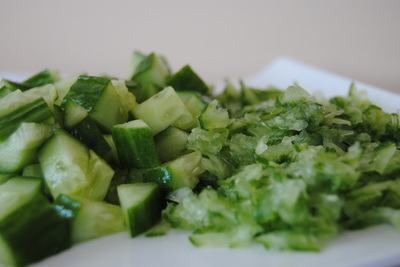
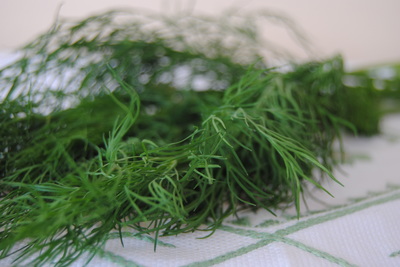
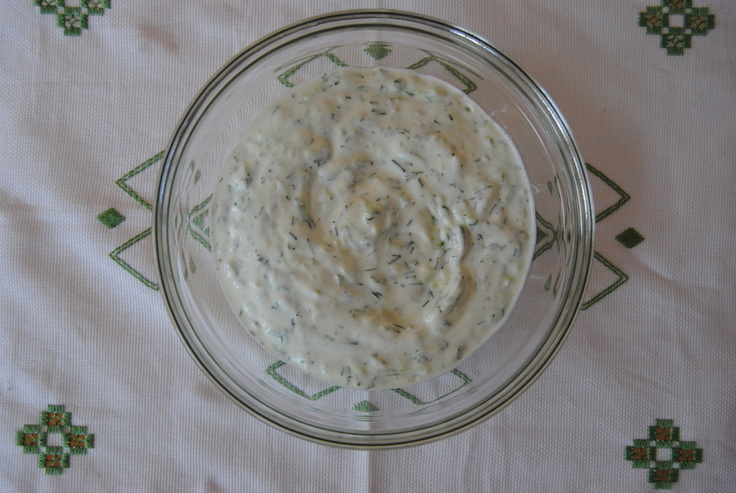
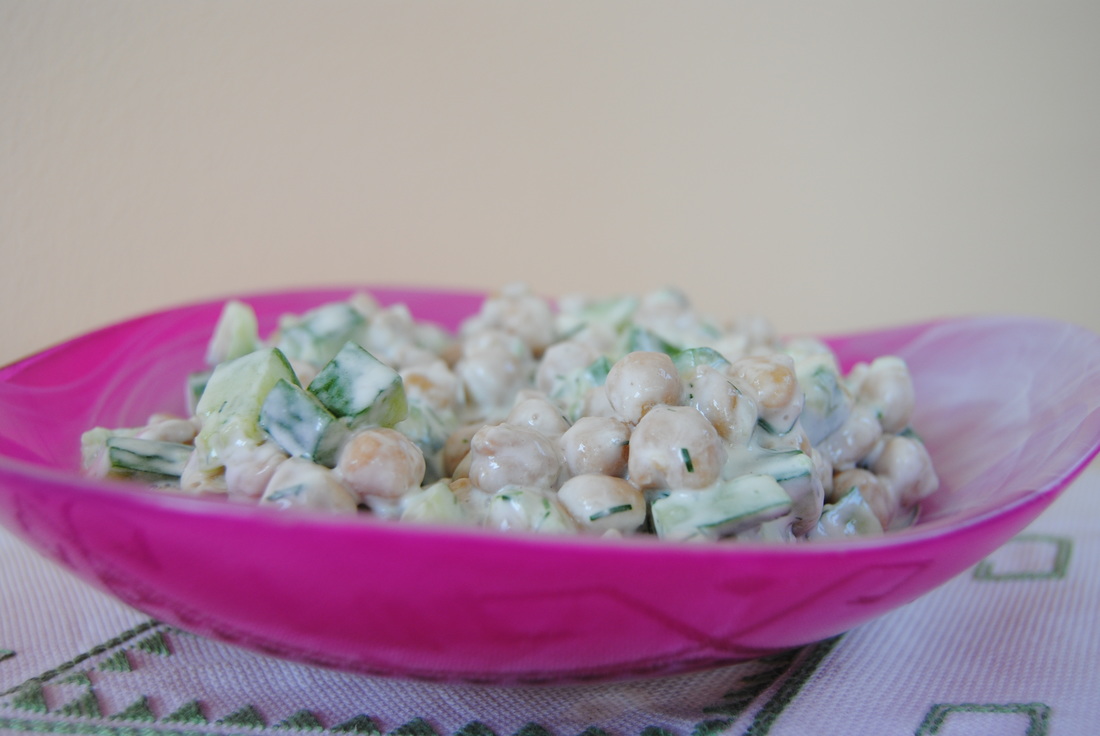
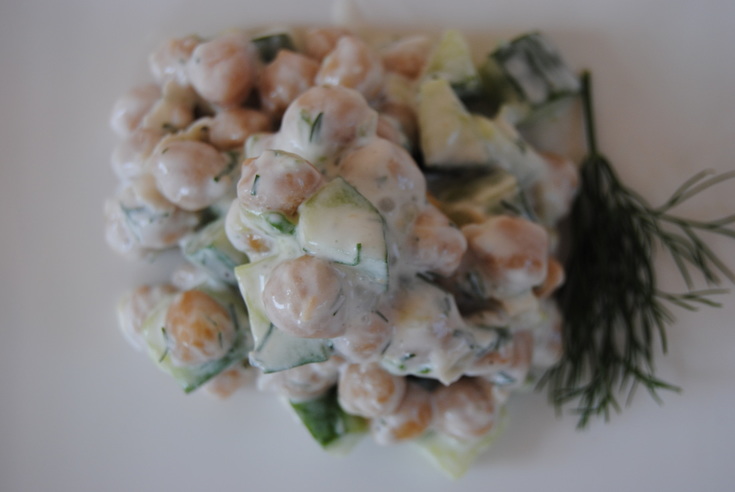
From The Green Blossom Kitchen we really hope that you're making the most of this beautiful summer. But as you're soaking in the pool this August remember that there may be something else that needs a little soaking. Your dried beans are also begging to be soaked! Now we're not here to hate on the convenience of canned beans, but to remind you that when possible cooking from dried beans is more economical, fresher and can increase the variety of beans you have to choose from. Though if you are going to cook your beans at home let's first find out why a pre-soak is a must! The major reason why soaking your beans is a must is for better absorption of nutrients, which is pretty important to us as foodies/dietitians. Dried beans are one of many plant foods which contain phytic acid, the primary storage form of phosphorus in plant seeds. Though it sounds harmless, phytic acid actually blocks our bodies ability to properly absorb minerals (calcium, magnesium, iron and zinc) within certain plant foods. By soaking beans in warm water (~140 degrees) for at least 12 hours prior to preparing, you are able to greatly reduce the amount of phytic acid within the bean meaning more nutrients for you! Pre-soaking can also reduce cooking time making preparation easier. For this recipe we chose to use chickpeas (of course soaked overnight!). Chickpeas are a vegan source of protein and full of fiber - one cup of cooked chickpeas contains a whopping 15 grams with 65-75% of the fiber being insoluble. So throw some chickpeas in water for a little dip while you explore this recipe further... Tzatziki Chickpea Cucumber Salad PREP TIME: 10 mins (plus 12 hour soaking and 1 hour cooking) TOTAL TIME: 15 mins Servings: 4 Ingredients Salad 1 large English cucumber, or 3 small English cucmbers 1 cup dried chickpeas, soaked over night for at least 12 hrs (makes about three cups once cooked) Tzatziki Sauce 1 cup full fat plain Greek yogurt 1 Tbsp chopped fresh dill 1 large or 2 small cloves garlic, minced 1/2 Tbsp lemon juice 1 tsp honey (we used a light clover honey) 1/4 tsp sea salt + additional to taste Sprinkle of pepper to taste Once beans are done soaking, drain, rinse, and add to a pot. Cover with twice the amount of water and bring chickpeas to a boil. Once at a rapid boil cover with a lid, lower the heat, and simmer for about one hour. After an hour of cooking feel free to do a taste test; if the chickpeas are too firm continue cooking until soft and to your liking. Once chickpeas are fully cooked, drain, rinse, and set in the fridge to cool. Chop cucumber into bite sized pieces (about the same size as the cooked chickpeas) and add to the bowl with the cooled chickpeas. To make the sauce, finely chop the dill and mince the garlic. Add the Greek yourt, chopped dill, garlic, lemon juice, honey, salt, and pepper to a mixing bowl. Stir until all ingredients are fully combined. It's now time to mix up your salad! If you plan to eat all of this salad right away add all of the tzatziki sauce to the bowl and mix until fully combined. Sprinkle with additional sea salt to taste. Serve and enjoy! *TIP: If you do not plan to eat all of this salad right away we suggest adding the tzatziki sauce and additional salt just before eating. We found that the longer it sits on the salad the more water is drawn out from the cucumbers being exposed to salt creating a more "soupy" final salad than we would like. We hope you love the freshness of this salad and find a use for all those garden cucumbers lying around this time of year. We think that this one is great on it's own, a perfect topping for a spinach salad, or yummily (yes yummily) paired with warm pita. Though you may find another use so please share! Also that tzatziki sauce, you're going to want to use it on everything so go ahead! Just remember to soak your beans, they deserve a dip too. Okay, now it's time get back to the pool!
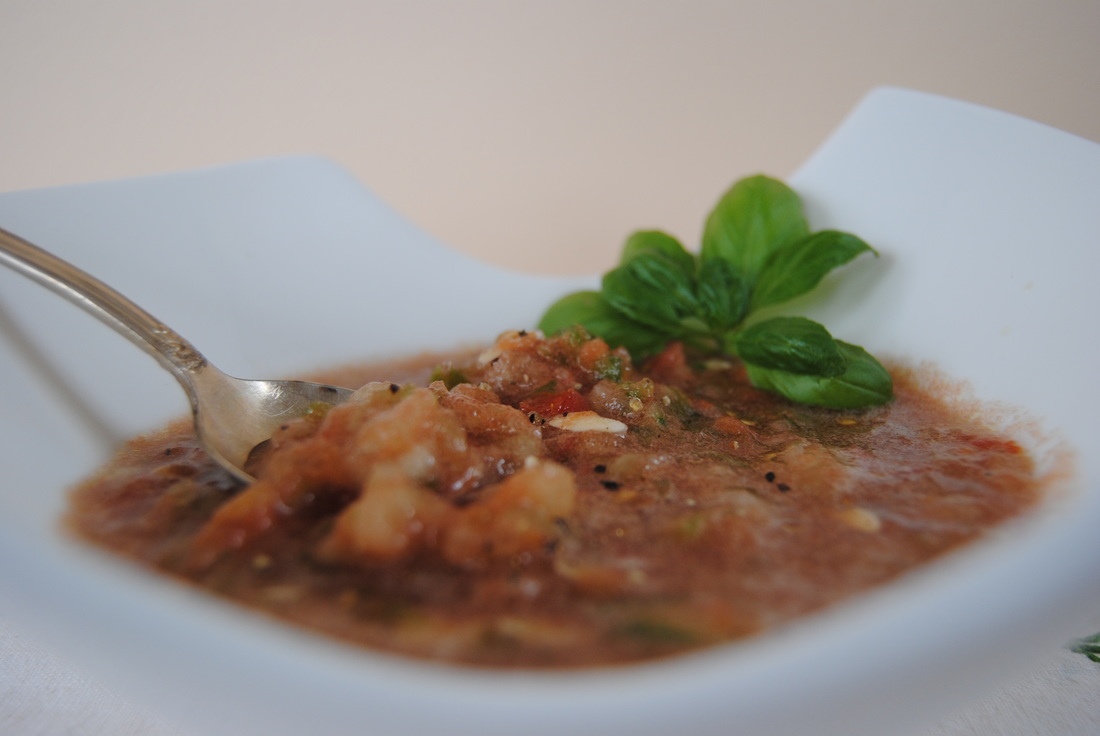
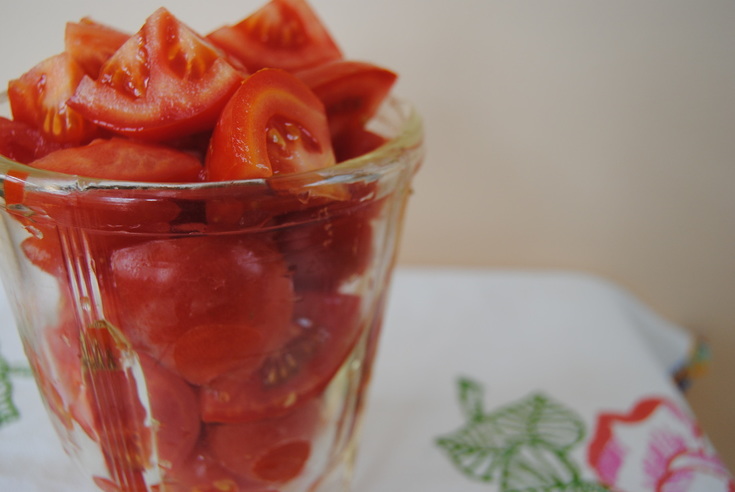
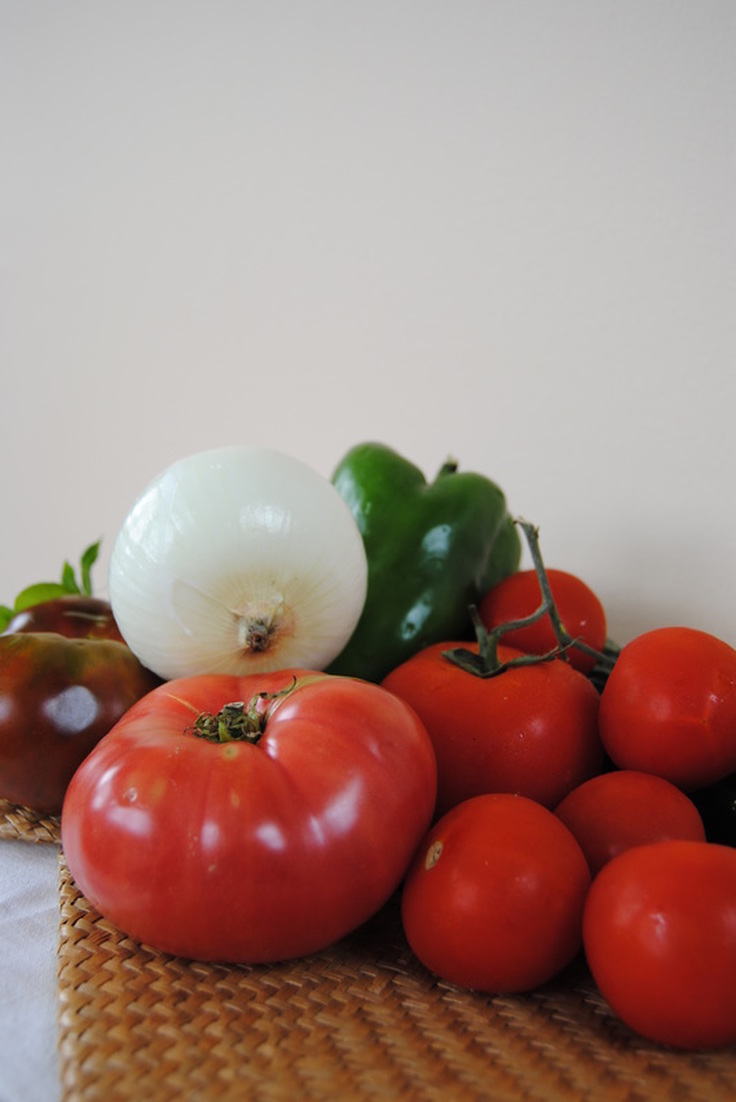
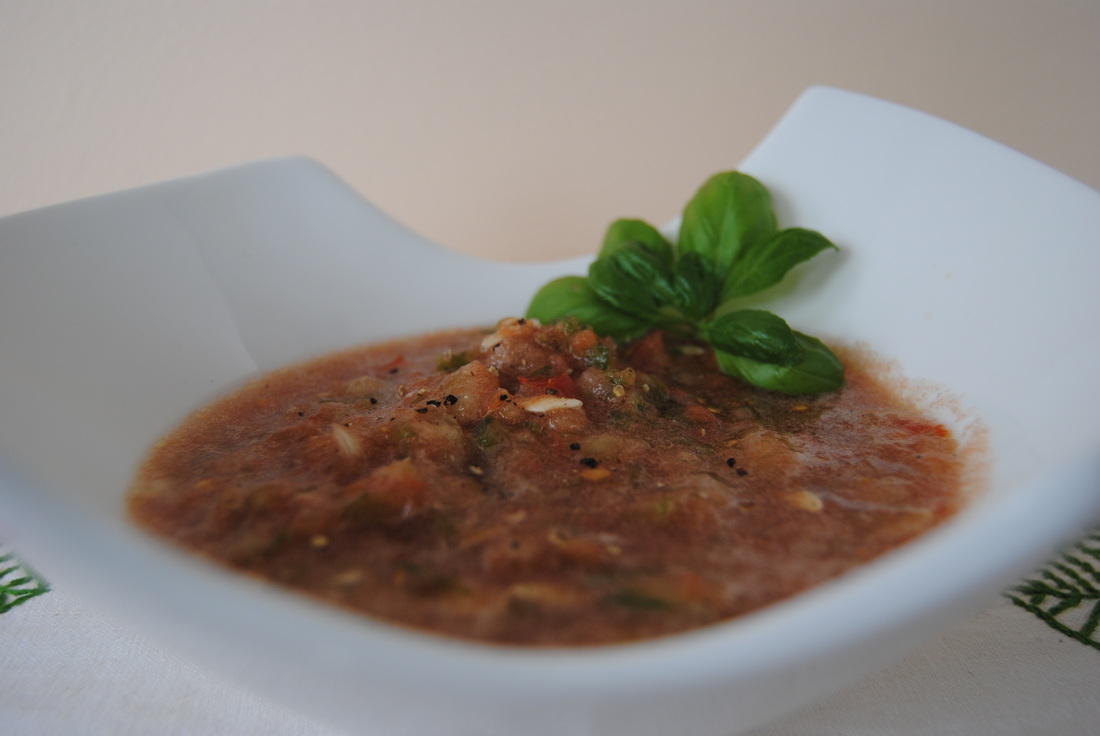
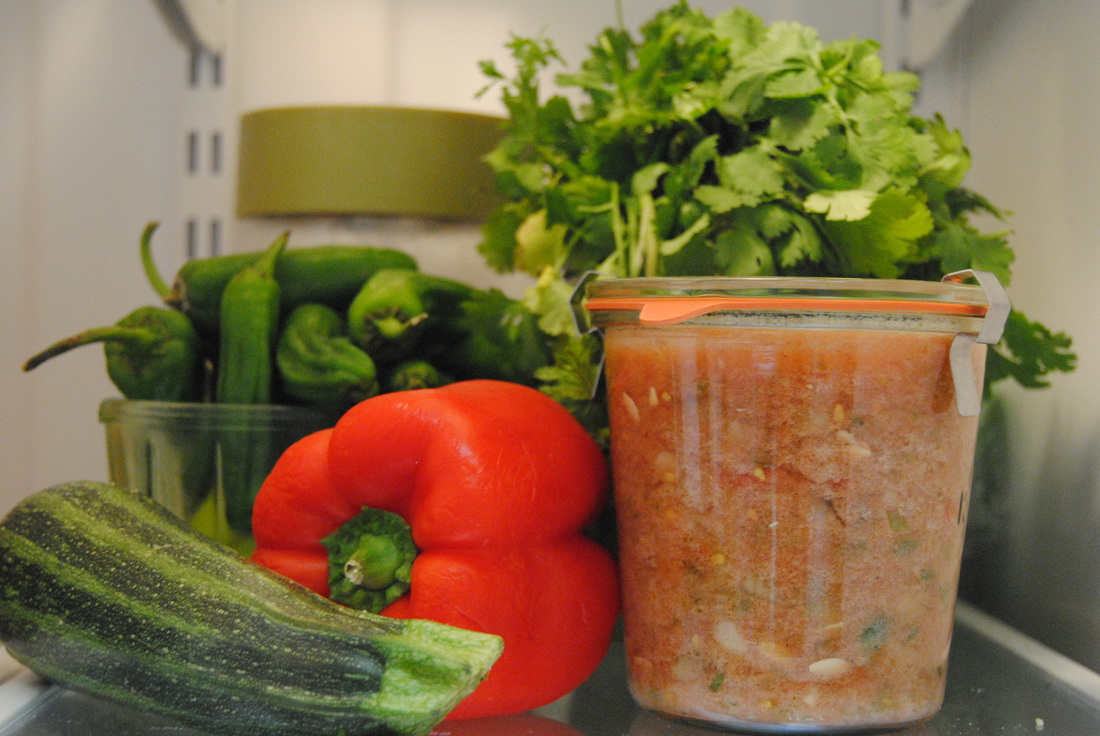
Soak it up, Jess & Cecelia If we had to choose our favorite thing about August (believe us it's a long list) we would have to choose a fresh picked, vine ripe tomato. There really is nothing like the taste of a perfectly ripe, just picked tomato - it must be the closest one can come to actually tasting sunlight (haha!). If you've been hitting the local farmers markets this month you've probably noticed an abundance of beautiful tomatoes waiting to be used in the kitchen. And when a tomato tastes this good we think it's best prepared simply and consumed raw to really appreciate the flavor. Our recipe this week does just that, but first more on tomatoes! Since we love tomatoes so much we had to take this opportunity to discuss them further. So first, is a tomato a fruit or a vegetable? Now that is a great question! Botanically speaking tomatoes are the fruit of the vine of the tomato plant - a flower blooms and then turns into a beautiful tomato. Though for culinary uses we tend to treat tomatoes as vegetables. There are many varieties of tomatoes that can be used in many different ways in the kitchen. Heirloom tomatoes are popping up everywhere this time of the summer and can be found in a wide variety of colors, shapes, and flavors making tomato shopping very exciting indeed! Heirloom tomatoes are generally grown from seeds that have been around for more than 50 years or passed down through generations of a family. With such a wide variety of heirloom tomatoes to choose from we think you are missing out if you always go for only the varieties you typically find in stores. A few of our favorite heirloom tomatoes are green zebra, mortgage lifter, black krim, big rainbow, and chocolate cherry tomatoes (such cute names!) so keep your eye out for any of these or ones that look good to you. Keep in mind that if you are not growing your tomatoes or harvesting from a friend or family member, buying organic is always preferred. Also, try to store your tomatoes at room temperature and eat within a few days because storing in the fridge can cause flavor loss (oh no!). If you must refrigerate to prevent spoiling let tomatoes warm to room temperature prior to eating. Okay so who's ready to eat some tomatoes already!? August Harvest Gazpacho PREP TIME: 10 mins TOTAL TIME: 15 mins Servings: 4 Ingredients 4 cups diced tomatoes (any variety) 1 large bell pepper (we used green) 1/4 sweet onion 1 large or 2 small cucumbers 2 cloves garlic 1 inch jalapeño pepper 1 Tbsp extra virgin olive oil 2 tsp balsamic vinegar 1/2 tsp sea salt 1/3 tsp cracked black pepper Optional garnish: fresh basil Rough chop onion, garlic, bell pepper, tomatoes, cucumber, and jalapeño pepper. Start by adding the onion, garlic, and jalapeño to a food processor. Pulse until minced. Add the bell pepper and pulse until finely chopped. Next add cucumber and tomatoes and do the same. By adding each component of the soup one at a time to the food processor you are able to create a variety of textures in your finished product - if you were to add all the ingredients to the food processor at the same time you would end up with a pureed vegetable soup. For this recipe, we prefer a textured gazpacho. Once all vegetables are chopped to preferred texture mix in olive oil, balsamic vinegar, sea salt and cracked black pepper. Garnish as you like and serve finished gazpacho at room temperature. It can also be stored in the fridge for up to five days but make sure to bring gazpacho to room temperature prior to serving. Also note that leftover gazpacho may thicken in the fridge, you can add a little water and extra sprinkle of salt prior to serving. This gazpacho is cool, light, refreshing and oh so flavorful. The perfect dinner after a day outdoors. So stock up on tomatoes while the pickings good and make this cold soup before you're wanting a warm version (though you still have plenty of time, it's officially summer until 9/21 but let's not get ahead of ourselves!). We personally would be okay if August and tomato season would just last forever.
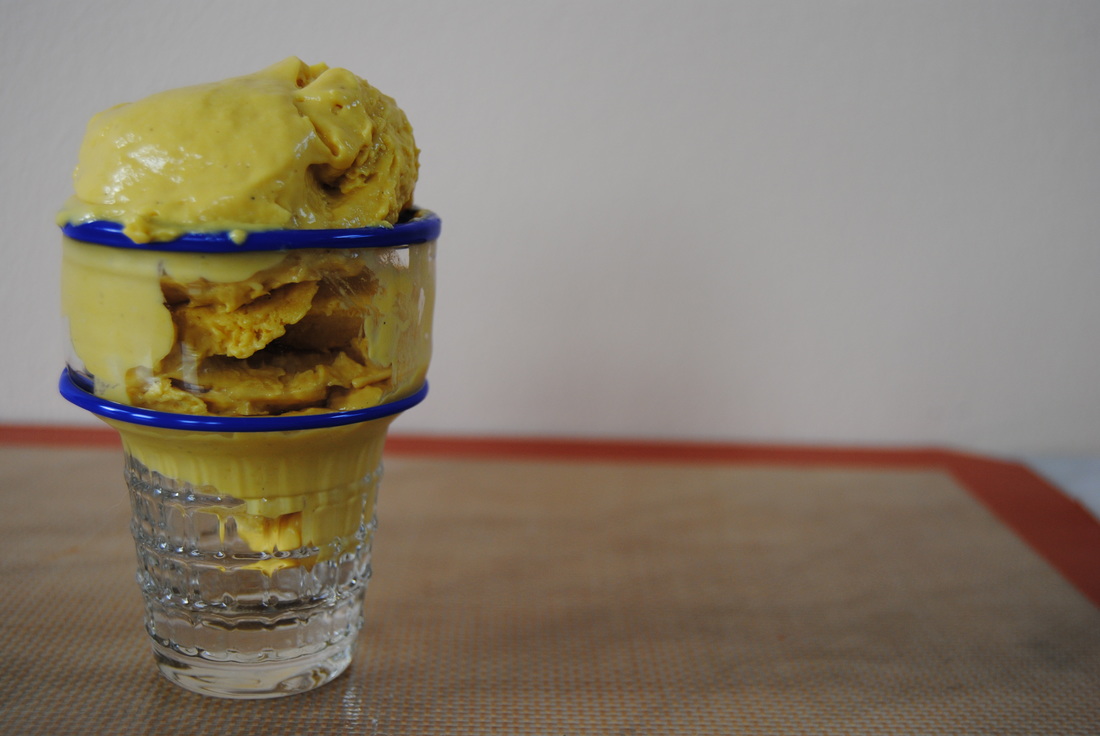
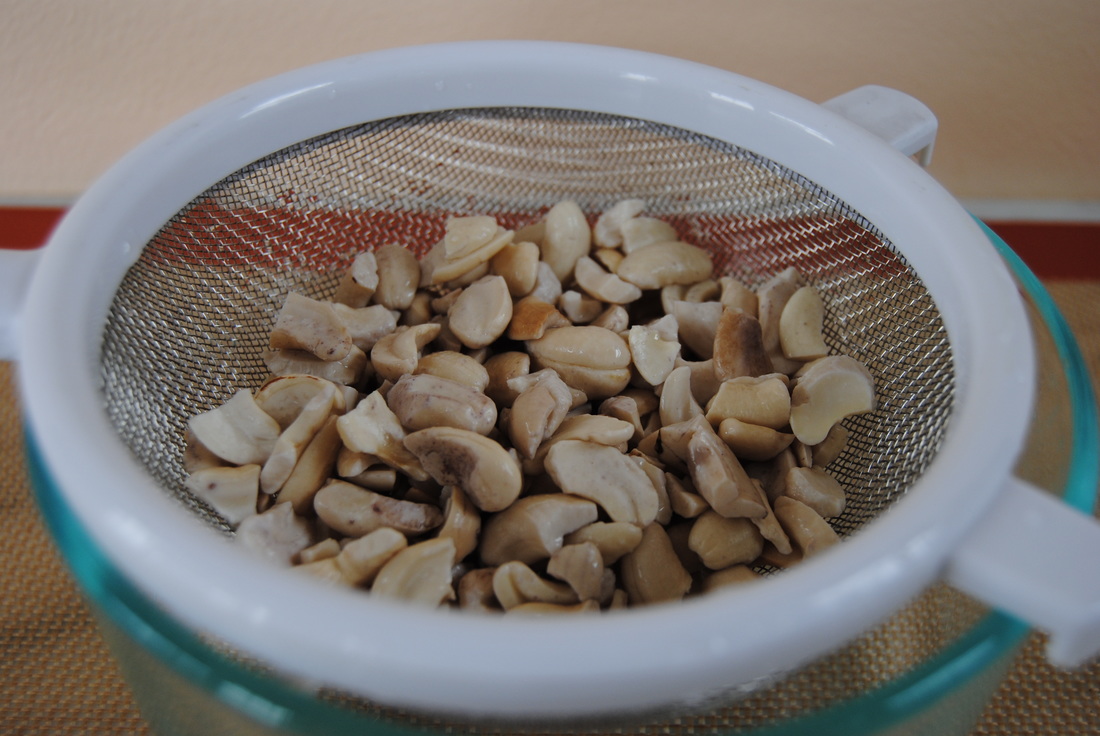
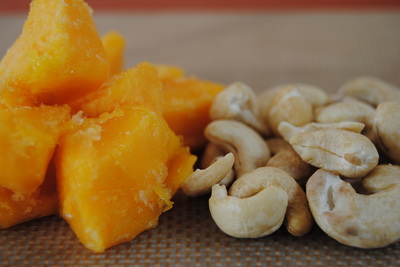
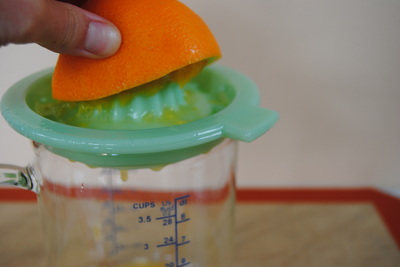
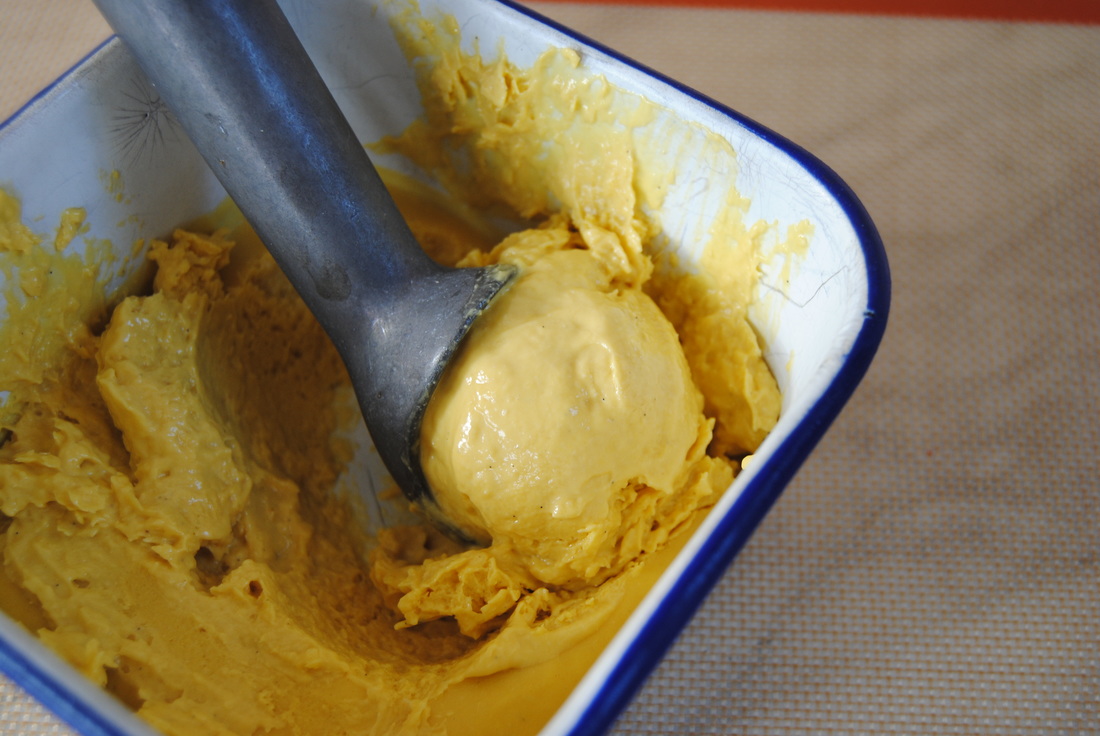
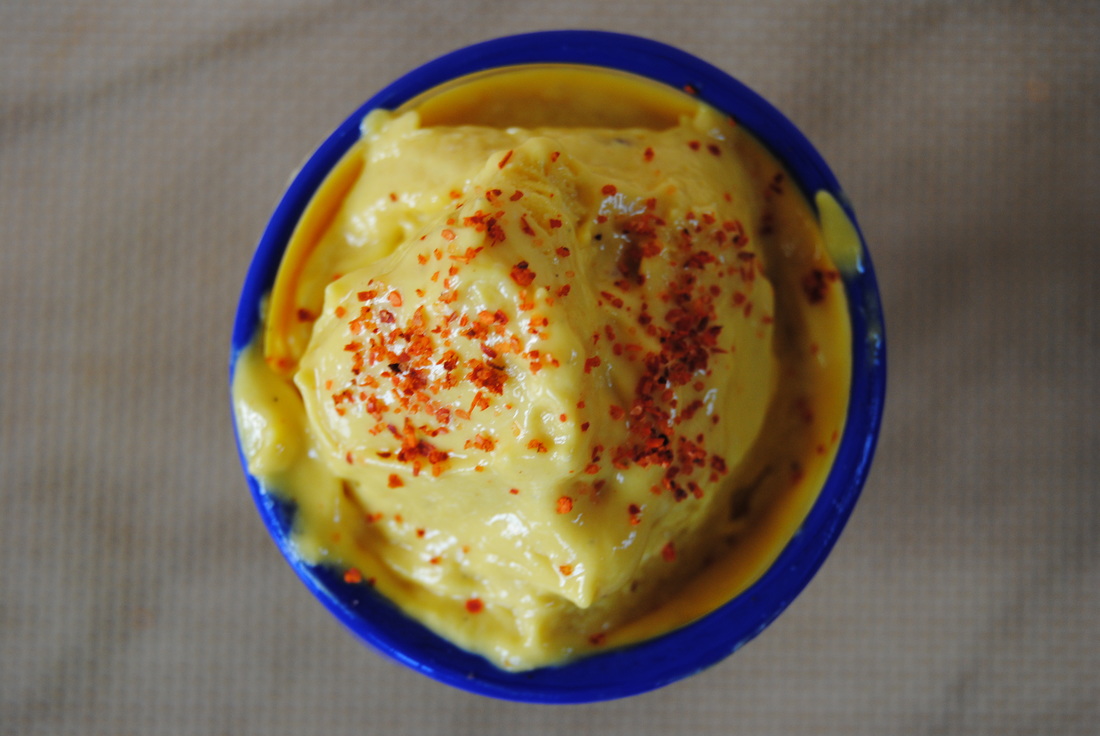
Happy tomato season, Jess and Cecelia Ok, we know - the saying is "cool as a cucumber" but we think cashews are pretty cool too. Especially in the form of raw, dairy free cashew ice cream. What better way to stay cool on these hot days and feel okay about an everyday ice cream fix. But let's first explore how cashews can do so much more in the kitchen then you ever thought! So what we are using for this fabulous ice cream is known as cashew cream - basically a vegan, dairy free alternative to heavy cream that can be used in very similar ways. Like heavy cream, cashew cream has a mild taste and high fat content perfect for creamy soups, alternative cheese spreads/fillings/sauces, and of course ice cream. You just need to remember to give yourself adequate soaking time for the cashews, so a little planning ahead, and a good high speed blender for best results. Cashew cream can be stored in the fridge in an airtight container and is best used within 3-5 days. Even if you are a little skeptical about the idea of a nut replacing your heavy cream, cashew cream is at least worth a try - it's only two ingredients and very simple to prepare. Also, since we are using raw cashews and fruit for this ice cream this is another raw post! Once you taste it we swear you won't know that this ice cream is dairy free, vegan and raw! Mango Tango Raw Cashew Ice Cream PREP TIME: 5 mins (plus 8 hour or overnight soak) TOTAL TIME: 10 mins (plus 30 min-3 hour freeze) Servings: ~ 1 pint Ingredients 2 Cups frozen mango 1 Cup raw, unsalted cashews 1/4 Cup fresh orange juice 2 Tbsp pure, dark maple syrup 1/2 vanilla bean, inside scraped out or 1/2 tsp pure vanilla extract Optional topping: chili lime salt for a kick! (we used Tajin brand) Place 1 cup cashews in a bowl and cover with room temperature water. Allow cashews to sit for at least 8 hours or overnight to soften up. Drain and rinse soaked cashews and set aside. We prefer to use a good quality, high speed blender such as Vitamix or Blendtec to achieve the perfect texture for this ice cream. Add frozen mango, soaked cashews, orange juice, maple syrup, and vanilla bean to the blender and blend on high for 3 minutes or until a thick, creamy mixture forms. Store mixture in an air tight container in the freezer for a minimum of 30 minutes for soft serve like texture or 3 hours for a firmer, scoopable ice cream. If storing in the freezer for a later date, allow ice cream to thaw out a bit prior to serving, about 15-30 minutes on the counter. Cashew Cream PREP TIME: 2 mins (plus 8 hour or overnight soak) TOTAL TIME: 5 mins Servings: ~1 cup Ingredients 1 cup raw, unsalted cashews Water Place cashews in a bowl, submerge with water, cover with a lid and let sit on the counter for at least 8 hours or overnight. Drain and rinse cashews and add to a high speed blender with 1/2-3/4 cup filtered water. Blend on high for 3 minutes or until a smooth, luscious texture is formed. Vary the amount of water added to the blender based on the consistency of cream you like. Flavor sweet or savory or leave as is. Now isn't cashew just so cool!? Save this recipe for cashew cream and start testing it out in the kitchen. Though ice cream is an August favorite we bet you will find many more uses for cashew cream throughout the year. You can bet we will be using it in recipes to come.
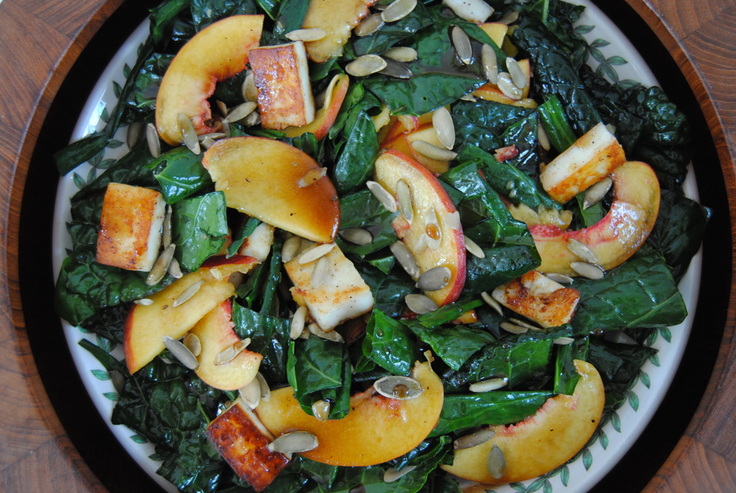
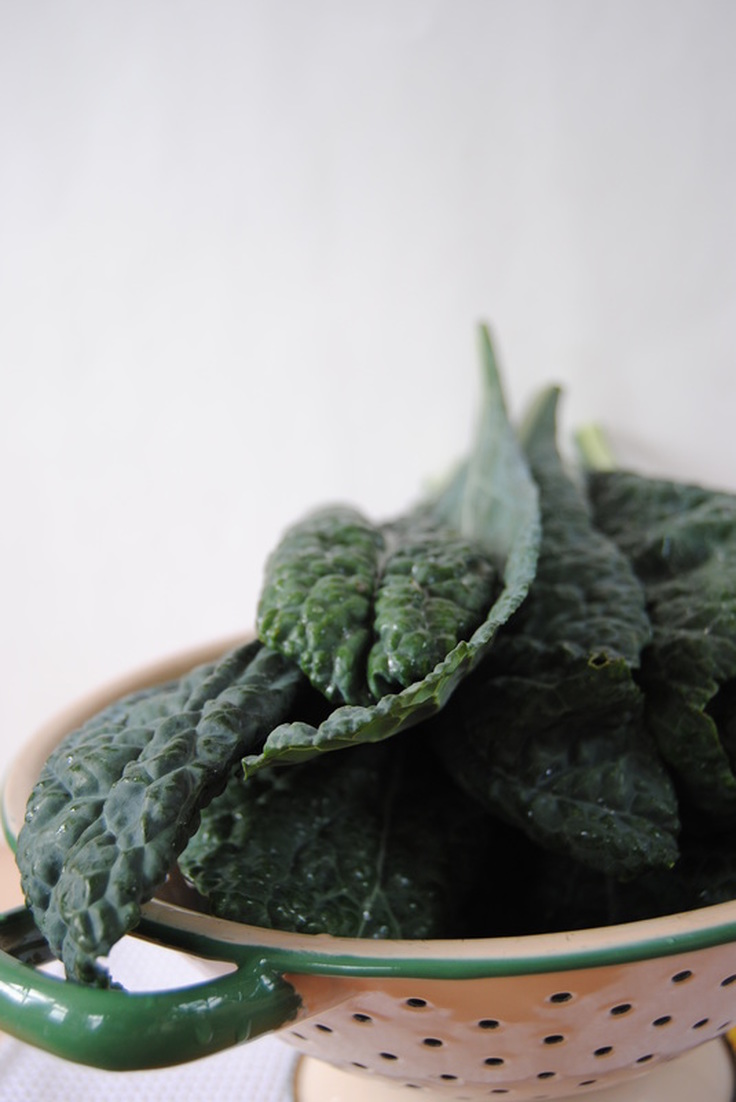
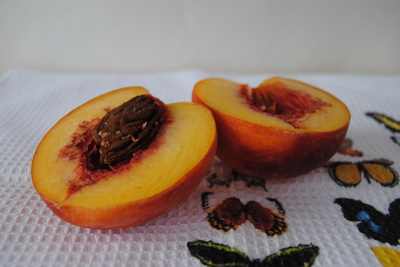
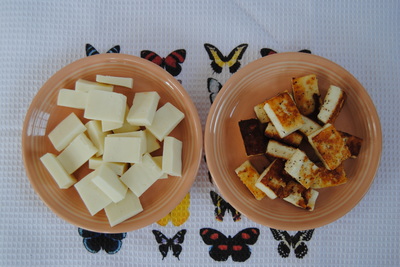
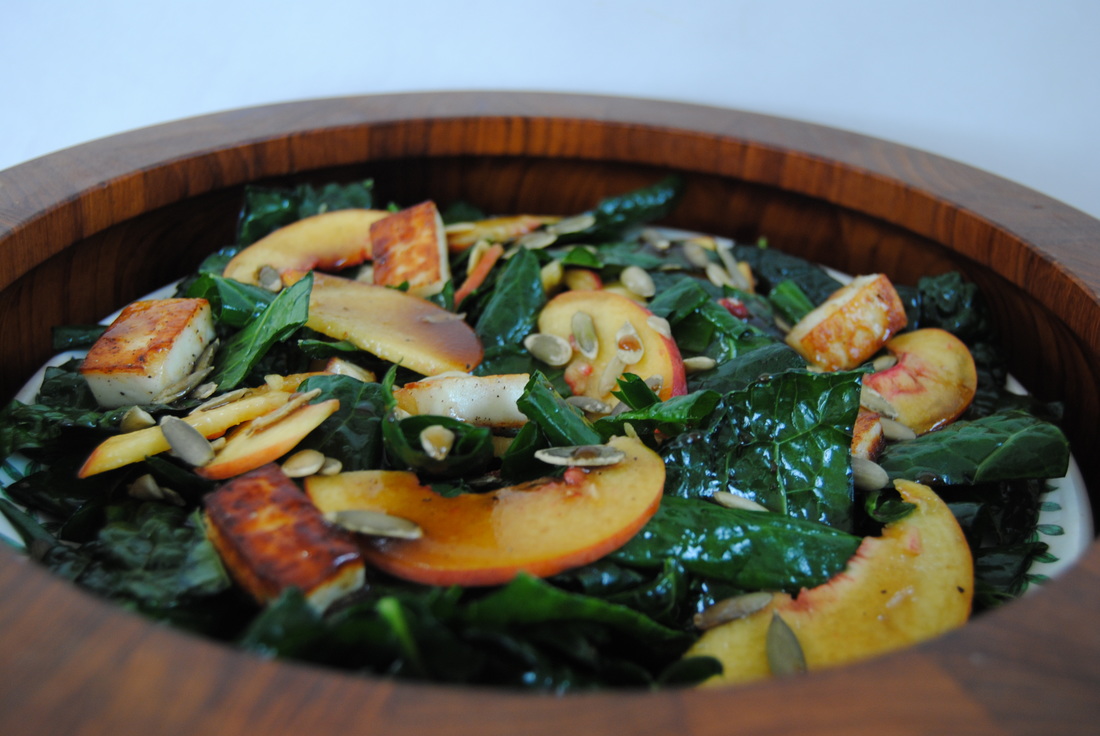
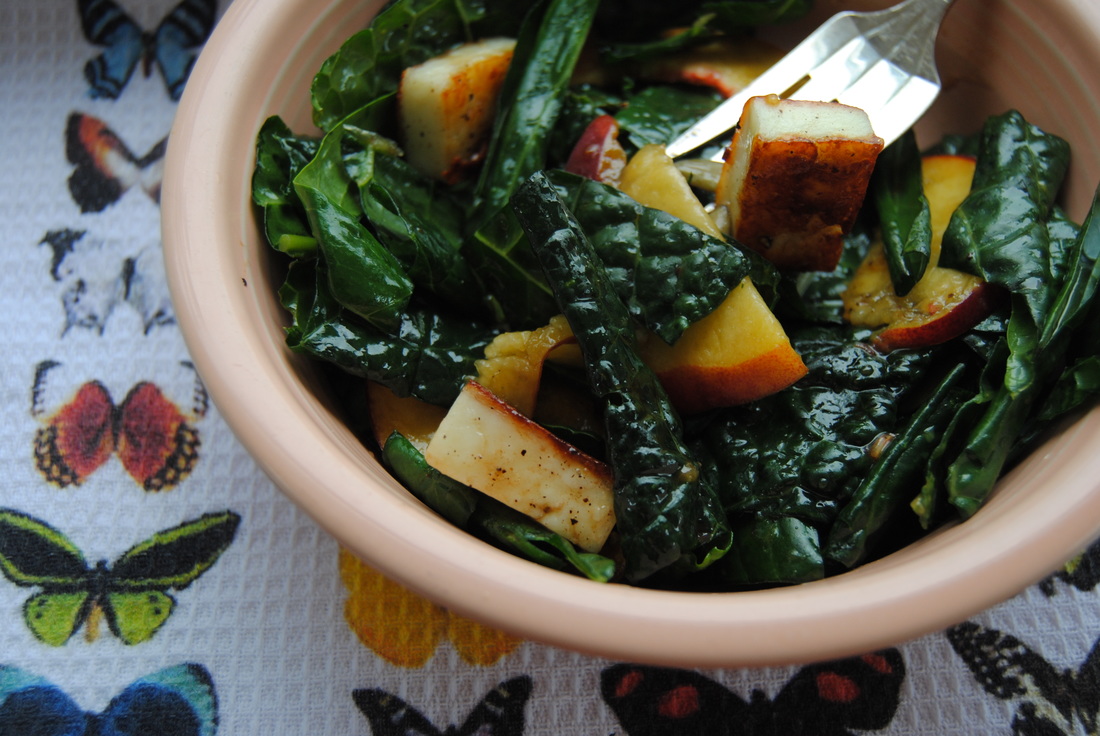
Stay cool, Jess and Cecelia What do you do to pamper yourself? Many people will say manicures, pedicures, facials, and massages and hey we think everyone deserves pampering now and again. But we're here to remind you that your vegetables should be pampered as well (what the heck!?). No we're not going crazy but you might go crazy for raw kale once you try it massaged. Still wondering what massaged kale actually is? Ready more below before you get to the recipe for this stunning salad. Kale can be prepared in many ways: steamed, sautéed, baked, and one of our favorites, massaged. So why do we want you to massage your kale? Kale is a tough, high fiber green. When untreated, kale has a bitter taste and can be on the chewier side. By massaging kale with olive oil and sea salt, the cellulose (fiber) begins to break down which may aid in digestion and absorption of nutrients and lighten up the flavor. Massaged kale leaves will become a deep green color and take on a soft and silky texture making it much more palatable and enjoyable raw (or at least we think so). And you know how much we love our raw foods! So before you give up on raw kale because it tastes too "green" please try it pampered/massaged and see what you think. Also a note about the cheese we chose for this salad. Paneer is a fresh, unsalted white cheese common in Indian cuisine. What is unique about paneer is that it won't melt under high heat like most other cheeses and therefore lends itself to frying, toasting, and using in hot soups and dishes. You should be able to find paneer at your local market or ethnic grocery store. If not you can always substitute with another version of frying cheese such as Greek saganaki or "bread cheese". Bread cheese is native to Finland and Sweden as juustalepia but versions are made in the U.S., a brand we see commonly is Brun-Uusto (you can find out more here). Okay so enough with the cheese talk, who's ready to pamper their vegetables? Paneer-Peach-Pepita Kale Salad PREP TIME: 15 mins TOTAL TIME: 20 mins Servings: 4 small or 2 large salads Ingredients Salad 1 bunch organic raw kale 1 Tbsp extra virgin olive oil 6 oz paneer cheese 1 Tbsp ghee 1 organic peach 1/4 cup pepitas Sea salt Coconut Balsamic Dressing 1/4 cup extral virgin olive oil 1/4 cup balsamic vinegar 1/4 cup coconut sugar 1/2 tsp salt 1/2 tsp minced garlic 1/8 tsp cracked black pepper Wash, de-stem and chop kale leaves and place in a large bowl. Drizzle 1 Tbsp olive oil over kale and sprinkle with sea salt. Using your hands, begin to massage olive oil and salt onto the kale until leaves are soft and dark green. Set aside. Add 1 Tbsp ghee to a medium sauté pan and allow to melt, making sure to cover the entire bottom of the pan. Cube paneer and add to hot saute pan. Sprinkle paneer with salt and pepper and pan fry for about 2 minutes on each side until golden brown. Turn heat off and set cooked paneer aside. Wash and slice peach into thin segments. For the dressing, combine olive oil, balsamic vinegar, coconut sugar, salt, pepper, and garlic in a bowl. Whisk ingredients together until a thick dressing is formed. To assemble the salad, combine massaged kale, cooked paneer, and sliced peaches, sprinkle with 1/2 cup pepitas, and drizzle coconut balsamic dressing over the top*. Serve and enjoy! *Note that you may not use all the dressing depending on how dressed you like your salad - leftover can be saved in an airtight container in the fridge for up to 2 weeks. Now weren't we right? Massaged kale has actually changed your life hasn't it? We hope you share this kale secret with everyone you know and keep pampering your vegetables. Though we think this salad is a perfect combination of ingredients, we know that massaged kale will be great with any other fresh salads you dream up this summer.
Pamper on, Jess and Cecelia |
AuthorsJess and Cecelia welcome you to our kitchen. We are fun-loving and passionate foodies working to make the world a healthier, happier place one plant based recipe at a time. Categories
All
Archives
December 2018
|

