|
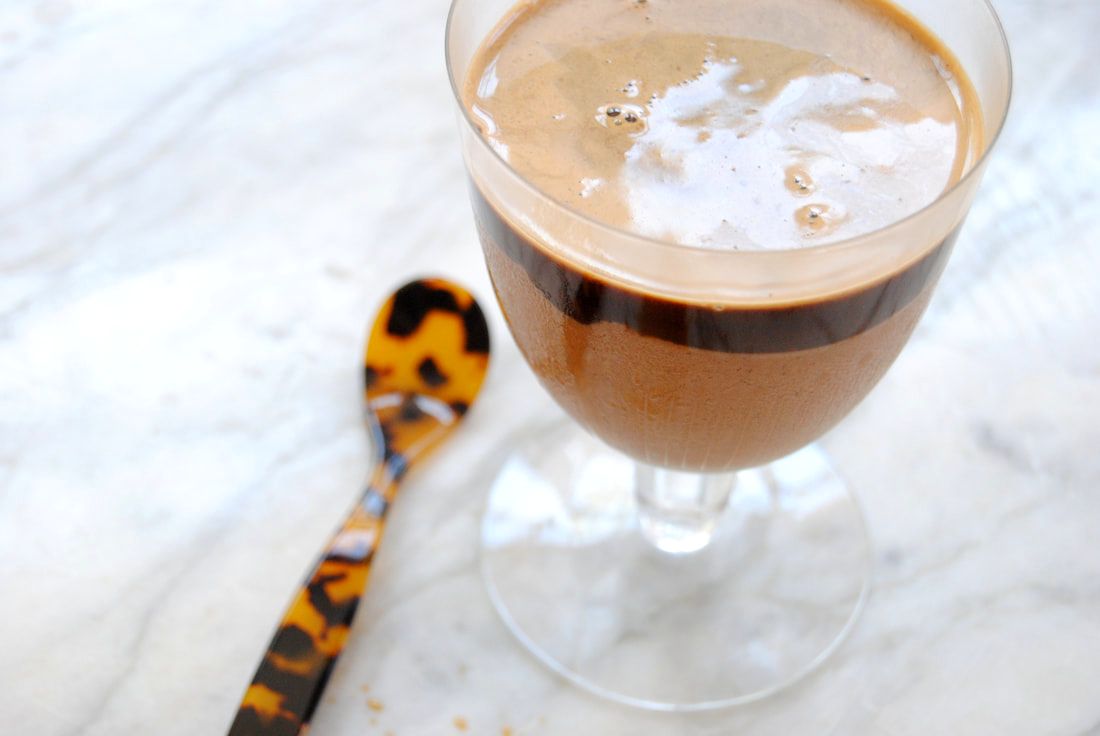
While Cecelia's sister enjoyed her honeymoon in Italy this summer, we were inspired to hit the kitchen and recreate one of our favorite Italian desserts. Affogato is a coffee based dessert created by "drowning" gelato in espresso, so really, what could be better? We wanted to make a bit more nutritious version of "gelato" to have an excuse to enjoy this treat often this summer. So we made ours dairy free, naturally sweetened with fruit sugar, and with added protein and superfoods. The final outcome is even better than we imagined, join us!
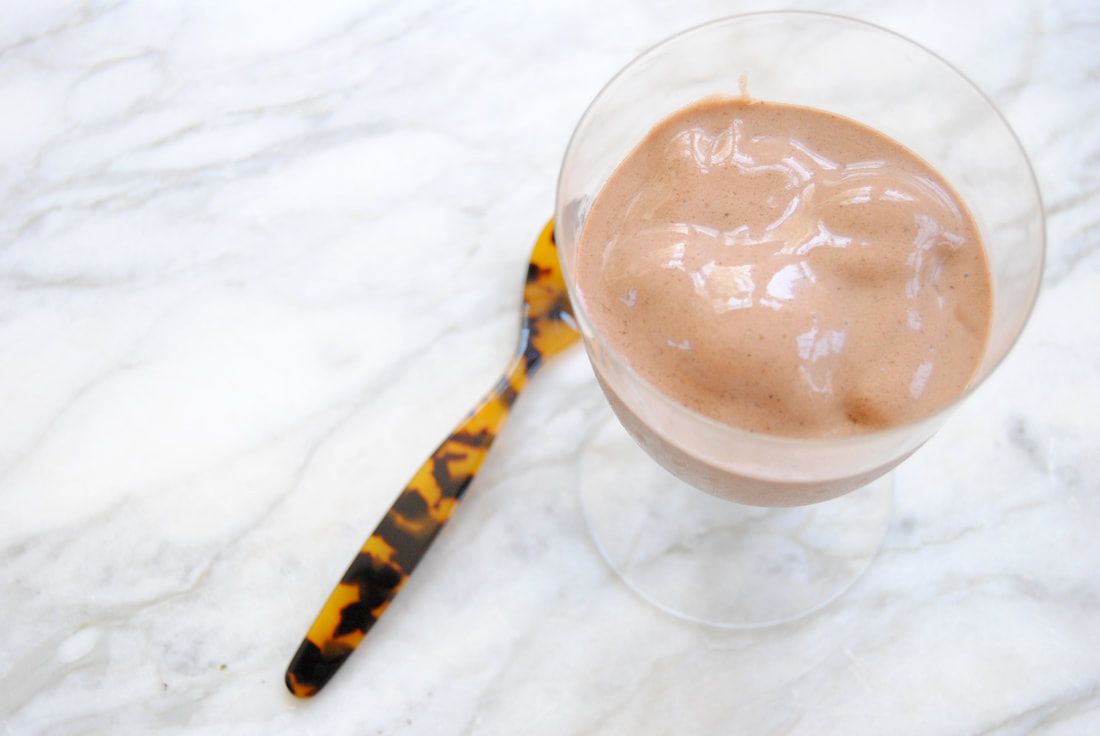
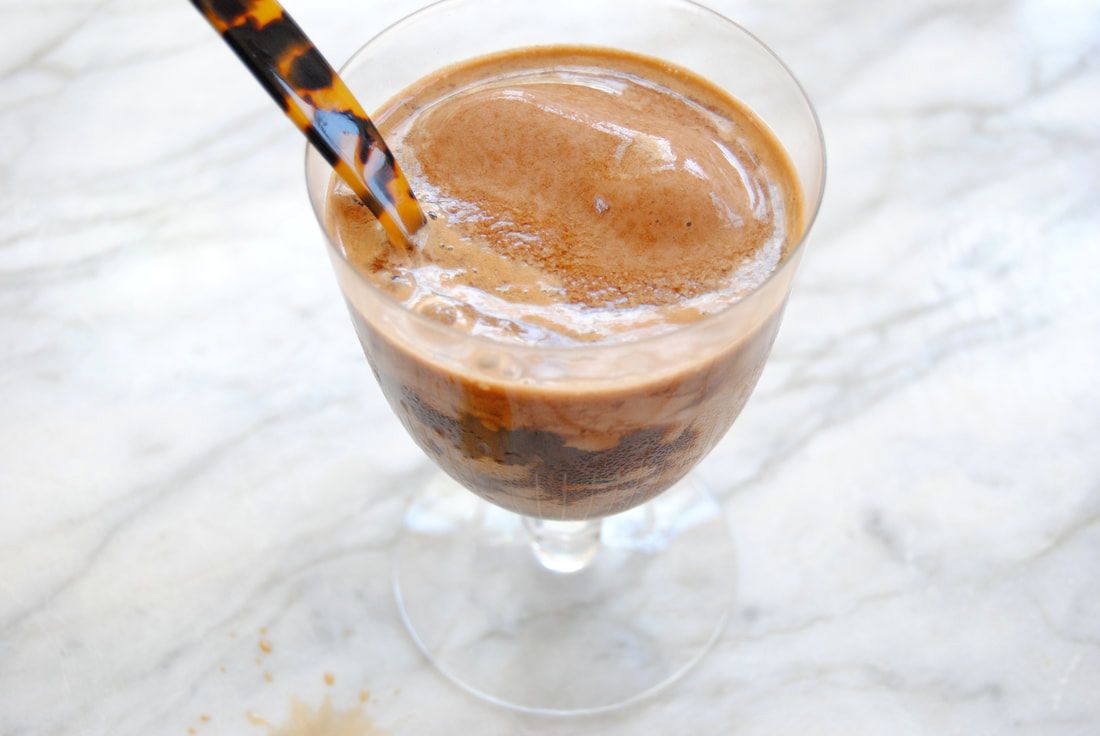
Chocolate Banana Affogato
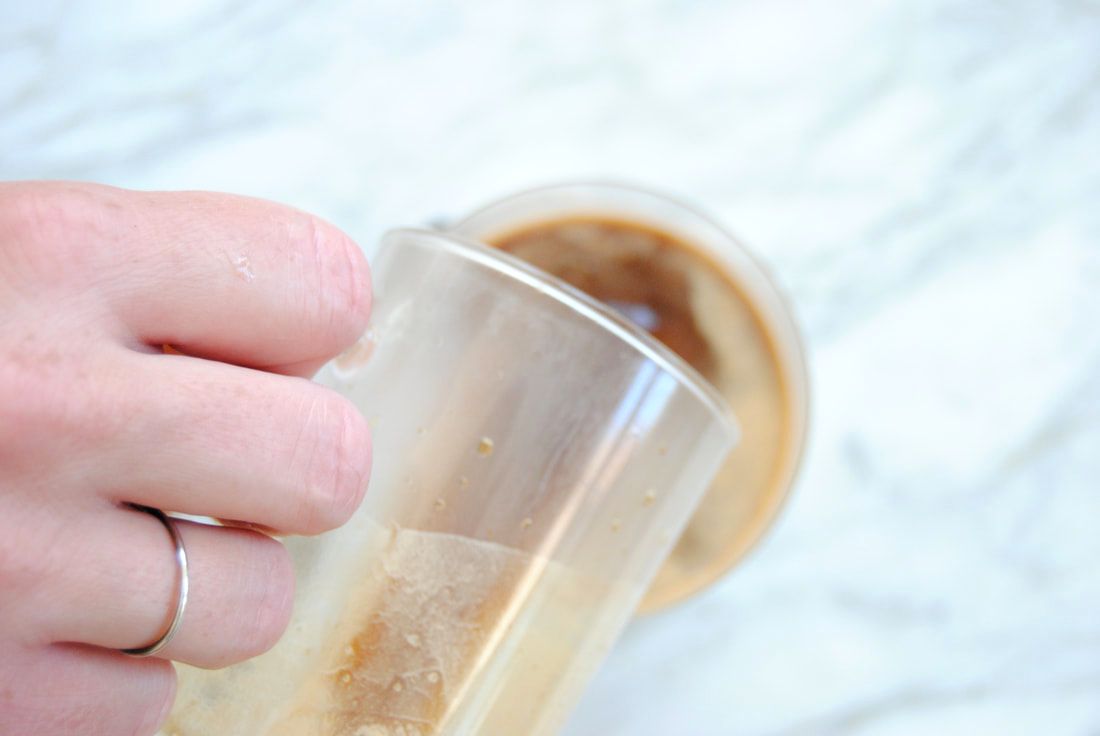
PREP TIME: 5 minutes TOTAL TIME: 10 minutes Servings: 1 Ingredients: Dairy Free "Gelato" 1 frozen banana, peeled 1/3 cup unsweetened vanilla soy milk (or milk alternative of your choice) 4, 1 oz ice cubes 1 Tbsp almond butter 1 Tbsp cacao powder 2 tsp maca powder 1 shot of espresso* (reserved to top "gelato") To make the banana "gelato", combine peeled frozen banana, soy milk, ice cubes, almond butter, cacao powder, and maca powder in a high speed blender and blend on high until mixture is smooth and creamy. You should be able to scoop the "gelato" with a spoon, it should not be liquid. Add banana "gelato" to a glass then pour a warm shot of espresso over the top and enjoy! *If you do no have an espresso machine, we suggest making double strength coffee and pouring 1 oz of warm coffee concentrate over the top.
If you've never experienced affogato, you're in for a treat. And even if you have, our version is sure to impress. Naturally sweetened by banana, this frozen and caffeine added treat is perfect for a hot and lazy summer day. Once you've had affogato, plain espresso or gelato will just never be the same again, so put them together!
Enjoy, Jess and Cecelia
2 Comments
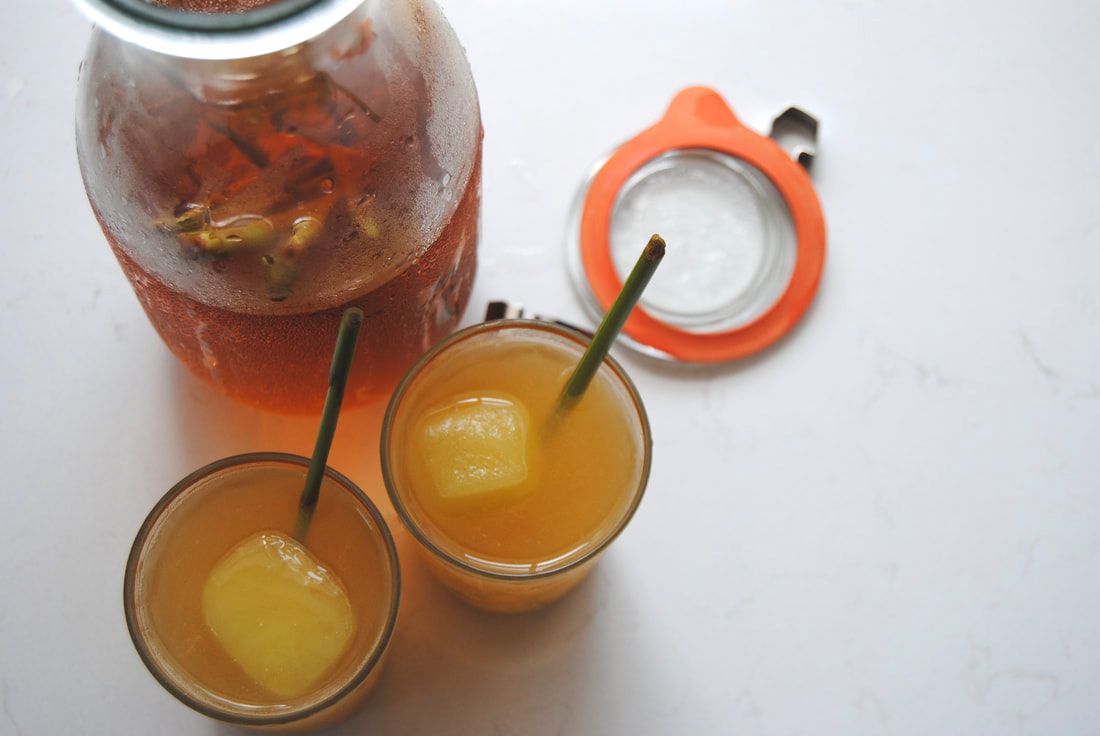
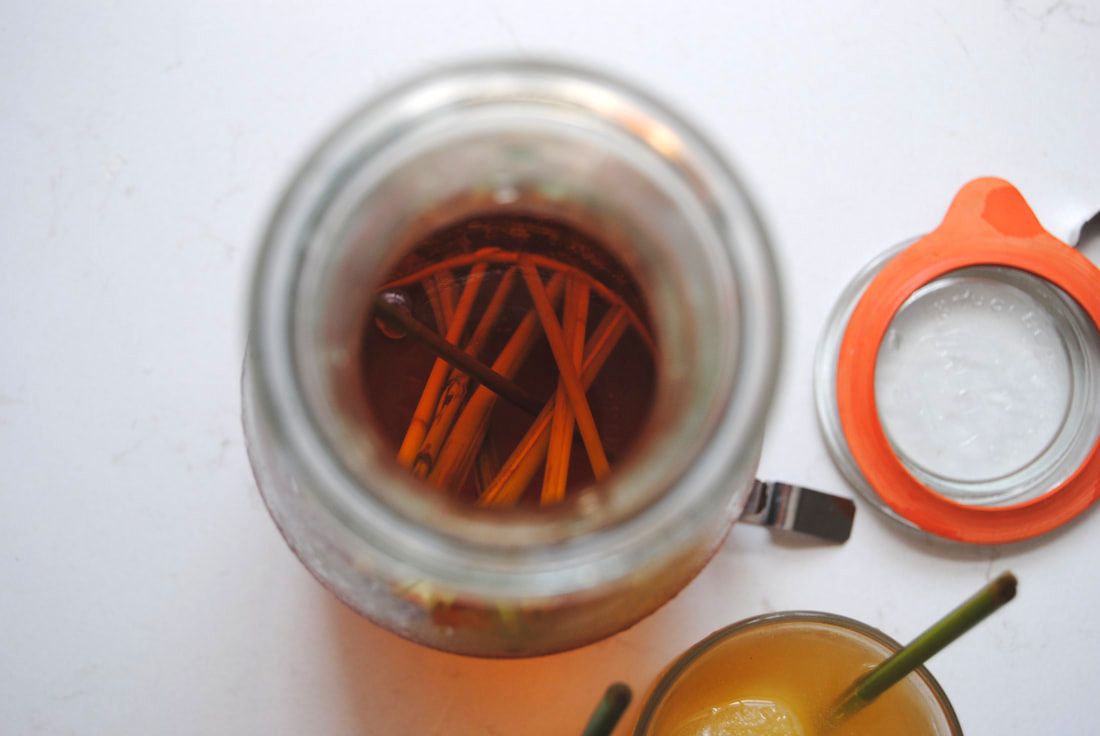
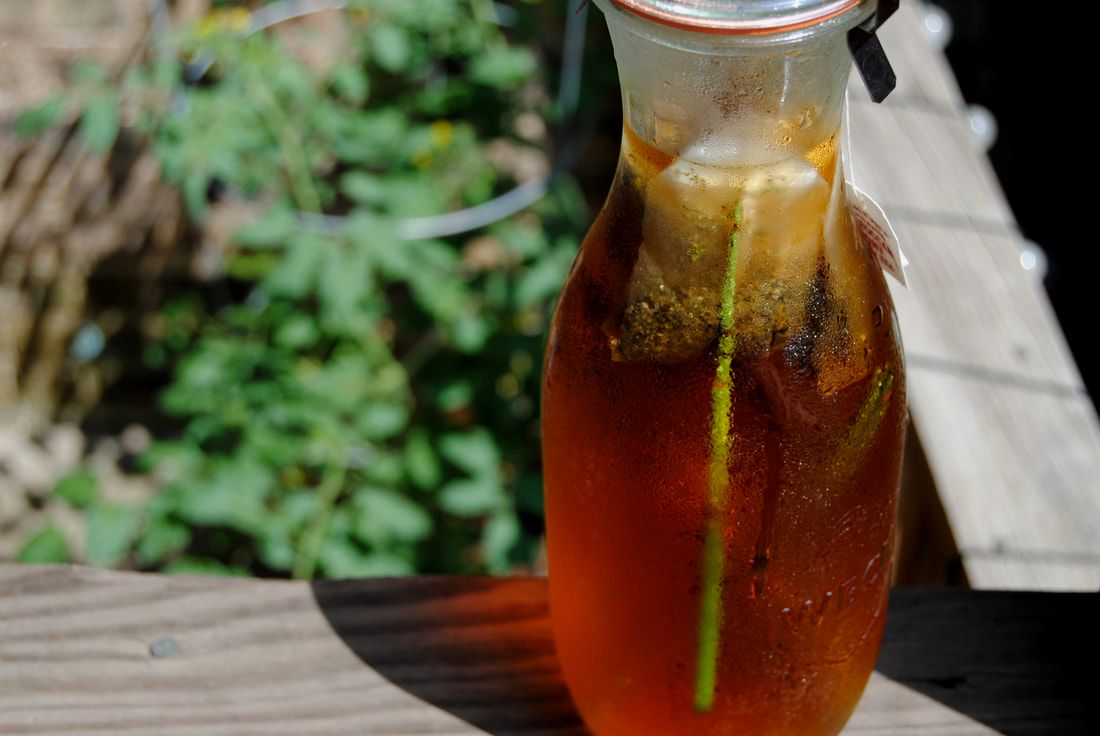
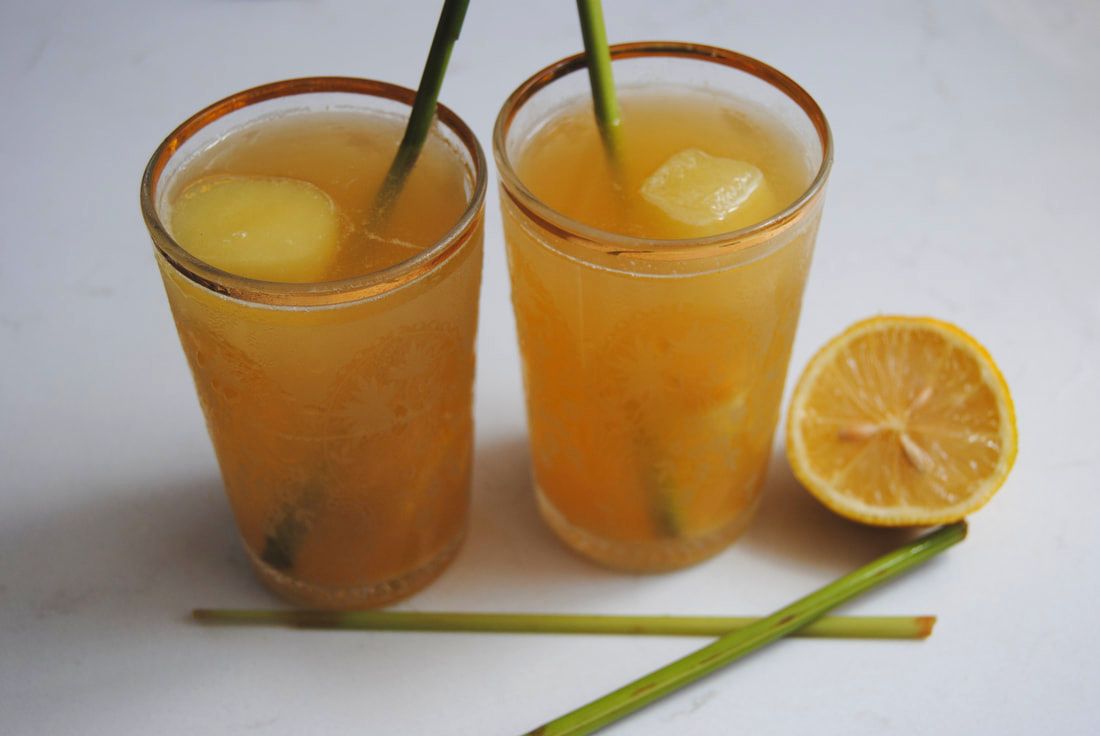
One of the many things we love about summer is the abundant sunshine giving us that natural vitamin D and feel good vibes. So we thought what better way to enjoy the sunshine than to use it in a recipe this week - sound crazy? Though you can't actually consume sunshine (imagine!) you can use it for brewing tea without turning on your stove burners, a definite plus on a hot summer day. Sun tea is a simple and fun favorite of ours but we obviously had to give it a special twist in our recipe this week. Fresh lemongrass from our garden added an extra pop of flavor and excitement to this simple recipe. The lemongrass plant turned out to be surprisingly hearty and grow well in our Chicago summer climate. From our abundant crop we used a few stalks in this sun tea with great results. Lemongrass, as the name suggests, has a lemon flavor though is slightly spicier than the lemon citrus fruit. Lemongrass is considered a tropical herb and used commonly in Asian cuisine. In addition to culinary uses, lemongrass leaves and oil are used medicinally for a variety of ailments including digestive issues, pain (headache, abdominal and muscle pain), and fever/colds. It is believed that lemongrass may prevent the growth of certain bacteria and yeast and contain substances that help to relieve pain contributing to its medicinal benefits. We most enjoy lemongrass as a unique citrus/spicy flavor option in recipes and for its decorative uses - both qualities highlighted by this recipe! Minty Green and Lemongrass Sun Tea with Ginger Prep Time: 3 minutes + 8-12 hours brewing time Total Time: 8-12 hours Servings: 4 Ingredients 4 mint green tea bags or 4 Tbsp loose mint green tea 4 cups room temperature water 4 stalks fresh lemongrass (base of the stalks crushed) 4 ginger ice cubes or 4 oz fresh ginger juice (recipe here) Juice of 1 large or 2 small lemons Abundant sunshine In a large glass pitcher place tea bags, crushed lemongrass stalks, and cover with 4 cups room temperature water. Place a clean towel or cheese cloth over the top of the jar and allow the tea to steep in a sunny window for at least 8-12 hours. Remove the tea bags and lemongrass stalks from the jar after brewing. Pour tea over ice and add one ginger ice cube, a squeeze of fresh lemon juice, and a lemongrass stir stick! That's it friends, super simple but so refreshing. And fun to imagine that you're actually bottling that gorgeous sunshine - hey we can dream right? Sun tea is easily adaptable to any tea and fresh ingredients you have on hand as long as you have a sunny spot for brewing! This batch tastes bright and slightly tart from the green tea and ginger which are balanced perfectly by the fresh and spicy lemongrass.
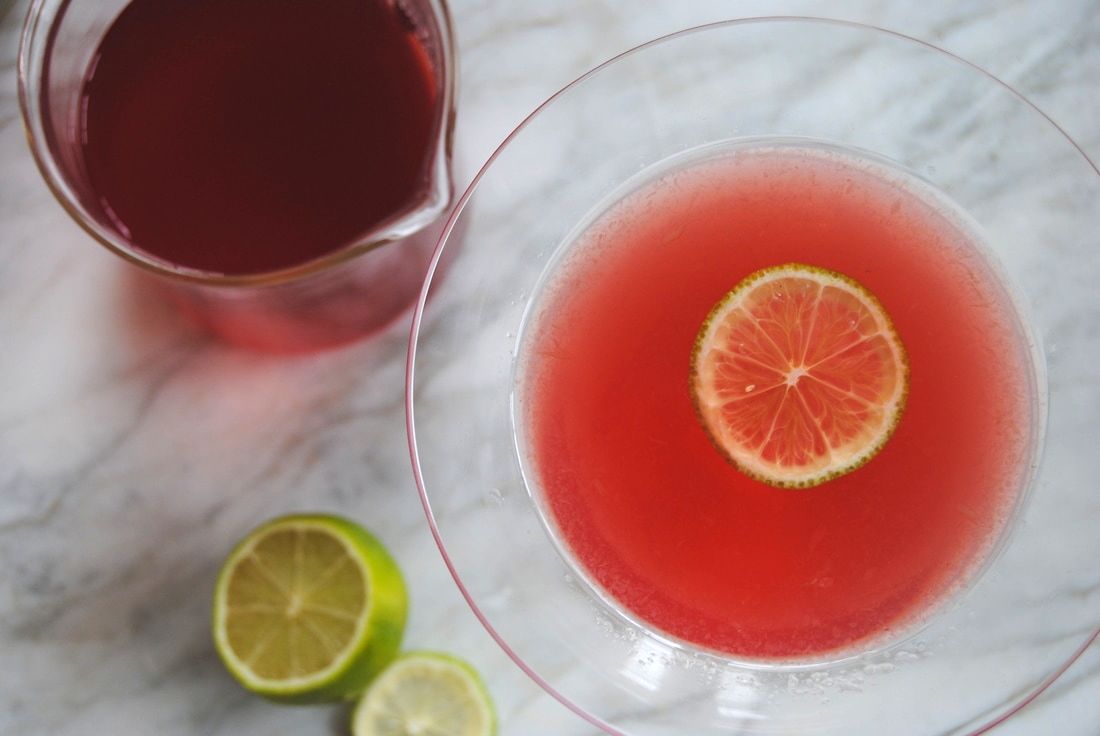
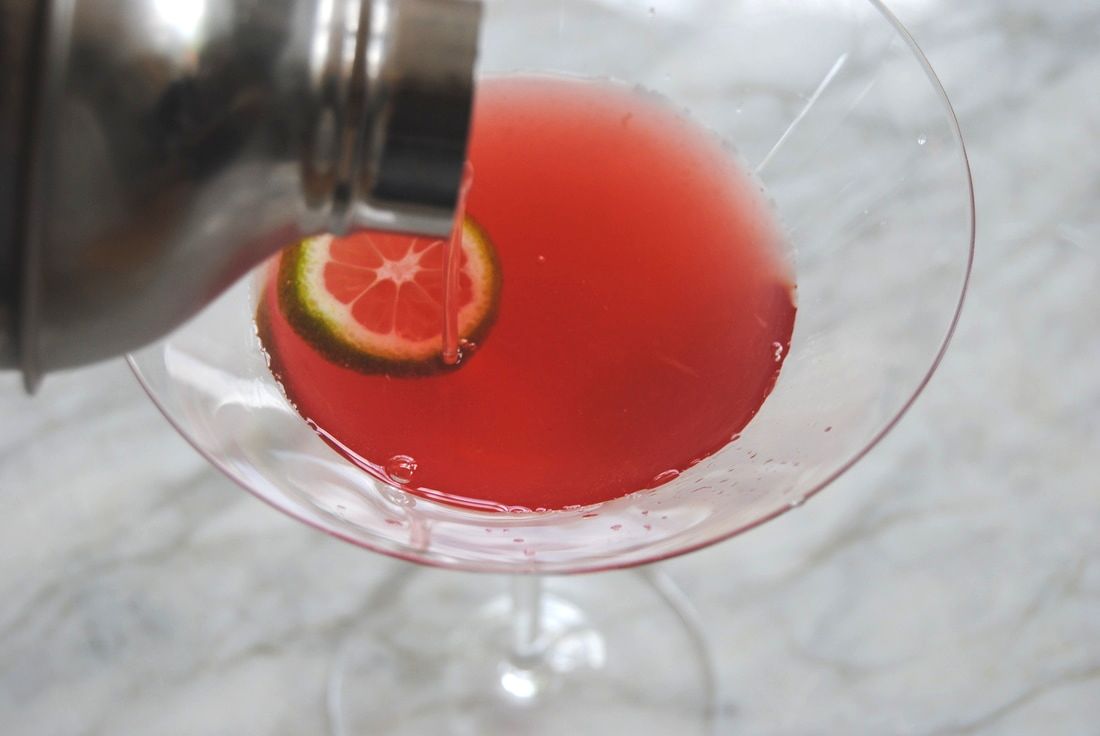
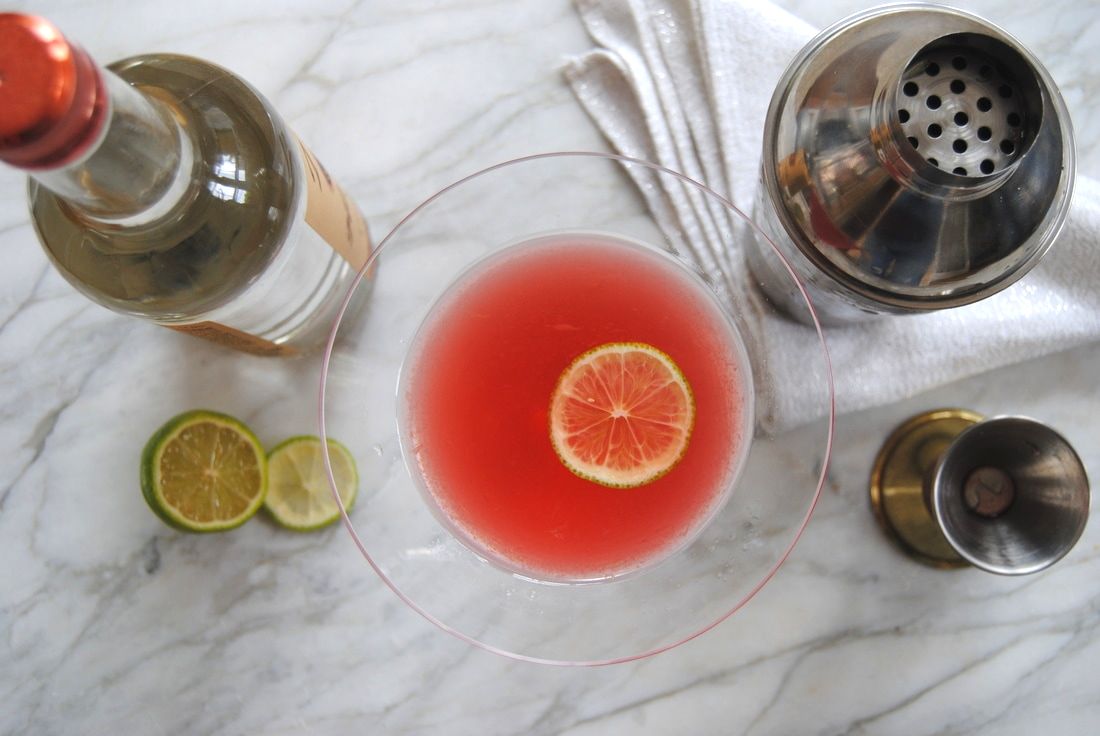
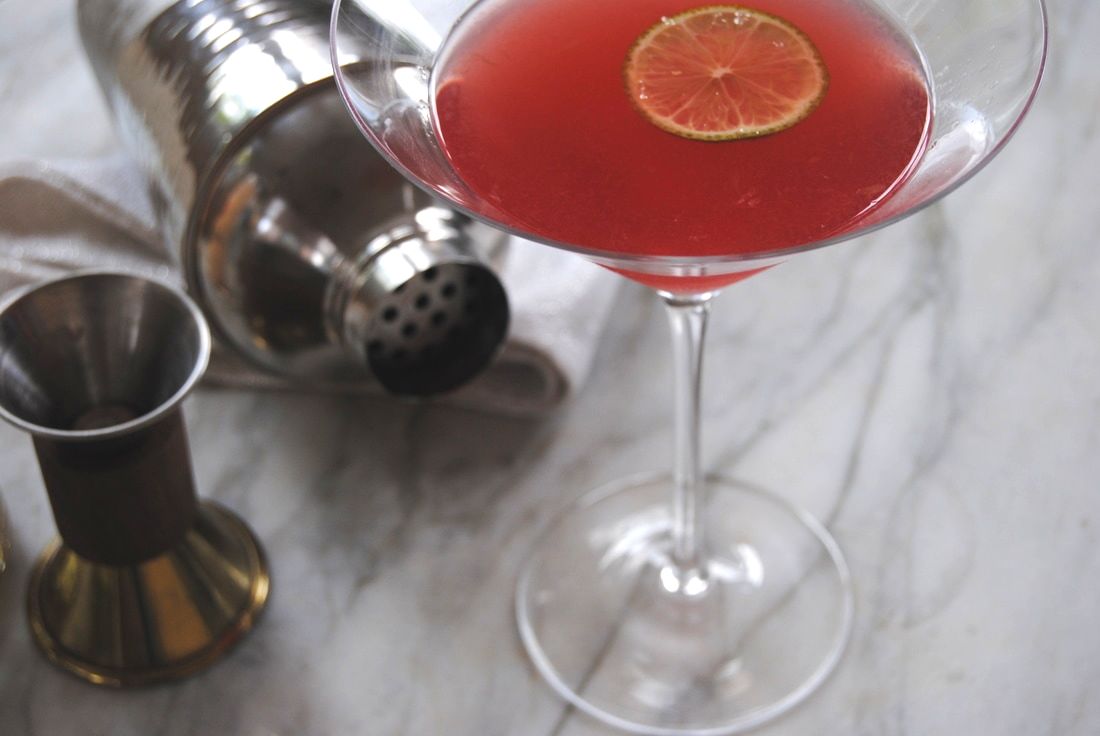
Enjoy it, Jess and Cecelia As you guys know, here at TGBK we primarily focus on nutritious food recipes but love a good adult drink now and again. But we think that adult beverages can provide nutritional benefit too - believe it or not! This week we created a drink inspired by a Cosmopolitan (Sex and the City flashbacks anyone?) but with a very important ingredient swap. We switched out the traditional juice ingredient for a flavored kombucha. And if you remember from our previous kombucha post (here), kombucha is packed full of gut friendly probiotics to help support healthy digestion and immunity. So while enjoying your next hard drink, why not get your daily dose of probiotics while you're at it? This recipe can also be made as a "mocktail" without liquor so there are tons of ways to indulge! If this all sounds good to you, let's get to the recipes. Kombucha Cocktail or Mocktail PREP TIME: 5 minutes (+ 48 hours to ferment kombucha with juice) TOTAL TIME: 5 minutes (+ 48 hours to ferment kombucha with juice) Servings: 2 Ingredients 4 oz cherry kombucha (homemade - instructions below or store bought) 2 oz vodka (for mocktail omit and add additional 2 oz cherry kombucha) 2 oz cherry juice 2 Tbsp simple syrup 2 Tbsp fresh lime juice 2 thin lime slices for garnish Ice Flavored Kombucha To make basic kombucha follow our directions here. Once basic kombucha is prepared, strain the kombucha from the SCOBY making sure to reserve at least 1/2 cup of basic kombucha liquid for your next batch. Fill a glass bottle/bottles 2/3 of the way full with basic kombucha and fill remaining 1/3 of the bottle/bottles with fruit juice of choice (we used tart cherry juice from Door County for this recipe) leaving 1-2 inches of space at the top of the jar. Place a tight fitting lid on each bottle and allow to sit out at room temperature to ferment for 48 hours. Keep in mind it is important to use a juice that contains sugar. Yeast in the kombucha will feed off of the sugar in the juice and continue to ferment the kombucha. The longer you let the kombucha ferment with the juice, the less sweet and the more acidic the final product will taste. This fermentation time may also create more carbonation in your final kombucha. A good rule of thumb is to taste the kombucha each day until it's to your liking then store in the fridge until ready to drink. If you do not have the time to make homemade kombucha but you would like to try out this recipe, store bought cherry, berry, or cranberry kombucha would also work well. Simple Syrup To make simple syrup combine equal parts sugar and water in a small sauce pan. Simmer mixture on low, stirring often until the sugar has dissolved and the mixture has thicken up into a syrup like texture, ~3-5 minutes. Allow to cool then store in a glass jar with a tight fitting lid. Simple syrup can be stored in the fridge for up to 1 month. Cocktail/Mocktail Add kombucha, vodka (if using), cherry juice, simple syrup, lime juice, and ice to a cocktail shaker and shake mixture well. Strain cocktail into 2 martini glasses, add a lime slice to each glass for garnish and serve cold. This cocktail/mocktail has a nice amount of tartness from the cherry juice and fermented kombucha and easily disguises that this drink may contain vodka - so be careful! We love the unique taste of this adult beverage and use for kombucha and hope you do too.
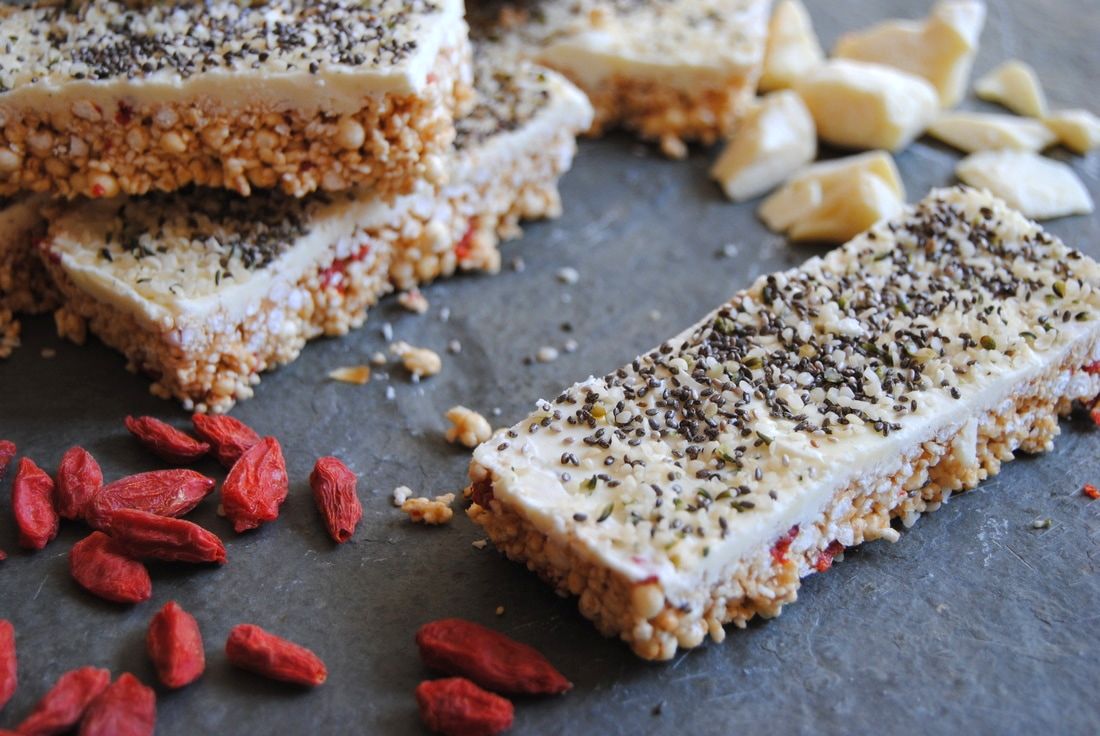
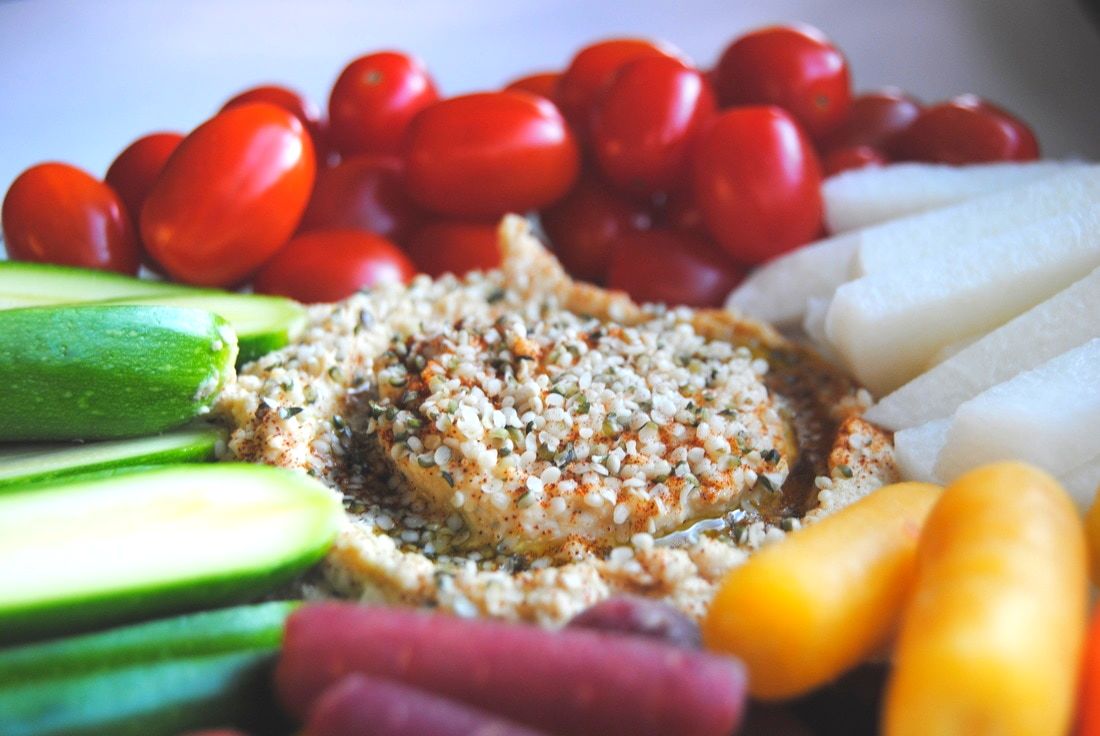
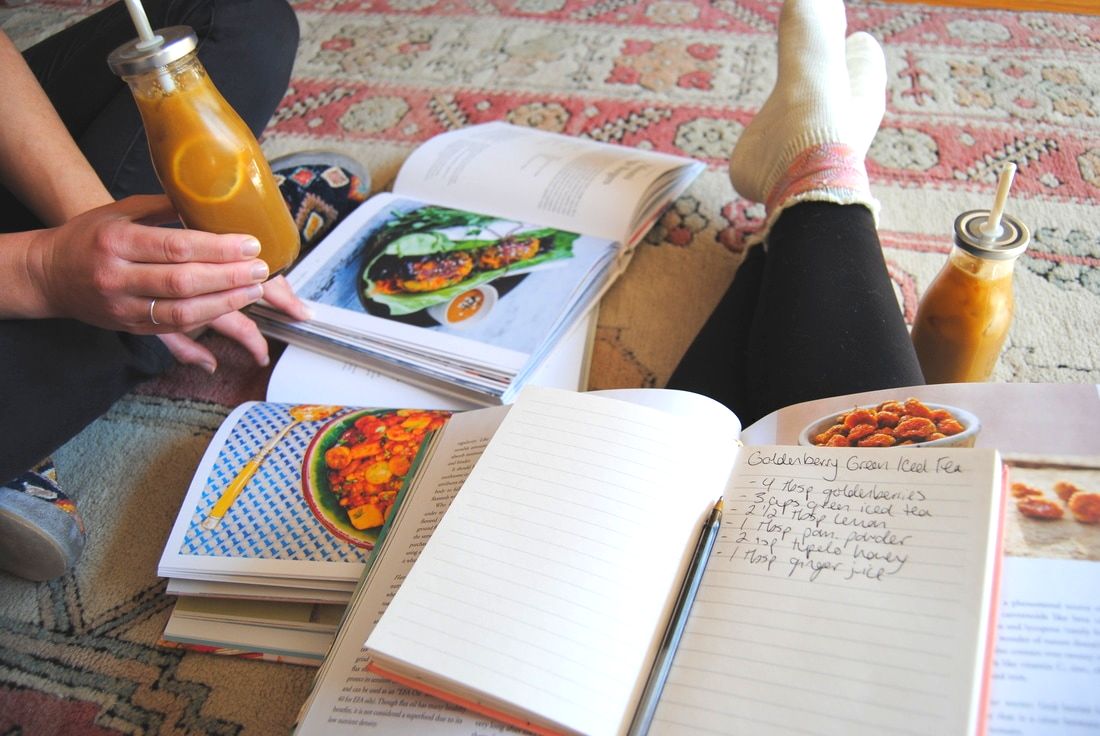
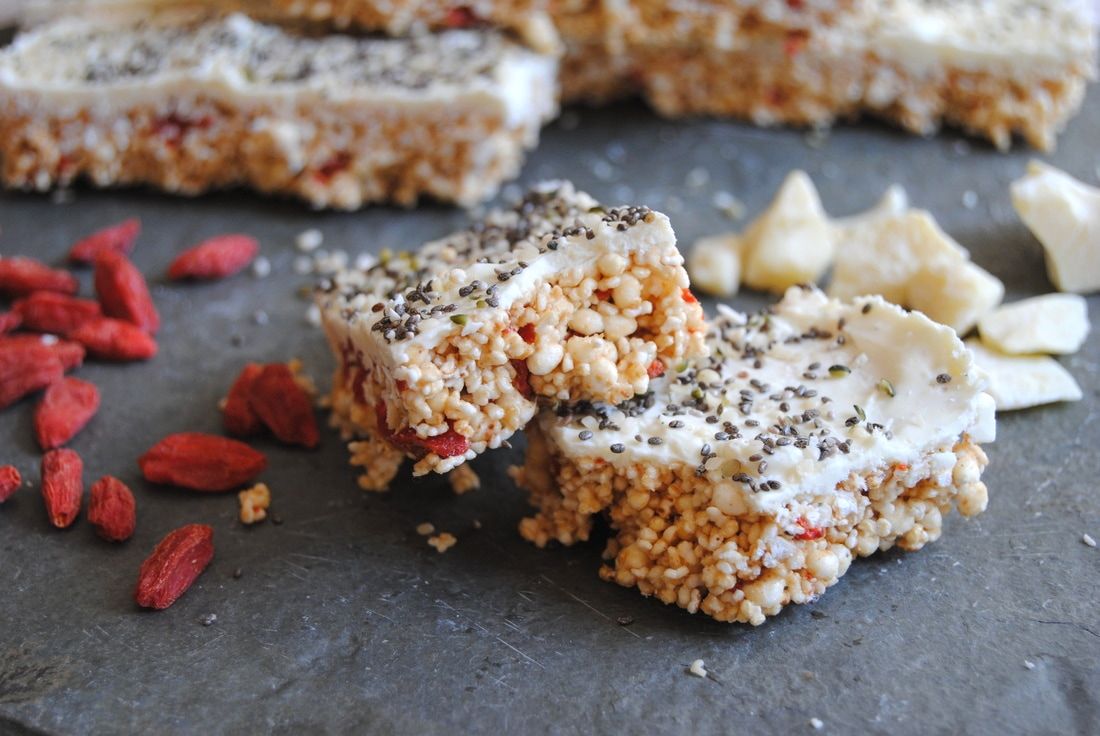
Cheers! Jess and Cecelia We've had an exciting day taking over Navitas Organics' Instagram page with our favorite superfood packed recipes. From start to finish it has been a delicious and nutritious day. If you missed us on Instagram, no worries! Read on to find out more about what we've been up to. We tend to like a little sweetness in the morning and this recipe did the trick! Inspired by a previous TGBK favorite for our Snack Attack Bars (recipe here), this time around we took a superfood spin and packed these bars with amazing Navitas products. The outcome was fabulous, most impressive being the velvety mouth-feel from the homemade white chocolate made with organic cacao butter. We almost can't imagine starting a morning without these bars now. Superfood Snack Attack Bars Prep Time: 15 minutes Total Time: 45 minutes (includes cooling) Servings: 8 bars Ingredients Bars 1 1/2 cup puffed amaranth 1 cup puffed millet 1/2 cup honey (we used clover honey, pure maple syrup would also work) 1/4 cup unsweetened cashew butter 1/4 cup Navitas Organics cacao butter, melted 1/4 cup Navitas Organics goji berries, chopped 1 Tbsp Navitas Organics maca powder 1/2 tsp sea salt Topping 1/2 cup Navitas Organics cacao butter 2 Tbsp + 1 tsp coconut oil 1 Tbsp organic powdered sugar 1/2 vanilla bean, inside seeds scraped out (1 tsp pure vanilla extract will also work) 1 Tbsp Navitas Organics chia seeds 2 Tbsp Navitas Organics hemp seeds Prepare a 8" X 8" pan with a sheet of parchment paper overlapping two sides for easy removal of bars once set. Combine the puffed grains, goji berries, maca powder and sea salt in a large bowl then set aside. In a small sauce pan combine the honey, cashew butter, and 1/4 cup cacao butter. Heat mixture over low heat, stirring constantly until fully melted. Turn the heat off, allow to slightly cool, and slowly pour mixture into the bowl with the puffed grains. Stir until puffed grains are evenly coated. Pour mixture into prepared pan and press down using a small sheet of parchment paper (easier and less messy on your hands) until firm and level. Now begin the white chocolate topping. To make the topping add 1/2 cup cacao butter and coconut oil to a double boiler set to medium heat. Stir mixture until fully melted. You could also do this in the microwave in 10 second increments, however watch closely to avoid overheating. Remove from the heat and stir in the powdered sugar and vanilla bean until fully incorporated. Allow chocolate to cool and thicken up slightly either in the fridge for 10 minutes or at room temperature for 20-25 minutes. Wait until the chocolate has thickened and almost solidified to spread a thin layer over the top of the puffed grains using the back of a spoon to cover evenly. Sprinkle chia and hemp seeds over the white chocolate then place in the fridge for 10-15 minutes or until the white chocolate topping has set. Cut bars into 8 equal pieces. Store any leftover bars in an air tight container in the fridge for up to 5 days. Midday, we threw it back to our past recipe for High Protein Hemp Hummus (here). A high protein dip, like this hummus, is a great addition to sandwiches, wraps, salads, and simply as a dip with veggies or crackers with lunch to keep you full and satisfied all afternoon. And if you remember from our past post, hemp is a fabulous source of plant based protein. Hemp protein contains all the essential amino acids that our bodies can't produce making it a source of complete protein - rare for plant foods! Hemp also contains an ideal ratio of omega-6 to omega-3 fats and is a good source of omega-3 fats which are generally lacking compared to omega-6 fats in our modern diets. With so much benefit, there honestly isn't a good reason not to start adding more hemp into your diet. Towards the late afternoon we needed a bit of pick me up to finish out our busy day of recipe development. We reached for one of our favorite superfood berries, goldenberries, and created something pretty special. Paired with green iced tea, honey, lemon, ginger juice, and pomegranate powder, this is a superfood packed and slightly caffeinated beverage that will give you a boost of energy and nourishment when it's needed most. Just returning from a trip from Peru, Cecelia heard these native berries called Incan berries during her travels which makes them seem even more special, doesn't it?
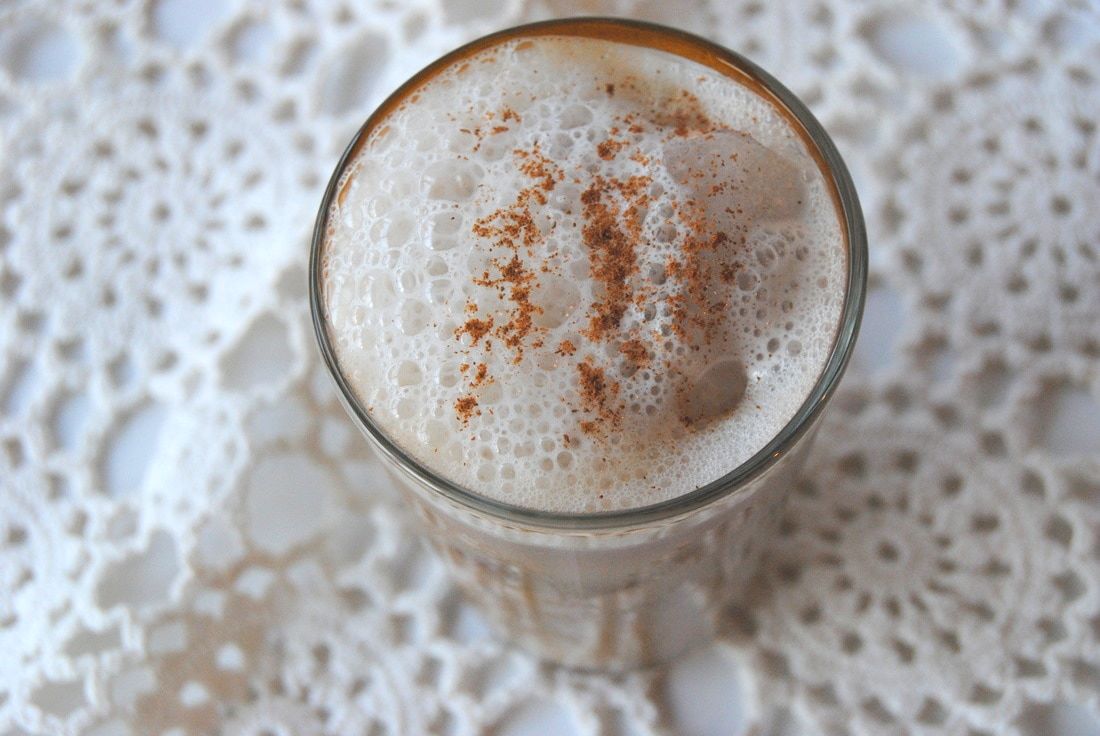
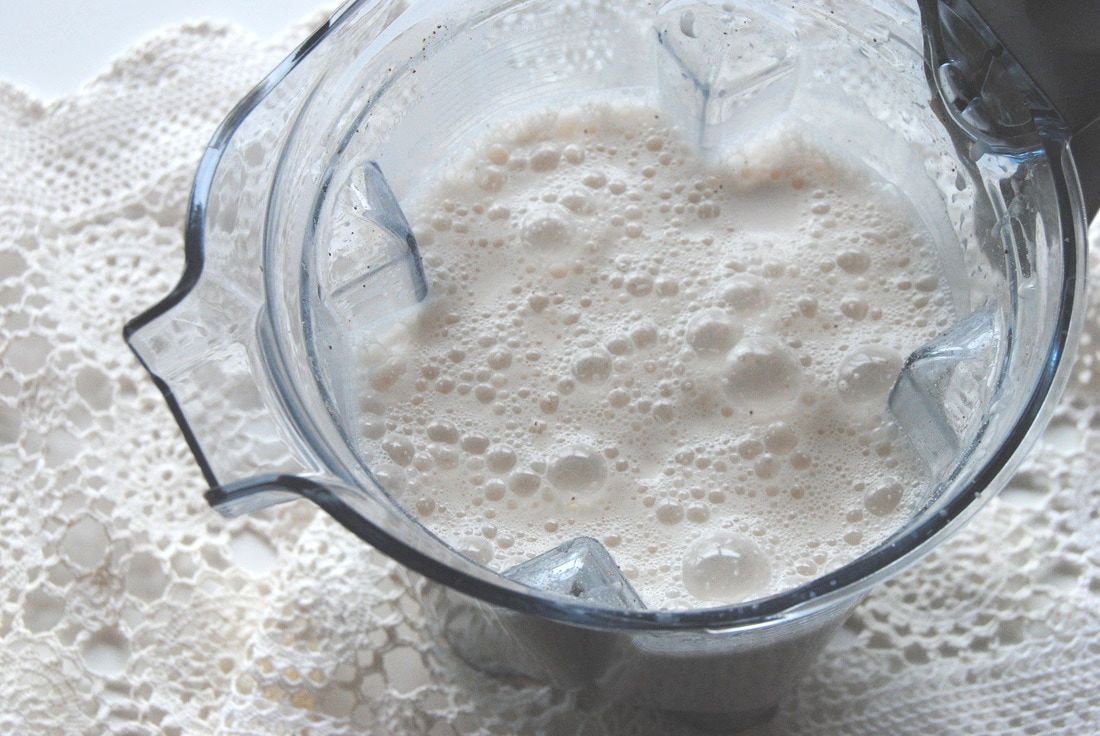
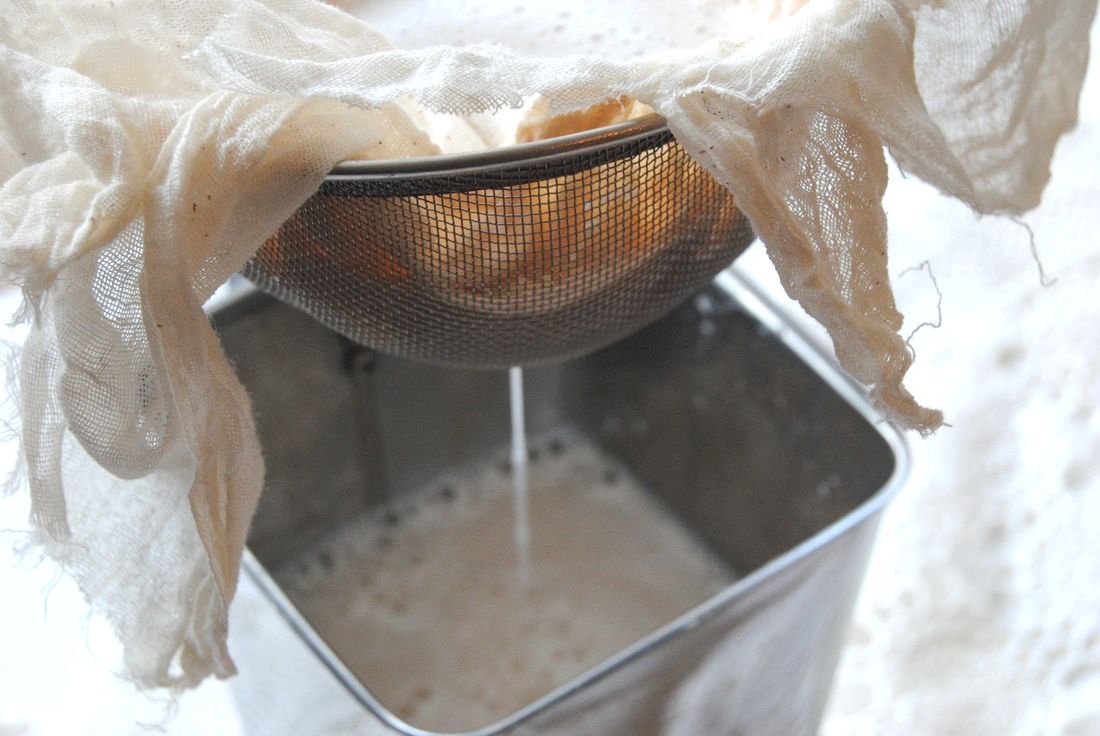
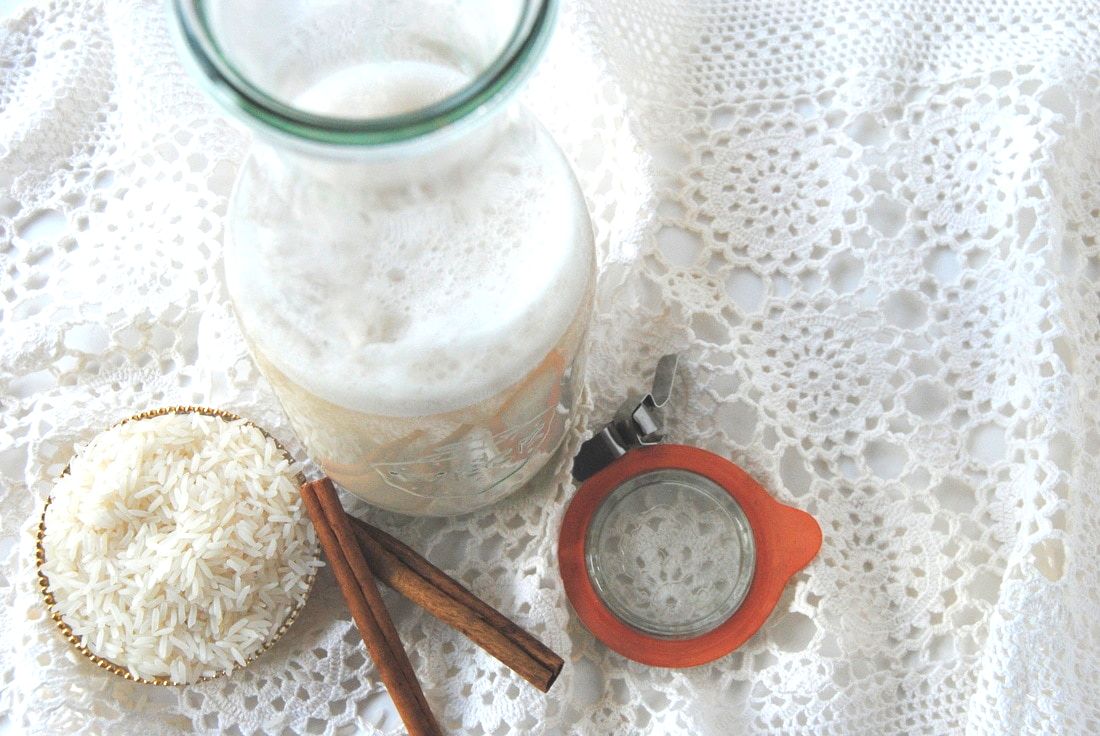
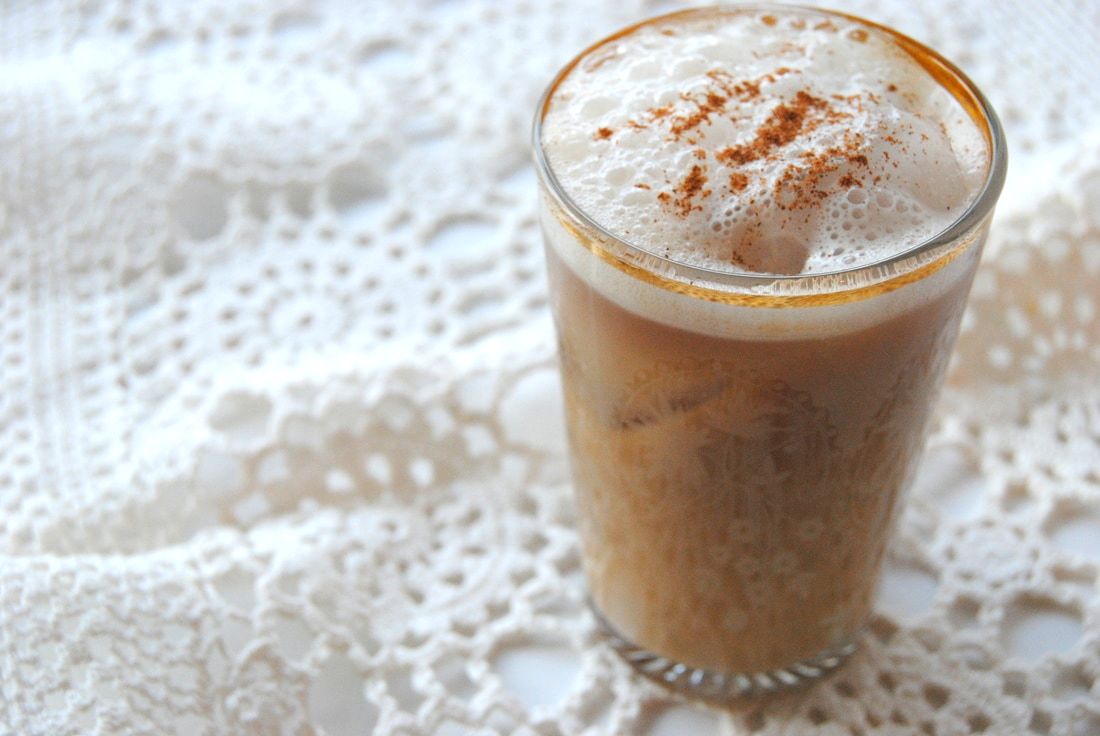
Goldenberry Green Iced Tea Prep Time: 10 minutes + 8 hours soaking time Total Time: 10 minutes + 8 hours soaking time Servings: 2, 14 ounce teas Ingredients 3 cups unsweetened green iced tea (using 2 standard size tea bags) 1/4 cup Navitas Organics dried goldenberries, soaked for 8 hours or overnight in room temperature water 3 Tbsp fresh lemon juice 1 Tbsp ginger juice or 1" knob of peeled ginger 1 Tbsp Navitas Organics pomegranate powder (optional) 2 tsp honey (we used tupelo honey, light clover honey would also work) Sliced lemon rounds (optional) In a bowl fitting with a lid or plastic wrap, soak the goldenberries in room temperature water for at least 8 hours or overnight. Combine 2 standard green tea bags with 8 ounces of hot water. Allow tea to steep for 3-5 minutes then remove tea bags and add 16 ounces of cold water to the concentrated tea. Once berries are done soaking strain them through a fine mesh strainer then add to a high speed blender (Vitamix or Blendtec work best for this recipe). Add cooled green tea, lemon juice, ginger juice, pomegranate powder, and honey. Blend on high for 3 minutes or until the berries are completely broken up and the mixture is liquefied. Pour over ice, add sliced lemon rounds and enjoy! Any leftover tea should be stored in the fridge in an air tight jar for up to 24 hours. In need of an extra dose of caffeine this week in a unique preparation? We gotcha here at TGBK because that's just what we needed this week too! We love mixing up our beverage game and trying new things - this week horchata. What is horchata you ask? We gotcha... Horchata is a traditional beverage consumed in Latin America with different varieties of recipes/flavors depending on location. In Mexico, horchata is made with long grain rice, cinnamon, and sugar. In Spain, horchata's main ingredient is tiger nuts instead of rice which gives the final product a nutty flavor. In Puerto Rico, horchata is made with sesame seeds, cinnamon, vanilla, and sugar and sometimes has added almonds, evaporated milk, coconut milk, allspice, and even rum! We like the versions of horchata that provide an alternative, non-dairy milk beverage and created a rice based recipe this week. An important lesson that we learned just yesterday is that horchata is pronounced with a silent H - you're welcome! Horchata Iced Latte PREP TIME: 10 minutes + 4 hours soaking time TOTAL TIME: 10 minutes + 4 hours soaking time Servings: 6 cups horchata milk Ingredients 1 cup long grain white rice 6 cups water 1 cinnamon sick 1/3 cup pure maple syrup Combine 1 cup of rice with 3 cups room temperature water and 1 cinnamon stick in a large bowl covered with a lid or clean towel. Allow mixture to sit out at room temperature for at least 4 hours or overnight. Transfer soaked rice, soaking water, cinnamon stick, and 3 additional cups of room temperature water to a high speed blender. Blend mixture on high for 2-3 minutes then strain through a fine sieve lined with 2 pieces of cheese cloth over a large pitcher. Once solid and are liquid are separated, discard the solid retained in the cheese cloth and place the liquid horchata milk back into a clean blender. Add 1/3 cup pure maple syrup and blend for a few seconds until combined. Store horchata milk in a glass container fitted with a tight lid for up to 7 days. Note that liquids and solids will separate when sitting but easily recombine with a good shake. To make a horchata iced latte pour 4 oz of cold brew coffee (recipe here) and 4 oz of horchata milk into a glass with ice. Top with a spoon of foam created from blending and a sprinkle of cinnamon, stir, and sip away! We hope this beverage is a refreshing pick-me-up amidst your busy week. Having homemade horchata on hand is never a bad idea so that you have an alternative milk ready to go for any of your culinary needs. To spark your imagination we used horchata as our milk ingredient in a sweet crepe recipe and it was amazing!
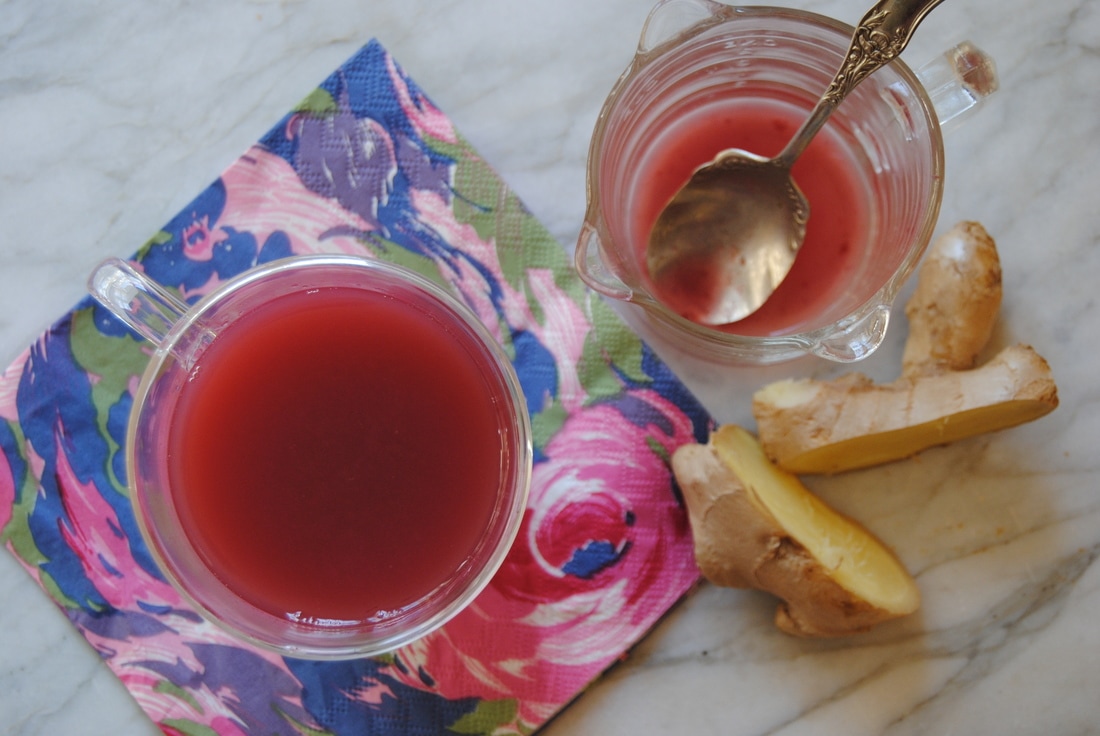
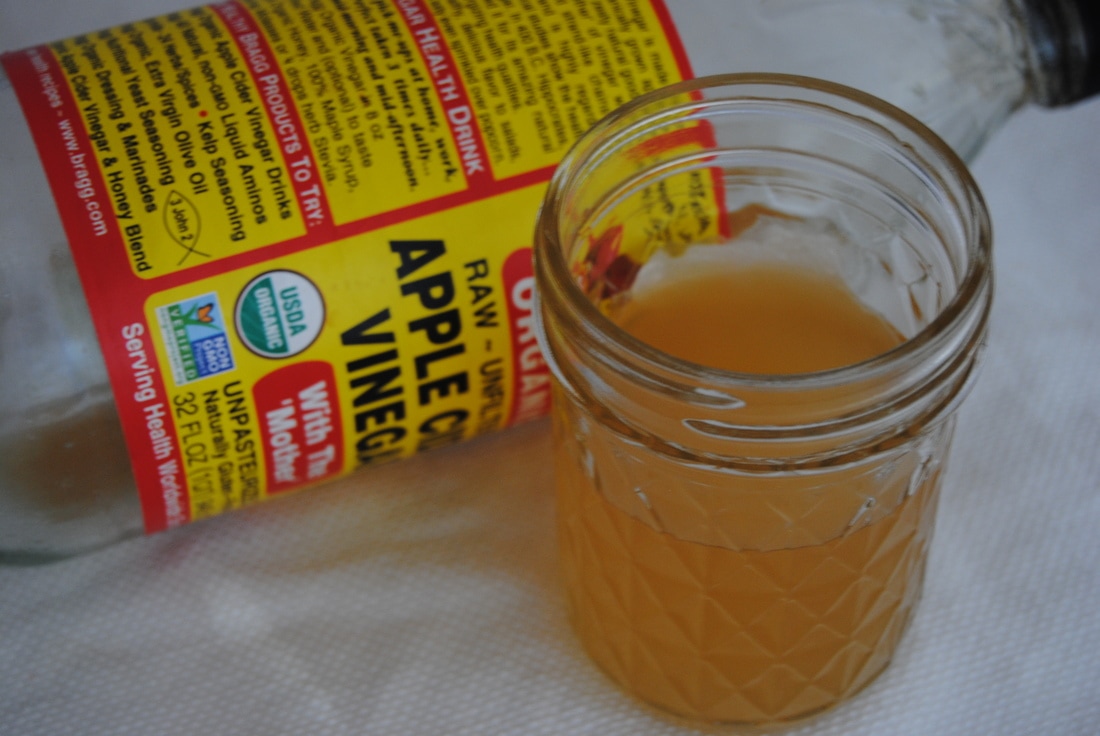
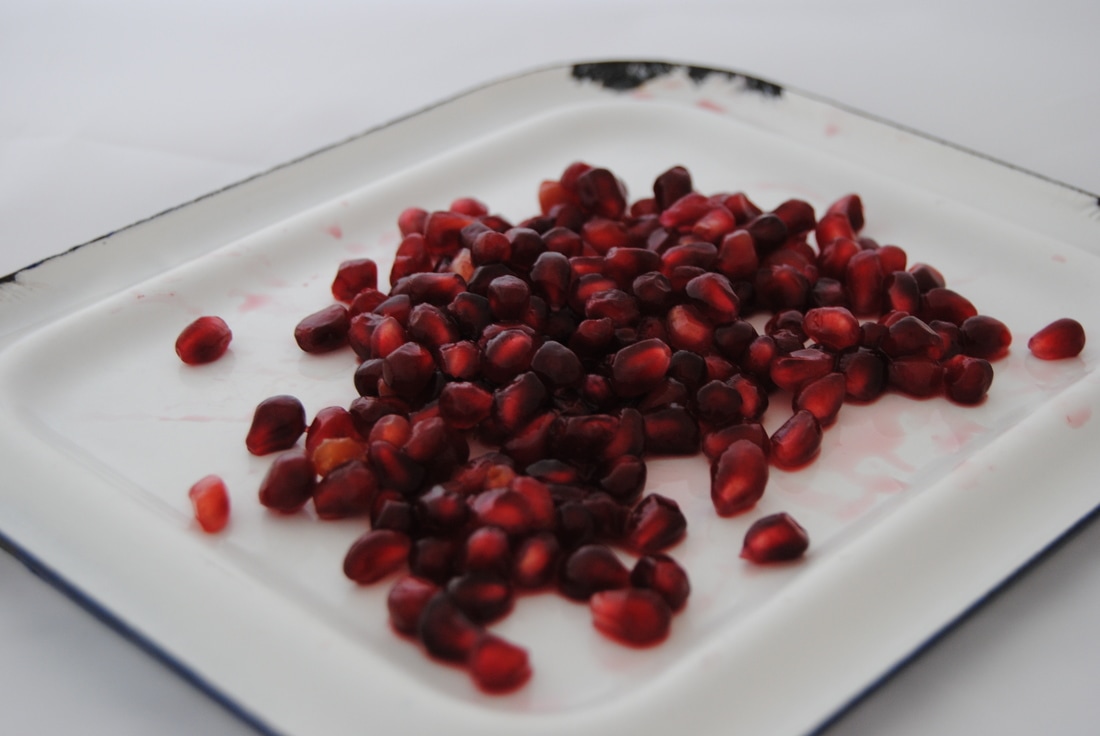
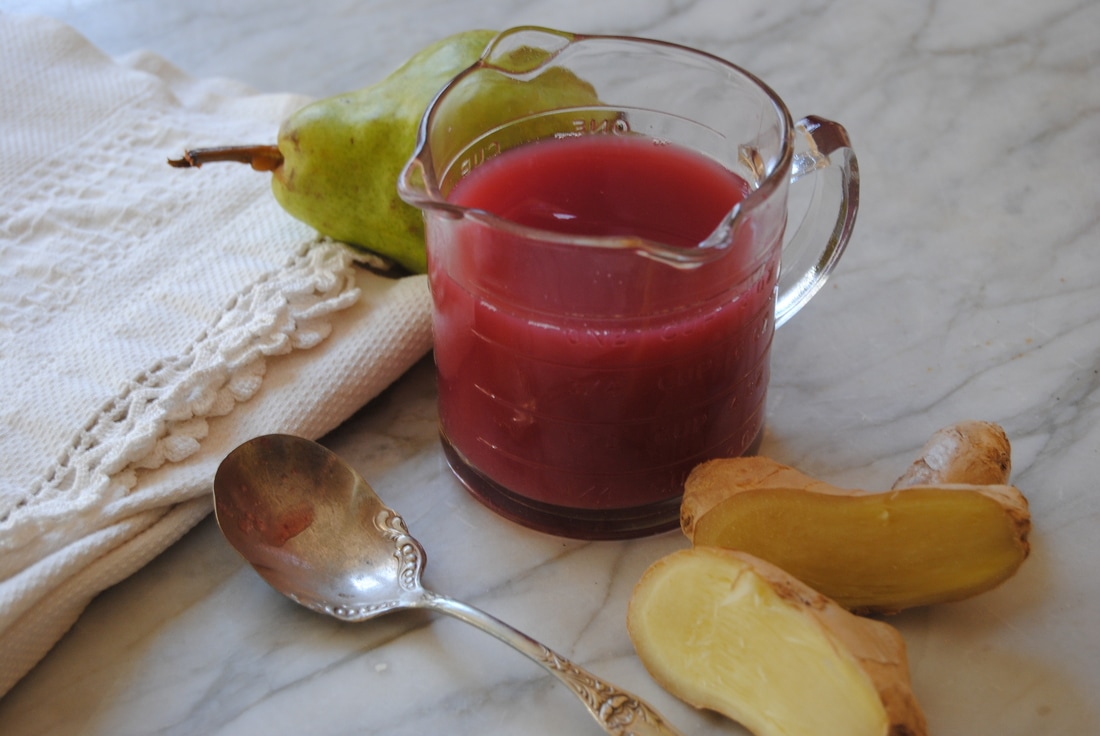
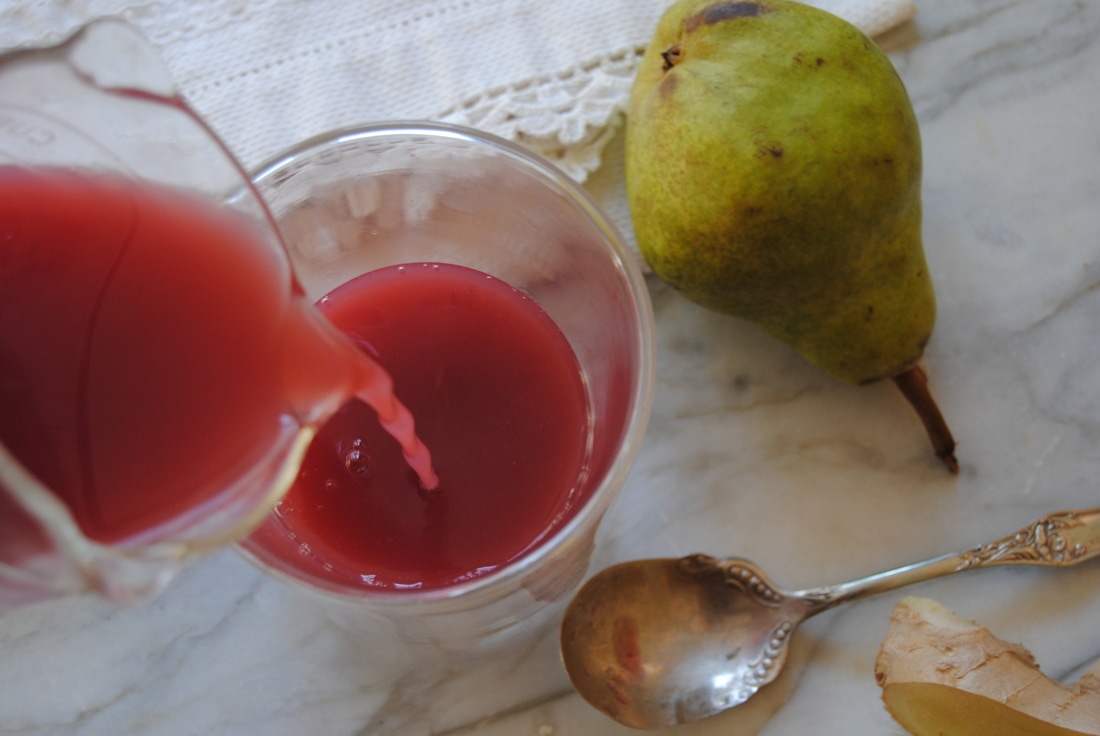
Enjoy, Jess and Cecelia Well hello again TGBK friends! We hope you've had a lovely start to 2017. In the spirit of the New Year we chose a topic this week that may inspire some new healthy choices and food habits. Because let's face it, we are the same people (though slightly older) as we were on December 30, 2016 but may now have the renewed commitment to healthier habits. Cecelia, for example, is wholeheartedly committed to taking the stairs more at work (goodbye elevators!). And Jess wants to make more food from scrach (as if that's even possible!). If your resolution has anything to do with gut health and improved digestion then read on for one way to try to make that happen this year. Yes friends, apple cider vinegar is the trick to good digestion. You may have seen apple cider based drinks sold in health food stores and wondered what the hype was about. Well wonder no more! First, apple cider vinegar is a fermented food and contains healthy probiotic bacteria that we just love for gut and overall immune health. Though not all apple cider vinegar is created equal. To get the benefit of this fermented food look for a product that is raw (unheated and unpasteurized) to maintain the living bacteria. Organic, unfiltered, and "with the mother" (or the starer culture that began the fermentation process) are also key words to look for to make sure you a purchasing a superior product. But a healthy daily dose of probiotics is not all apple cider vinegar has to offer. Apple cider vinegar can be used as a remedy for digestive ailments, like reflux and indigestion, though the mechanism for why this works in not completely clear. Some believe that reflux and indigestion are caused by too little, instead of too much, stomach acid which can be improved by a daily intake of apple cider vinegar. Apple cider vinegar has an acidic pH similar to stomach acid and therefore may be able to re-balance a stomach pH that is out of ideal range. There has also been some research into the benefit apple cider vinegar may provide in certain metabolic disorders, though the evidence is limited to support apple cider vinegar as treatment. For conclusive, scientific answers more clinical research is needed. But in the meantime you can experiment with your own body since this whole food product won't cause any harm. If you're dealing with indigestion/reflux or just want to improve your digestion and gut health, give apple cider vinegar a try. There is no better proof than seeing something work (or not work) in your own body, because every body is different! For therapeutic effect apple cider vinegar should be taken daily, consistently - we recommend one tablespoon. It can be taken plain, mixed with water, as salad dressing, or added to a juice as we did this week. However you decide to take your apple cider vinegar, take it every day! Within several weeks you should know if this is something you want to commit to as a new healthy habit or not. Finally, for you apple cider converts and shoppers, a favorite brand of ours is Bragg, website here. Pear-Pomegranate-Ginger Apple Cider Vinegar Juice PREP TIME: 10 minutes TOTAL TIME: 10 minutes Serving: 10 oz juice Ingredients 5-6 oz organic pomegranate seeds (seeds from ~2 pomegranates) or store bought organic pomegranate juice (~3 oz juice) 2 organic pears (~5 oz juice) 2 Tbsp fresh ginger juice -recipe here 1 Tbsp organic raw apple cider vinegar 1 tsp organic raw honey (we used clover) Using a slow juicer, juice pomegranate seeds. A 5-6 oz serving of seeds should yield ~3 oz of juice. If you don't have a slow juicer use 100% pomegranate juice as a high speed juicer will not yield much juice from the seeds. Next, juice the pears until you have ~5 oz of juice. Add pomegranate juice to pear juice and stir in ginger juice, apple cider vinegar, and honey until dissolved. Serve immediately at room temperature or over ice. Enjoy! This drink is a perfect starter for those interested in adding apple cider vinegar to their daily routine. The fruit juice and honey provide sweetness to balance the tartness of the cider. The ginger adds a spicy kick to distract from the fact that you are actually drinking vinegar, definitely not a norm for most! Though will daily intake (either in a blend or plain) you will start to adapt to the apple cider vinegar taste and even start to look forward to your daily dose. If that never happens for you, keep finding ways to make it taste delicious (like this recipe!).
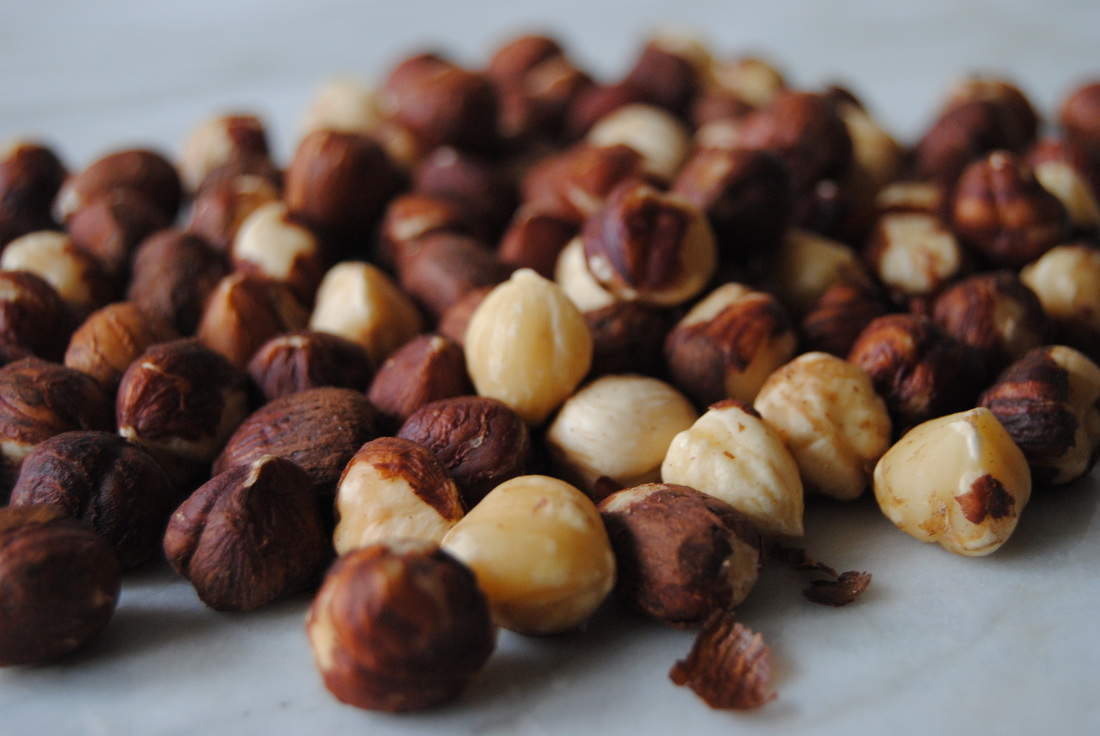
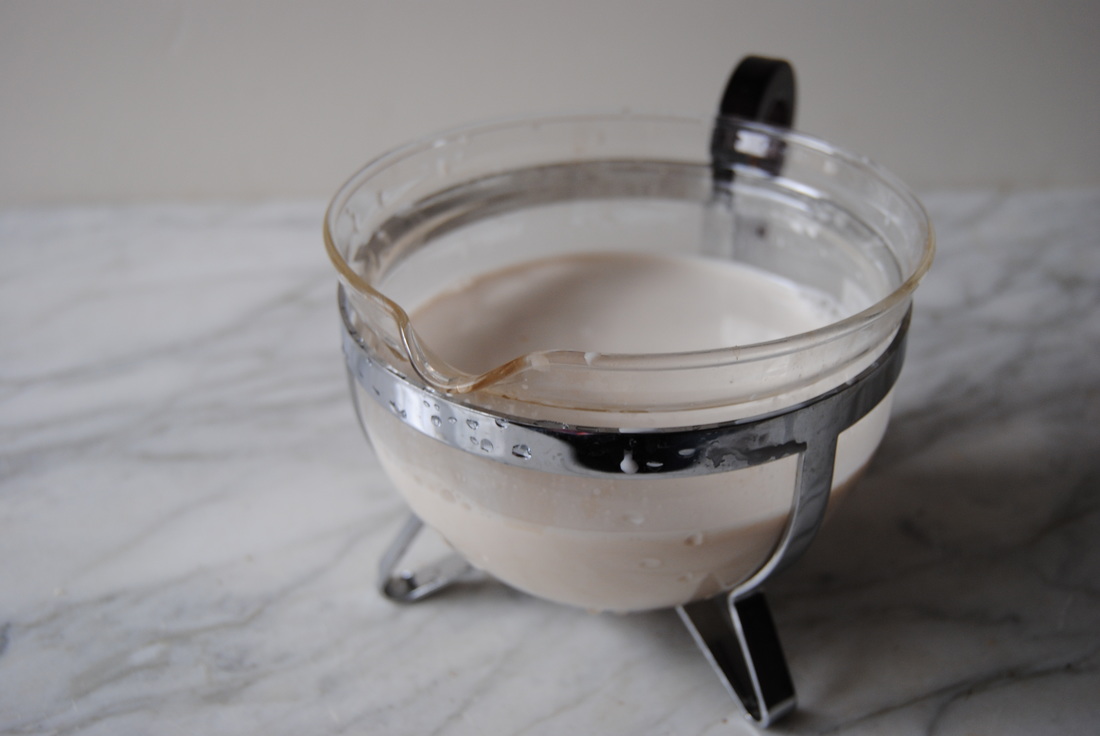
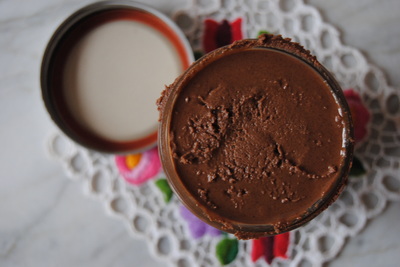
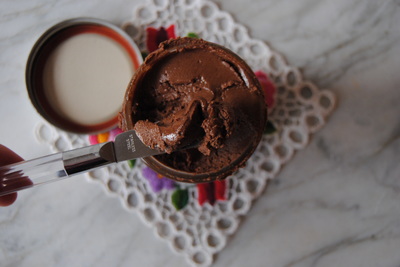
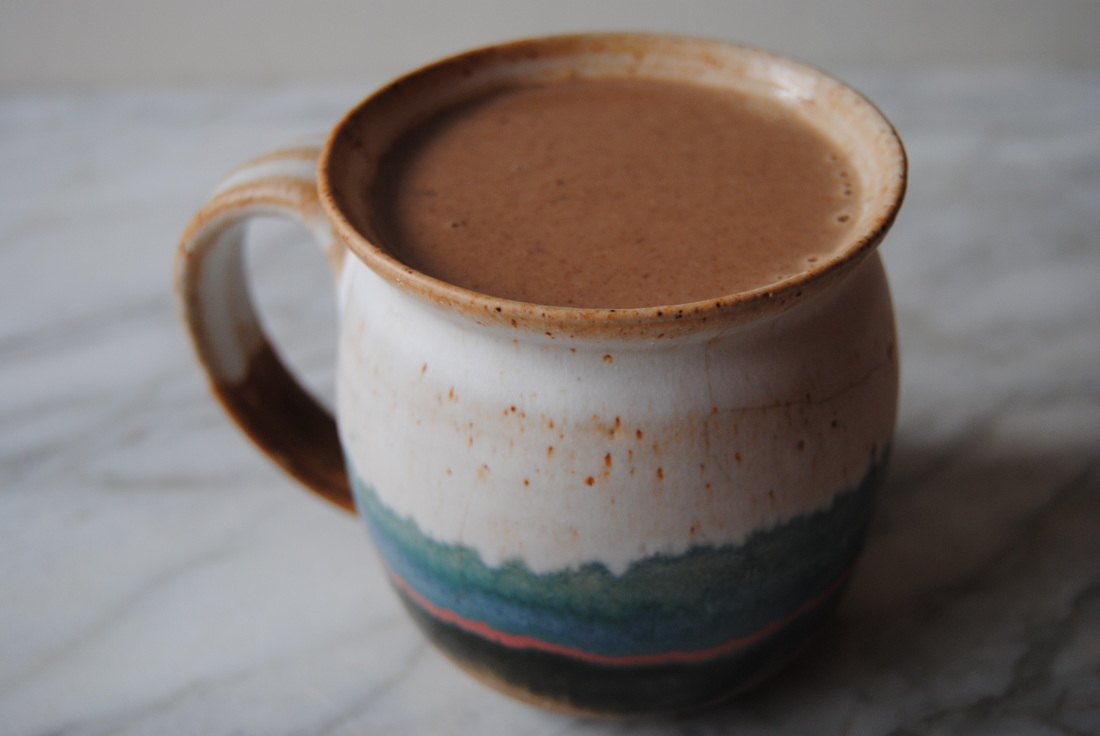
Stay healthy, Jess and Cecelia We were in need of some fun this week and decided to do a little experimenting in the kitchen. First, we picked a food to experiment with and decided on the delicious hazelnut. They are just so cute and provided the perfect range of culinary options for our plans this week. And boy did we learn more than we ever expected! 1. Hazelnuts make the BEST nut milk! So we've sworn to never make another nut milk again (okay maybe an exaggeration). We found hazelnut milk to have a rich and creamy texture and full flavor that can't be matched by other homemade nut milks. Don't believe us, try for yourself! Hazelnut Milk PREP TIME: 8-12 hour soaking time TOTAL TIME: 8-12 hour soaking time + 10 minutes to blend and strain Servings: 16 oz Ingredients 1 cup raw hazelnuts 2 cups room temperature water Place hazelnuts and water in a large glass bowl and either cover with a lid or plastic wrap then allow to sit out at room temperature for at least 8 hours. Once nuts are done soaking, drain off the soaking water. Add 2 cups of fresh room temperature water and soaked nuts to a high speed blender or food processor and blend on high for 2-3 minutes. Using a colander layered with a piece of cheese cloth or a nut milk bag, strain "milk" from the solids making sure to ring out as much liquid as possible into a pitcher or bowl. If using a small colander or small nut milk bag, this works best to do in a few batches. Store hazelnut milk in an air tight container in the fridge for 5-7 days. 2. Homemade "nutella" is tricky to make but worth the effort! Though we didn't exactly replicate the smooth texture and sweetness of store-bought nutella we still love the final outcome. We added almond to our recipe to help with texture and found the final product to be a delicious spread somewhere between traditional nutella and a chocolate nut butter. And with the added nuts this spread is higher in protein and overall nutrition, so a win there! Chocolate Hazelnut-Almond Spread PREP TIME: 10 minutes TOTAL TIME: 15 minutes Servings: ~12 oz Ingredients 1 1/2 cups unsalted almonds, roasted 1 1/2 cups unsalted hazelnuts, roasted 2/3 cups dark chocolate chips 1 tsp pure vanilla extract 1/2 tsp sea salt If you purchased raw nuts roast on a baking sheet in a single layer at 350 degrees for about 5-10 minutes watching closely so that the nuts don't burn. Allow to cool. In a high speed blender (ex: Vitamix or Blendtec), process almonds and hazelnuts on high until a semi-smooth nut butter is formed, about 3-5 minutes. In a microwave safe bowl or over a double boiler melt chocolate chips. If using a microwave, heat chocolate in 10 seconds increments stirring every 10 seconds to make sure you do not burn the chocolate. Pour melted chocolate, vanilla extract, and salt into the blender and continue to blend on high until a smooth spreadable nut butter is formed. Store in the fridge in an air tight container for up to 2 months. 3. These two recipes combined make an amazingly rich and delicious hot chocolate. The creamy hazelnut milk and chocolate hazelnut-almond spread are the perfect companions in this warm dessert beverage. We did find this hot chocolate best consumed in a small portion (4 ounces) as it is filling from the nut spread and hot off the stove for ideal texture. Definitely a pick me up treat as the days get darker and colder.
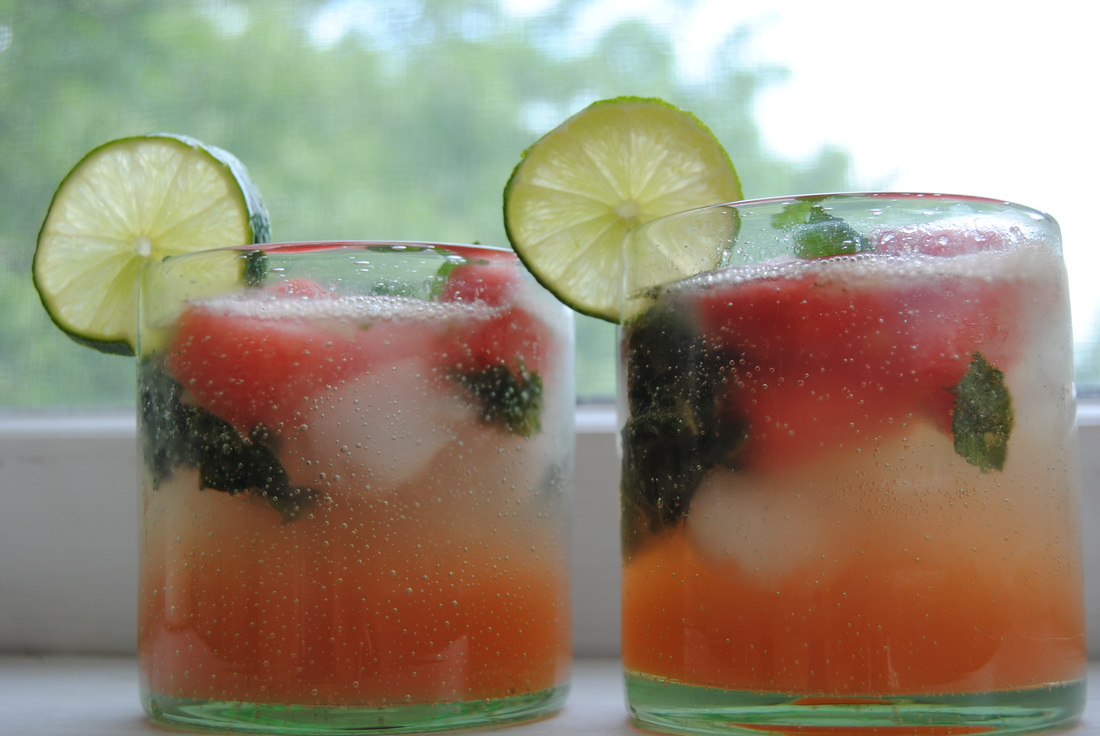
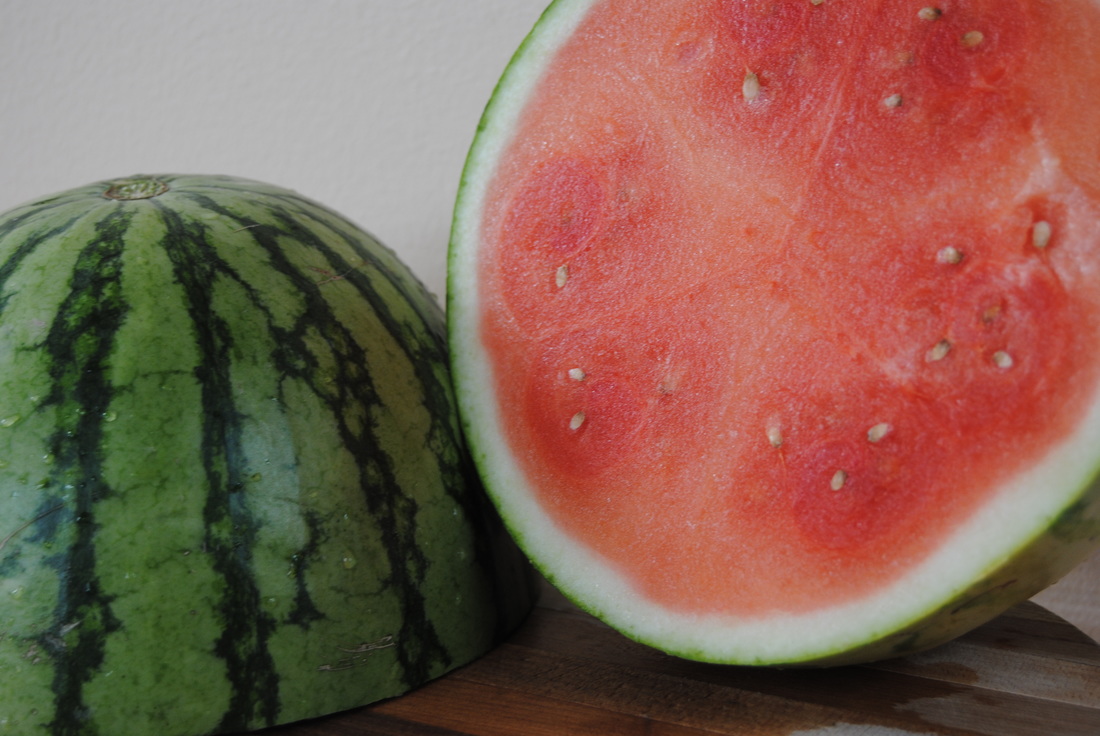
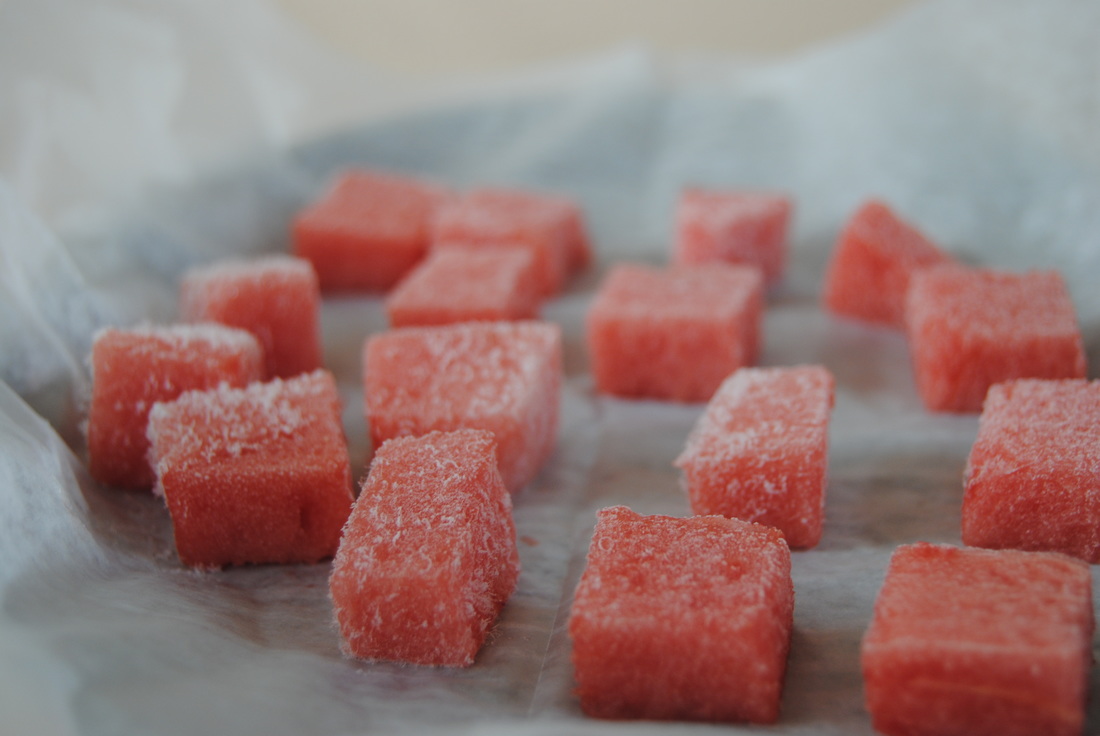
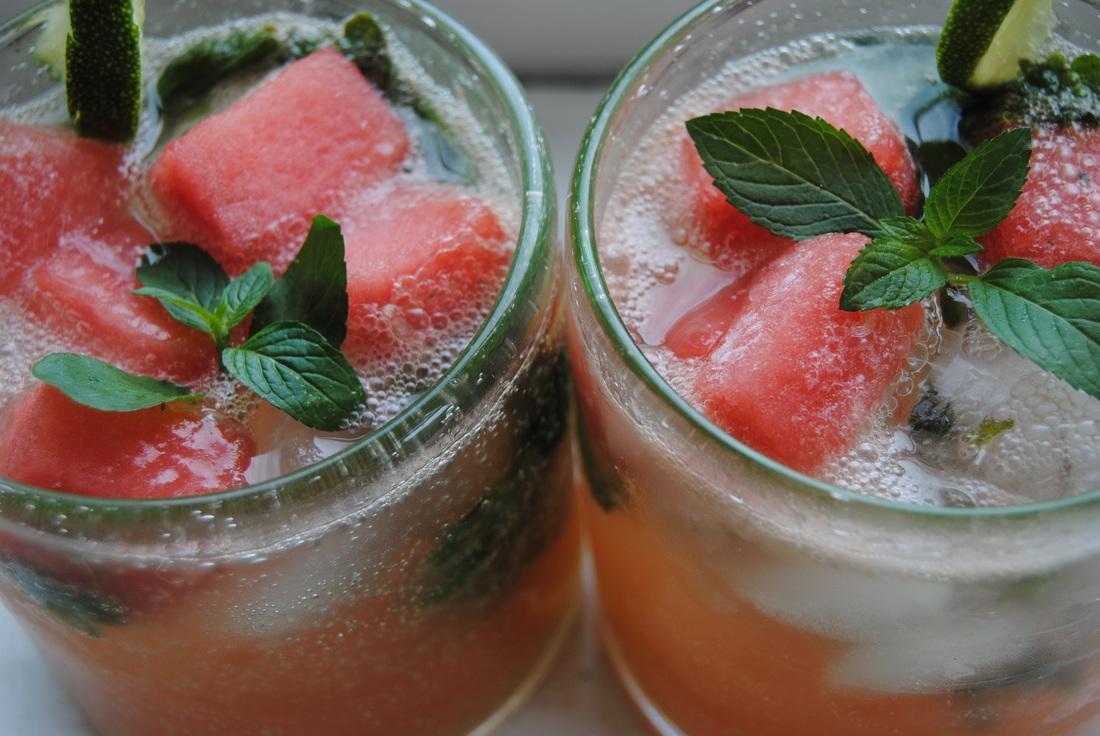
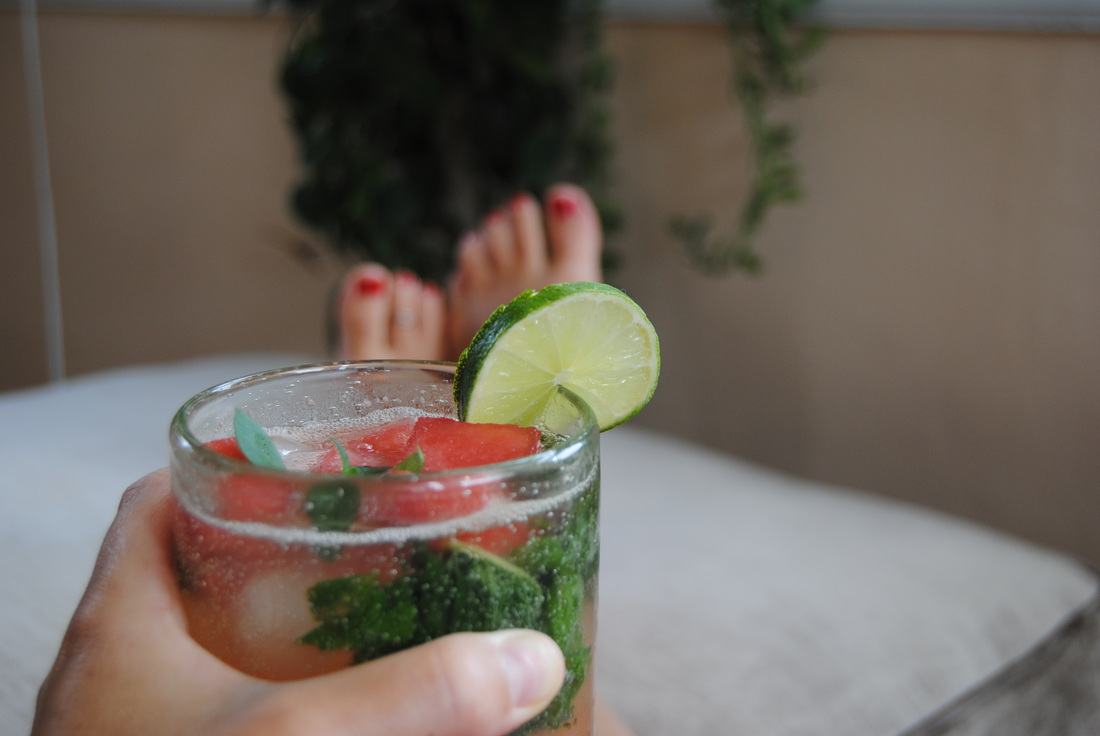
Almond Hazelnut Hot Chocolate PREP TIME: 5 minutes TOTAL TIME: 5 minutes Servings: 2 Ingredients 8 oz hazelnut milk 2 Tbsp chocolate hazelnut-almond spread In a small pan over medium heat, mix together 8 oz of hazelnut milk and 2 Tbsp nut butter. Stir constantly until the nut butter has dissolved and milk is warm. Remove from the heat and pour into 2 glasses and sip away. So we hope you've enjoyed learning more about hazelnuts with us this week and have some fun for yourself with these recipes. If you have kitchen experiments you'd like to share, please do! We love to hear from you. Have fun, Jess and Cecelia We can just about bet that these long summer days and warm nights have you craving some fresh adult drinks. If we're right than this recipe is for you! We've combined one of our favorite staple drinks with fresh produce of the season and a Caribbean twist. Thirsty? Read on! As you'll see, this recipe features fresh watermelon juice and takes some preparation and time. And we know that drink mixers can be enticing for just this reason. But we're asking you to drop that drink mixer! Widely available in every different combination, mixers may seem like a no-brainer. Though many drink mixers on the market today have high fructose corn syrup, artificial flavorings, preservatives, and artificial dyes. And calorically speaking these mixers can add up pretty quickly because of all the added sugar. Even adult beverages can have nutritional benefit, instead of sugary excess, when prepared with fresh pressed juice and whole food ingredients. Because summer drinks should be fresh, refreshing, and packed with the flavors (and nutrients!) of the season. Watermelon Coconut Mojitos PREP TIME: 30 mins (includes freezing time) TOTAL TIME: 35 mins Servings: 4 Ingredients Mojitos 12 oz fresh watermelon juice 8 oz coconut rum Juice of 4 limes 20 large mint leaves 4 Tbsp simple syrup 12 oz sparkling water 1 cup 1" cubed watermelon, frozen 4 thin slices of lime for garnish Simple Syrup 1/4 cup cane sugar 1/4 cup water Cut watermelon into 1" x 1" cubes and place on wax paper in the freezer to chill for ~25 minutes. Using a juicer*, juice 1.5 cups (12 oz) watermelon juice. To make the simple syrup combine equal parts cane sugar and water in a small sauce pan on medium-high heat. Bring liquid to a gentle boil making sure to stir constantly then reduce to a simmer. Allow mixture to simmer for 8-10 minutes or until liquid becomes syrup-like and sticks to the back of a spoon. Remove from heat and allow to cool to room temperature. Using a mortar and pestle, muddle the mint leaves until fragrant then set aside. Using a drink shaker, combine 3 oz watermelon juice, 2 oz coconut rum, juice of 1 lime, 1 Tbsp simple syrup, 1/4 of the mint leaves, and a handful of ice. Shake vigorously until fully chilled. Pour into a glass and top with 2-3 oz sparkling water and 1/4 cup cubed frozen watermelon. Garnish with a slice of lime and a sprig of mint. Repeat process to make all four drinks. *If you do not have a juicer you can blend the watermelon in a high speed blender and strain through a fine sieve to catch any pulp. Ahhhhhh. One sip and you'll be transported to a lounge chair in the sand gazing at clear blue waters even if you're really sitting with your feet up in the living room. This drink is the perfect combination of mint and lime like a traditional mojito, with a unique sweetness from the fresh watermelon, and a warm, tropical finish from the coconut rum. Once you've tried this one we know it will be a favorite for the rest of your glorious summer.
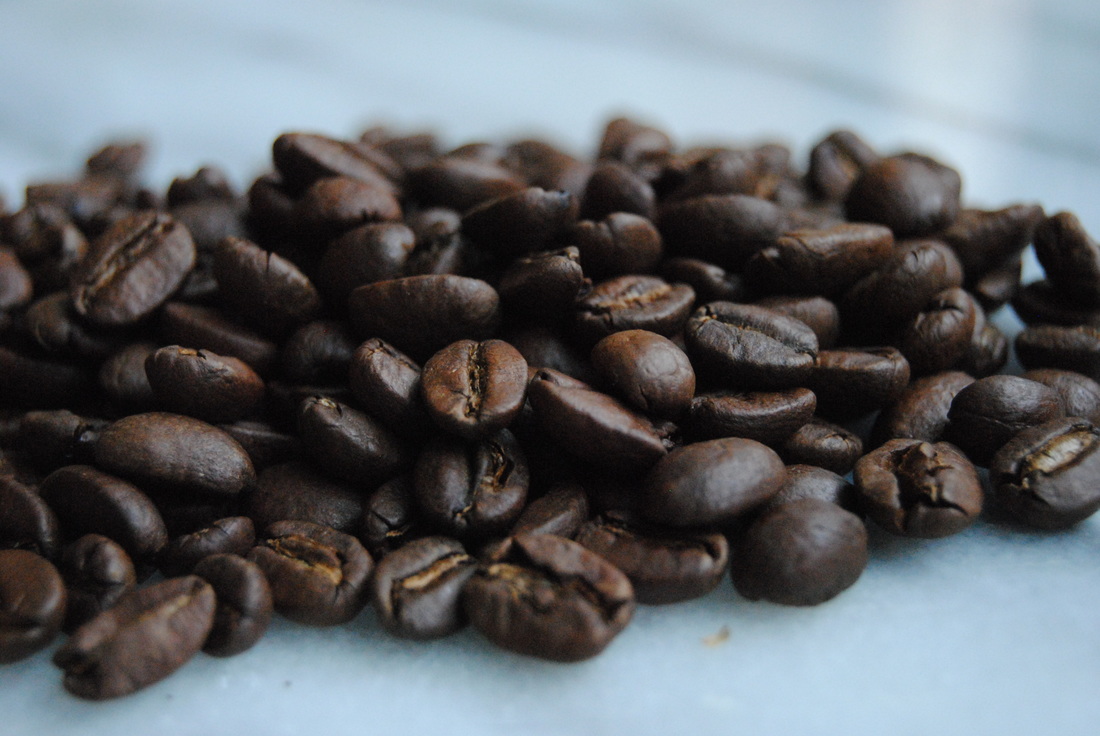
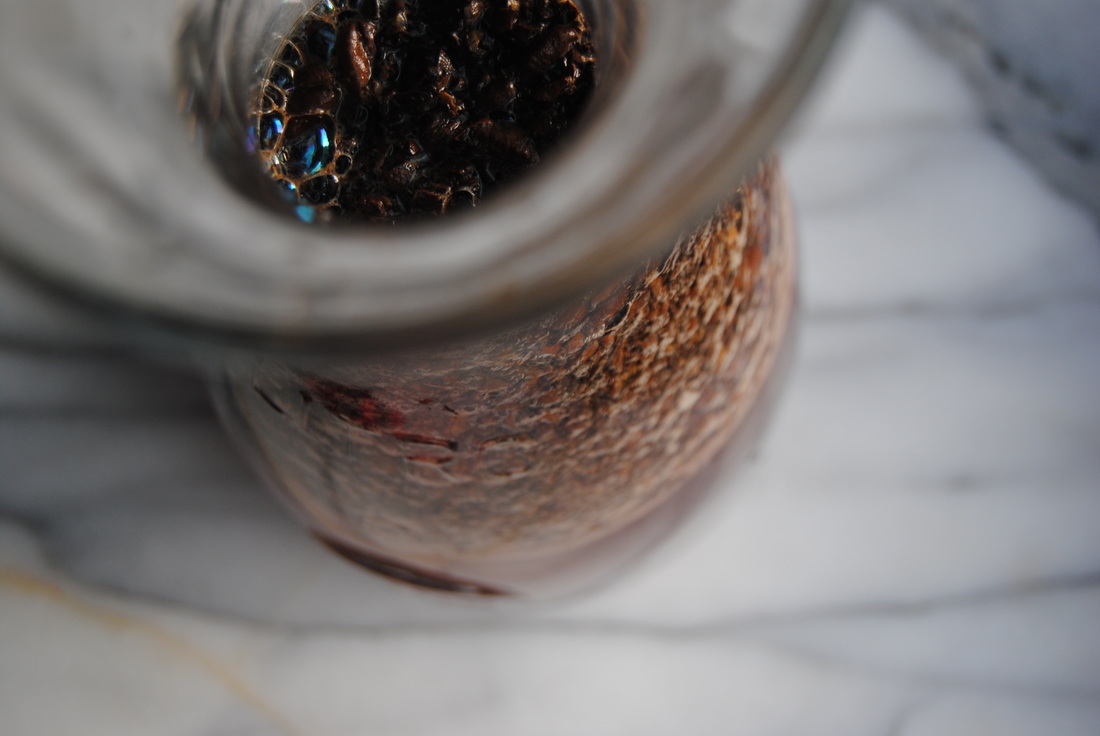
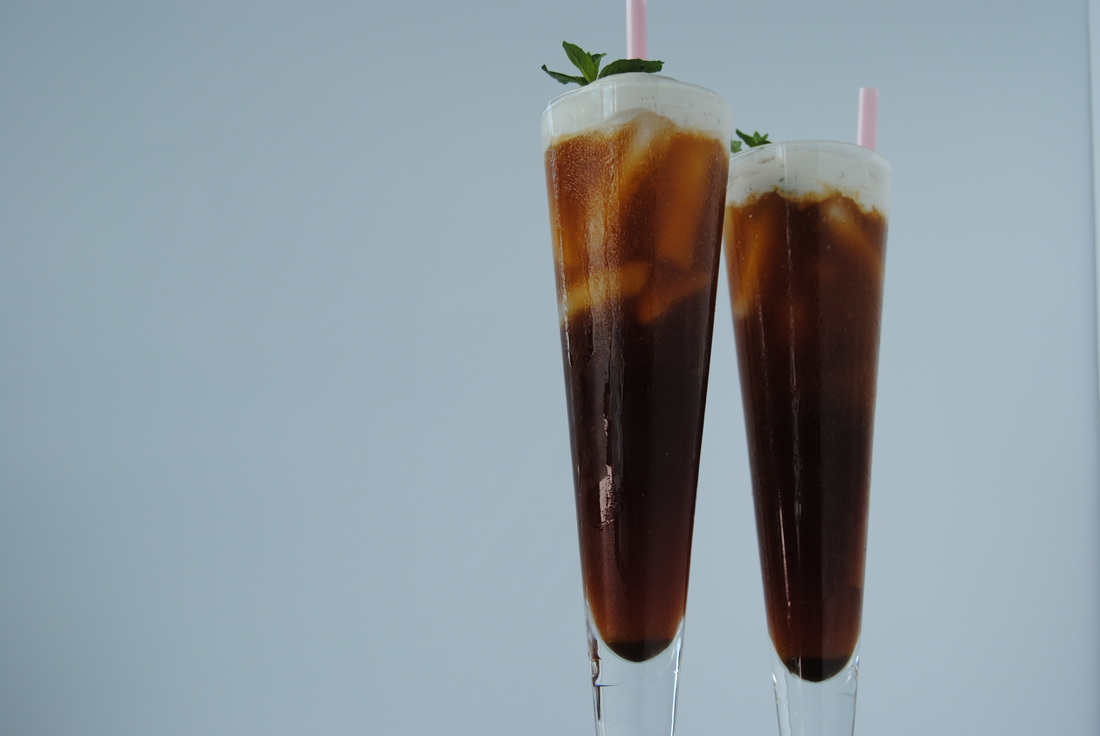
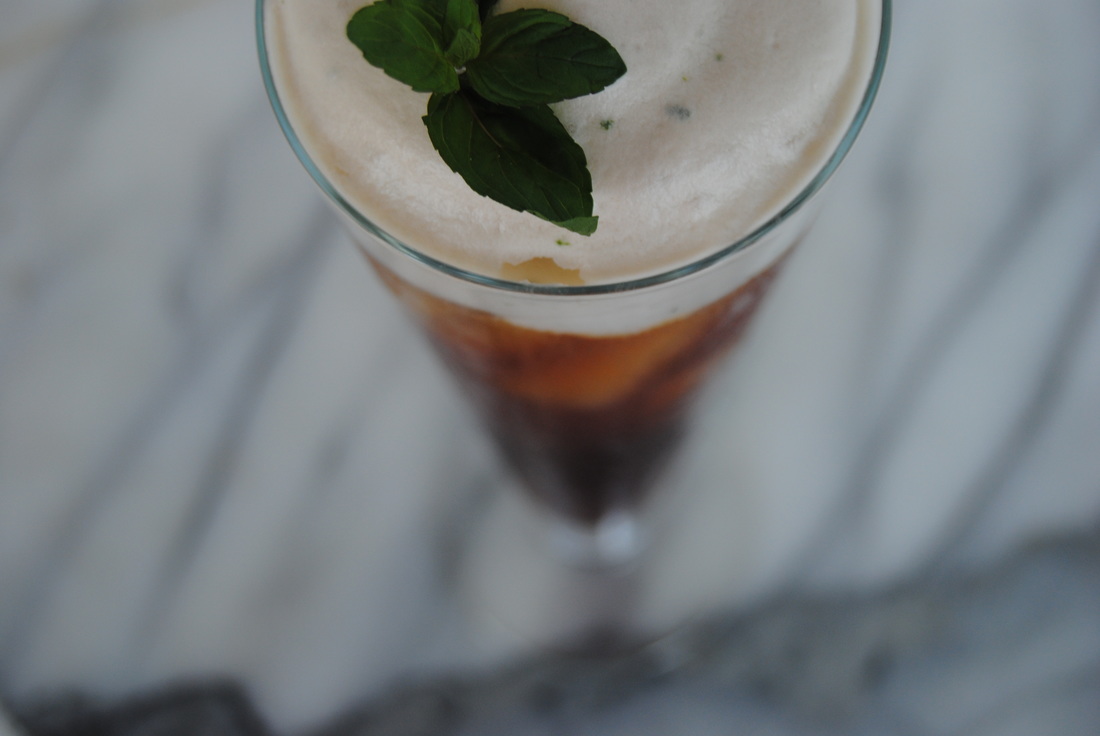
Cheers, Jess and Cecelia Refreshing drinks are a staple on hot summer days and one of our ultimate favorites is a tall, frosted glass of iced coffee. We've noticed that cold brew has become the new coffee drink recently and wanted to give it a try ourselves. After learning more about this brewing method and loving the results we just had to share this one with you friends! Cold brew is popping up everywhere which might make you ask, like we did, what the difference is between cold brew coffee and regular iced coffee. The answer is A LOT! Cold brew coffee is brewed with patience...literally 10-12 hours of soaking coarsely ground coffee beans in cold or room temperature water to extract the flavor, oils, and caffeine of the beans. This long soaking time is what gives cold brew coffee its distinct smooth, semi-sweet, chocolatey flavor. Cold brew's temperature along with its long extraction process verses quick, traditional hot coffee extraction naturally decreases the acidity in the final cup of coffee. This is wonderful news for anyone who may shy away from coffee because of acid reflux or upset stomach following coffee consumption. The ratio of grounds to water in cold brew is higher than that of traditional hot brewed coffee which leads to a higher concentration of caffeine in cold brew, meaning good news for caffeine lovers (guilty!). Cold brew is often enjoyed with creamer, milk, and whipped cream, as shown in our pictures. So if you're ready to change up your coffee game this summer, let's hit the recipe! Cold Brew Iced Coffee PREP TIME: 10 mins + 10-12 hour soaking time TOTAL TIME: 15 mins + 10-12 hour soaking time Servings; Makes 4 cups of strong cold brew Ingredients Cold Brew 1 1/3 cups ground coffee (we used La Colombe Nizza) 4 cups room temperature or cold water Glass jar (make sure it will fit 6-8 cups; 1.5-2.0 quarts) Coffee filter + string or rubber band Fine mesh strainer or cheese cloth Minty Coconut Whipped Cream 1 can (13.5 oz) full fat coconut milk 2 Tbsp fresh chopped mint 2 Tbsp pure cane sugar 1 Liter whipped cream canister + N2O cartridge Using a coffee grinder, grind coffee to a coarse grind. Measure out 1 1/3 cups coffee grounds and add to a glass jar with 4 cups room temperature or cold water. Make sure that all the grounds are completely submerged in the water. Place a coffee filter on top of the jar and secure with a string or rubber band. Allow to sit out at room temperature for 10-12 hours. Once coffee is done soaking, remove coffee filter from the top and strain coffee through the cheesecloth or a fine mesh strainer making sure to not allow any of the grounds to come through. Pour cold brew over ice and top with whipped cream (our recipe below) or creamer of your choice. Cold brew can be stored in an air tight container in the fridge for 1-2 weeks. To make homemade coconut whipped cream, combine full fat coconut milk, 2 Tbsp cane sugar, and chopped mint in a bowl and whisk until combined. Add liquid to whipped cream canister, screw on the lid, and charge with N2O cartridge. Allow to cool in the fridge for at least 30 minutes prior to using. Whipped cream can be stored in the fridge for 5-7 days. Store bought, traditional whipped cream is also fine to use if you don't own a whipped cream canister. Note that coconut milk will not whip into whipped cream using a hand beater like heavy cream will. Cold brew is going to be your new summer favorite once you give this a try. The taste is so full and smooth and pairs perfectly with our rich, minty whipped cream. And while those bean soak for hours, put your feet up and enjoy the long, lazy days of summer.
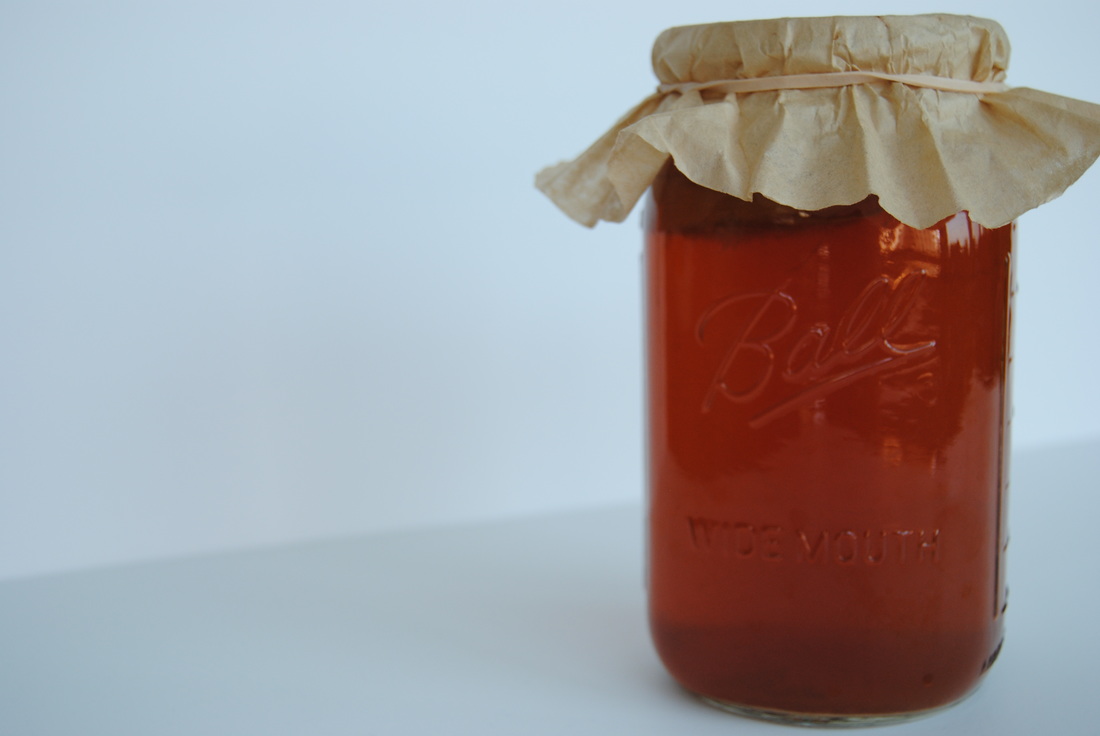
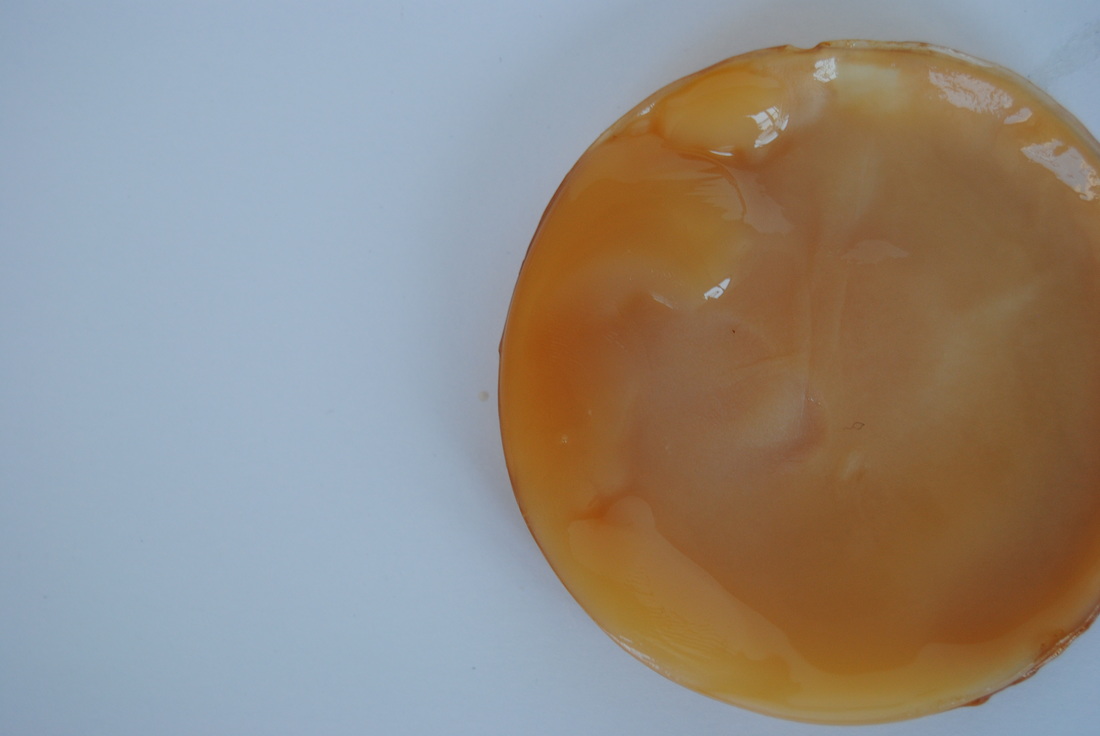
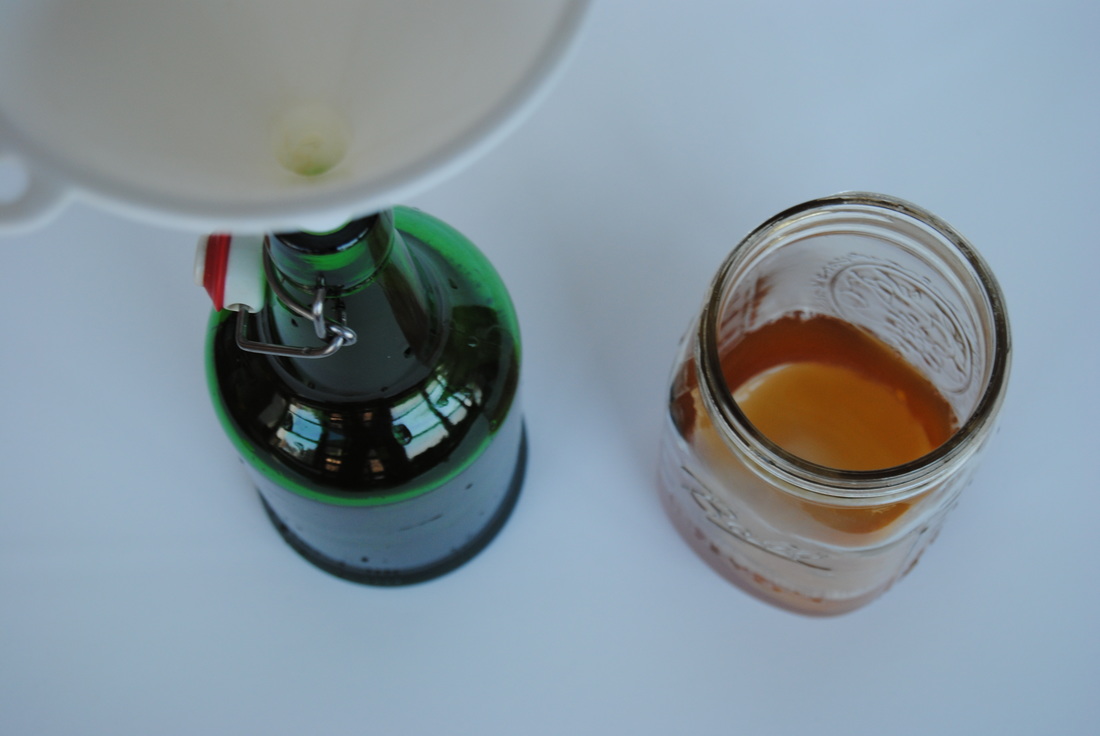
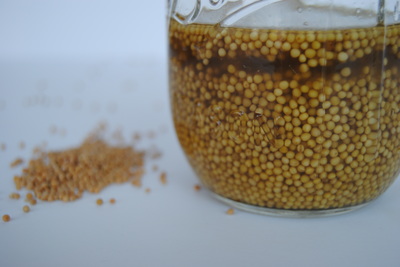
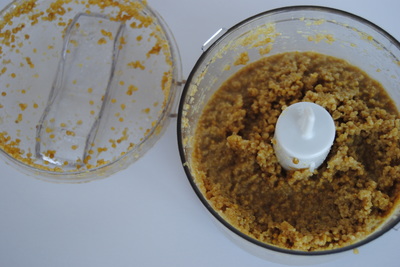
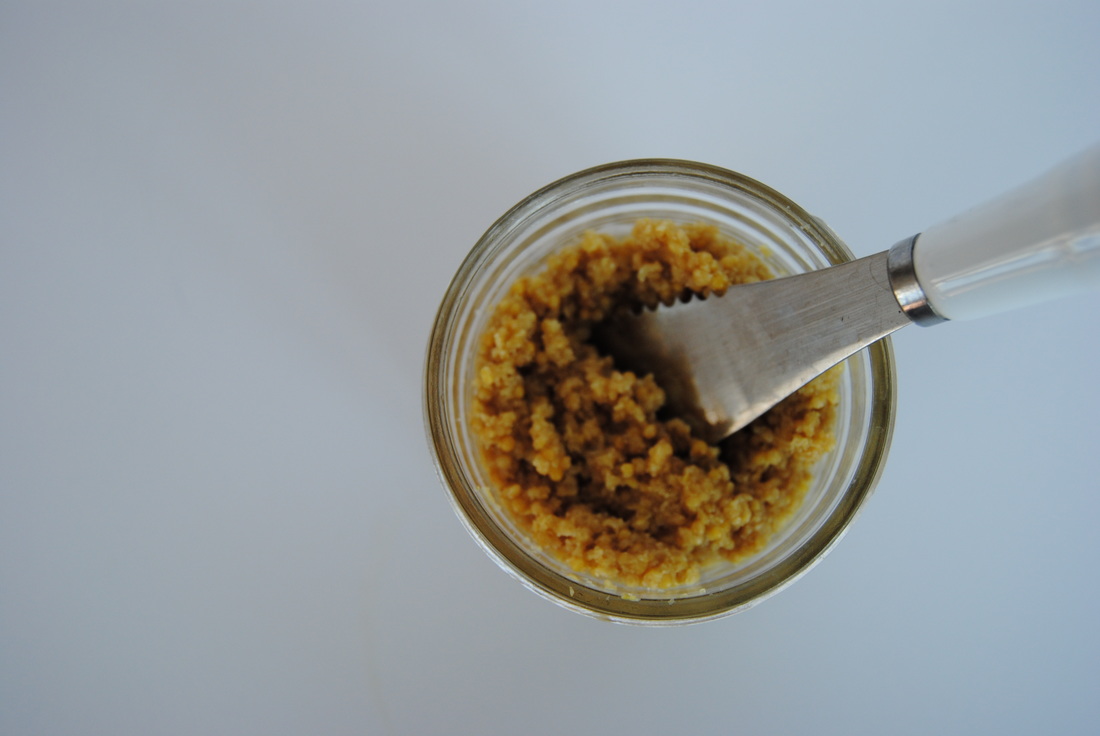
This brew is for you, Jess and Cecelia Oh boy do we have a treat for you this week friends! Two new recipes hot from our kitchen and featuring one of our most favorite topics, fermentation. We've surely discussed the benefits of fermentation before (here and here and here) but just can't get enough. And if you're serious about packing your diet with fermented foods and especially home fermentation, kombucha is a quick and easy item you can whip up week to week (once you get the hang of it of course). So we've got basic kombucha brewing instructions for you as well as a must have mustard recipe using kombucha as an ingredient. Let's get started! You've probably heard of, tried, or been completely weirded out by kombucha by now as this fermented tea drink has hugely grown in popularity in recent years. Kombucha is believed to have originated thousands of years ago in Asia and was regarded as medicine to treat a variety of ailments. It's health benefits come from the fact that kombucha is a fermented food which provides a healthy dose of good bacteria and yeast into the digestive tract of the consumer. And as you may know from previous posts, creating a healthy gut environment can impact the health of the rest of the body through improved digestion and immunity. Surprising to many, the health of the gut environment plays a huge role in overall immune function because the intestines contain more immune cells then the entire rest of the body (wow!). Though certain sources may cite specific diseases that kombucha may treat, we believe that as a fermented food kombucha promotes overall health and wellness but should not be considered a medical treatment. Instead, we highly recommend regular use of fermented foods in the diet (superior to probiotic supplements) to promote balance and health maintenance. So if we've finally convinced you to give home fermentation a try, great! For kombucha you'll need to get started with a SCOBY, or a symbiotic culture of bacteria and yeast, which is pictured above. And though this may look strange, it's basically magic! If you have a friend making kombucha they can share a SCOBY with you because a new one is created with each batch (basically every week). Or you can purchase starter cultures, other brewing tools, and learn tons more on the Cultures for Health website here. Basic Kombucha PREP TIME: 30 mins TOTAL TIME: 1 week (for fermentation) Yield: 32 ounces Ingredients 1/4 cup organic sugar 1/2 cup starter liquid (plain kombucha, from previous batch or store bought) 4 cups filtered water 4 organic black tea bags (plain, unflavored tea) Additional Items SCOBY (symbiotic culture of bacteria and yeast) Large wide mouth glass jar Coffee filter or cheese cloth Rubber band or cloth string Plastic or wooden spoon Plastic funnel Bring water to a boil, remove from heat, and add tea bags. Allow to steep for 5 minutes then remove the tea bags. Add 1/4 cup cane sugar to hot tea, stir to dissolve (using a plastic or wooden spoon instead of metal to protect the SCOBY) and allow to come to room temperature. Combine cooled tea, 1/2 cup kombucha starter, and SCOBY in a large, sterilized glass jar. Place coffee filter over the top of the jar, secure with a rubber band or tie, and allow kombucha to sit out at room temperate for a minimum of 7 days. If you prefer a longer ferment (more sour and vinegary tasting kombucha) continue to ferment past 7 days and taste the kombucha daily until it is to your liking. With clean hands, carefully remove the SCOBY and place on a clean surface. Reserve 1/2 cup kombucha in a small cup and set aside as this will be your starter for your next batch. Pour the remaining kombucha into a sterilized glass bottle (or bottles) with tight fitting seals making sure to leave enough "head space" (~2-3" between liquid and top of the bottle) for desired effervescence. Keep in the fridge for up 2 weeks. Note that the first time you open the bottle of kombucha you should hear a nice pop from the top and see a good amount of carbonation. But the more you open the bottle, the less carbonation your kombucha will have. For this reason, we prefer to use smaller, individual size bottles (10-12 oz) if available. *If you need tools, tips, or more kombucha brewing instruction visit the Cultures for Health website mentioned above for all your kombucha brewing needs! Kombucha Mustard PREP TIME: 5 mins TOTAL TIME: 1+ weeks (for fermentation) Yield: 8 ounces Ingredients 5-6 oz kombucha 1/2 cup mustard seeds 2 Tbsp honey 2 Tbsp raw apple cider vinegar 1/4 tsp salt In a glass, sterile jar combine mustard seeds and kombucha. The kombucha should fully submerge the seeds with ~ 1/2" of liquid on top (see photo below). The seeds will expand as they sit, so make sure your jar is large enough. Cover with an air tight lid and allow to sit at room temperature for a minimum of 7 day or up to 3 weeks. The longer you let it sit the more vinegary taste the end product will have. Make sure to "burp" or open the lid at least once daily. Once the mustard seeds are to your desired taste, strain from the kombucha brine (reserving the brine in a separate bowl) and combine soaked mustard seeds and ~3/4 of kombucha brine to start in a blender or food processor. Add honey, salt, and apple cider vinegar to the blender and process until desired texture. Feel free to add additional kombucha brine to blender as needed if you prefer a thinner mustard. We like ours with some texture and went with a "stone ground like" mustard. Place finished mustard in a jar with a tight fitting lid and keep in the refrigerator. Use this probiotic rich mustard just as you would with any other mustard. Plain kombucha has a sour, mildly sweet, slightly vinegary taste that we've come to love but can definitely be flavored in a variety of ways (recipes in posts to come!). And this mustard just has something about it incomparable to it's regular, unfermented counterpart. Tangy, tart, spicy, and sweet, this mustard will add a punch of flavor to your summer recipes (think sandwiches, veggie burgers, wraps, and more). We'd love to stay and chat friends but we have a few more batches of kombucha that need our attention (we told you we can't get enough!).
Happy fermenting, Jess and Cecelia |
AuthorsJess and Cecelia welcome you to our kitchen. We are fun-loving and passionate foodies working to make the world a healthier, happier place one plant based recipe at a time. Categories
All
Archives
December 2018
|

