|
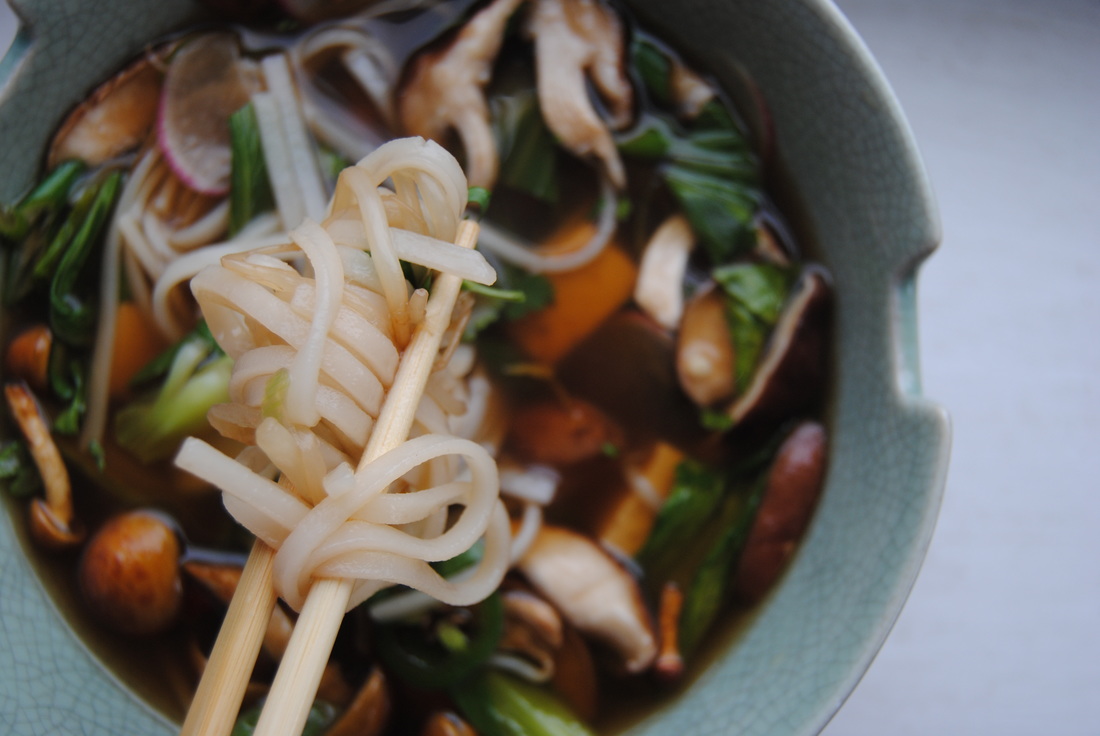
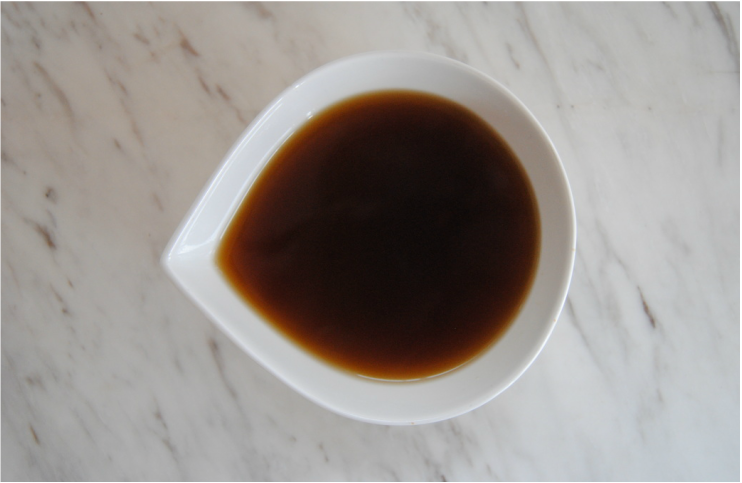
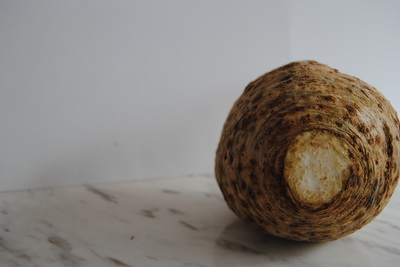
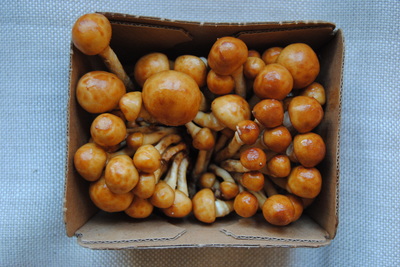
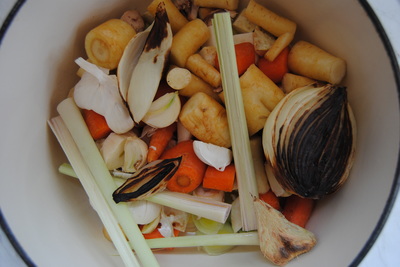
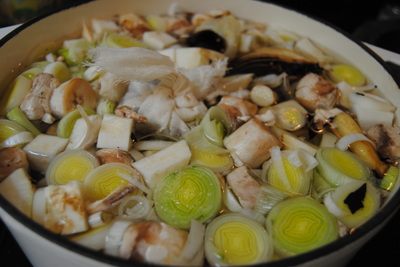
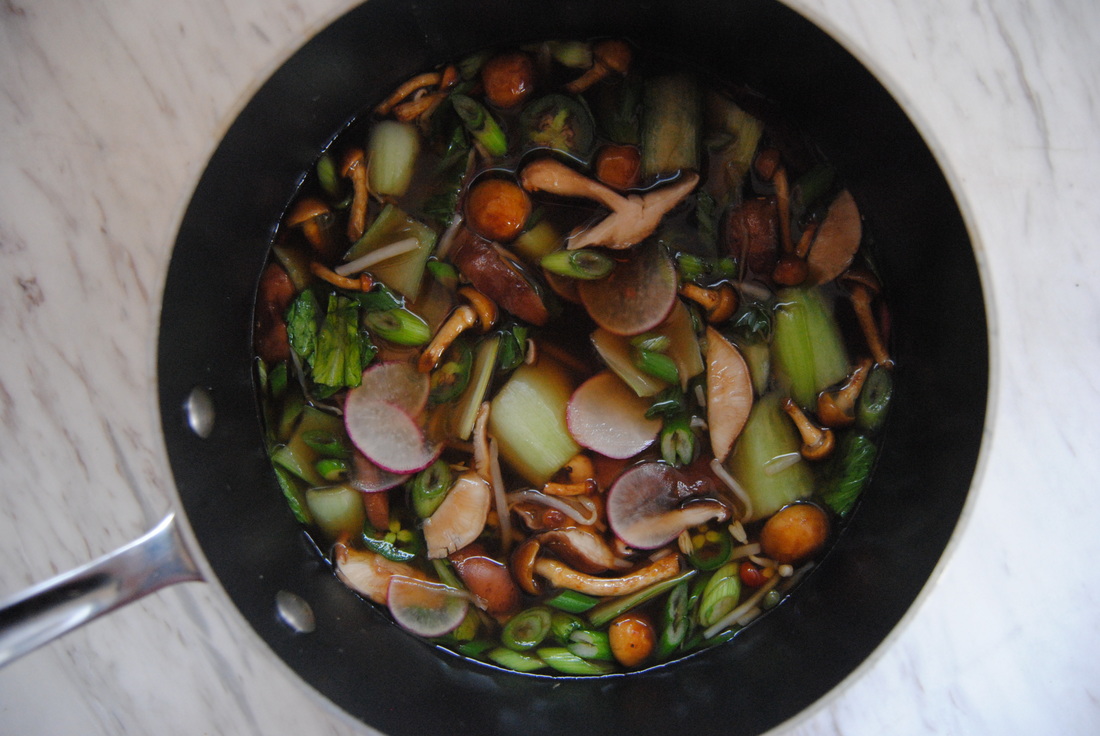
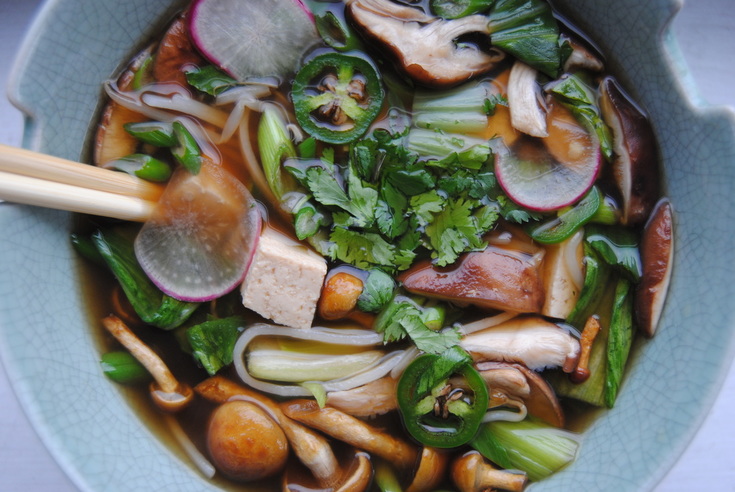
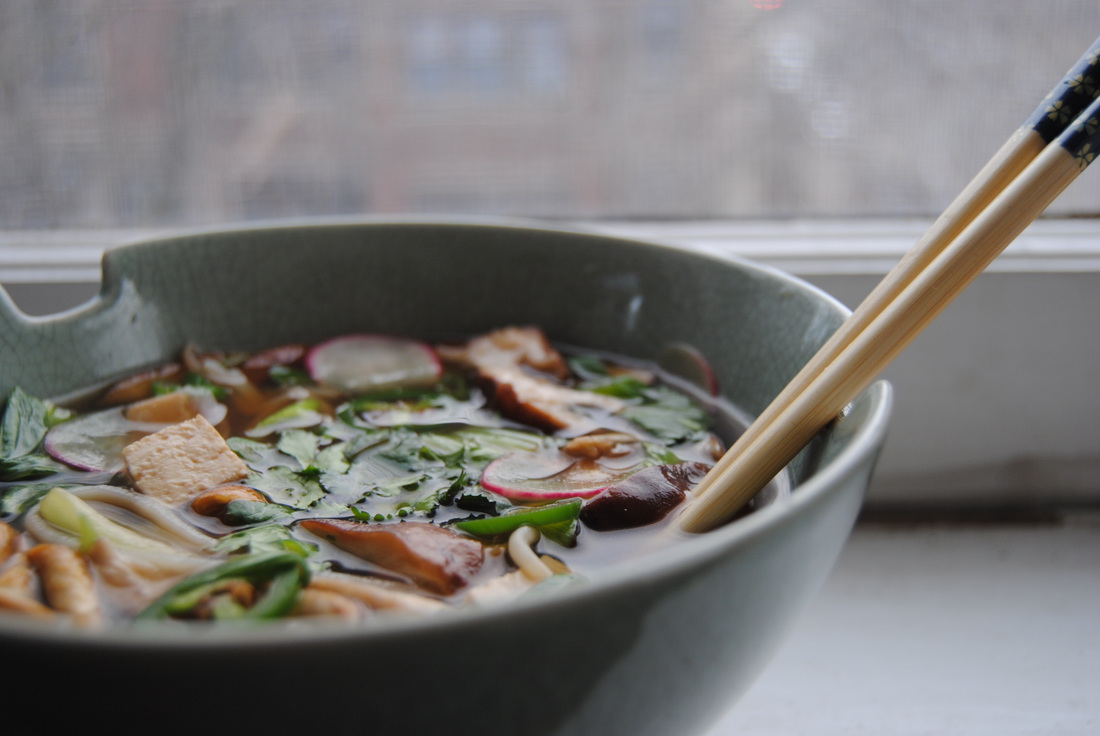
If you're new to pho (pronounced "fuh"), then the most important thing to know (other than the pronunciation!) is that it's all about the broth. And trust us, the ingredient list and time commitment to make this delicious broth is completely worth it. What more could you want on a cold weekend day then to have a pot of golden liquid simmering on the stove for hours perfuming your house and enticing your taste buds? Need some more convincing on this whole pho thing? Read on! Pho is a Vietnamese soup typically eaten as a breakfast meal. The term pho actually refers to the rice noodle ingredient and not the actual soup but the quality of a pho is judged by the taste of the broth. Hence, it's all about the broth! Now a traditional pho broth is made with beef and chicken through a long simmering process and the use of spices, though vegetarian versions of the broth have been developed to accommodate vegetarian and vegan lifestyles. But the trick with a vegetarian broth is finding a way to develop a rich, deep flavor that a meat based broth will easily provide. And we were up for the challenge! We found that a variety of root vegetables, charred onion and ginger, traditional spices, and a balance of salty, sweet and acidic ingredients helped to develop the flavor profile we were looking for. Though you have to taste it to believe, on to the recipe! Vegetarian Pho Bowl PREP TIME: 45 mins TOTAL TIME: 3 hours (includes 2 hours for broth to simmer) Servings: 4 bowls Ingredients Broth 1 large sweet onion, peeled and cut in half 3 inch piece of fresh ginger, peeled and cut in half 3 quarts water 2 leeks, chopped 2 cups peeled and chopped celery root (pictured above whole) 3 large carrots, peeled and chopped 1 cup mushroom stems 1 head of garlic, cut in half 2 stalks of lemon grass, cut in half lengthwise 2 tsp salt 1/4 cup coconut sugar 1 Tbsp star anise 1 Tbsp black peppercorn 1 cinnamon stick (~3" long) 1 tsp clove 1/4 cup soy sauce 1/8 tsp toasted sesame oil 1 Tbsp rice vinegar Bowl 1 cup bean sprouts 2-3 baby bok choy, chopped and steamed 4 radishes, thinly sliced 1 jalapeno, thinly sliced 2 green onions, thinly sliced 1/4 cup chopped cilantro 2 cups mushrooms (we used a combination of shiitake & nameko mushrooms - pictured above), chopped if large 4 oz organic sprouted tofu, cubed 4 oz dried rice noodles *Hot sauce if desired Peel onion and ginger and cut in half. Place under the broiler flame until they are scorched black in spots. Using a large pot combine the scorched onion and ginger with the leeks, celery root, carrots, mushroom stems, garlic, lemon grass, salt, and coconut sugar and bring to a boil. Meanwhile combine the star anise, black peppercorn, cinnamon stick, and clove in a small piece of cheesecloth and tie into a satchel. Add spice satchel to the pot, reduce heat, cover with a lid, and simmer for ~1 hour to start to develop the flavors. Taste broth for desired richness then add soy sauce, toasted sesame oil, and rice vinegar and continue simmering for another ~1 hour. While broth is simmer start preparing the bowl ingredients. Rinse bean sprouts well and set aside, Chop baby bok choy and lightly steam until wilted. Using a mandolin, carefully slice radishes and jalapeno as thin as possible, Chop green onions, mushrooms, and cilantro and cube tofu then set aside. Cook rice noodles according to package instructions. Once broth is done simmering, carefully strain solids away from the liquid. We suggest using a piece of cheese cloth over a strainer to keep small solids out of the broth. Return broth to the pot and add remaining ingredients, allow to warm over low-medium heat for ~5-10 minutes. Ladle into bowl bowls and enjoy! For extra heat garnish with your favorite hot sauce or green chili paste. Our lacto-fermented hot sauce recipe would be perfect with this pho, recipe here! *Note if you will not be serving all four bowls at once and want to save some for leftovers we suggest keeping bowl ingredients separate and ladling broth into bowls over prepared ingredients. Refrigerate bowl and broth ingredients separately in the fridge and reheat together in a small pot when desired. Totally worth it right? The flavor of this broth is so developed and deep with hints of sweetness, spice, and plenty of salt. It is the perfect compliment for any fresh vegetable ingredients that you like but we just love it with rich mushrooms and fresh bok choy and bean sprouts. Super fun and challenging to eat with chopsticks but don't forget the large spoon so that you can enjoy every last drop!
To the broth, Jess and Cecelia
1 Comment
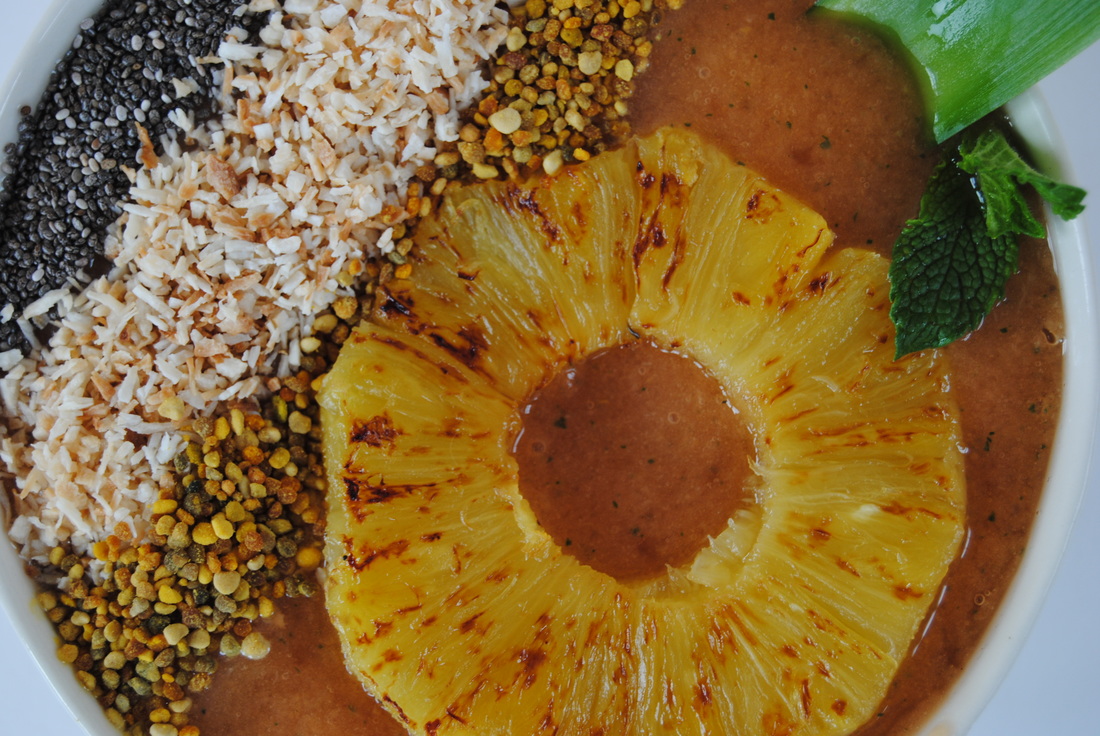
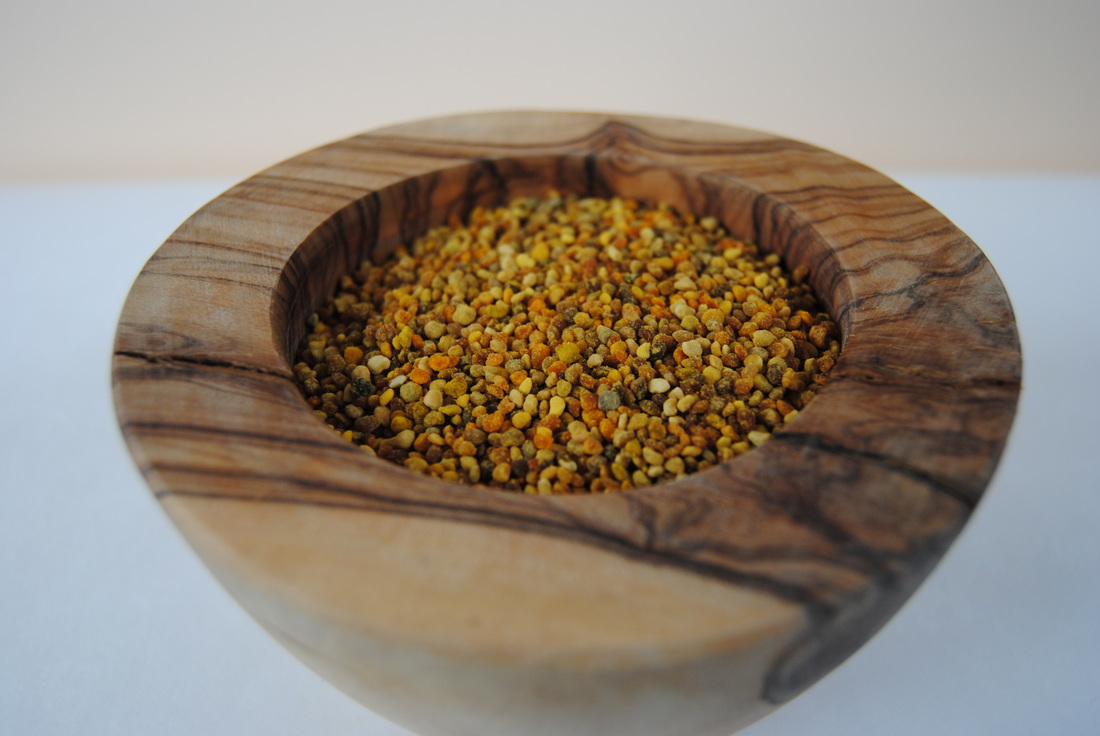
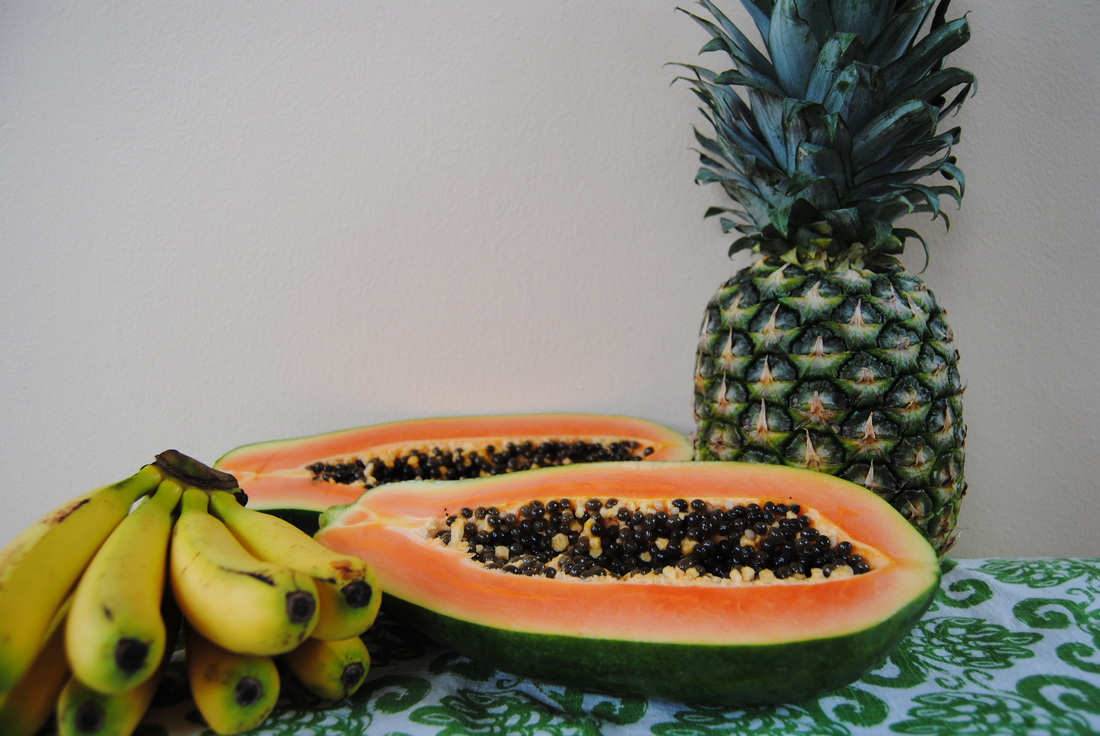
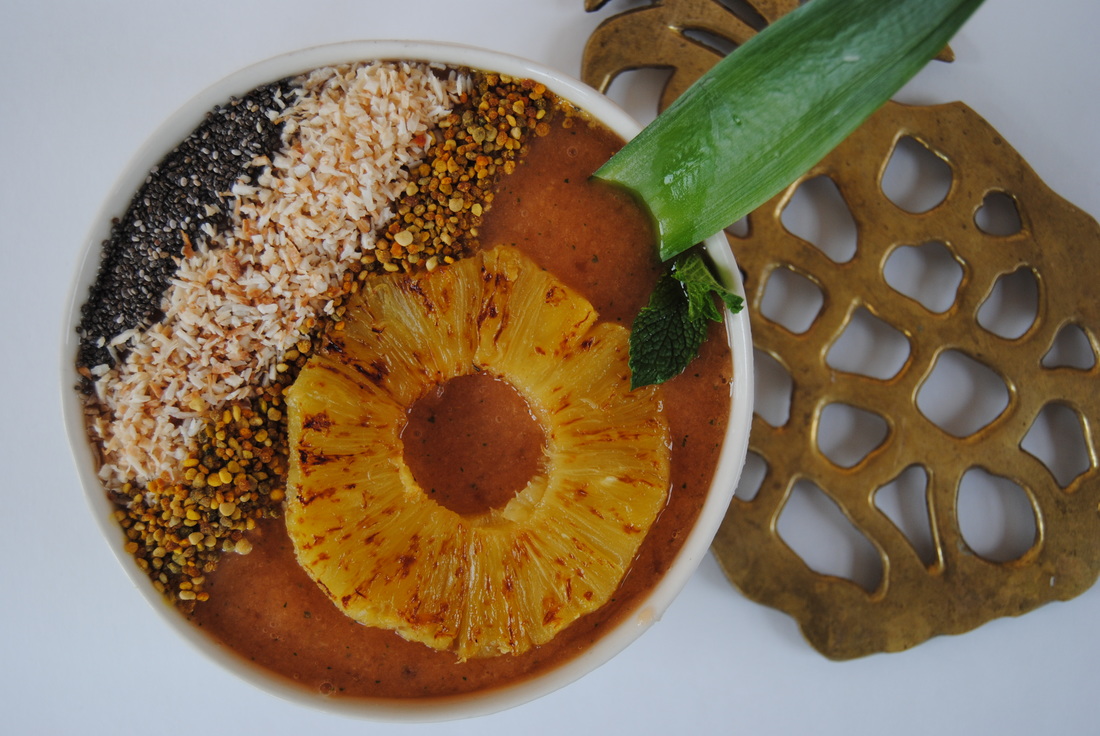
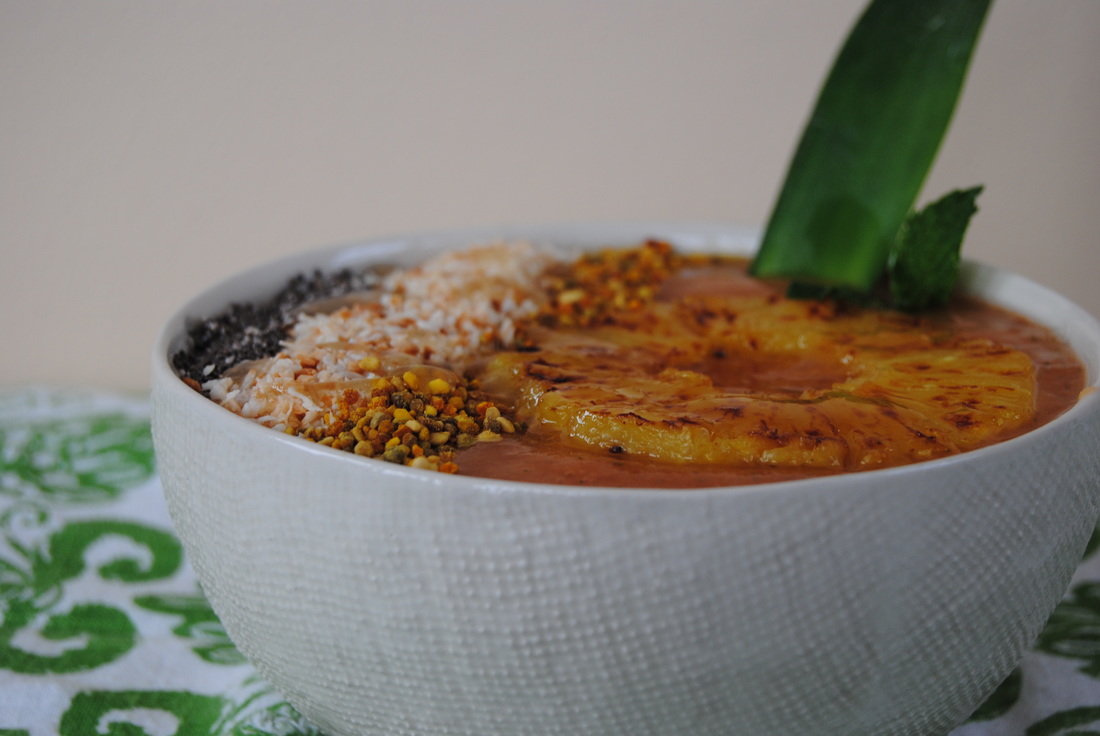
Our post this week is inspired by many things including hard work, honeybees, and honeymoons. Now this may seem like a random assortment of unrelated items but we can explain! First, Cecelia has just returned from a relaxing, belated honeymoon getaway in Belize where she enjoyed an endless supply of tropical fruits. Second, relaxing on vacation always reminds us of how hard we work from day to day and how important it is to take a break now and again. And finally, hard work reminds us of the amazing honeybee who epitomizes hard work and provides us with a very special food that we are highlighting this week as a smoothie bowl topping, bee pollen! The name bee pollen is a little misleading because the source is actually flower pollen. When small grains of flower pollen are collected by worker bees they are packed into semi-hard pellets for transport back to the beehive, thus creating what we consume as bee pollen. Bee pollen is considered one of nature's most perfect foods because of it's unique nutrient profile including a variety of vitamins, minerals, all essential amino acids making it a complete protein, and digestive enzymes. It even contains vitamin B12 making it one of very few plant sources of this vitamin! Bee pollen is so nutritious that even the worker bees use it as their primary fuel (once it is slightly fermented back at the hive). As a plant food, bee pollen contains more amino acids and vitamins than animal proteins when compared by weight, though bee pollen is not typically consumed in the same quantities. If you are new to bee pollen, it is best to gradually increase your intake starting with 1/4 tsp per day and increasing by a few pellets per day until you reach a 2 Tbsp daily intake. It is important that bee pollen be consumed in it's natural, raw form to preserve the nutrient qualities. Bee pollen can be found at specialty grocers, health food stores, or online. When purchasing, look for organic brands from companies who follow good farming practices. To preserve freshness it should be stored in the refrigerator once opened. And remember, when enjoying your bee pollen, to be thankful for the hardworking honeybees that make this superfood possible! Caribbean Smoothie Bowl PREP TIME: 10 mins TOTAL TIME: 15 mins Servings: 2 bowls Ingredients Smoothie 1 papaya, peeled, seeds removed and cubed 1 pineapple, peeled (recipe will use ~1/2 of the pineapple) 1 frozen banana 1 Tbsp fresh mint leaves, chopped 1 cup ice cubes Toppings 2 Tbsp unsweetened coconut flakes, toasted 4 tsp chia seeds 4 tsp bee pollen 2 tsp honey 2 slices of pineapple Over low-medium heat, lightly toast coconut flakes in a small pan. Once toasted, remove from heat and set aside. Peel the pineapple and cut in half. Core and cut two rings from one half of the pineapple and chop the other half into cubes. Carefully place two pineapple rings in a hot pan on the stove top over medium heat. Sear pineapple until golden then place in the fridge to cool. Meanwhile, combine papaya, about half of the pineapple cubes, frozen banana, mint, and ice in a high speed blender. Blend on high into a thick smoothie texture. Pour smoothie into bowls and creatively top with toasted coconut, chia seeds, bee pollen, cooled seared pineapple and drizzle of honey over the top. Feel free to add additional ingredients on top of your bowl (fruit, nuts, granola). Now grab a spoon and a friend and dive in! If you're new to smoothie bowls and are thinking that this looks amazing then you're right! There is something about eating, instead of drinking, a smoothie that makes it much more satisfying. Plus, the bowl presentation allows for tons of fun toppings! This smoothie is so crisp and fresh utilizing tropical fruits and fresh mint. Feel free to mix up the toppings any way you like. But remember to give bee pollen a try one of these days and send a huge thank you to the hard working honeybees as you enjoy it!
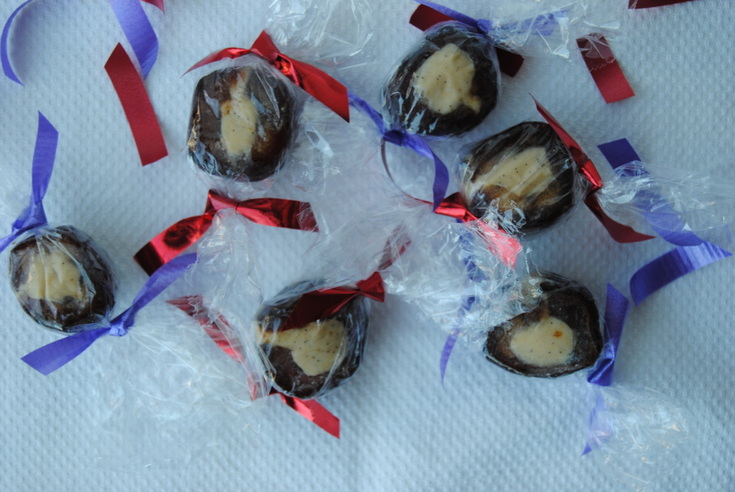
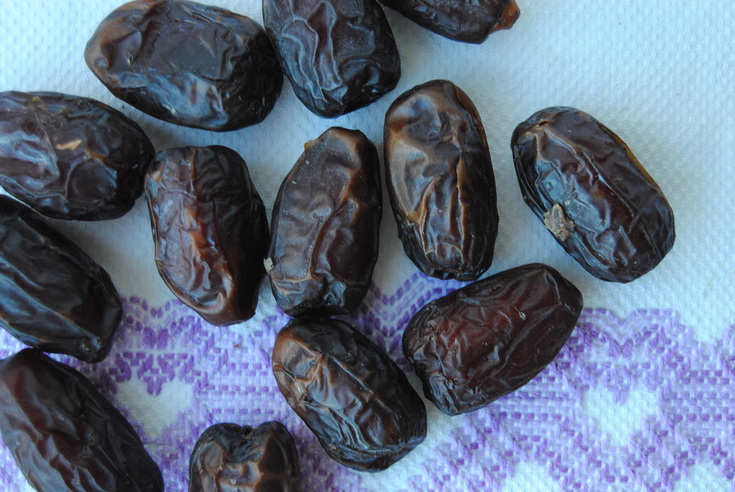
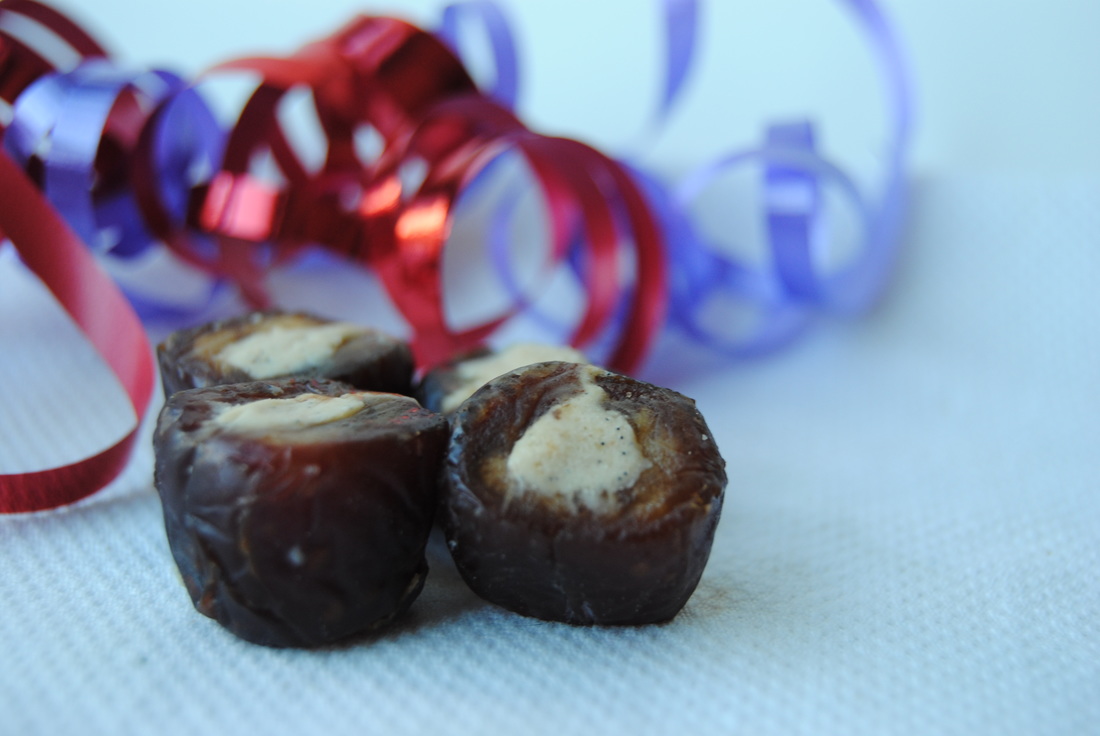
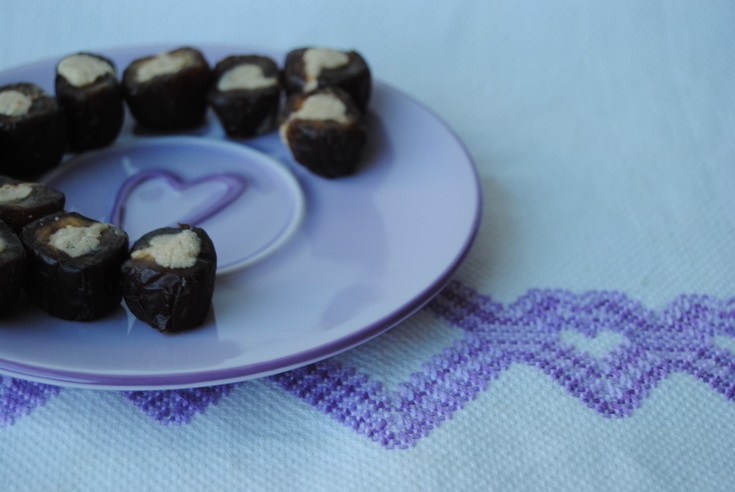
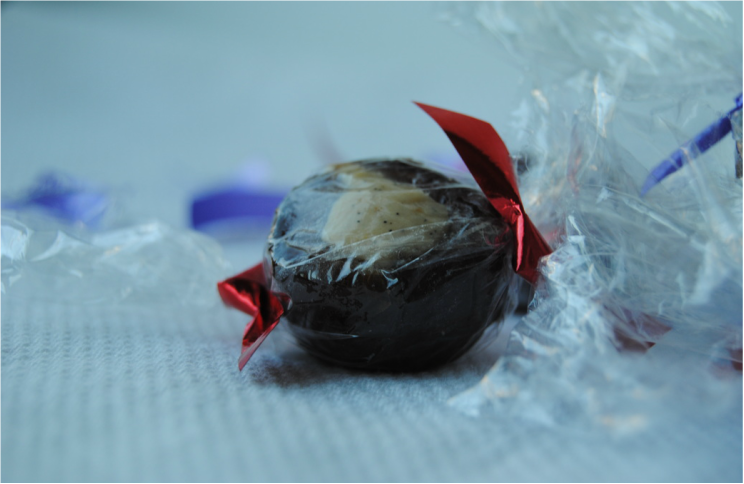
Relax and enjoy, Jess and Cecelia The sweet celebration of Valentine's Day this past weekend got us thinking about candy - big surprise! And though chocolates are the traditional sweet during this time, we were thinking a little differently. We wanted to try to make a candy with no added sugar, sounds crazy right?! Well not if you utilize nature's candy, a little piece of food perfection called the date. Dates are a flowering edible plant from the palm family that grow in hot climates. They grow in clusters on a species of palm tree well named "date palms" and are most commonly eaten once dried. A date palm can take up to 7-10 years to mature and once mature may produce a crop of up to 300 lb per harvest season. Our favorite variety of date is the Medjool date native to the Middle East and North Africa but also grown in other desert like regions across the globe. In our opinion, Medjool dates are superior to all other dates because they are the largest in size, have the softest texture, and the sweetest taste.....AKA nature's candy! Dates can be enjoyed on their own as a sweet snack, blended into beverages to add a little sweetness, or chopped up and added to baked or raw recipes. They are also great stuffed in savory or sweet recipes similar to our post this week. They provide, of course, sweetness but also a caramel reminiscent flavor and a chewy and slightly sticky texture. If blended, this sticky texture can even be used as a binder in raw granola bar recipes. But we will save that for another post. Today, no-added sugar candies! Raw Coconut-Cashew Butter Filled Dates PREP TIME: 5 mins TOTAL TIME: 30 mins (includes chilling time) Servings: 24 candies Ingredients 12 Medjool dates 1/8 cup raw cashew butter 1/8 cup raw coconut butter 1/4 vanilla bean, inside scraped out 1/8 tsp salt, or to taste In a microwave safe bowl, carefully melt cashew butter and coconut butter in 10 second increments making sure to stir frequently to prevent the butters from burning (this should take about 20-30 seconds). Add vanilla bean and salt to the butters, stir mixture thoroughly, then set in the fridge to cool for at least 10 minutes. Remove the pits from 12 dates by slicing open one side with a small, sharp knife but not cutting the dates all the way through. Once filling has completely cooled, add 1 tsp of filling to the center of each date and carefully pinch closed. Repeat until all the dates are filled. Place the filled dates back in the fridge and allow to cool for about 10 minutes. Using a sharp knife, cut the ends off of each date making two flat sides in which you can see the cream filling. Then cut each date in half making 2 candies per date. Repeat until you have made 24 individual candies. Place prepared candies in a candy box or tin or simply wrap each candy in plastic wrap. Keep candies in the fridge for taste and freshness. So how's that for satisfying a candy craving the natural way? The dates are gooey and oh so sweet and pair nicely with the rich coconut-cashew filling. This might be just what you need if you may (or may not have) had too many boxed chocolates this past weekend. And don't forget about the wonderful date as a sweet ingredient in your kitchen from now on.
Much love, Jess and Cecelia
Can you believe it's been a whole year already!? And what a year it's been. Creating and sharing recipes these past twelve months has honestly been a dream come true for us. We are so appreciative of our amazing family, friends, and loyal blog followers for all of your love and support. So this post is truly for all of you as a celebration of an amazing year. We hope that you love this cake as much as we do and enjoy it while celebrating something really, really special. We sure did.
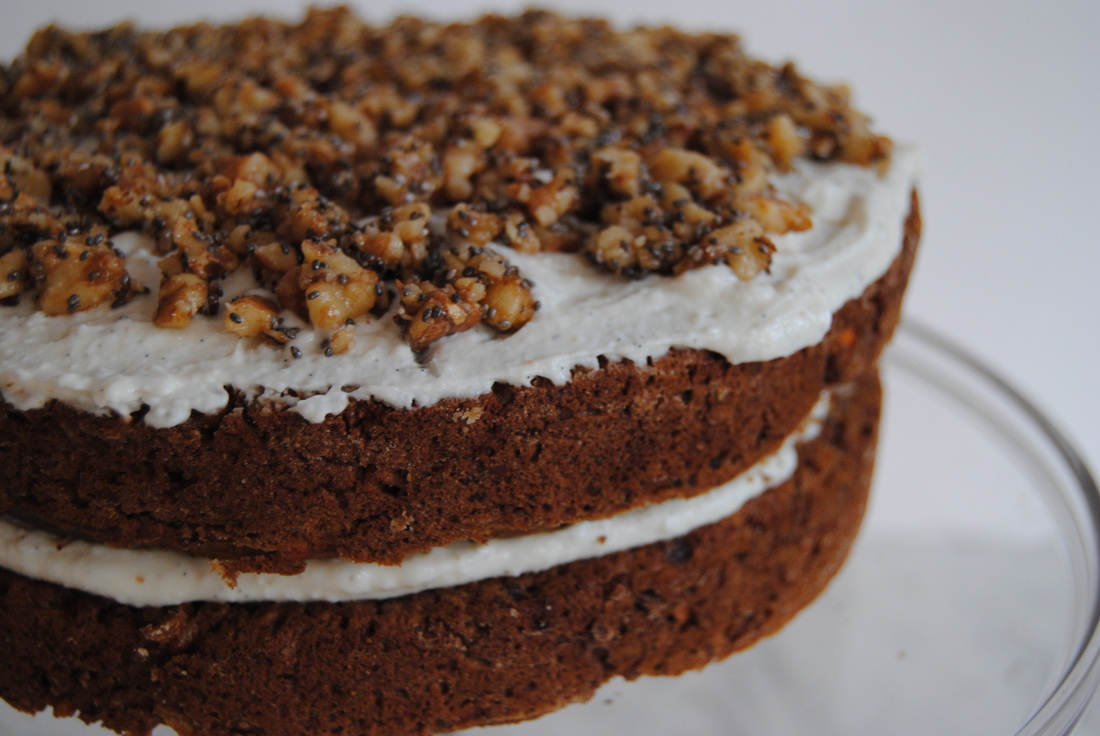
This cake is special for many reasons; it is 100% homemade, a delicious use of vegetables, and is finished with a mouthwatering, unique, and protein packed frosting. But that's not all! It also contains a nice dose of omega-3 fatty acids (or omega 3s). This is special because omega-3s are nutritionally wonderful. Omega-3 fats come in three different forms. The first is ALA (alphalinolenic acid) and is most commonly found in flax seeds. ALA is an essential fatty acid, meaning our body does not make it and is therefore crucial to get from food. There are two other omega-3s, DHA (decosahexaenoic acid) and EPA (eicosapentaenoic acid). These two omegas are commonly found in wild caught salmon. Omega-3s have anti-iflammatory properties, may support circulation by transporting oxygen from red blood cells to the tissues, can act similar to blood thinners when taken in the right doses, and DHA found in wild salmon plays a large role in the developing brain of a human fetus. We used plant based forms of omega-3s in this recipe including walnuts, chia and flax seed. Ground flax seed specifically contains a great deal of ALA and is also considered a good source of dietary fiber, with a 4 Tbsp serving of ground flax seed providing 8 grams! So now that you know a little more about omega-3s, let's get on to making this carrot omega cake!!
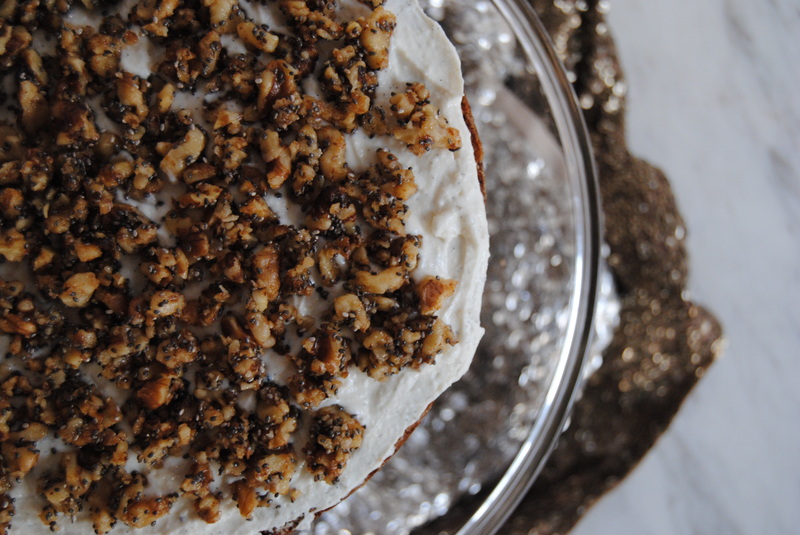
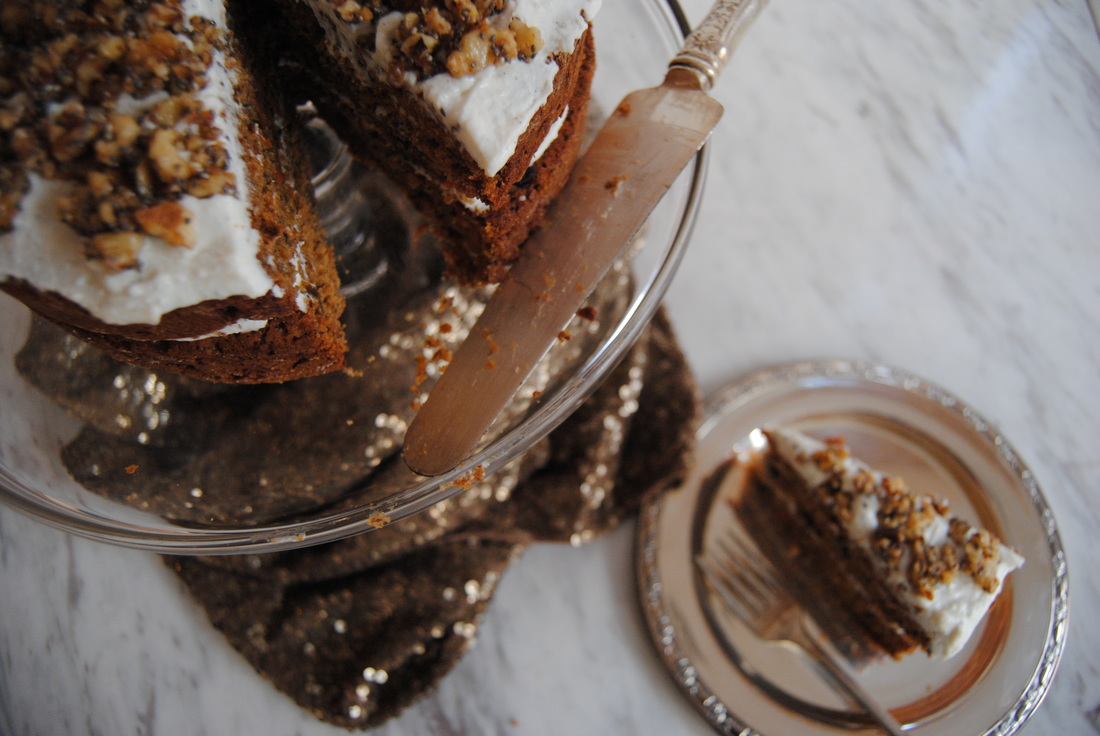
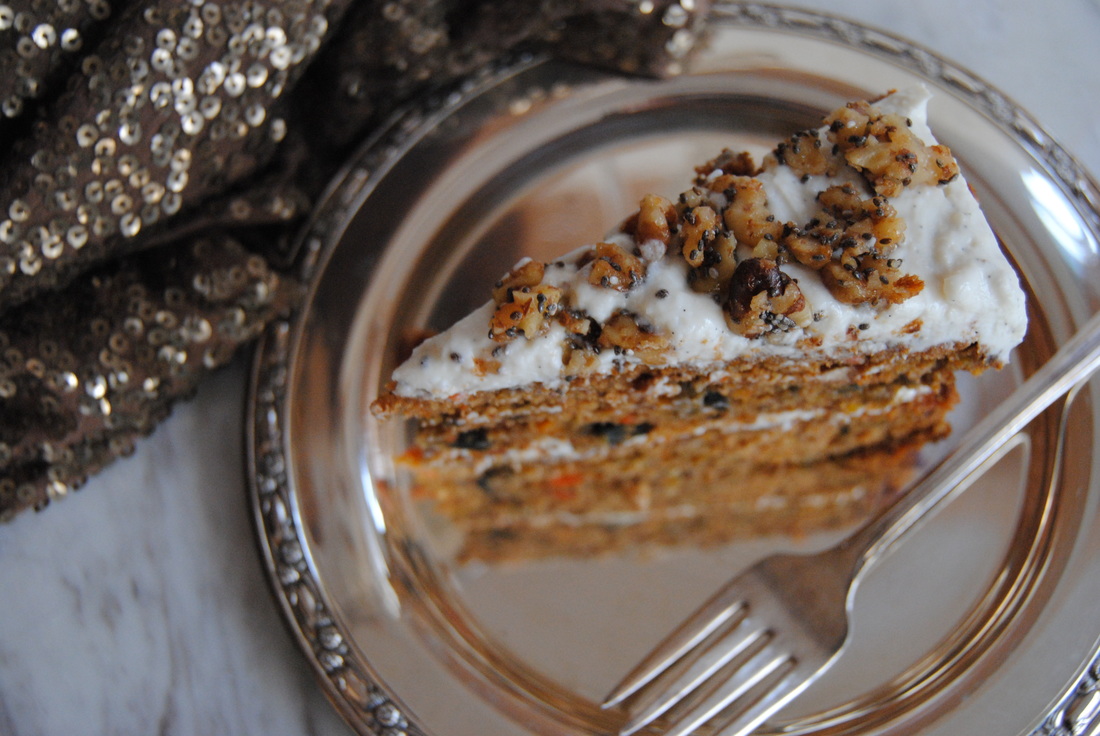
Rainbow Carrot Omega Cake with Goat Cheese Frosting
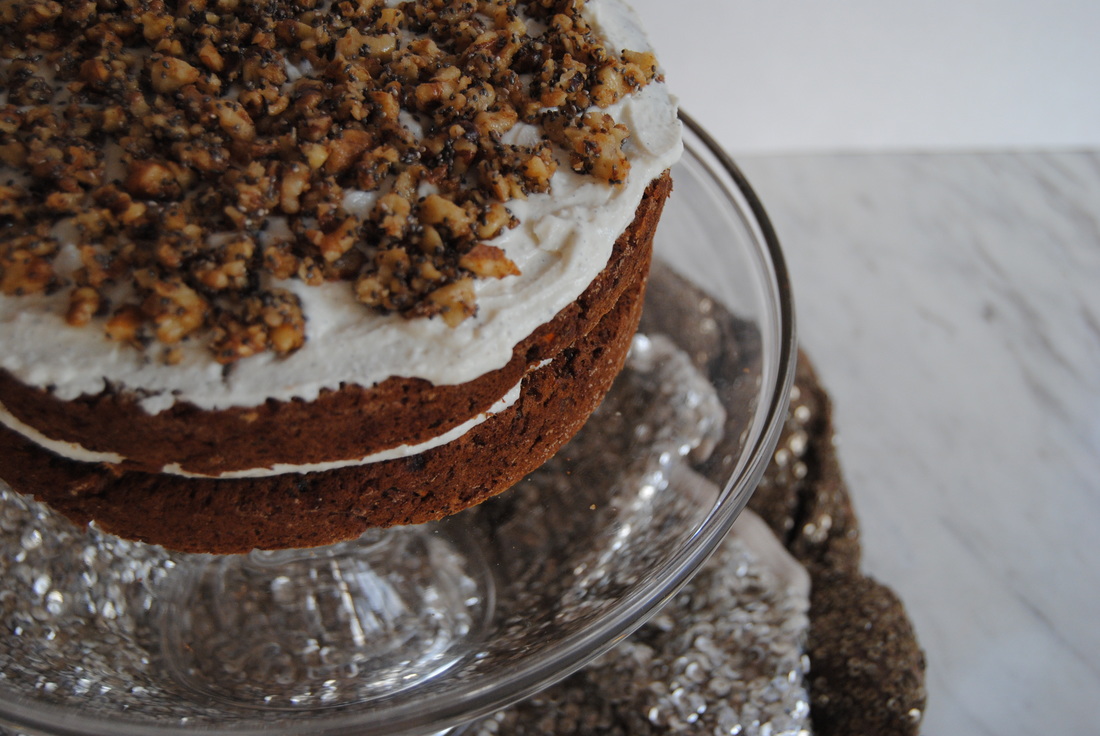
PREP TIME: 20 mins TOTAL TIME: 60 mins Servings: 8-10 Ingredients: Cake 1 1/2 cup white whole wheat flour 1/4 cup coconut flour 2 tsp baking soda 1 tsp cinnamon 1/2 tsp allspice 4 Tbsp ground flax seed + 1 Tbsp reserved for middle frosting layer 12 Tbsp warm water 1/2 cup honey 1/4 cup + 2 Tbsp pure maple syrup 2 Tbsp molasses 1/2 cup melted coconut oil 3 cups carrot shavings (we used rainbow carrots-purple, yellow, & orange) Frosting 3/4 cup thick vanilla Greek yogurt (we used Siggi's 4% fat) 3/4 cup soft goat cheese 3 Tbsp honey 2 Tbsp coconut butter, melted 1/2 vanilla bean, inside scraped out Candied Nut/Seeds 1/2 cup walnuts 1/8 cup chia seeds 1 Tbsp honey Sprinkle of sea salt Preheat over to 375 degrees. Prepare 2, 9" round cake pans with a parchment lined bottom and make sure to oil the sides of both pans. Using a food processor, or this can be done by hand using a large grater, process or shave carrots until you have ~3 cups of shavings. In a large bowl, sift white whole wheat flour, coconut flour, baking soda, cinnamon, and allspice and set aside. Combine ground flax seed and warm water and whisk until fully combined. Allow flax and water mixture to sit for a few minutes to thicken. In a separate bowl, combine honey, maple syrup, molasses, coconut oil, and thickened flax mixture. Add liquid ingredients to dry ingredients and stir until just combined. Add carrot shavings to the bowl and again mix until just combined. Avoid over mixing the batter. Pour batter into prepared pans and place on middle rack of the preheated oven. Bake for ~40 minutes or until a toothpick comes out clean. Allow cake to fully cool before removing from the pans. In a small sauce pan on medium heat, combine walnuts, chia seeds, honey, and sea salt. Stir mixture until lightly toasted, take off the heat and set aside. To make the frosting, using a standing mixer or hand held mixer, combine yogurt, goat cheese, honey, coconut butter, and vanilla bean. Mix on high until light and fluffy and set aside. To assemble the cake, carefully invert one cooled cake onto cake stand. Spread half of the frosting on top of the cake then sprinkle with 1 Tbsp ground flax seed. Carefully invert second cake on top of the first cake, then finish frosting the top of the second cake. Sprinkle with cooled candied nut/seed mixture, serve, and enjoy!
One bite and we swear you will be hooked. The cake itself is just delicious and has the perfect amount of sweet carrot flavor, but the frosting is a whole other level! Creamy, sweet, salty, and tangy all in one and definitely something to celebrate. We would like to send a special thank you to Jess's brother Max for this delicious cake inspiration! And as we enjoy this recipe we are looking forward to another year of amazing food. So stay with us here at TGBK, there is so much more to come!
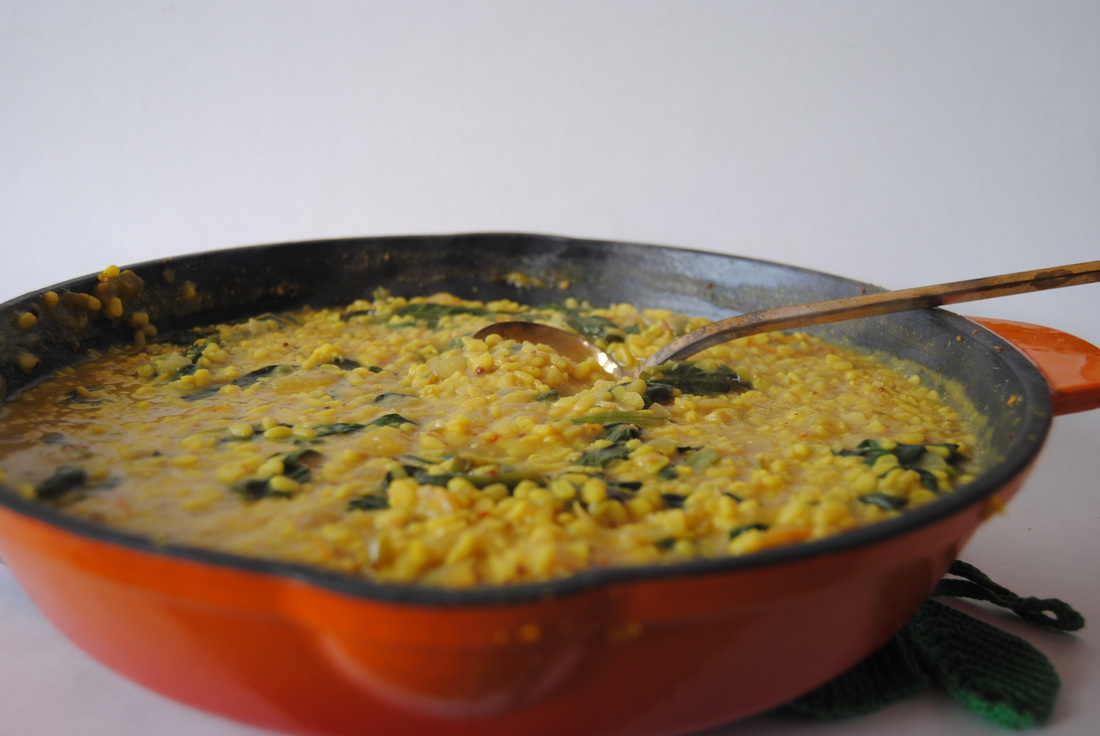
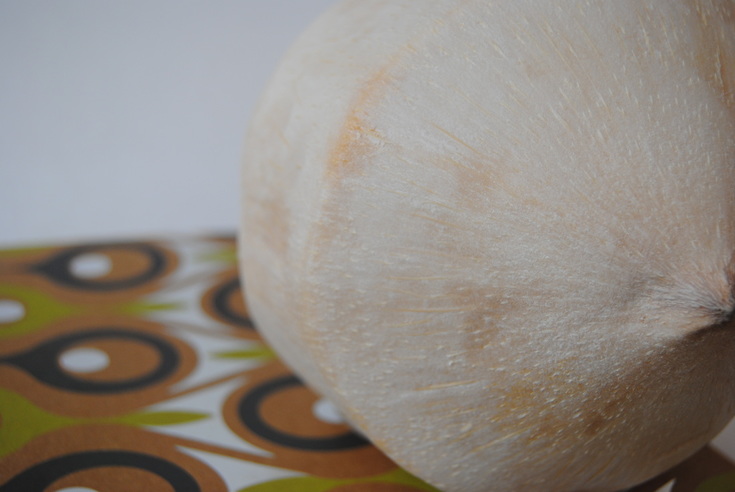
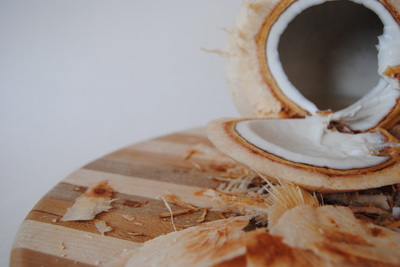
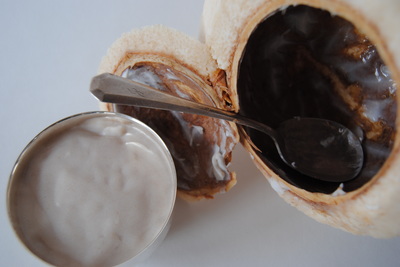
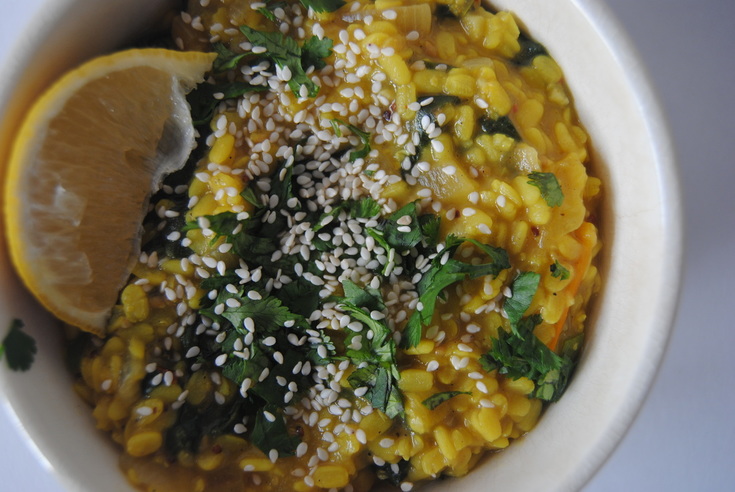
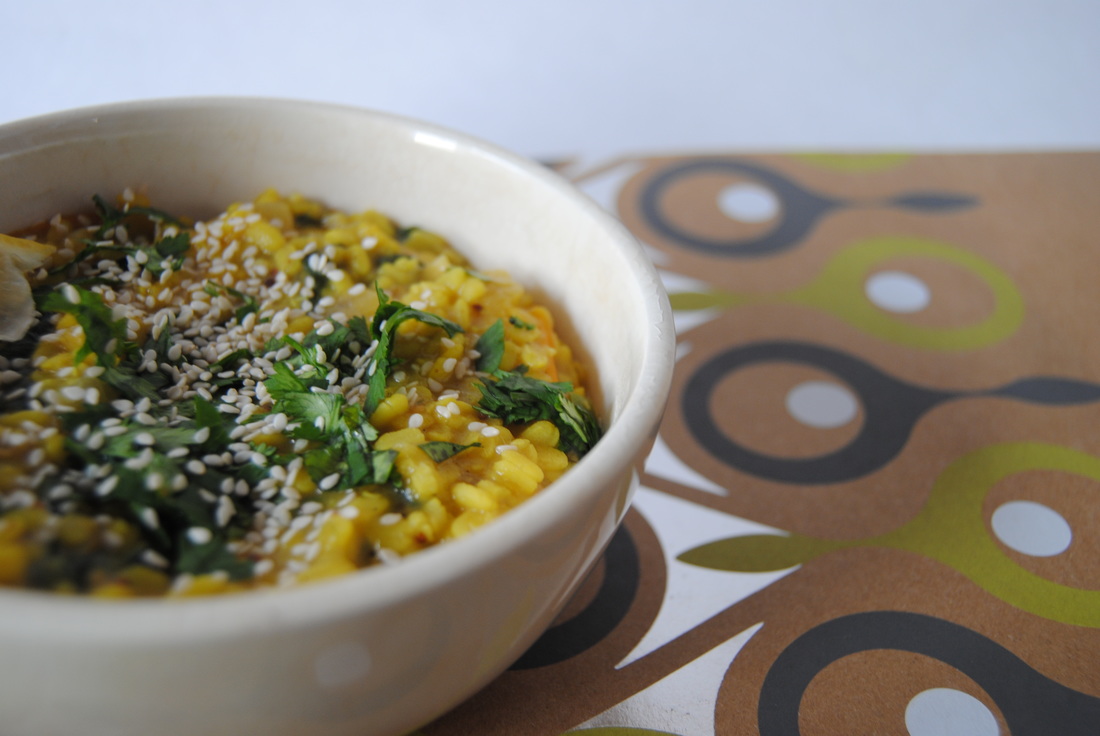
Happy birthday blossom, Jess and Cecelia As you must know by now, we love to spend time experimenting in the kitchen. And this recipe is a little piece of perfection that came out of a day of experimentation. Not that dal (traditional Indian legume dish) is that surprisingly different, but what went into it that was exciting. This week we decided to make our own coconut milk to add richness to our dal; and believe us this was no easy feat but tons of fun! Read on to find out more about coconut and how you can bring some excitement to your kitchen. Pictured above is a lovely young coconut. A young coconut is picked earlier in the growing process and has not had the time to develop the traditional dark brown outer shell or tough meat inside, meaning it will be much easier to process in your kitchen! To open we suggest a sturdy cutting board and sharp knife to chip away at the pointed end (warning this can get messy!) until you've cracked into the hollow core. Make sure to drain the precious coconut water before you fully open the coconut to expose the soft flesh inside just perfect for making coconut milk. But why go through all this trouble you ask? Well...coconut is nutritionally an amazing food! Coconut meat is naturally high in saturated fat and, believe it or not, we are not telling you to stay away from the saturated fat found in coconut. The saturated fat from coconut is mostly medium-chain triglycerides (or MCT), a type of fat that is absorbed differently in the body than other fats we ingest. When you consume MCT, it is directly transported from your gut to your liver and used first as fuel versus being stored in fat tissues. Saturated fat also helps our bodies to better absorb fat soluble vitamins such as vitamins A, D, E, K. Finally, about half of the fatty acids found in coconut is lauric acid, known for its antiviral and antimicrobial benefits. As if this wasn't enough, the water found within the coconut is somewhat of a "super food". Coconut water is full of natural electrolytes, including potassium and salt, and contains a hint of simple carbohydrates (sugars) making it a perfect re-hydration beverage. So enough talking about coconut and let's get to making coconut milk and our delicious dal. Yellow Coconut Dal PREP TIME: 20 mins TOTAL TIME: 60-70 mins Servings: 8-10 Ingredients Lentils 2 cups dried white lentils 3 cups reduced sodium vegetable stock* 3 cups water 1 tsp turmeric Ingredients 1 medium yellow onion 1 Tbsp ghee 20 oz yellow tomatoes (~2 1/2 cups chopped) 20 oz bag raw spinach (2 1/2 cups) 1/2 Serrano chili pepper (chopped with seeds removed) 1 Tbsp fresh grated ginger 2 large garlic cloves, minced 2 tsp stone ground mustard or dried mustard seeds 1/2 tsp cumin powder 1/4 tsp sea salt, plus more to taste before serving 1 cup fresh, homemade coconut milk (made from one young coconut) 2 Tbsp fresh lemon juice Chopped cilantro 1/8 cup sesame seeds Thoroughly rise and drain lentils then place in a medium pan. Add 3 cups vegetable stock, 3 cups water, and turmeric to the pan and place on medium heat. Bring lentils to a boil, turn down heat to low, cover pan with a lid, and cook for ~40 minutes until tender then set aside. Meanwhile, in a separate pan add ghee and chopped onion and saute on medium heat until translucent with golden edges. Add chopped tomatoes, spinach, Serrano chili pepper, ginger, garlic, mustard, cumin, and sea salt to the pan with the onions and continue to cook until the tomatoes break down into a sauce, ~ 25 minutes. While the sauce is cooking, remove the water and flesh from the coconut (coconut opening instructions above!). Add 1/4 cup coconut water and all the flesh to a high speed blender. Blend on high until completely smooth. A standard young coconut will make about 1 cup of coconut milk. Add cooked lentils and coconut milk to the sauce pan and continue to cook for about 10 minutes to fully combine the flavors. Serve warm over cooked rice, quinoa, or grain of your choice. Top with a sprinkle of sea salt, squeeze of fresh lemon juice, chopped cilantro, and sesame seeds. Enjoy! This dal is just so warming in so many ways. It has a gentle spice from the turmeric and ginger, a rich creaminess from the homemade coconut milk, and is satisfyingly filling from the hearty lentils. Simply a perfect winter meal to brighten your spirits. We hope that you have some fun in your kitchen making this one and enjoy every last bite.
Have fun, Jess and Cecelia |
AuthorsJess and Cecelia welcome you to our kitchen. We are fun-loving and passionate foodies working to make the world a healthier, happier place one plant based recipe at a time. Categories
All
Archives
December 2018
|

