 We've been on a roll this summer creating fabulous warm weather inspired recipes, or at least we think so! While it is still nice and warm we have less of a craving for hot meals requiring a lot of cooking time, leading us to wonder, what's for dinner? This week we decided on a vegetarian sushi roll packed with fresh flavors and bright colors. But before we get rolling let's find out more about the benefits of a key sushi making ingredient. 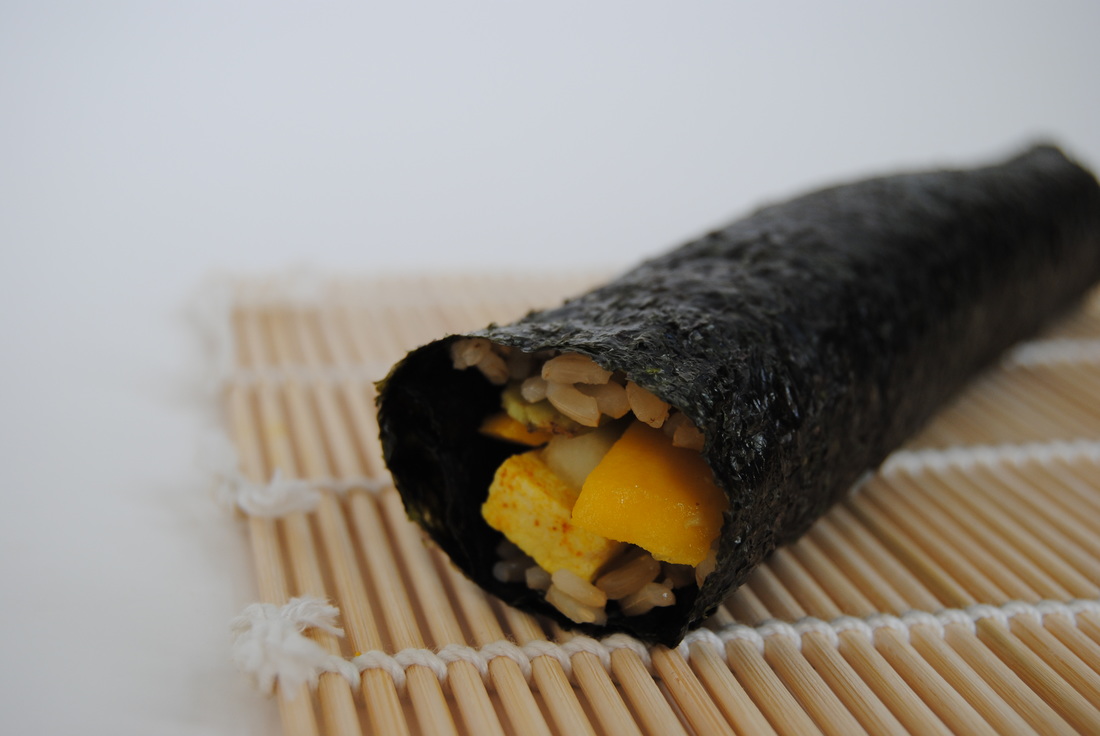 Seaweed is a key ingredient in sushi making that is rich in nutrients, minerals, and trace minerals and particularly high in iron, calcium, and iodine. Iodine is a trace element essential to the human body for normal thyroid function. It is found naturally in some foods (including seafood and seaweed), taken as a supplement, or consumed through fortified foods. Table salt, or iodized salt, is well known for its iodine fortification which began in the United States in the 1920s. Fortification began due to a large incidence of enlarged thyroid glands in the population shown to improve with iodine supplementation. Iodine deficiency still remains a global health concern mostly in developing countries without standard dietary fortification, though decreased intake of iodized salt in developed countries can lead to decreased iodine intake. Unlike seafood and seaweed, sea salt is not a good source of dietary iodine and has replaced iodized salt in many households. A sushi roll sized portion of seaweed does contain more than the recommended daily intake of iodine and can supply this vital nutrient in the diet. Though we will note recent concerns surrounding some seaweed and its exposure to toxins and pollutants in the ocean. But don't worry! Like with most foods we recommend balance and moderation to reap the benefits and minimize any potential risk. So now, on to seaweed's role in sushi making! Sushi rolling is truly an art that can be mastered with some practice. A common mistake in sushi making is over stuffing your roll. Over stuffed rolls are very difficult to roll, will be messy and difficult to seal. When new to sushi making, it will be easier to roll sushi with the rice on the inside of the seaweed as we did. Though if you prefer to have the rice on the outside of your role there are two key points to keep in mind: the rice must be sticky enough to hold to the seaweed paper and your sushi mat should be lined on both sides with plastic wrap to avoid the rice from sticking in the wooden grooves. With all sushi making it is important to keep the roll tight as you go to keep the ingredients from falling out once sliced. Well we hope that by now you are not too intimidated by the process and ready to tackle your own homemade sushi. Because sushi rolling at home is easy, quick, inexpensive, fun, and most importantly delicious! 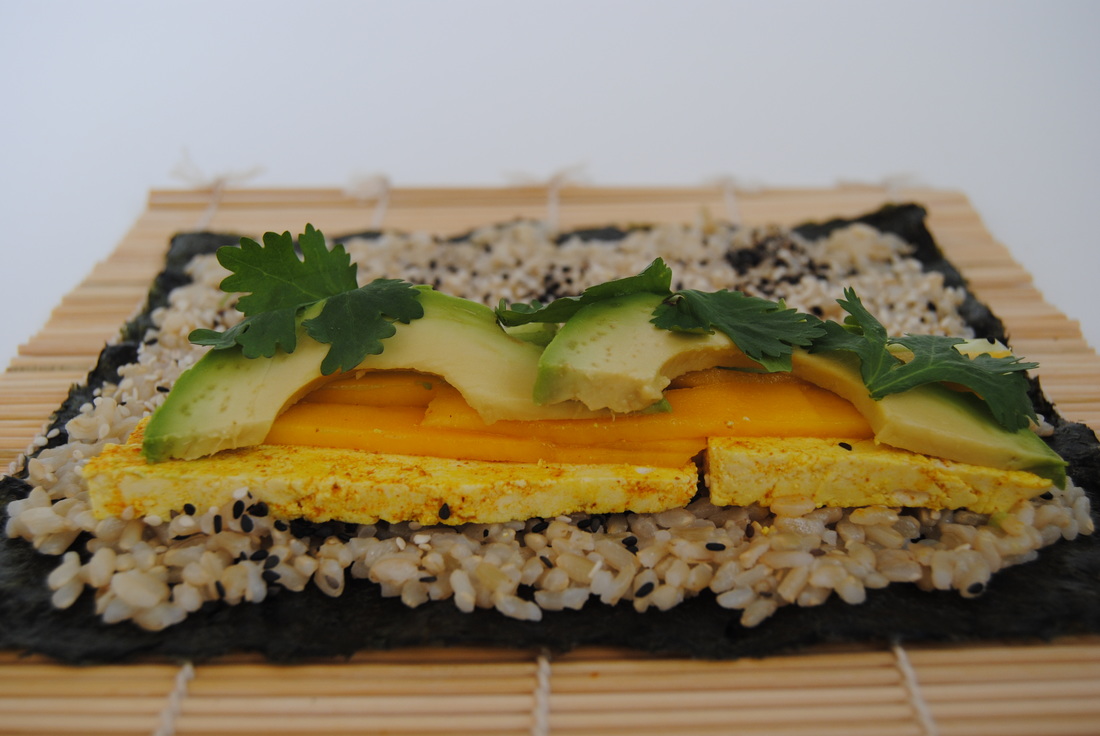 Summer Sushi Rolls with Mango Sweet and Sour Sauce PREP TIME: 1 hour (includes cooking & cooling rice) TOTAL TIME: 1 hour 15 mins Servings: 4 rolls Ingredients Sweet & Sour Rice 1 cup uncooked brown sushi rice 2 cups water 2 Tbsp raw apple cider vinegar 1 Tbsp cane sugar 1/2 tsp sea salt Roll 4 dried nori seaweed sheets 4 oz sprouted firm tofu 1/4 tsp powdered turmeric 1/4 fresh mango, thinly sliced 1 small cucumber, peeled and sliced into matchsticks 1/4 avocado, thinly sliced Fresh cilantro Black and white sesame seeds Mango Sweet & Sour Sauce 1/2 cup fresh mango, cubed 1/2 cup water 1/4 cup vinegar (we used lavender lemongrass vinegar, white vinegar will also work) 2 Tbsp cane sugar 1 dried red chili pepper 2 tsp wasabi powder (if unable to find look at specialty or Asian markets) Cook sushi rice according to package directions then remove from heat and add apple cider vinegar, cane sugar, and salt. Stir rice until well combined and place in the fridge to cool. To make the sauce, combine mango, water, vinegar, cane sugar, dried chili pepper, and wasabi powder in a blender. Mix on high until smooth. Place sauce into a shallow pan and simmer on the stove top for 10-15 minutes until sauce begins to thicken and sticks to the back of a spoon. Place in the fridge to cool. Next prepare the roll ingredients. Drain tofu, carefully cut into matchstick pieces, then generously sprinkle with powdered turmeric. If your tofu is on the dry side you made need to place in a shallow dish with ~1 Tbsp water to help the turmeric disperse and evenly cover the tofu. Peel the outer cucumber skin and slice into thin matchstick strips. Peel and slice mango and avocado into thin strips. To make your rolls place 1 sheet of nori on a sushi mat. Nori has a rough side and a smooth side - make sure the rough side is facing up. Place ~1/2 cup cooked sushi rice in the middle of the nori and carefully spread rice outward leaving ~1/2" space on the top and bottom of the nori. The sushi rice is sticky and we found it helpful to keep a small bowl of room temperature water on hand to dip your finger tips in to make spreading the rice easier. Starting at the end closet to you, place your filling ingredients in a horizontal line (pictured above). With the sushi mat underneath the nori sheet carefully roll nori over ingredients while pulling the mat tight as you roll to form a seal. Continue this process until you have a sealed sushi roll. Evenly cut roll into 8 slices. Repeat until all the ingredients have been used. If you do not plan to eat all the rolls at the time of making, uncut rolls will stay fresh in the fridge for 2-3 days. Dip and enjoy!  This roll is so fresh, bright, and light but filling - basically a perfect summer meal. And this mango sweet and sour sauce with wasabi is the ideal place for your gorgeous little sushi rolls to take a dip! It's sweet and tangy with a strong spicy kick from the wasabi. Now finish those rolls and get back to whatever fun summer activities you've been enjoying today. Have fun, Jess and Cecelia 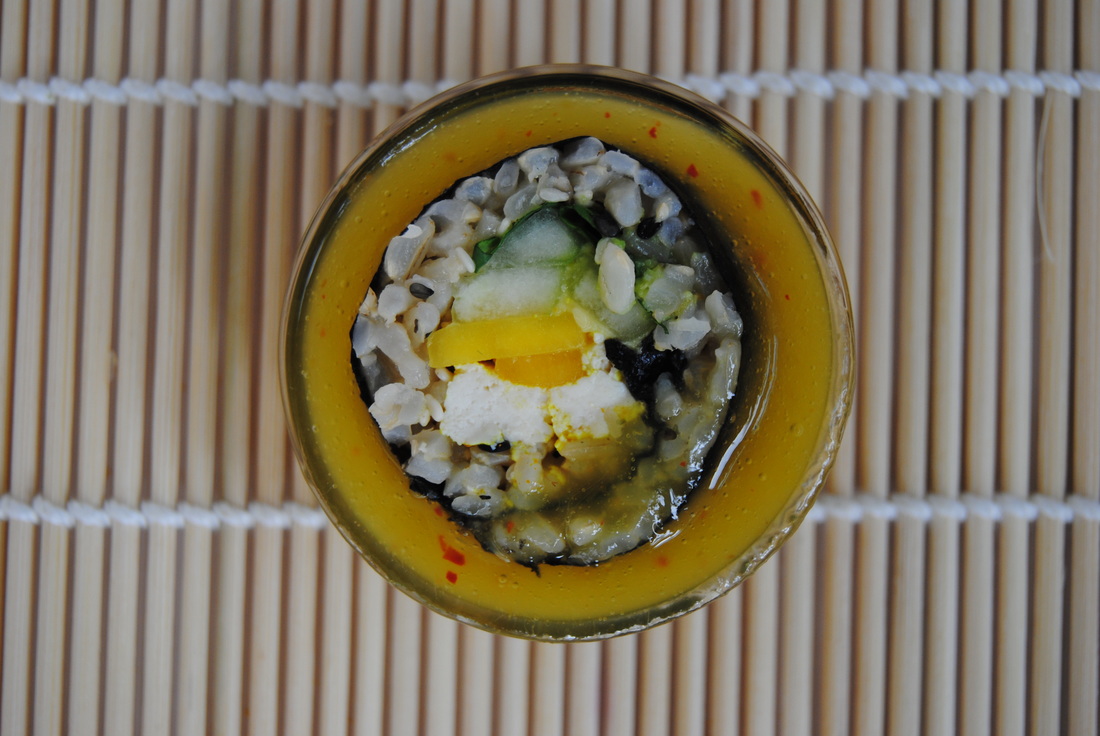
0 Comments
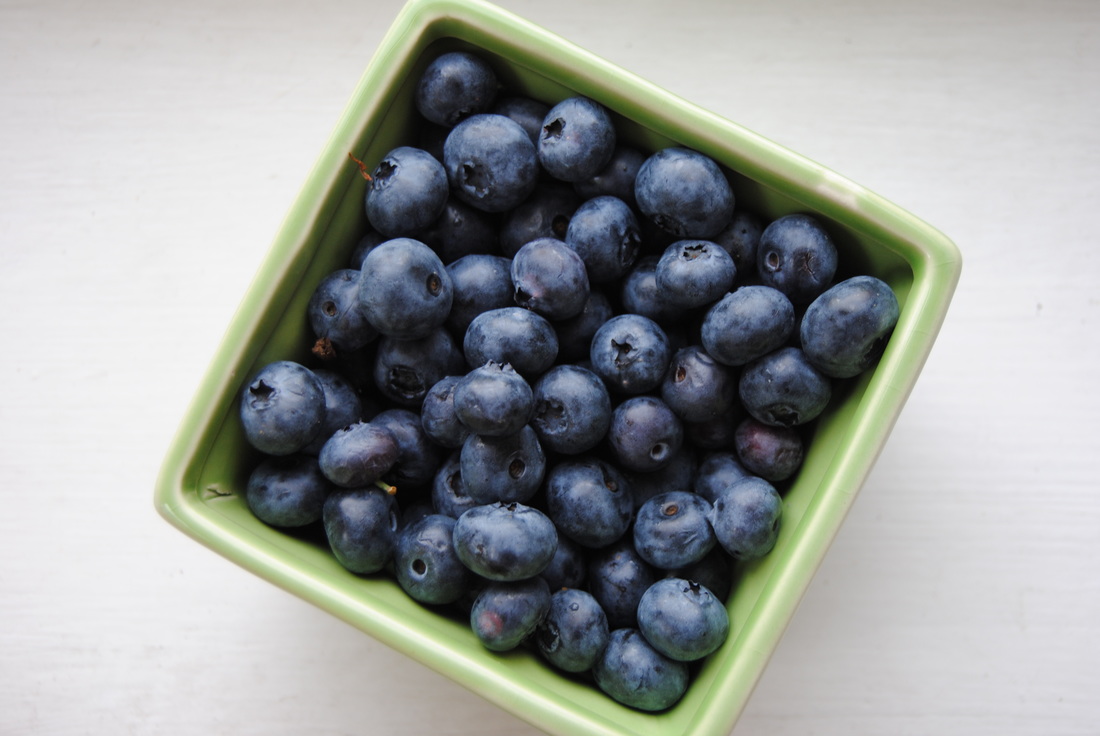
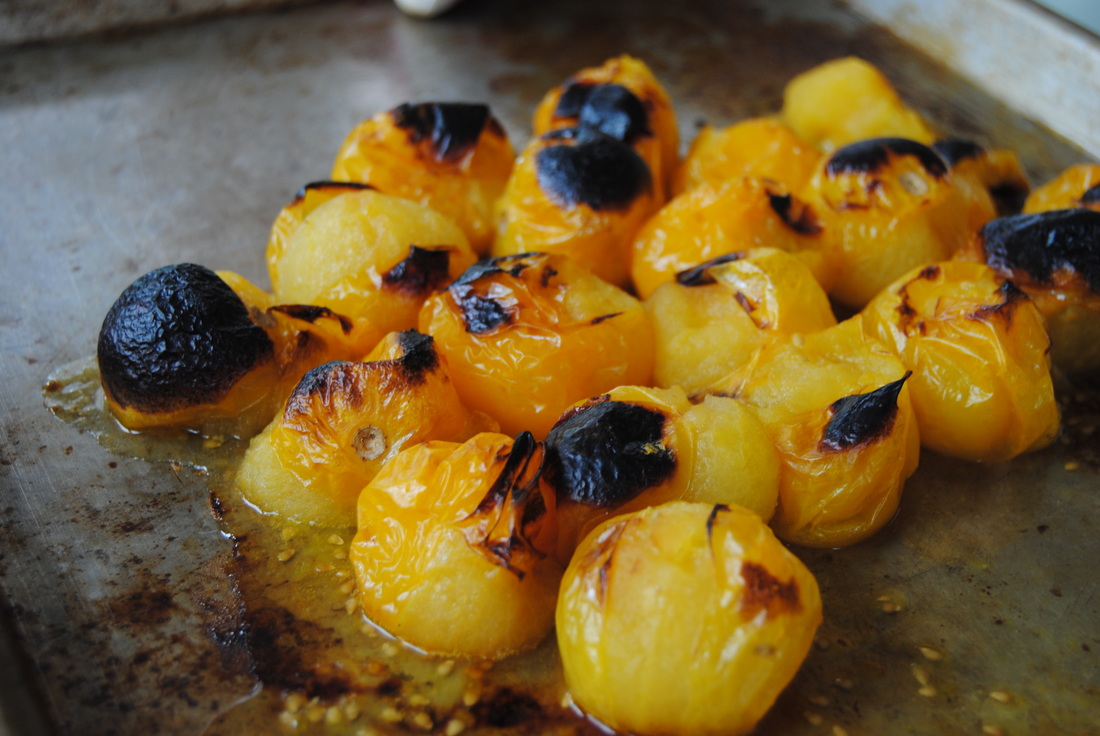
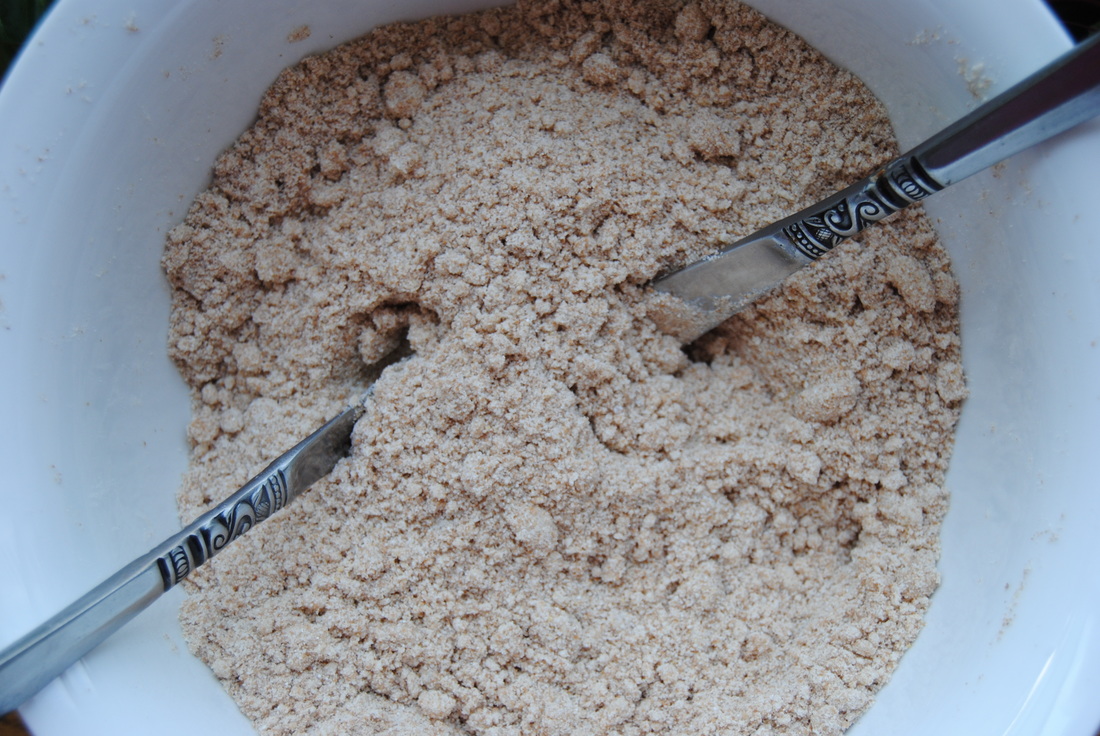
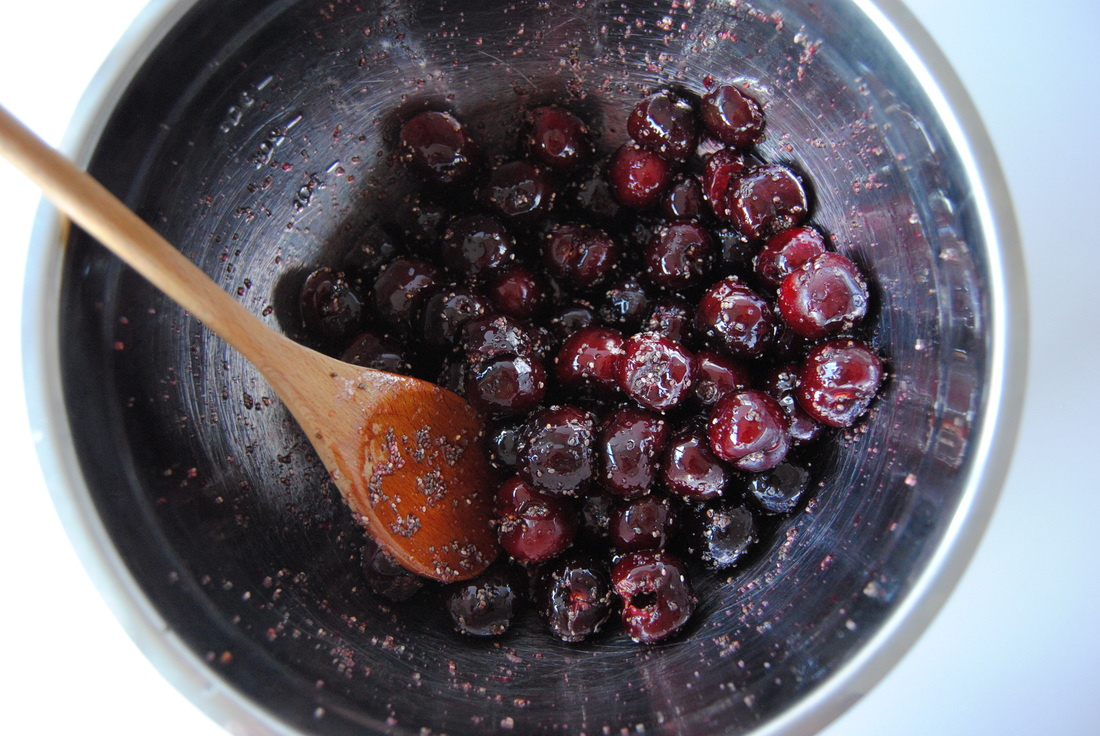
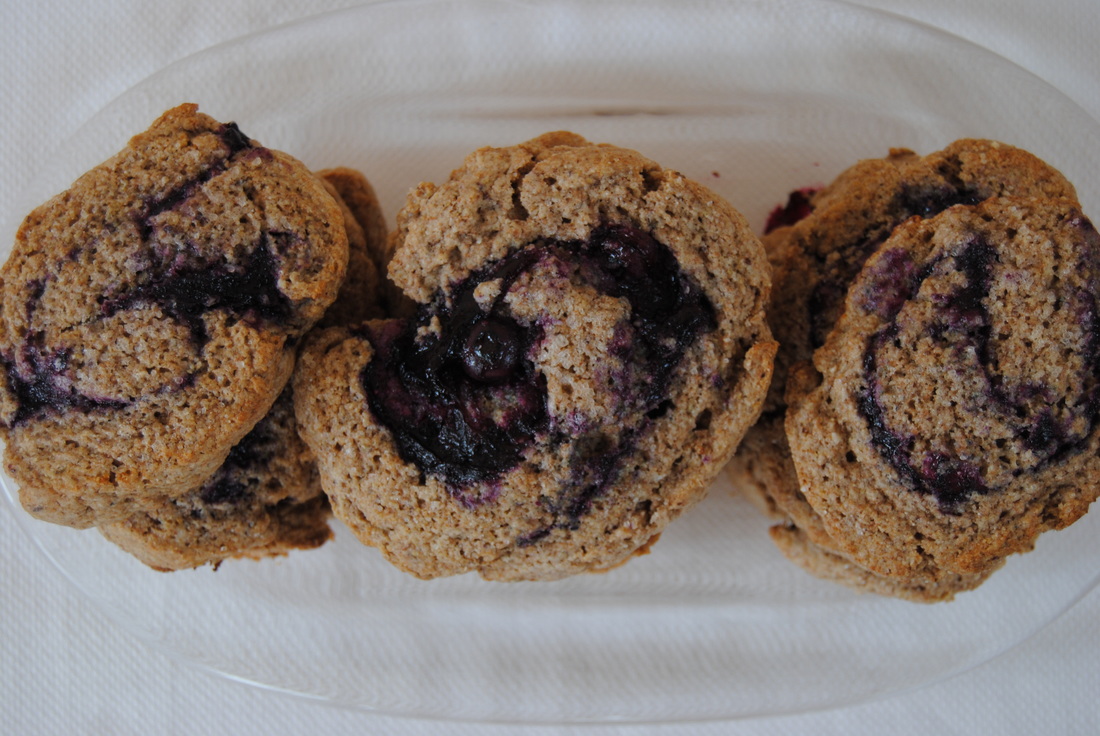 Let's face it, sometimes mornings can be hard. One thing that helps us get up and going is knowing that delicious foods await us (such dietitians!), and what could be a better treat on a tough morning than a fresh blueberry scone? If you're wondering, yes, these scones do qualify as a nutritious breakfast. Made with a blend of whole grain flours, fresh berries, and two type of goat milk products these treats are enjoyable and dietitian approved. But why did we choose goat milk for this recipe? Let's find out! 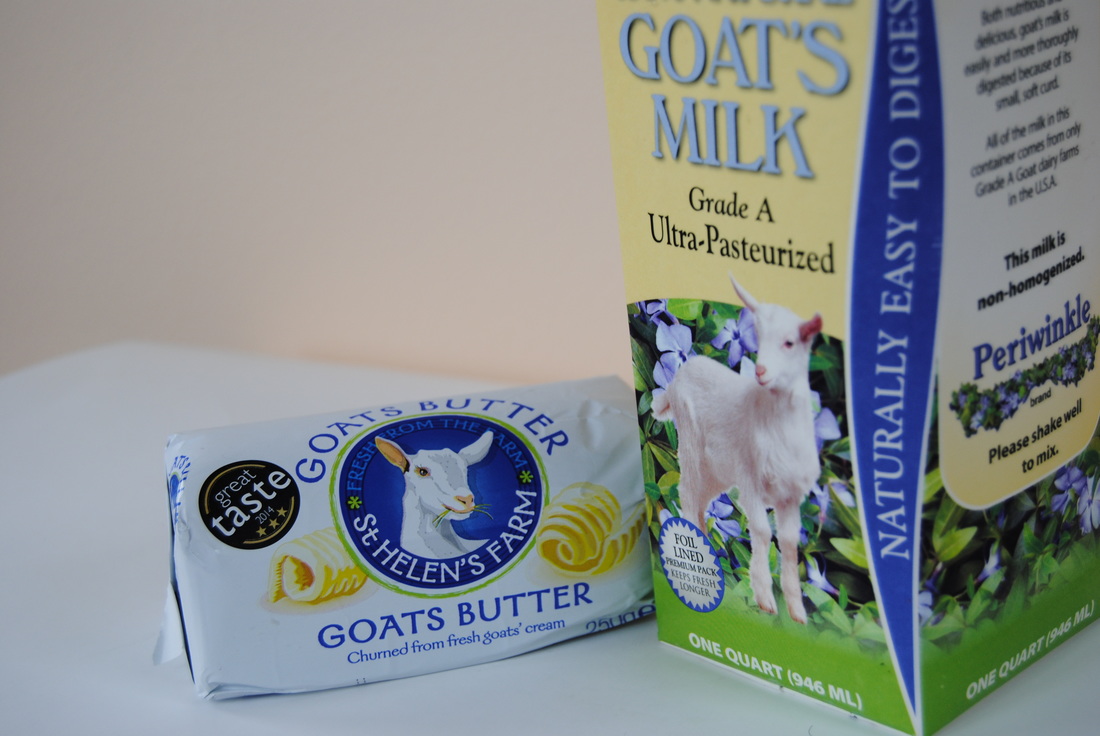 So what is the deal with goat milk and goat milk products anyway? Is goat milk really different from cow's milk? Though similar in many ways, goat milk does have some significant nutritional differences and we believe, benefits. For starters, goat milk is easier to digest, with digestion being a common concern with dairy products. The fat globules in goat milk are smaller than cow's milk allowing for easier digestion. Also for this reason, goat milk does not require homogenization as cow's milk does. Homogenization is the process of breaking down fat molecules so that the mixture will will resist separation, and is basically one more step in processing that goat milk does not require. But back to digestion, goat milk also contains slightly less lactose than cow's milk making it a better alternative for those sensitive to lactose. Additionally, goat milk contains a higher percentage of fat from medium chain triglycerides which compared to long and short chain triglycerides are absorbed faster, used more effectively for energy, and are less likely to be stored in the body. As if all this wasn't enough, goat milk may even be more tolerable then cow's milk for people with milk protein sensitivity or intolerance. This is because goat milk only contains a trace amount of an allergic casein protein, alpha-S1, found in cow's milk. However, goat milk does contain similar levels to cow's milk of other allergenic proteins and should still be used with caution in the case of severe dairy allergies. Finally, goat milk contains more oligosaccharides (short chain carbohydrates) which are prebiotics needed in a healthy gut for probiotics to feed on. If we have to find a negative about goat milk we will note that because the fat globules are smaller than in cow's milk, it is more difficult and more time consuming to obtain the rich cream from goat milk required to produce goat buttermilk and butter. Though in terms of diary production goats may truly be a more sustainable future. Goats thrive on less, lower quality pasture and in areas that cows could not be kept such as hilly, rocky terrain. Wow, a whole lot of reasons to get your hands on some goat milk products and get started on this recipe! Blueberry Swirl Scones PREP TIME: 30 mins TOTAL TIME: 45 mins Servings: 8-10 scones Ingredients Blueberry Sauce 1 pint organic blueberries 1/8 cup cane sugar 1 tsp fresh lemon juice 1 tsp pure vanilla extract Scones 1 1/2 cups whole wheat pastry flour 1/2 cup oatmeal flour 1/2 cup buckwheat flour 1 Tbsp ground flax seed 3 Tbsp warm water 1/3 cup cane sugar 4 tsp baking powder 1/2 tsp sea salt 3/4 cup goat butter (cow's milk butter will also work), cold 1/2 cup full fat goat milk (cow's milk or other alternative milk will also work) Additional 2-3 Tbsp goat milk (or milk of choice) for brushing the top of the scones 1-2 Tbsp cane sugar for sprinkling To make the blueberry sauce, combine 3/4 pint fresh blueberries (reserve 1/4 of the blueberries for later) and 1/8 cup cane sugar in a small sauce pan on medium heat. Cook for 3-5 minutes until the blueberries begin to pop, making sure to stir frequently to dissolve the sugar. Reduce heat to a simmer and continue to cook for an additional 5 minutes until mixture becomes syrup like and will stick to the back of a spoon. Remove from heat and add in fresh lemon juice and vanilla bean. Set blueberry syrup in the fridge to cool while you start the dough. Preheat oven to 425 degrees and line a baking sheet with parchment paper. Using a fork , whip together the ground flax seed and water in a small bowl until combined and set aside. To make the dough sift together the flours, baking powder, and sea salt. Using a pastry cutter or two knives, cut cold goat butter into dry ingredients until the butter is about the size of peas. These small butter pieces within the dough will help create a flaky scone. Add the goat milk and flax/water mixture to the batter and mix to fully combine. Avoid over mixing the dough as this will cause the scones to become tough from over-development of the gluten. Roll the dough into a ball, cover with plastic wrap, and place in the fridge to cool for at least 15 minutes. Once the dough has cooled, roll the dough out into an 8" by 12" rectangle on a lightly floured surface. Evenly spread the cooled blueberry sauce on top of the dough and add the reserved fresh blueberries on top. With well floured hands and starting with the short end, carefully roll the dough into a log. Our trick for cutting the dough without smashing it down is using unscented dental floss - slide floss under the log and make a crisscross on top of the dough. Carefully pull floss through the dough to make your scones (technique pictured in this post). Repeat until you have 8-10 equal sized scones. Space scones evenly on parchment lined baking sheet and brush each scone with goat milk and sprinkle with 1/2 tsp cane sugar. Place in pre-heated oven and cook for 12-15 minutes or until the edges are golden. Allow to cool for 5 minutes. Serve warm or keep out at room temperature for 2-3 days. We found that if stored in an air tight container scones will lose some of their crunch. Scones may also be saved in the freezer, just make sure to fully thaw and bake at 350 degrees for about 5 minutes prior to serving.  Picture this morning- hot coffee or cold brew (our recipe here!) with a crumbly scone full of ripe blueberries bursting with flavor, packed with the richness of whole goat milk and goat butter, and swirled into a picture perfect work of art. Now this will get you out of bed and keep you satisfied until your next meal. Also highly recommended as a summer dessert or tea party treat. Really any way that you want to enjoy this scone will totally rock. Oh, and share the news about goat milk and maybe add goat milk products into your rotation a little more often now that you know how great it really is. Have a good morning, Jess and Cecelia 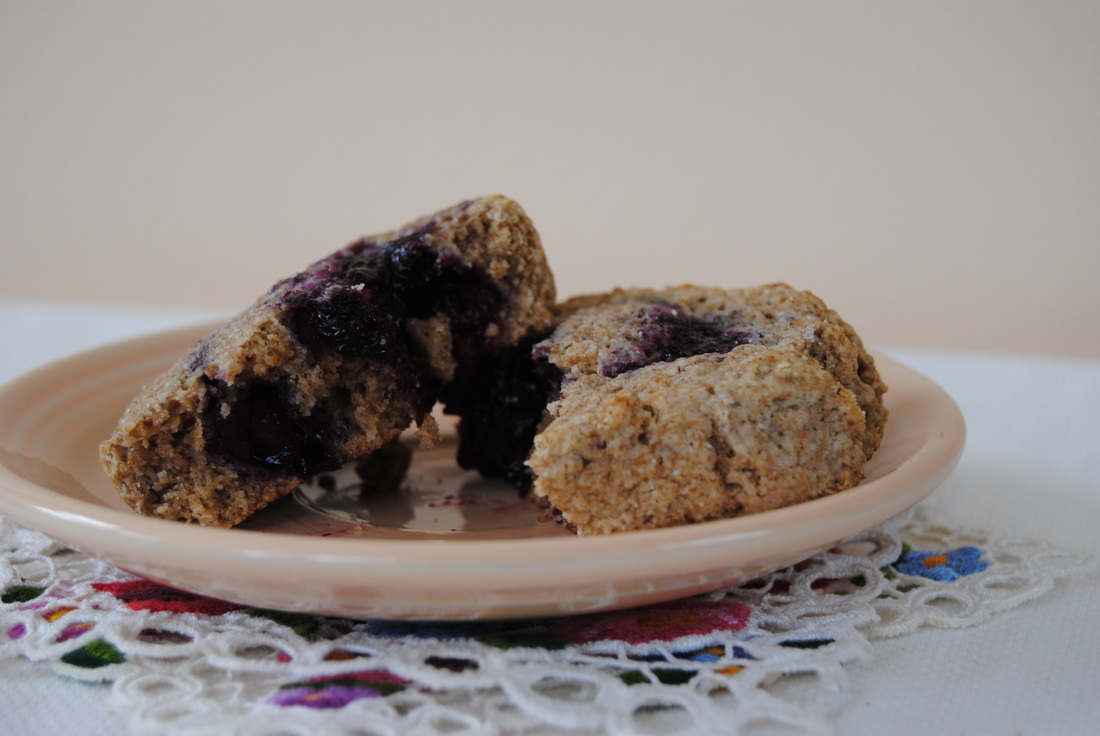  We can just about bet that these long summer days and warm nights have you craving some fresh adult drinks. If we're right than this recipe is for you! We've combined one of our favorite staple drinks with fresh produce of the season and a Caribbean twist. Thirsty? Read on! 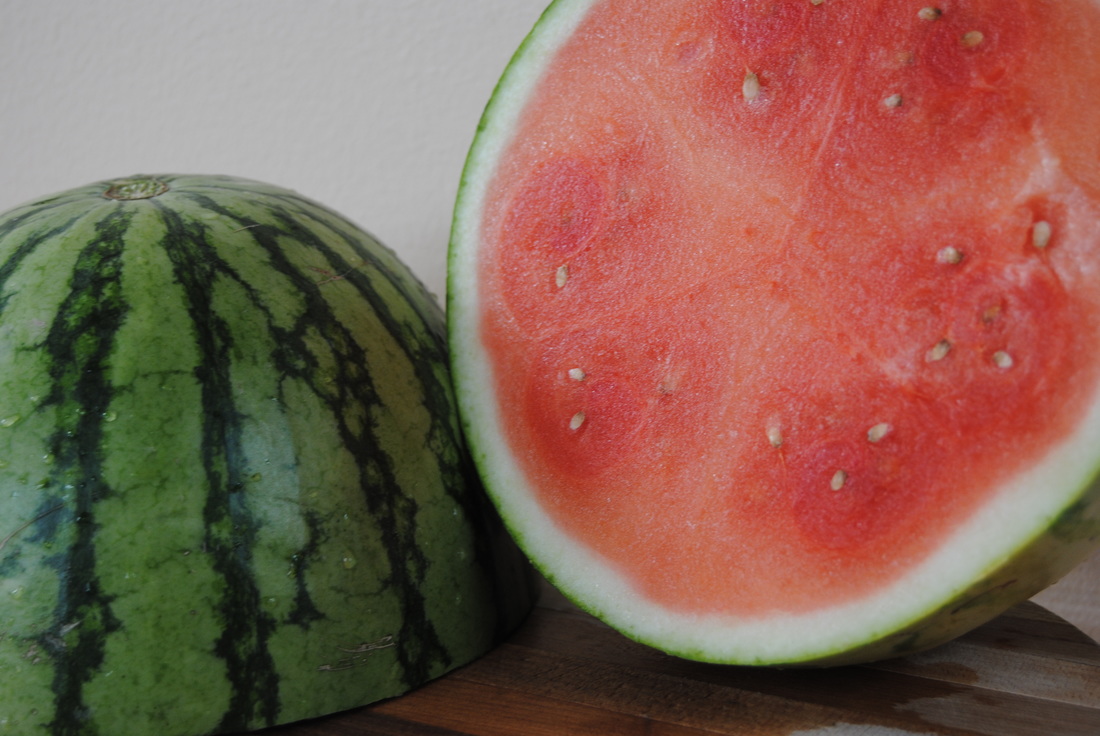 As you'll see, this recipe features fresh watermelon juice and takes some preparation and time. And we know that drink mixers can be enticing for just this reason. But we're asking you to drop that drink mixer! Widely available in every different combination, mixers may seem like a no-brainer. Though many drink mixers on the market today have high fructose corn syrup, artificial flavorings, preservatives, and artificial dyes. And calorically speaking these mixers can add up pretty quickly because of all the added sugar. Even adult beverages can have nutritional benefit, instead of sugary excess, when prepared with fresh pressed juice and whole food ingredients. Because summer drinks should be fresh, refreshing, and packed with the flavors (and nutrients!) of the season. 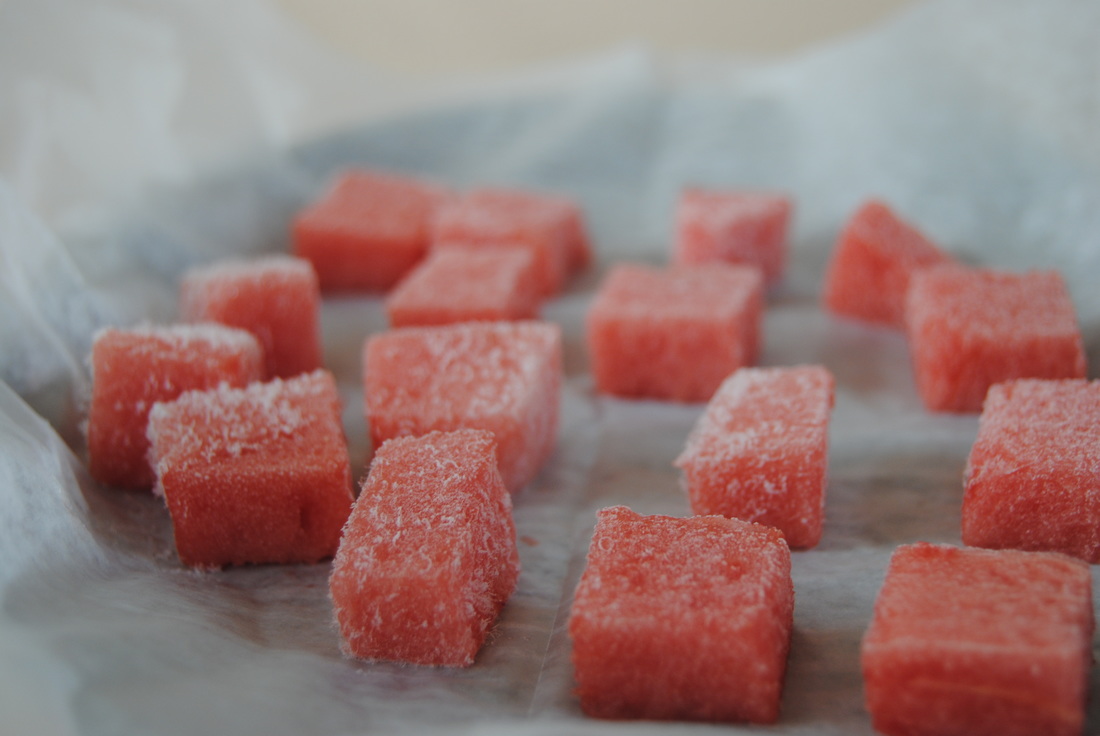 Watermelon Coconut Mojitos PREP TIME: 30 mins (includes freezing time) TOTAL TIME: 35 mins Servings: 4 Ingredients Mojitos 12 oz fresh watermelon juice 8 oz coconut rum Juice of 4 limes 20 large mint leaves 4 Tbsp simple syrup 12 oz sparkling water 1 cup 1" cubed watermelon, frozen 4 thin slices of lime for garnish Simple Syrup 1/4 cup cane sugar 1/4 cup water Cut watermelon into 1" x 1" cubes and place on wax paper in the freezer to chill for ~25 minutes. Using a juicer*, juice 1.5 cups (12 oz) watermelon juice. To make the simple syrup combine equal parts cane sugar and water in a small sauce pan on medium-high heat. Bring liquid to a gentle boil making sure to stir constantly then reduce to a simmer. Allow mixture to simmer for 8-10 minutes or until liquid becomes syrup-like and sticks to the back of a spoon. Remove from heat and allow to cool to room temperature. Using a mortar and pestle, muddle the mint leaves until fragrant then set aside. Using a drink shaker, combine 3 oz watermelon juice, 2 oz coconut rum, juice of 1 lime, 1 Tbsp simple syrup, 1/4 of the mint leaves, and a handful of ice. Shake vigorously until fully chilled. Pour into a glass and top with 2-3 oz sparkling water and 1/4 cup cubed frozen watermelon. Garnish with a slice of lime and a sprig of mint. Repeat process to make all four drinks. *If you do not have a juicer you can blend the watermelon in a high speed blender and strain through a fine sieve to catch any pulp. 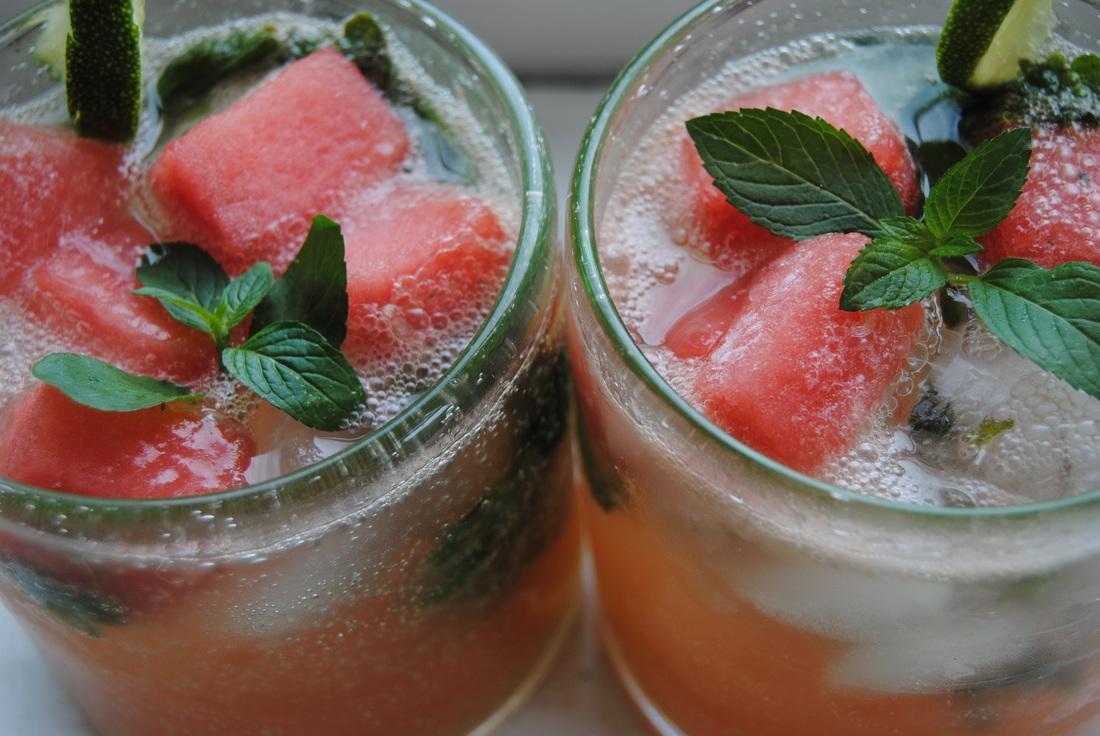 Ahhhhhh. One sip and you'll be transported to a lounge chair in the sand gazing at clear blue waters even if you're really sitting with your feet up in the living room. This drink is the perfect combination of mint and lime like a traditional mojito, with a unique sweetness from the fresh watermelon, and a warm, tropical finish from the coconut rum. Once you've tried this one we know it will be a favorite for the rest of your glorious summer. Cheers, Jess and Cecelia 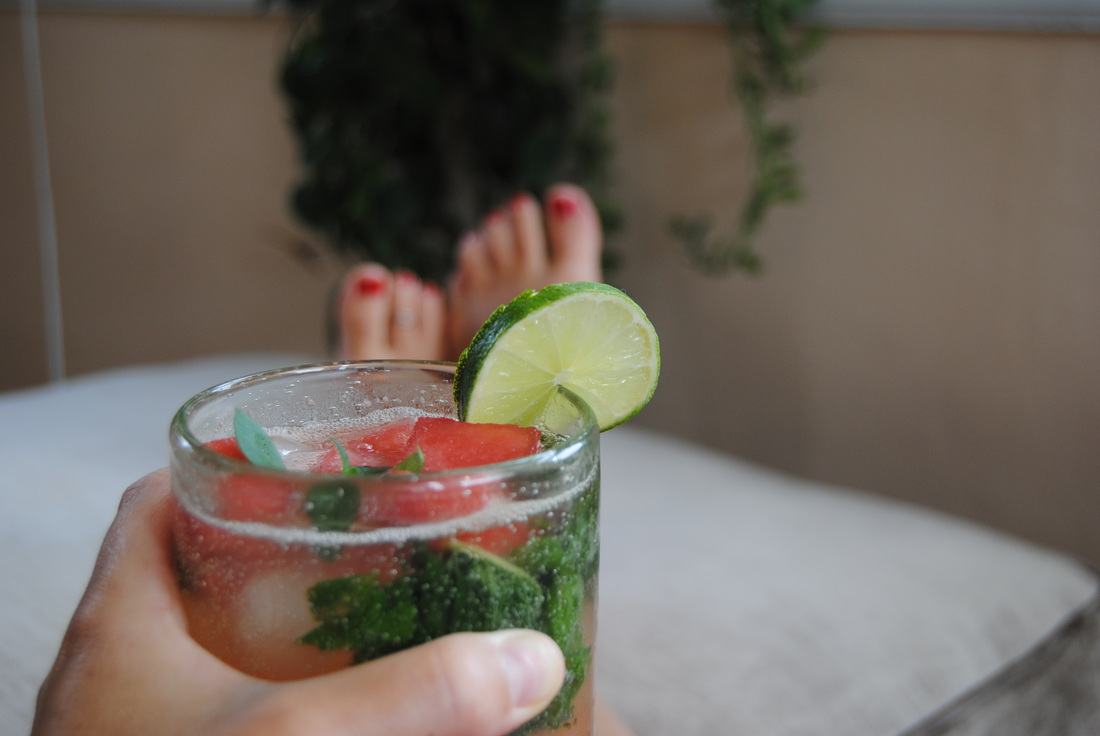 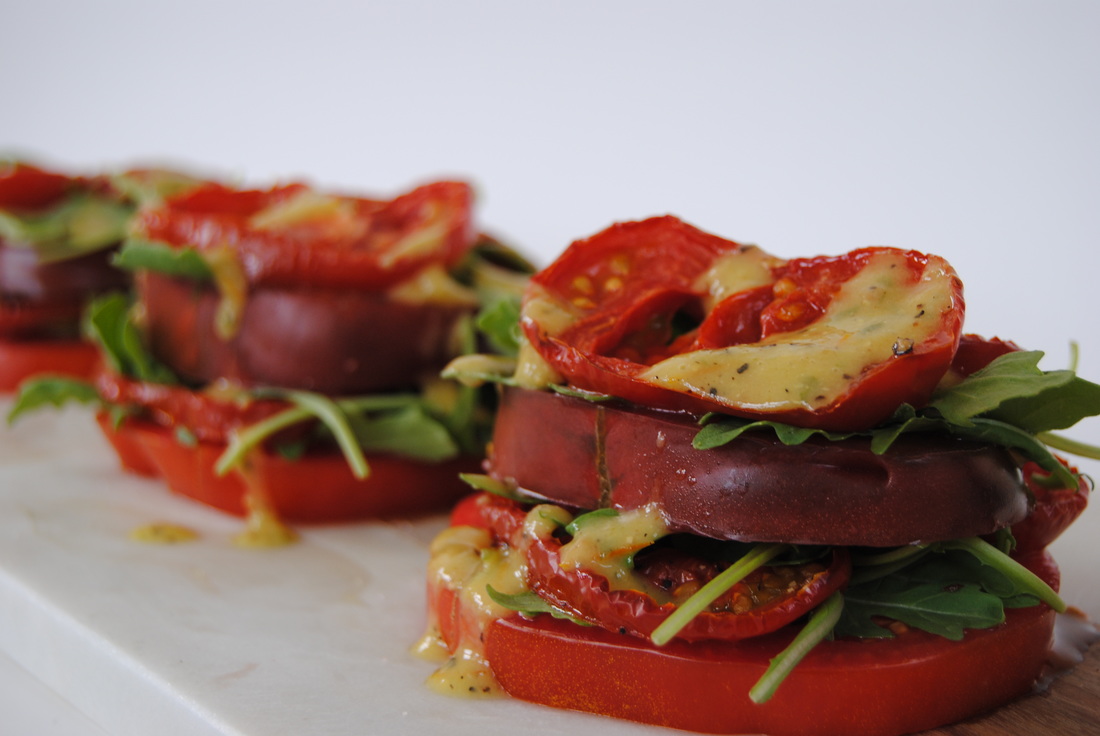 Oh happy day! It's tomato season again friends and we just couldn't be happier. There are truly few things better than a fresh, local, sun-ripened tomato in the middle of summer. You may remember our love of tomatoes from this post last year, but if not we have plenty more tomato fun where that came from. This year we're pulling out all the stops and preparing four different types of tomatoes in three different preparations. How? Read on to find out!  You may also remember from another post last summer our love for eating local. So we hope that this current post is a reminder to get to your local farm stand, farmers market, or grocer with local produce ASAP. This is the time for fresh, local produce and we don't have to remind you that it doesn't last long at this latitude. Or maybe even hit up that friend or neighbor with an abundant garden if they are willing to share. Fresh produce just can't be beat in terms of quality, nutrient density, and most of all taste! This week we've scoured Chicago and come up with four varieties of local tomatoes: Black Krim, Better Boy, Beefsteak and Yellow Cherry tomatoes. Any varieties of tomatoes that you like will work though, just adjust the portions you use accordingly. Stacked Tomato Salad PREP TIME: 30 mins TOTAL TIME: 35 mins Servings: 2 Ingredients Salad 1 large Black Krim tomato (or any heirloom) 1 large Beefsteak tomato (or any large, red variety) 2 medium-large Better Boy tomatoes (or any medium, red variety) 1/2 cup baby arugula 1 Tbsp extra virgin olive oil Sprinkle of salt and pepper Vinaigrette 1/2 pint yellow cherry tomatoes (~5 ping-pong sized tomatoes, can be any variety) 1/4 cup extra virgin olive oil 1.5 tsp raw apple cider vinegar 1.5 tsp fresh lemon juice 1 tsp stone ground mustard 1 Tbsp chopped fresh basil salt and pepper to taste Preheat oven to 350 degrees. Slice Better Boy tomatoes into half inch thick slices and place on a parchment lined baking sheet. Drizzle 1 Tbsp olive oil and a sprinkle of salt and pepper over the top of the tomato slices and roast in the oven for ~25 minutes or until candied. Remove tomatoes from the oven and allow to cool. Meanwhile, turn oven to broil and place cherry tomatoes on a baking pan under the broiler for 10-12 minutes or until well charred with a generous amount of blacked skin. Note that while broiling the cherry tomatoes they will begin to pop open - this is expected given the high heat. Removed charred tomatoes from the oven and place tomatoes and their juices in a blender or food processor along with the olive oil, vinegar, lemon juice, mustard, basil, salt and pepper for the vinaigrette. Blend ingredients on high until a smooth consistency is formed and set aside. To assemble the salad, slice the Black Krim and Beefsteak tomatoes into 1/2 inch slices. Layer 1 slice of Beefsteak tomato, 2 slices of roasted Better Boy, and 1 slice of Black Krim tomato on top of each other. Place baby arugula in between each tomato layer. Repeat with the remaining tomato slices and arugula. This should make 3-4 stacks about 3-4 layers thick. Sprinkle the top with salt and pepper to taste and drizzle charred tomato vinaigrette over the top of each stack. Serve as is or enjoy with thick sliced bread. We chose a seeded fennel anise bread from our local farmers market. Extra dressing can be stored in an air tight container in the fridge for ~1 week. 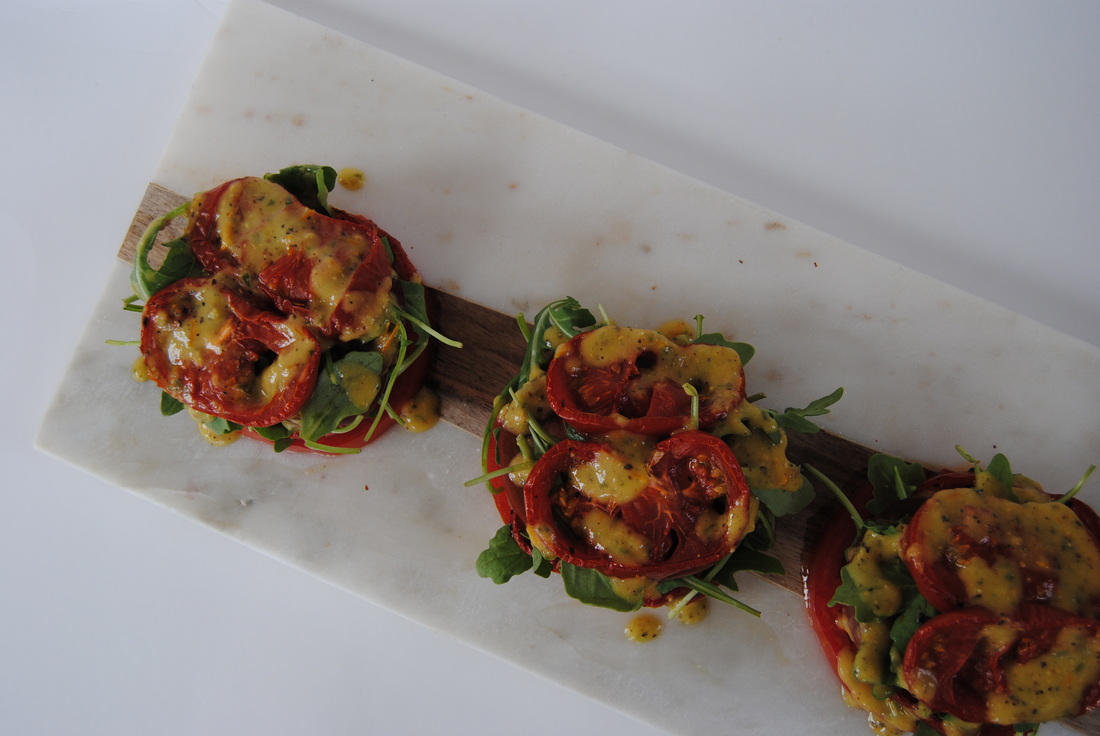 This salad is just so, summer. Each preparation highlights the tomato in a unique and exciting way. The charred vinaigrette is smokey and bold, the roasted tomatoes have a depth of tomato flavor and a perfect sweetness, and the fresh tomatoes are juicy and well, fresh! With this recipe you'll never have to think twice about buying an extra tomato (or four!) while they are abundant this season. Enjoy, Jess and Cecelia   Happy 4th of July TGBK friends! We hope you're celebrating this amazing country in the best way you know how today. If you know us by now, you know that we love to celebrate with fresh, seasonal, and beautiful food. That's why a good old cherry pie had to be on the menu for us today. We put in the work ahead of time to make this 100% homemade starting with a coconut oil crust. You'll have to put this on the menu for your next celebration since we didn't give you much of a heads up for today (sorry!). This one will be worth the wait though, we promise. So let's learn more about why homemade pie crust is an absolute must before we get to the recipe. With these tips and tricks we will free you from anything but wholesome, homemade pie crust from now on.  Now don't get us wrong, we know that perfecting the homemade pie crust can be quite a challenge. It takes time, patience, and plenty of practice. But putting in that time really does pay off in terms of taste as well as healthfulness of the final pie. Typical pre-made, store bought pie crust contains trans fat which in simple terms is a nutritional no, no. Trans fat is a man made, chemical based fat used in processed foods to lengthen shelf life, which may sound good, but it also takes your body a very long time (months even) to fully metabolize and clear this fat from your body. Store bought pie crust may also contain artificial dyes and food preservatives (ex BHA and BHT) that we prefer to avoid as much as possible. Even homemade pie crust can contain undesirable ingredients if vegetable shortening (like Crisco) is used as the fat source. Vegetable shortenings are another man made food invention that produce what we consider negative fats during the process of turning liquid vegetable oils into a semi-solid. Instead, we suggest using a whole food based fat source that is naturally in the right consistency for a pie crust, like butter or coconut oil. Since coconut oil is more unique and vegan friendly we decided to give you that recipe this time around. We hope our pie crust making tips will help you become a pro in no time. One last tip, if your crust doesn't look perfect the first go around, don't worry! It will still taste great. Summer Cherry Pie PREP TIME: 45 mins TOTAL TIME: 3 hours 30-45 mins (includes resting of dough and cooking time) Servings: 8 Ingredients Coconut Oil Crust (makes two crusts) 3 cups whole wheat pastry flour 1 cup solid coconut oil (cool in the fridge as needed if soft/liquid) 1/4 tsp salt 1 cup + 2 Tbsp ice water Cherry Pie Filling 5 cups organic cherries, any sweet variety 1/4 cup cane sugar 2 Tbsp maple syrup 2 Tbsp chia seeds 1 Tbsp lime juice One vanilla bean, insides scraped out Optional Topping Vanilla full fat Greek or Icelandic yogurt Start by preparing the crust at least 90 minutes before the filling. Combine whole wheat pastry flour and salt in a large bowl. Add solid coconut oil to the bowl and use a pastry cutter or butter knife in each hand to cut coconut oil repeatedly for several minutes until the mixture resembles large crumbs (pictured above). Add ice water two tablespoons at a time and mix by hand with a fork until the mixture just begins to come together. If you press the mixture between your fingers it should hold together but easily crumble. Note that you may use slightly more or less ice water to achieve the correct consistency. Turn dough out onto a smooth, lightly floured surface and separate in half using floured hands to press dough gently so that it holds together. Place each dough on plastic wrap and press into a flattened disc with your palms (also pictured above). Wrap each disc fully with plastic wrap and place in the fridge for at least one hour. Dough can be prepared ahead of time and stored in the fridge for 2-3 days. Before rolling the dough allow to sit out at room temperature for 30-60 minutes to allow dough to soften until pliable. To prepare the filling start by removing cherry stems and pitting the cherries using a cherry pitter or a chopstick. For the chopstick method hold the cherry firmly in one hand and use the wide end of the chopstick to press up through the middle of the cherry from the bottom. The pit should easily break through the top where the cherry was previously attached to its stem. Add prepared cherries to a large bowl and add cane sugar, maple syrup, chia seeds, lime juice, and insides of the vanilla bean to the bowl and mix to fully combine. Allow to sit while you roll the dough. Remove dough from plastic wrap and place each between two sheets of waxed paper (pictured above). Use a rolling pin to roll each dough into a a large circle slightly larger than a standard 9" pie pan. Remove top piece of waxed paper from one rolled dough and transfer first dough into the pie pan with the waxed paper side facing up. Shape dough into the pan and then remove waxed paper by peeling it back slowly from the sides and working into the middle. Don't worry if pieces of crust break off or come up with the waxed paper, these can be molded back into place easily with floured fingers. If dough overlaps the pan fold up the edges slightly. Transfer filling into pie pan and spread evenly. Repeat process with second dough to cover the top of the pie. With floured fingers, press together the top and bottom dough around the edges and prick the top multiple times with a fork to allow steam to escape while cooking. You can also press a fork around the edges to decorate and make shapes (stars!) with extra pieces of crust for the top (pictured below). Place pie pan on a large piece of aluminum foil and fold foil up around just the edges of the crust to protect from burning during baking. Bake in a preheated 425 degree oven on the lowest rack for 75-90 minutes. The crust should look golden brown and there should be some juices bubbling up through the fork holes in the crust when the pie is done. Carefully remove from oven and let cool for 3-4 hours on a wire rack before cutting into slices. If you can't wait pie can be enjoyed earlier but the filling will be runny. Toppings of your choice!  This is an anytime pie. It's great as a dessert (of course!) but we've also enjoyed it as breakfast or even a decadent snack. The whole wheat pastry crust gives this pie a toasty, feel-good flavor that reminds you that pie doesn't have to be reserved only for dessert. The filling is low in added sugar as far as pie fillings go but is still wonderfully sweet from the natural fruit sugars. And topped with a full fat, high protein yogurt this pie does work as a balanced meal (or at least we think so!). Hey, this holiday is all about freedom right? Happy Fourth, Jess and Cecelia  |