|
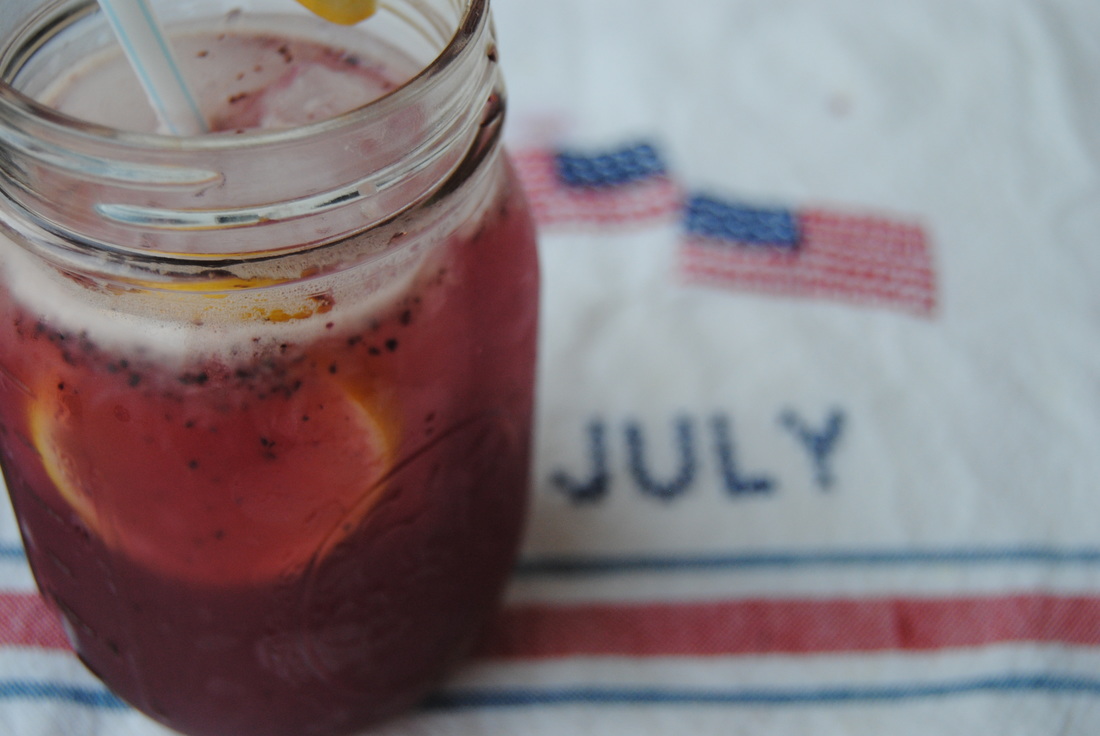
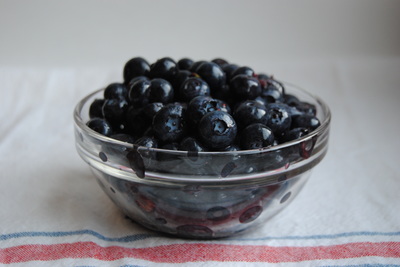
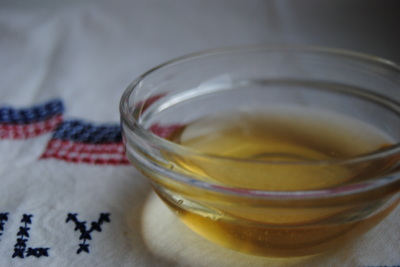
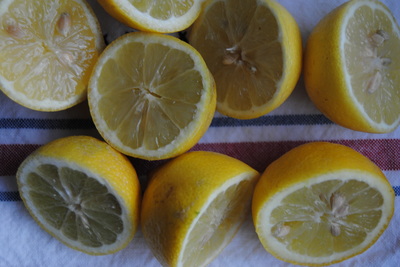
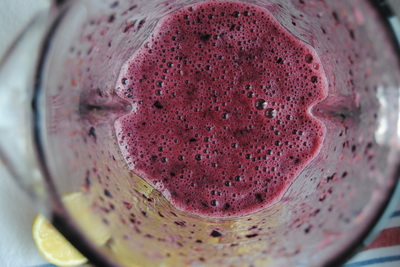
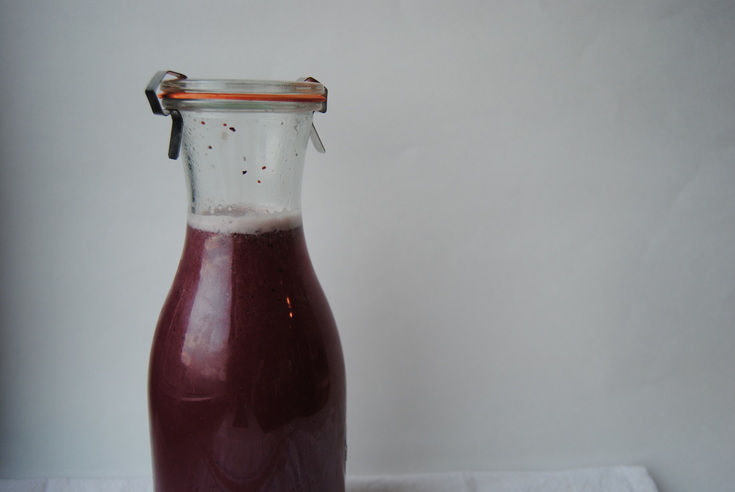
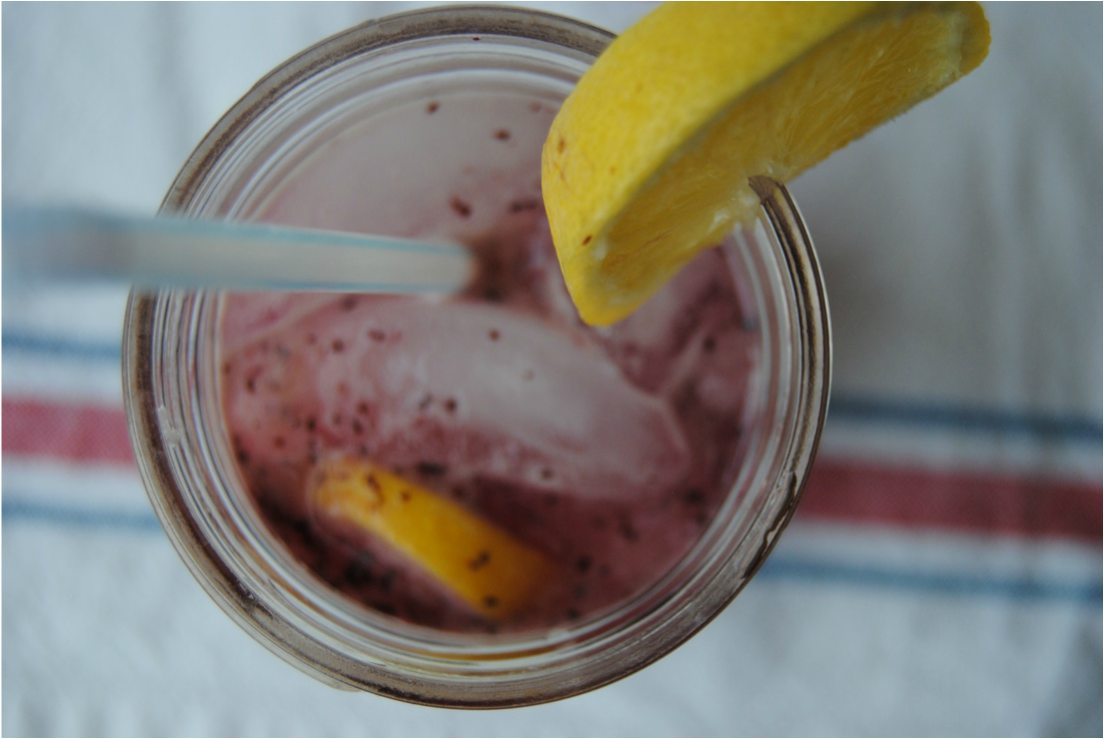
As July comes to a close and we really start to get into our summer groove we thought what better drink to refresh on a hot summer night than lemonade? This lemonade is exceptionally summery because it's flavored and slightly sweetened with blueberries. We also used raw honey as a sweetener instead of sugar to mix things up and will explain why before we get to this refreshing recipe. Honey is made from nectar mixed with bee enzymes. Nectar is essentially a sugary liquid extracted from flowers using a bee's long, tube-shaped tongue. The nectar is stored in the bee's extra stomach, or "crop", and then mixed with enzymes which transform the chemical composition and pH, allowing it to have a longer storage time. The nectar is passed from honeybee to honeybee in a scientific way until the partially digested nectar is finally dropped off into a honeycomb to become honey. But the honeybees' work is NOT done yet! The honeybees continue to work by fanning the honeycomb with their wings (so cute!) to get all the extra water out of the nectar which creates a thick concentrated substance - honey! Are you just as amazed with the honeybees as we are?! Raw honey is honey that has not been heated, pasteurized or processed in any way after its creation by the busy bees. Raw honey contains vitamins, enzymes, and powerful antioxidants which would partially or completely be destroyed with high heat. Raw honey has anti-viral, anti-bacterial, and anti-fungal properties. Because of these reasons, we chose to use raw honey as our sweetener for this recipe instead of simple sugar which just cannot compare. The taste of honey can differ based on nectar from different flowers. Clover honey is a very light tasting honey, whereas buckwheat honey is very dark in color and intense in flavor, similar to molasses. We used clover honey in this recipe but feel free to use whatever honey is your favorite. Now let's get to this sweet recipe! Blueberry Pucker Lemonade PREP TIME: 5 mins TOTAL TIME: 10 mins Servings: 4 , 8 oz glasses Ingredients 4 lemons, juiced 1/4 cup organic blueberries 4 1/2 cups water 5 Tbsp raw honey (we like our lemonade sour but feel free to add more to taste if you prefer a sweeter drink) Juice 4 lemons into a large pitcher with a secure lid and set aside. Combine 1/4 cup blueberries and 1/2 cup water in a high speed blender. Mix on high until evenly pureed. Strain bluebery puree through a mesh strainer or cheese cloth over a glass bowl, allowing the solids (blueberry skins*) to sperate from the liquid (blueberry juice). Add 1/2 cup of blueberry juice to your pitcher with 4 cups water and 5 Tbsp raw honey. Secure with lid and shake well until all honey is fully dissolved (you may notice some honey sitting on the bottom of the pitcher which means...keep shaking!). Serve over ice with a lemon wedge and sip away! *Make sure to keep the leftover blueberry skins. These contain a lot of nutrients and should not be thrown in the garbage! We froze ours to use at a later time. Here are a few examples of what we plan to use them for: mixed into ice cream, yogurt, goat cheese, or to create a summer salad dressing. We hope you're enjoying this somewhere outdoors with your feet up because you can bet that's just what we would be doing. The color of this drink is stunning and the flavor is subtly sweet and fruity. We'd suggest keeping a pitcher of this stocked in your fridge all summer because you're going to want more, we promise!
Stay sweet, Jess and Cecelia
0 Comments
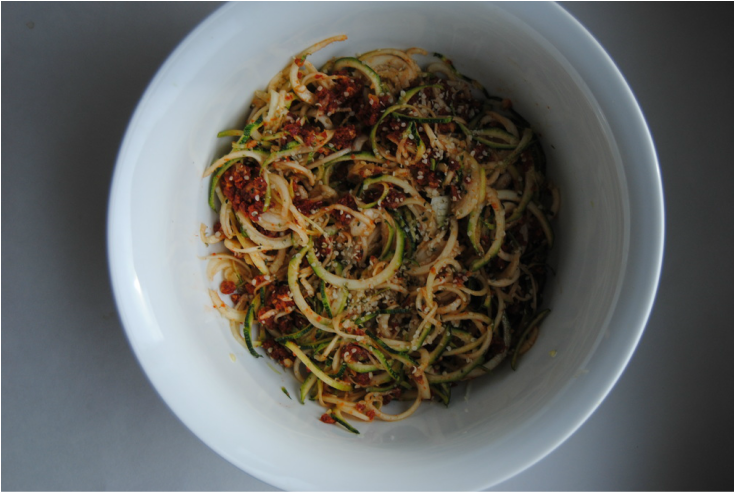
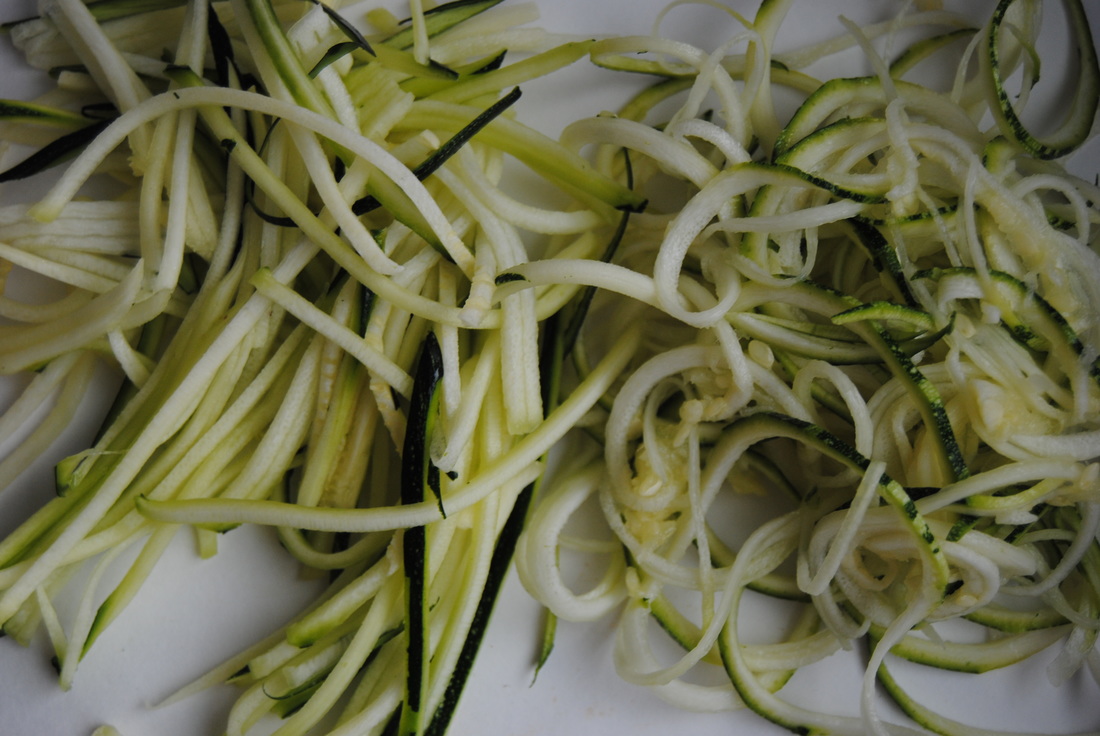
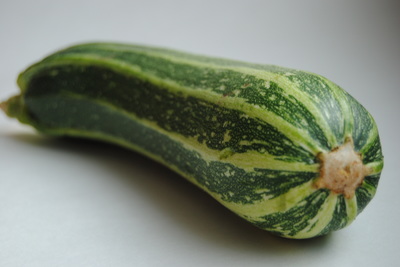
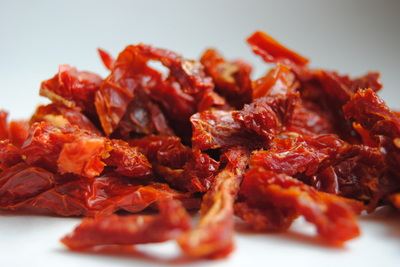
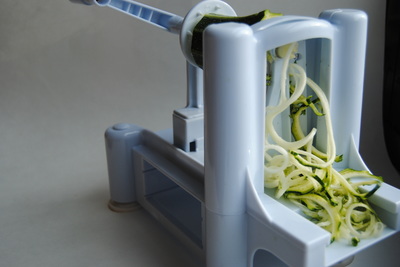
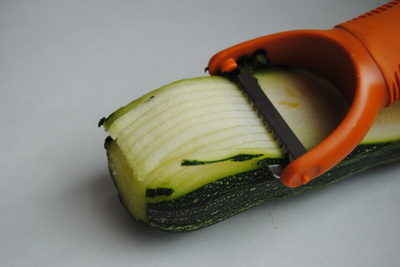
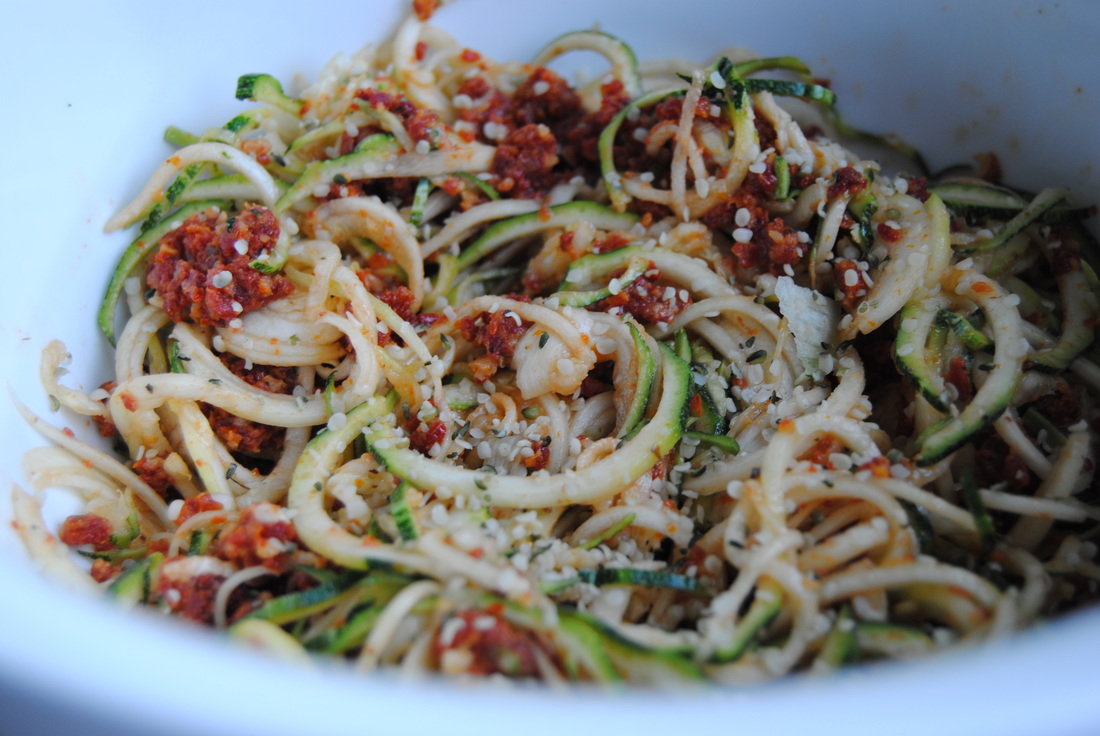
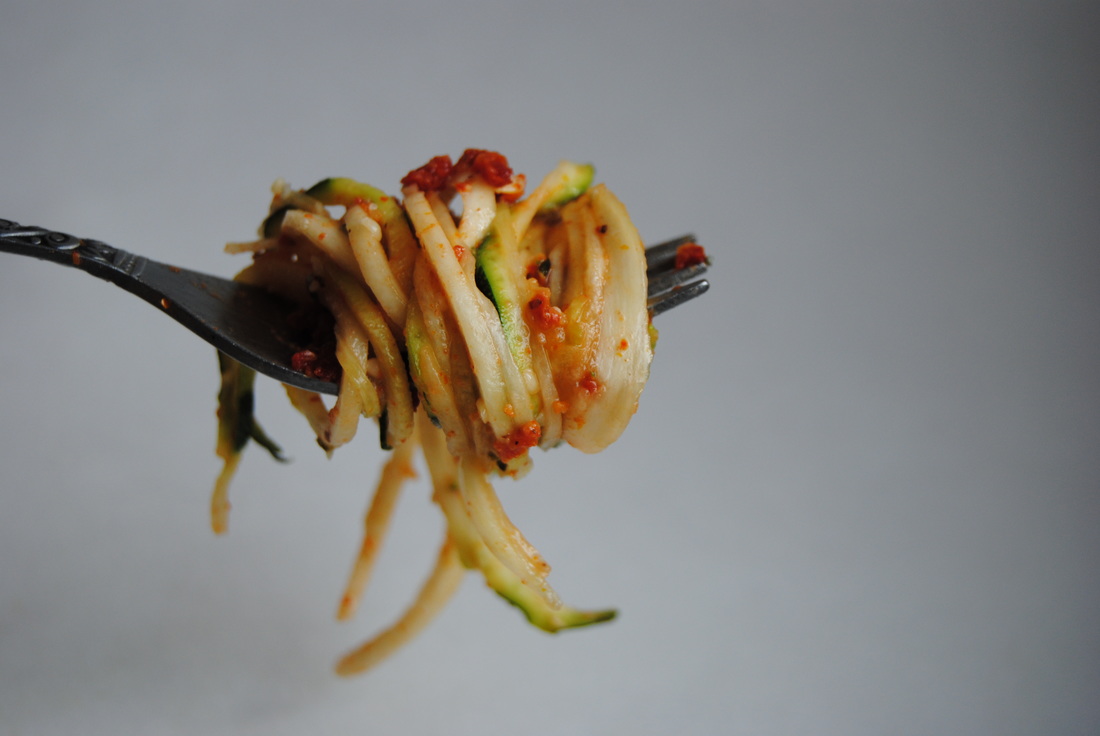
This week we are gong to blow your mind with zucchini pasta aka zoodles (zucchini + noodles)! Now we definitely love a good traditional pasta meal too, but it just doesn't have the same glamour on a hot day during bathing suit season if you catch our drift. To keep things fresh and lighter for the summer this is our go to and know it will be yours too once you try it. So lets find out how a zucchini becomes pasta, and raw pasta at that! There are two ways to make your zoodles with slightly different final products (both pictured above). Using raw zucchini, grating with a juilieene vegetable peeler will create a liguiine shape (pictured left) and a vegetable spiralizer will create a spiraled capellini shape (pictured right). Both work great but we highly recommend a vegeatble spiralizer because the small investment is well worth it (for purchase here). Many vegetables can be spiralized and eaten raw or cooked, the possibilities are really endless and this tool can help you get more creative in the kitchen. And not the mention how beautiful spiralized vegetables look! After creating your zoodle shapes the zucchini is eaten raw which is very palatable because of the small size - it has a nice texture similar to al dente pasta and perfect for holding onto your favorite sauce topping. The whole meal is raw actually because the pesto is made with sun dried tomatoes (dried and not cooked, hence the name). Raw foods and whole raw meals are fabulous because raw food is wholesome and has not been refined, chemically processed, denatured, or heated above 118°F which means the nutritional value of the food is preserved. When we eat food in its natural state (raw) our bodies receive all the vitamins, minerals, phytonutrients, and enzymes which are naturally found in the plant. For this reason alone, why not eat raw especially this time of the year when the harvest is bounty!! Raw Sun Dried Tomato Pesto Pasta PREP TIME: 15 mins TOTAL TIME: 20 mins Servings: 2 Ingredients Pasta 3 medium zucchini (~5 cups finished noodles) 1 Tbsp raw hemp hearts (optional) Sauce 6 oz sun dried tomatoes 3 Tbsp extra virgin olive oil 3 Tbsp raw walnuts 1.5 Tbsp lemon juice 1 clove garlic 1/2 tsp salt A sprinkle of cracked black pepper Using a spiralizer, create your raw zucchini noodles (zoodles). If you do not have this handy kitchen tool you may also make your noodles with a handheld vegetable julienne tool, as shown above. Set noodles aside and begin making the raw tomato pesto. For the pesto, combine the sun dried tomatoes, olive oil, walnuts, lemon juice, garlic, salt, and pepper in a food processor (may also use a blender). Pulse on high until all ingreident are fully combined and a semi smooth sauce is formed. Lightly toss pesto over raw noodles/zoodles. Mix until fully incorported. Top with a sprinkle of raw shelled hemp seeds. So make sure you don't pass up the zucchini at markets and offered from friends' gardens this summer. The uniqueness of textures and flavores in this recipe will make it a weekly favorite and guest pleaser this summer. Also get creative with your spiralizing to really make your veggies shine. We want to see what you come up with!
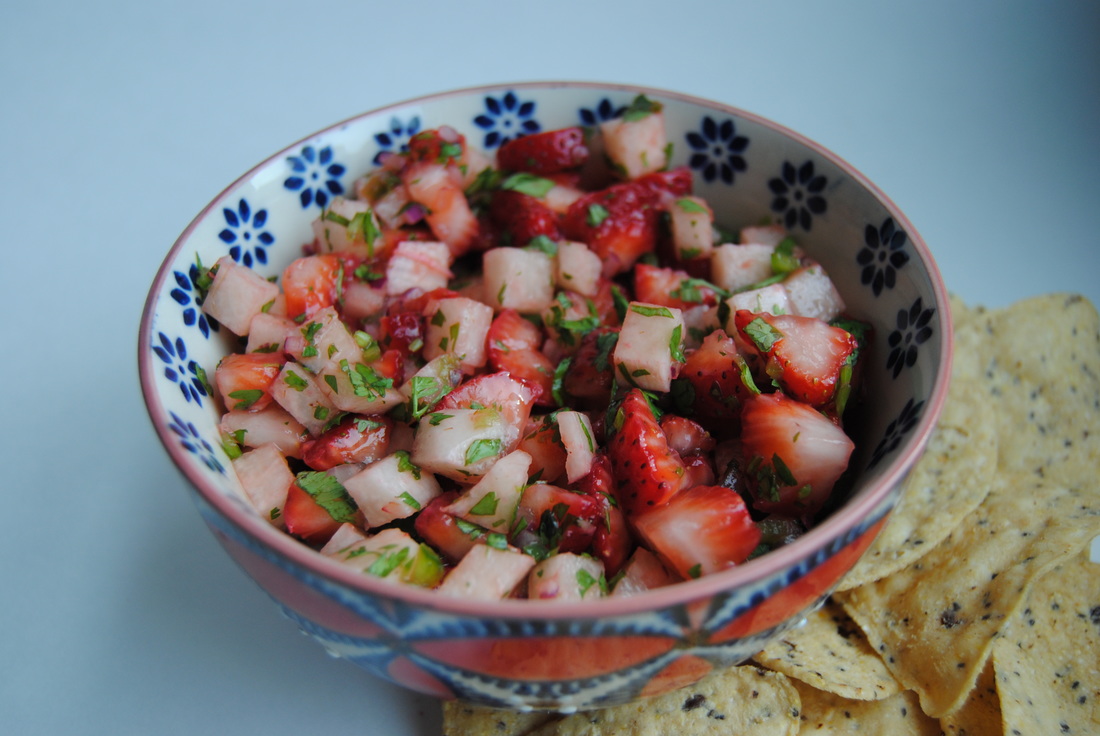
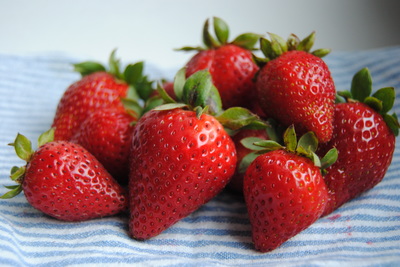
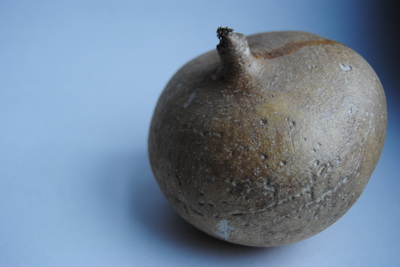
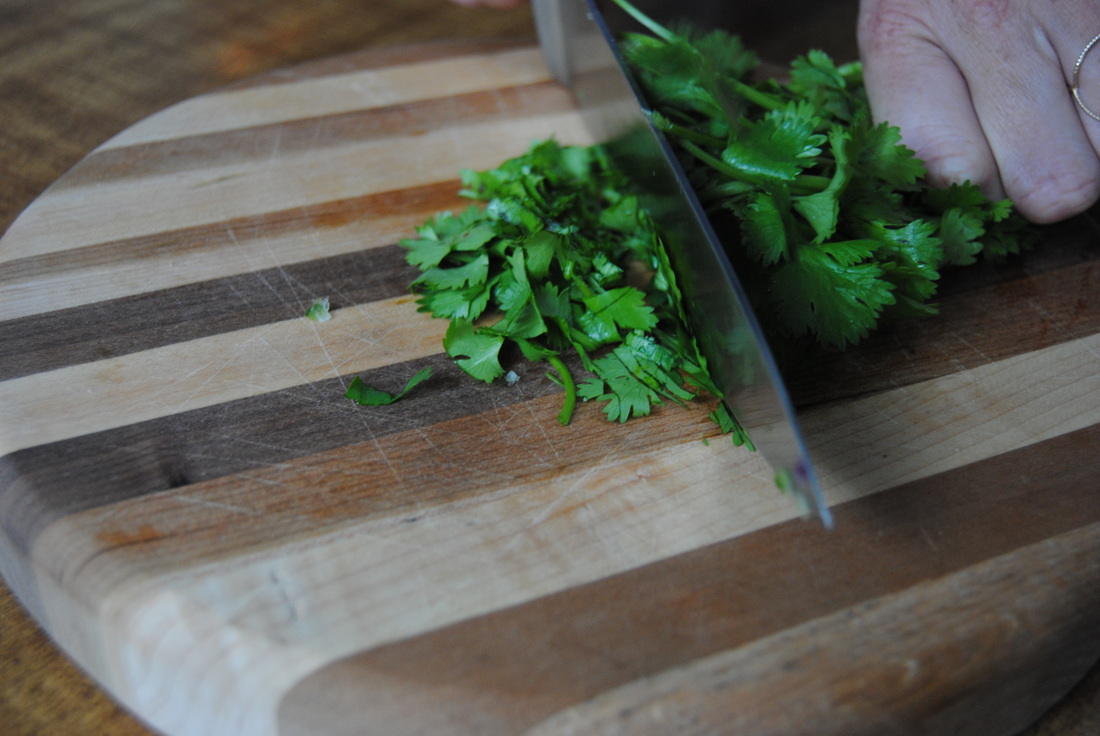
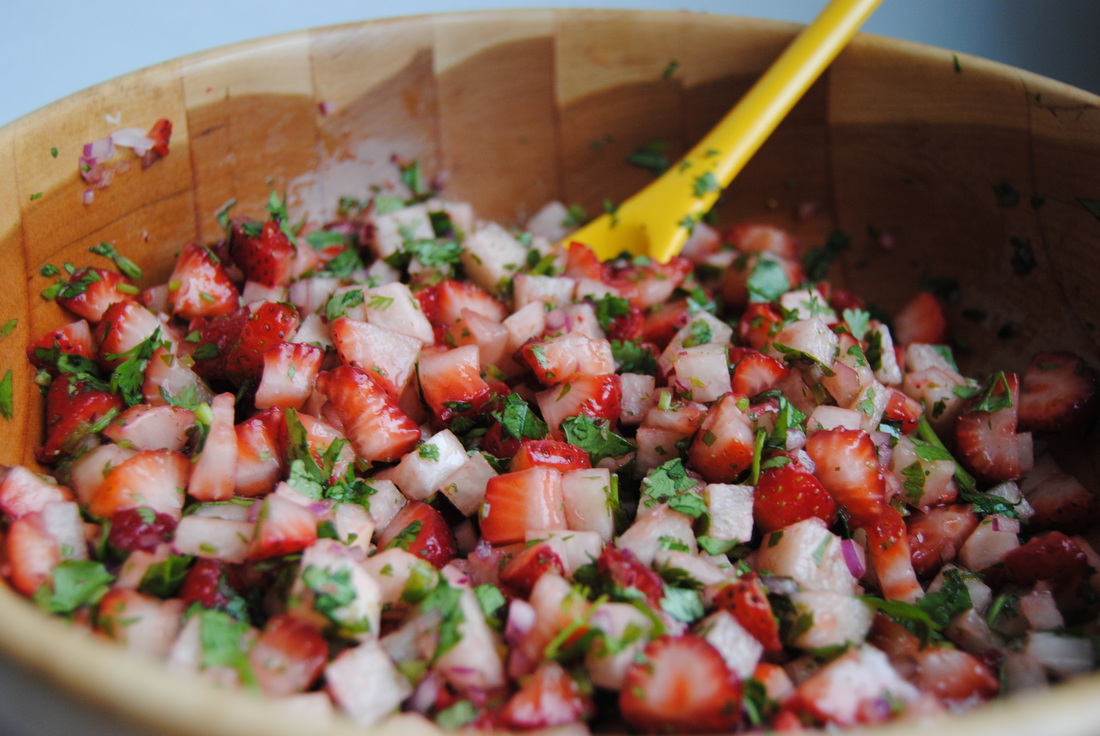
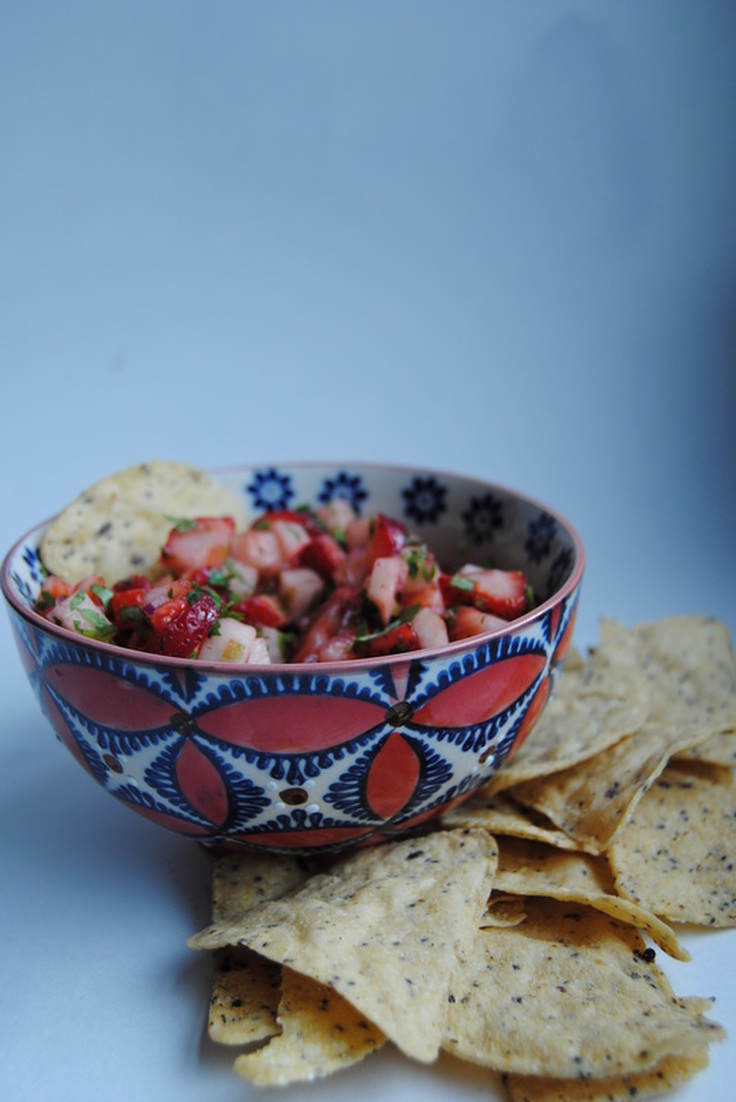
Spiral away, Jess and Cecelia To add to the list of the many things we love about summer - we love fresh, local produce! In locations with four seasons, like Chicago, summer is the best time to find local produce. We love how you can track the time passing with which fruit or vegetable is at the farmers market each week. Speaking of farmers markets we hope you've checked out your local market by now and if not it's time to get there! Berries have been ripe for the picking and that's why we chose a strawberry salsa recipe this week. The reasons we are so excited about local produce are many - the most pronounced being the taste. Local produce is picked when it's the ripest and available for purchase soon after. Unlike during colder months when fruits and vegetables are picked early and then travel hundreds of miles to the local store. You can imagine that this process is not optimal for taste but also affects nutrient quality. Produce that is picked prior to optimal ripeness and likely weeks prior to consumption are more likely to loose valuable nutrients during this time. And if you're being good about eating your fruits and vegetables you should be getting the most benefit possible! For strawberries we recommend looking for organic because strawberries are known to contain high levels of pesticide residue when produced conventionally. The other produce we are using for this salsa, jicama, you likely won't find local as it is native to Central America. We like the uniqueness of this root vegetable - it has a very mild taste and crunchy texture. You may have never noticed it in stores but we find it easily available at local grocery stores. If you can't find it, or want to be 100% local, cucumber would be a great substitute for this recipe. Finally, a hint about our chips. We enjoyed this salsa with tortilla chips from Late July Organic Snacks. Unlike other commercial chip brands that contain GMO corn and unfavorable oil such as canola and soybean, Late July products are organic, non-GMO, and often contain some of our favorite ingredients such as chia seeds, flax seeds and quinoa. Strawberry Patch Salsa PREP TIME: 15 mins TOTAL TIME: 20 mins Yield: ~4 cups salsa Ingredients 1 pint organic strawberries, chopped 1/2 cup jicama, chopped 1/2 cup cilantro, chopped 2 Tbsp red onion, finely chopped 1 large clove garlic, minced 1 Tbsp jalapeño, finely chopped Juice of 1/2 lime 1/4 tsp salt Wash and rinse strawberries and jicama. Evenly chop strawberries and jicama and place in a mixing bowl. Finely chop red onion, garlic, and jalapeño and combine with strawberries and jicama. After rinsing cilantro, fold a large handful of stems in half and chop starting from the top (as pictured above) - you will chop both leaves and some stem but this is much easier that removing the leaves one by one. Add the juice of 1/2 lime and sea salt. Stir to combine. We thought the flavor of this salsa was perfect after we let it sit for about 15-20 minutes. Dip your favorite chip or use any way that you would standard salsa. We recommend this salsa during strawberry season so get on this one quick! The weeks fly by quick during the summer and the next time you hit the market something else will probably be in season. Get creative this season buy whichever produce looks the best and have fun creating your own seasonal recipes.
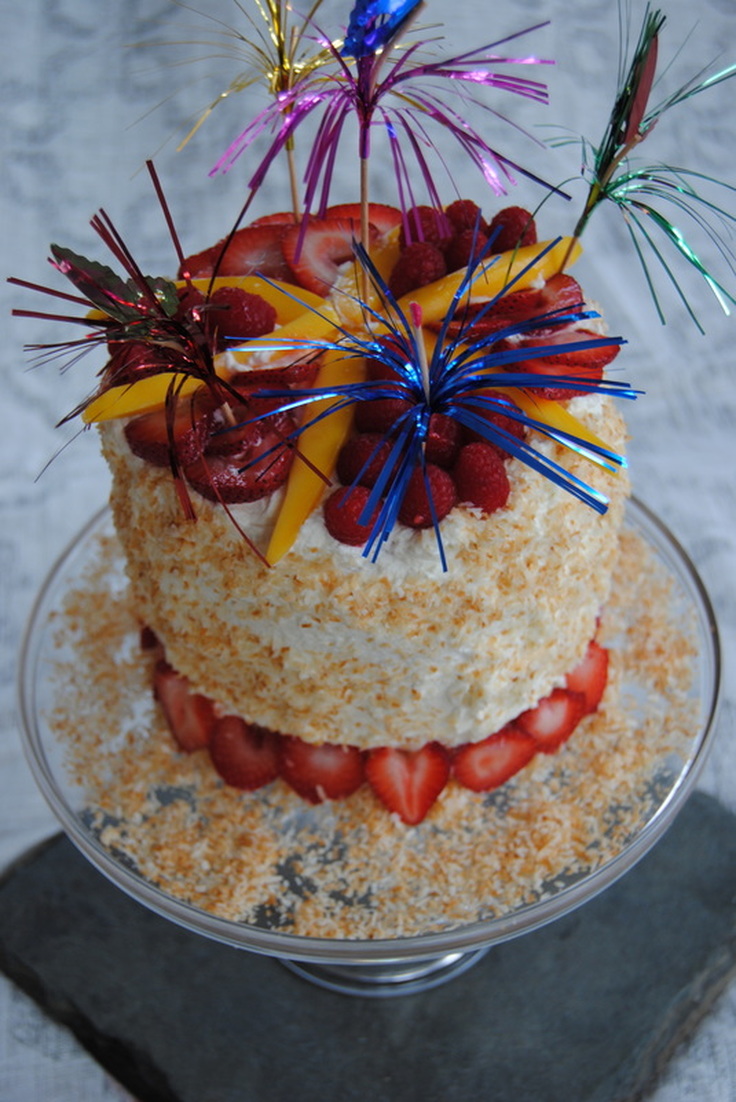
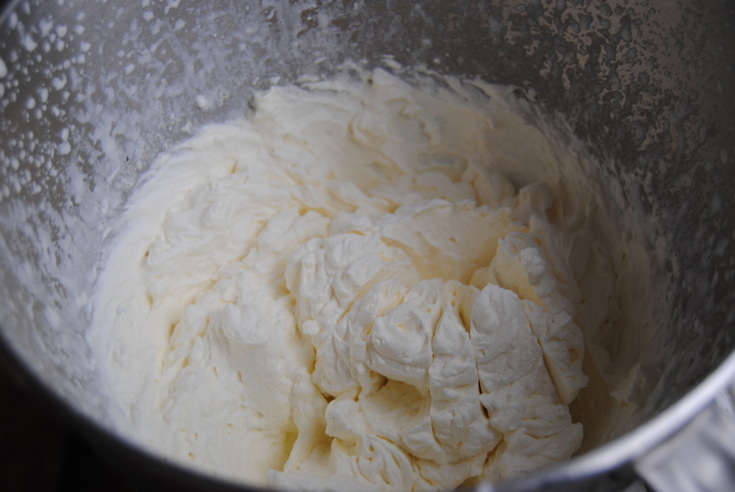
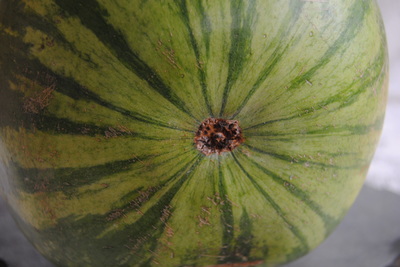
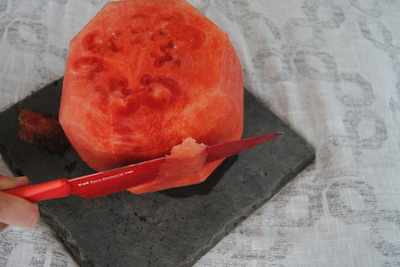
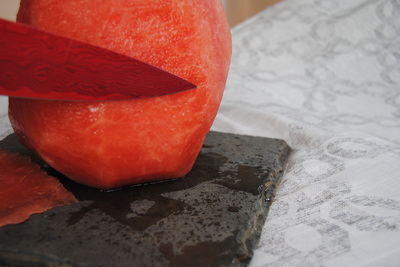
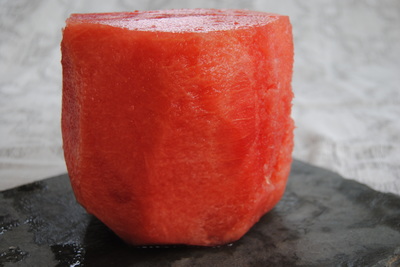
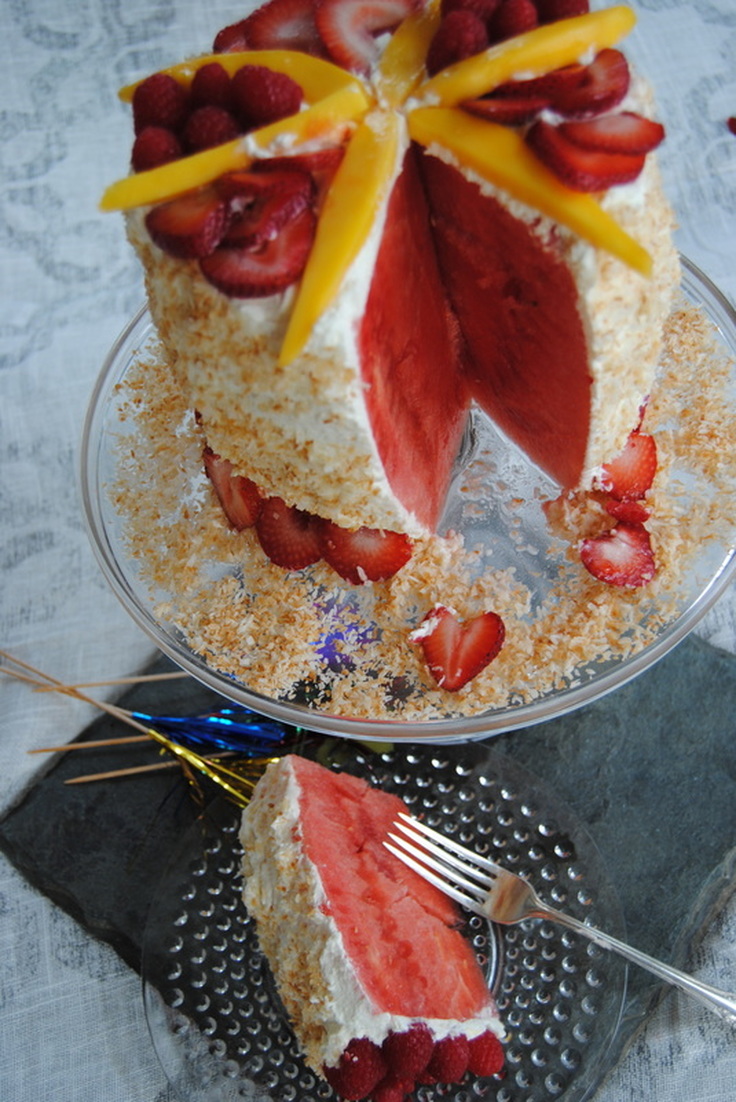
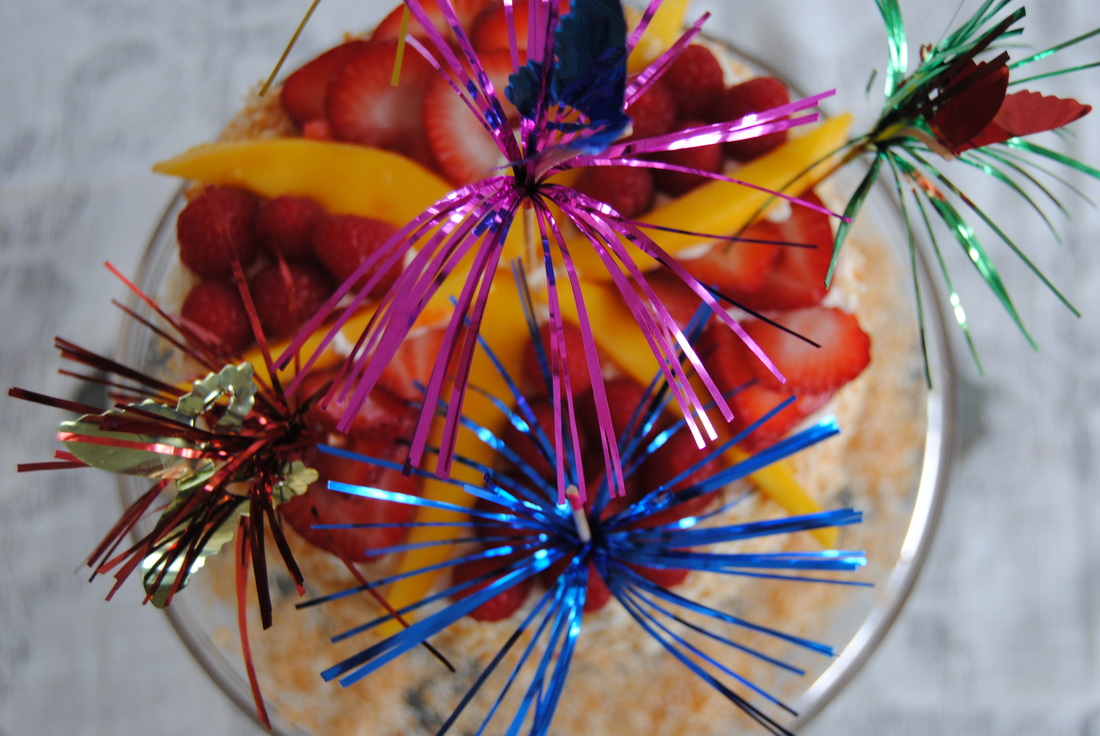
Stay local, Jess and Cecelia More fun things happening at TGBK friends, and this time we are celebrating Jess's birthday! You know we love a reason to celebrate because that means more treats. When discussing what to make for the big day it came out that Jess's favorite birthday treat growing up was a cake shaped slice of watermelon with birthday candles (i mean dietitian in the making right!). So of course we had to take it to the next level this year- a gourmet, gorgeous watermelon cake. Though the watermelon is one of the stars here, our homemade whipped cream is some close competition and the two pair perfectly. So lets discuss whipped cream first and then we'll get to celebrating! We LOVE homemade whipped cream and know you will too. The taste and texture are superior to anything you will find pre-made and the ingredients just can't compare. Imitation whipped cream contains no heavy cream at all! Instead you will find hydrogenated vegetable oil, high fructose corn syrup, skimmed milk, light cream, artificial favors, xanthan and guar gum. We much prefer our rich, delicious, pure whipped cream made from the simplest ingredients: organic heavy cream, cane sugar, and vanilla bean. The process of creating whipped cream is interesting too (for food nerds like us of course). During the whipping process millions of air bubbles are getting whisked into a liquid; at the same time the whisking is emulsifying fat globules allowing them to join together and form a protective shield keeping the air suspended in the liquid creating your light, airy whipped cream. Because of this delicate science only certain types of liquid can be successfully whipped. Heavy whipping cream is ideal because of its high fat and minimal water content. Full fat coconut milk can also be whipped once most of the water is removed. To do this put your can in the fridge overnight - this should separate the coconut fat solids from the water. Once opened skim the water off and use just the creamy solids for whipping. Also cold equipment will help the whipping process so stick your bowls and whisks in the freezer before you get started. But remember with every science experiment your results may vary, but don't get frustrated, it will always be delicious! Jess's Watermelon Birthday Cake PREP TIME: 20 mins TOTAL TIME: 30 mins Servings: 8 slices Ingredients Cake 1 seedless watermelon Whipped Cream 16 oz organic heavy whipping cream 2 Tbsp cane sugar 1/2 vanilla bean pod, seeds scraped out Toppings 1 champagne (yellow) mango, sliced 1/4 cup raspberries 1/4 cup strawberries, sliced 1/2 cup toasted coconut Place bowl and whisk of an electric mixer in the freezer for at least 10 minutes to chill (a cold bowl and whisk will whip the cream faster). Pour 16 oz of heavy whipping cream into the cold mixer. Turn on high and whisk for 5 minutes until soft peaks form. Add sugar and vanilla and whisk again on high until stiff peaks form. Cut off the top and bottom of the watermelon so it can sit flat on the cutting board. Slice the rind off the middle and cut into a cake like shape (as shown in the picture below). Place the watermelon on a serving stand or a platter and evenly spread a layer of whip cream on the top and sides of the cake. Organically toss the toasted coconut on all sides of the cake. We found that using a large spoon to sprinkle the coconut from top to bottom of the cake worked well. Arrange the sliced fruit on top of the cake. We choose mango, raspberries, and strawberries but feel free to top with your favorite fruit! Slice cake in 8 equal pieces. Serve and enjoy! This cake is Jess approved, she agrees that this beats a slice of watermelon with candles! The rich homemade whip compliments the sweet juicy watermelon to create the perfect light dessert for a hot summer day. We hope you love this one and are enjoying the holiday weekend. There is much to be celebrating!
Party on, Jess and Cecelia |
AuthorsJess and Cecelia welcome you to our kitchen. We are fun-loving and passionate foodies working to make the world a healthier, happier place one plant based recipe at a time. Categories
All
Archives
December 2018
|

