|
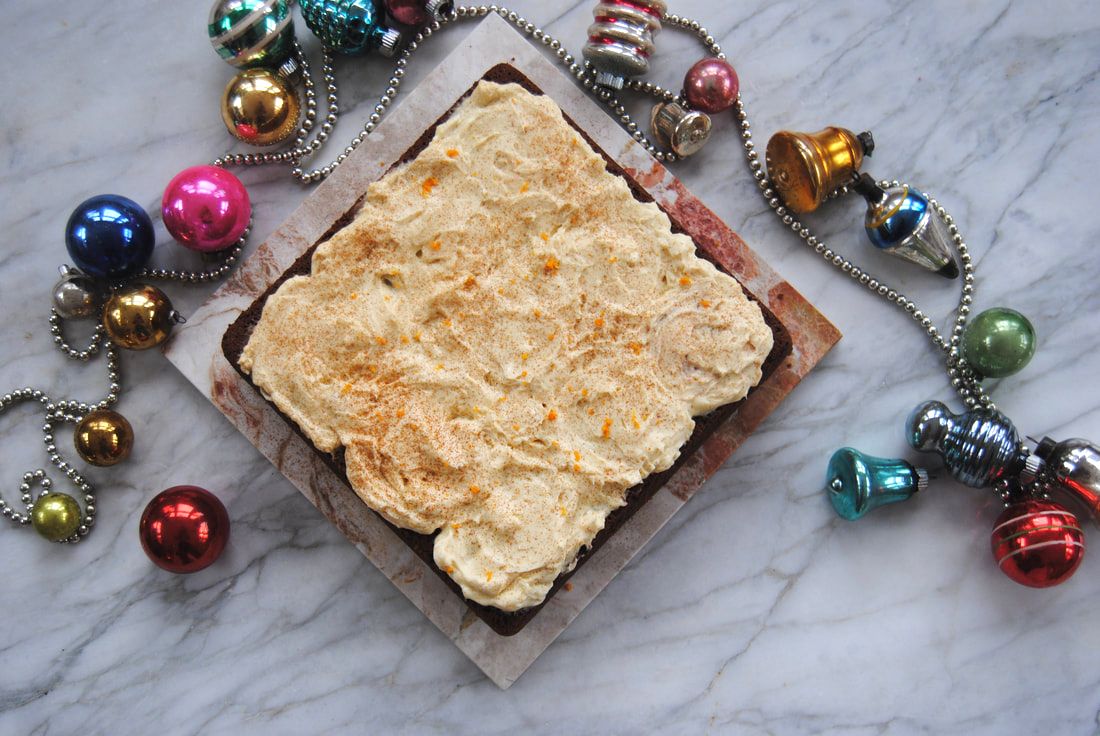
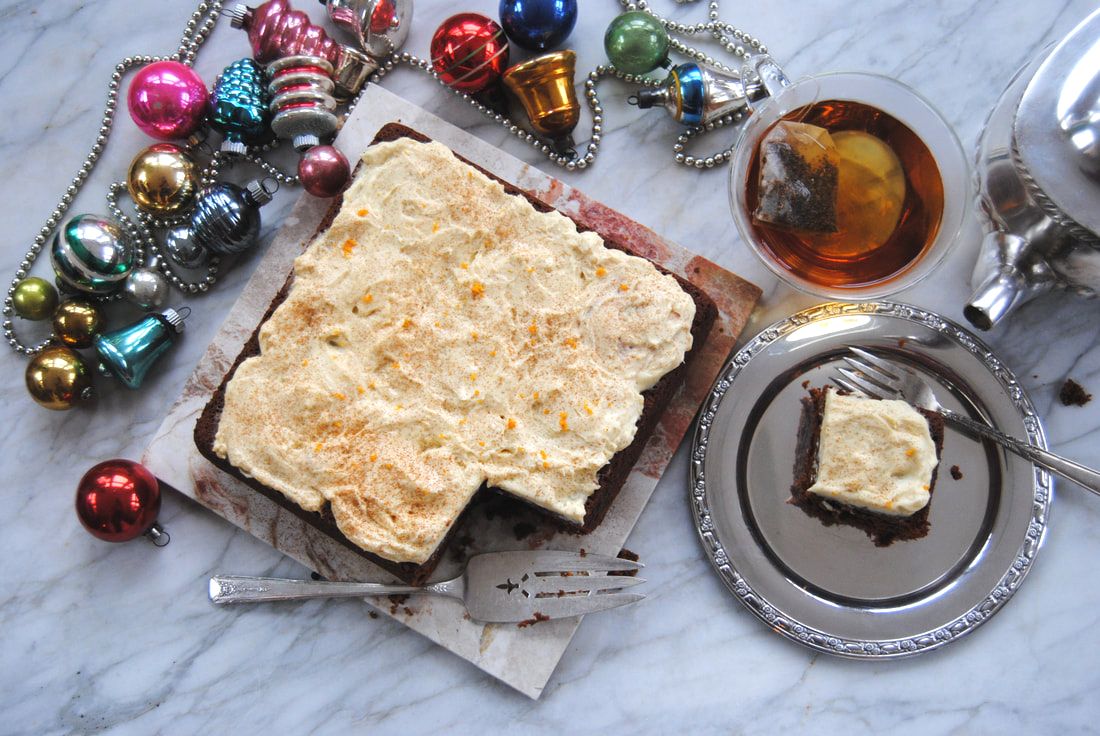
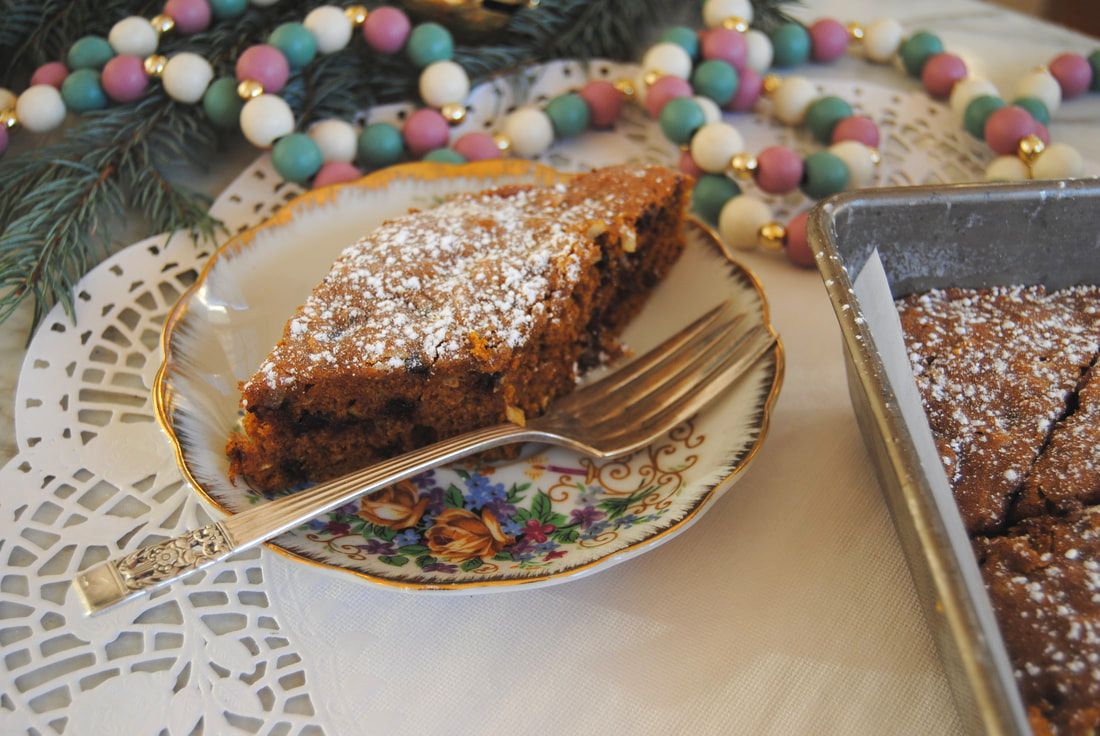
This cake has got it all (sugar, spice and everything nice!). For our holiday post this year we wanted to create a super special dessert (or sweet breakfast) recipe, and this spice cake was it! The combination of sweet, seasonal spices, and rich cream cheese frosting is a holiday worthy combination that will add to any of your holiday memories. We hope you enjoy this one with friends and family.
Holiday Spice Cake
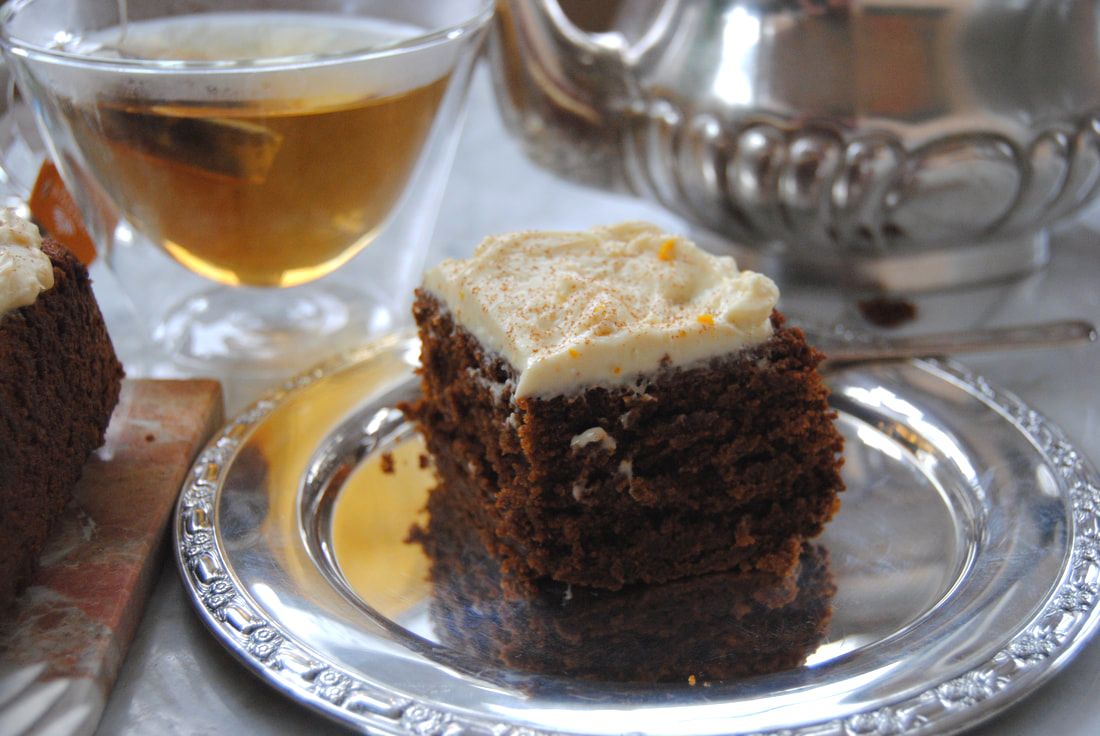
PREP TIME: 25 minutes TOTAL TIME: 1 hour 35 minutes Servings: 9 Ingredients Cake 2 1/2 cups whole wheat flour 1 cup sugar 1/2 cup melted coconut oil + 1 additional Tbsp for pan 2 tsp baking soda 1/2 tsp salt 3 Tbsp ground cinnamon 1 Tbsp ground ginger 1 Tbsp cacao powder 2 tsp ground nutmeg 1/2 tsp ground cloves 1/2 tsp ground black pepper 2 Tbsp ground flax seeds mixed with 4 Tbsp warm water 8 oz full fat Greek yogurt 8 oz pumpkin puree 1/4 cup molasses Sweet Orange Frosting 8 oz full fat cream cheese, room temperature 2 Tbsp light maple syrup Zest of 1 medium orange Preheat oven to 350 degrees. Prepare a 9" square pan with a light coating of melted coconut oil on the bottom and each side of the pan to prevent the cake from sticking. In a small bowl, combine the ground flax seeds with water and whisk with a fork until combined. Allow mixture to sit until thick and gelatinous, about 5 minutes. In a large bowl, whisk together the dry ingredients including the flour, baking soda, salt, and spices and set aside. In a separate bowl, whisk the wet ingredients together including the flax eggs, melted coconut oil, greek yogurt, pumpkin puree, and molasses. Add the dry ingredients to the wet ingredients and mix until thoroughly combined. Pour batter into prepared pan and bake until a toothpick come out clean, about 45-50 minutes. Allow cake to cook at room temperature for at least 10 minutes before turning out onto a cake pan/platter. To make the frosting, combine the cream cheese, maple syrup, and orange zest in a standing mixer or a handheld mixer on medium speed until light and fluffy. Once the cake is cooled, evenly frost the cake, sprinkle with a light dusting of cinnamon, and cut into 9 servings. Enjoy a slice of spice cake with a warm cup of tea! You may store any leftover cake in an air tight container in the fridge for up to 5 days.
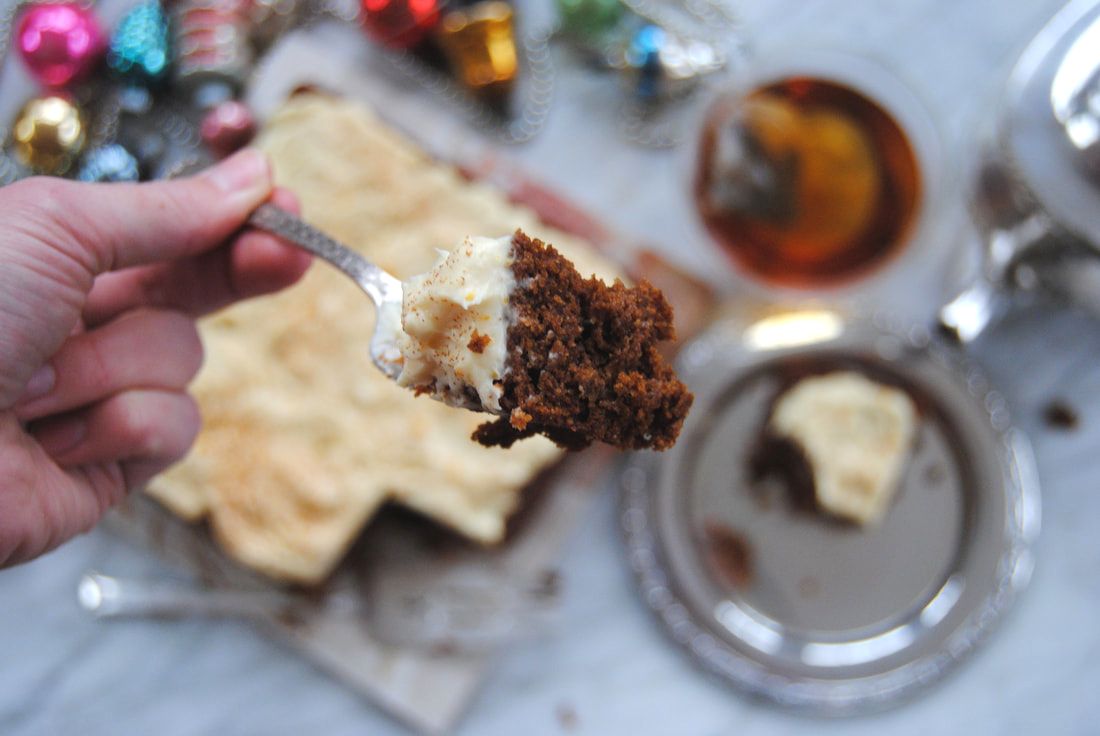
A bite of this cake is a perfect balance of sweet and spice topped off with a velvety and bright richness from the orange cream cheese frosting. Since we are both sweet breakfast lovers you can bet this this recipe is making it onto our Christmas brunch tables. Until the New Year, friends.
Happy Holidays, Jess and Cecelia
1 Comment
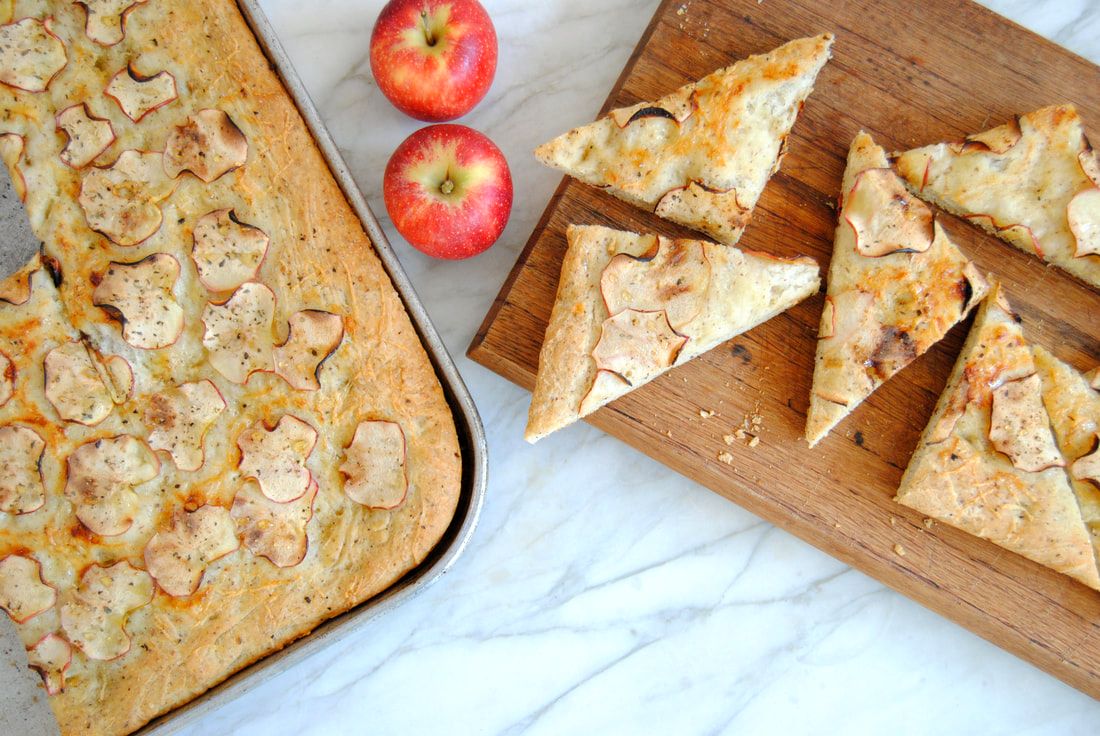
You can totally make this bread! We find that many people are hesitant to try yeast breads, and if that sounds familiar, focaccia bread is for you. The preparation is fairly simple and doesn't require complex kneading, rolling, or shaping. The final outcome is super impressive and delicious, and the variations are endless. Plain focaccia is a great accompaniment to a meal, whereas flavored (like this recipe) can be the meal (or most of it). Focaccia can be sliced and used as panini bread or as a base for Sicilian style pizza. If there is one bread you master how to make - this is it!
Apple & Cheddar Focaccia Bread
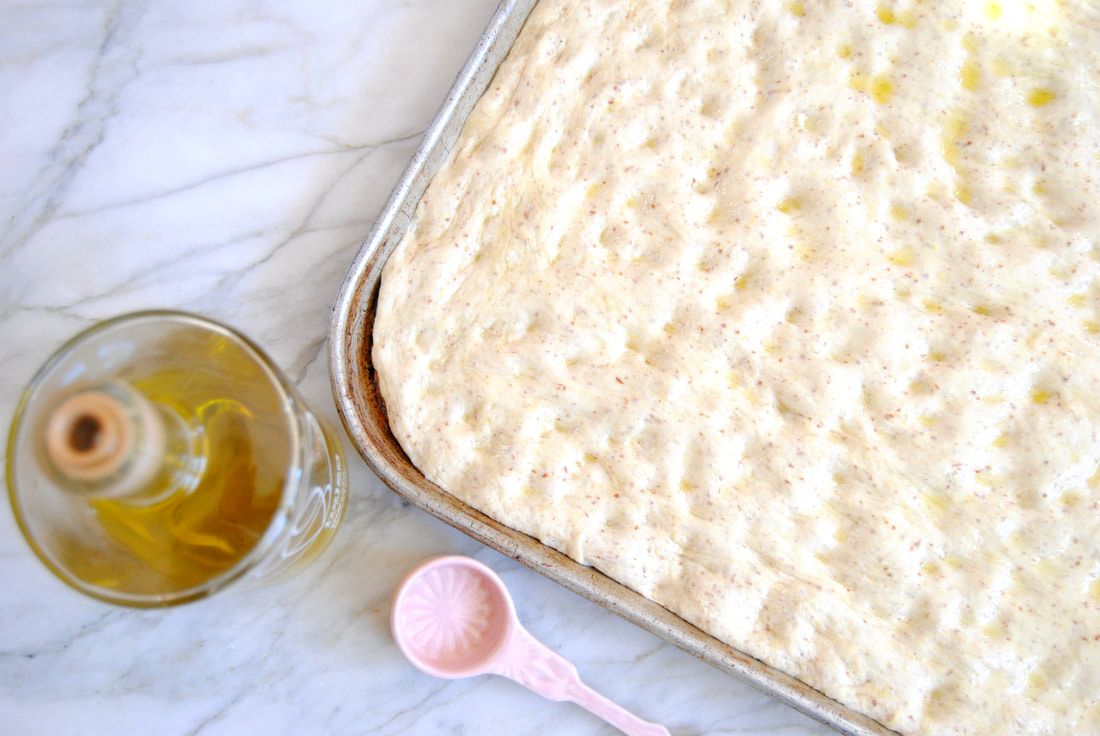
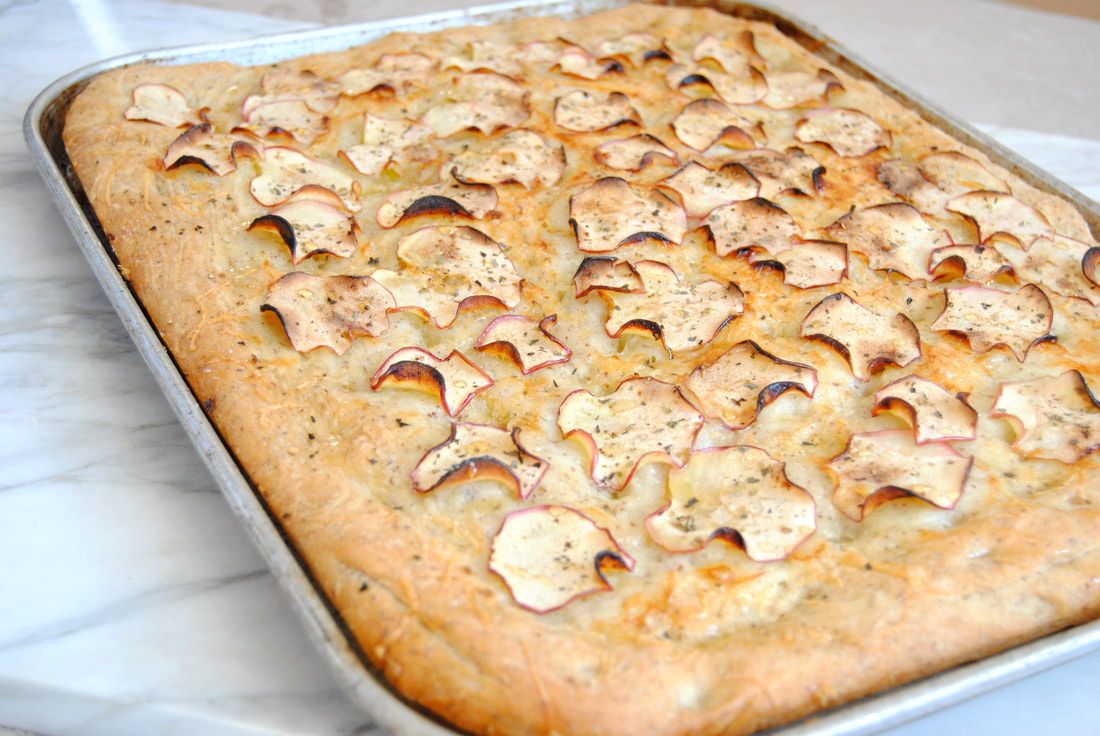
PREP TIME: 3 hours 30 minutes TOTAL TIME: 4 hours Servings: ~24 slices (21" X 15" sheet pan) Ingredients 2 cups warm water (105 degrees- 115 degrees) 2 tsp dry yeast 3 3/4 cups unbleached white flour 1/2 cup semolina flour 1/4 cup ground flax seeds 2 tsp fine salt 3 Tbsp olive oil + 1 tsp to oil bowl 3 oz grated sharp cheddar cheese 3 small or 2 medium apples, sliced into thin slices 1/4 tsp salt 1/4 tsp cracked black pepper 1 tsp dried oregano In a large bowl combine 2 cups warm water with dry yeast and stir to combine. Allow mixture to sit for 10 minutes, or until yeast has fully dissolved. Add flour, semolina flour, and ground flax seeds to the water and yeast mixture then mix until fully combined (the dough will be somewhat sticky). On a clean and well-floured surface, knead dough until a smooth ball is formed, about 8-10 minutes. If dough is sticky as you are kneading, add 1 Tbsp of flour at a time as needed. Place dough into lightly oiled bowl and cover with plastic wrap. Allow dough to rise at room temperate for 1 1/2 hours, or until doubled in size. Punch down the dough, then knead on a well-floured surface. Return dough to the bowl, cover with plastic wrap, and allow to rise for an additional 45 minutes or until doubled in size. Preheat oven to 425 degrees. Coat a sheet pan with 1 Tbsp olive oil then punch dough down for a second time. Place dough onto your prepared pan and using your fingertips, lightly spread dough out until it fills about 3/4 of the pan. Allow dough to rest for 10 minutes then continue spreading dough with your fingertips until it hits all four edges of the pan. Drizzle remaining 2 Tbsp olive oil over the top of the dough then sprinkle evenly with shredded cheese, thin slices of apples, salt, pepper, and oregano. Allow dough to rise at room temperature for about 20-25 minutes. Place in preheated oven and cook for 25-30 minutes or until bread is golden brown. Remove from the oven, slice into desired shape (squares or triangles) and serve warm or at room temperature. Enjoy!
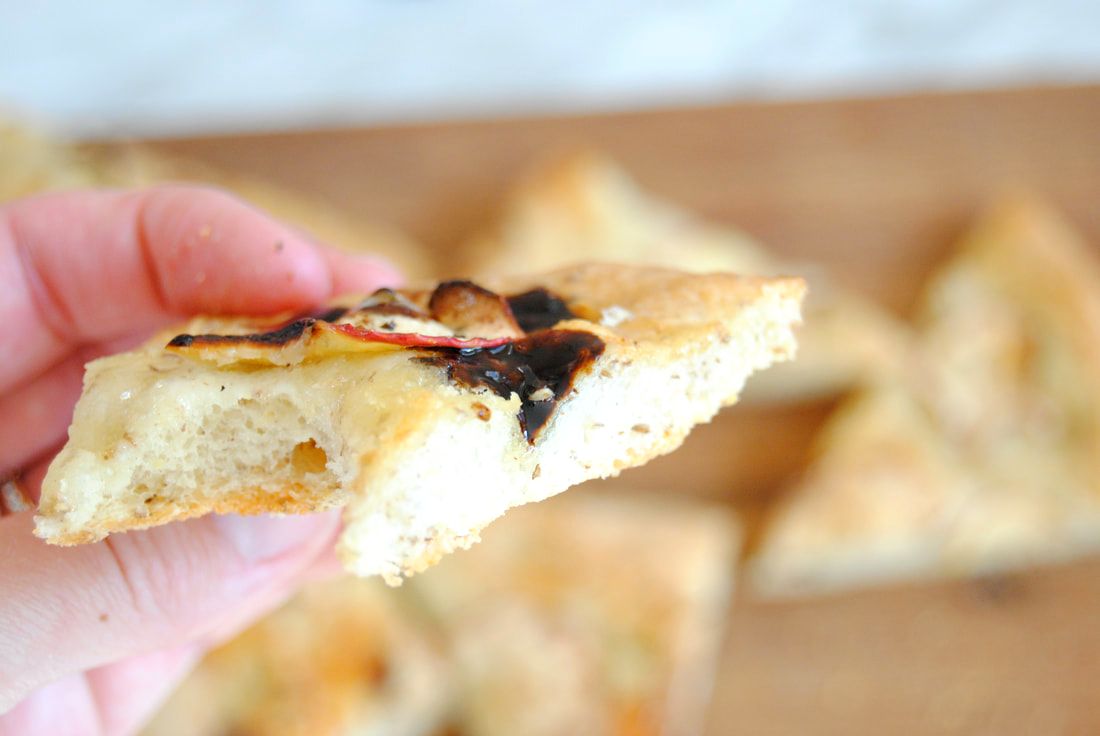
Were we right, or what? This bread is so light and airy but super rich and decant from the generous olive oil with a perfectly crunchy outer crust. We love this fall variation with apples and cheddar but can't wait to try many more. Share your favorite creations, please!
Enjoy, Jess and Cecelia
In our Pantry:
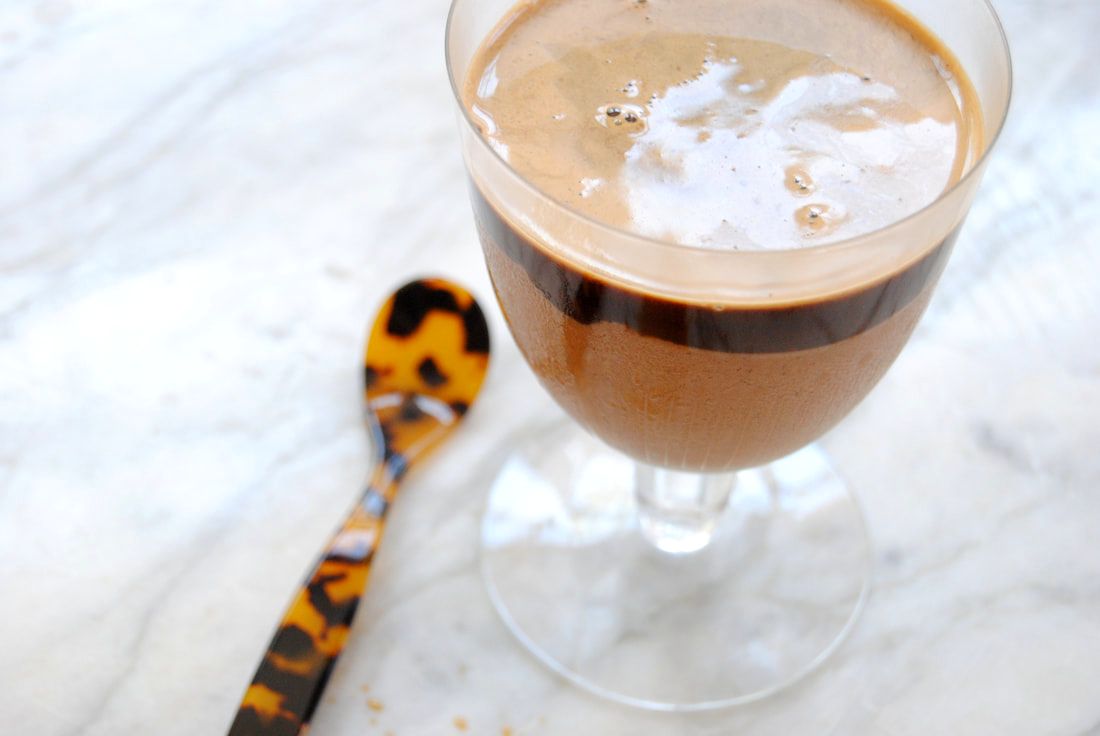
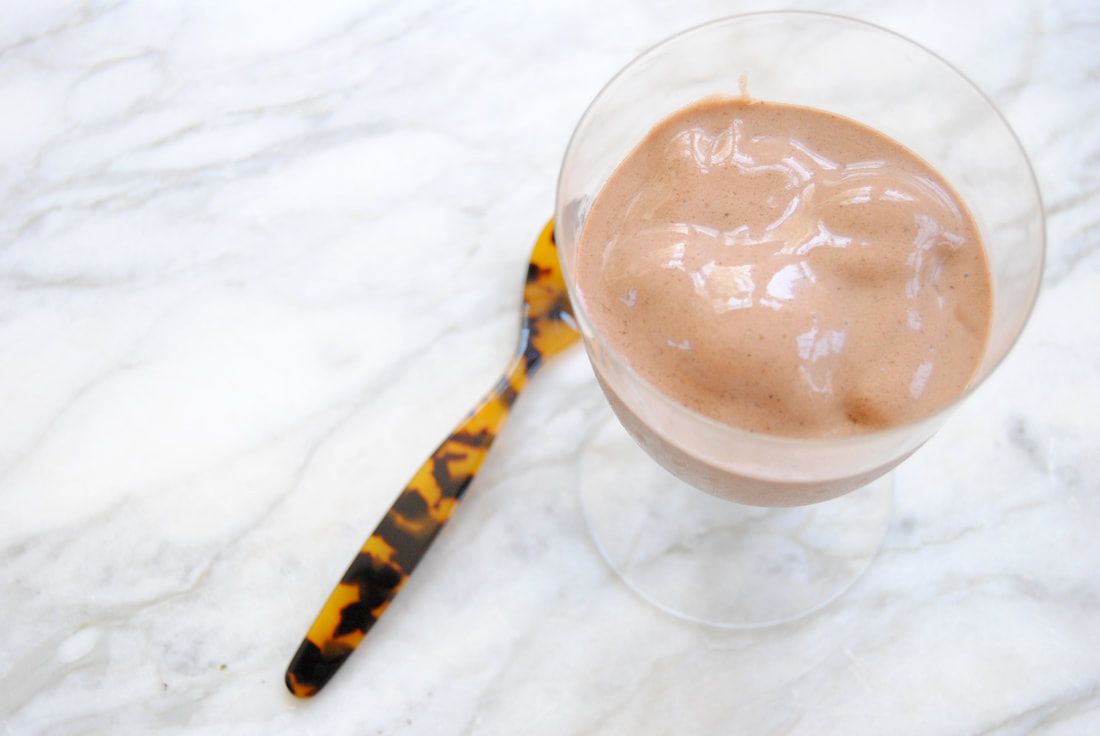
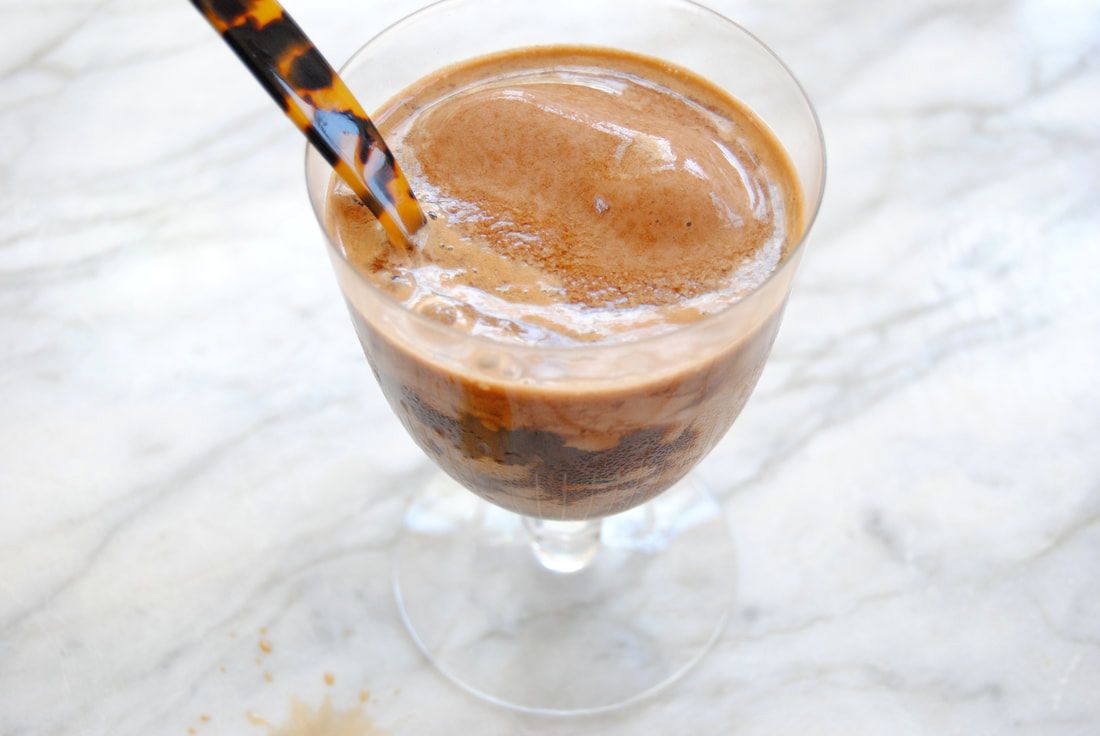
While Cecelia's sister enjoyed her honeymoon in Italy this summer, we were inspired to hit the kitchen and recreate one of our favorite Italian desserts. Affogato is a coffee based dessert created by "drowning" gelato in espresso, so really, what could be better? We wanted to make a bit more nutritious version of "gelato" to have an excuse to enjoy this treat often this summer. So we made ours dairy free, naturally sweetened with fruit sugar, and with added protein and superfoods. The final outcome is even better than we imagined, join us!
Chocolate Banana Affogato
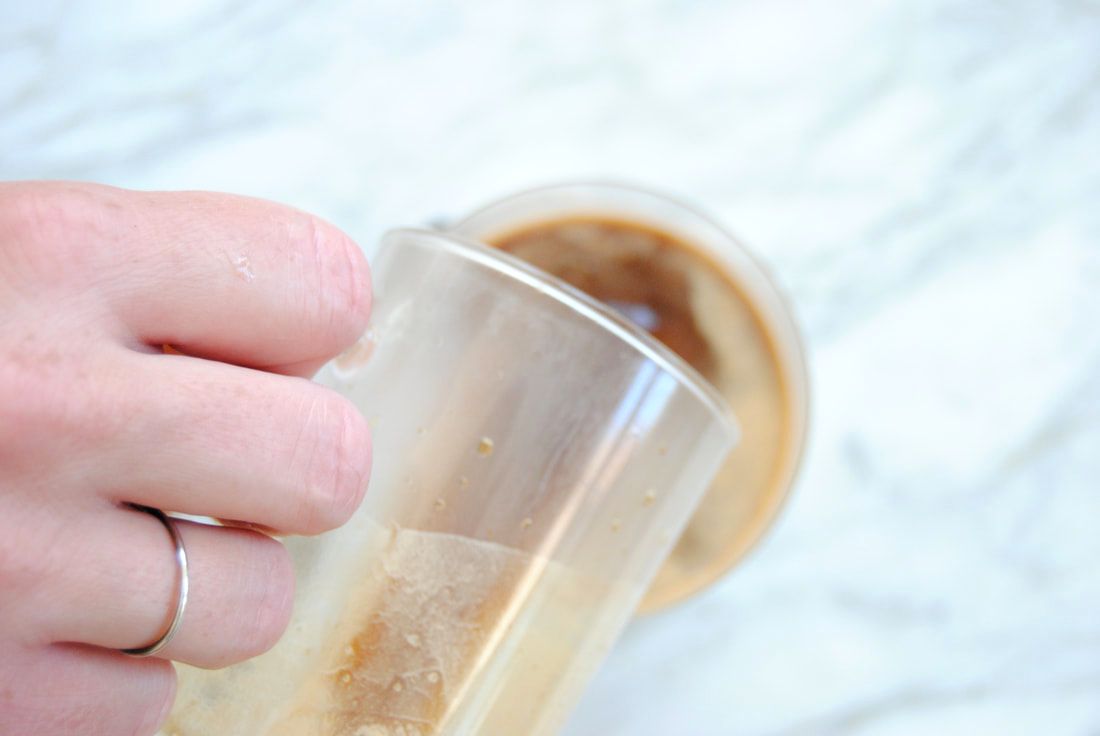
PREP TIME: 5 minutes TOTAL TIME: 10 minutes Servings: 1 Ingredients: Dairy Free "Gelato" 1 frozen banana, peeled 1/3 cup unsweetened vanilla soy milk (or milk alternative of your choice) 4, 1 oz ice cubes 1 Tbsp almond butter 1 Tbsp cacao powder 2 tsp maca powder 1 shot of espresso* (reserved to top "gelato") To make the banana "gelato", combine peeled frozen banana, soy milk, ice cubes, almond butter, cacao powder, and maca powder in a high speed blender and blend on high until mixture is smooth and creamy. You should be able to scoop the "gelato" with a spoon, it should not be liquid. Add banana "gelato" to a glass then pour a warm shot of espresso over the top and enjoy! *If you do no have an espresso machine, we suggest making double strength coffee and pouring 1 oz of warm coffee concentrate over the top.
If you've never experienced affogato, you're in for a treat. And even if you have, our version is sure to impress. Naturally sweetened by banana, this frozen and caffeine added treat is perfect for a hot and lazy summer day. Once you've had affogato, plain espresso or gelato will just never be the same again, so put them together!
Enjoy, Jess and Cecelia
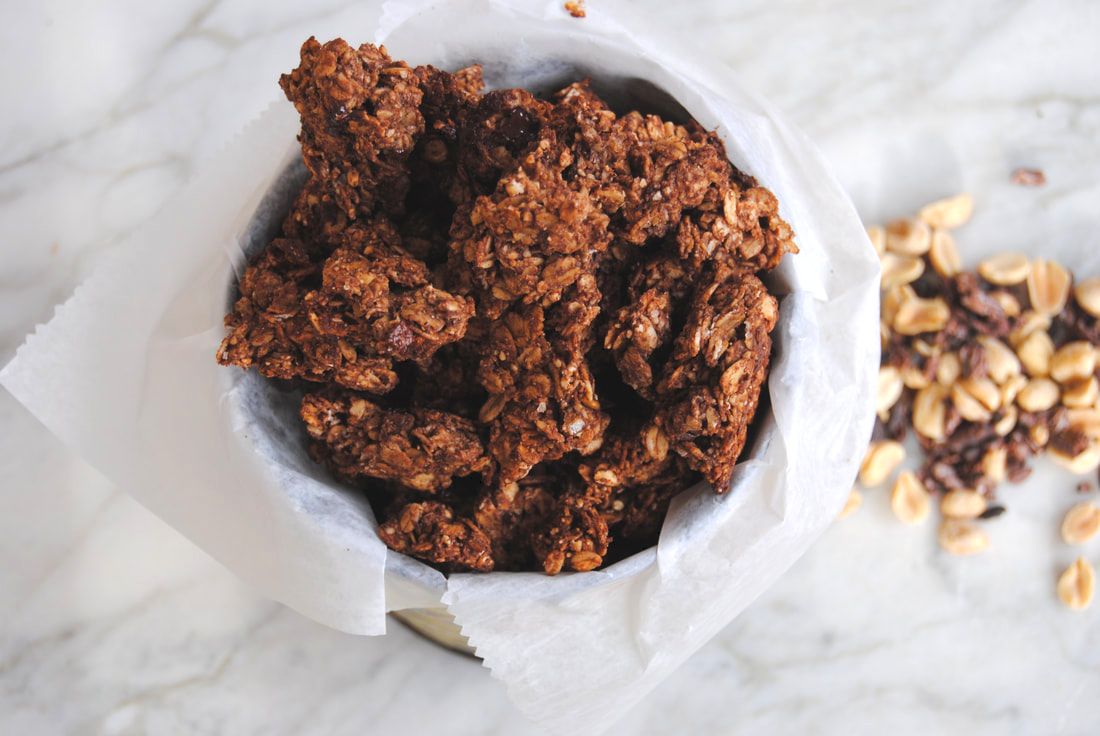
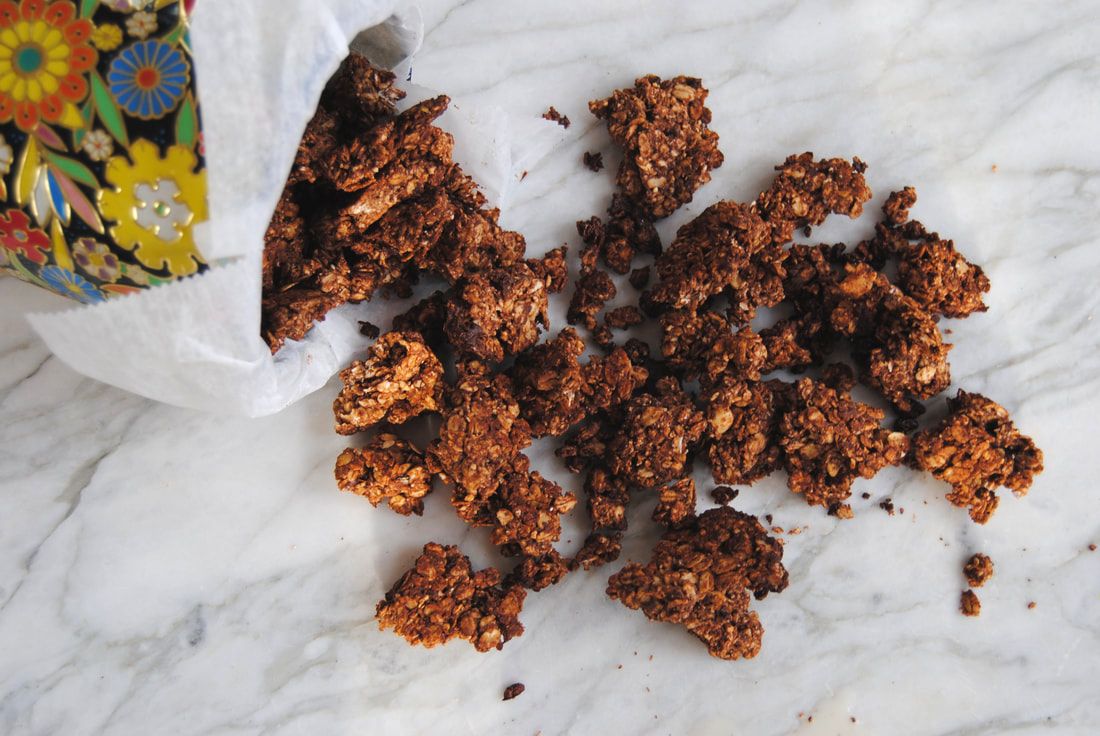
We have a treat of a recipe for you this week, friends! Inspired by a classic flavor combination, peanut butter and banana, we've made a granola sweetened mostly with natural sugar from banana (with a hint of maple syrup). Because we love the health benefit of the core granola ingredients, oats and nuts, but often find granola to be overly sweet with too much added sugar to be eating as an everyday snack or topping. But not this recipe! Though it does include some dark chocolate, feel free to use any percentage dark chocolate to adjust sweetness/sugar level to your liking (the higher percent dark chocolate the less sweet it will be). Let's get to it!
Banana Peanut Butter Chocolate Chunk Granola
PREP TIME: 20 mins TOTAL TIME: 60 mins Servings: 9-12, 1/2 cup servings Ingredients 4 cups old fashioned rolled oats 1 cup powdered peanuts (super finely crushed roasted unsalted peanuts) 1/4 cup oat bran 1/4 cup cacao powder 1/8 cup ground flax meal 1/2 tsp sea salt 1/2 cup creamy peanut butter (natural peanut butter without added sugar or oil) 1/4 cup pure maple syrup 2 small roasted bananas (~1/2 cup cooked banana) 1/4 cup water 1/2 cup chopped dark chocolate (65% cacao or higher) 1/2 cup cacao nibs Preheat the oven to 350°. In a small pan, roast bananas in preheated oven in their skin for 12 minutes or until banana skin is dark brown and bananas have started to seep. Remove bananas from the oven and allow to cool. Once cool, squeeze bananas out of their skin and into a sauce pan for later use. Line a large baking sheet with parchment paper then set aside. In a large bowl, mix together the oats, powdered peanuts, oat bran, cacao powder, flax meal, and salt. In a sauce pan with the bananas, combine the peanut butter, maple syrup, and vanilla. Turn burner on to medium heat and whisk until the peanut butter has melted and all ingredients are combined. Pour warm peanut butter banana mixture over dry ingredients and stir until evenly coated. Add 1/4 cup water over the granola and stir to combine. Evenly spread mixture onto parchment lined pan then sprinkle the top with cacao nibs and chopped chocolate. Bake for 30 minutes or until granola is golden brown. Let sit until cooled. Use a large spoon to break granola into large chunks. Place granola back into the oven and continue cooking for an additional 7-10 minutes. Make sure to stir granola at least once while it is cooking. Allow granola to completely cool before storing in air tight container. Adding granola to the container before it has completely cooled will add moisture and soften the granola.
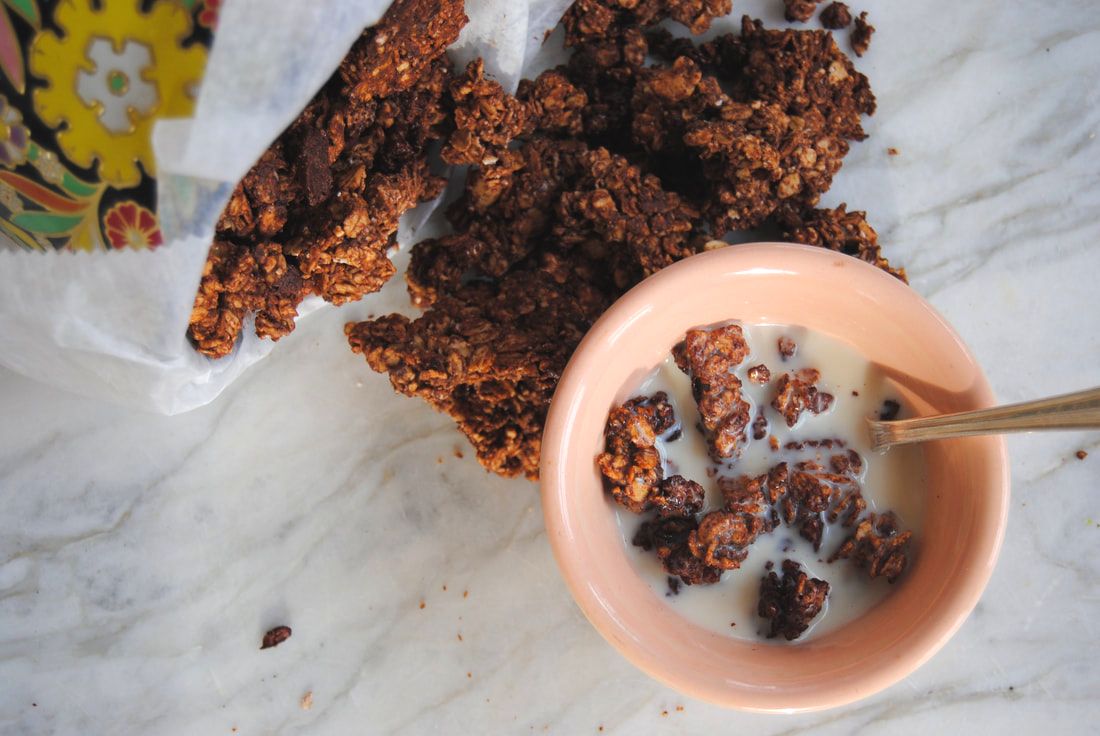
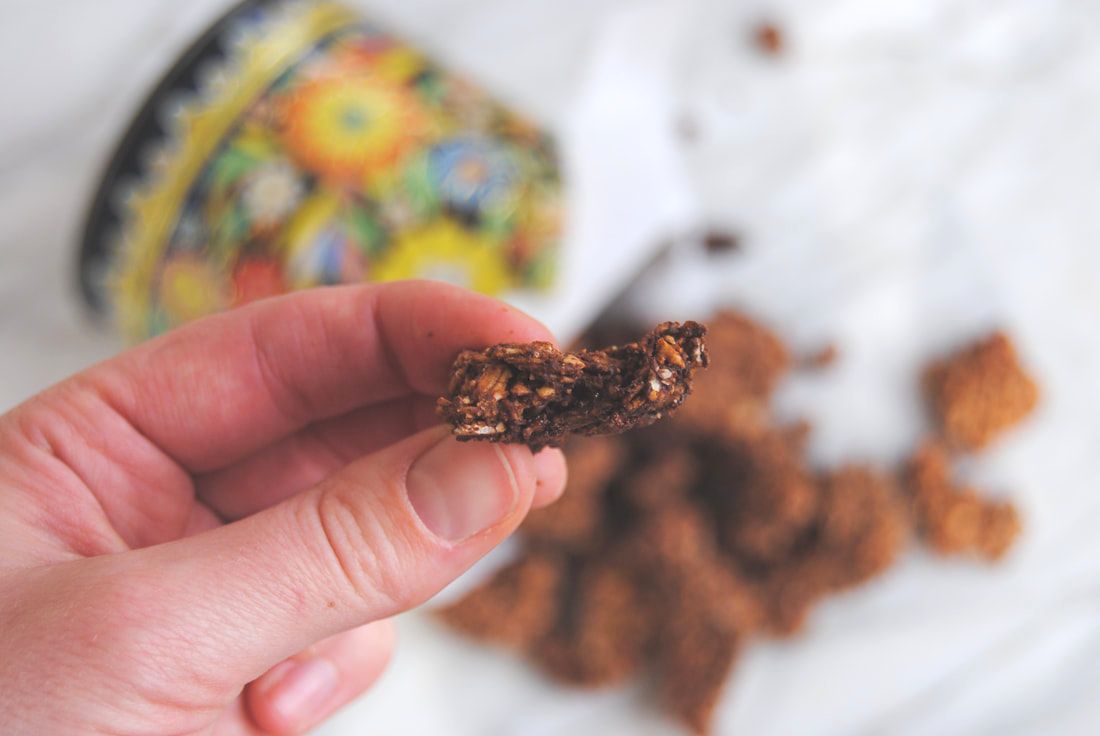
We love this granola as cereal with milk of choice, a handful dry as a snack, or as a topping for yogurt or ice cream - though feel free to enjoy any way you like! The flavor is classic peanut butter banana with a subtle toasted flavor and just the right amount of sweetness.
Enjoy, Jess and Cecelia
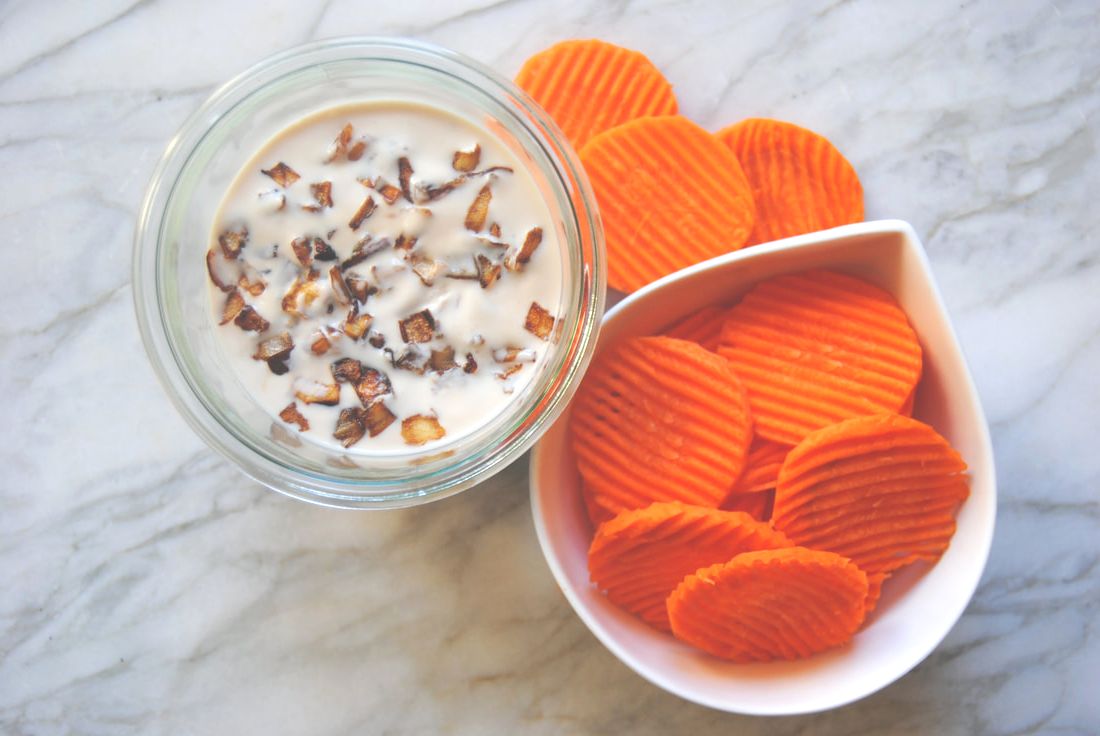
As the weather gets warmer (finally!) we naturally start to transition our eating habits from a few larger meals to more frequent, smaller snacks. A good dip is perfect for this "snacky" eating style and perfect for Spring entertaining. A complaint that we have when purchasing pre-made dips is the lack of decent vegan options. For this we had to go with homemade, and worked to perfect a recipe for a vegan alternative to the traditional caramelized onion dip. We hope you love this one as much as we do!
Vegan Caramelized Onion Dip
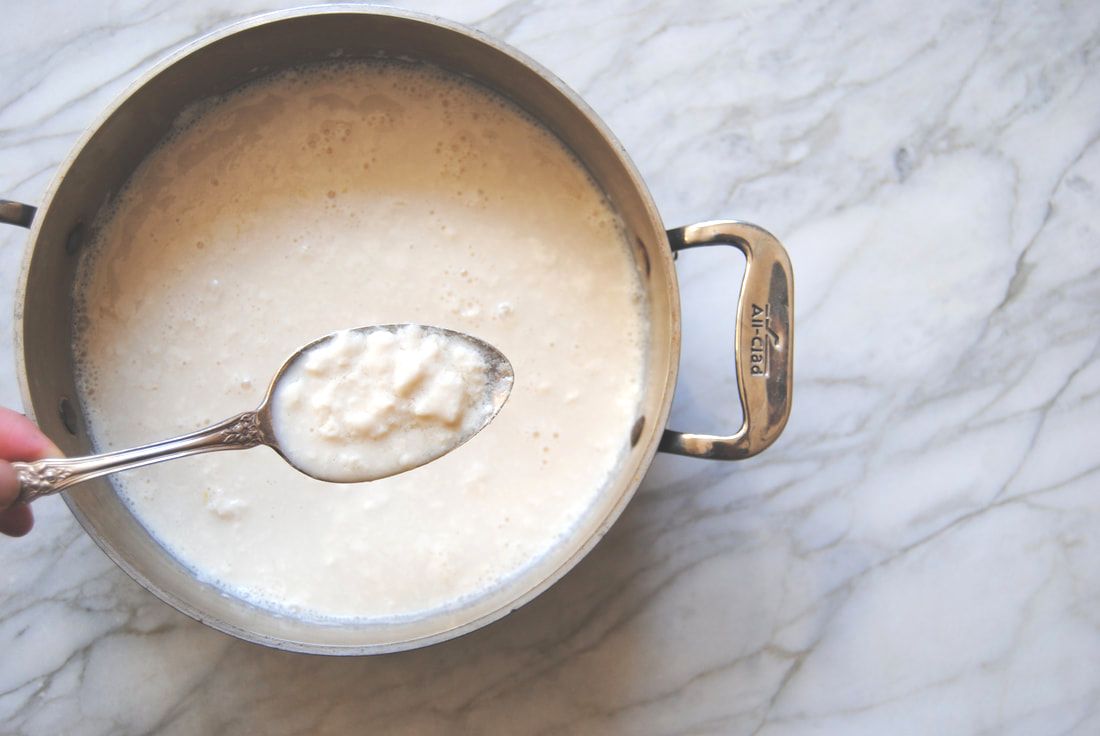
PREP TIME: 1 hour TOTAL TIME: 5 hours (includes chill time) Servings: 2 cups dip Ingredients 32 oz plain unsweetened soy milk, without additives* 3 Tbsp fresh lemon juice 1/4 tsp sea salt 1 large sweet onion, chopped 1 Tbsp olive oil In a large saute pan set to medium heat add 1 Tbsp olive oil and 1/4 tsp salt. Add chopped onion a saute until edges are golden brown and onion is slightly translucent, ~5-7 minutes. Lower heat to simmer and continue cooking onion until fully caramelized, ~45 minutes, stirring often so that the onion does not burn to the pan. Be patient, low, slow heating until the onion is fully browned and caramelized is important. While the onions are cooking, add 32 oz soy milk to a deep pot over medium heat and use a thermometer to bring the milk up to 100 degrees, stirring constantly. This step is important to ensure the milk properly curdles. Do not heat milk over 100 degrees and be careful not to burn the milk. Remove heated soy milk from the stove and add lemon juice to the pot. Allow mixture to sit for 15-20 minutes or until defined curdles have formed. Gently pour contents into a large nut milk bag and allow the liquid to drain from the solid. We secured the drawstring of the nut milk bag around the faucet of our sink and allowed gravity to take over. This step will take at least 30 minutes or longer. You know your soy milk solids are ready when no additional liquid is draining from the bag. Remove soy milk solids from the bag and place into a food processor or blender. Add 1/2 of the caramelized onions to the blender with the soy milk solids and 1/4 tsp onion powder. Mix until contents are smooth. Stir in the remainder of the caramelized onions and store in a glass container with a lid in the fridge for at least 4 hours or overnight. Dip will continue to develop flavor and thicken up as it sits in the fridge, so it is best to make this dip one day in advance for the tastiest results. *Use a soy milk with no additives. Look for only soy beans and water in the ingredient list for best results with curdling.
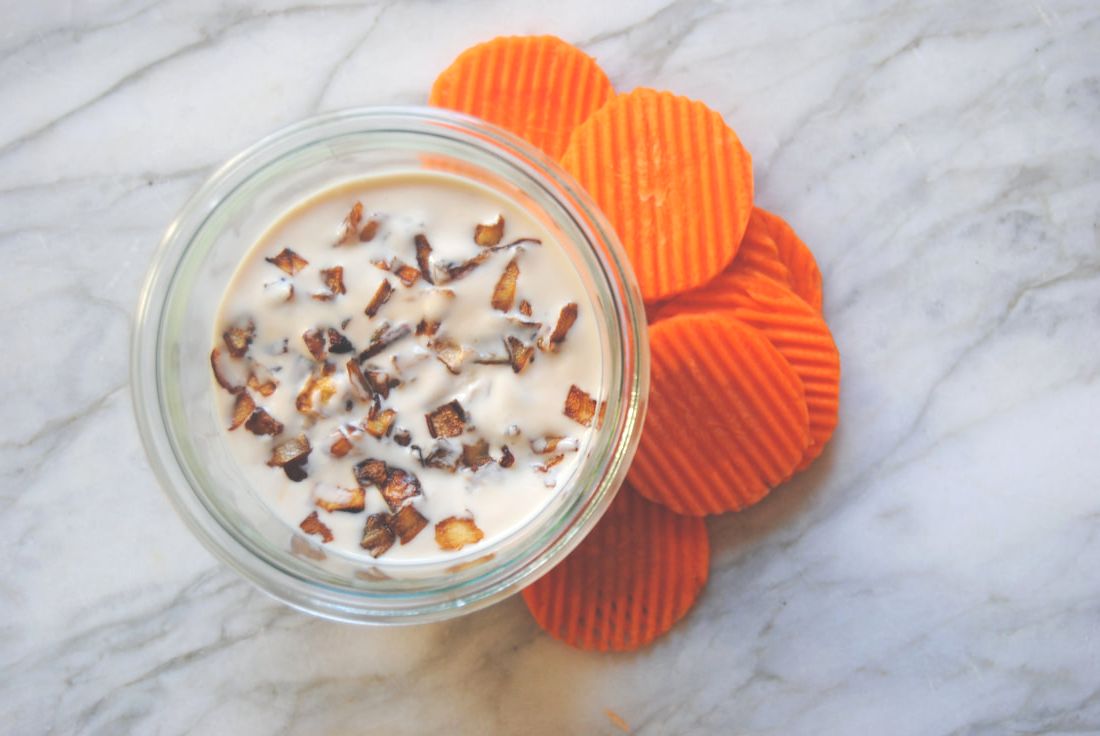
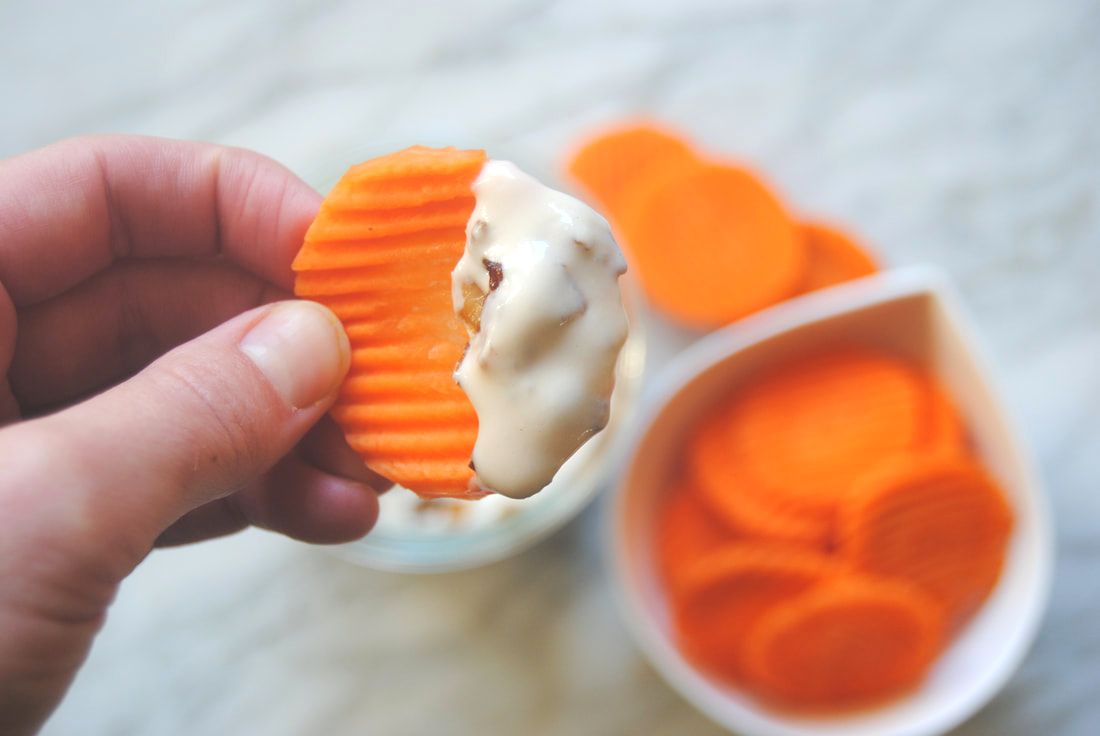
Well, are you dippin' yet? Caramelized onion dip is traditionally crave worthy and this vegan version doesn't make it any less so. A guest or two may even be fooled if you don't mention that this dip wasn't made with dairy. Pair this with your favorite chip or veggie (we made crinkle cut carrots on a mandolin) and dip away!
Enjoy, Jess and Cecelia
In Our Pantry
*We mentioned using a quality soy milk without preservatives for best results, here is the product we found/used with the simplest ingredient list:
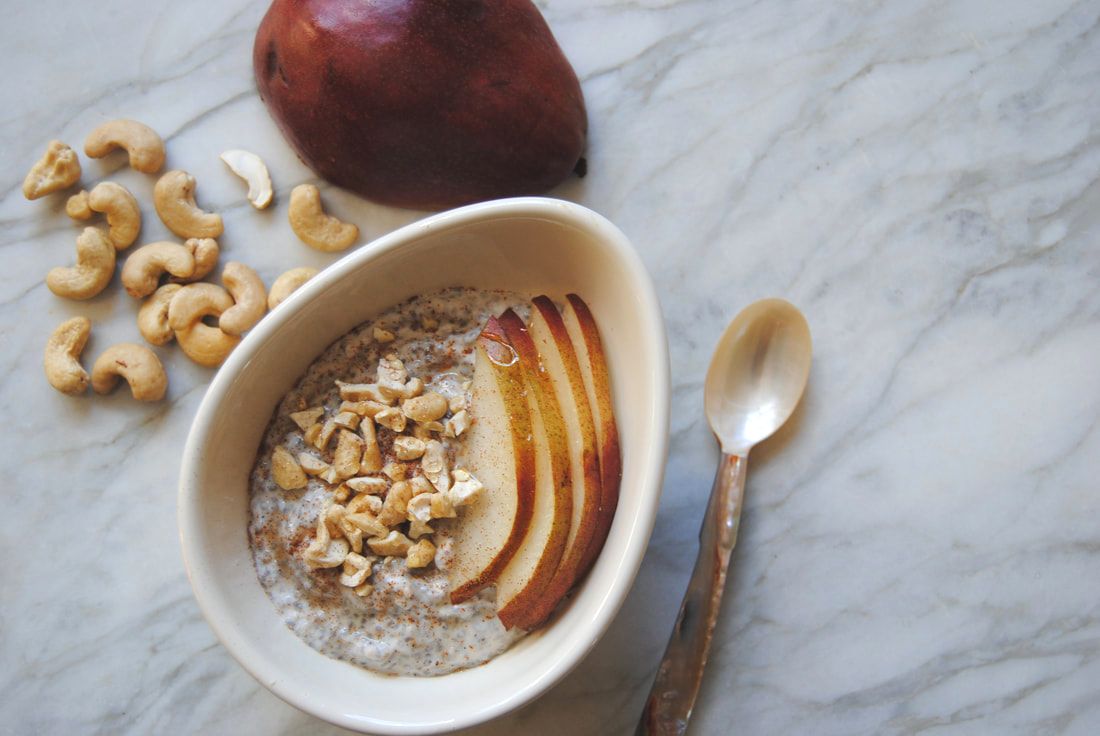
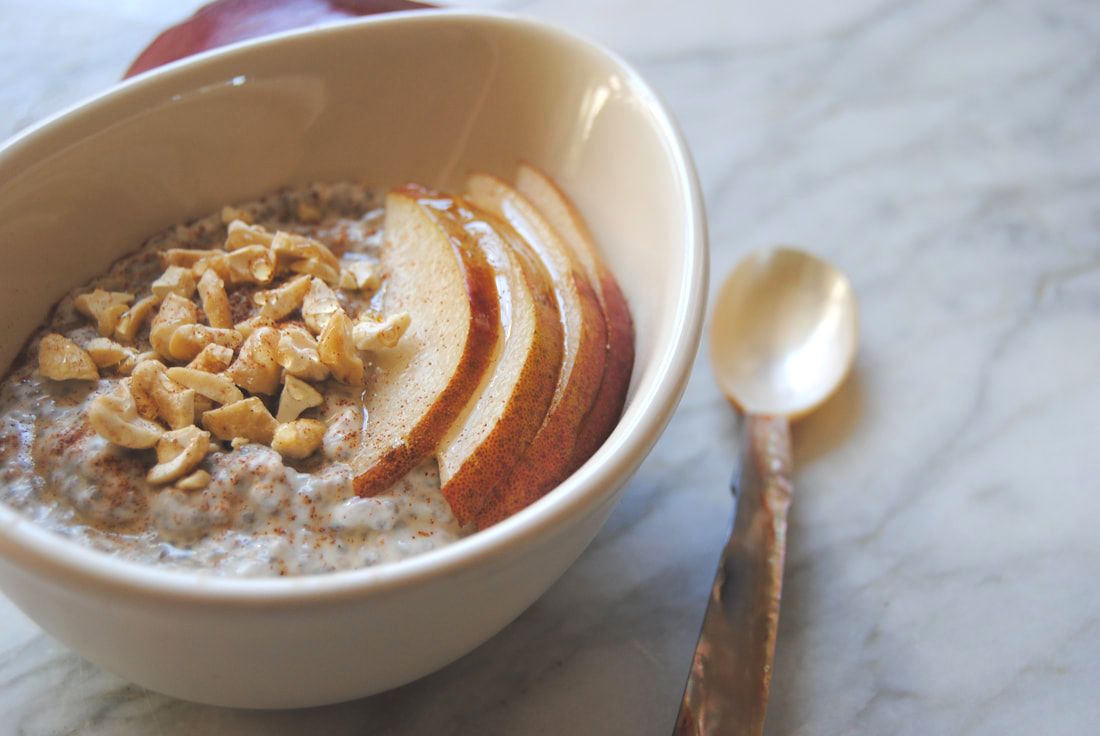
Hi friends! While creating this recipe it reminded us how little time breakfast is sometimes given in the midst of hectic schedules. This bowl is beautiful but not always practical during the mid-week rush. Though a solid breakfast meal with combined complex and simple carbohydrates, protein, and fat is so important to get your day started right and to fuel you until the next meal or snack. For those days, this recipe can stay right in the jar it was made in overnight - add some toppings right in and take the jar with you on your morning commute. And with prep the night before, it doesn't get much easier than that. This breakfast is a balanced combination to keep up with your ever busy life. If you need a reminder about how great chia is before the recipe, check out this original TGBK post.
Chia and Pear Pudding
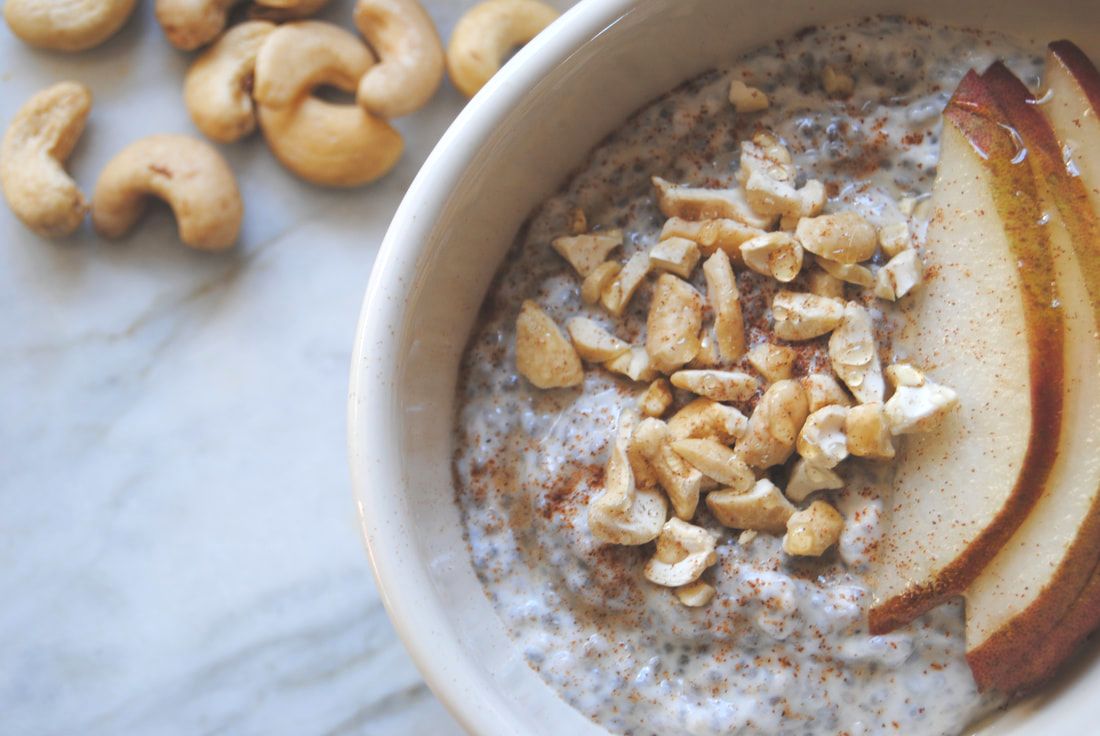
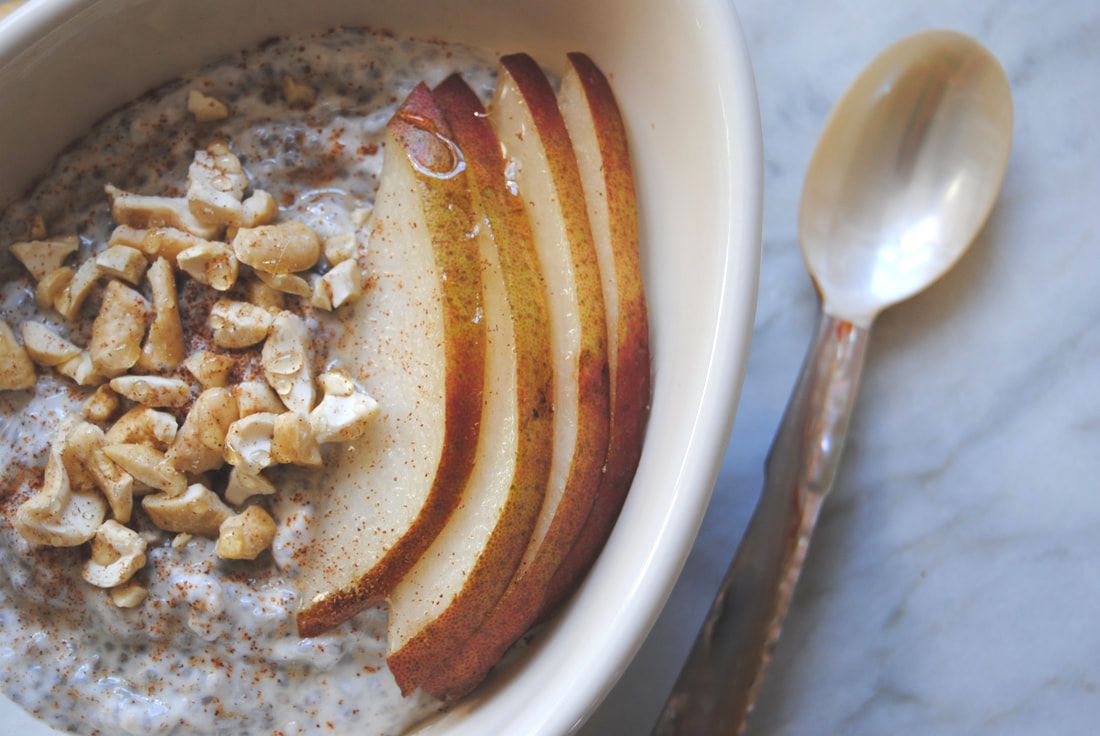
PREP TIME: 5 minutes TOTAL TIME: 4 hours Servings: 2 Ingredients 6 oz fresh pear juice 6 oz plain Greek or Icelandic yogurt 4 Tbsp chia seeds 2 Tbsp pure maple syrup 1 sliced pear 1/4 cup chopped raw unsalted cashews Cinnamon sprinkle on top In two 10-12 oz mason jars, combine half of the ingredients in each - 3 oz pear juice, 3 oz yogurt, 2 Tbsp chia seeds, and 1 Tbsp maple syrup. Screw on a tight fitting lid and shake vigorously until all ingredients are combined. Allow pudding to rest and gel up in the refrigerator for at least 4 hrs, or overnight. Once the pudding has set, add sliced pears, chopped cashews, and a sprinkle of cinnamon to the top of each jar. Enjoy this flavor packed, nutrient dense breakfast on the go! Chia pudding will keep in the fridge for 4 days, so why not make a double recipe for the work week? Enjoy!
Are we right? Chia pudding is a great and versatile options for an easy and satisfying breakfast. We love this variation for the addition of pear juice which adds a subtle sweetness and seasonal flavor. Once you get started with chia pudding, you may never stop!
Enjoy, Jess and Cecelia
In Our Cupboard
With your new chia pudding addiction you'll definitely be needing a steady supply of chia. It is easy to find and buy in bulk:
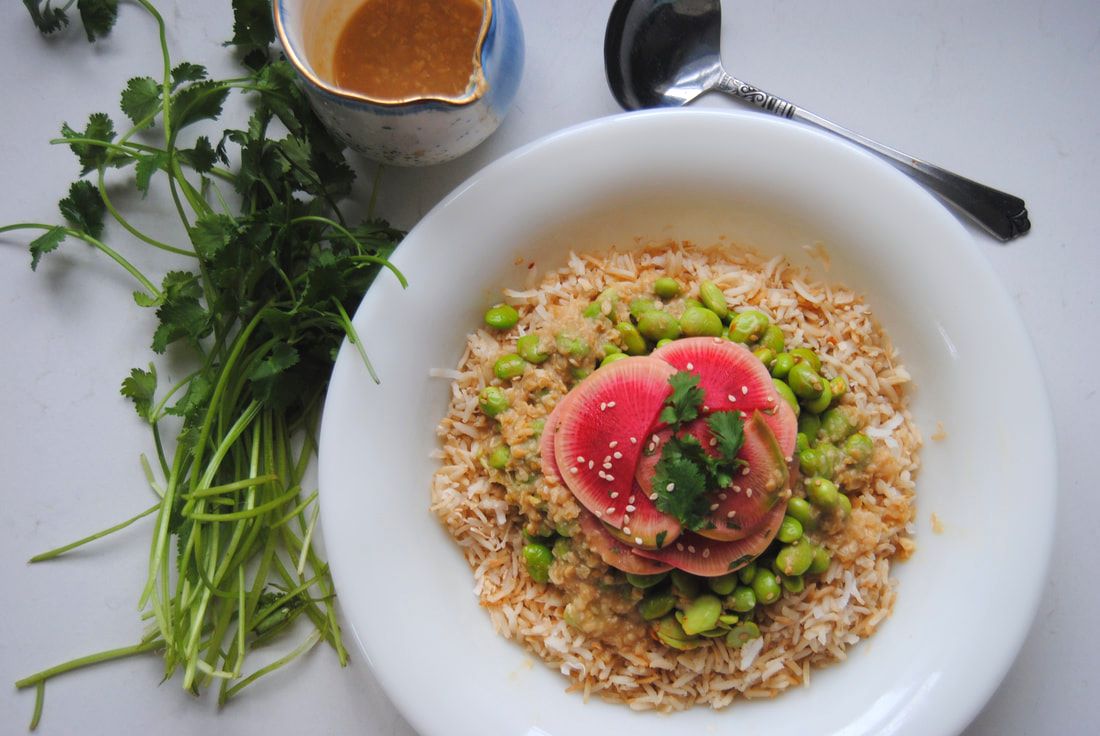
One of our all time favorite ingredients has got to be miso paste, especially miso made from alternative ingredients other than soybean like this chickpea miso from South River (here). Though soybean is the most popular miso paste found in stores, we love the complexity of flavors in the different varieties of miso we've tried. Miso is a fermented food so it is slightly sour and tangy and also very salty as it is traditionally used as a base for soups and broth. We also love it as an ingredient for sauces, dressings, and even on popcorn (remember this recipe?)! This time around we opted for a hearty and bright bowl because when you're really hungry nothing is more satisfying than a dose of grains + protein slathered in salty goodness, or at least we think so. Join us!
Miso Bowl
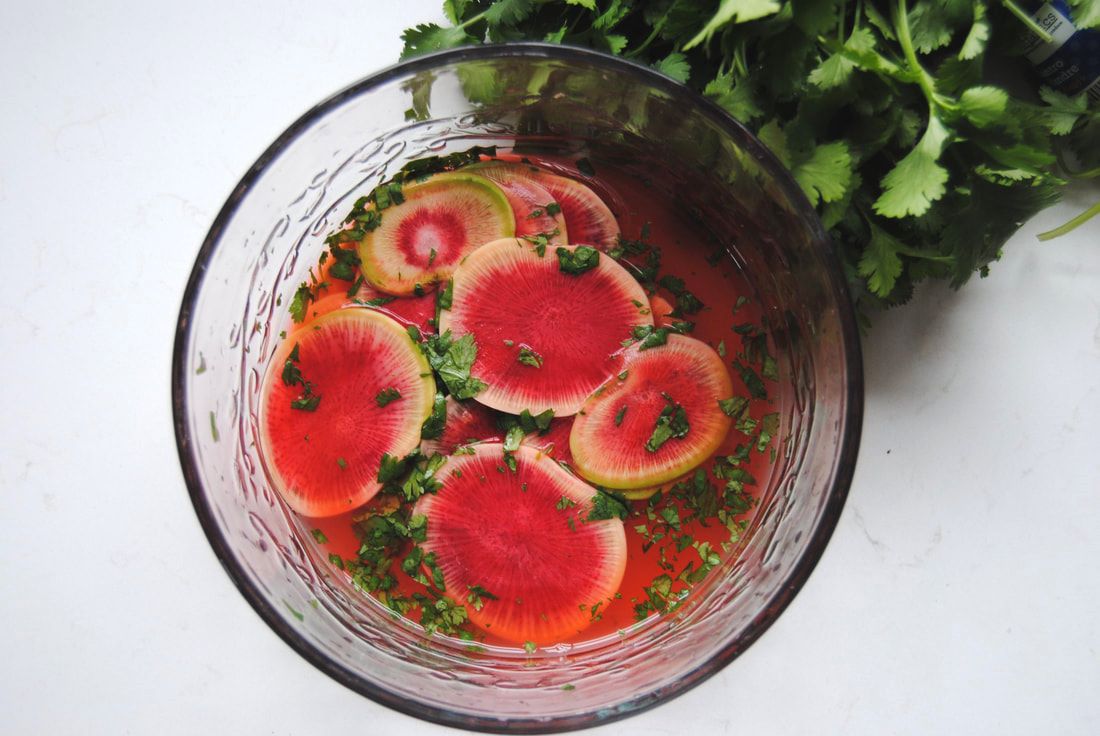
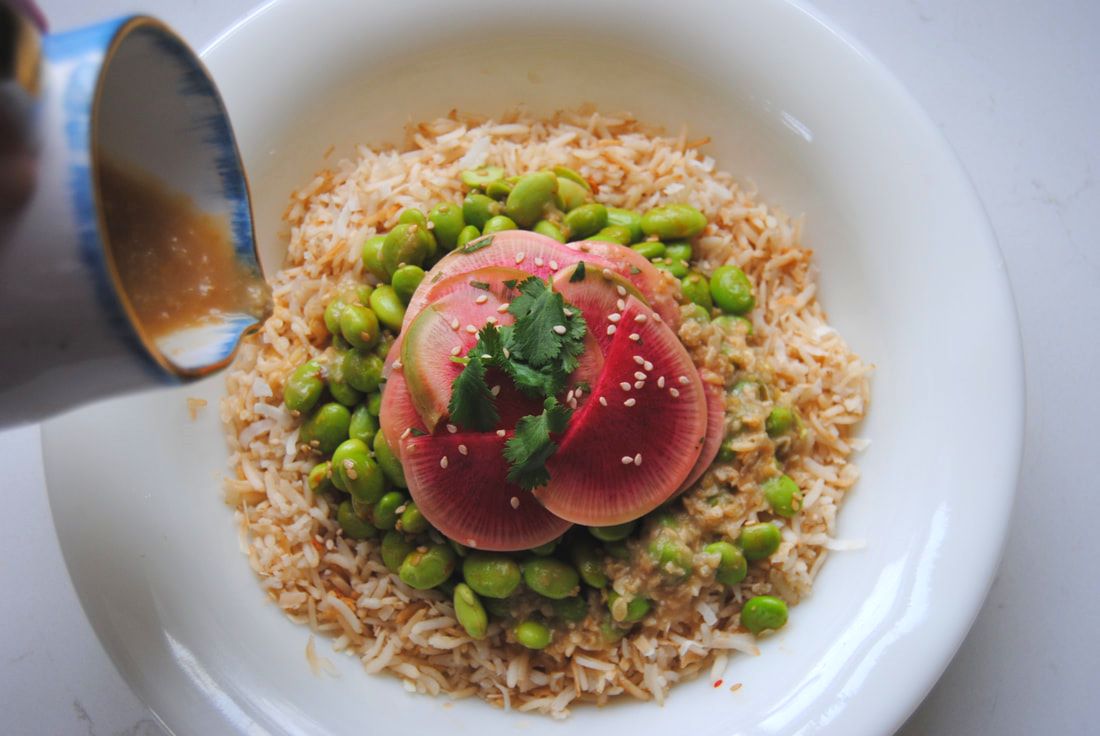
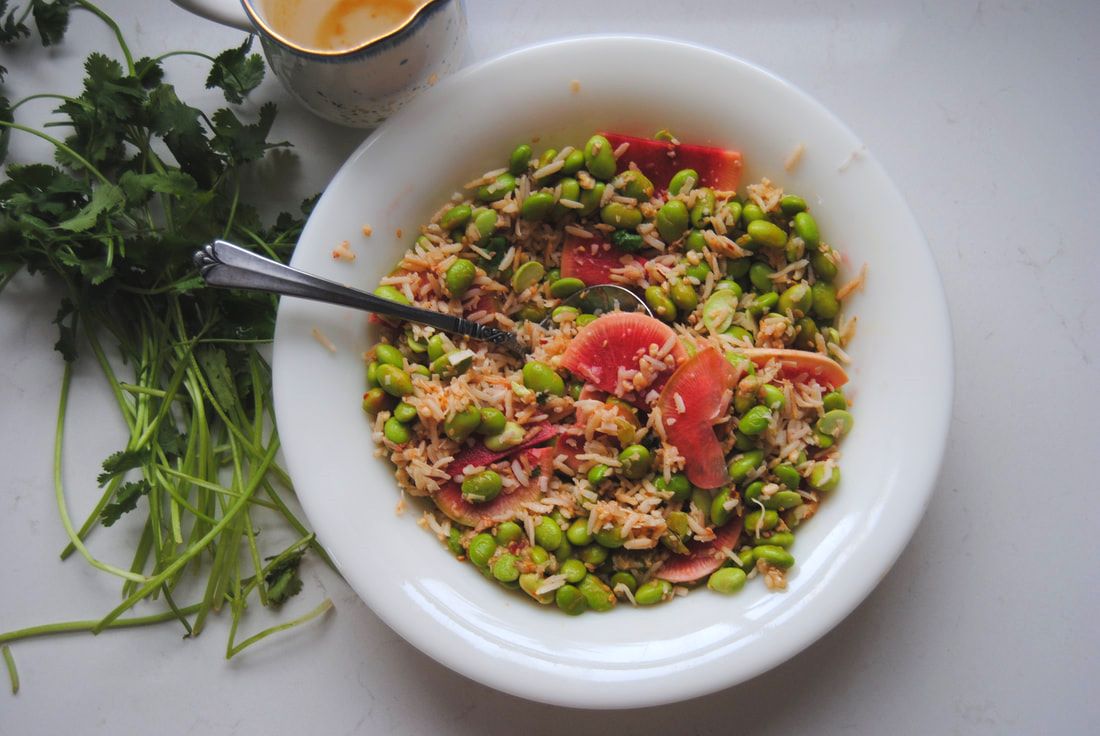
PREP TIME: 50 mins TOTAL TIME: 55 minutes Servings: 4 Ingredients Rice 1 cup brown rice 1/2 cup toasted unsweetened coconut flakes Edamame 2 cups shelled edamame 1 Tbsp sesame seeds 2 tsp toasted sesame oil 1 tsp chili paste Quick Pickled Radishes 1 large radish, we used a large watermelon radish 1/4 cup apple cider vinegar 3 Tbsp water 1 Tbsp fresh ginger juice 1 Tbsp fresh cilantro, chopped 3/4 tsp salt Dressing 4 Tbsp miso paste, we used our favorite chickpea miso from South River Miso Co 4 Tbsp water 2 Tbsp lemon juice Begin by making the quick pickled radishes. Use a mandolin or a sharp knife to thinly slice radish into uniform circles. Place sliced radishes, apple cider vinegar, water, ginger juice, chopped cilantro, and salt in a bowl and toss to coat. Allow radishes to marinate in the brine for at least 15 minutes or longer while you prepare the rest of the dish. Cook rice according to package then fluff with a fork and set aside. In a medium pan set to low heat, add coconut flakes and toast until light golden brown and fragrant, about 2 minutes. Remove toasted coconut from the heat and add to the fluffed rice. Meanwhile, in a sauce pan set to medium heat add edamame, sesame seeds, sesame oil and chili paste and cook until mixture is warmed through, about 5 minutes. Remove from heat and set aside. To make the dressing, combine the miso paste, water, and lemon juice and whisk until fully combined. This dish can be served family style on a larger platter or in individual bowls. Place toasted coconut rice on a platter and top with edamame and radishes (without the brine). Sprinkle with sesame seeds and top with a drizzle of miso dressing. Serve warm or cold. If you do not plan to serve this all at once, keep each element of the dish separate and prepare just prior to eating. Left overs will keep in the fridge for up to 5 days.
This dish is as stunning as it is satisfying with a pop of bright colors perfect for the coming spring season. Though while the nights stay cold, we hope these hearty flavors topped with salty miso dressing will be the soul warming you need.
Enjoy, Jess and Cecelia
In Our Cupboard
Did you notice the gorgeous mini porcelain pitcher we used for our miso dressing? Because hey, presentation is everything! If you want something similar for your kitchen, head to Anthropologie --> Kitchen & Dining. Happy shopping :)
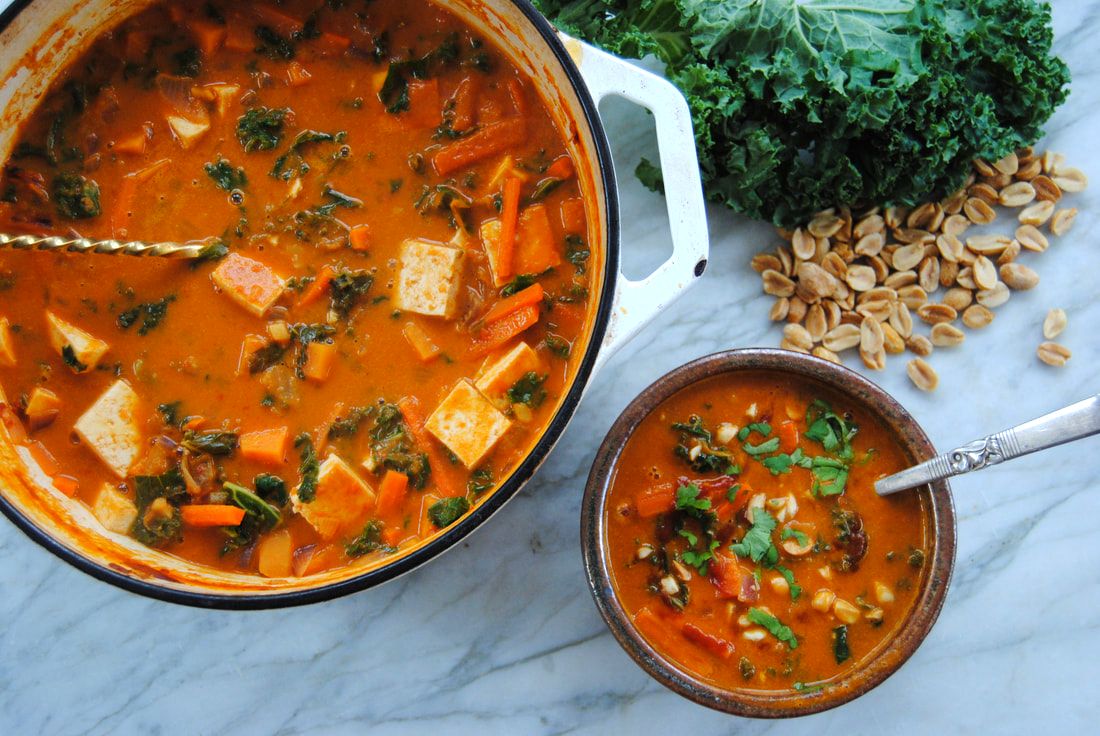
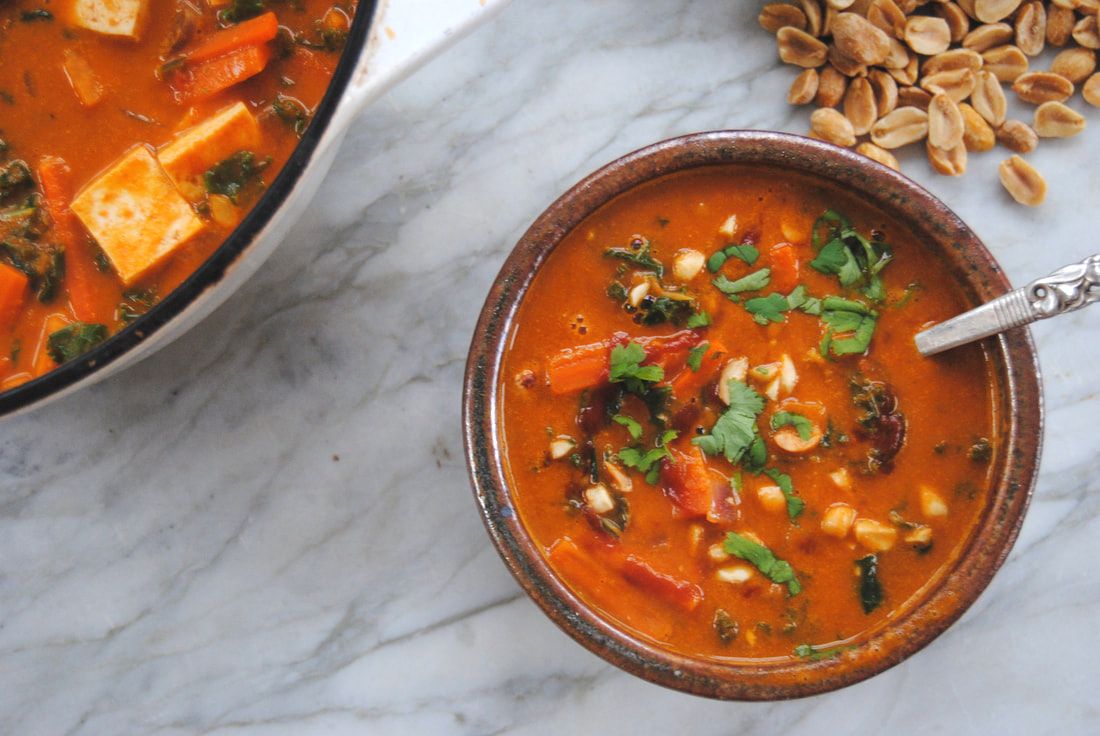
Soup's on! We had so much fun creating this soup this week. Back in the fall we used peanut in a pureed soup (recipe here) and loved it so much that we just had to do it again with a stew. One thing that really stands out when looking at the pictures of this recipe is, you got it, the colors! What a vibrant and beautiful way to brighten these dark winter days. Also more colors (natural of course) = more variety of nutrients. How much better can food really get?
Mixed Vegetable Peanut Stew
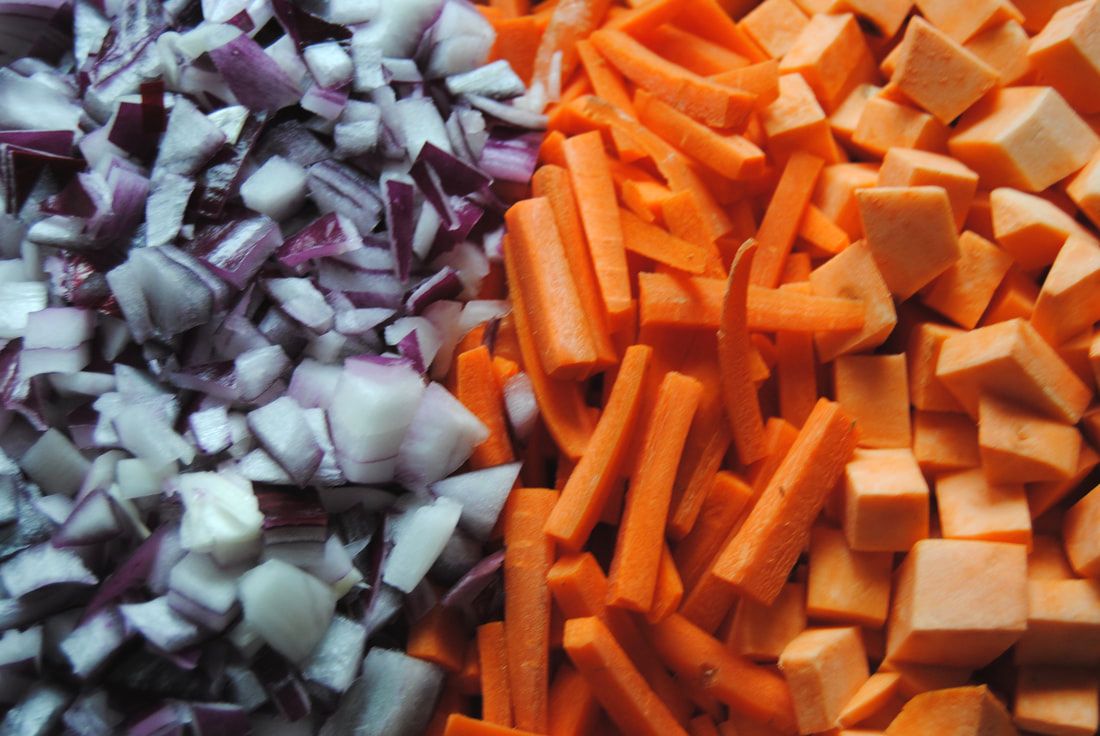
PREP TIME: 20 minutes TOTAL TIME: 1 hour Servings: 6-8 Ingredients 2 Tbsp coconut oil 2 cups cubed sweet potato 2 medium carrots, cut into matchsticks 1 medium red onion, chopped 1-2 inch fresh jalapeno pepper, de-seeded and minced 3 Tbsp ginger root, minced 3 cloves garlic, minced 1 tsp salt 32 oz low sodium vegetable stock 2 roasted red peppers blended with 2 cups water 6 oz tomato paste 3/4 cup creamy peanut butter 1/2 bunch of kale or 3 large leaves, chopped 1 Tbsp hot sauce, we used sriracha 1, 15.5 oz package sprouted organic tofu 1/2 cup chopped peanuts 1 bunch fresh cilantro Wash and peel sweet potatoes, carrots, and onion. Cut sweet potatoes into 1/2" x 1/2" cubes then set aside. Cut carrots into 2" long matchsticks and dice the onion then set aside. In a large Dutch oven or soup pot heat the coconut oil over medium heat. Add cubed sweet potato, carrots, onion, and jalapeno to the pot and cook stirring occasionally until the onion is translucent and the sweet potato and carrots soften, about 10-12 minutes. Next, add the ginger, garlic, and salt to the pot and continue to cook for 1-2 minutes or until fragrant. Add the vegetable stock, reduce the heat to a simmer and continue to cook for 15 minutes. Meanwhile, in a high speed blender add roasted red peppers with 2 cups water, tomato paste, and peanut butter and blend on high until smooth. Add blender contents to the soup pot and stir to combine. Add the chopped kale and tofu cubes to the pot and continue to cook for an additional 5-10 minutes on low heat. Serve soup with chopped peanuts and cilantro on top. Any left over soup will keep well in the fridge in an air tight container for 5 days or freeze for up to 3 months. To reheat soup simply allow soup to thaw and place in a pot on the stove top set to medium heat and cook until warmed through.
We hope you love the flavors of this stew as much as we do. Bold, bright and earthy all at once with a kick of spice from the jalapeno and hot sauce and a depth of savory flavor from the peanut butter. The bright colors and flavors are our survival gift to you for these winter months.
Enjoy, Jess and Cecelia
In Our Pantry
Less than $20 for 54 ounces of unrefined, cold-pressed, organic coconut oil. Yes please!
Hi friends! How are things going with well intended New Year's resolutions set over a week ago now? Success rates can definitely be variable, but don't be hard on yourself! Resolutions are intentions to do something differently but shouldn't be a reason to feel discouraged if you aren't always reaching (sometimes lofty) goals. Jess had a resolution last year, for example, that she is still working on this year. She wanted to make more foods homemade and use less pre-made foods. Seems like something she already does a great job at as a recipe blogger, but hey, there is always room for improvement! Last year she started making homemade bread weekly instead of buying pre-made loaves. This year she is tackling snack foods - like this week's recipe. Pre-made snack bars are abundant in stores but don't always contain ideal ingredients. Like other pre-made snacks, snack bars can contain fillers and preservatives that won't be necessary if making homemade. With homemade snacks you can completely control the quality and quantity of ingredients used and are free to use any variety of your favorite foods. These snack bars we loaded with our favorite nuts, seeds, and dried fruits, and just the right amount of sugar ingredient to hold together. The result inspired us to keep on Jess's (and now our) homemade food journey this year. Does this sound like a resolution you might want to make (or swap for another you had)? Join us!
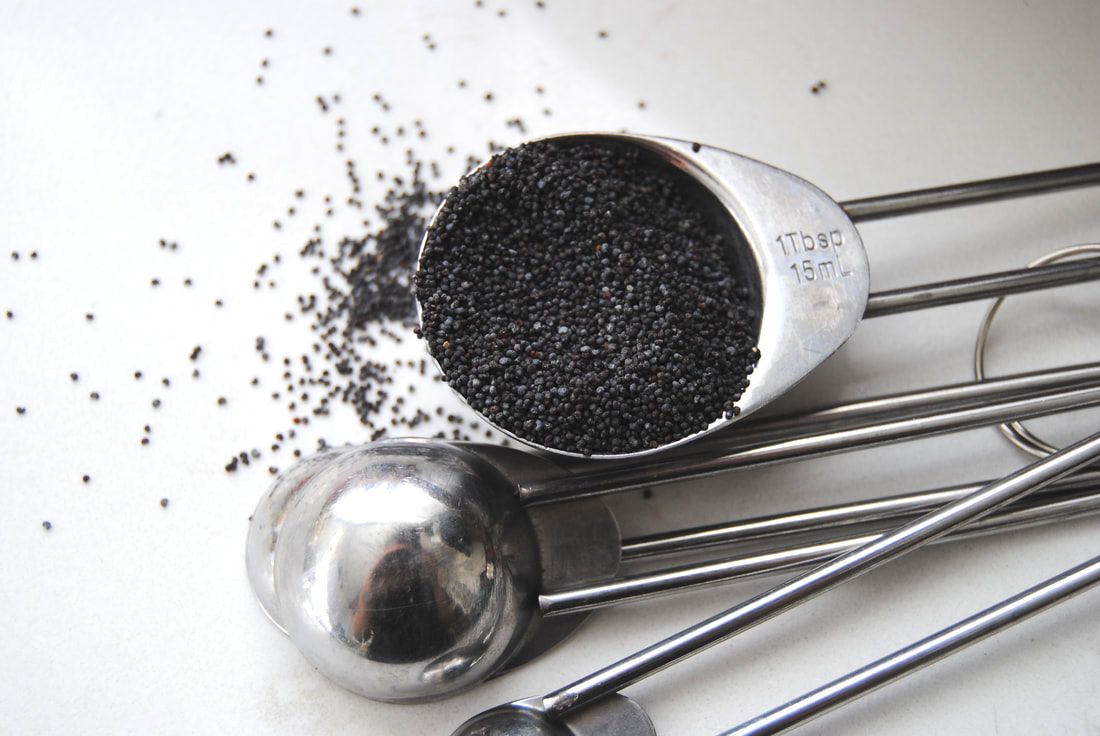
Also a quick note on an interesting ingredient we used this week - poppy seeds. We love poppy seeds for obvious seed reasons (plant protein, dietary fiber, etc.) but also for their unique nutty flavor and crunch. A delicious and unique addition to baked goods and homemade bars like these. This ingredient is also intriguing for the drama it can cause (yes, drama!). Because poppy seeds come from the same plant - the opium poppy - used to make heroin and opiates, poppy seeds contain trace amounts of opiate. This amount of opiate is not enough to have a narcotic affect when consumed in dietary amounts but can confuse results of drug testing. After consuming poppy seeds a drug test may test positive for opiate, which can't be distinguished from poppy seed vs opioid medication source. Also notable, the sap from the opium poppy plant is what's used to make drugs NOT the seeds though it can be illegal to grow the poppy plant. We recommend buying (instead of producing) your poppy seeds juuust to be safe. We like and use Bob's Red Mill brand.
Chewy Poppy Seed Bars
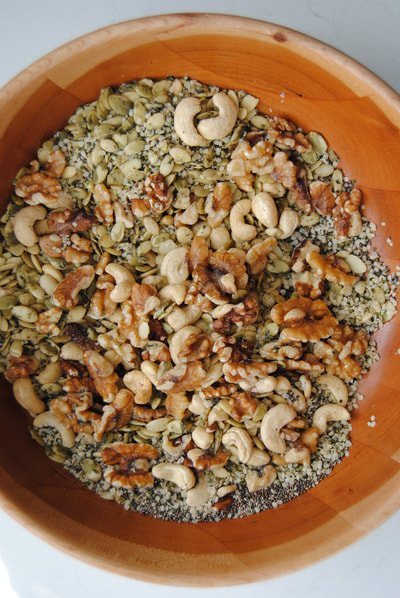
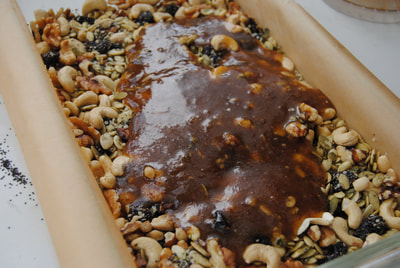
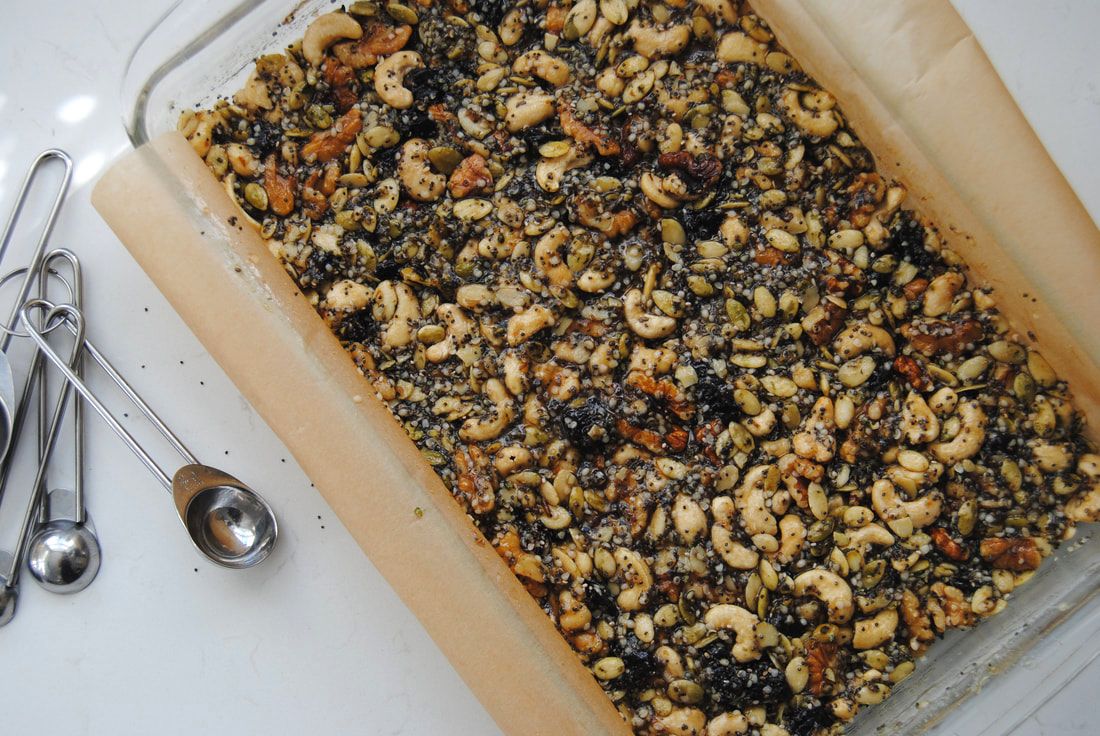
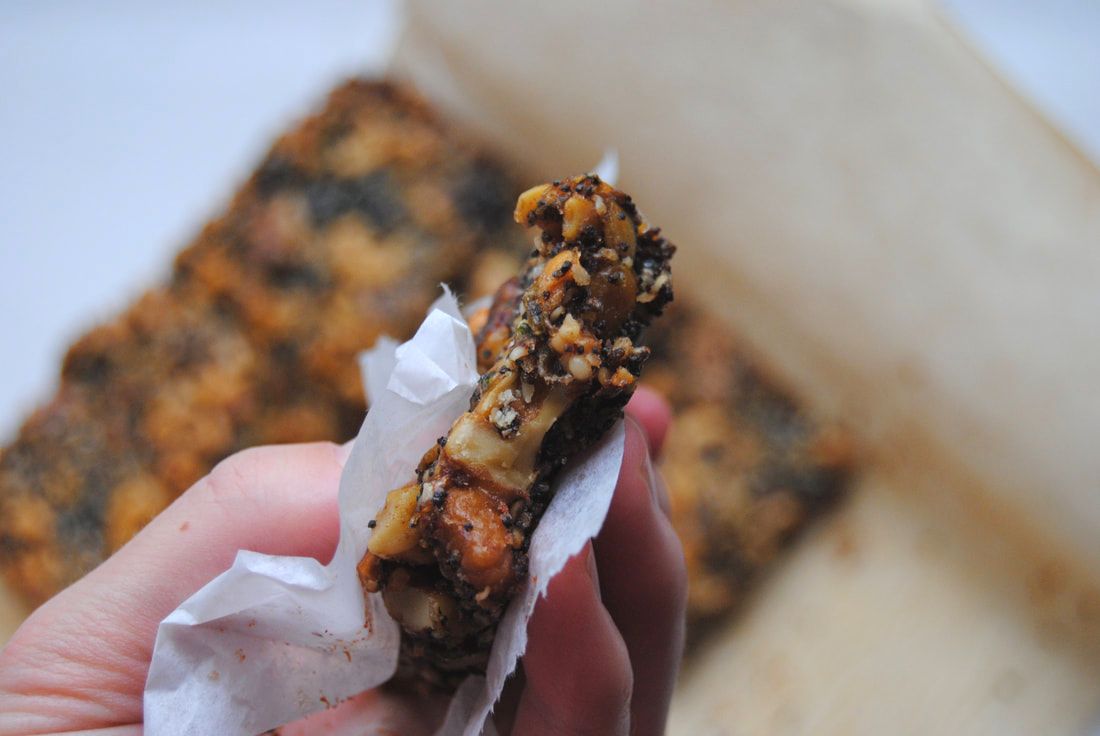
PREP TIME: 10 minutes TOTAL TIME: 90 minutes Servings: 12-14 bars Ingredients 1/2 cup honey 2 Tbsp coconut sugar 2 Tbsp coconut oil 1 tsp pure vanilla extract 1 cup raw walnuts 1 cup raw cashews 1/2 cup raw pepitas 1/4 cup hemp seeds 1/4 cup poppy seeds 1/4 cup sesame seeds 1 cup prunes, chopped Sprinkle of sea salt Preheat oven to 350 degrees. Line a 9x13 inch pan with parchment paper that is cut to the exact shape of the bottom of pan with a 1-2" overhang on both edges then lightly coat the parchment paper on the bottom and sides of the pan with coconut oil and set aside. This step is important in making sure the bars come out of the pan easily. In the prepared pan, add the nuts, seeds, and chopped prunes and stir mixture to uniformly combine then set aside. In a medium sauce pan, add the honey, coconut sugar, and coconut oil and bring the mixture to a boil while stirring constantly. Continue to boil the mixture for 3-4 minutes then remove from the heat and stir in the vanilla. Avoid boiling over 4 minutes given you may burn the honey and the longer you boil the mixture, the harder the bars will be. Carefully pour the hot honey mixture over the nut, seed, and dried fruit mix and stir until evenly combined. Level the top of the mixture with the back of a spoon. Sprinkle with sea salt then place in the preheated oven for 30-35 minutes or until the top is golden brown. Remove from the oven and allow bars to fully cool, about 45-60 minutes or overnight before cutting into them. Store bars individually wrapped in parchment paper in an air tight container for up to 7 days. Note bars will hold together better if refrigerated.
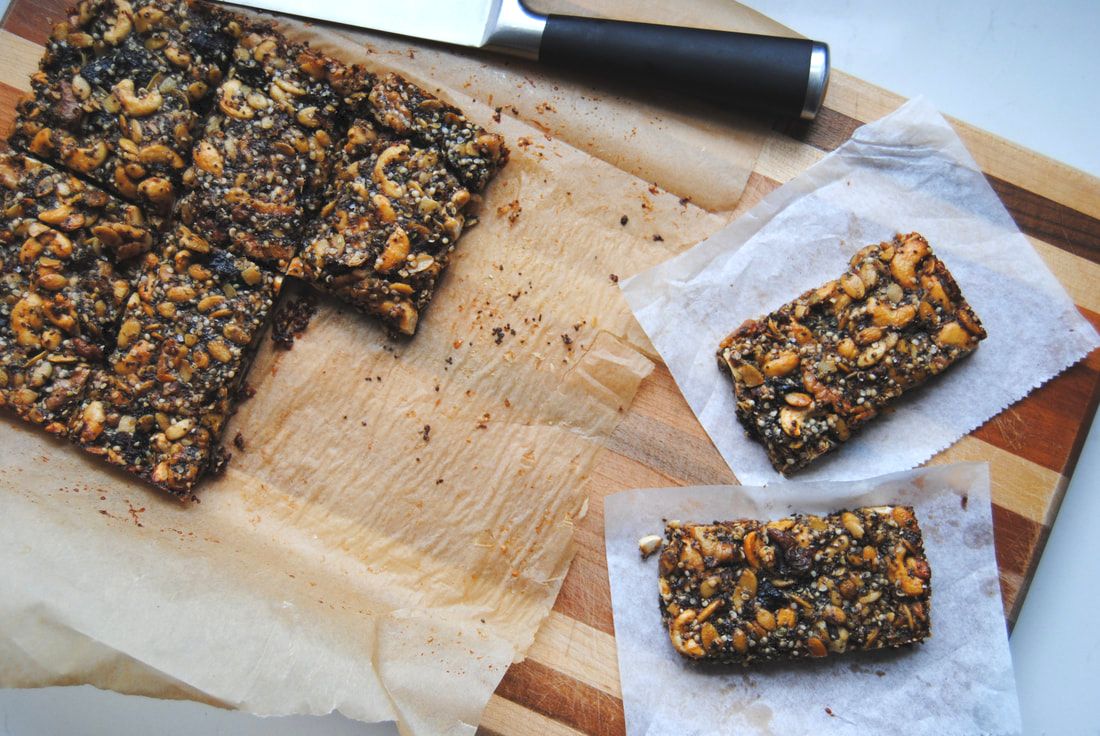
These bars are chewy but crunchy, sweet and salty, and completely satisfying from the mix of protein, complex carbohydrates, and simple sugars. If you keep the ratios similar, feel free to replace the nuts, seeds, and dried fruit with your favorites and share your variations. Here's to a year of homemade food experiments in 2018!
Enjoy, Jess and Cecelia
In Our Pantry
You may be stocked with many of these seeds but if not here are some easy links. Remember, buying in bulk always saves money!
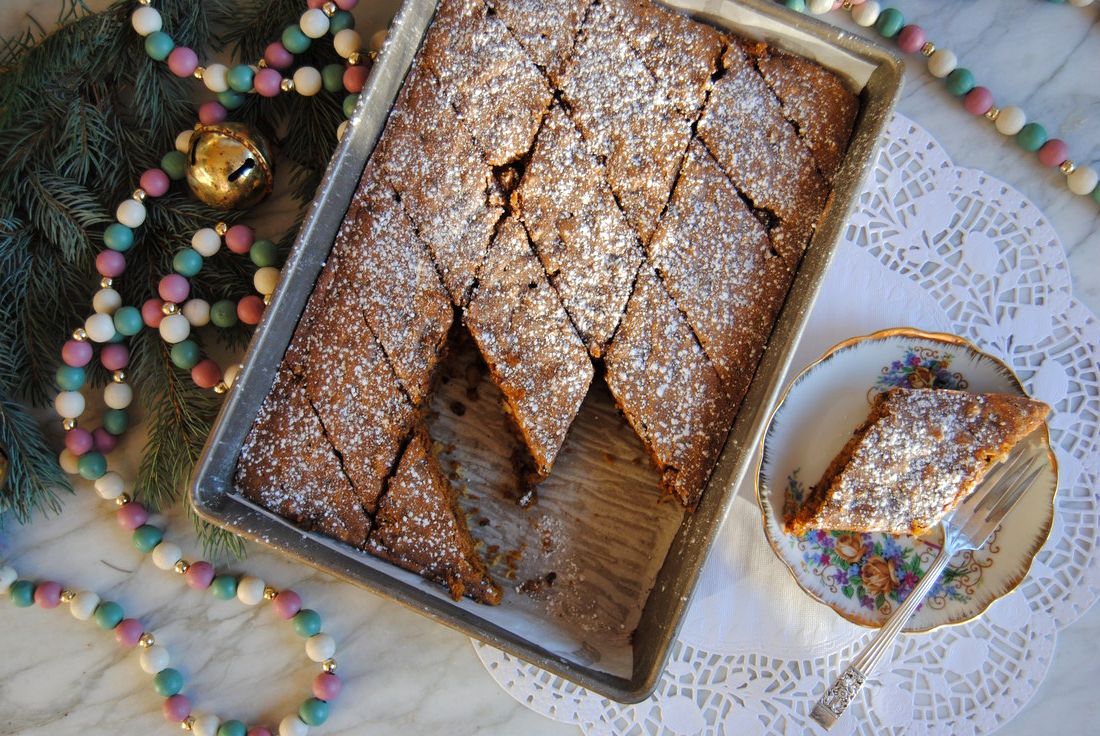
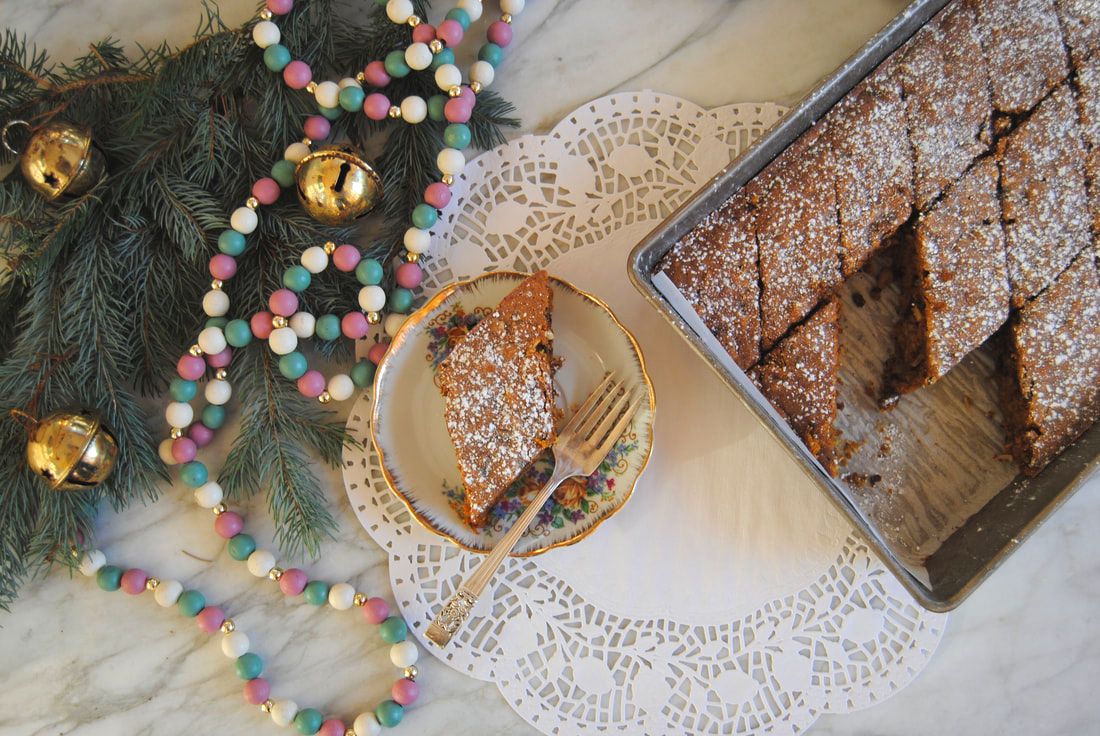
Happy New Year friends! As you may be able to tell from the pictures, this recipe was intended for Christmas morning. However, time got away from us at the holidays and we are finally getting to share today, as our first post in 2018. Better late than never, are we right? Same goes for any resolution or intention you set for the New Year, or that you set last year and may still need some work on (wink, wink). If there is something you want to do, a recipe you want to make, a place you want to visit (etc) that you've been putting off, the time is now! Better late than never so set your mind to it for this year. Maybe start with making this special cake and see where it leads, you never know...
Christmas Coffee Cake
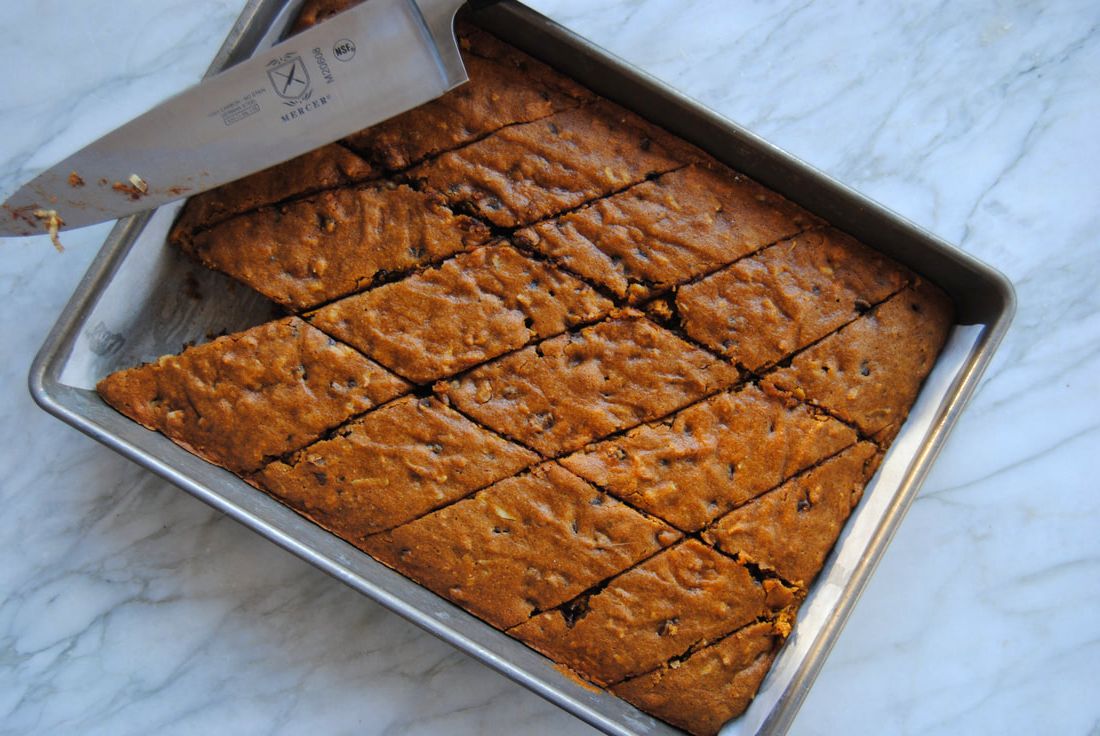
PREP TIME: 40 minutes TOTAL TIME: 1 hour 15 minutes Servings: 16 Slices Ingredients Cake 1 1/2 + 1/6 cup whole wheat flour 1 tsp baking soda 1/4 tsp baking powder 3/4 tsp salt 3/4 tsp nutmeg 1 1/2 tsp cinnamon 1 1/3 cup cane sugar 1/3 cup coconut oil, melted and cooled to room temperature 1/2 cup cooked carrot puree (pureed pumpkin, butternut squash, or sweet potato would also work) 2 eggs 1/3 cup water 1/2 tsp vanilla 1/2 cup unsweetened coconut flakes 1/2 cup mini chocolate chips 1/2 cup walnuts, chopped (or nut of your choice) Topping Dusting of powdered sugar Preheat oven to 350 degrees. Line a 9" x 13" baking pan with parchment paper and lightly grease the bottom and sides of the pan with coconut oil then set aside. Wash, peel, and chop carrots then place in a steaming basket set in a pan with water over medium heat and steam carrots until tender, about 12-15 minutes. Remove carrots from the steaming basket and place in a food processor or blender and process on high until smooth then set aside. In a large mixing bowl combine the dry ingredients: flour, baking soda, baking powder, salt, nutmeg, and cinnamon and stir to combine. In a separate bowl combine the wet ingredients: cane sugar, melted coconut oil, carrot puree, eggs, water, and vanilla and whisk until combined. Add the wet ingredients to the dry ingredients and mix until evenly combined, avoid over mixing. Stir in the coconut flakes, chocolate chips, and walnuts. Pour batter into prepared pan and bake in preheated oven for 35-40 minutes or until a toothpick comes out clean. Allow cake to cool for about 15 minutes then sprinkle the top with powdered sugar and cut into desired shape (we chose diamonds - see above). Serve cake warm or room temperature. Store leftovers in an air tight container at room temperature for up to 3 days.
This cake is light and fluffy though decadent with subtle sweet and spicy flavors. A treat to enjoy at holidays or anytime a treat is in order. We wish for you all a happy and healthy New Year and send a gentle nudge toward anything you may have been putting off in 2017 that it is time to just do!
Enjoy, Jess and Cecelia |
AuthorsJess and Cecelia welcome you to our kitchen. We are fun-loving and passionate foodies working to make the world a healthier, happier place one plant based recipe at a time. Categories
All
Archives
December 2018
|

